The MGA With An Attitude
Carburetor REBUILD (for MGA) -- CB-210C
Installing Bushings in the throttle body
If journals in the throttle body are worn more than 0.010" oversize, then you need to install bushings in the throttle body to restore original bore size. This can be done in your home shop without benefit of a drill press. You will need a 3/8 inch chucking reamer with 5/16" shank to enlarge the journals to exactly 0.3750" to provide for press fit of new bushings.
The trick is to use the reamer in a backward direction with the 5/16 end acting as the pilot and the reamer being driven from the front end. The reamer must be turned counter-clockwise to present the cutting edges of the flutes. A minor modification is to grind cutting edges on the trailing end of the flutes, and to attach a nut on the front end with set screws.
Start with the reamer, 3/8 inch with 5/16 shaft, Enco number 329-1124, Enco Manufacturing Company, 1-800-873-3626. These would be available from any machine tool supply house. You also need one 3/8 inch hex nut, two 8-32 set set screws 3/16 long,
 and four bronze bushings, 3/8 outside diameter, 5/16 inside diameter. The bushings need to be 3/4 inch long for H or HS type carburetors, or 1/2 inch long for HIF carbs. The shorter bushings will work in H or HS carburetors, but longer is better because there is more surface to absorb wear and control air leaks. You can get them (maybe cheapest) from any bearing supply house. 660 bearing bronze works, but sintered bronze "Oilite®" bearings are better. You can also get these from McMaster-Carr; 1/2" long is number 6391K153; 3/4" long is 6391K155.
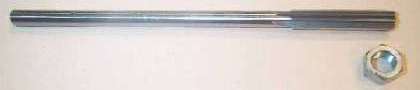
Drill out the 3/8 nut with a 3/8 drill so it will pass over the reamer. Drill and tap two holes on two flats of the nut for the set screws. Fasten the nut on the front of the flutes of the reamer and tighten the set screws. Grind them flush if they protrude. Grind slightly angled cutting edges on the trailing end of the flutes. This will become the new cutting end. You can use a die grinder, but a hard whet stone may also work.

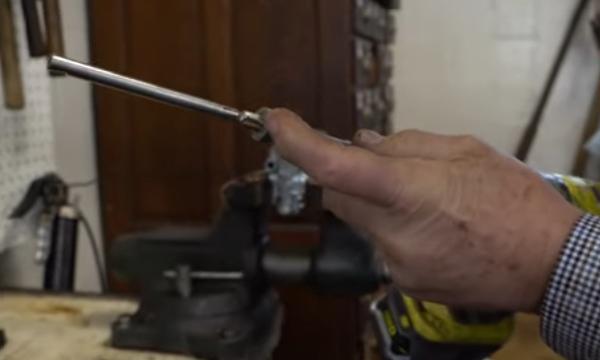
 The assembled reamer, showing one of the set screws. The assembled reamer, showing one of the set screws.
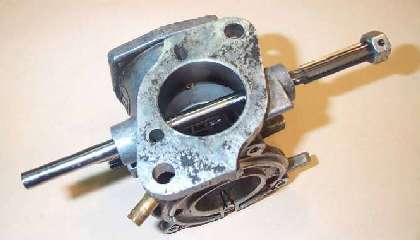
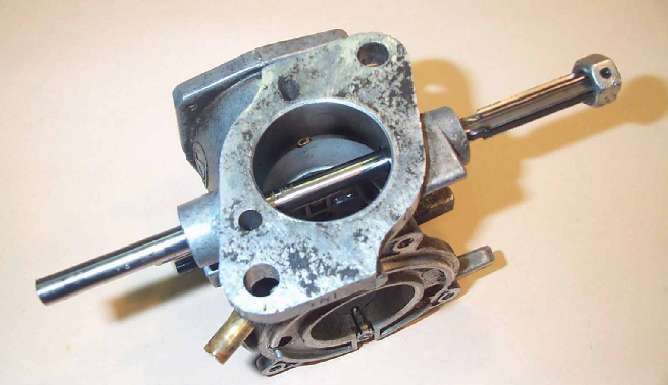
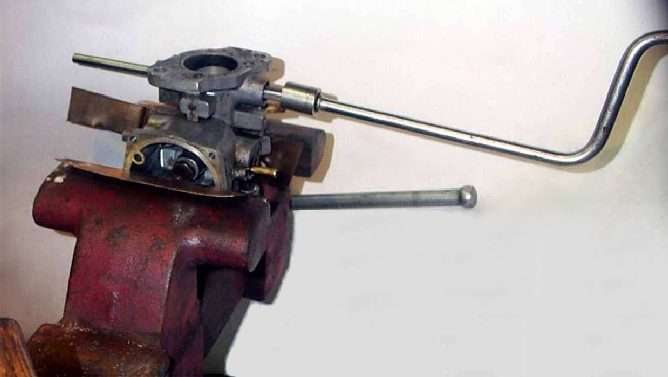
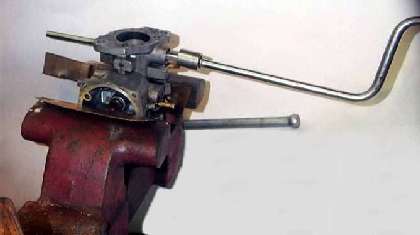
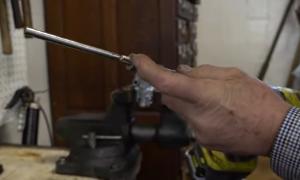
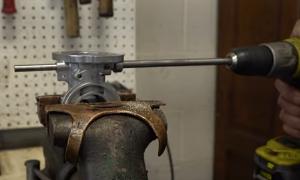
Clean the carburetor body with solvent. Hold the carburetor body securely in a cushioned vise with brass strips cushioning it. Pass the shaft through the body into the hole on the other side. Turn the reamer backward by hand, reaming the near side, withdrawing frequently to remove the swarf. Used plenty of cutting oil to avoid dulling the cutting edges. Check fit a bushing, then remove it, smear with thread-lock adhesive and refit. Then ream the remaining journal hole and fit a bush in the same manner. Oil the new bushings. The reamer is guided by the old bushings for the first pass and by the old and one replacement bushing for the second pass.
Addendum June 24, 2011:
Recent change to cheaper Imported reamer:
Reamer End - Reduced Diameter - Chucking End

|
The ENCO reamer 331-1124 (import for $10.58) is no longer machined for the full length of the chucking shank, so it is no longer suitable for this job. ENCO reamer 329-1124 (USA made for $17.42 list or $13.99 web) does have the fully machined shank (shown in prior photos) and will work for this task.
|
Addendum November 4, 2011:
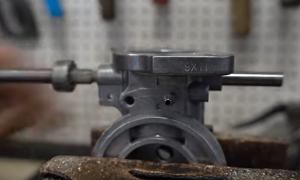
When the shaft journal is reamed through large enough to install sleeve bushings, the bushings must be carefully installed flush with the inside diameter of the carburetor throat to prevent blow by when the throttle plate is closed. One way to accomplish this is to press the bushing slightly into the throat, then go inside the throat with a porting grinder to grind the exposed end of the bushing back flush with the throat.
Alternately, you can install a depth-stop collar on the reamer (more commonly used on drill bits) to stop forward progress just before the reamer cuts all the way through into the throat of the throttle body.
Addendum October 17, 2013:
At 04:16 AM 10/17/2013 -0800, Del Rawlins wrote:
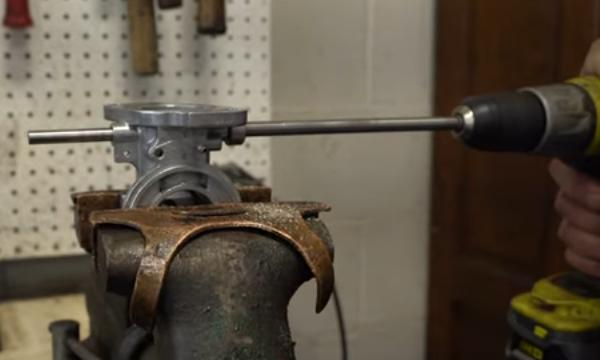
"Just re-bushed my carb bodies following your instructions. One difference, is I didn't make up the special drive nut like you show. I found that a normal 11/32 socket slipped right over the end of the reamer, and allowed me to drive it with a speed handle. It probably didn't do the front (manufactured) cutting edges any good, but that doesn't affect it in this application, and I bought the reamer specifically for this task so I wasn't worried about it".
Addendum December 31, 2020:
On 2/24/2020, Jack Strobel in Bozeman, Montanna wrote:
"I've just ordered a reamer from Grizzly Industrial, since the ENCO now has a $25 minimum order. I seems to match the specs of the Enco reamer- 5/16 shaft, etc. The reamer was part number G9417. $9.95 plus shipping".
Addendum March 18, 2022:
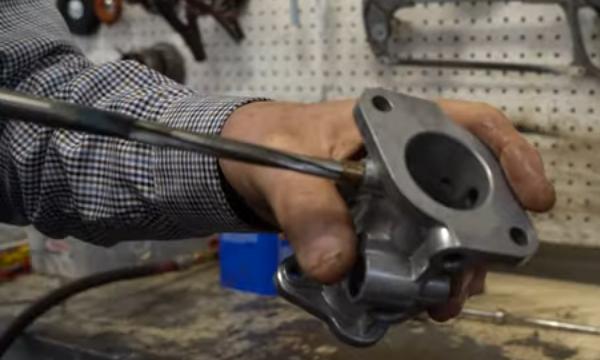
Here is another method for reaming the throttle body to install replaceable bushings, presented as a YouTube video by John Twist of University Motors.
https://www.youtube.com/watch?v=mEaQJcwa60I
This one requires a special piloted reamer, but you can buy the tool from Joe Curto.

On Feb 3, 2023 Christopher Davey un the UK wrote:
"We Brits changed to metric some time ago and ... where to source a suitable reamer at a reasonable price ( 3/8 -5/16 shank ) in the UK. For UK restorers see Drill Service (Horley) Ltd and order online (free postage) part RCHUCK-3/8 for approx. £18.
|