The MGA With An Attitude
FAN SHROUD For MGA, Make Your Own - CO-220
On 8/24/2015, Dave near Gatwick, England wrote:
"I have made a shroud to suit the R/B 18V in my car. The main variable, apart from 55 years of wear, tear and repair is the depth of the shroud to suit other engine options". And he as supplied the following photos and notes.
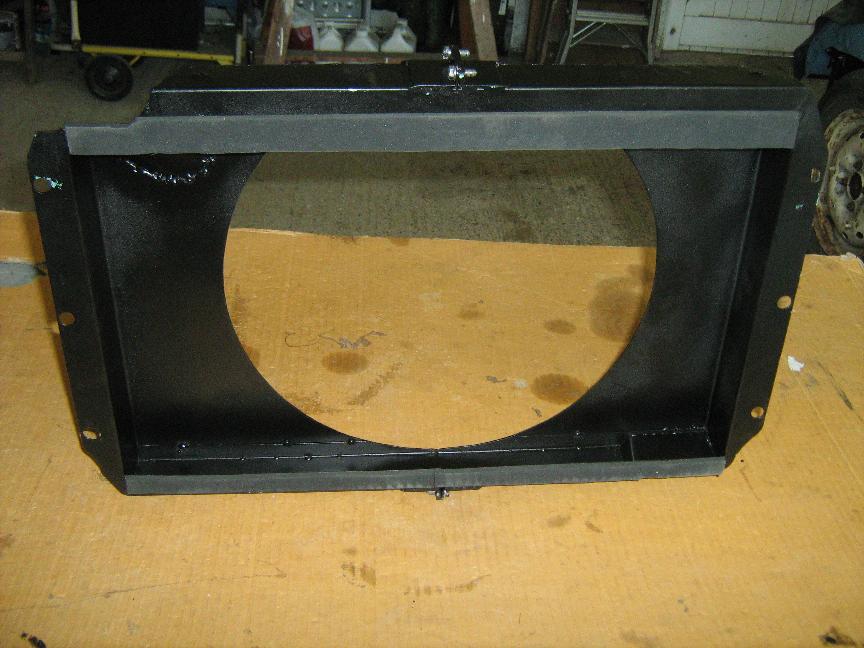
MGA Radiator Shroud
I am nearing the end of a rebuild of my 1960 Coupe which now has an 18V engine. During the 30 months of the rebuild there was an interesting correspondence on MGA overheating and the benefit of a radiator shroud. MGAguru mentions one in his CO-101 but had no drawings and Geoff Barron has a Moss plastic shroud but no drawings either. Given the larger diameter but shallower pump pulley of the 18V, and thus the increased clearance between the MGA 6-blade fan and the radiator I decided to stop looking for drawings and get on with the shroud.
I had done an earlier trial fit of the rad and so that it could drop vertically down against the face of the rad support and inside the air ducts I sliced the oversize on the rad flange back to the points of the hexagons of the hank bushes. This still maintained full contact for the rad packing.
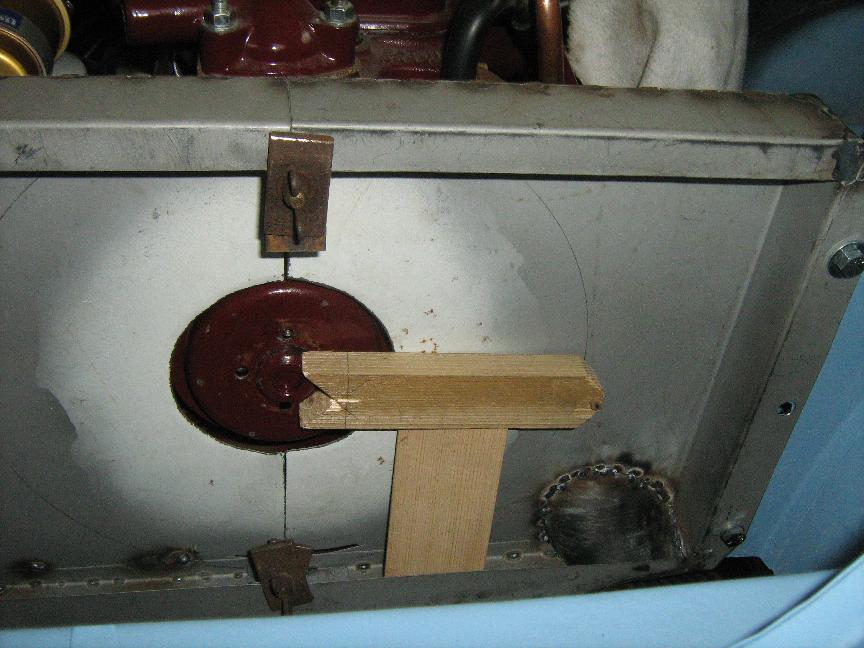
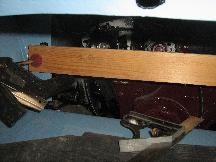 I clamped a board across the center line of the middle rad fixing bolt slots, squared across it and found that the horizontal center line of the pump spindle is the same as the middle rad bolts. Also, the vertical center line of the pump spindle is offset 8mm to the RHS of the rad center line.
I read somewhere that the fan should have 2/3 of its depth inside the shroud so with the fan's axial depth being 31mm, the distance from the rear of the board to the rear of the shroud worked out to be 44mm. The fan diameter is 308mm. I fixed the shroud height at 332mm to provide sufficient clearance to the fan, leaving 5mm of material beyond the fan aperture at the top and bottom of the shroud. Radial clearance is required to thread the fan belt through the shroud aperture. This can be in uniform radial clearance or a notch cut out at one place, probably in the top right quadrant.
The width of the shroud is fixed by the distance between the vertical edges of the rad support. On my car that was a minimum of 482mm so I fixed the width at 480mm. Fixing bolt centers are 514mm horizontally and 102mm vertically above and below the center line.
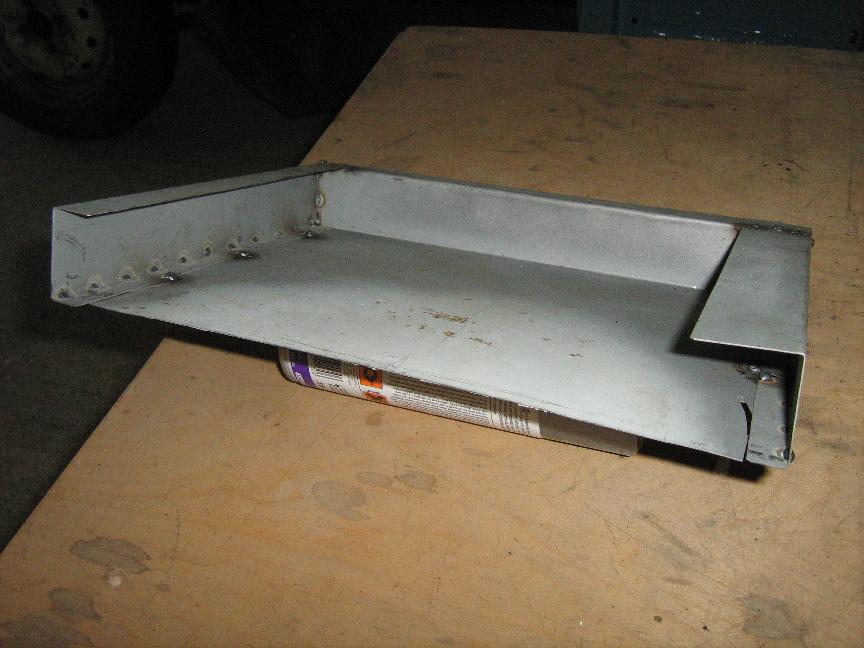
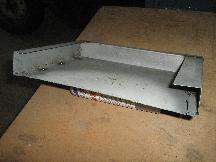
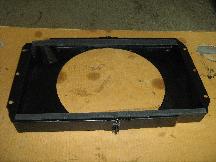
The material is 0.6mm sheet steel gleaned from the side panel of an old refrigerator. Not being sure of how this would all fit together, and mindful of Barney's shop-made two-piece shroud, I opted to make the shroud in two parts split on the vertical center line of the fan with their joining together to be determined later on. In the event, I was able to install the shroud fully bolted together, so it could have been made in one piece. If joint flanges are used they should be the smallest possible to give adequate clearance to the starting handle.
On the basis that the shroud is in one piece, it comprises three folded panels, a center piece folded to fix in front of the radiator support, a top U channel and a bottom U channel. The return folds in the channels are dimensioned to align with the inside edges of the soldered matrix joint without obstructing air flow, all as shown in the drawing above.
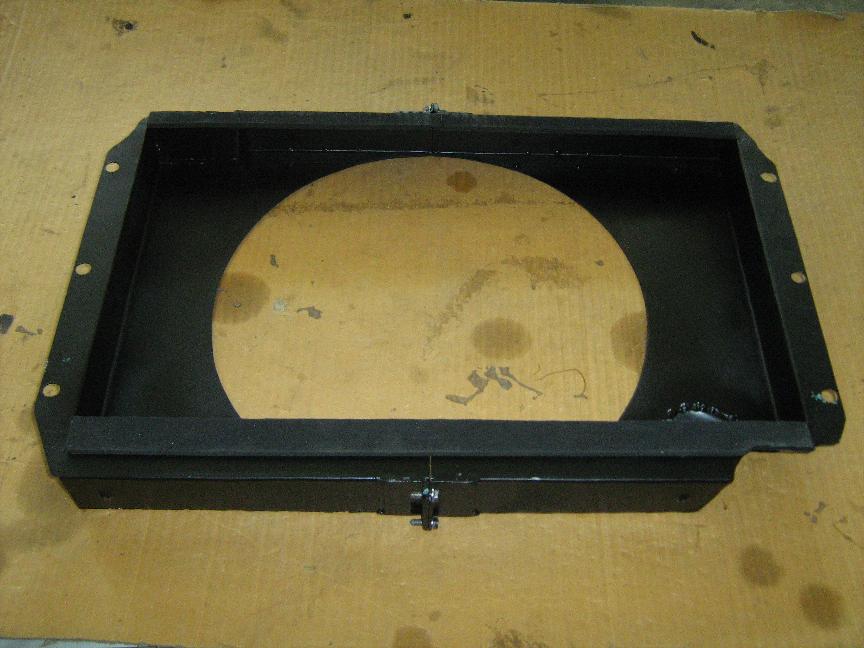
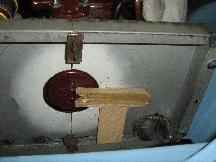
The components were zinc primed and tack welded together. Then a 150mm diameter hole was cut on the pump spindle centers to clear the pulley boss. A trial fit allowed the aperture for the fan to be marked on the rear of the shroud using a wooden radius arm with a notch at one end and a stub of pencil embedded in the other. Radius was 161mm and the aperture was cut out. A 4mm dia drainage hole was drilled and swaged at each side of the bottom channel.
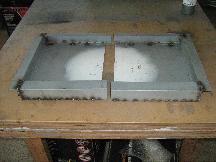
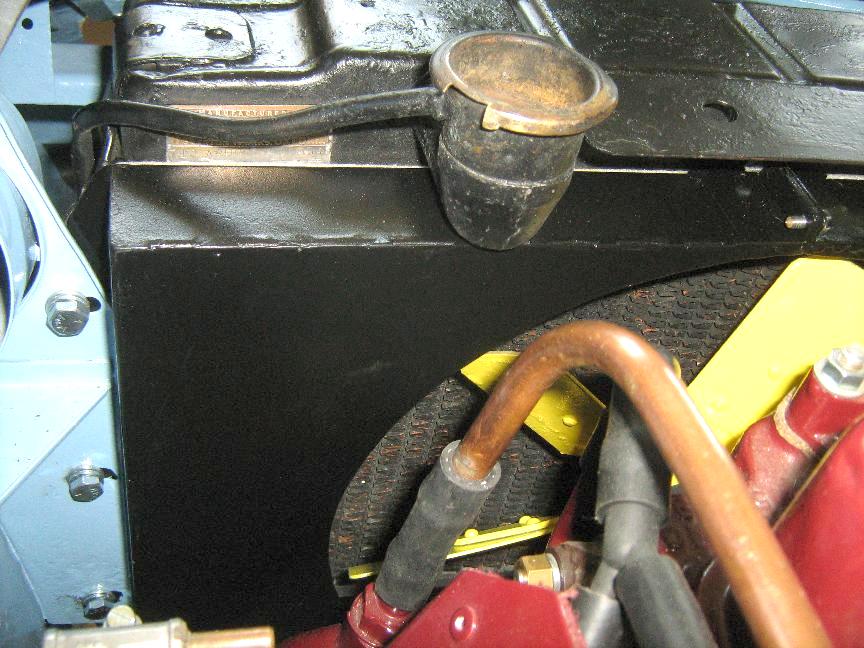
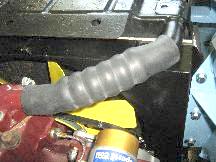
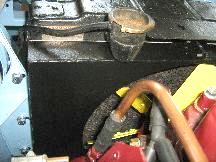
Before the shroud could be offered onto the rad, cutouts had to be made to clear the rad top and bottom pipes and hoses and closing pieces welded in. No dimensions for these, but the pictures give an idea of what is required. The bottom cutout is difficult to visualize and I cut away a little at a time with trial fittings until 5mm clearance was obtained to the convolutions of the hose. Check that the as-installed shape of the bottom hose has adequate clearance to the cutout.
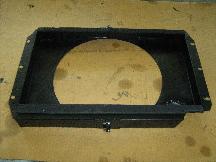
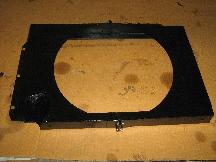
The closing pieces had no blanking effect on the rad matrix and were within the 20 and 40mm top and bottom returns. After painting, strips of 4mm thick neoprene foam left over from sealing the body to the chassis were stuck to the returns to seal along the matrix to top and bottom tank joints.
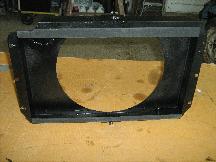
With the cutouts complete and the fan removed, the shroud and rad can be slid as a unit vertically downwards between the air ducts, tilted forwards at the top and the fan can be fitted. The rad and shroud can then be lifted back and bolted into place.
Job done, but please check all dimensions on your own car.
Using the MGA fan with the larger diameter 18V pulley causes the rear edges of the blade mount spider to bear against the pulley preventing the hub from making full contact with the face of the pulley boss. This was cured by inserting a 1.5mm thick packer disc between the pulley boss and fan.
|