The MGA With An Attitude
The HORN BUTTON Switch for MGA -- DT-112
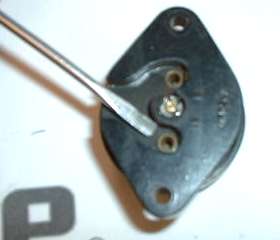
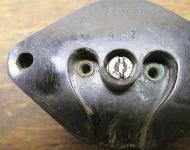
Just a quick not about MGA horn button switch wiring, since someone asked. It does not have pigtails with bullet connector. It has set screw socket connectors. See pictures, and description below.

Photos compliments of Randy Brown in Highlands Ranch, Colorado, USA
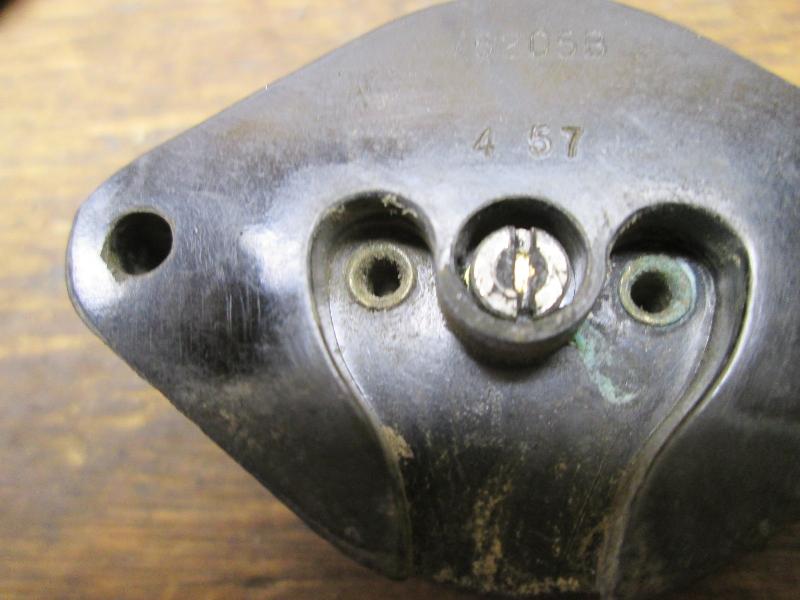
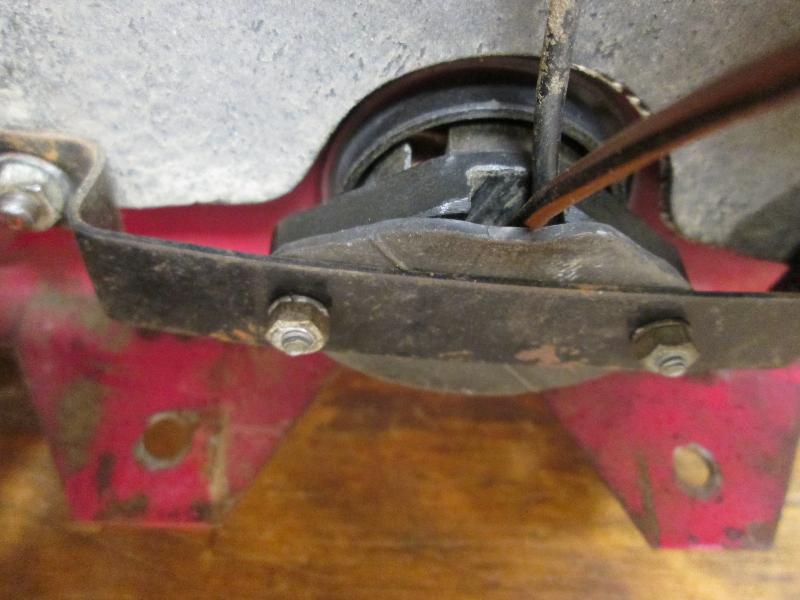
The horn button is not supposed to come apart, but it does have a thin fiberboard insulator on the back trapped between the switch assembly and the steel mounting bracket. Once you remove the mounting screws and the insulator plate, you have what is shown in these pictures. In the back there are two metal lined holes that look like eyelets. On the sides there are two set screws. Holding the switch right side up with ears at the sides, the set screws are one in top and one in bottom. To connect the wires, insert a bare wire end into the eyelet and tighten the set screw. Then replace the insulating plate and screw the switch to the mounting bracket, followed by attaching the bracket to the facia panel (dash board).
Another tech article details complete wiring of the dash assembly. This was originally done out of the car on a work bench. The wiring harness has a separate sub-harness for the dash. This can be attached to dash panel and electrically connected to the dash devices, leaving only a single bare bullet end to connect to the main harness. In the process the horn switch is connected to two wires of the dash harness before mounting on the panel. Once the dash sub-harness connection is finished, then the assembly is taken to the car for connection of the main harness wires.
Design and wire connections of the horn switch is the reason why there is one bare bullet connector in the dash harness. That one wire is connected to the horn switch and needs to run through the main harness to get to the horns. If not for the extra wire in the dash harness with bullet connector, the horn switch would have one terminal connected to the dash harness and one terminal connected to the main harness, and the switch would have to be wired and assembled in the car rather than on the work bench.
Addendum April 2, 2021:
These photos and notes are compliments of Greg Reynolds
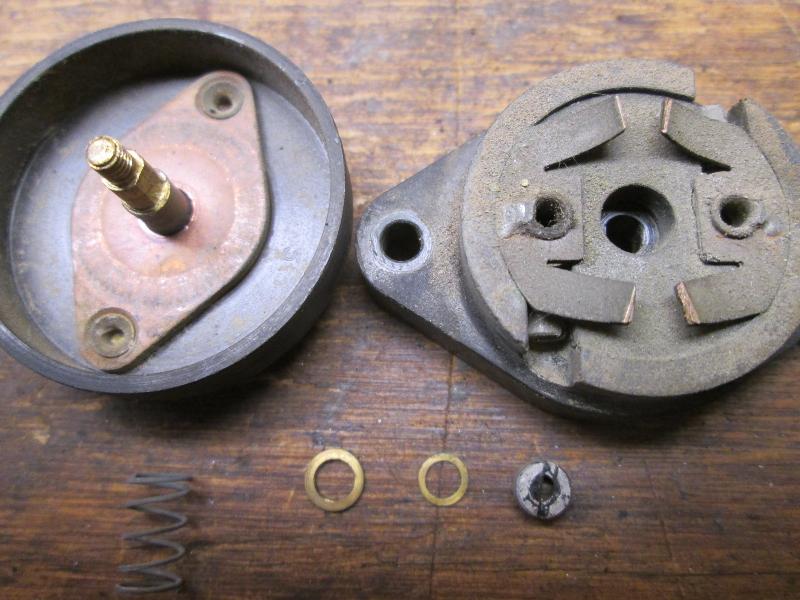
On the back of the horn button there is a little round mark that looks like a molding mark. It is actually a countersink for a nut that has been filled with black Glyptol. The old Glyptol is easy to dig out and it reveals a nut with a slot in it. Unscrewing the nut lets the two halves of the switch be separated. There are two little brass washers and a spring that want to get away when you open the switch.
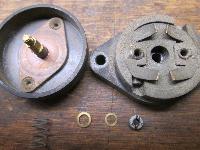
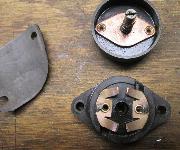
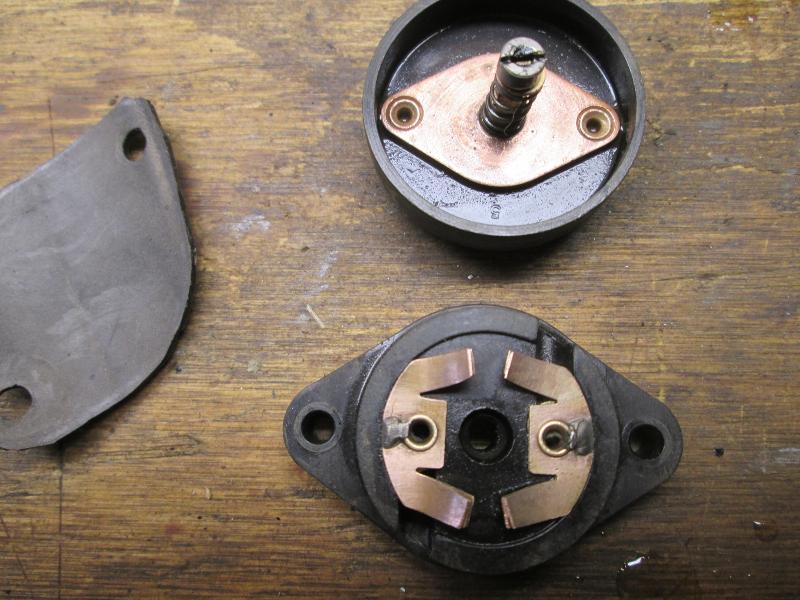
 Vinegar softens the corrosion. The raised contacts are made out of several layers, so be a little careful if you go after them with a brush. The rivets (wire terminals) are the size of a Q-tip stem without the fuzz. The button itself appears to be a two part assembly but I have not worked how to get in there (or if I even need to).
|