The MGA With An Attitude
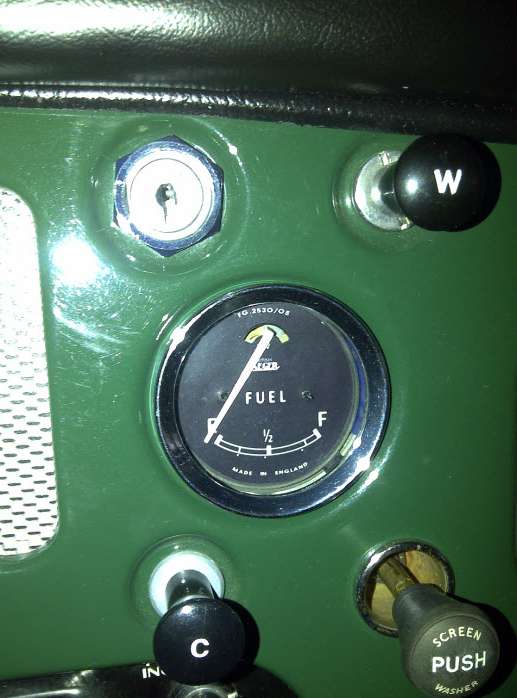
INSTRUMENT FACE RENEWAL #2 -- DT-125A
On 3/6/2013, Freddy Jones wrote:
"I had the very same situation as Larry Ingram, but I approached it by using Microsoft PowerPoint instead of Paint. The Drawing tools in PowerPoint are pretty powerful, and you can do an awful lot with them".
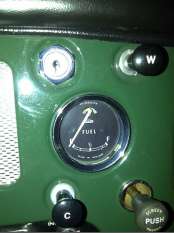
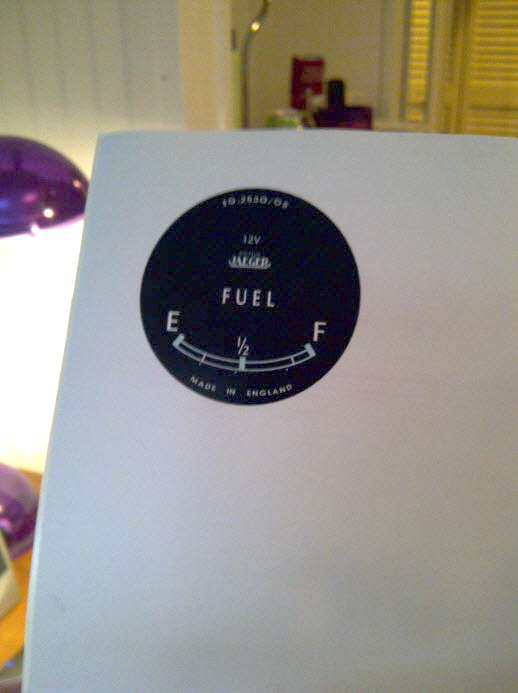
1) I started by simply creating a black circle on white background.
2) I got the Jaeger logo off of Google.
3) I used text boxes for all the lettering so they could be moved around. The font I used is called Bog Standard (again I found it through Google).
4) It's easier to do the details if you zoom in to about 200%.
5) I printed the finished gauge faces onto Avery adhesive Weather Resistant Shipping Labels, using the best quality laser printer we have at the office.
6) By fooling around with the printer zoom and image quality, you can get your gauge face to the proper size.
7) Be careful when applying the label to the actual gauge faceplate because once it sticks you can't get it off without screwing it up and having to use a new one (word to the wise - print multiple copies). Also, be mindful of the stop pins on the gauge faceplate when applying the labels.
8) Use an X-ACTO knife to cut the hole for the gauge needle. If the white edges of the label paper are visible, use a black marker to darken them.
"That's about it. If you're patient you can make a pretty convincing gauge face". -- Freddy Jones
|