The MGA With An Attitude
Installing a REPACEMENT HEATER MOTOR, P.M. Type - ET-211A
Saturday, March 11, 2017:
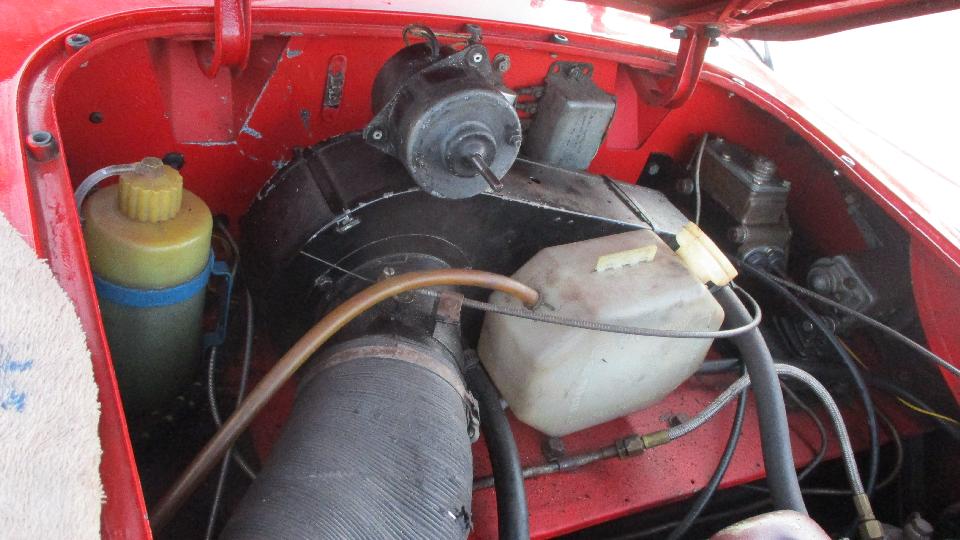
After the daily chores, it was finally time to replace the heater blower. Been carrying the new one around for nearly two weeks, and nights are getting chilly in North Carolina heading for Tennessee
 (and then points farther north). I hate to say goodbye to an old friend.
I believe the expired blower motor has been with the car since new in August 1957. I rebuilt it with restoration work in 1986, rewound the armature once in the late 90's, replaced brushes a few times over the years. Recently it was running so slow and weak that I could easily stall it with one finger on the shaft. I could repair it again, but this time I figured it would be easier to just install a new one, keeping fingers crossed that the new one might actually work.
(and then points farther north). I hate to say goodbye to an old friend.
I believe the expired blower motor has been with the car since new in August 1957. I rebuilt it with restoration work in 1986, rewound the armature once in the late 90's, replaced brushes a few times over the years. Recently it was running so slow and weak that I could easily stall it with one finger on the shaft. I could repair it again, but this time I figured it would be easier to just install a new one, keeping fingers crossed that the new one might actually work.
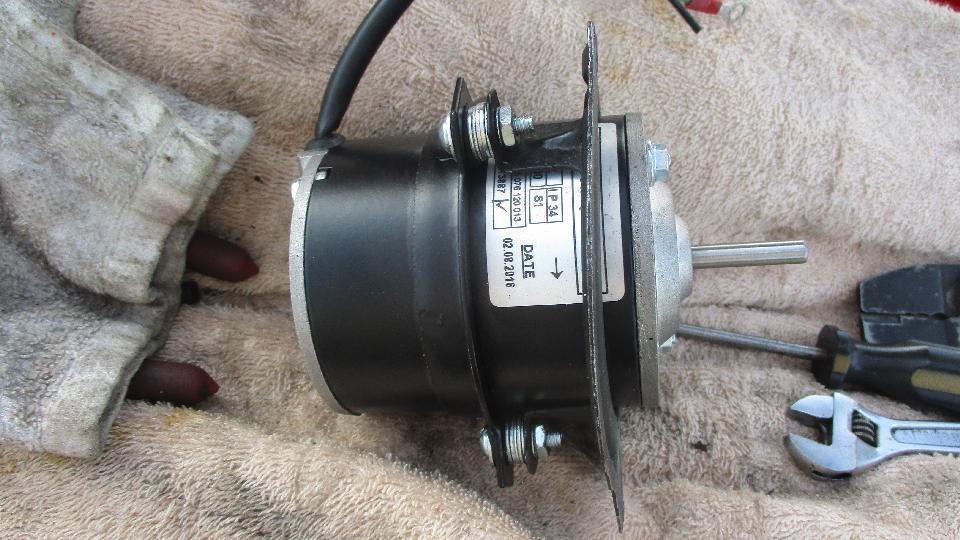
Moss didn't have one when I needed it, so this one came from V.B. It is not as original in that switching the wires will make it run opposite direction. So this one has permanent magnet field, which may actually be a stronger
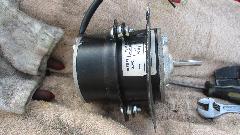 (faster) motor. One size fits all, means it fits nothing until you adapt it, but okay for function if it works. The new motor arrived with no mounting flange (Part of the one size fits all scheme), so I had to graft on the mounting flange from the original motor. That makes the original motor scrap, not rebuidable and no core return, and of course the new one will not pass muster for concours originality. If I ever need to replace this one I will have to do the modification all over again, or buy a complete original type unit.
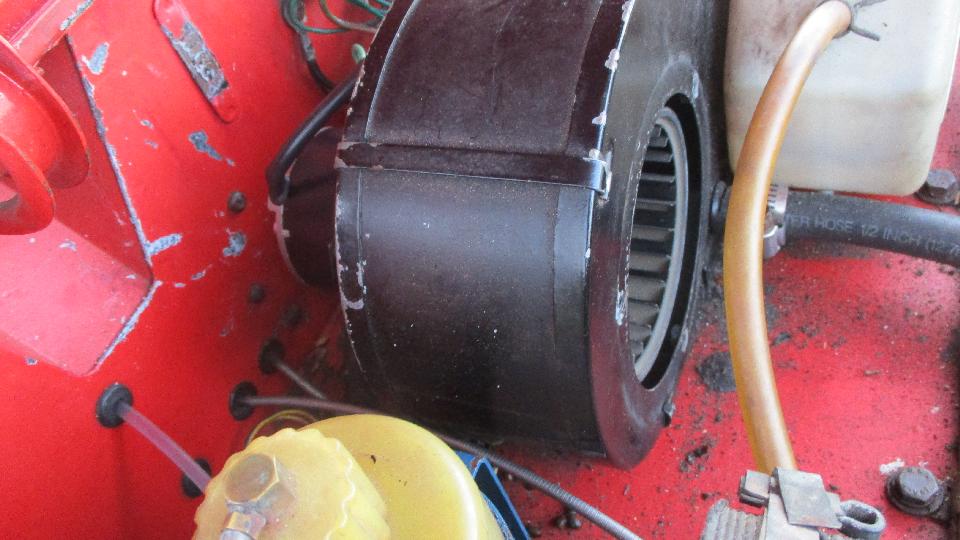
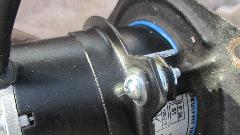
On first fitting the blower cage extended about 1/8-inch in front of the front face of the heater box, so the inlet flange could not be installed. The expedient fix was to stack some flat washers between the motor flange and mounting ring. That meant, pull it apart and do over, but at least I had the necessary fasteners in the travel bag.
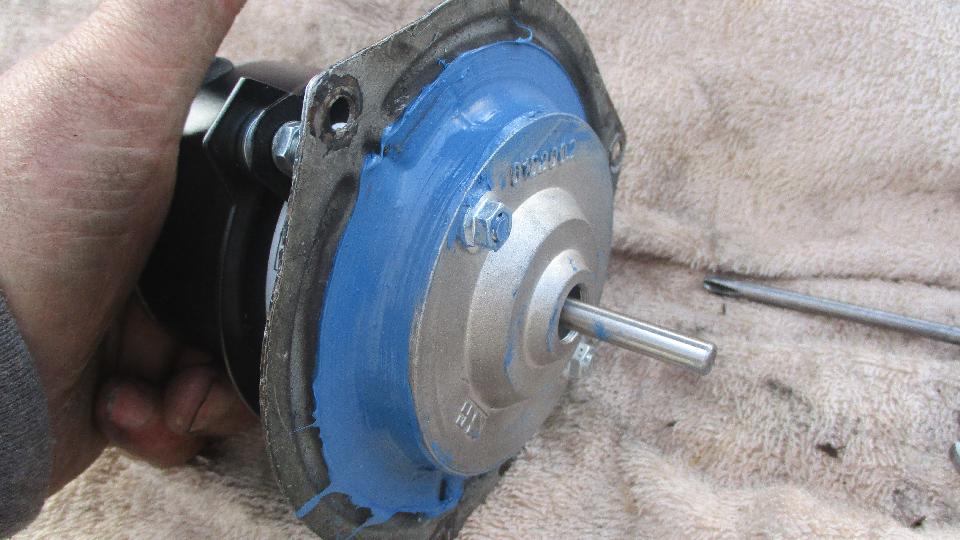
Then to deal with a substantial air leak gap between the mounting ring and motor body. A generous dab of "blue stuff" works wonders.

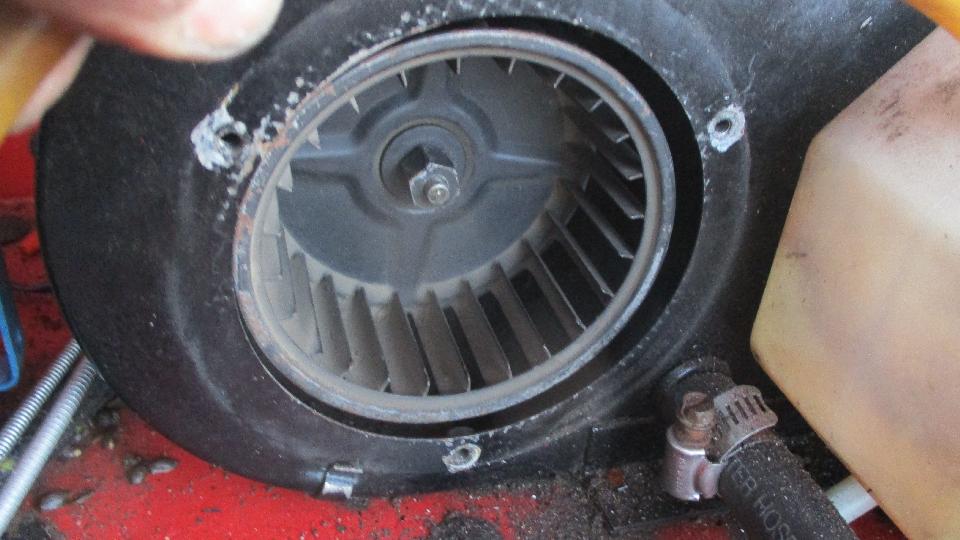
Then the now familiar scrape a bit of paint off the firewall exercise, but that's a lot easier than R&R the heater box from the car. I connected the motor return wire (green this time for correct direction of rotation with negative earth) to a mounting screw rather than back to a black wire in the harness (just easier to reach). I also extended the harness power feed wire for easier access, and deleted the bullet connectors (for more reliable connections). The blower cage is now nicely inside the cabinet where it will not rub the inlet screen, and happy to report it blows up a small hurricane. This then cancels my thought about installing a bilge blower in the intake duct.


It does run faster than the original MGA motor, so naturally blows a little more air. Having lived with it for a while, I kind of got used to it, and now I think it still doesn't blow enough air for good defrost or good demist in severe weather conditions, but it is better than original.
One odd characteristic is the feature of working as a generator. If you have the blower fan on when you switch off the engine, then inertia of the blower motor keeps it spinning while it generates power from rotor rotation and the permanent magnets. The voltage feedback is enough to keep the ignition system active, so the engine keeps running normally for a few seconds longer after you remove the ignition key (very weird at first experience). The spark and engine will eventually stop after the blower speed runs down. This irritates me enough that I am (usually) learning to switch off the heater blower before switching off the ignition switch. I suppose you could add a relay (but I would still have to think about how to defeat the power feedback).
|