The MGA With An Attitude
REPLACNG THE TAIL BUSHING - GT-104
IN THE MGA 1500 GEARBOX
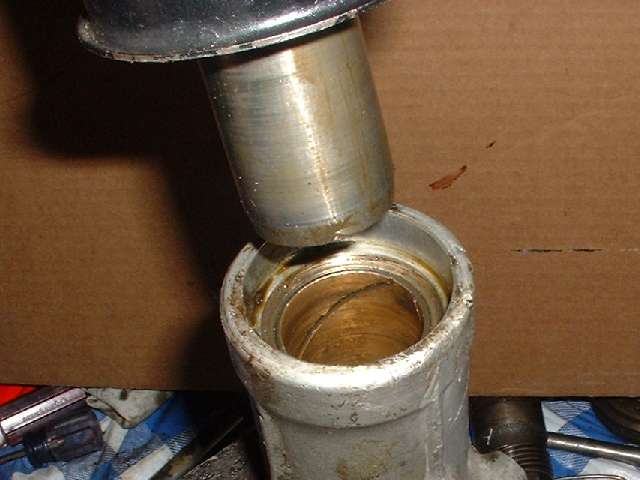
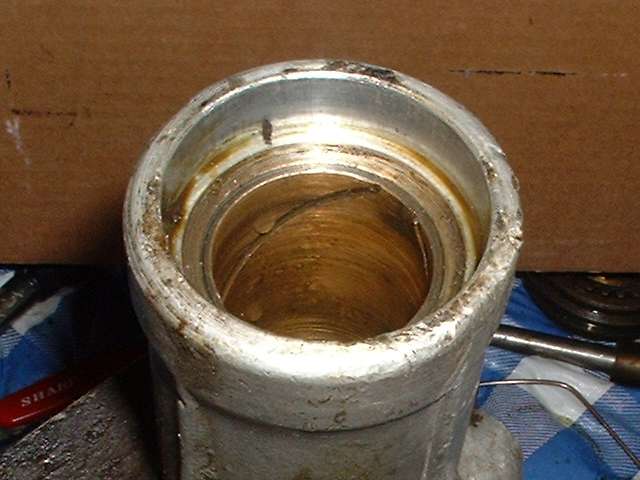
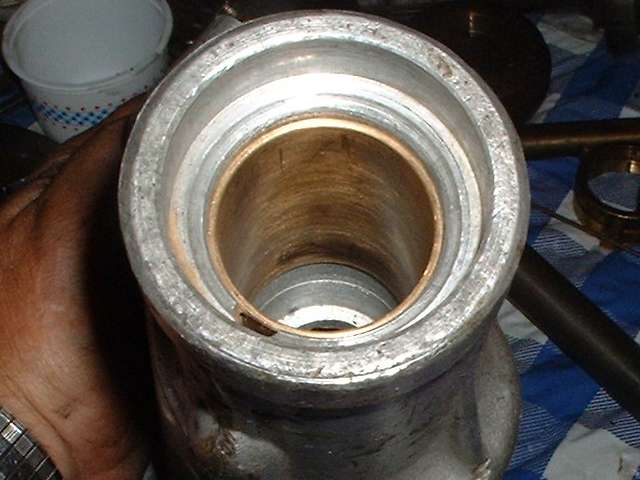
A part commonly showing wear in a high mileage MGA 1500 gearbox (most of them by now) is the large bushing at the rear of the tail housing. This bushing is responsible for supporting the front yoke of the propshaft, allowing it to ride fore and aft on the output shaft splines, and maintaining alignment of the yoke with the internal oil seal. When this bushing gets worn the front yoke of the propshaft can wobble around and cause vibration when running, and the oil seal can take a beating and allow the oil to leak out of the gearbox.
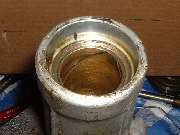
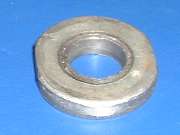
The bore this bushing is situated in has a wide internal shoulder at the front end, so it requires some special finesse to remove the bushing. I made the small tool shown on the left below, a heavy flat washer with a pair of flats cut on the edges. 1.47" OD x .63" ID x .25 thick, 1.34" across the flats, and a 1/32" chamfer on one side. This will drop through the bushing, square up behind it, and can be pulled with 5/8" (or maybe 1/2") fine threaded rod and hex nuts and flat washers. Using a large wrench socket for an outer shell completes the home made bushing puller.
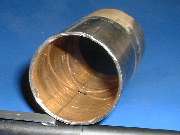
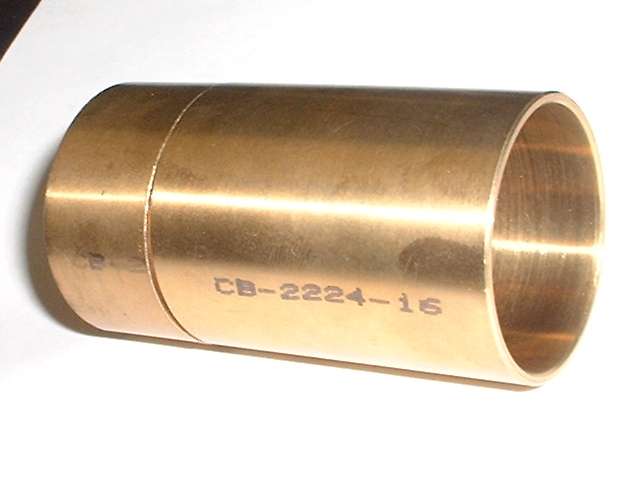
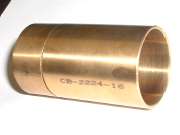
Unfortunately this bushing has been unavailable as a replacement part for the past quarter century or so, and the supply of used rear housings with a serviceable bushing is dwindling fast (like pretty much gone). The expedient repair is to use a plain 660 bearing bronze bushing available from most any bearing supply house. The required bushing size is 1-3/8" ID x 1-1/2" OD x 2-3/4" long. Off the shelf parts are not available in that length, so a 3/4" long piece is installed first, followed by a 2" long piece to make up the required length. Clean the housing, apply a few drops of bearing set adhesive, and tap the new bushing into place.
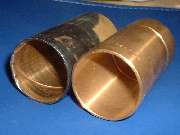

Using the front yoke of the propshaft as a gauge pin (1.373" dia) the bushing can be honed a little (if necessary) to allow a working fit. The proper clearance is about 0.001" on the radius, about the same as a crankshaft bearing or a rocker arm bushing. With a little oil applied to fill the space the yoke then has virtually no perceptible radial clearance in assembly.
Addendum, August 2007:

Here's another slick trick that looks even easier for the old bushing removal.
At 03:54 PM 8/14/2007 -0700, Tom Baker in Japan wrote:
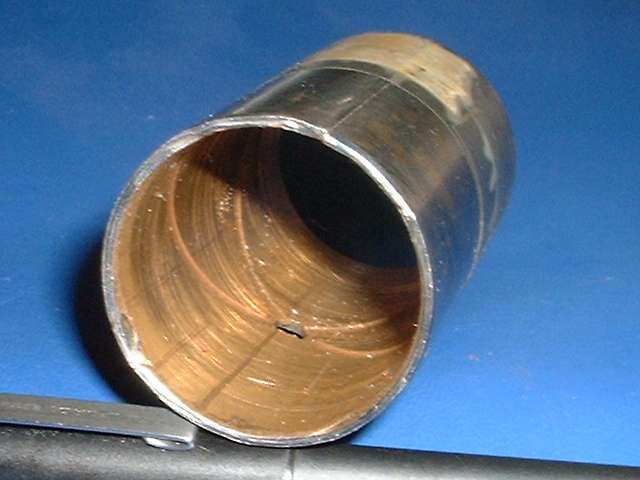
"I went to the machine shop to have the tail shaft bushing removal washer made. Instead, he had the old one out in less than 5 minutes. The bushing has a natural split in the top and all he did was take a small diameter round pointed punch and drove it in close to the split collapsing that part of the bushing about halfway down the length. Then, from the other end inserted a long slender brass drift and caught the collapsed end of the bushing and using a small hammer drove it out. Literally 5 minutes."
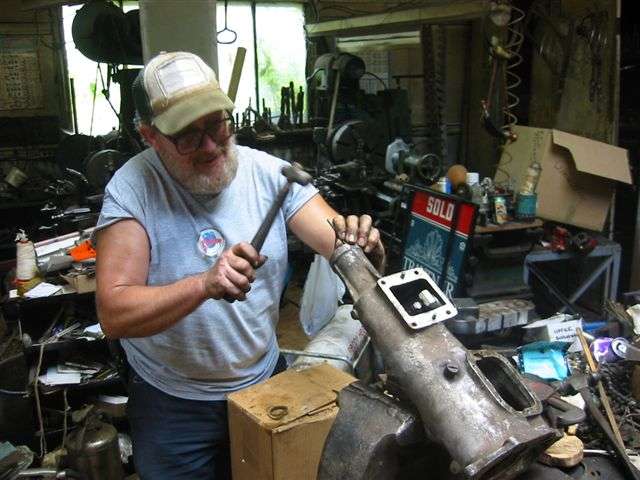
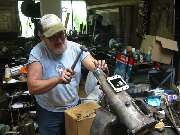
The following photos and tips from David Headrick in Lexington, SC, USA:
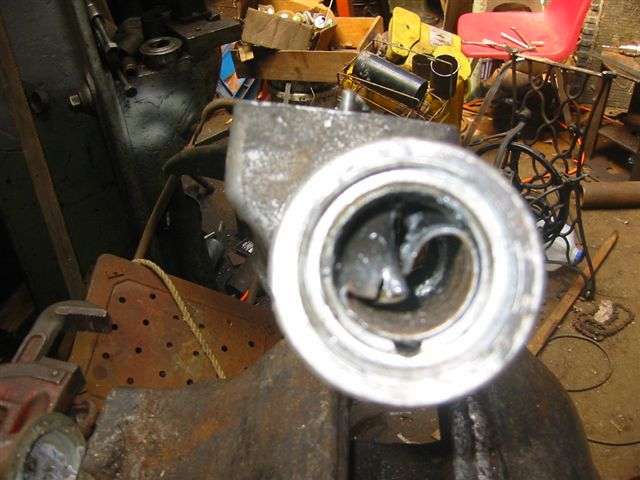
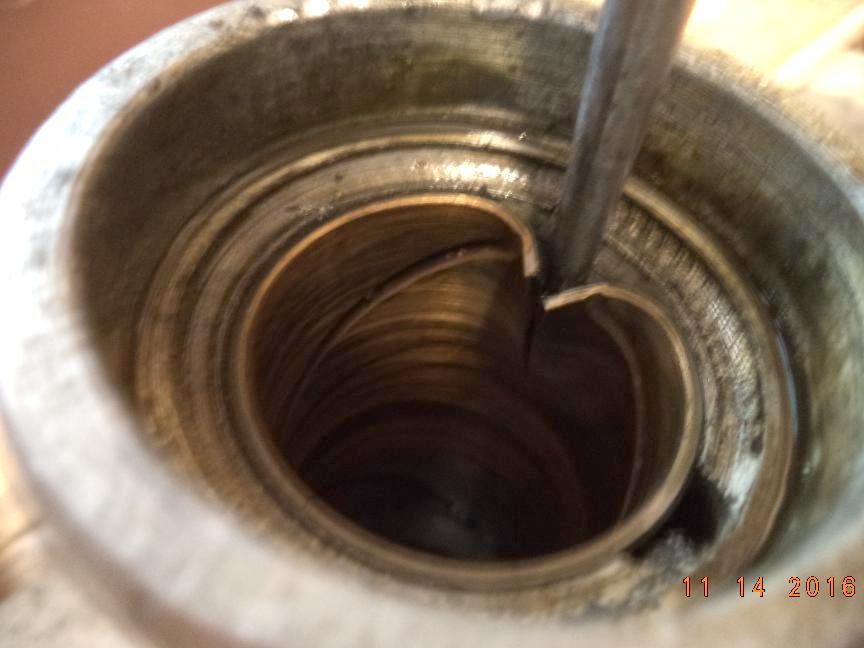
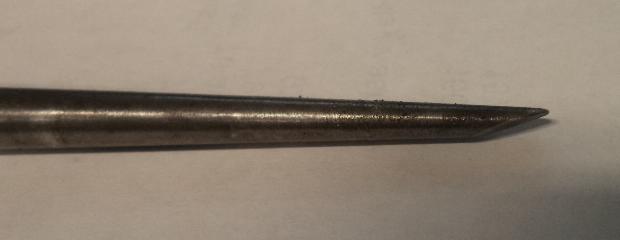
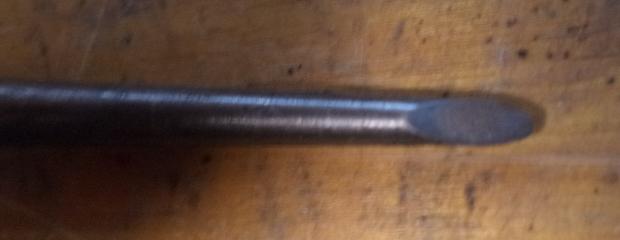
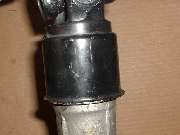
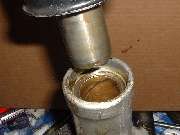
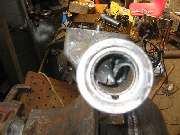
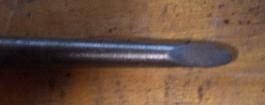
"Finally I arrived at the right approach using punches, and it was truly a 5 minute job. I used a modified long taper punch with a chisel point placed at the split. The flat side of the point faces the center of the bore. Following up with an unmodified larger taper punch to collapse it even further I was able to simply lift the collapsed bushing out with pliers. Finding the barely visible joint requires carefully examining the end of the bushing with a magnifying glass since wear marks on the bore of the bushing mask the joint".

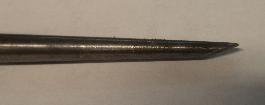
The split line will be at the apex of the helical oil groove, 180 degrees across from the side oil hole.
|