The MGA With An Attitude
FORD "Type-9" 5-SPEED INSTALLATION in the MGA - GT-403
These photos and notes are provided by Andy Bounsall .

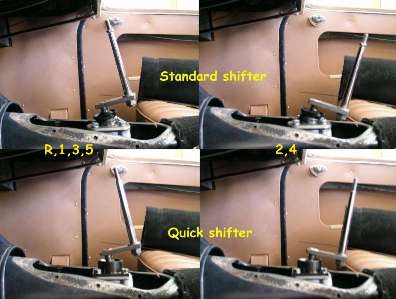
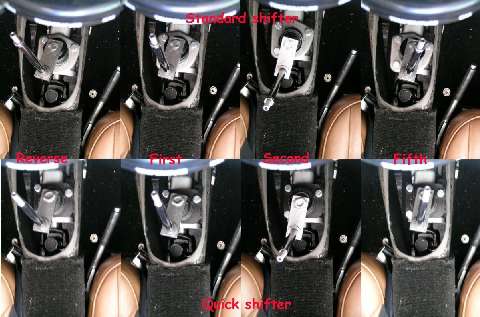
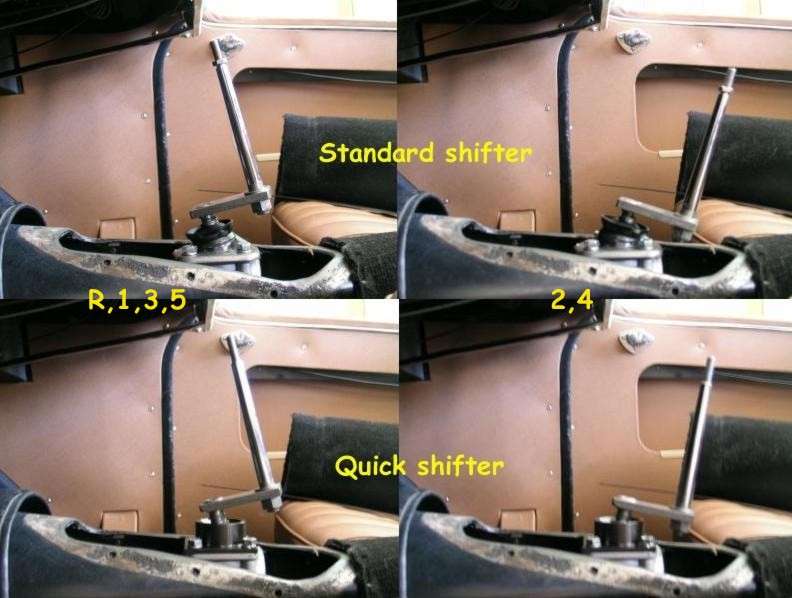
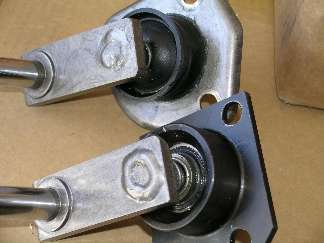
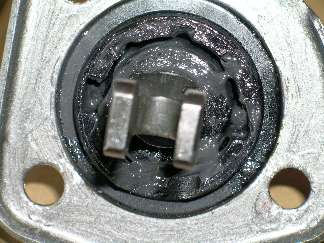
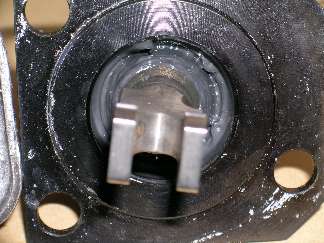
Here's the photos comparing the two shifters. The one with the black base is a quick shifter, the one with the silver base is believed to be a standard shifter. Commenting on the physical appearance of the two, Moss says that some are original Sierra shifters that have been modified while others have been made from scratch. The gist was that the obvious physical difference is not necessarily an indicator of which type of shifter it is.
It's a bit hard to tell from the photos, but it the quick shifter seems to be fitted with a smaller diameter ball which is located slightly higher up in the base. This creates greater travel of the lower shift mechanism for the same amount of movement of the shift lever, or conversely, less travel of the shift lever creates the same amount of movement of the lower shifter mechanism.
There is a noticeable difference in the throw of the two when operating them. In my opinion, the quick shifter seems to have about the same amount of travel between 1st-2nd, and 3rd-4th as the stock MGA gearshift, but the 1st-3rd, and 2nd-4th seem to be a bit closer together than the stock shift pattern. It didn't take me very long to get used to the new shifter and I find it quite comfortable. Of course, this is a personal opinion and your mileage may vary.
I can confirm, that the quick shifter works perfectly with the stock MGA rubber shift boot. I found that the stock boot was too restrictive for the standard shifter - i.e. it would not stretch far enough to allow all gears to be engaged. Unfortunately, I can not confirm whether the quick shifter works without modification to the gearshift turret cover since I had already modified my cover before receiving the quick shifter. However, the original rubber boot can be used even with the modified turret cover. With the carpet installed, the look is very much stock as you can see.
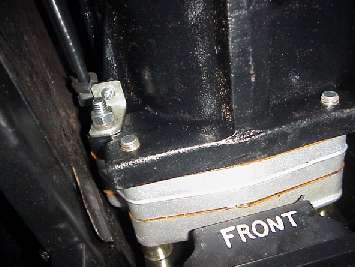
I've also included some additional photos showing the new cross member, speedo cable attachment, spigot bushing extension, new and old gearboxes, clutch discs, drive shafts, and the original throw-out lever mounted in the new bell housing. -- Andy
|
|
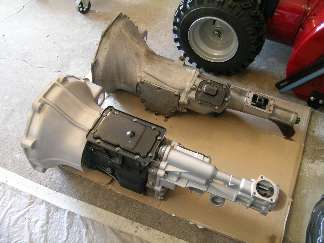
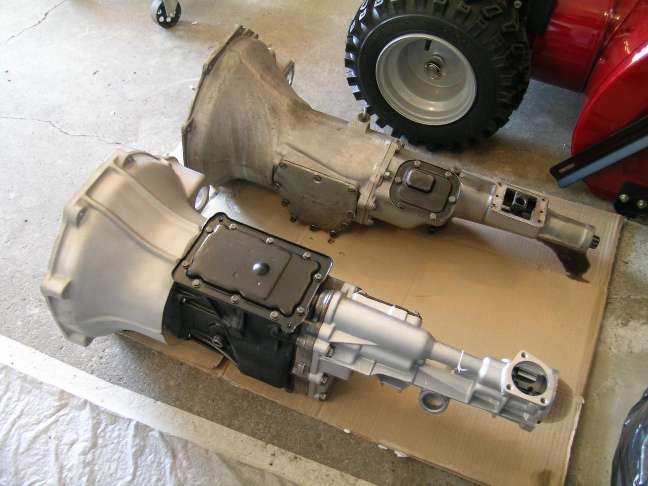
Original MGA mid 1500 gearbox top.
Ford Type-9 5-speed gearbox bottom.
|
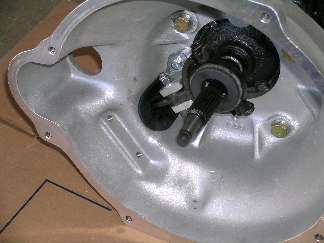
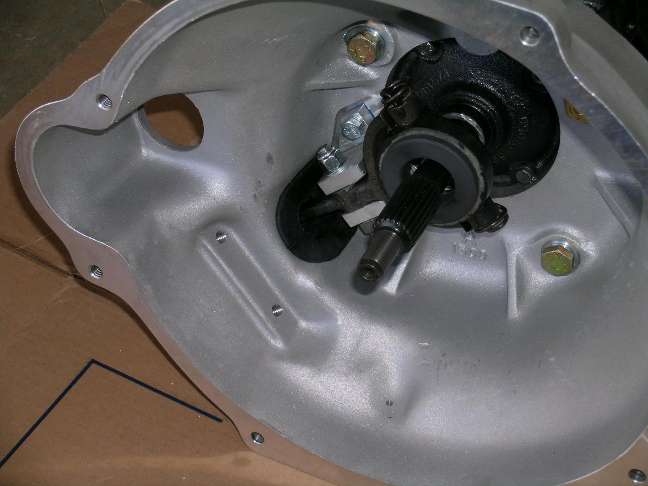
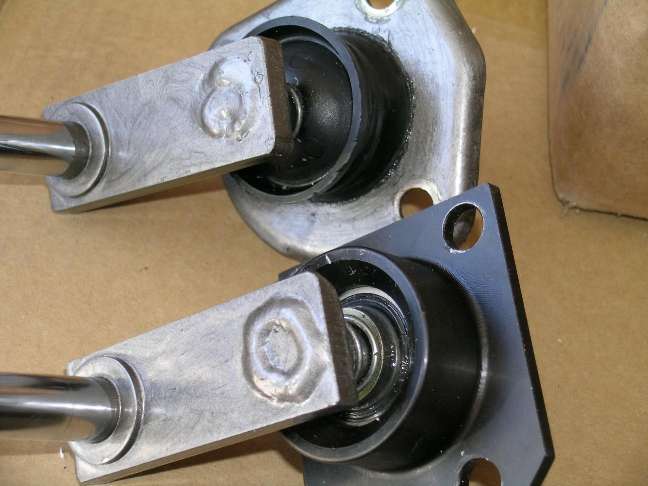
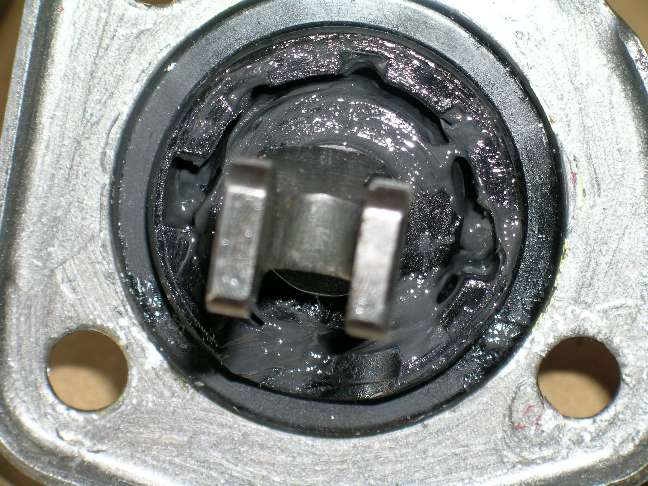
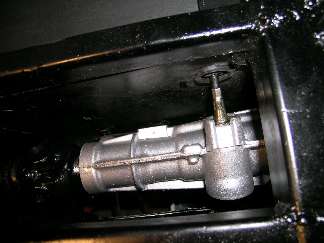
Spigot bushing extension - Original release arm in new bellhousing.

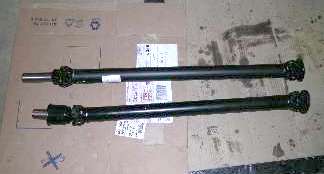
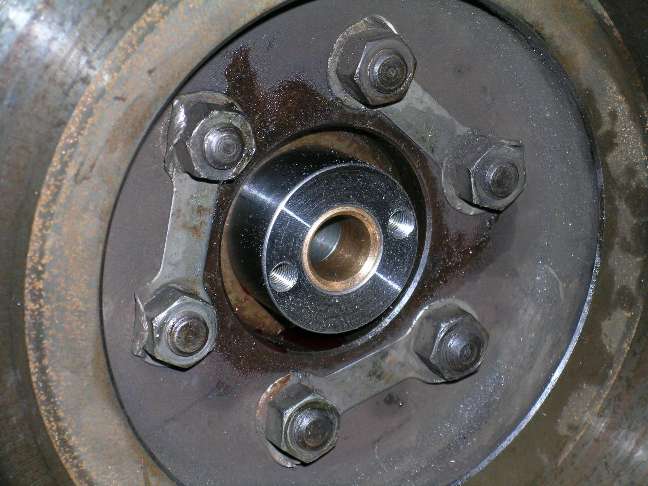
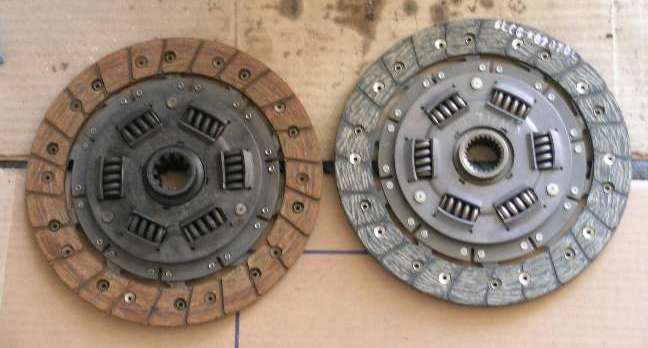
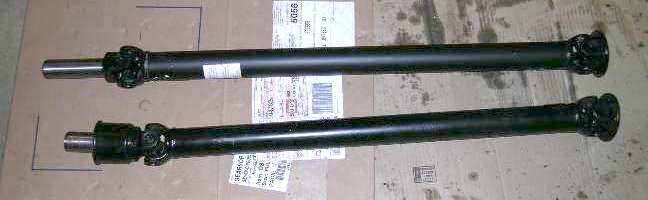
Clutch discs, 10-spline left, 23-splines right - Propshafts, top=special, bottom=mid 1500 type.
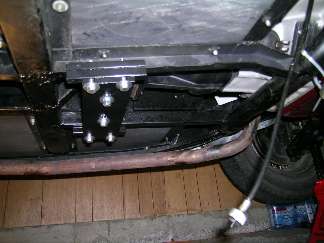

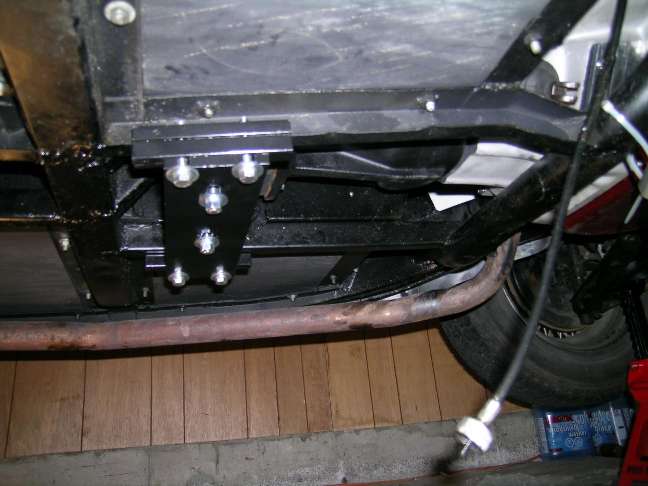
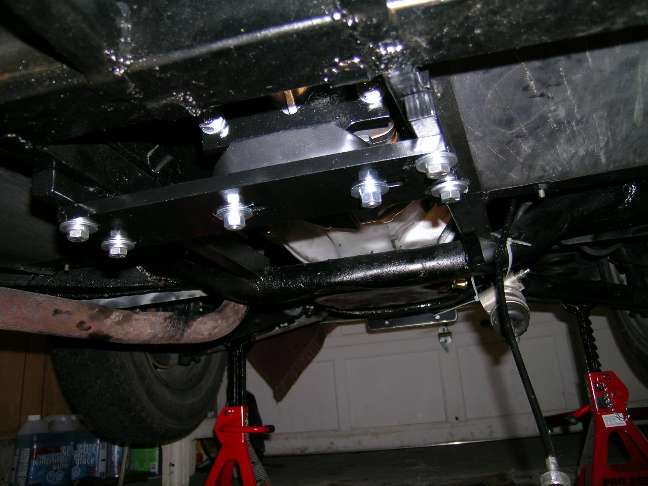
The bottom mounting plate is slotted out both ends for easy installation. Double clamp bars at the sides slip over the bottom flanges of the original frame rails and clamp the bottom plate securely in place when bolts are tightened. Bottom plate is also slotted in the two center holes for adjustment to center the new gearbox in the tunnel.
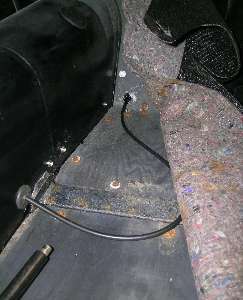
Speedometer drive cable is routed through side of tunnel using a rubber grommet, then curves around under the carpet padding to pass through the toe board near the tunnel.

As an alternative, rather than cutting a hole in the tunnel for the speedo cable, Hi-Gear Engineering can supply a right angle speedo drive adapter for the Ford T9 gearbox (above left). The original MGA speedo cable screws onto the adapter output drive, and the whole assembly attaches to the sierra gearbox using a snap ring. It is a 1:1 drive so it doesn't affect the speedometer calibration (which still needs to be recalibrated for the new drive train). It is recommended to attach the cable to the side of the gearbox just forward of the right angle adapter, because the adapter is free to rotate in the snap ring mounting (above right).
|
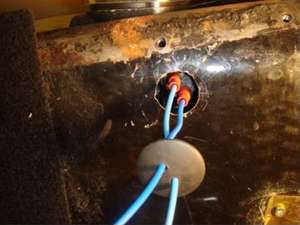
Addendum, September 2009:
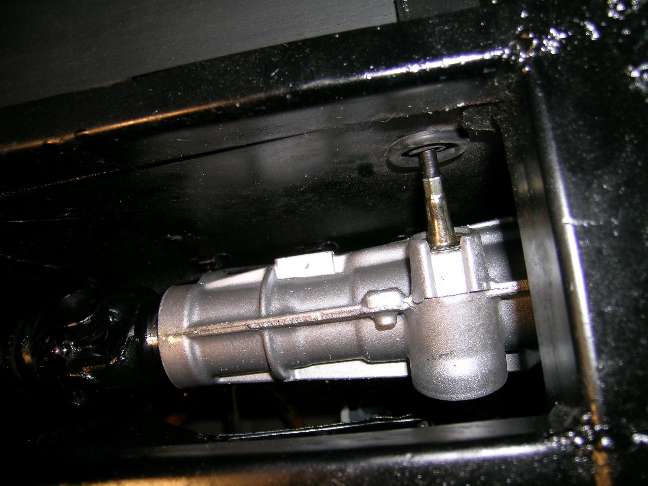
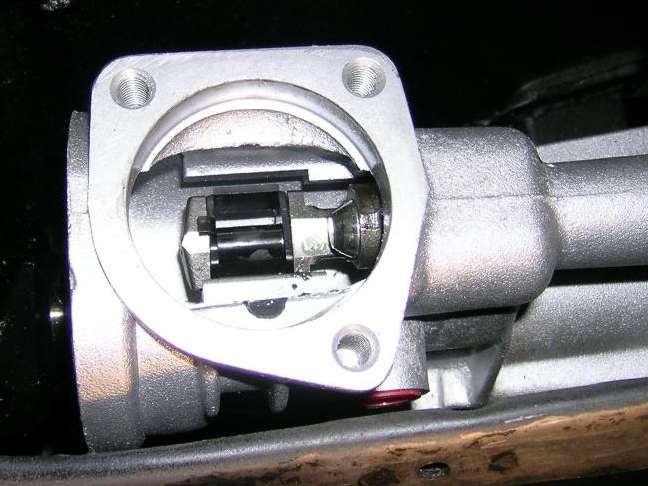
While you're looking at that photo at upper left, notice the reversing light switch with the two connector pins. This is rather inaccessible with gearbox in the tunnel. Peter Tilbury in Surrey, BC, Canada solved this problem by putting a hole in the tunnel
 in line with the switch to have access to the connector in situ (see photo at right). Peter states:
 "This hole is 1-1/8-inches diameter. (If I did this again I would make it bigger, maybe 1-1/4-inches, and cut the hole slightly higher). It is in the right hand side of the tunnel, just forward of the gear lever. The location of the switch will vary slightly depending on the gearbox installation in the chassis. The location of the centre of this hole/switch is 1-1/4 from the gear lever tunnel cover screw to the rear and above the hole, and 2-7/8 from the gear lever tunnel cover screw ahead of it". "This hole is 1-1/8-inches diameter. (If I did this again I would make it bigger, maybe 1-1/4-inches, and cut the hole slightly higher). It is in the right hand side of the tunnel, just forward of the gear lever. The location of the switch will vary slightly depending on the gearbox installation in the chassis. The location of the centre of this hole/switch is 1-1/4 from the gear lever tunnel cover screw to the rear and above the hole, and 2-7/8 from the gear lever tunnel cover screw ahead of it".
|
Addendum, April 2010:
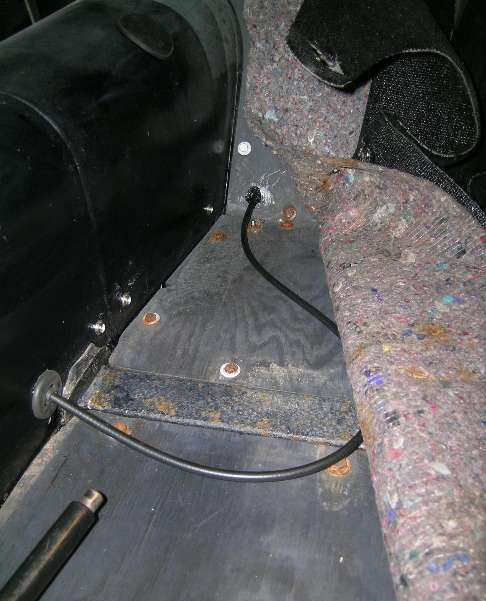
These photos are from Steve Gyles in Kirkham, Lancashire, UK, showing his solution for making connections to the reverse light switch.
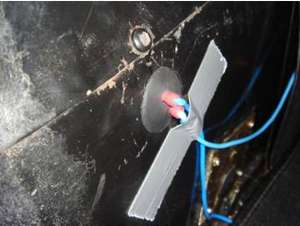
"When I fitted my box, I did not contemplate the use of the switch. Accordingly, I made no allowance for the switch terminals when aligning the box. You will see from the attached photo that to get either bullet connectors or the original plug in place I had to cut an access hole in the tunnel. The bullets protrude slightly into the cockpit, but by the time the underlay and carpet are fitted, it is barely noticeable".
|
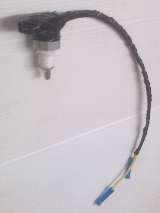
Addendum, April 2010:
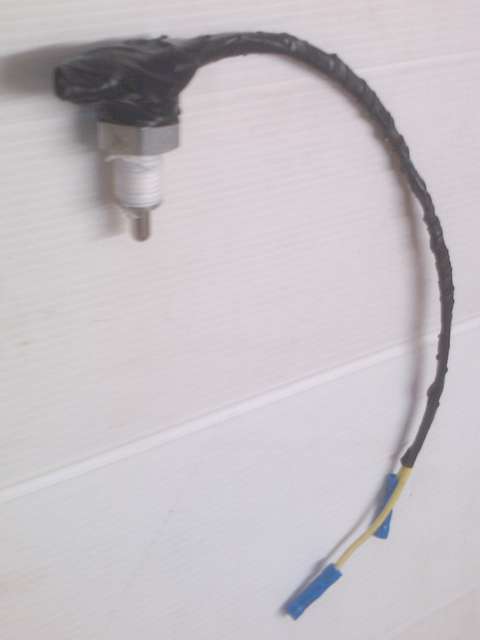
When I first saw the pictures above, my first impression was, there must be a way to make a low profile side exit connector. If no other way, then just solder wires onto the switch terminals.
Sure enough, on 07 April 2010, Neil Ferguson in Victoria, Australia, wrote:
"I attached the wires with tails and made right angle connectors and soldered them on
... then shrink shrouds, then tape to give this elegant assembly. Hopefully it will fit without cutting the tunnel.
|
|
|
|
Addendum, February 24, 2022:
Stephen Pummill wrote:
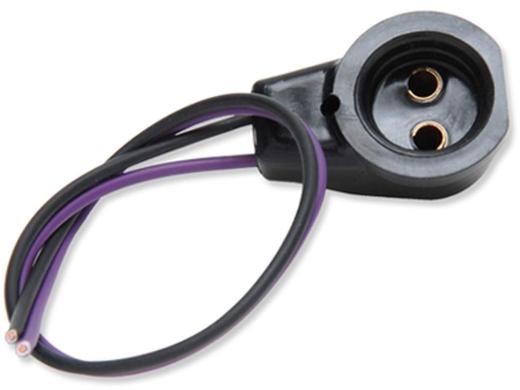
"After doing some research I found that the right angle connector for the Ford T5 will work with the T9 reverse switch. It's available from Ron Francis. JEGS also sells it".
https://www.ronfrancis.com/category/s?keyword=ford+t5
|
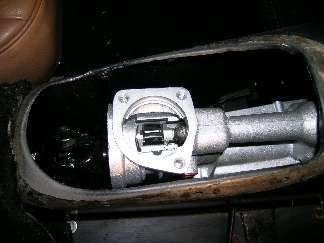
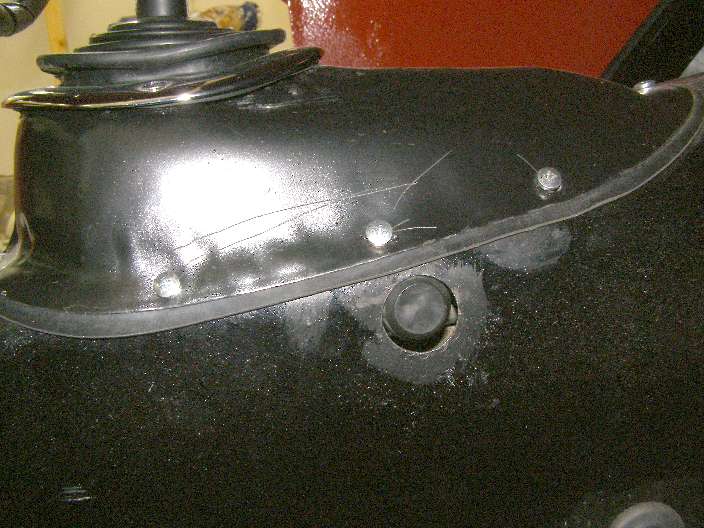
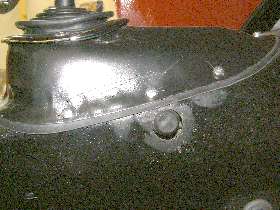
At left, tail of gearbox view from top before shifter installation.
At right, Standard shifter with clear base top, Quick shifter with black base bottom.
View of shifters from bottom.
Standard shifter, clear base left - Quick shifter, black base, right.
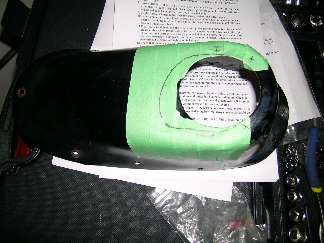

Modification to tunnel cover, required for standard shifter, not required for quick shifter.
Tape and trace out cutting pattern (above left). Cut to enlarge hole (above). Install boot with five sheet metal screws and finishing washers, (left). [That looks like a pretty big hole left to pass noise, dirt, water, and maybe oil under the carpet].
There have also been reports of the MGA rubber gaiter interfering and dragging on the shift lever to cause it to pop out of gear occasionally. Peter Gamble of High Gear Engineering recommends fitting the gaiter from a late model MGB (4-synchro gearbox) screwed to the top of the tunnel cover. That works perfectly and the part that shows looks the same.
|