The MGA With An Attitude
Body Sill Replacement - RT-622
Old is New - Time to Remove the Body
These pictures are just for fun. You can click to alternate between the two larger photos for comparison to see how far the project has come in a relatively short time. All of the inner body sheet metal replacement is finished on both sides, and it is time for more disassembly. (10 Mar 08)

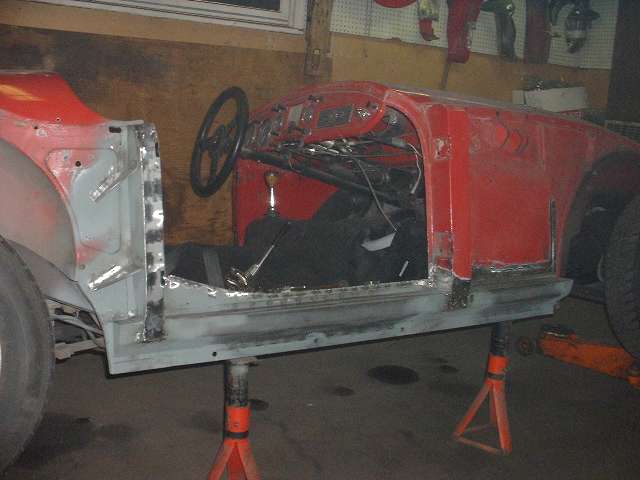
AND WE HAVE LIFT-OFF ???
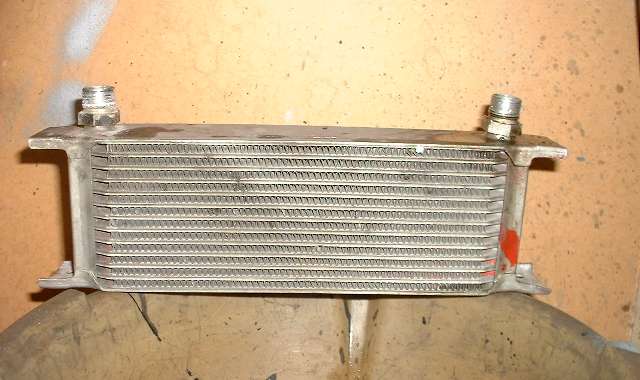
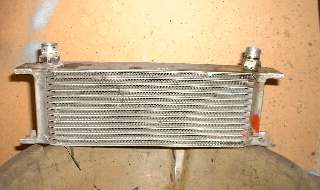
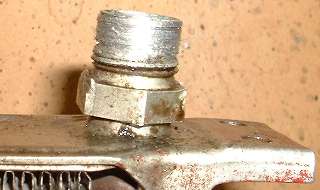
Here came one of the challenges I was NOT looking forward to, disconnecting the oil cooler. I knew from past experience that the female threaded steel hose nuts can freeze onto the male threaded aluminum connectors on the oil cooler due to long term galvanic corrosion with the dissimilar metals, and this one hadn't been disassembled since it was installed 19 years earlier. I was fully prepared to cut the hoses and toss the lot in the trash if necessary. Sure enough, these fittings were extremely tight requiring vigorous wrenching all the way off. You absolutely MUST use the proper wrench size on the oil cooler alloy fittings, 23mm in this case, and even then I nearly took the corners off the alloy hex fitting on one side and almost crushed one of the hose nuts. I'm sure it helped that I left the unit bolted to the air pan while I was wrenching, and of course the grill was out so I could work from the front. End result was one totally screwed up male thread on the oil cooler, all chewed up making the unit good for the trash. The hose nut didn't fare much better, but I already have a new set of four hoses on hand to go with a thermostatic bypass valve for winter driving. Such is life, put one new oil cooler on the shopping list. I could have saved some time if I had just cut the hoses.
Remove steering column, heater, master cylinder and pedals, wiper motor, and everything else on the heater shelf and bulkhead. Disconnect temperature sender bulb and oil pressure sender tube, fish the bits through the bulkhead, remove the safety gauge from dash, carefully coil the capillary tube, and store it away safely. Remove heater controls, dash lower braces, speedo and tach drive cables, and disconnect choke cable. Remove three screws securing dash to body, tip the dash forward, disconnect main harness wires from dash (leaving the dash harness in place), and store dash assembly safely away. Push/pull main harness through bulkhead into engine bay. Disconnect dipper switch and pull harness, disconnect the bundle of snap connectors near starter switch, push/pull front harness from the body nose back into engine bay, disconnect from coil, distributor, generator, roll up the main and front harness and bag it. Also remove air cleaners and starter switch that may be in the way of lifting the body.
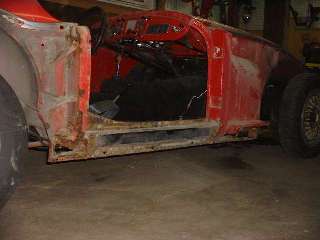
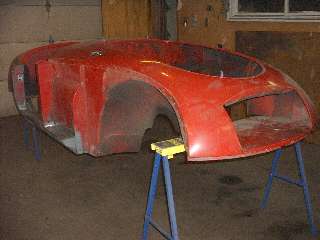
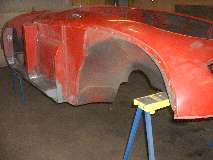
Then there was the nasty chore of ripping glued on carpet off of the side rails and up the angle of the goalpost on both sides, but that's just grunt work and good to have it done. I couldn't believe the three #10 screws on each side came out easily after more than 20 years in place. Into the boot to remove the spare tire cover, then chisel off and rip out more carpet just to get to the body mount bolts in the boot floor. Ah, is that light showing at the end of the tunnel? Remove body to frame bolts starting with four in the front corners, a few left in the heater shelf, four bolts down both sides outside of the footwell area, two inside near the A-posts, two underneath just aft of the B-posts, two in the boot floor, and four in the rear corners (finally broke one of those). Yank up the rear and the front, and sure enough it's all loose. Go get the 18 year old son to assist, and in about 15 seconds we pull the body off and set it on a pair of saw horses.

Nothing special here, maybe 5 or 6 hours of disassembly time so I can clean and paint underneath, and especially the inboard side of the new sills. After all the time people spend replacing sheet metal in body sills, I don't know why anyone would neglect to do this, but apparently lots do (or don't do it).
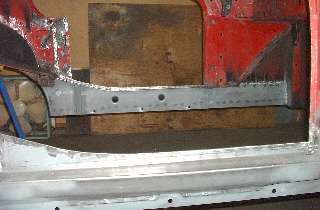
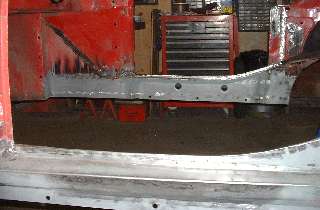
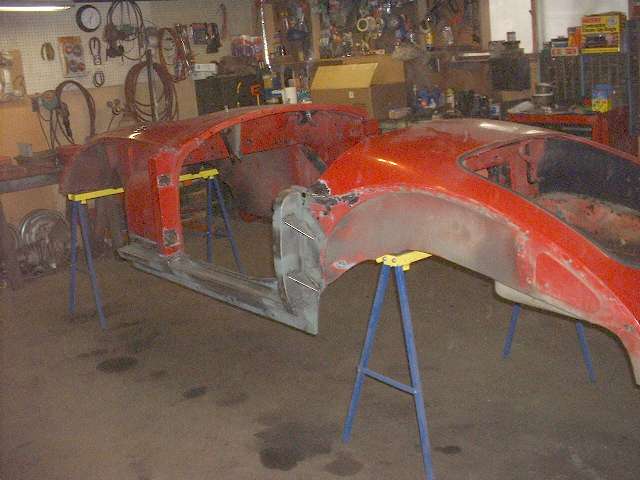
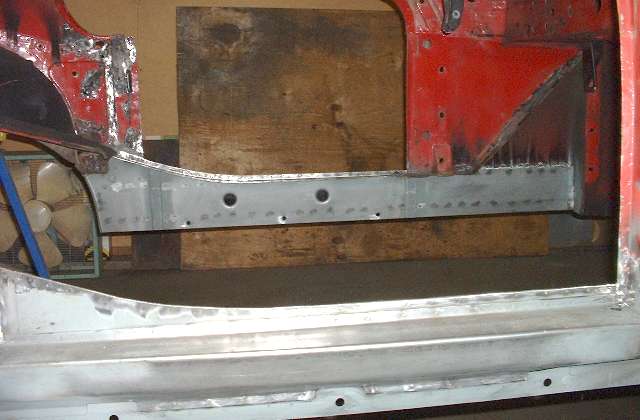
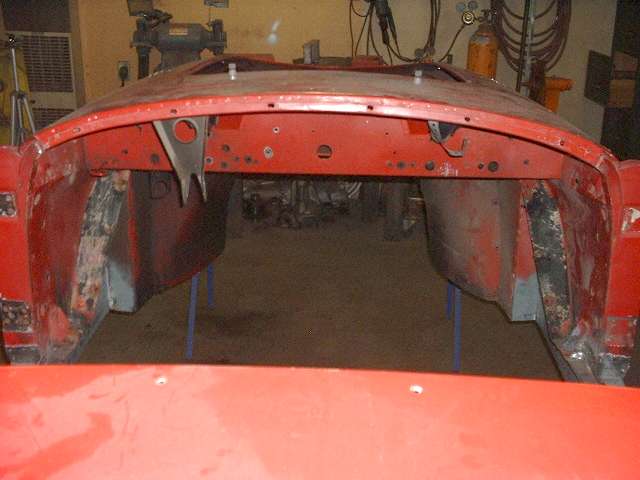
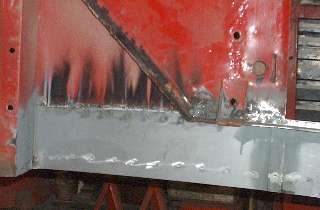
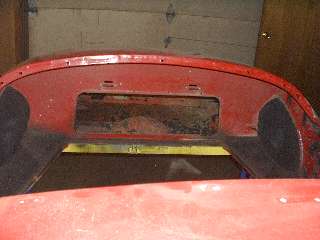
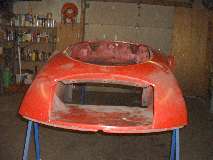
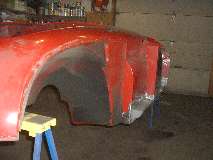
Most people won't see this more than once in a life time for any given car, for some never. This is the second time for me on this car, but only the first time after inner sheet metal replacement (and hopefully the last time). It is the flip side of what we have been looking at for the a last few pages, the hidden side of the virgin welds before cleanup. To make an impression on those who choose not to remove the body, this is what you end up with, burnt paint and bare metal on the inboard side, and if you don't remove the body from the chassis, this stuff WILL go rusty again in due time (even when parked in a garage).
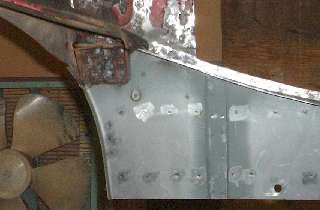

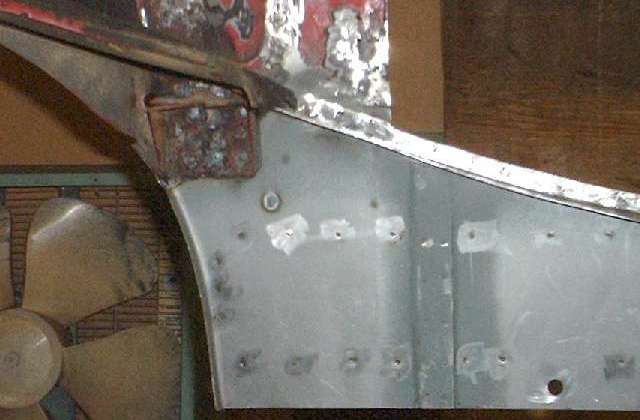
Finally a first hand view of the rear body mounts. These will get more attention later, specifically sand blasting, close inspection, possibly some weld touch up, and perhaps some attempt at sealing the vertical panel joint to prevent it front rusting in between (again). I also know that one of these has a stripped thread and needs a Helicoil, and I still need to weld the tail connector on the sill plate for the left side.
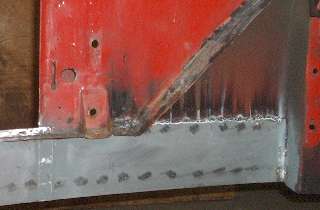
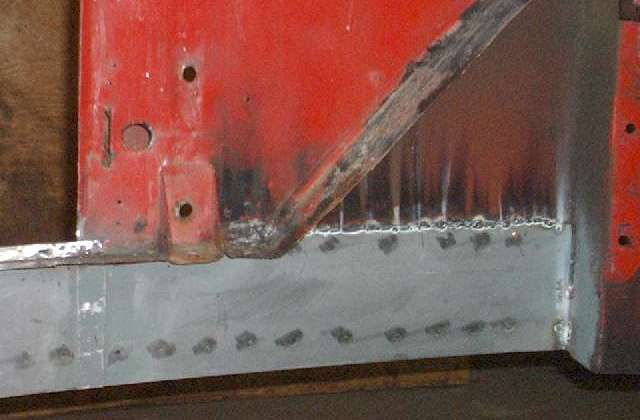
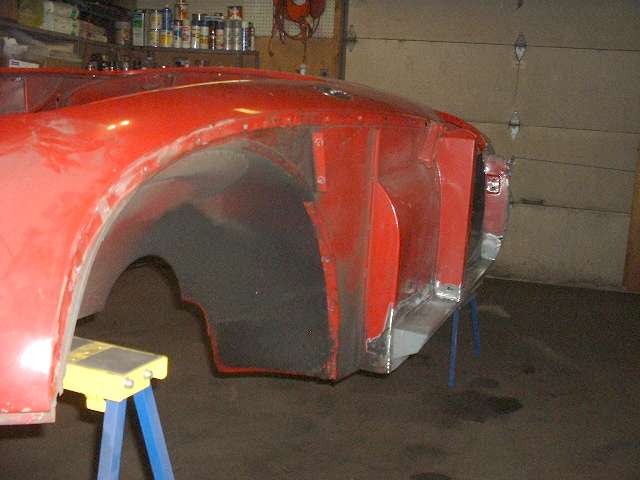
One of these sides is not like the other. Guess which was done last after practice on the other side. Nothing a little grinding won't fix. Pat self on back for learning how to MIG weld.
Reminder to self: Do up those triple layer spot welds in the front and install the lower front corner gussets before you forget. Gusset goes flat side up with top 2-1/4-inches from bottom of sill. Left side gusset is mirror image of the right side. (11 Mar 08)
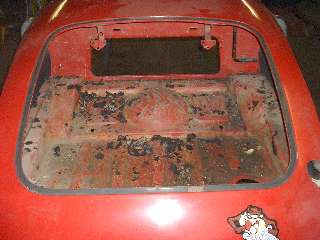
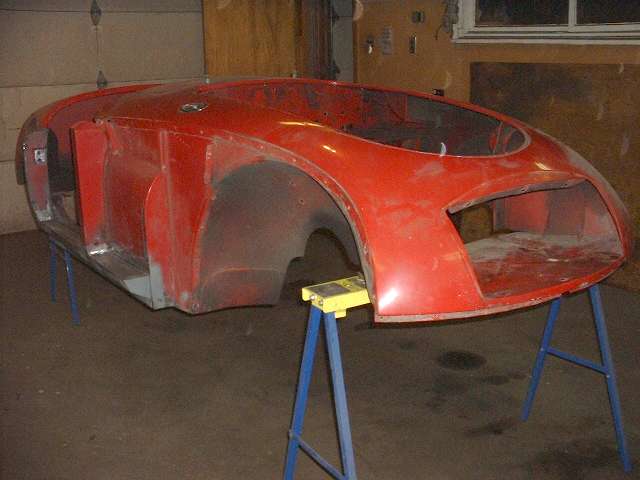
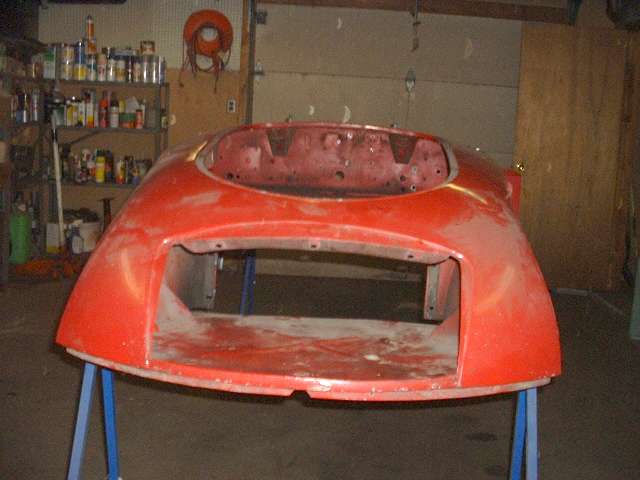
Obviously more carpet scraping and lots of cleaning to do here. Note to self: "Put a new Taz decal on the shopping list". Don't you like that there is no rust in the boot floor or on the heater shelf? Just a few more bits and brackets to remove before cleaning.

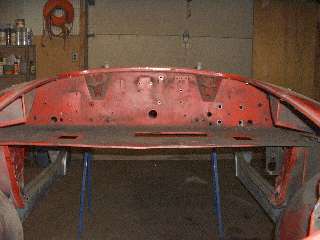
With this last row of pictures you should understand why I have been telling everyone this is not a full restoration, just inner sill replacement and a repaint. Thirty years ago I started the restoration before it was very rusty, stripping it down to bare metal and doing a full double sided paint job. Ten years ago it got an outer body respray only, including the wheel wells and outboard sides here. The current condition of everything above the sills should convince people of the benefit of doing the full body off cleaning and repaint. This car is now 50 years old, and it looks this good with 214,000 miles in 21 years of driving all year round since the last restoration. You may understand now why I have honest expectations that it will last another 50 years ON THE ROAD. Now if I could just live to 108 to see it then, .... (12 Mar 08)
|