The MGA With An Attitude
Body Sill Replacement - RT-635
Roll Out and Drive
Friday, the last day before travel (by now you're not surprised, right?). First business was a trip to buy rubber grommets for the oil hoses (as Moss doesn't seem to list them separate from a the oil cooler kit). I couldn't find 3/4" grommets at Ace Hardware, so I bought several 5/8" grommets and had some fun with the X-Acto knife. I made one radial cut a 5/8" grommet and slipped that over the 3/4" hose. I then took a guess at how much more I could stuff into the 1-1/16" diameter bulkhead hole and cut a slightly oversize wedge from another grommet to fill the gap. Turns out it works a treat if you install the little patch piece first, followed by the main ring.
With the oil cooler hoses finally hooked up I cranked the engine with spark plugs out until it had oil pressure. Normally a freshly assembled engine needs about 40 seconds to prime and raise oil pressure. This one took 60 seconds, which is not surprising since the oil cooler and hoses were full of air. It only made 30 psi cranking, which I thought was a little odd, until I found a puddle of oil on the floor under the loose oil signal flex hose connector. Oops. Tighten the connector, mop up oil from floor, and try the cranking test again, this time getting 50 psi at cranking speed.
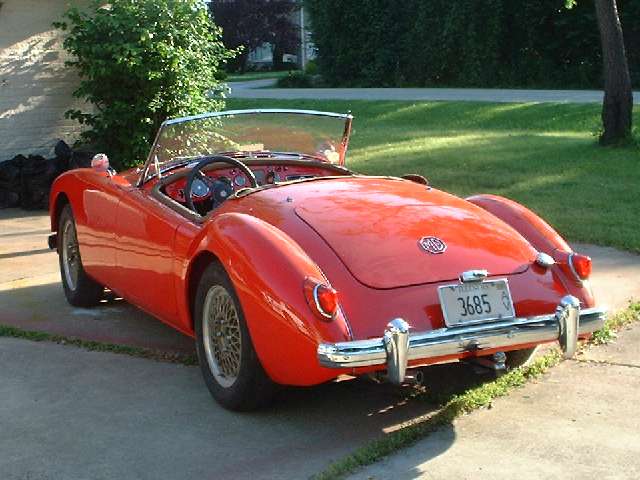
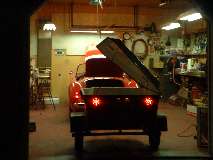
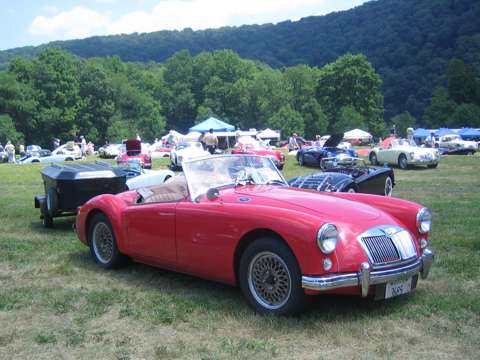
I installed the carburetors with new K&N air filters in the original Volkes housings (with original screens). Then the alternator and radiator (with overflow bottle), coolant, the long 4" air hose for heater intake, bled the hydraulics, put a little fuel in the tank, and gave it a crank for real. Vroom, vroom, right off, so back it out of the garage and take some pictures while the daylight holds. Had a little chat with a neighbor couple (man are they fast on their feet).
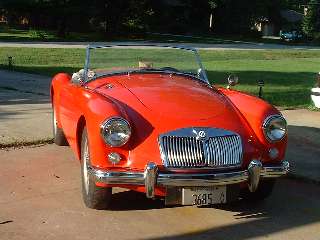

Now anxious to begin terrorizing the neighborhood (after 7 month layover). Off to the gas station to fill up, putting 12.5 gallons in the 12 gallon tank that used to only hold 12.2 if it was dry (remember the bulges from the air pressure treatment). Major OOPS! What's that puddle under the fuel tank? Dribble, dribble, dribble. Dang! Now how to save $50 worth of gas before it's lost? Back home, disconnect fuel hose between heater shelf and carburetors, connect clear tubing, drop into large fuel can, and switch on to allow fuel pump to discharge fuel from tank into the can. At 3 pints per minute (nice little fuel pump), it only took a half hour to empty the tank, and I don't think it lost more than a couple quarts on the driveway. Several gallons went into my "other" car while the rest fit in two fuel cans.
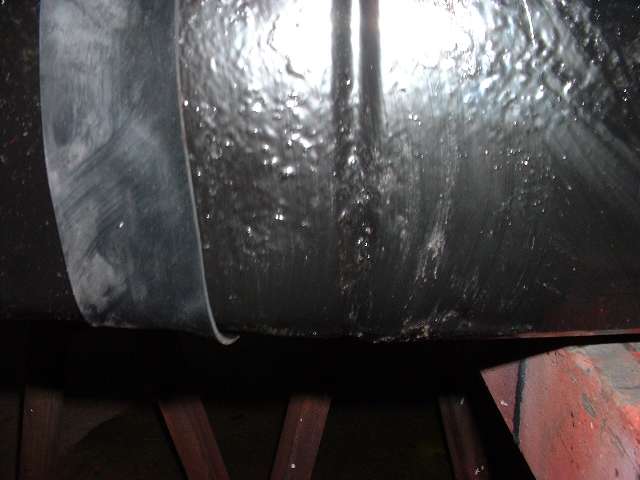
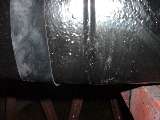
Twenty minutes later the fuel tank was out for inspection, and the leak point was immediately obvious. There was a bit of rust and a (big) pin hole half way up the front side within one of the depressed grooves (next to an internal baffle). This area is normally covered by the rubber packing bands, so I suppose the rust is a result of dirt and moisture being trapped within the rubber packing. I thought my original 50 year old fuel tank might last another 50 years, so I had buffed it clean to paint it (again). Should have left well enough alone, maybe, as the leak point was in one of the areas where I remember removing more dirt and noticeable rust.
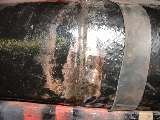
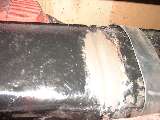
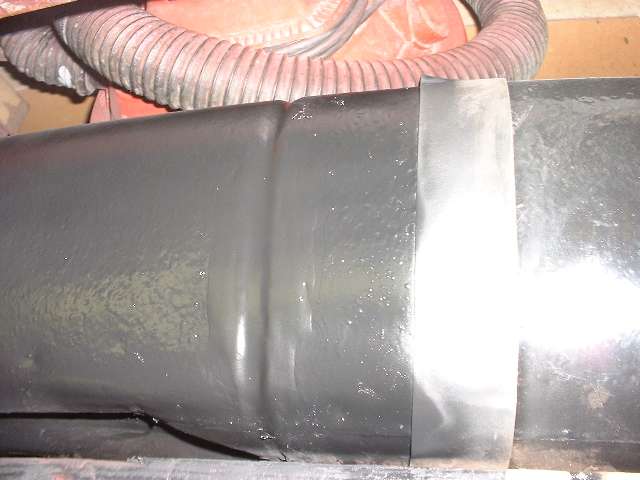
I am rather fond of this 364,000 mile fuel tank, as I had punched a little hole in it on a logging road in Oregon in 1989 and had it easily repaired. I had just blown out a dent in the bottom, cleaned and repainted it, and now RUST?. It has given impeccable service with no rust or dirt inside. There was just a local rust spot on a tank that is otherwise in very good condition, so it turned out to be easy to fix. I buffed off the paint using a Scotch-Brite wheel in the 2-inch air sander, then washed it with lacquer thinner to be very clean. I then mixed up a glob of JB Quick Weld and "troweled" it on to cover the entire area of the rust pitting. My next trick is to spit on it and smooth it out with a finger like clay sculpturing, blending the JB Weld epoxy into the groove and surrounding area.
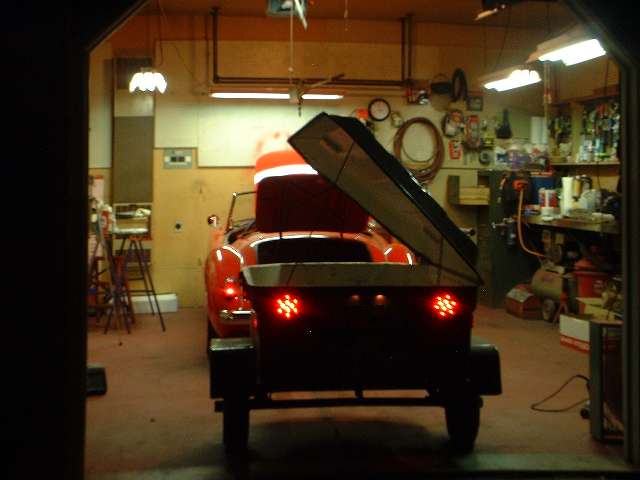
 Since I am now definitely out of time, I skip the 24 hour Chassis Saver repaint and opt for a spray can of quick dry general purpose primer, followed by a spray coat of Duplicolor Acrylic Enamel (quick dry type). The tank will be back on car before midnight (while I should be installing the new LED tail lights on the trailer). Yes this is how the work expands to fill the time allowed. Looks like the first trip out of the neighborhood will be on the expressway to Pennsylvania. See you in Seven Springs Sunday morning. - (11 July 08)
NAMGAR GT-33 - Silver Springs, PA - July 16, 2008
|