The MGA With An Attitude
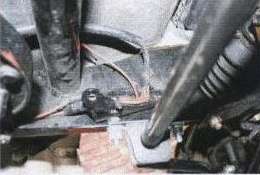
The next step will be temporary removal of the horn bracket bolt from the frame extension as the sway bar bracket bolt is to be fixed from above.
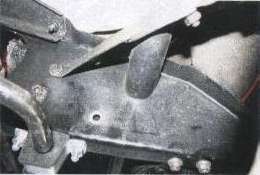
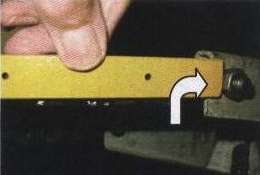
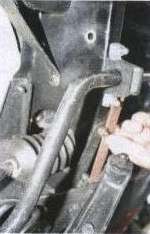
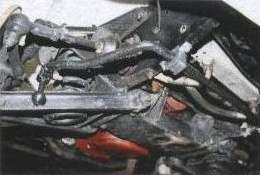
With the template provided mark out the position of the "U" bracket and drill a 1/8" pilot hole. Hold the template hard up against the cross member to extension rail bolt as shown in (Fig.10) Then drill a 5/16" hole. It is helpful to clamp the upper bracket to the rail as a check template as shown. (Fig.11) Drill a 2nd 5/16" hole and repeat on teh opposite side.
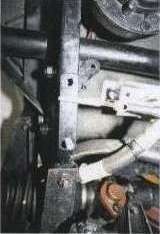
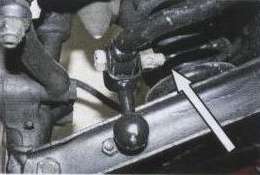
Fit up sway bar by first loosely fitting the links to the lower control arms and then the "U" brackets to the extension rails with the the top plate under the bolt heads. (Note: Links are L&R hand and retaining bolts for the link to sway bar should face in as show) (Fig.15) Then tighten all. Refit bolts to horn bracket. |