The MGA With An Attitude
CARBURETOR FLEX MOUNTS, Solution 3 installation - TC-301C1
As a follow-up to the prior article, I finally had a chance to install these parts on a Twin Cam with original SU carburetors.
Wednesday, March 29, 2017:
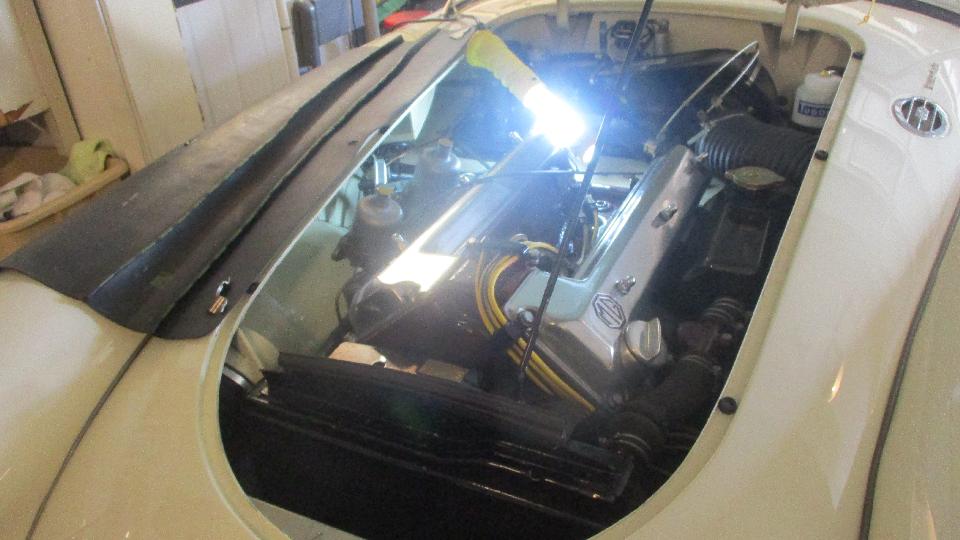
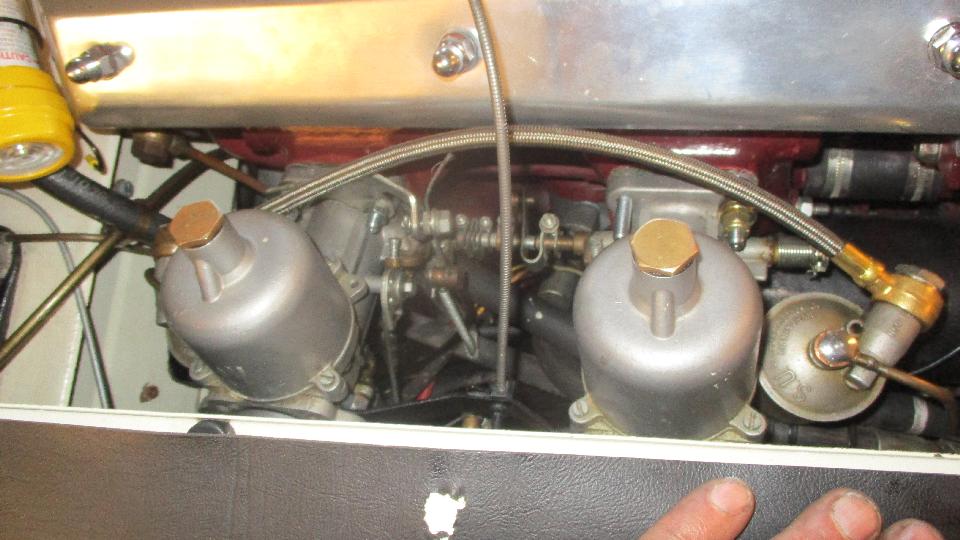
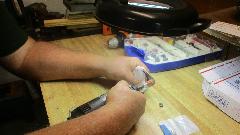
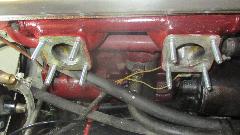
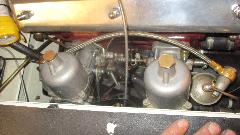
 Hey, it's a play day, so I get to tinker again. We have an appointment with Phil Marcell in Plano, Texas. Phil has a very nice MGA Twin Cam that had a few carburetor and tune-up problems which he was not prepared to tackle himself (like don't try this at home). First up was the process of soft mounting the dual SU carburetors. With some advance planning most of the required parts were on hand, and Phil had removed the air cleaners, keeping everything else together for inspection and photos before disassembly.
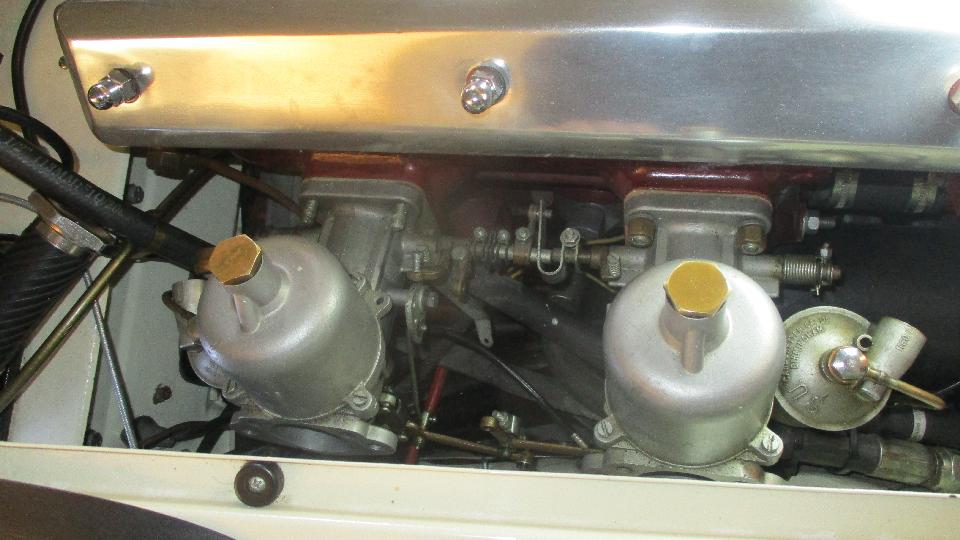
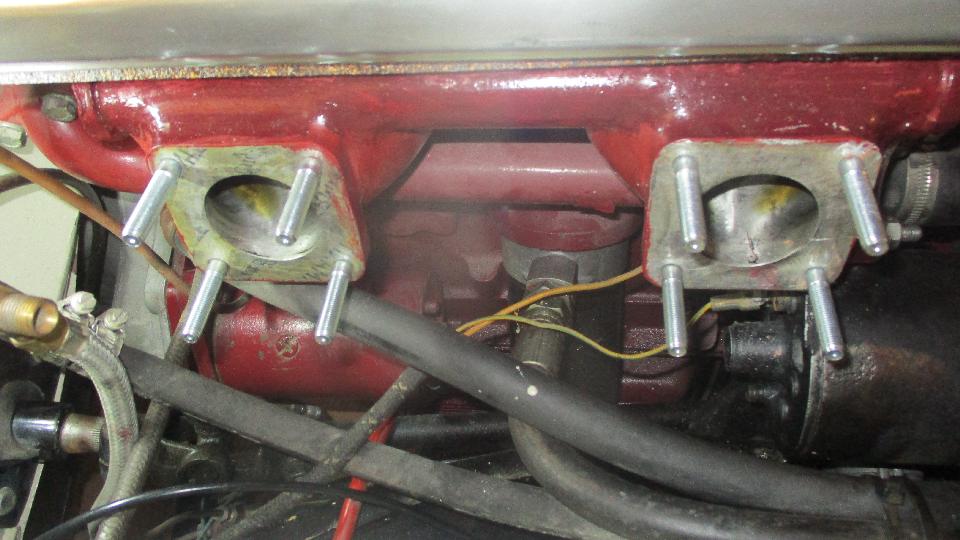
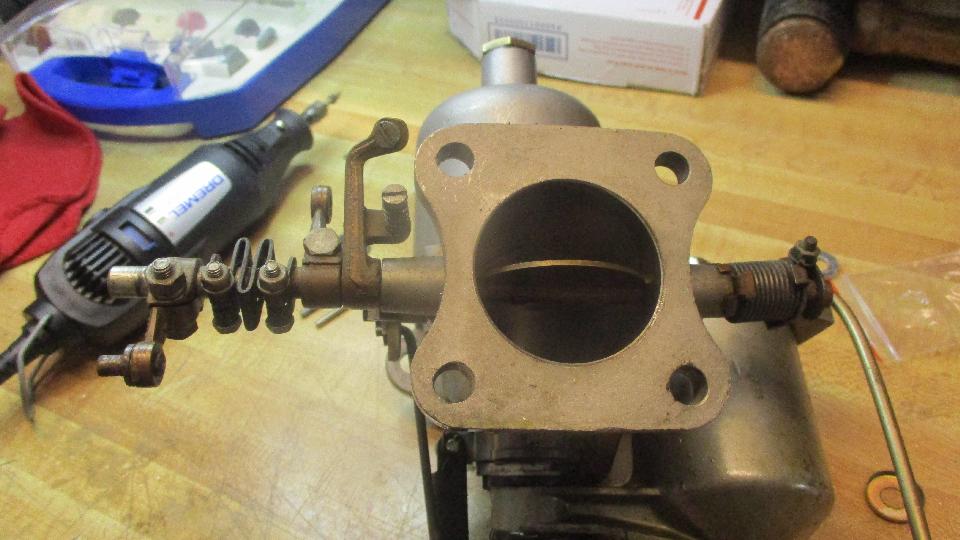
Disconnect choke cable, throttle cable, and fuel hoses, making note of where springs and brackets are placed. Then elongate the holes in the soft mount plates to span the diagonal studs on the SU H6 carburetors.
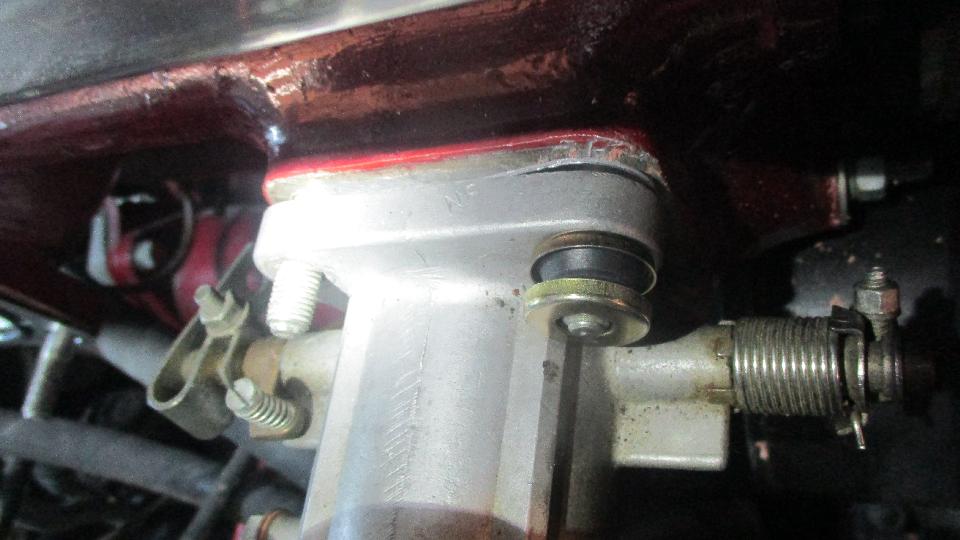
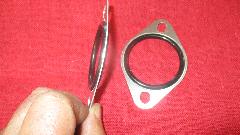
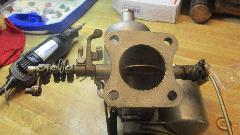
These were the soft mount plates of choice, because the single plate has a half-O-ring molded on each side of the plate. This looks almost like a single O-ring in that it is as thin as you can get without machining grooves in the manifold or throttle bodies. They looked very nice when installed, until we ran into the next problem. The original carb mounting studs were too short to accept the new soft mount fasteners. Oops. And the supplier sent enough parts to work with one Weber dual side draft carb, but here we have eight studs, not four. Quick call to the supplier to send more fasteners. Meanwhile we will get the carbs installed with fasteners on only two studs for each carburetor.
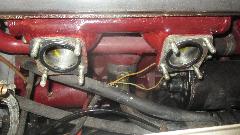
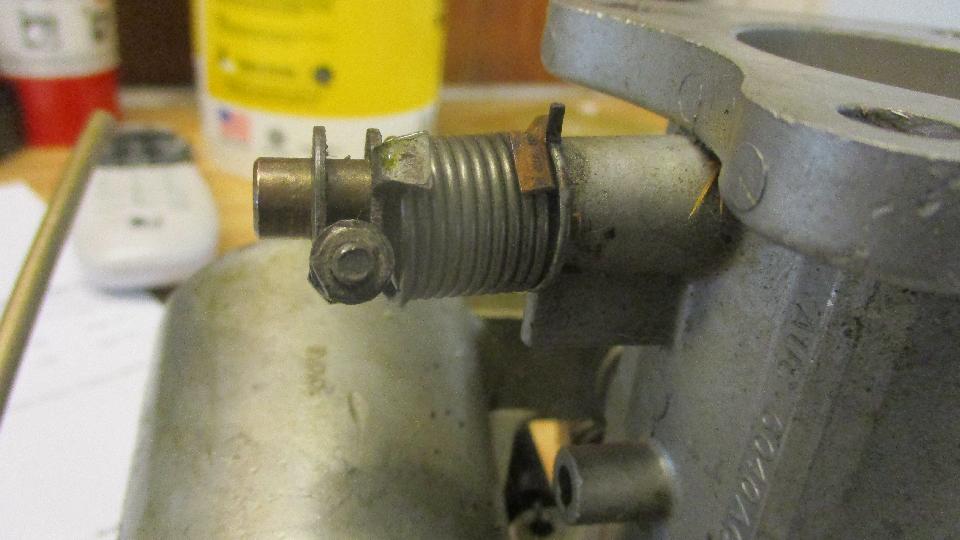
The short studs were not such a big problem. While I was removing the old studs Phil was off to a local auto parts store to buy longer studs, 2-inches long. Next problem found was the wind up torsion springs for throttle return on each of the carburetors. They are supposed to be right and left handed parts with opposite wind up direction. These are both right handed, or for the front carburetor, so the one in back was trying to hold the throttle open instead of closed. After lots of searching we could not find another spring handy, so I did my best to make the wrong spring work by winding it in the opposite direction intended while modifying stops on the clamp washers to retain the spring ends.
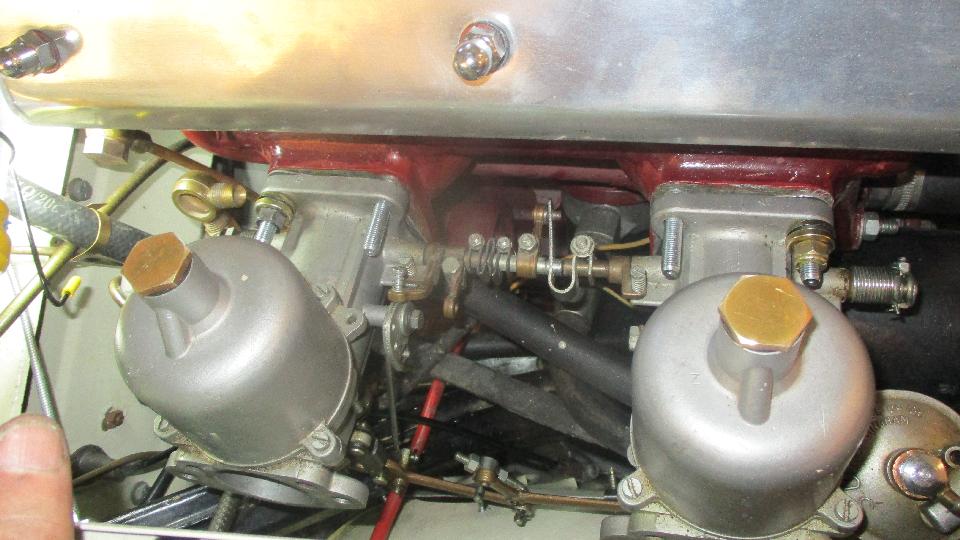
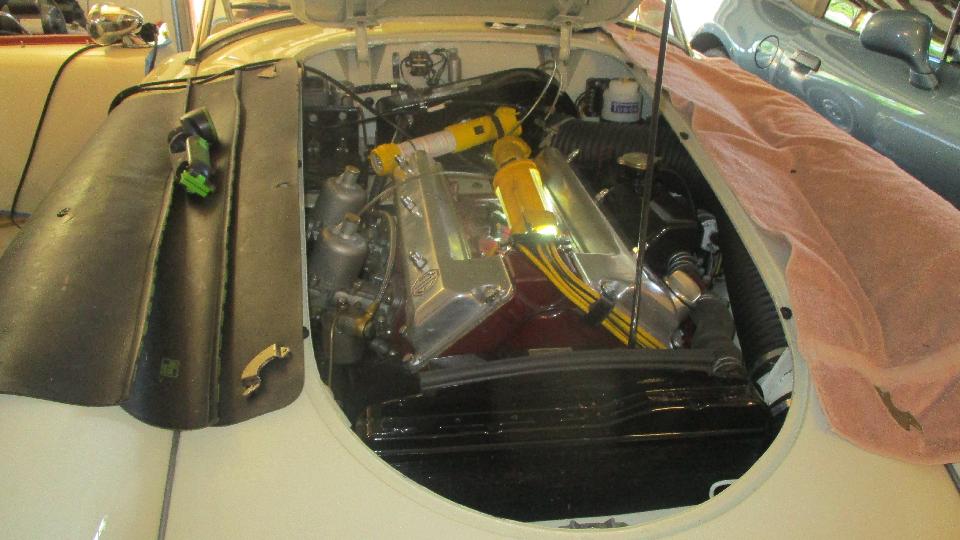
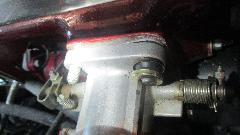
Getting close. Carbs back on the car, cables and springs and hoses installed, oil in the dashpots, and two turns down on each of the mixture nuts. Time to see if it runs. Switch on, ticky-ticky, fuel pressure up and no leaks.

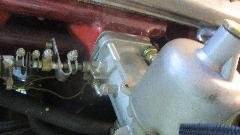
Lots of choke, a little throttle, pull the button, and it fired right up, although running pretty rough. Rear carb was very lean, front one just a little lean, easily adjusted, but still idling rather rough. Time for ignition timing check, break out the timing light, disconnect the vacuum line (yes, this Twin Cam still has the original vacuum advance distributor). First check revealed 30dBTDC at idle, 65dBTDC at road speed. Yikes! Pull the heater air intake hose out of the way, then jack up, remove LF tire and inner fender access panel.
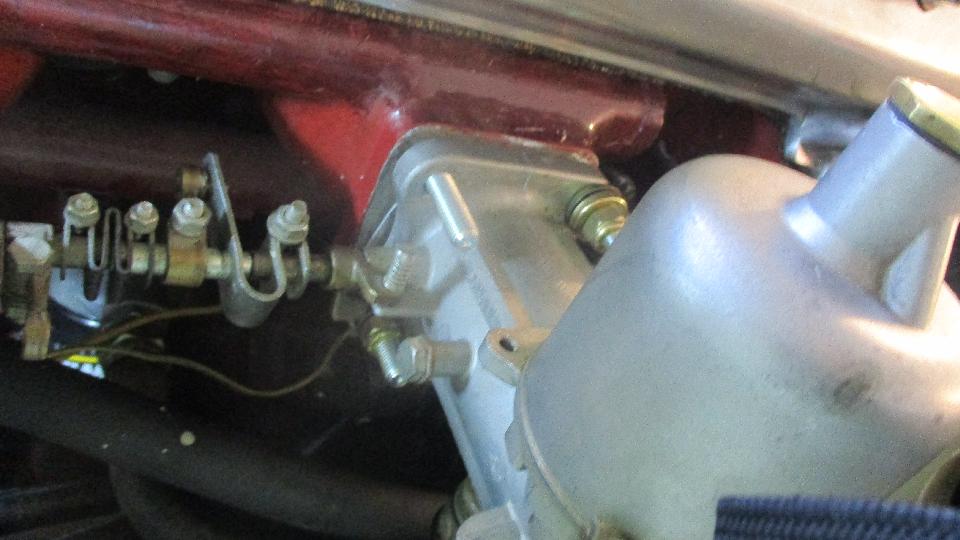
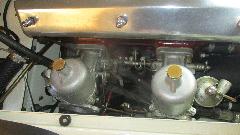
 Loosen distributor base clamp so it can rotate, and give it a little push. Back under the front with the timing light, and repeat the timing check. After 4 or 5 iterations of this exercise we had 31dBTDC at road speed, and 5dBTDC at idle. Reinstall the vacuum pipe, and check timing again. This time it gets up to 51dBTDC at road speed (and light throttle), a clean 20 degrees of vacuum advance. That should get better gas mileage on road touring, as long as no one gets paranoid about the vacuum advance being present. Lock it all down and get back to fine tuning the carburetors. It is sweet running machine. And best of all, the original air cleaners still fit without touching the inner fender.
|