The MGA With An Attitude
MGA Guru Is GOING MOBILE - (July 16 - July 31, 2020)
Thursday July 16, 2020:
First things first, yes I got my car insurance paid up in the morning. Had a quick snoop around the BBS and responded to a few tech questions, and then went back to sleep for was as left of the rest of the day.
Friday July 17, 2020:
Looking for delivery of some Moss parts. Apparently the larger part of a Moss order was delivered to Marc's place, so he can be making plans for more work on his car. The trialing small shipment from a three week old order, supposed to be delivered to my hotel, hasn't shown up yet.
 Now fully awake with time to spare, I spent way too much time doing some air flow and adiabatic expansion calculations to answer what seemed like a simple question, like, "How much trigger time do I get when I run this air tool"? Unfortunately the guy's tool was taking 9-CFM when the air tank was only 3-gallons (0.4-cubic feet), so the answer was, "not very damn long". This was followed by some time trying to convince him that his cheap compressor was way to small for the job he had in mind. Now fully awake with time to spare, I spent way too much time doing some air flow and adiabatic expansion calculations to answer what seemed like a simple question, like, "How much trigger time do I get when I run this air tool"? Unfortunately the guy's tool was taking 9-CFM when the air tank was only 3-gallons (0.4-cubic feet), so the answer was, "not very damn long". This was followed by some time trying to convince him that his cheap compressor was way to small for the job he had in mind.
Then I got diligently to work on my new factory part numbers index, to be kept cranking on this for a couple days.
Saturday July 18, 2020:
Having been up most of the night working when it was quiet in the hotel, I slept in 'till noonish before checking email and BBS, and then getting back to work. Then I seem to have kept cranking on the part number index right through the next night and half of the next day.
Sunday July 19, 2020:
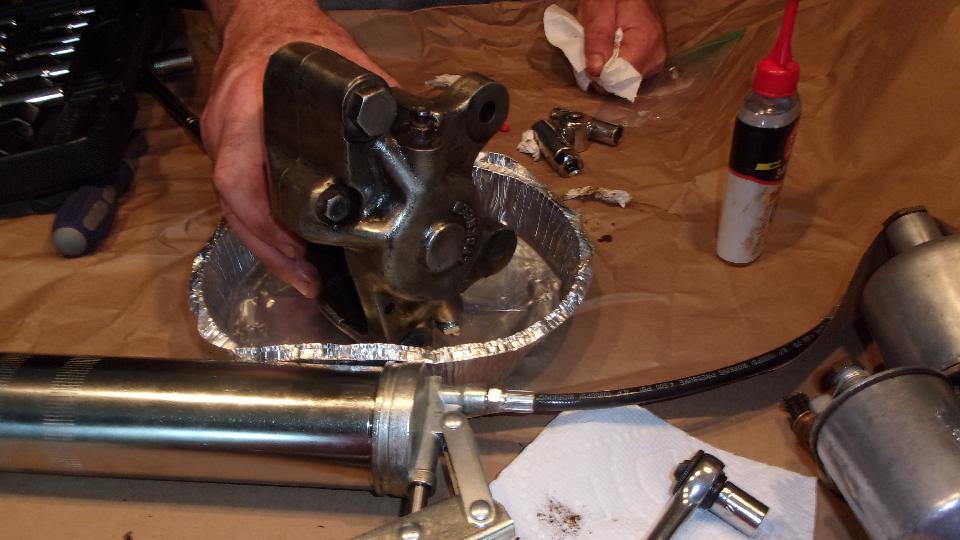
Yes I survived a night without sleep, still doing Part Numbers List grunt work in the morning. Then I was happy to get out of the room into daylight and fresh air by early afternoon, even though it was 90 degrees today. I got over to Marc's place to lend a hand with disassembling some brake calipers. They were old and in storage for a long time and stiff, and they would not come apart with air pressure, so we would use hydraulics. First move was to install my small bolt with Zerk fitting in the bottom port where the brake hose would normally connect. Then remove both bleed nipples and clean out the threads with a tap. Stand the caliper right side up, and squirt oil into one bleed port until it comes out the other top port. That expels all air from the cylinders, leaving only non-compressible oil inside. Then install and tighten the bleed nipples, connect the grease gun, and start pumping.
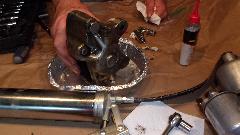

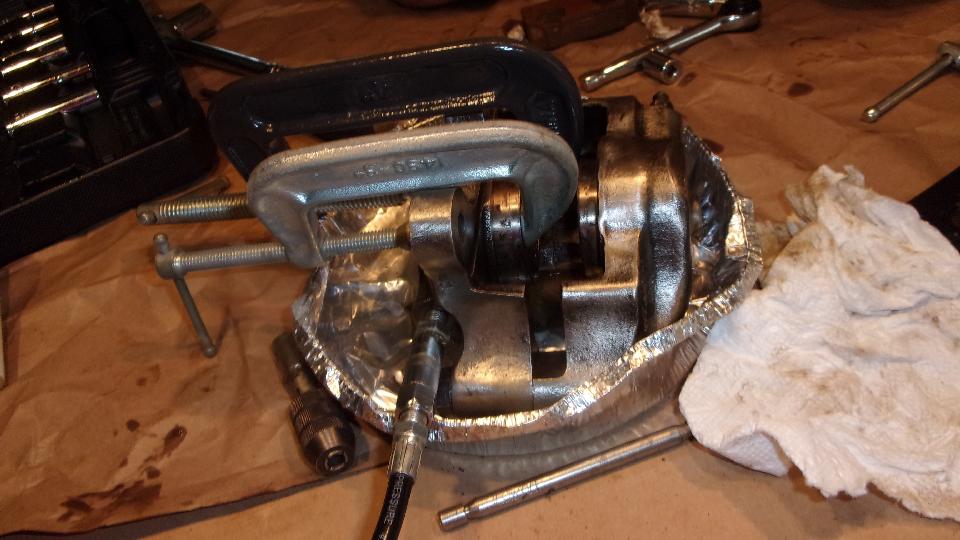
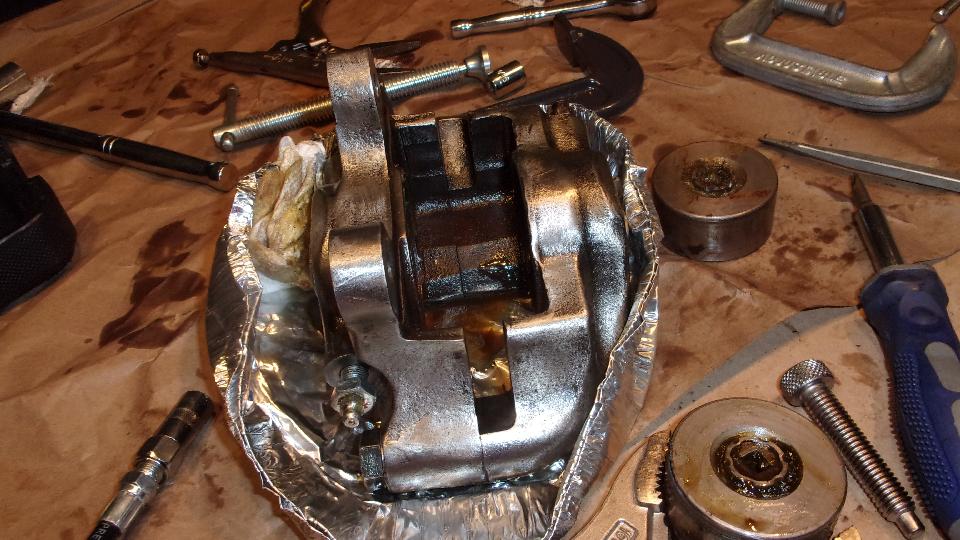
Once one of the pistons began to move, we installed a couple C-clamps to stop its progression, then continued pumping to get the other piston moving. when they were both about 2/3 extended we removed the C-clamps and continued pumping until one piston was completely out to be picked up with fingers. Then the PITA chore fighting the other piston with large pliers to pull it the rest of the way out of the bore, and yes we did ultimately succeed. It helps to have new pistons so you don't mind putting bite marks in the old ones.
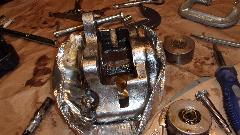
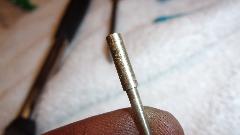
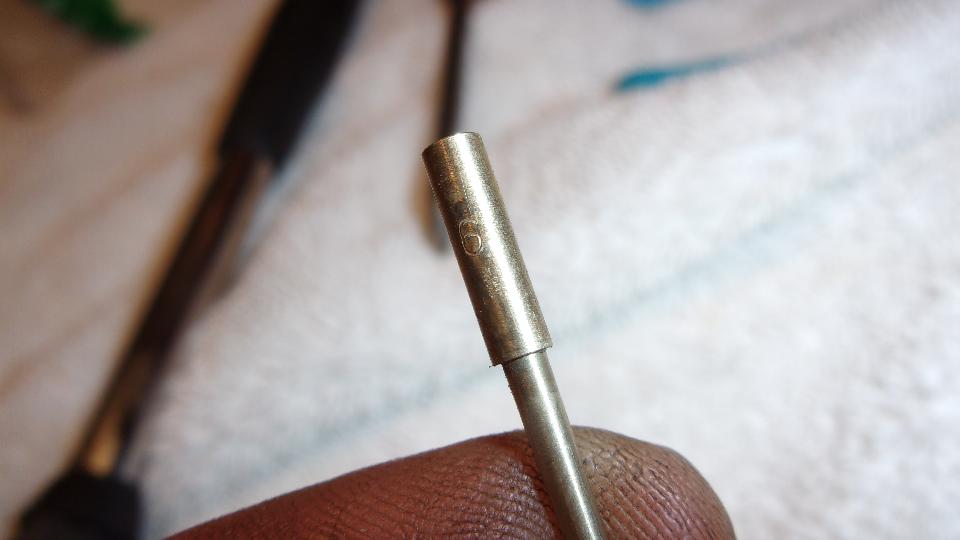
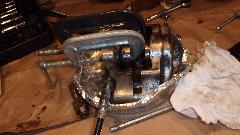
When the caliper was done we disassembled a pair of carburetors to see what parts might be needed to order for rebuilding them. When I can't read the small numbers on the needles, I take a close-up picture with the macro lens, and blow it up larger than life for viewing. In this case the 1500 style carburetors had the correct No. 6 needles for the 1600 engine they we found on, so someone had done the right thing in the past.
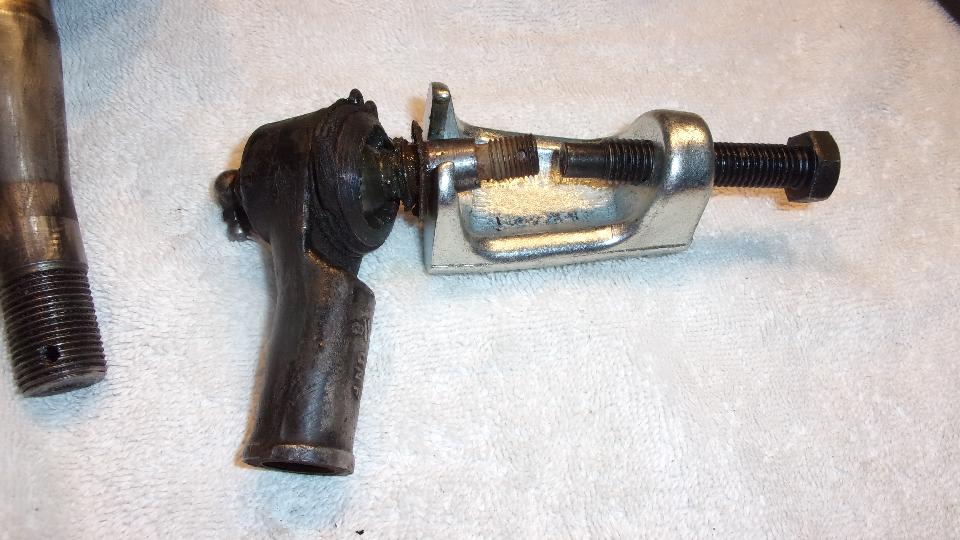
Last official chore for the day was to try out the new $13 tie rod end puller from Harbor Freight, which of course paid for itself on the first use. We were able to salvage an original style (high quality) tie rod end, only needing cleaning and a new rubber boot to be installed before re-greasing.
Monday-Tuesday July 20-21, 2020:
Bustin' tail on the Part Numbers Index, close to finished with first pass, but found some empty lines that need to be tracked down and completed.
Wednesday July 22, 2020:
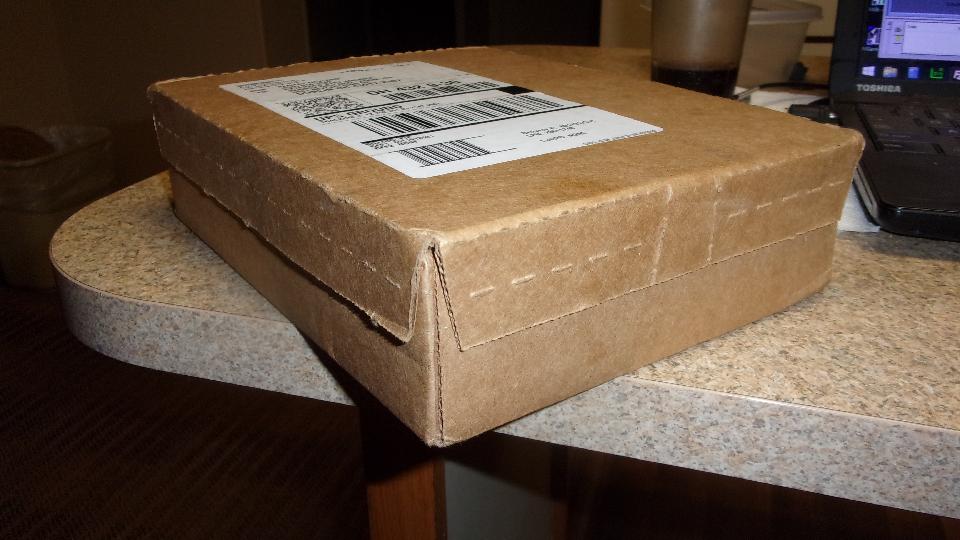
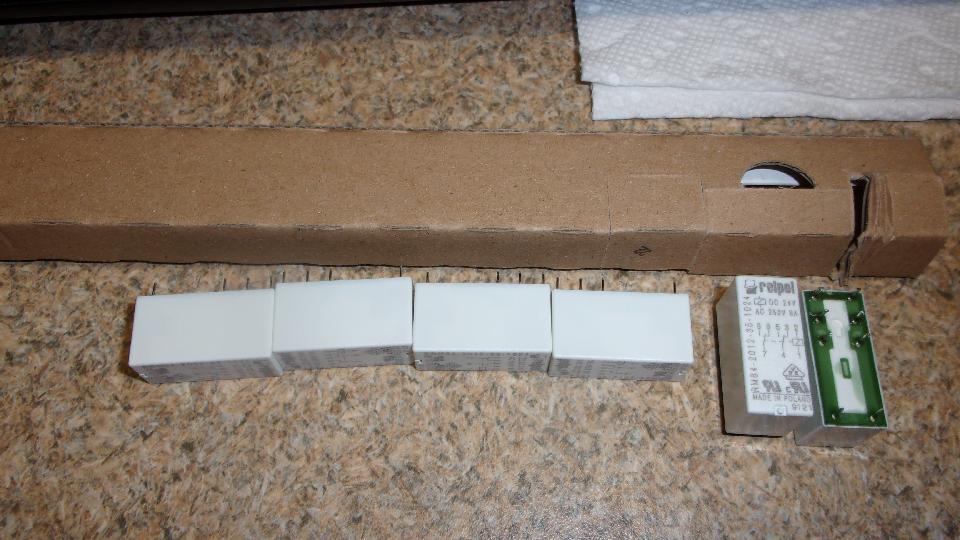
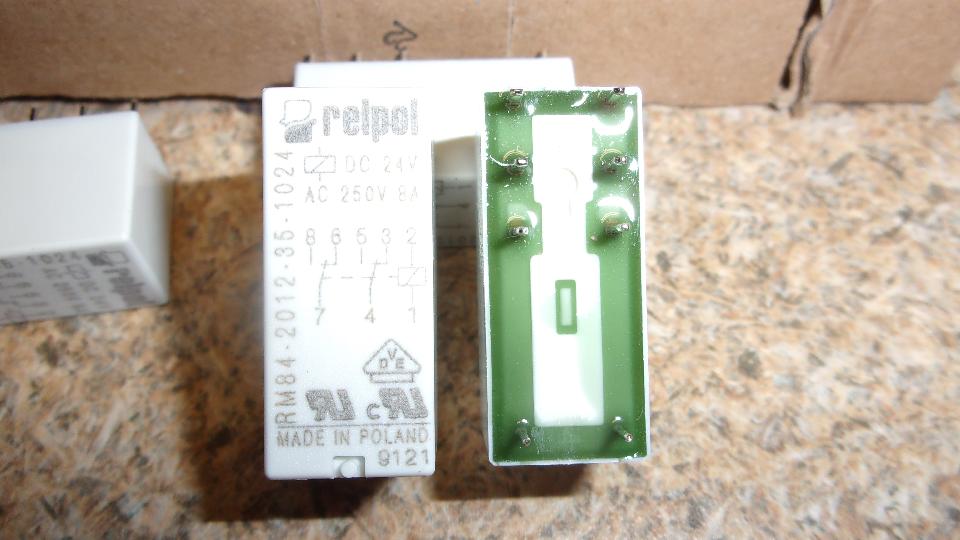
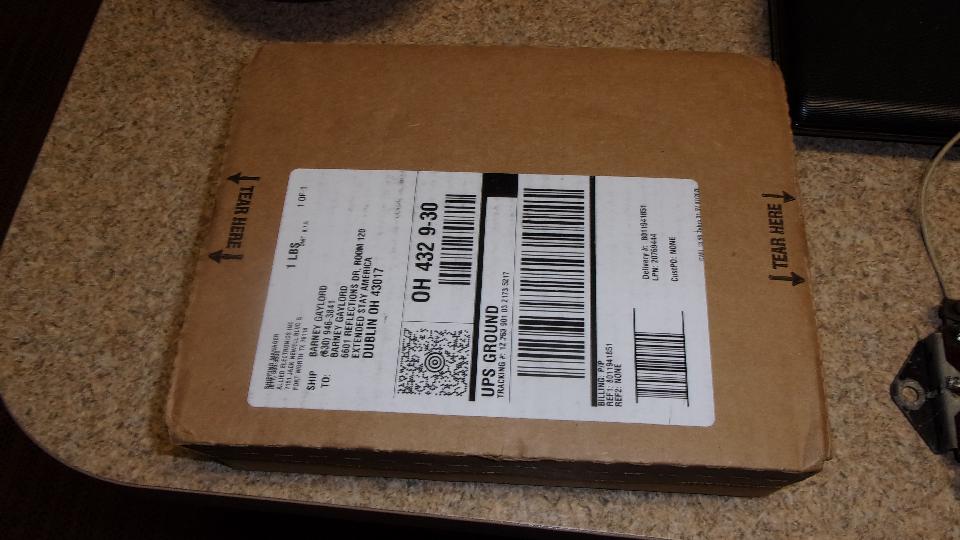
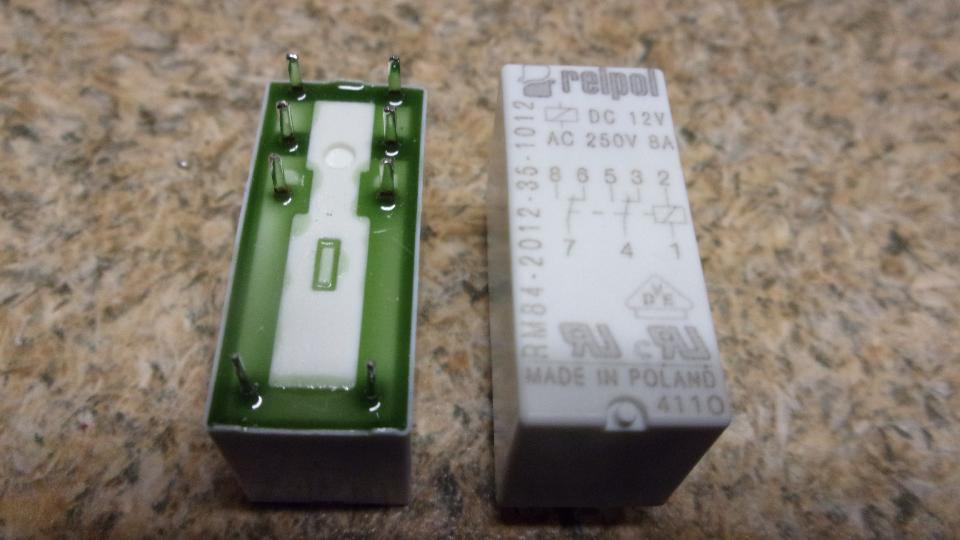
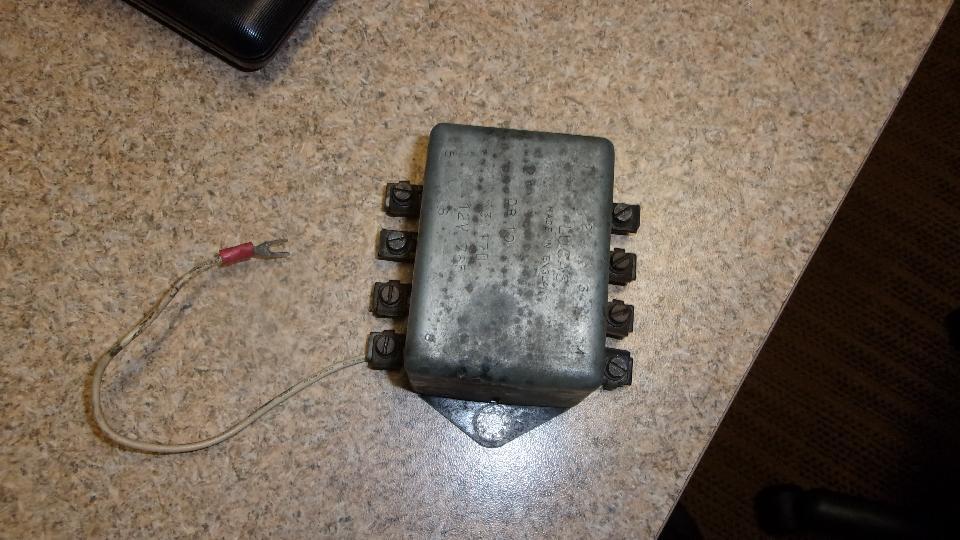
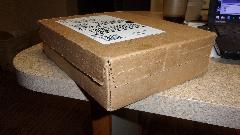
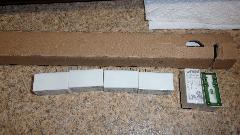
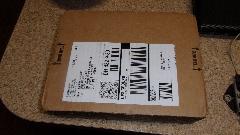
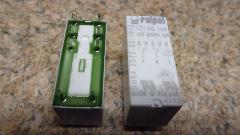
Ah, my little relays from Allied Electronics came in (yesterday, I think). These folks know how to pack delicate parts. You could stand on this box. Nice relays. These are the higher temperature rating this time, 85dC, 185dF. Altech Corp RM84-2012-35-1024. On the relay is RELPOL made in Poland. Oops, damn! While I was reviewing the temperature rating I noticed I accidentally ordered 24-volt coil rather than 12-volt, so time to re-order. And the 12-volt relays are going to be on back order for a couple weeks, so I guess I will have to hot wire my turn signals in the meantime. Stay tuned.
Thursday July 23, 2020:
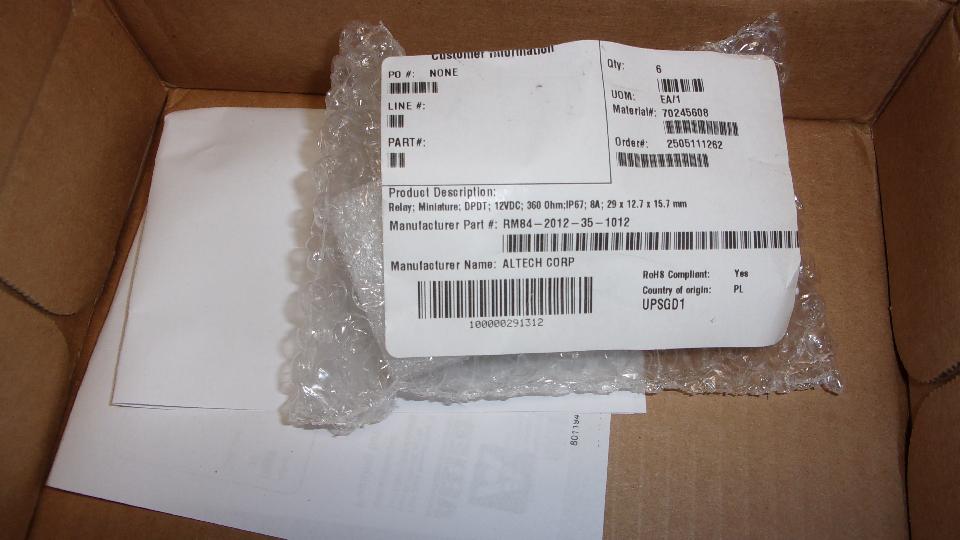
Long hours working on the new Part Numbers Index, which is by now coming along quite ncely. And some good news, the new order for correct relays has been shipped late last night (same day as ordered), and should be here Tuesday.
Friday July 24, 2020:

Feeling good today, as I just finished the first issue of my index of MGA Part Numbers and Descriptions. I didn't invent anything new here, just basically re-arranged the Service Parts List into numerical order and attached the part name and description with where it can be found in the SPL. And it is in searchable text format. It may not look like much yet, but it is a step toward being able to have a separate web page for each part number. You can already do things like figure out how many Woodruff keys there are in the MGA, sizes and where used. Ever wonder how many 5/16-24-UNF hex nuts there are in this car? Lots.
Saturday July 25, 2020:
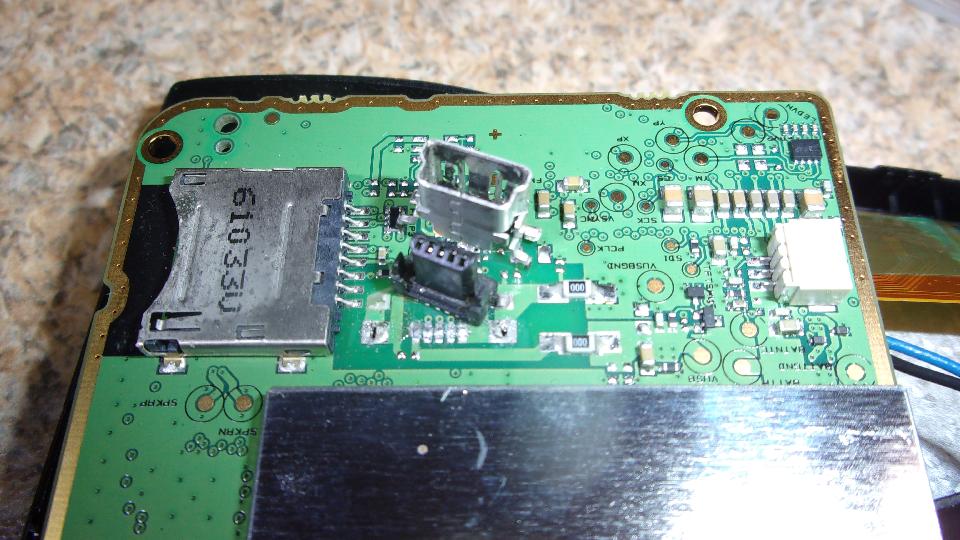
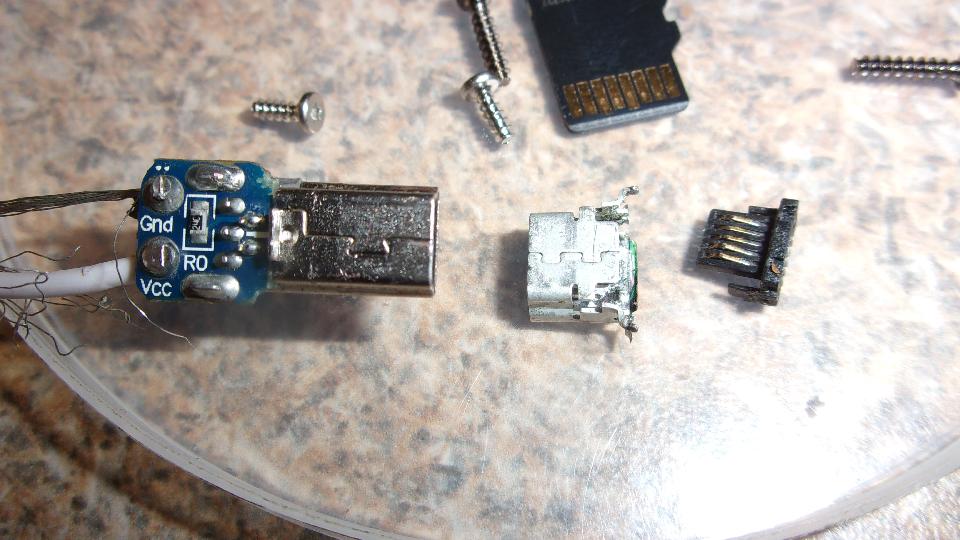
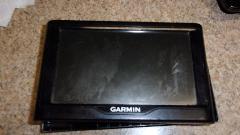
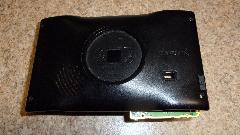
Interesting exercize today. Last time I was out cruising the Garmin GPS suffered a dead battery, not charging with the in-car power cord. This was most likely due to a loose connector on the back of the unit. Not like me to toss it out and buy another $100 gadget just because of a disconnect in the power cord, so navigator and I took to investigation to see if we could fix it. Start with a $6 small star driver kit, and remove four screws to get the back off. Then four more screws to free the small circuit board from the rear cover. This easily revealed the whole problem, which at first did not appear to be insurmountable. There was a female metal shell for the connector that had broken loose from the circuit board (loose solder joints), and maybe that could be re-attached. But there was also a very small 5-pin connector within that had also broken loose. and the remaining solder tails were now too short to re-attach. Even if I thought I might be able to do it, I would need a soldering iron with a tip like a sewing needle. Dang these things are small.

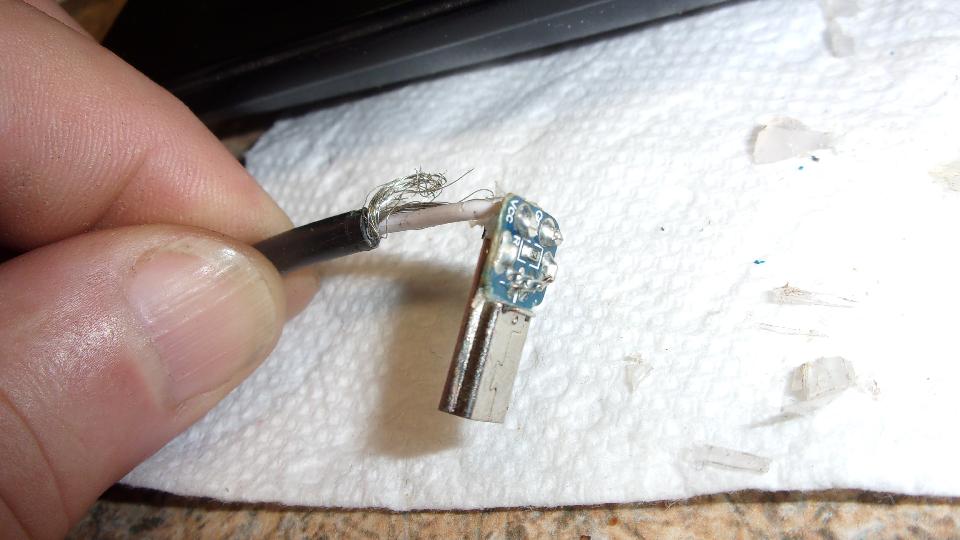
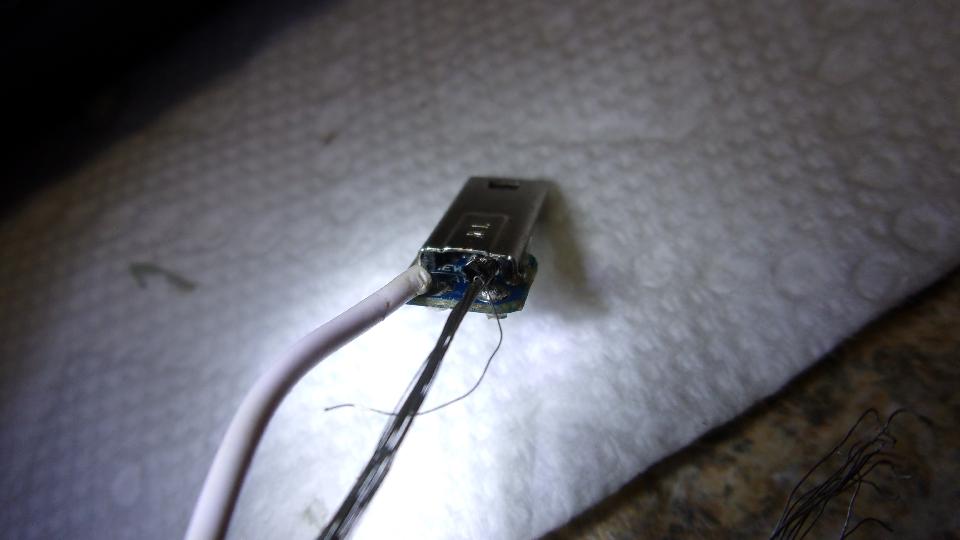
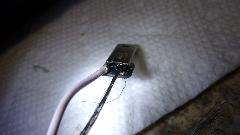
Then I had another thought. The power chord has only two wires, power and ground, that plug into a cigar lighter socket to provide power and re-charge the battery when in the car. Maybe I could cut and strip the chord and solder those two wires directly onto teh circuit board. That should get the battery recharged, which should get the unit working again. So we began hacking with a razor knife to remove the covering from the chord connector, intending to trace the leads to verify which contacts on the circuit board would be power and ground. Got that far okay, but then Navigator reminded me that we need to do a data dowload occasionally, maybe once a year, and for that we need the 5-pin connector for another signal cable to plug into the computer.

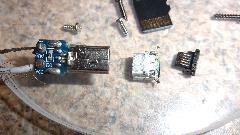 So how about we solder the 5-wire cord directly to the circuit board, and plug the USB connector into the USB cigar lighter adapter? Then he tells me the USB connector will not charge the battery in the Garmin. You can only do a data download when the batttery is fully charged first. Is that nuts, or what. So we would have to solder both cables directly to the circuit board and leave both permanently attached (even though we hardly ever use the data cable). Now I think we are just going to can the thing and buy a new one, but I bet we will not find anyone in the store who can answer our new tech questions.
Sunday-Tuesday July 26-28, 2020:
Back to work on the Part Numbers index. Got merged in the 1965 Supplement with the rationalized replacement engine part numbers. Then working on the MGA 1600 SPL, only got as far as Page A.15, one page short of finishing the FIRST engine section.
Wednesday July 29, 2020:
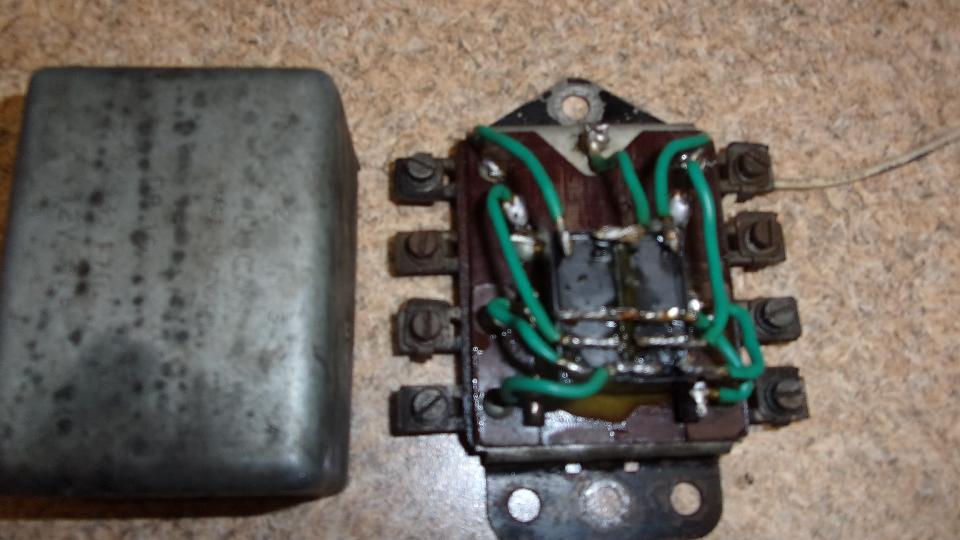
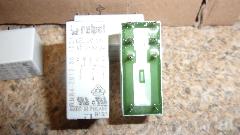
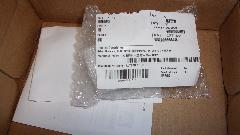
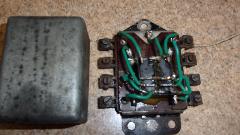
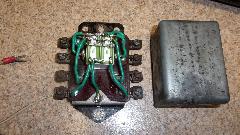
The new 12-volt miniature relays came in yesterday, so time to rebuild the turn signal relay unit, again (for the third time). But it's getting easier with time. Back in the mid 90's when I was first having problems with the original relays, about the second time I had to crawl under the dash to work the loose screws, I installed a metal bar with captive studs. Now I can pop the relay cover off and remove two hex nuts with lock washers under the bonnet to R&R the relay unit. Easy-peasy
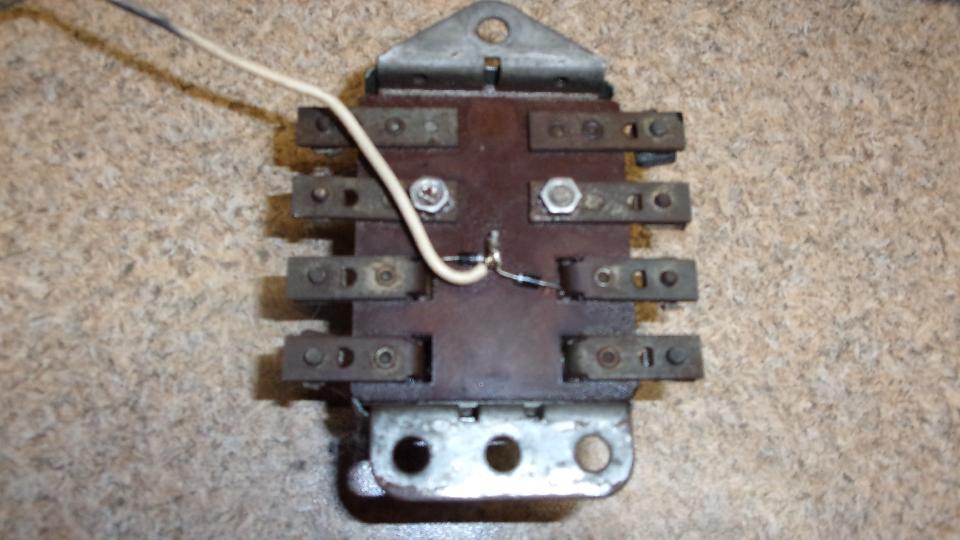
The extra white wire is tied to two diodes on the back of the relay pack, That drives the pilot light on the dash without needing a "P" terminal on the flasher unit. That was done when I installed a heavy duty flasher unit to operate 4-way flashers, and the HD flasher didn't have a "P" terminal. Having repeated trouble with failing thermal flasher units, I installed an electronic flasher while in Alaska in 2017. More recently I installed a headlight connector to use as a quick change plug-in socket for the flasher unit. This is what it looks like now. Just make believe those miniature relays are failed, because they are.
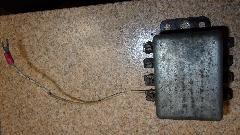
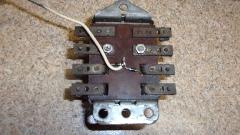
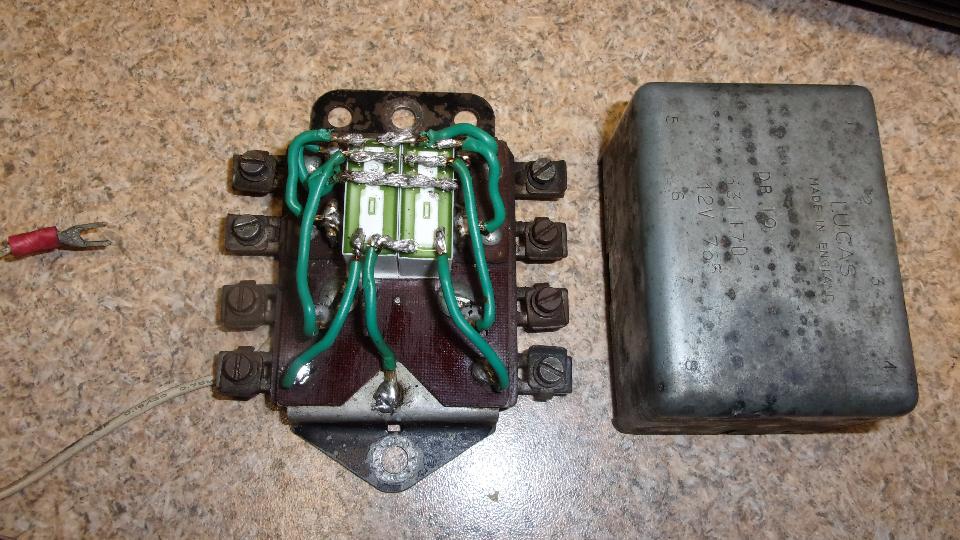
I took another short-cut this time. Instead of changing all the wires, I just used a temperature controlled soldering iron and a small screw driver to pop the wires loose from the relay pins. Five minutes. Then another five minutes to knock the old relays off and scrape the epoxy off the underlying circuit board. No 5-minute epoxy handy, so I stuck the new relays in place with double sided sticky foam tape. Soldering the wires back onto the new relays seemed a little slow going, but maybe 10 minutes. Then just pop the cover back on, and put it back in the car.
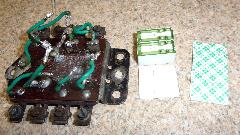

I clocked it this time. 10 minutes to remove from car, ten minutes to disassemble, 15 minutes to reassemble, and 15 minutes to reinstall it in the car. Less than an hour, including putting the tools away. 9-1/2 years, 231,544 mi since the last relay rebuild. I think I'll call that acceptable for a daily driven high mileage vintage automobile. Turn signals and 4-way flashers work like a charm but now the brake lights don't work because of another failed pressure switch. -- We went out foraging in mid afternoon big mistake, way to hot.
Thursday July 30, 2020:
Day of work on the new Part Numbers List. Too hot to do anything ouside.
Friday July 31, 2020:
Mostly a day for shopping. One stop at a local cheap parts store looking for a brake light pressure switch, no luck. Trip slightly out of our way to Best Buy to buy a new GPS. Had Garmin before, thought we would try Tom-Tom this time. Then a bit more out of our way to find a NAPA store to get the brake light switch. By that time Navigator was cursing at the deficiencies of the Tom-Tom, so we headed back to Best Buy to return it in exchange for another Garmin. Then back to the hotel to hide form the heat.
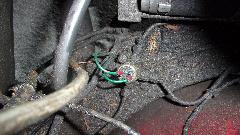
 Early evening had the car sitting in some shade, so it was a good time to attend to the brake light switch. After a bit of wire poking and head scratching we determined it was just a loose wire connector, not a bad switch, so pinch the connectors a little tighter, put it back together so it works, and save the new hydraulic switch for future spares.
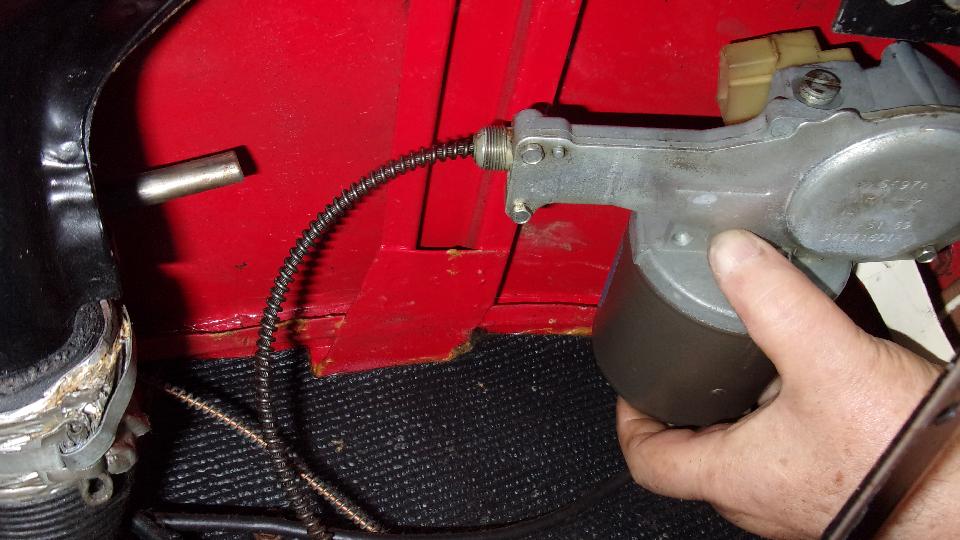
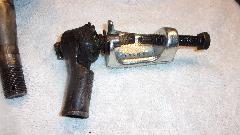
 While we were poking around the car, we pulled the 2-speed wiper drive motor out of the boot where it had been resting since the swap meet last March. I was holding that up behind the dash on the passenger side, while taking a few pictures and contemplating how to make a bracket for it. This notion was brought on by the fact that the new relays I bought for the turn signal relay unit would also work in the control circuit for the 2-speed wiper motor. Maybe some day soon.
|