The MGA With An Attitude
MGA Guru Is GOING MOBILE - (January 1 - January 15, 2022)
Saturday, January 1, 2022:
d
Something to fill a holiday, I got a message from Kevin (Kel) Aldred in Franklin, Tasmania, Australia. He was chatting about an MGA restoration that began with purchase of a 1960 MGA and working under a house in Papua New Guinea in 1983. 45 liters of paint stripper and lots of sheet metal repair before repaint. Moved back to Australia in 1986, the car was wrapped up in a tarp for the next 26 years, only getting back to it in 2012. Paint bubbled from moisture, another 45 liters of paint stripper and another repaint. Now in Tasmania, with more persistence it is finally nearing completion a dozen years later (going on 38 years by now).
 The electronic copy of the CMGC January newsletter came in late in the day (actually on time for a change). Not sure when I will get to that, so I just uploaded a PDF copy to the club web site for now. The electronic copy of the CMGC January newsletter came in late in the day (actually on time for a change). Not sure when I will get to that, so I just uploaded a PDF copy to the club web site for now.
Sunday, January 2, 2022:
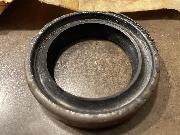
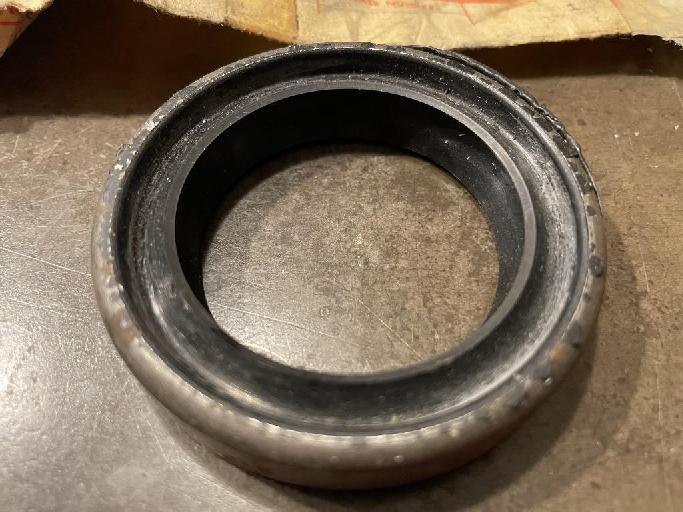
Someone assembling an MGA Twin Cam engine found an assortment of oil seals for the timing cover, including a New Old Stock BMC AEJ5 seal in original package dated 17-Jul-1967. Not sure if it may be the only one left on earth,but had to post it on the Twin Cam Timing Cover Seals part numbers page, along with more pictures of interchangeable seals.
Quite a lot of time spent discussing how to clear rust and water stone out of an engine block and cylinder head. Heavy accumulation doesn't always come out with hot tanking at the engine shop, and can be near impossible to dissolve with chemicals. Mechanically chipping away at it works when the head is off. Lots of band width being wasted on the BBS and forums with guessing and recommendations for chemical flushing that only works for regular maintenance (before it gets to be heavy accumulation).
Monday, January 3, 2022:
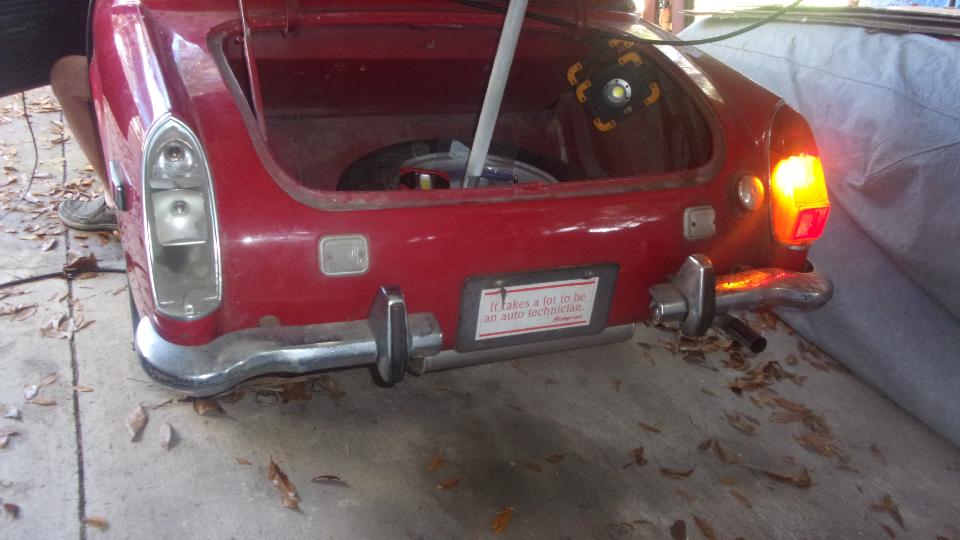
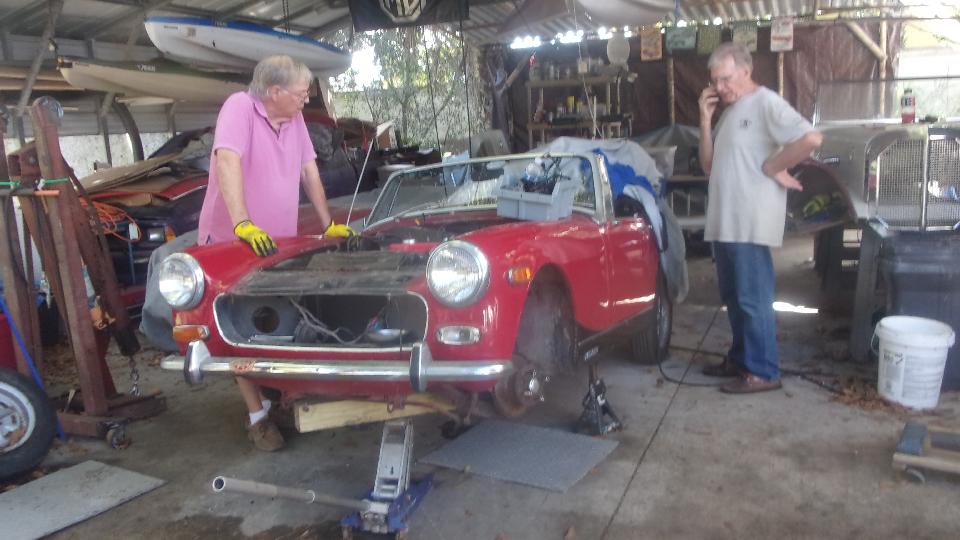
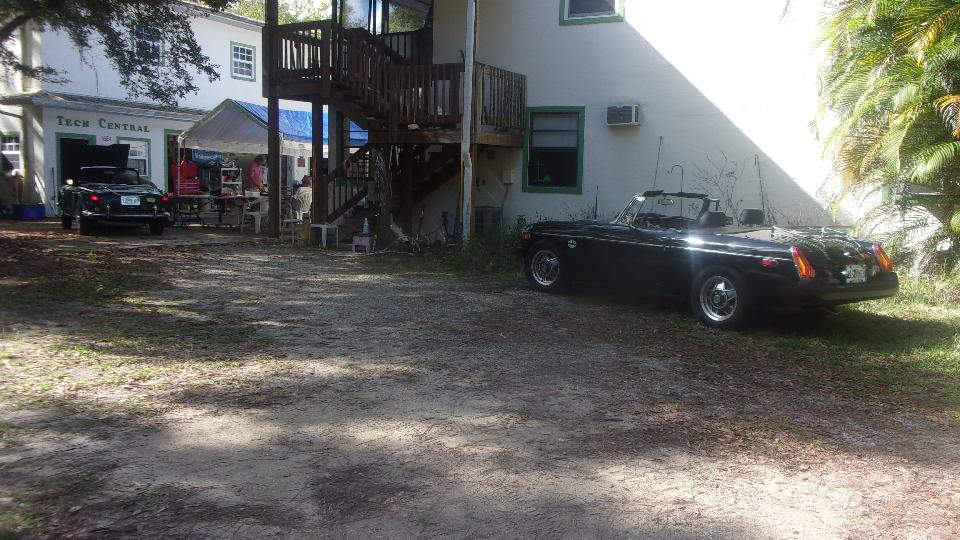
The poor MG Midget on the slow track is not going to get back on the road until someone finishes fixing the wiring, so back to Tech Central in Bonita Springs, Florida for an extra work day and another go at it.
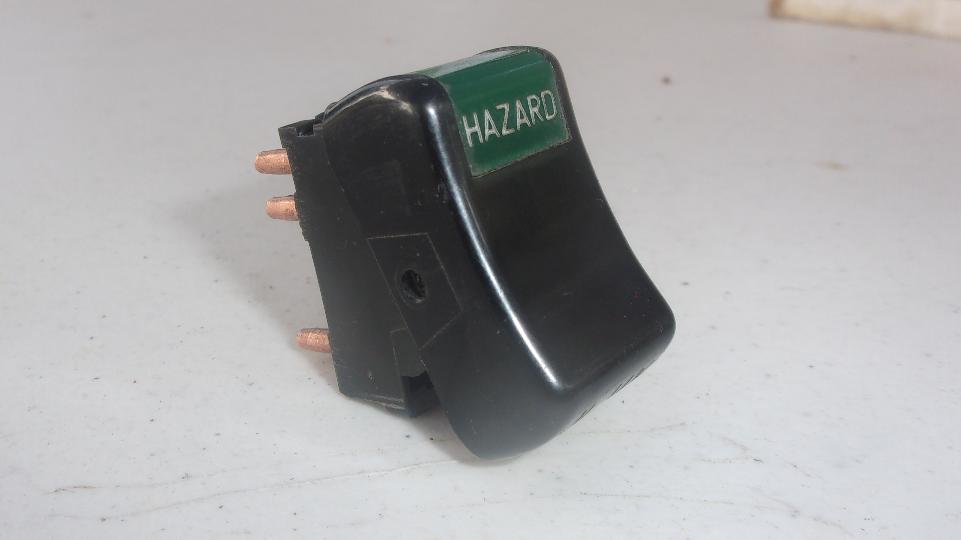
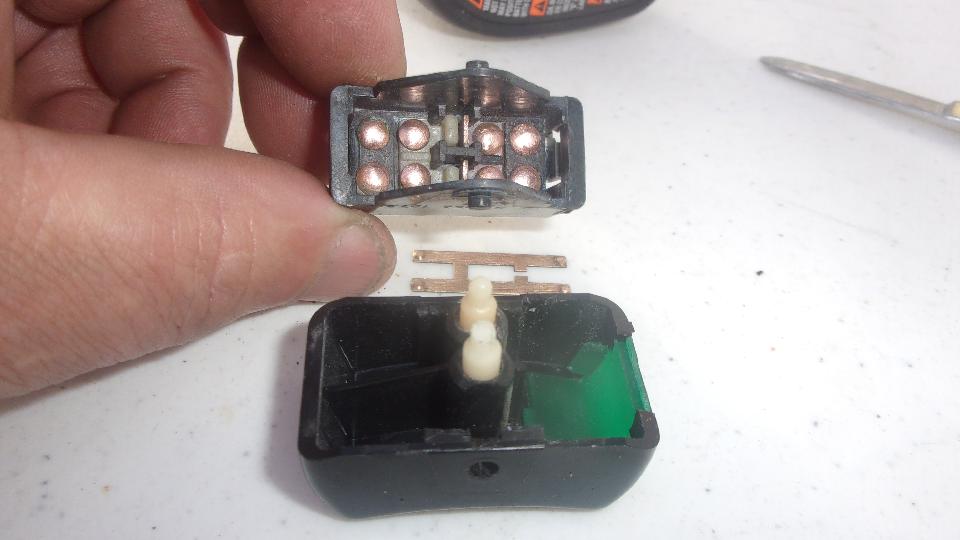
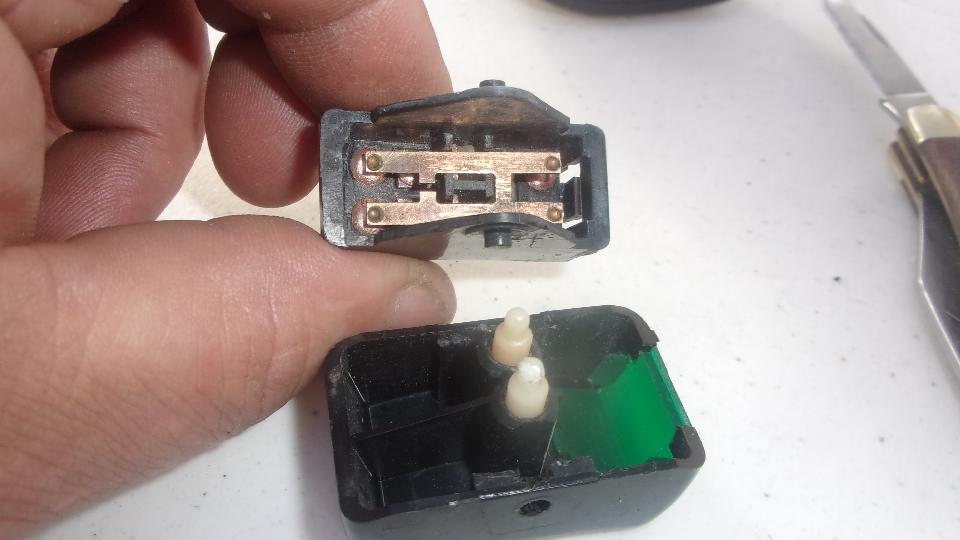
 Jerry said he was sure the brake switch was working just a week ago, so check it again, and sure enough it works, with only the tiniest movement, so at least it's not stuck. Just replace the left rear turn signal bulb, and on to testing the 4-way flashers. Only one flashing at right rear, so get after cleaning contacts on the hazard switch. Getting pretty good at repairing the plastic rocker switches by now, but cursing the cheapness of non-plated brass contacts back in the 70's.
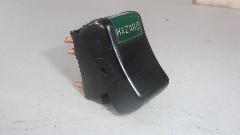
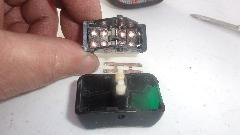
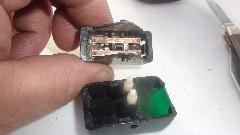
Had the 4-ways working fine, but the multi-function switch controlling turn signals and headlight dipping was mostly not working, and the lighting switch was still intermittent (winky). I unplugged the multi-function switch connector, found the hot wire from the lighting switch, and jumpered power directly to wires for high and low beam, and those work, so the harness wires are good. Jumpering power to the left and right turn signal wires disclosed that the front signals had the wires swapped. And found another bad repair splice with a twisted wire taped over many years past that came apart, so a couple more things to fix. Also for the third day and third person (me this time), still cannot figure out how to get the intermittent lighting switch out of the dash panel (too many obstacles all around it).
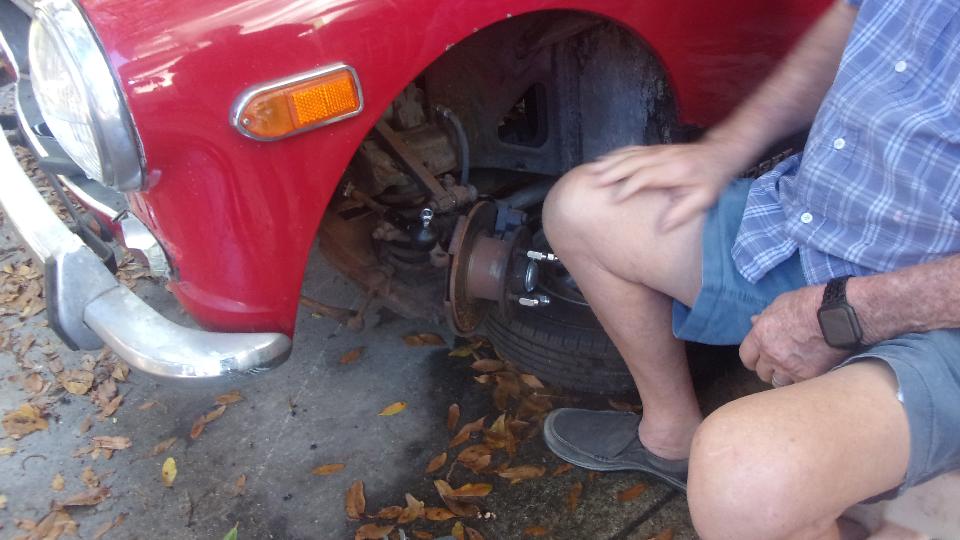
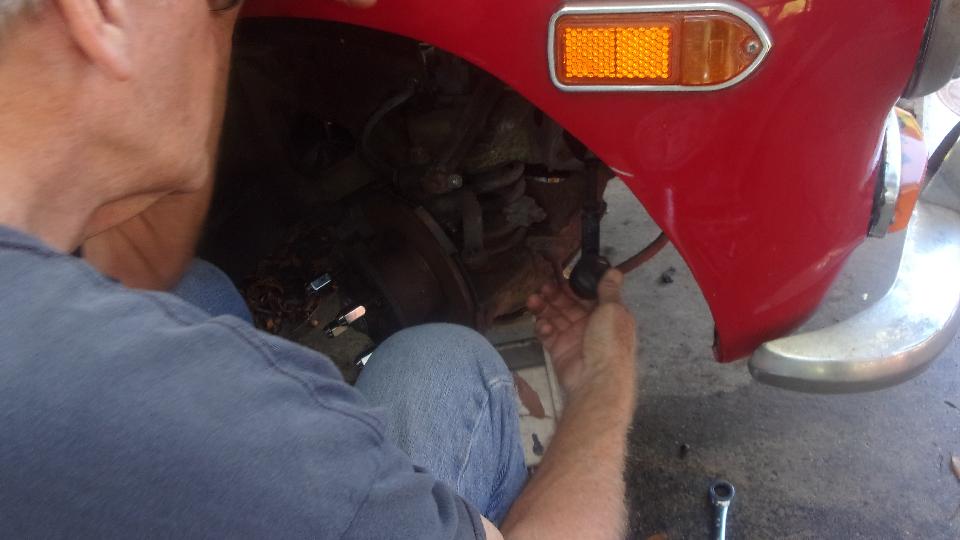
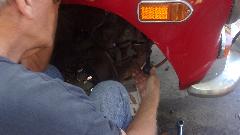
We had a lunch break in there somewhere, and then the guys were replacing both tie rod ends due to perished rubber seals. Then it was quits for the day, cover it up, and off to find a good WiFi spot.
Tuesday, January 4, 2022:
Bunch of tech questions about alternator conversion, umbrella type valve seals and dual valve springs, making fuel pipes with steel tubing, 4-inch flexible air duct materials, and engine R&R techniques. In the evening I got a good start on transcribing the CMGC newsletter Publisher file to HTML pages for the web site.
Wednesday, January 5, 2022:
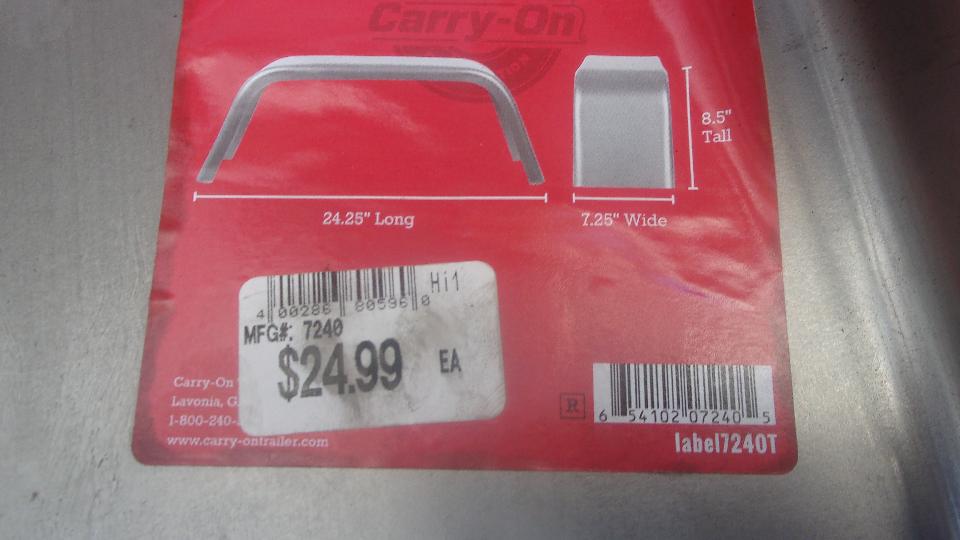
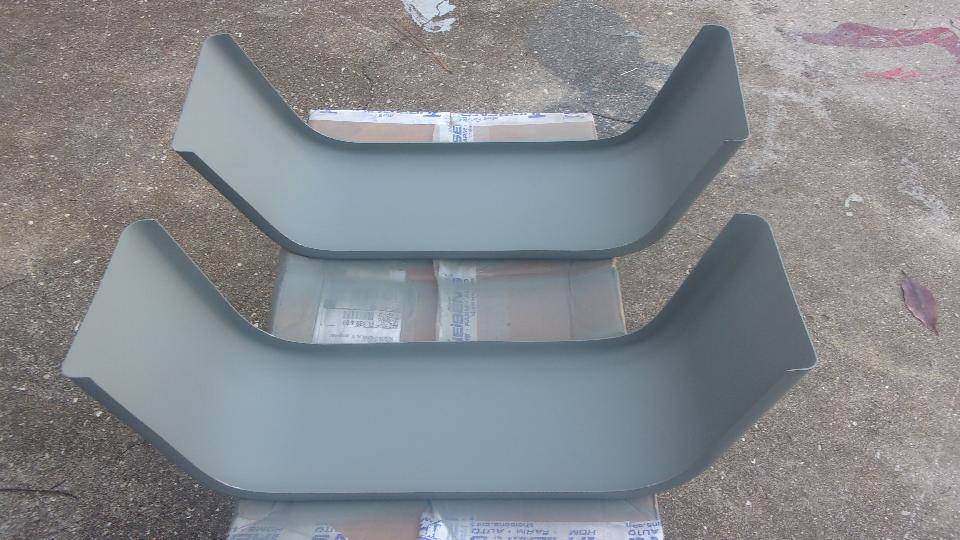
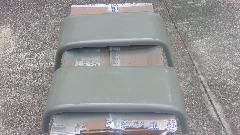
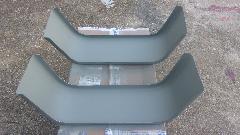
Much of the day spent on transcribing the CMGC newsletter to HTML pages for the web site, and got it finished. Good news, my new trailer fenders have arrived.
Thursday, January 6, 2022:
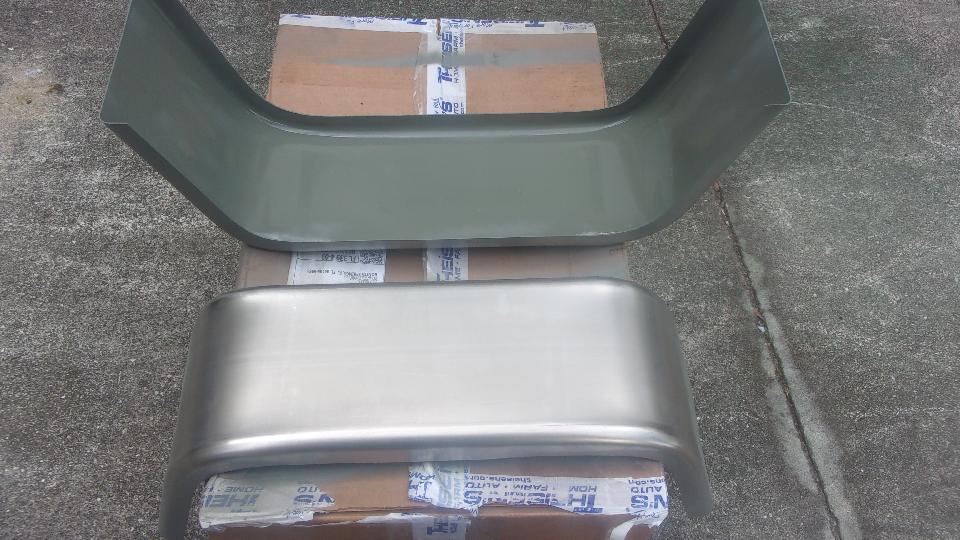
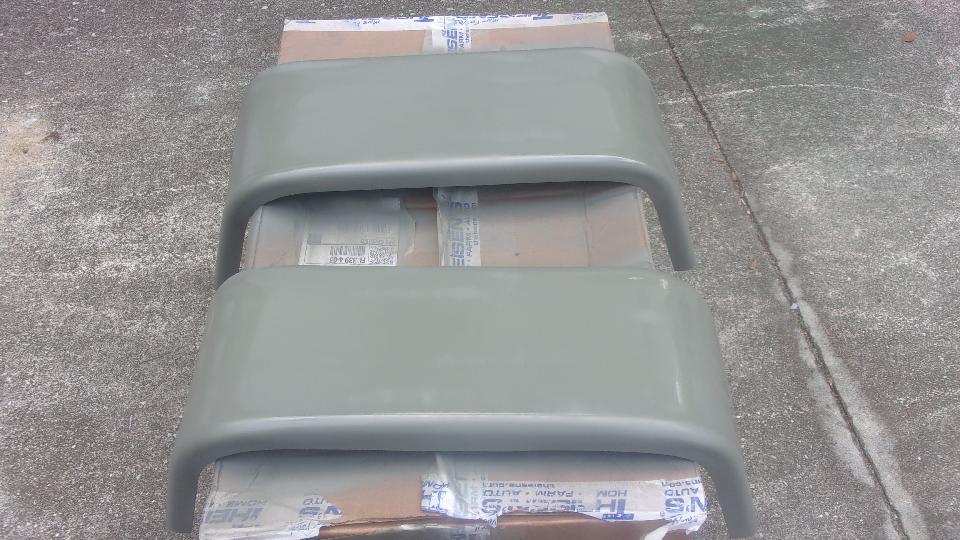
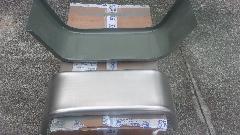
Going to jump on the high priority, so off to Tech central a day early when there will be only a few people there. Unpacking the new trailer fenders, knowing they would be bare steel, nice to find an oil coating on the metal that keeps it from corroding during processing, storage and shipping. Very easy to clean the parts with lacquer thinner and a few paper towels, let dry for a few minutes, and give them a spray of etching primer. After the first hour drying time we shoved the parts indoors, and will come back tomorrow for final painting.
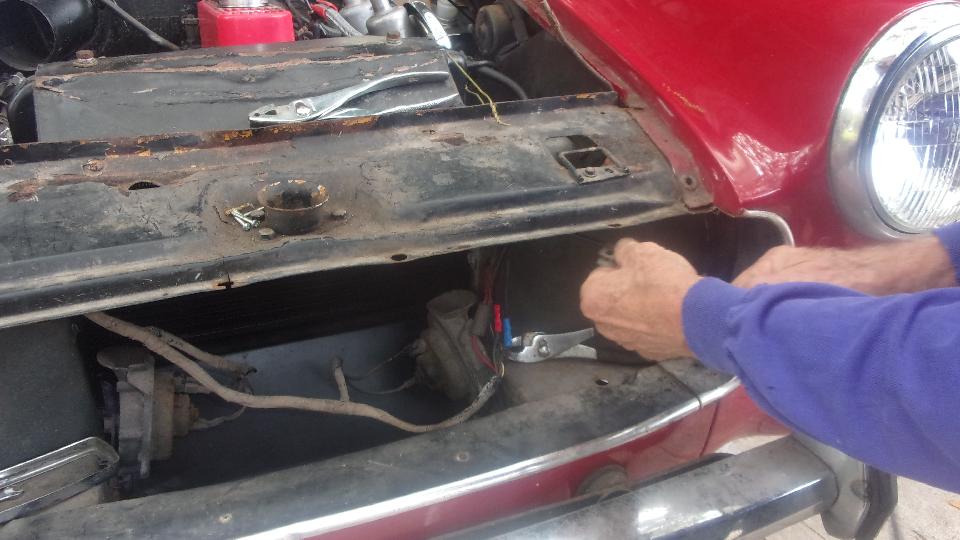
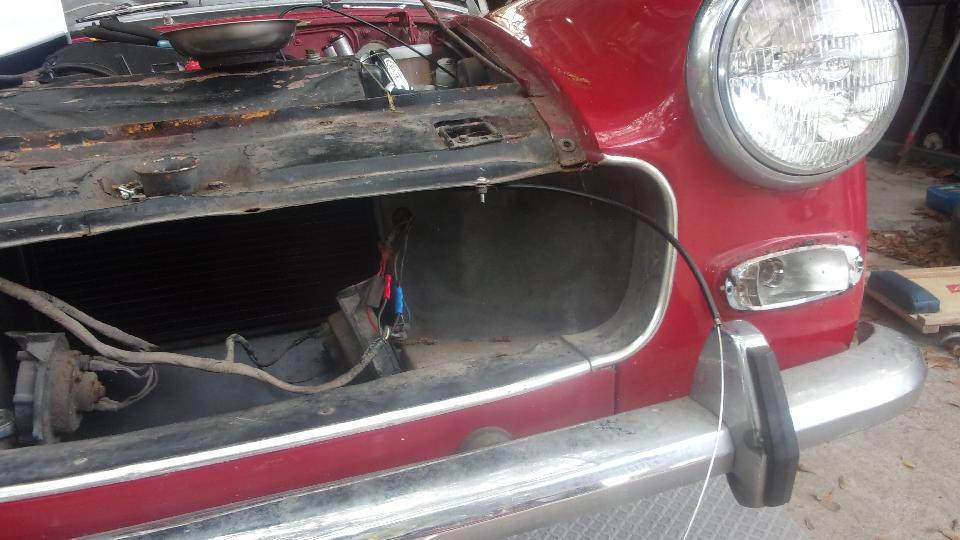
A few of the guys were working on the rusty Midget, just trying to get it driveable to get it out of here. Took a shortcut on fixing the broken center wire of the choke cable, just push the center wire of the new cable though the old cable jacket without taking it out of the car. Then after the rusted solid bonnet release cable, tough trying to get the old one out, so we just installed a short length of throttle cable to extend through the grill for an external pull release.

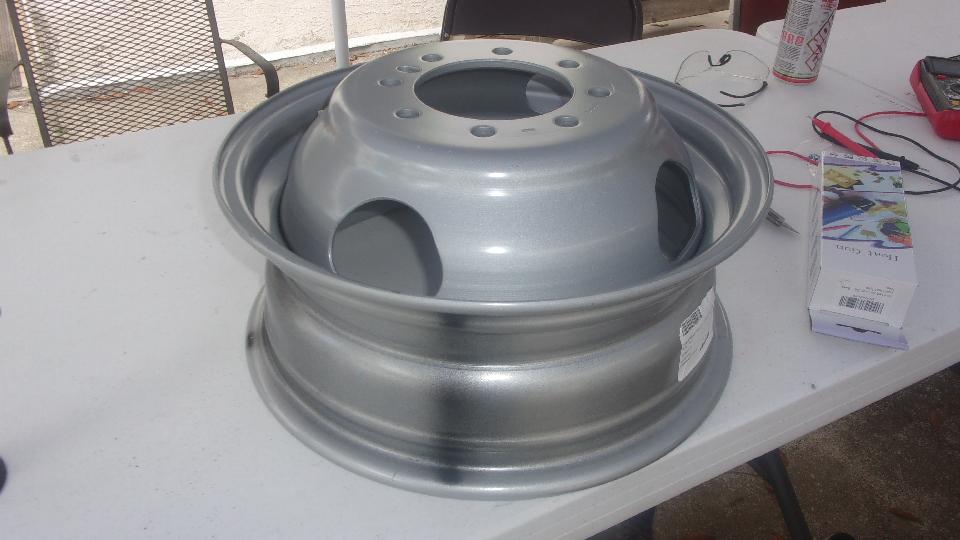
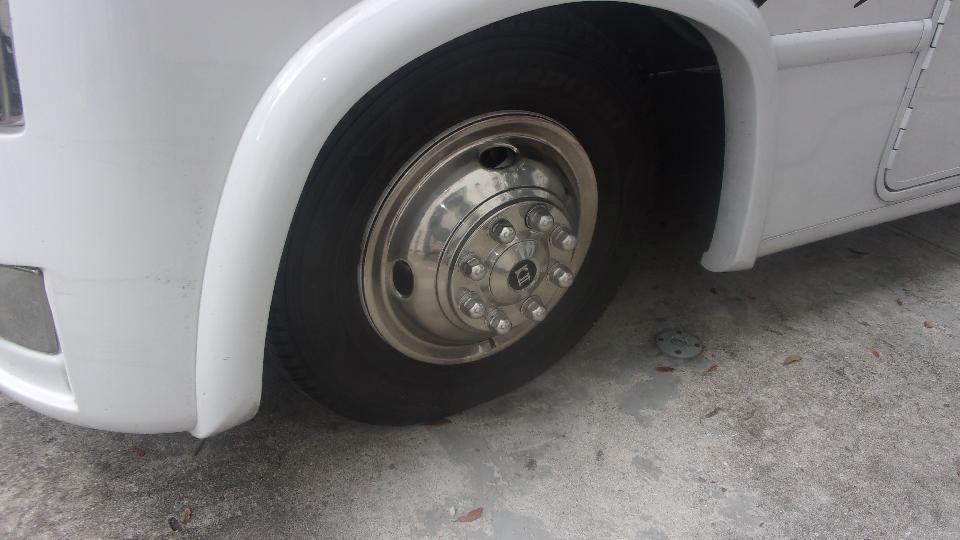
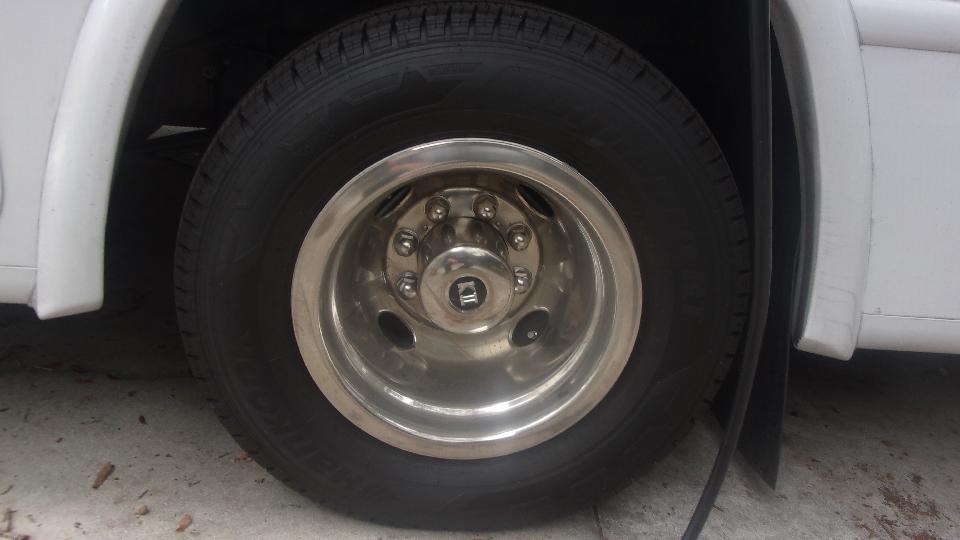
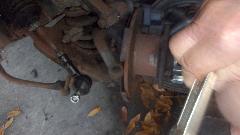
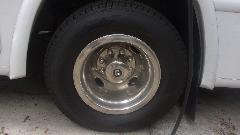
Couple of the guys bailed out around noon, so was having a nice chat with Jerry when UPS showed up with a new wheel for his motor home, for the purpose of adding a spare tire (which is a seldom installed option in motor homes). Couple shots of the single front wheel and dual rear wheels (nice decorative wheel covers).


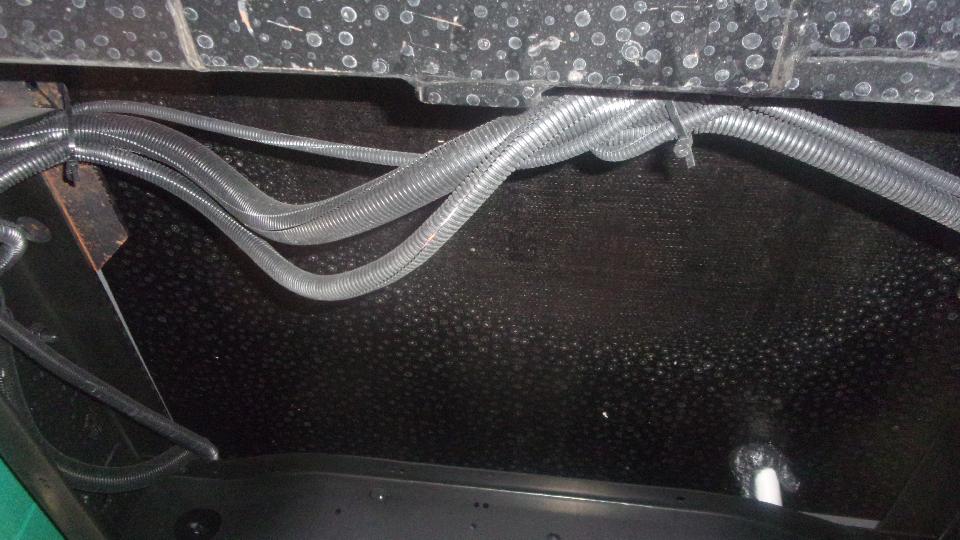
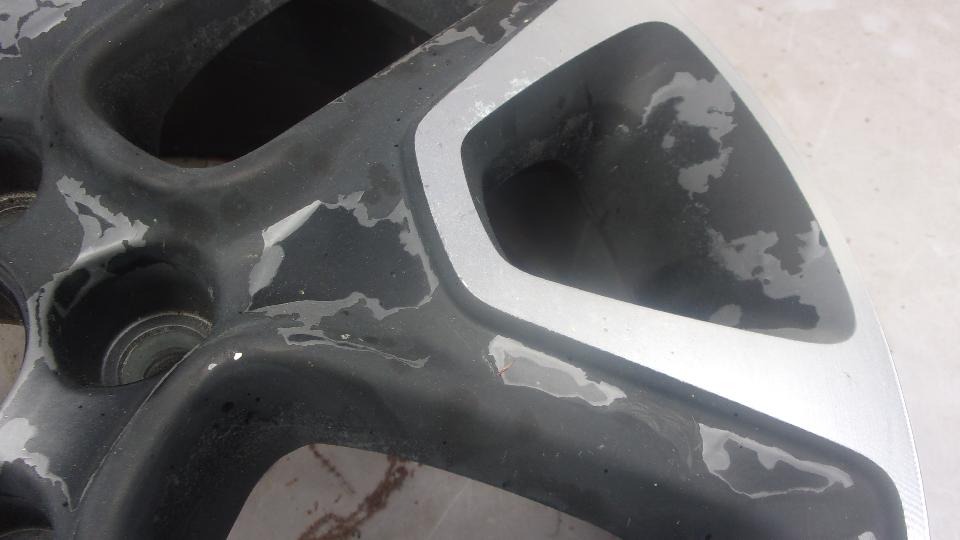
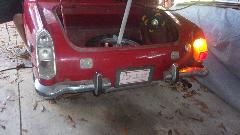
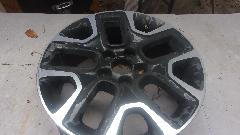
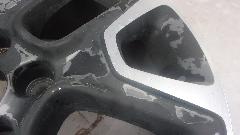
Checking under the rear end to verify there is enough space (just enough space st 28 inches minimum) between the rear axle and trailer hitch. Then spent some time brainstorming on how to attach the spare in a manner to be accessible when needed. One of the better traits of a good engineer. -- Then as an aside, checking out a Jeep wheel. This vehicle had been smashed, and part of the repair was to replace one wheel with a "rebuilt" wheel, which should be same as original. Unfortunately the clear coat paint was peeling off all over after 30 days in service, so it had to be replaced again with a new wheel. Now the body shop wants the "rebuilt" wheel back (fair enough), hopefully to beat the Chinese supplier over the head with it to get better quality parts in the future (one of my favorite subjects).
Friday, January 7, 2022:
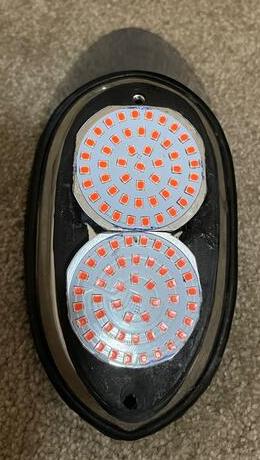
Posted a new tech page with another idea for installing LED tail lights, brake lights and turn signals for the MGA.
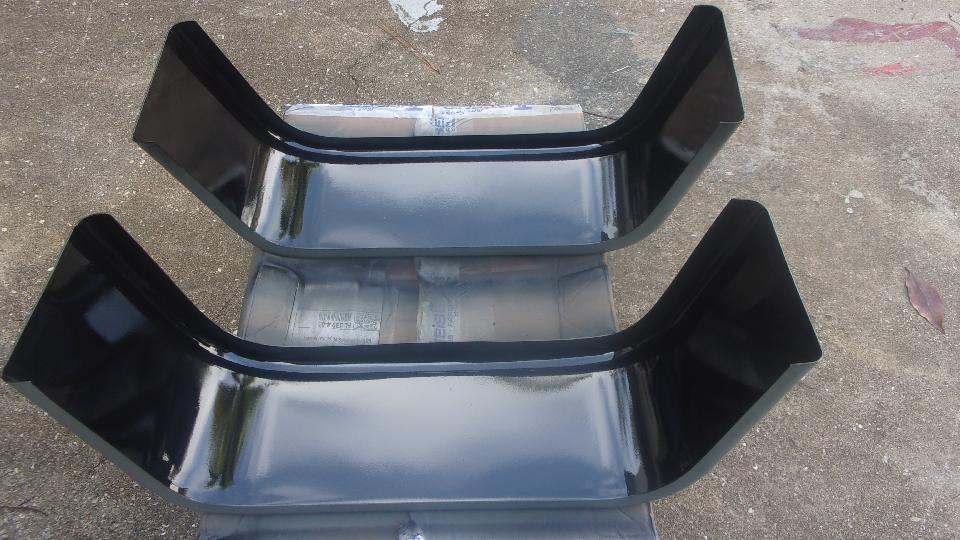
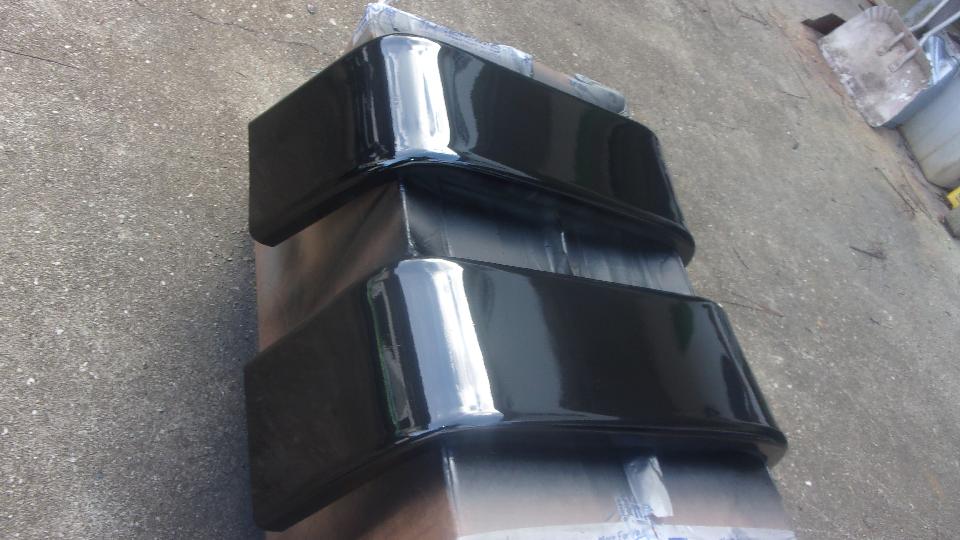
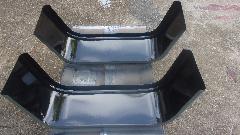
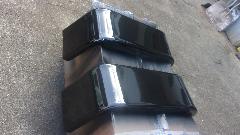
Then off to Tech Central, a bit earlier than normal, to paint the new trailer fenders black before more people start showing up for the normal Friday tinkering projects. Before day's end we had a second coat of black applied before tucking them back into the shop for another night of drying time.
Early as we tried, we were still not the first arrivals. Guys were tying up loose ends on the rusty Midget, about to put the bonnet and wheels on it call the owner to get it off the property. One new lighting switch on order, and likely a new turn signal switch as well. Otherwise it runs and drives and stops, and they will be happy if they never see another Midget.

Several more cars around by this time, including a TR6 with a bit of a coolant leak. I think that one turned out to be a loose lower radiator hose clamp.
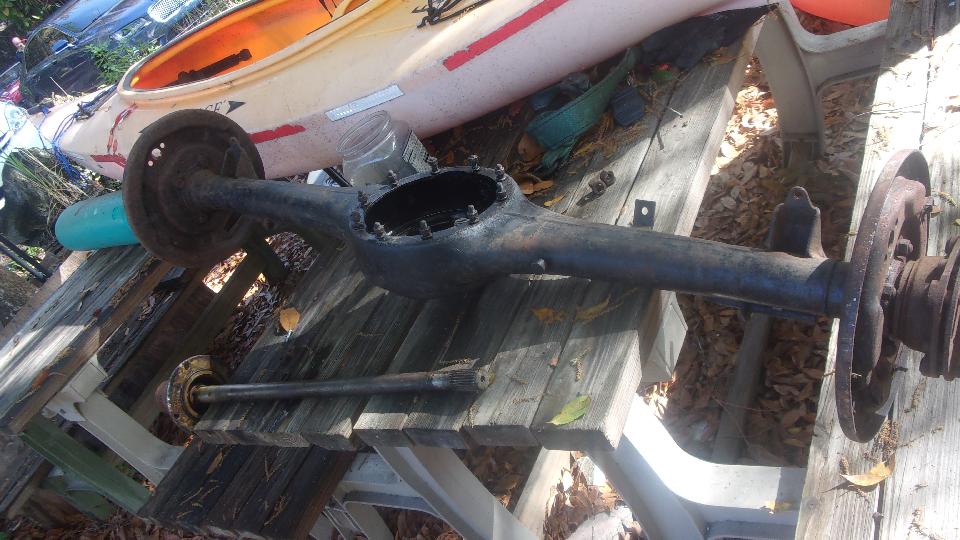
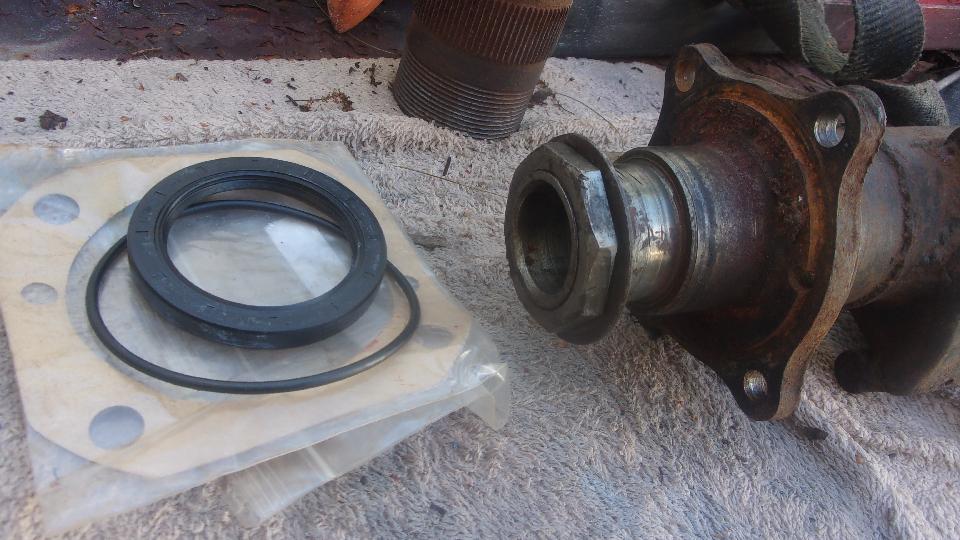
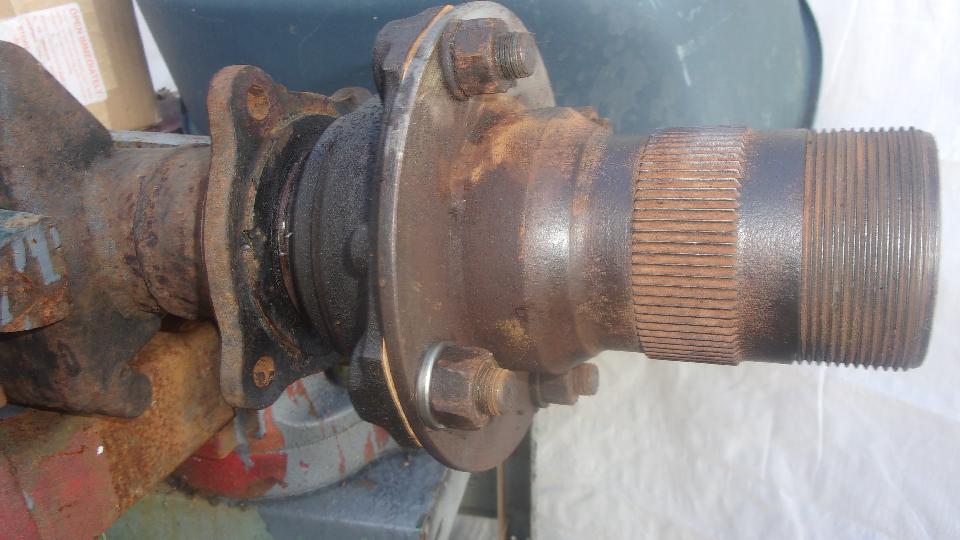
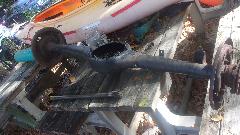
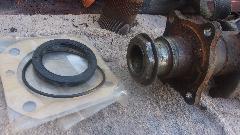
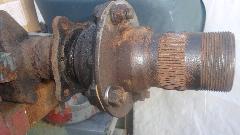
Then a bench project for someone savaging and converting an MGA rear axle for use as a trailer axle. Stripped to the bare housing, disposing of all the brake parts and packing plates, no differential at all, cut the halfshafts off just inboard of the splined hubs, and making a blanking plate to close the front of the housing. The Magic Trailer provided parts for the hub seals, gaskets, O-rings, and one wheel bearing (replacing a rusted one). Intention is to pack the double row ball bearings with grease and run it with no oil in the center housing. Scratch head over that one for a bit, and all comments welcome.
Saturday, January 8, 2022:
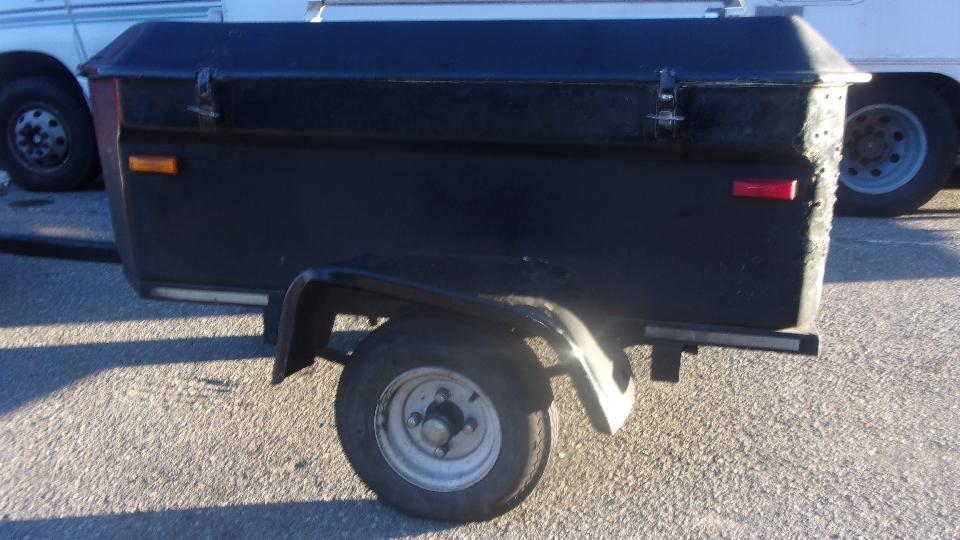
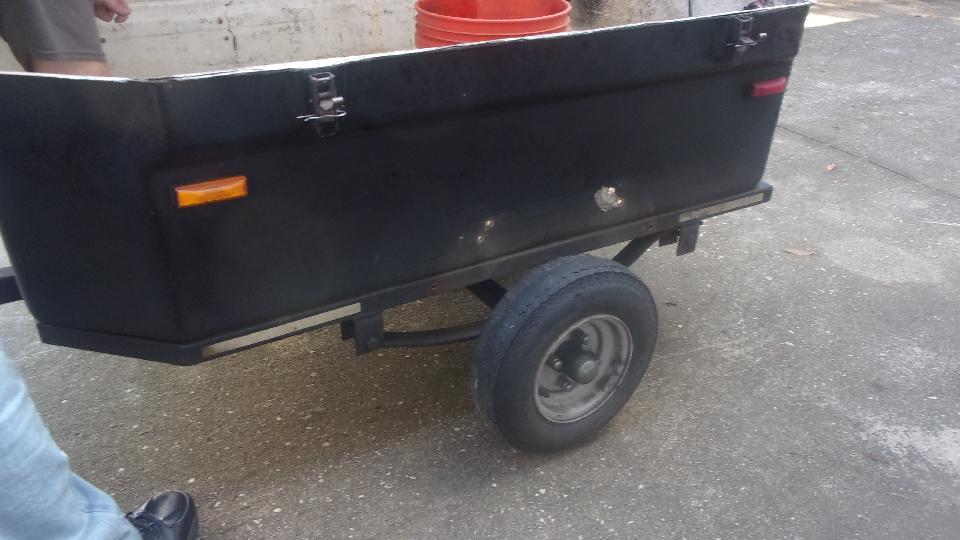
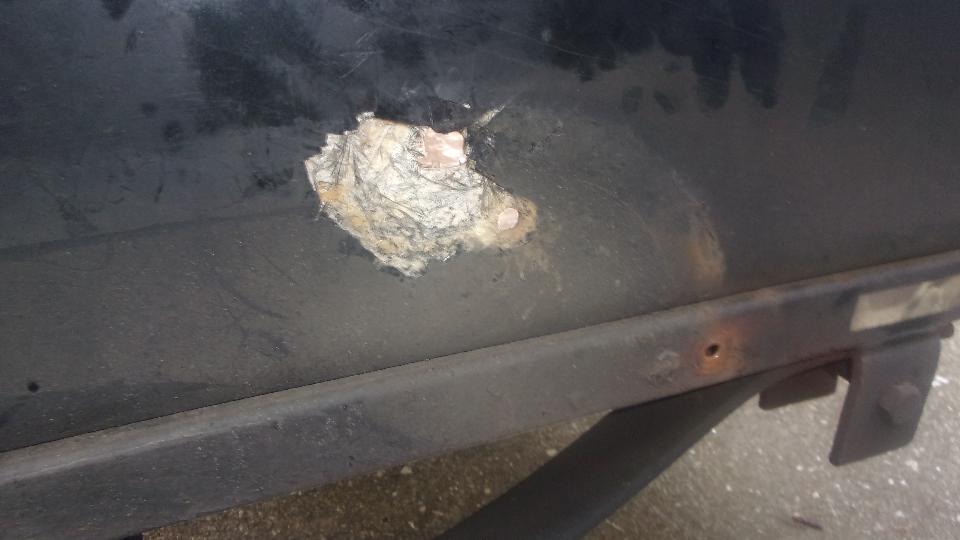
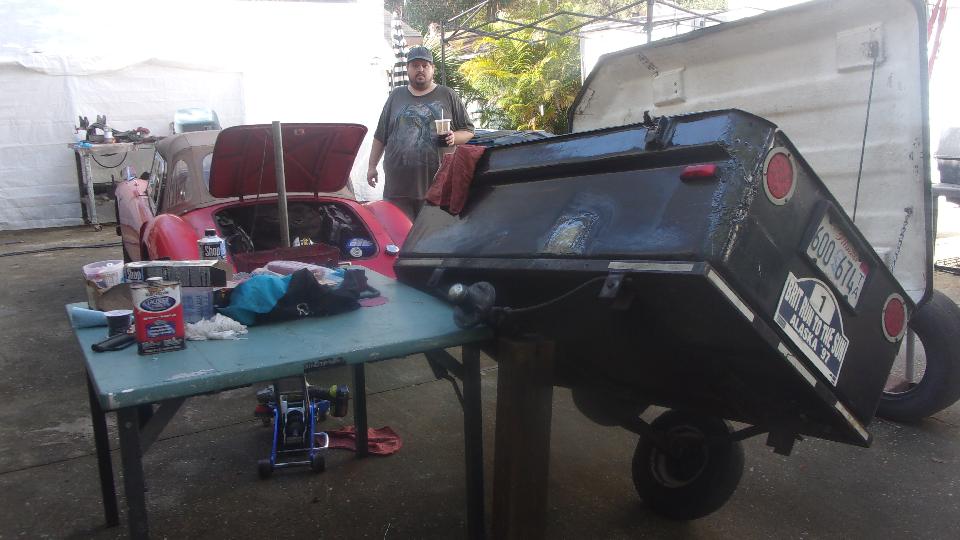
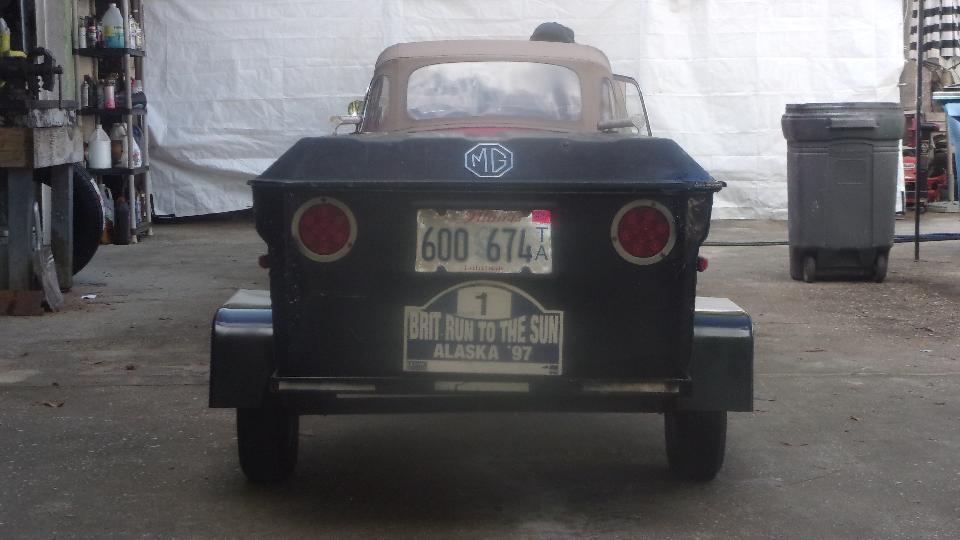
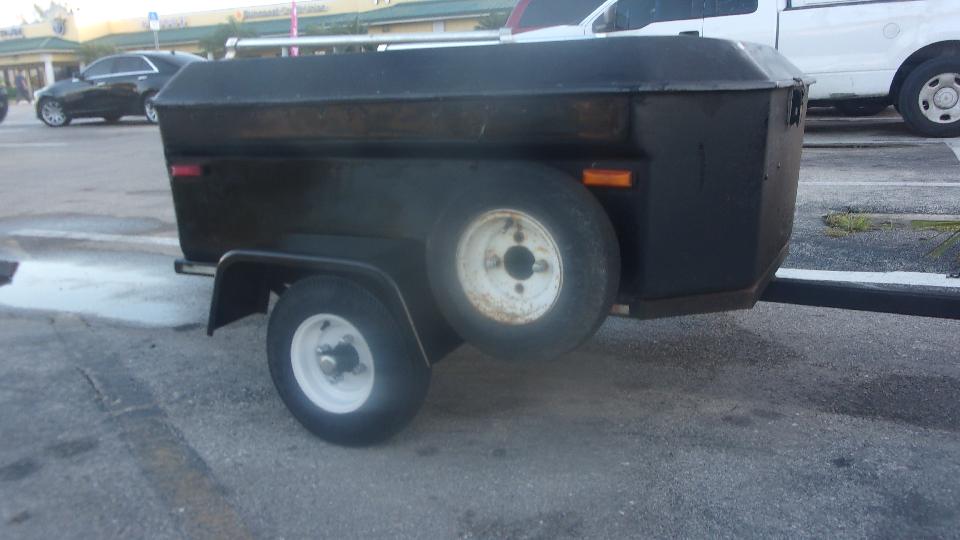
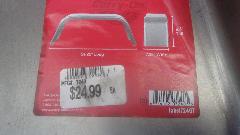
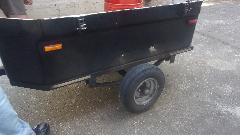
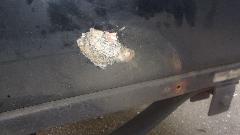
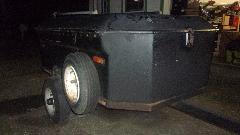
Special project, working alone today uninterrupted, time to change the beat up generic steel fenders on my fiberglass trailer for the new (cheap) steel wings. The serious incident with right side was a Lincoln backing into it at a rest stop on November 2017. For the left side, a semi truck ran over it in October 2021. I have long since lost track of how many times this trailer has been abused from many different directions. But new "jeep" fenders are so cheap $25 each, $64 the pair delivered, that it is easy just to install new ones. And for sure the ones in service since February 1999 don't owe us anything. So empty the trailer, off with the wings, and get on with repairing the hole where a bolt was torn through the fiberglass box,

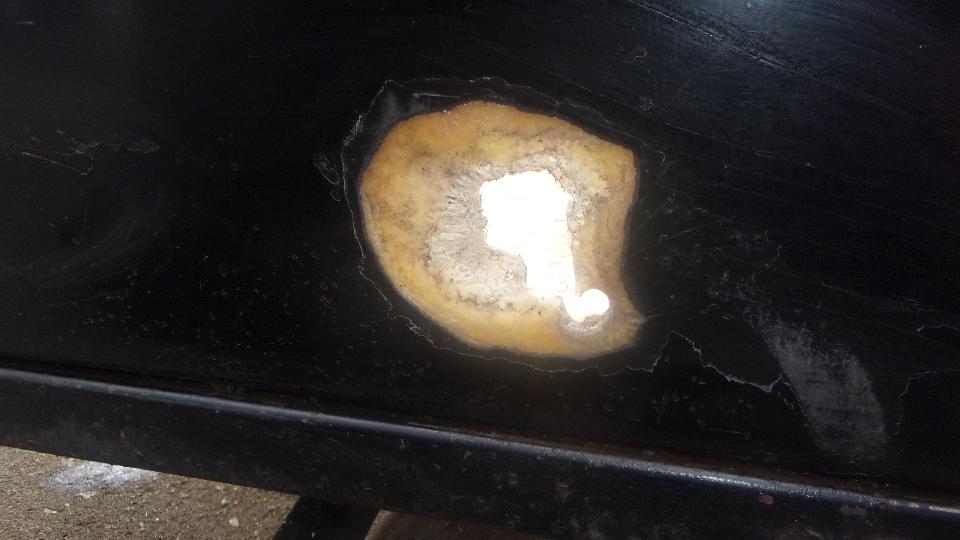
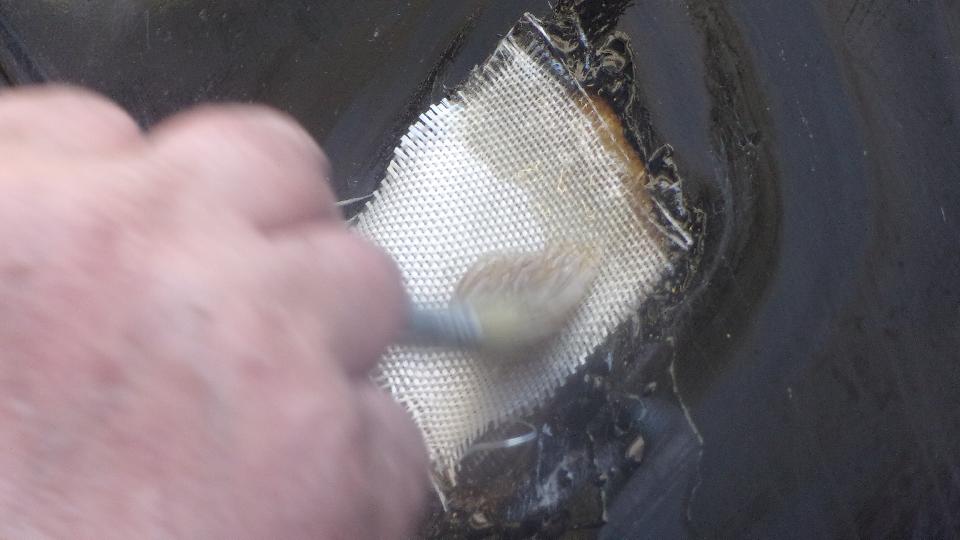
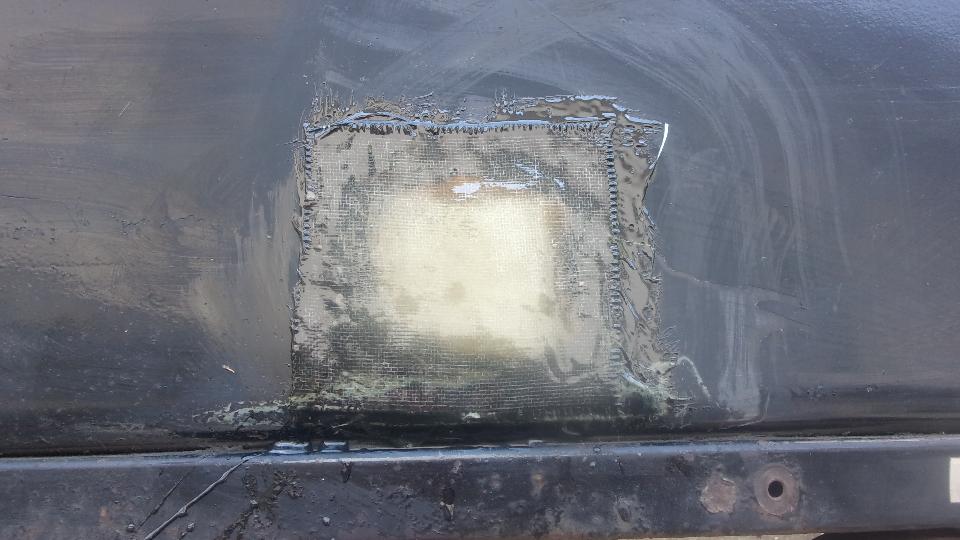
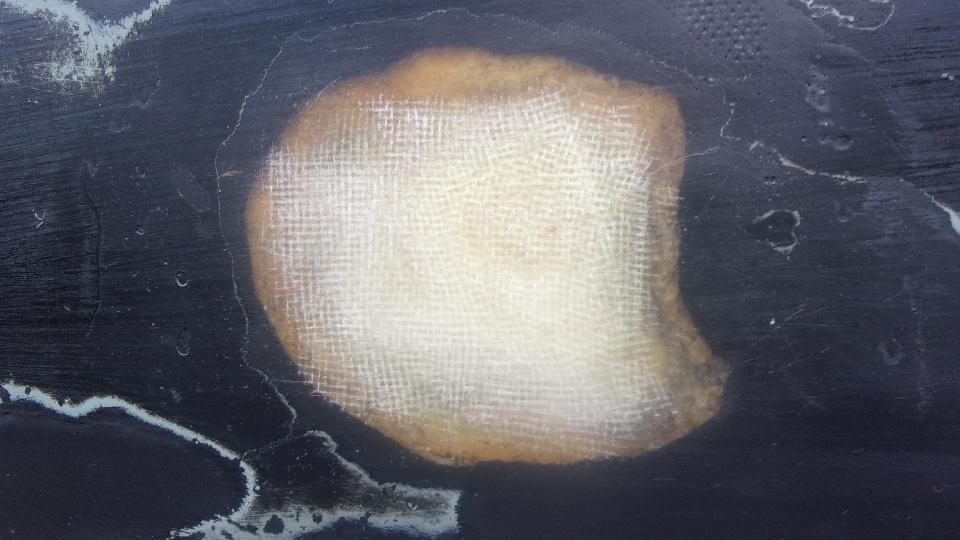
It didn't look like too big a hole at first, but after grinding away all of the loose delaminated debris it left a crater a few inches wide. Start by taping a piece of thin smooth cardboard flush on the inside surface. Then the process is to start with small square clippings of fiberglass cloth to be "painted" into place with catalyzed plastic resin. Add layer after layer of cloth of progressively larger sizes to fill the entire hole up to be flush. This is a pretty thick random mat fiberglass box, so it needed maybe 30 to 40 layers of cloth to fill up the full depth.
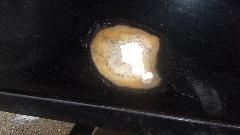
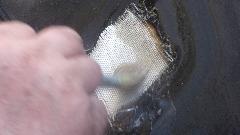
The final patch is a single layer of cloth on the outside to cover everything and hold it all together like a band-aid. The we get a lunch break for a few hours while it will set up hard enough for sanding flat. Kind of nice to take a WiFi break in mid day to post these photos and notes.

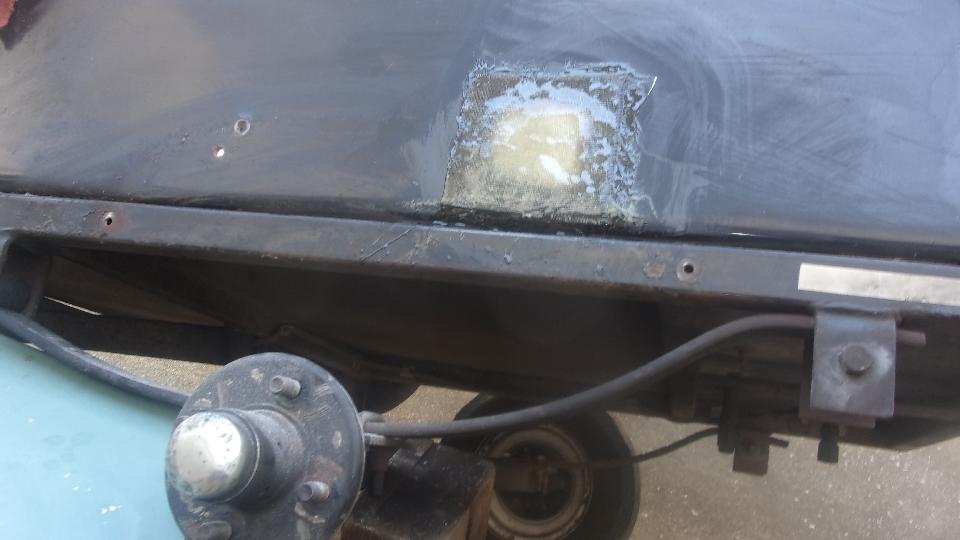
Hang in there a few hours, and I will get back with the rest of the story. --- Okay, back. Got lucky (or skillful), getting the fiberglass fill above the original outer surface. A few minutes with a sanding flap wheel on an angle grinder took it down to a slightly raised ripple. Five minutes wet sanding with 80-grit on a sanding block made it flat. A few minutes with 220 grit, and a few more minutes with 600 grit (didn't have 400 handy), looking good, Wash, rinse, towel try and air dry in short order, Just enough primer to be opaque, left 45 minutes to dry. A quick once over with wet 600 to evict bugs and dust, Wash, rinse, dry, and give it a black coat. If it looks wet, that's because it is.


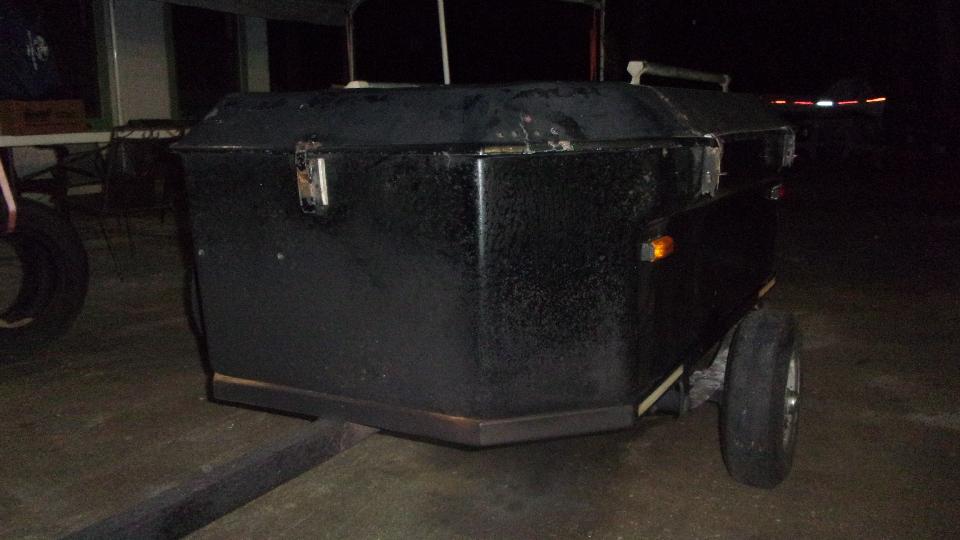
Out of daylight, so put the wheel on, drop it, and reload the luggage. Looks a little naked without the wings, but it will survive a day or two until we can get back to it. Good time to do a few more hours on WiFi to let it dry some before we hit the road for the night.
Sunday, January 9, 2022:
Quiet day, just a few tech questions and some notes about sources for good used car parts, especially MGA Twin Cam parts, and Vanden Plas alloy hard top restoration parts, but also any vintage British car parts. Most of this information is already on my web site.
Monday, January 10, 2022:
Back to Tech Central. The owner of the rusty Midget was here to check out the handy work and what was left to do. We ordered up a new lighting rocker switch and a multi-function turn signal-dipper switch, a new chock cable and a couple other small bits, but no bonnet release cable. Too much work trying to change that one, like needing to remove engine and gearbox to get to the cable retaining nut on the forward side of the center box firewall.

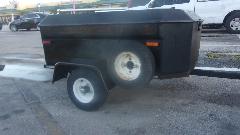
Then on to installing the new fenders on the Magic Trailer. Easy enough, just drill 8 holes in the fender flanges and one in the fiberglass (through the recent repaired area) and install 9 bolts (including one hole plug bolt).
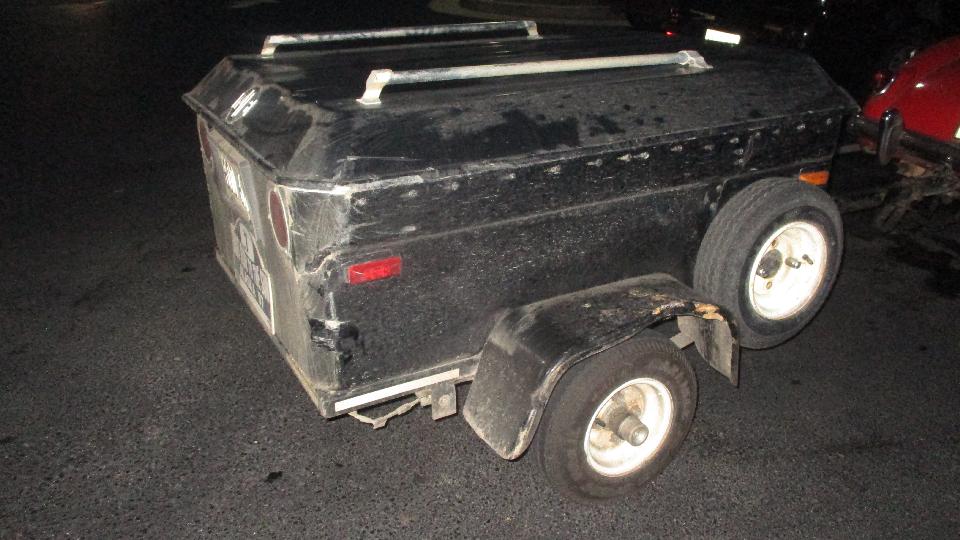
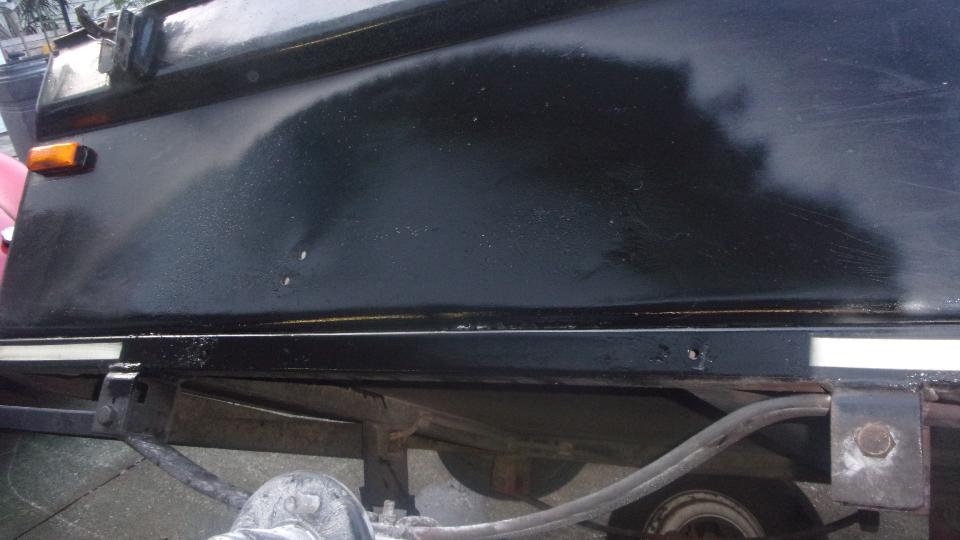
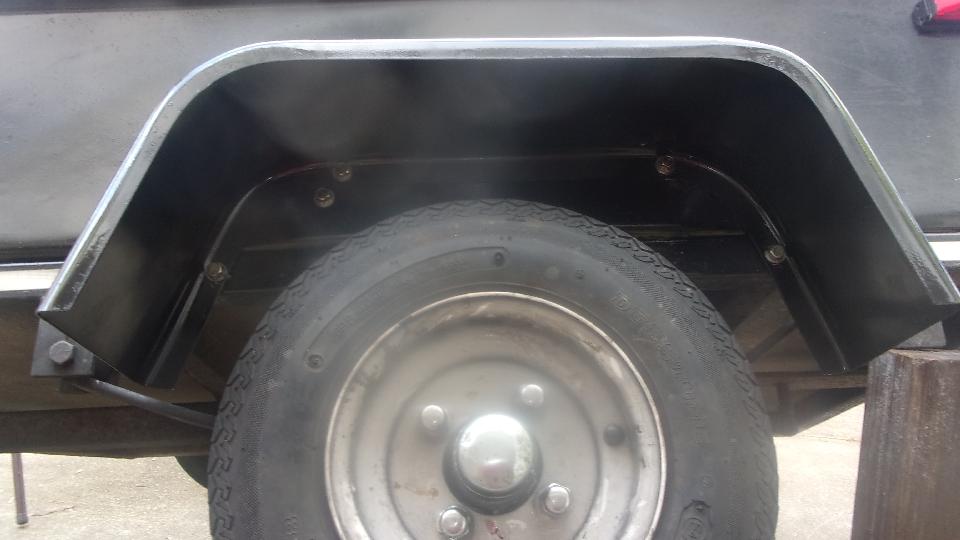
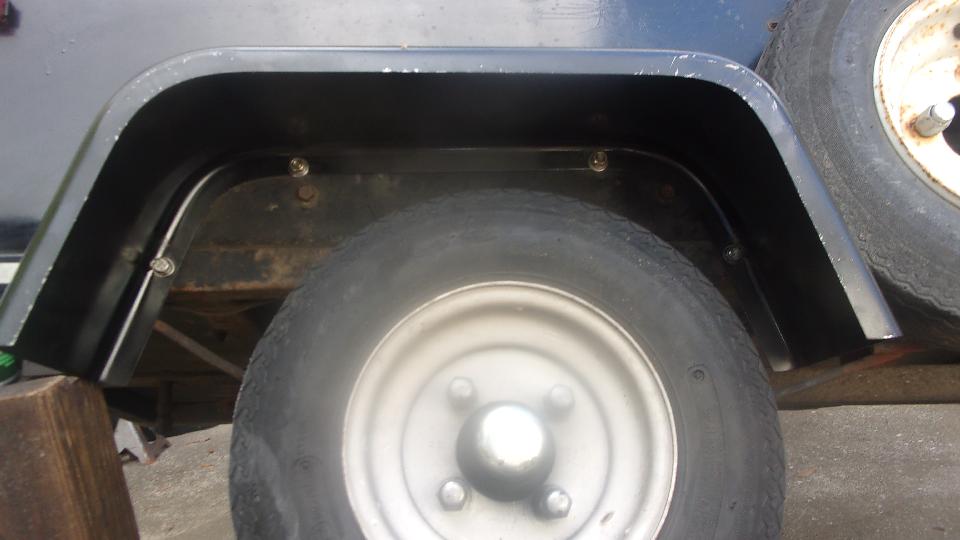
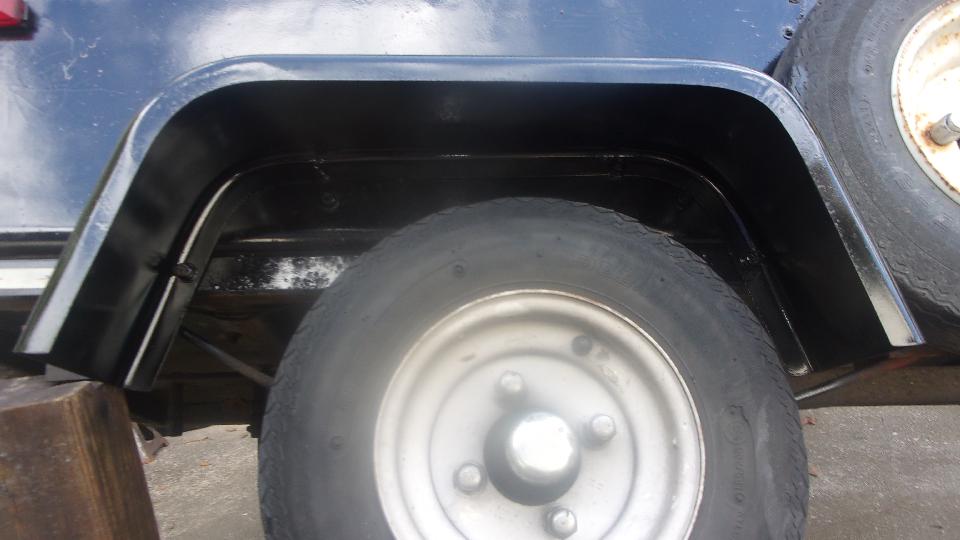
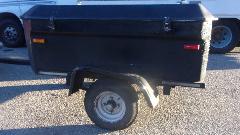
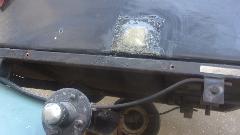
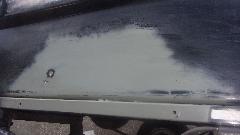
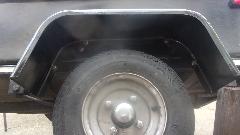
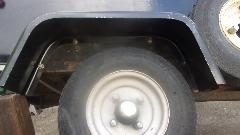
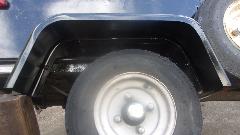
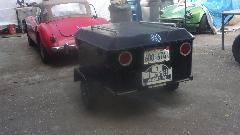
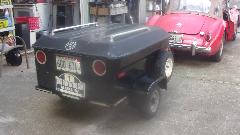
First picture below is left side, four bolts in the flange, and one hole plug bolt upper left not in the flange. When the original fiberglass fenders were replaced with steel fenders in late 1997, the new wings were installed an inch higher to allow installation of larger tires which it was wearing for one tire cycle. There is now space for 5.60x8 tires rather than the traditional 4.80x8, but have never again installed the larger tires, mainly a matter of cost, but also rear view sight line over top of the trailer. Second picture is right side, and please forgive the fact that this fender is about 2-inches farther back, not centered over the wheel. That happened with the change from the original smaller fiberglass wings to the larger steel wings, allowing for space occupied by the already present spare wheel on the right side. There are two rusty plug bolts in there, hard to see the one in far upper right. Third picture is an example of what happens when you spray a little more black paint inside to make the bolts disappear.
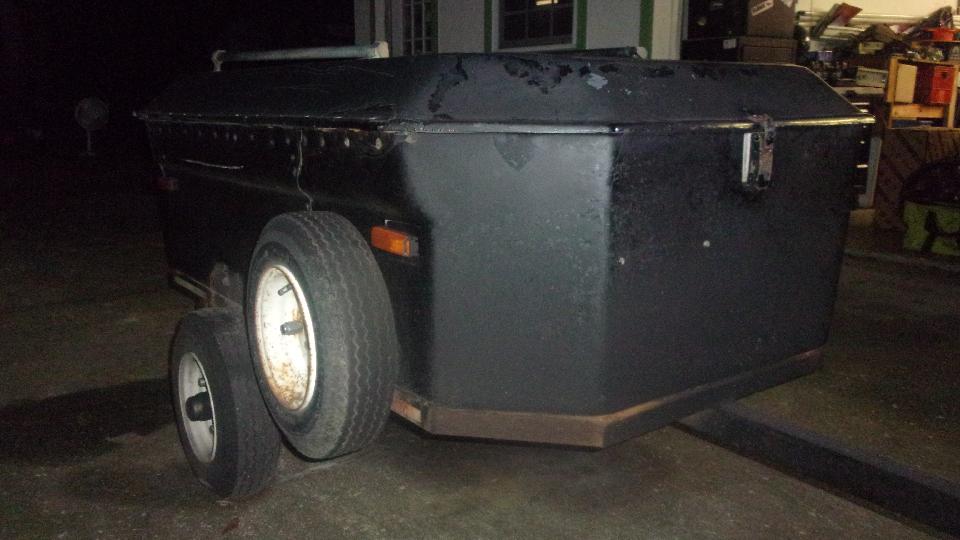
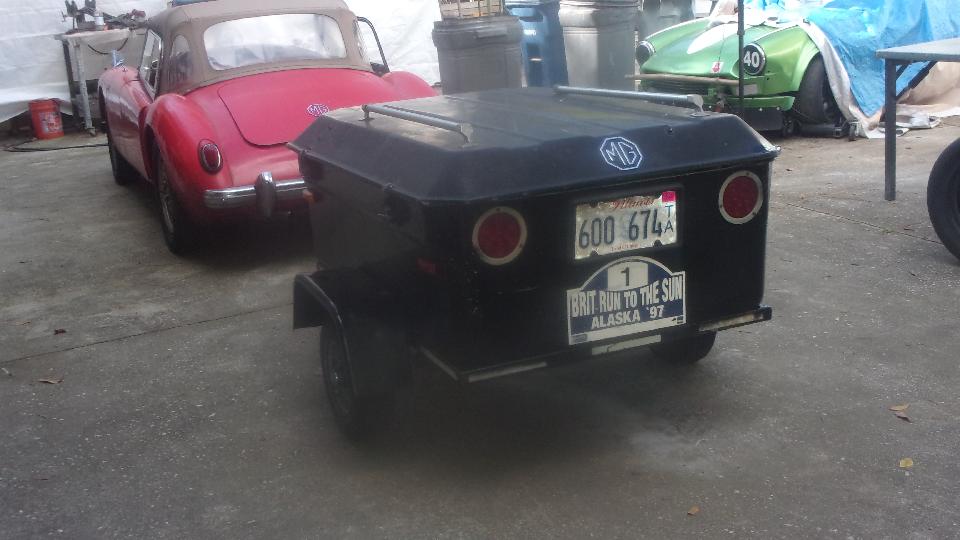
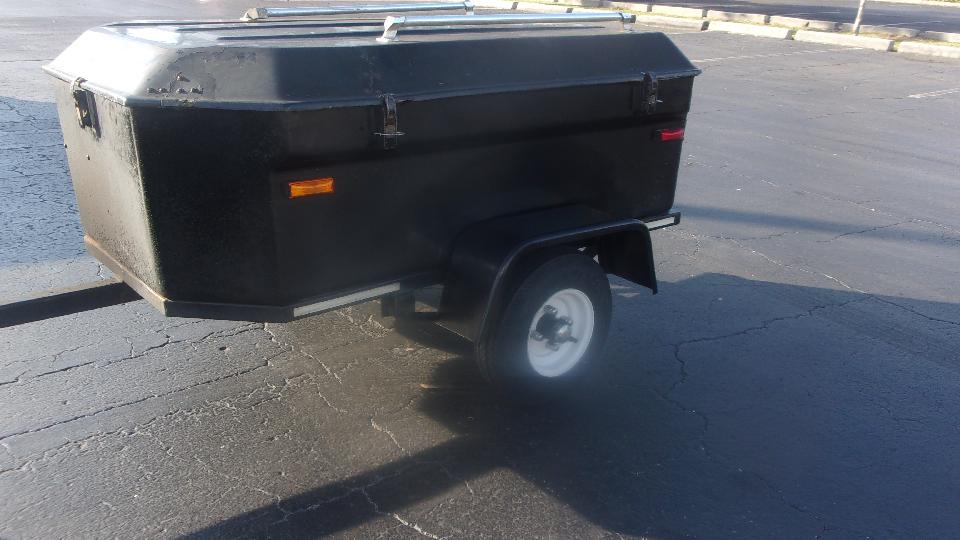
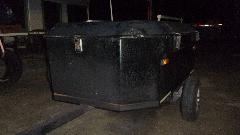
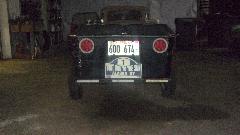
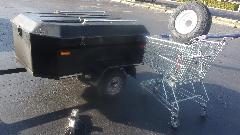
I also sprayed a little more black paint around the rear corners of the box to hide some much older slightly rusty screws holding steel splints inside from a 1997 crash repair, and also hiding some newer cracks after fiberglass repair of a right side tail light crash in September 2016. Back on its wheels, all packed up and ready to roll. Doesn't look quite as naked now dressed in its new wings. Does look a little more svelte with new wings only 7-1/4 inches wide where the old ones were 8 inches wide.

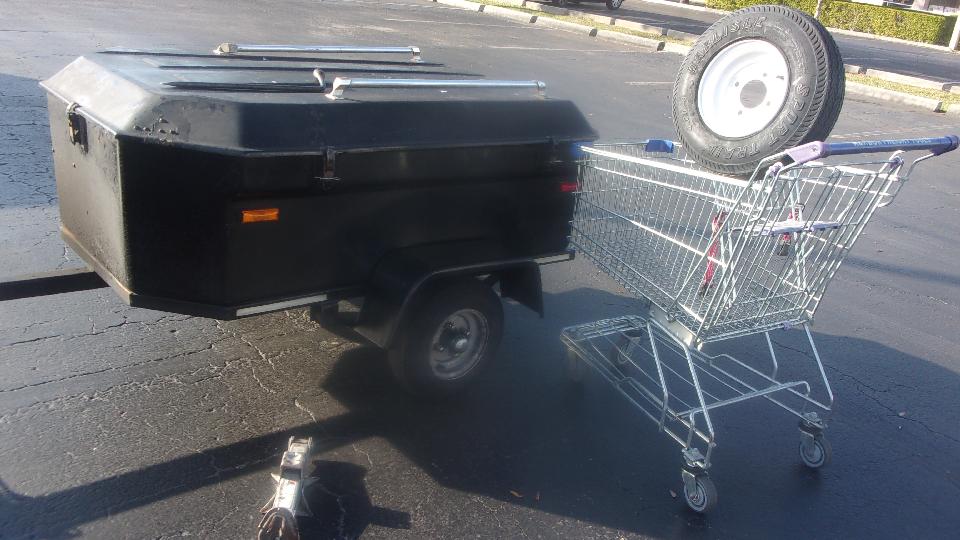
Not finished yet. Off to Harbor Freight Tools to treat us to a new set of tires (and wheels). Primary reason for buying new tire and wheel assembly is cost $40 (and very easy), while tires alone are about $20 each (on line). But last time around I got suckered into buying Load Range C tires (rather than B), and the tire sidewalls are so stiff that it took two men and a mule to get them onto the wheels. I didn't feel like having to pry them off or cut them off, so this was an easy way out. No more LR-C ever, please. Scissors jack and lug wrench, and in 10 minutes it was on and ready to go. The first HFT store in Bonita Springs only had one tire, so 20 miles up the road to another HFT in Fort Myers to get the second one. We were going that direction anyway so no problem.

The day was mostly shot when we stopped for 6-pm lunch and WiFi spot, so time to relax.
Tuesday, January 11, 2022:
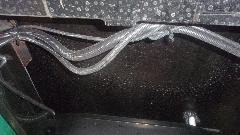
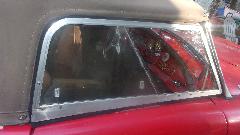
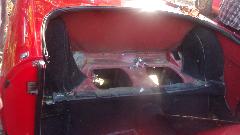
Had an incident with the car this morning, while cruising north on I-75 one of the passenger side curtain Perspex panels blew out. We backtracked 14 miles to prior exit to go around again, but couldn't find the panel anywhere along the road, so will have to find a home glass shop to pick up a sheet of Plexiglass to make a new panel.
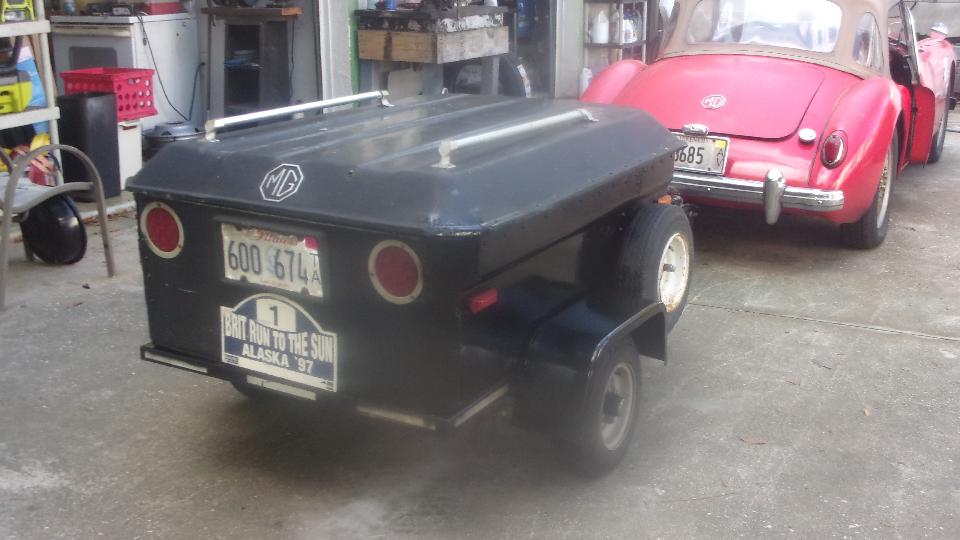
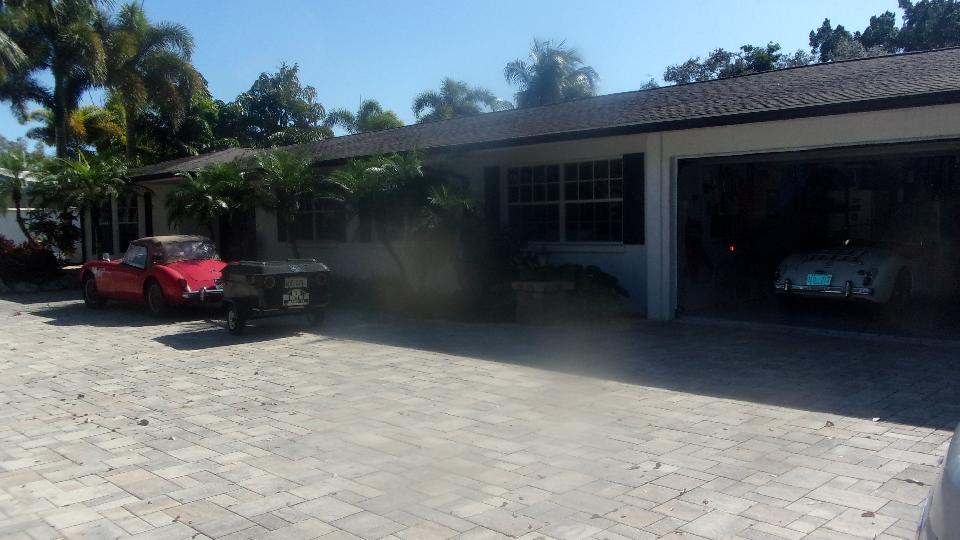
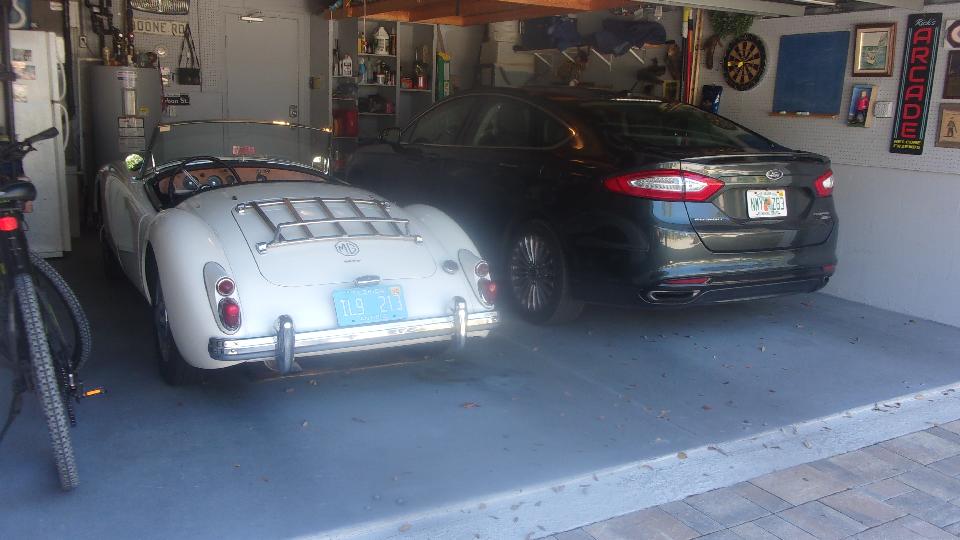
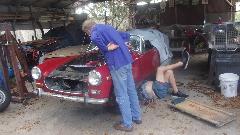
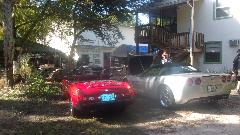
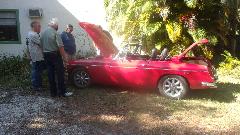
Late morning we arrived in Venice, Florida to visit an old friend Rick Schnitker who used to live near us in our old home town of Naperville, Illinois. We did stop here once a few years ago, just back for another visit. Rick has a nice daily driver MGA 1600 that had a little outer panel rust repair several years ago, but otherwise still wearing an older coat with paint over piping done by a previous owner. But he keeps it clean and waxed, so it looks pretty good, and has been running like a champ for many years with no problems.

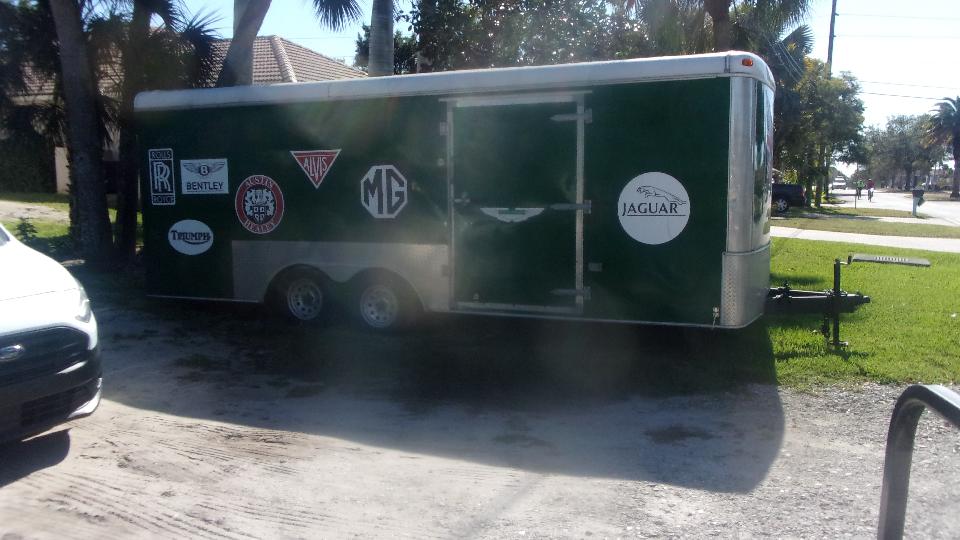
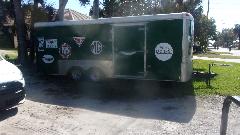
We took the Florida limousine for a cruise to visit a few "car guy" neighbors. First guy was out for a bike ride, but we had him on the phone for bit and got to check the place out. Nice car hauler trailer.
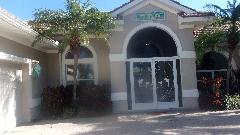
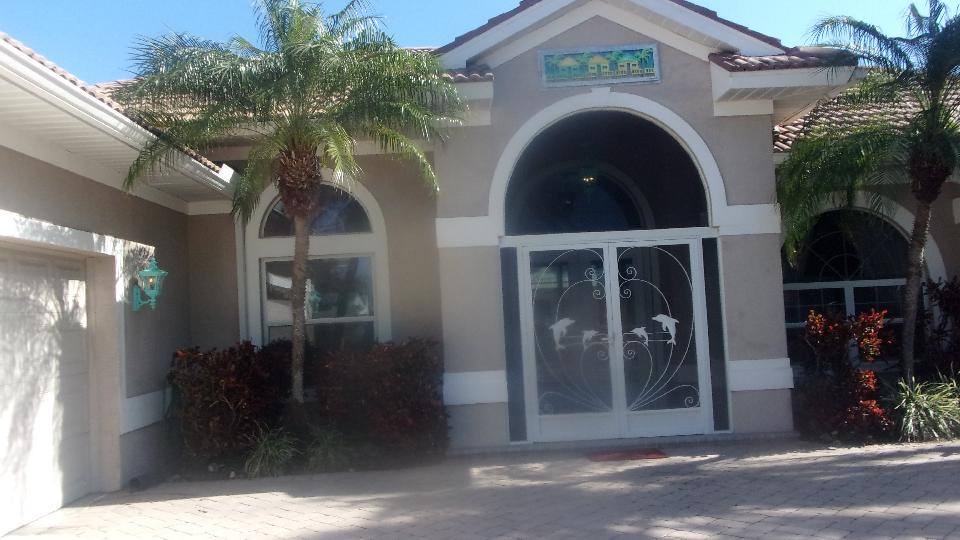
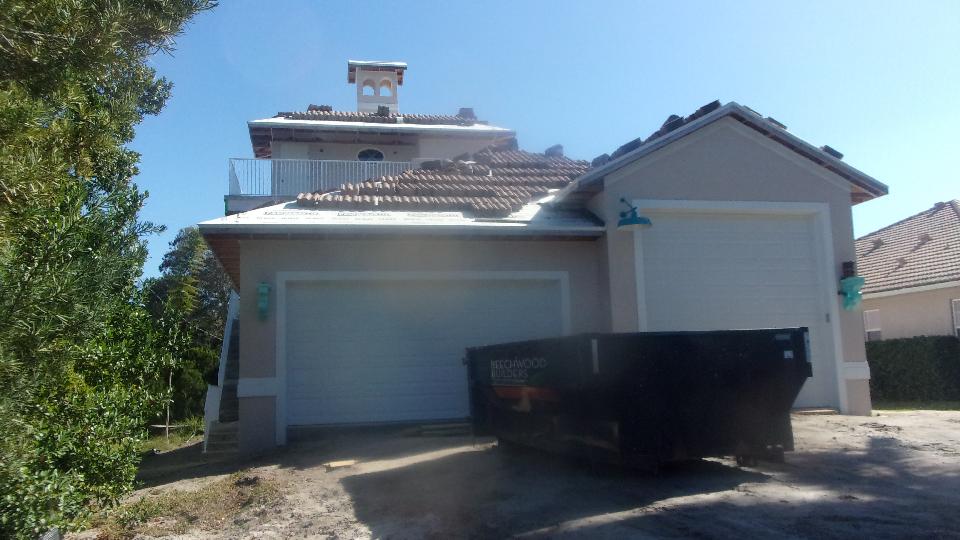
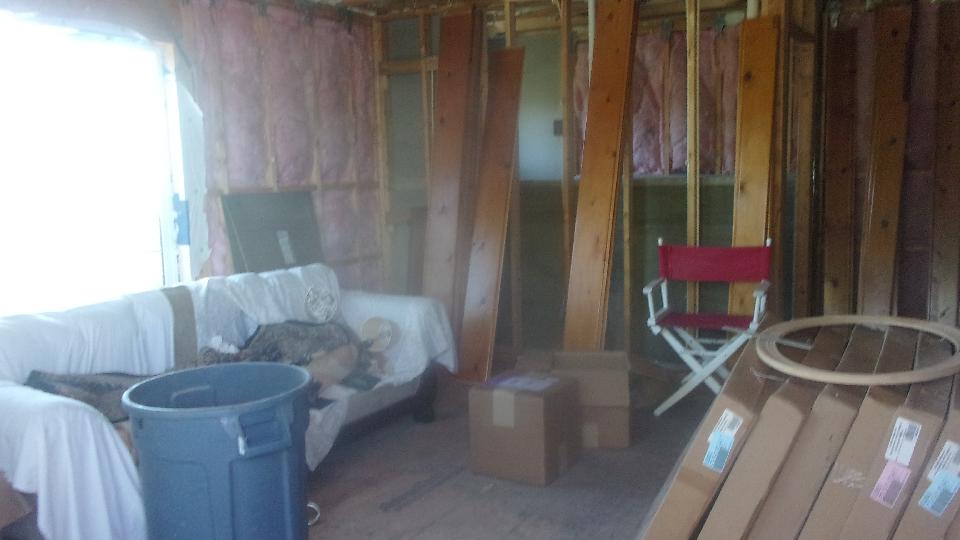
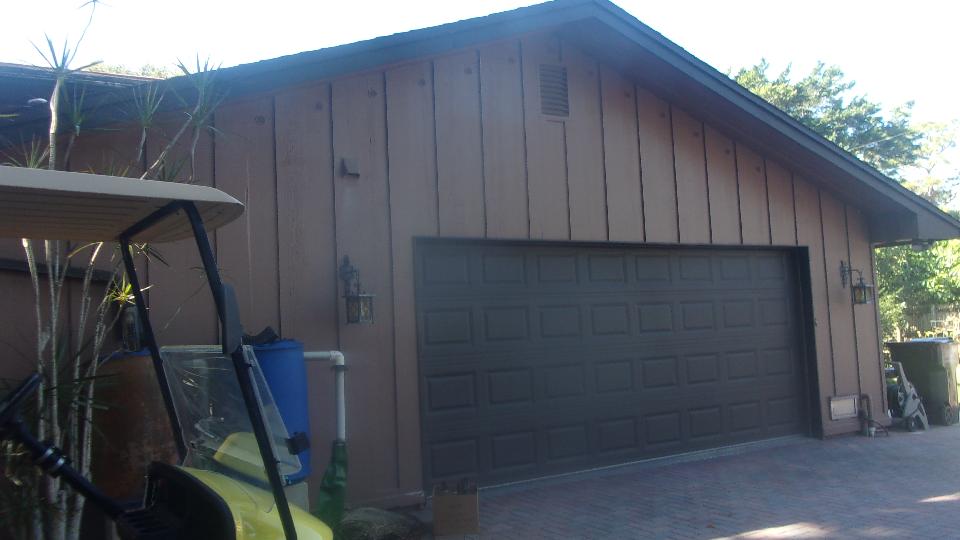
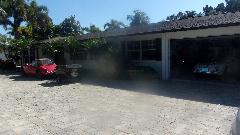
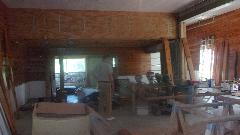
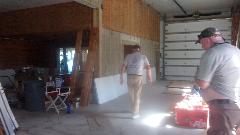
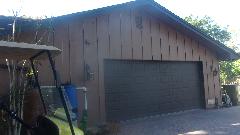
This place belongs to Douglas Kniff. The significant bit here is a new toy shop under construction, three stories tall plus a cupola on top. The double door on left has space two cars deep with high ceiling for a car lift or two, and club room space behind with kitchen and full water closet. The entire interior is destined to be lined with Knotty Pine board.
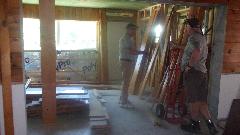 The single tall door on right has space at least three cars deep with even higher ceiling, intended as home for a boat (among other things). There is another tall drive through door in back, but not much space behind before the property line. Some negotiation going on to lease a legal right away across the property line to be able to drive out the back and down a neighbor's driveway for access to the next street over, so the boat and tow vehicle might drove in the front and out the back.
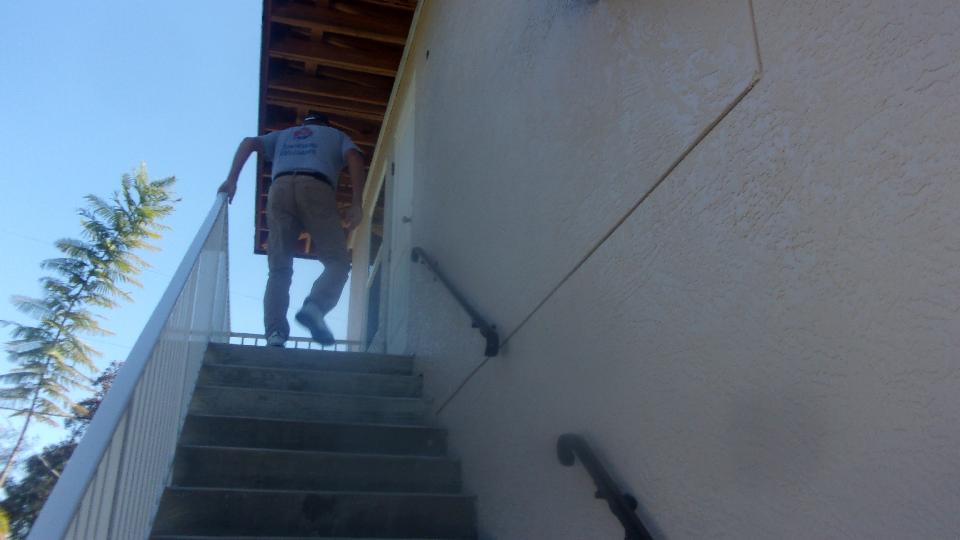
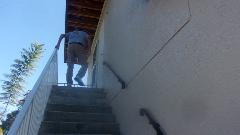
Out a side door an up a long flight of stairs to the second level to find a guest room/suite with lounge room, kitchen space, full bath facilities.
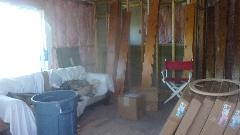
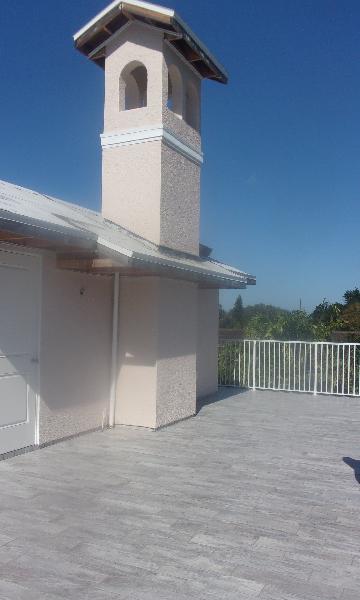
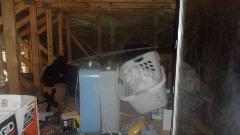
The "window" on the right was considered to be looking down to the main floor garage space, but a change of plans gave it a floor to be used as storage attic space. Up another flight to the third level patio and walk around balcony and a couple of storage rooms.

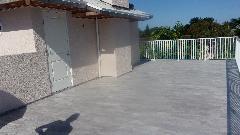
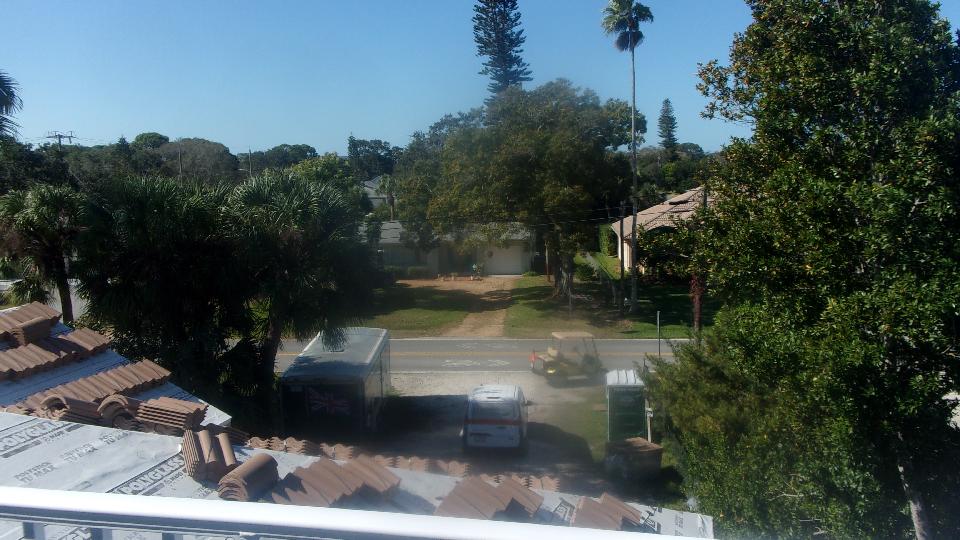
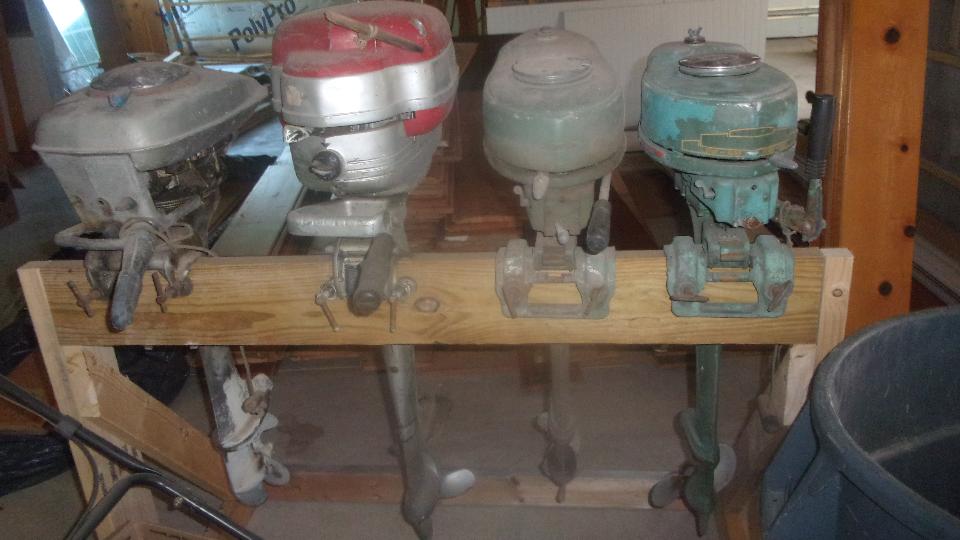
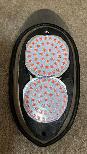
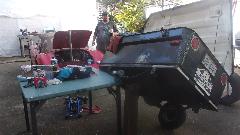
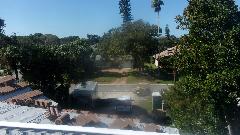
 Think if this as a "widow's walk", not close to the ocean, but it does have a view above most of the tree tops all around. The odd bump in the wall with the cupola above it is going to be a fireplace on the patio. Back to the ground floor on the way out, get a picture of a few toys already resident, some vintage outboard motors. Nice toy shop.

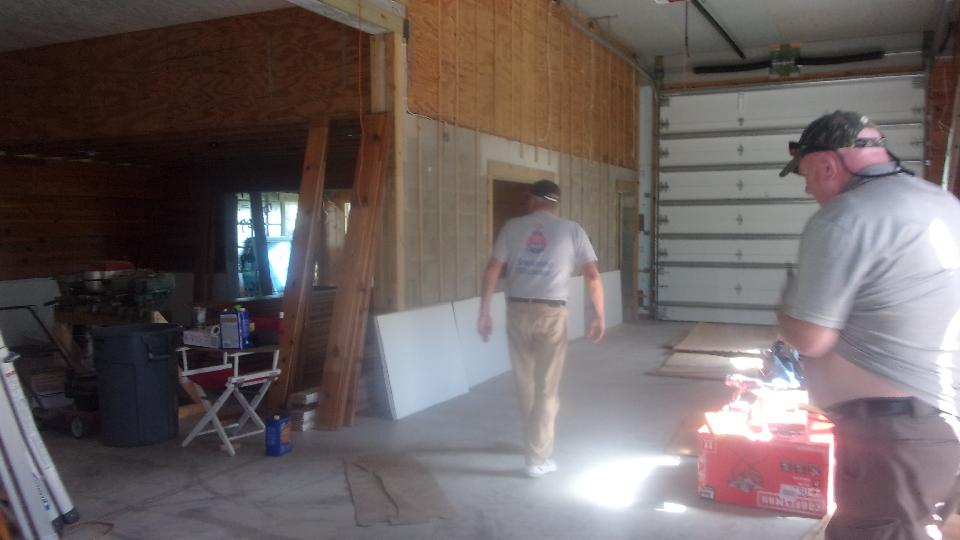
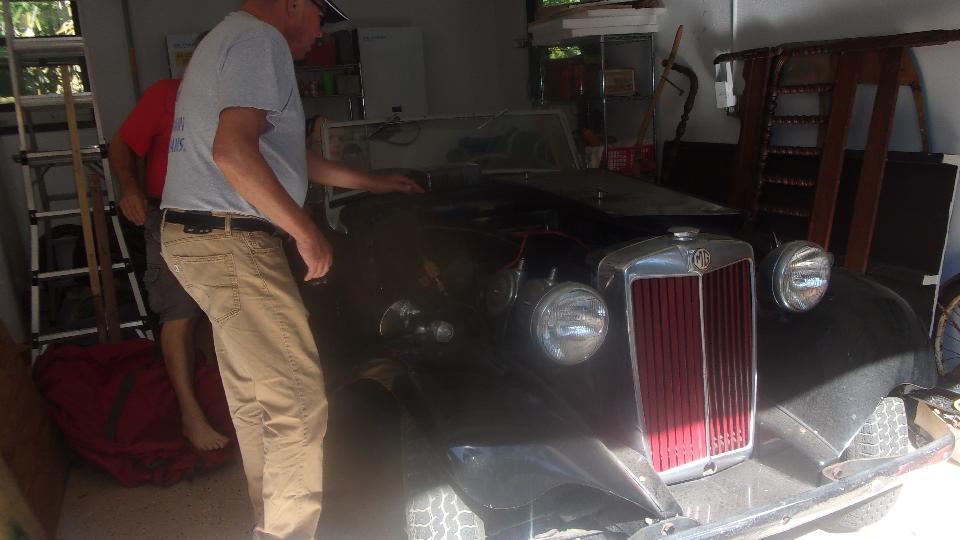
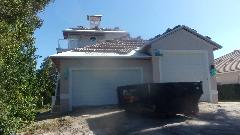
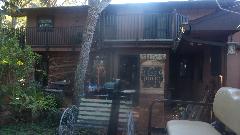
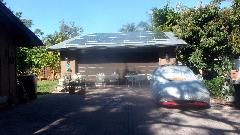
Then off to visit another neighbor John Holic, just behind Rick's place, walk through a gate in the back fence to get there. No shortage of garage space here. The car under the cover is s Saab, but not much interest today.
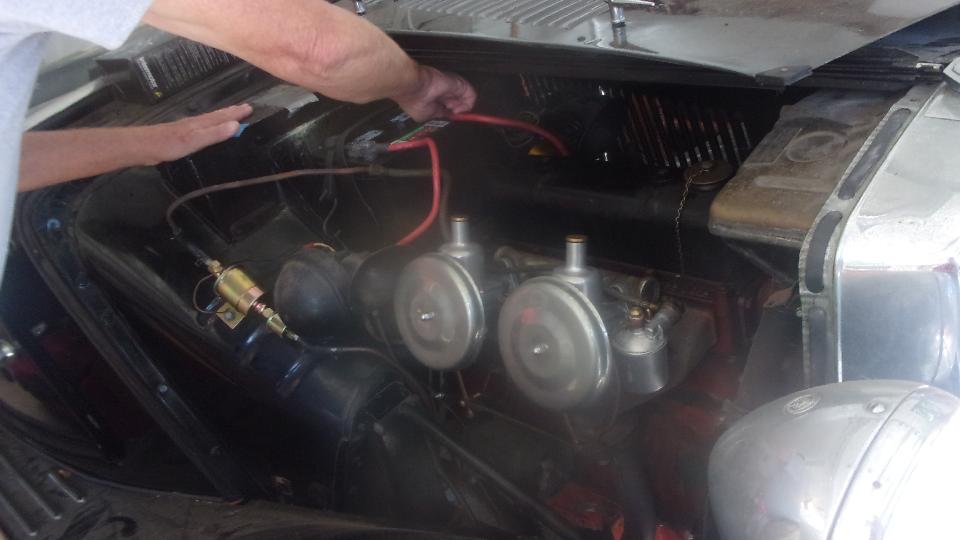
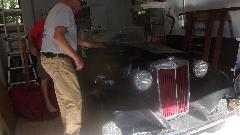
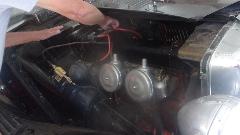
We were here a few years back as well, checking out his 1951 MG TD. It had some serious carburetor problems at that time, so those were sent off to Joe Curto for repair and complete rebuild, now looking right spiffy. The choke cable is rusted solid and disconnected, needing replacement, but hands on the linkages got it choked and throttled, cranked up, and in a minute it was running quite well. Fuel mixture was even spot on, just needing idle speed adjustment, but we did have to put oil in the dashpot dampers to get it to rev up without coughing, after which it sounded like ready to go racing. Nice hot exhaust, no smoke, no soot, so the engine is in excellent condition. Ignition light was on bright, so not charging. The 8-post control box scared me off, have to go to school on that one before tinkering with it. But it is a simple 2-terminal generator, should be easy to test that, except John's digital volt meter had a dead battery, so defer that to later date.
Back to Rick's place for the rest of the evening, late night chat until midnight catching up on old times.
Wednesday, January 12, 2022:
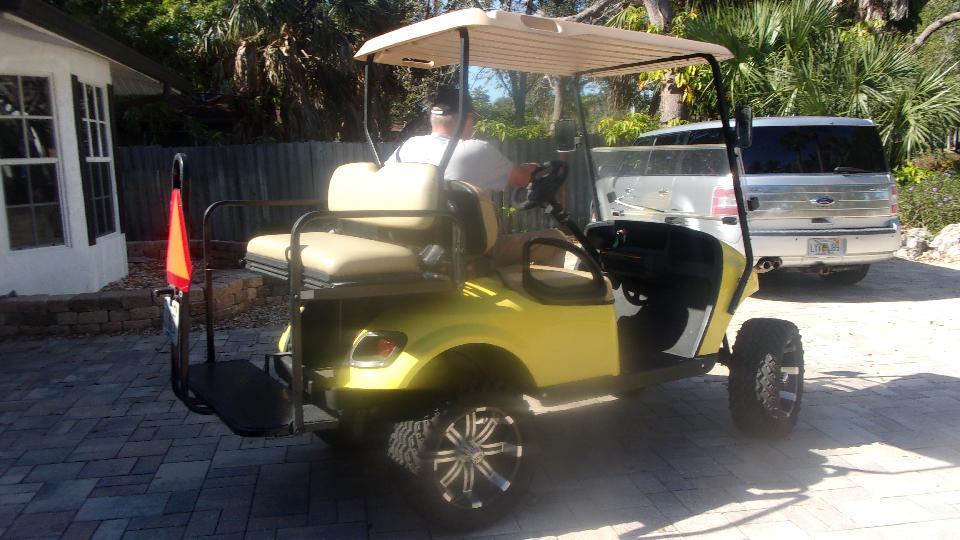
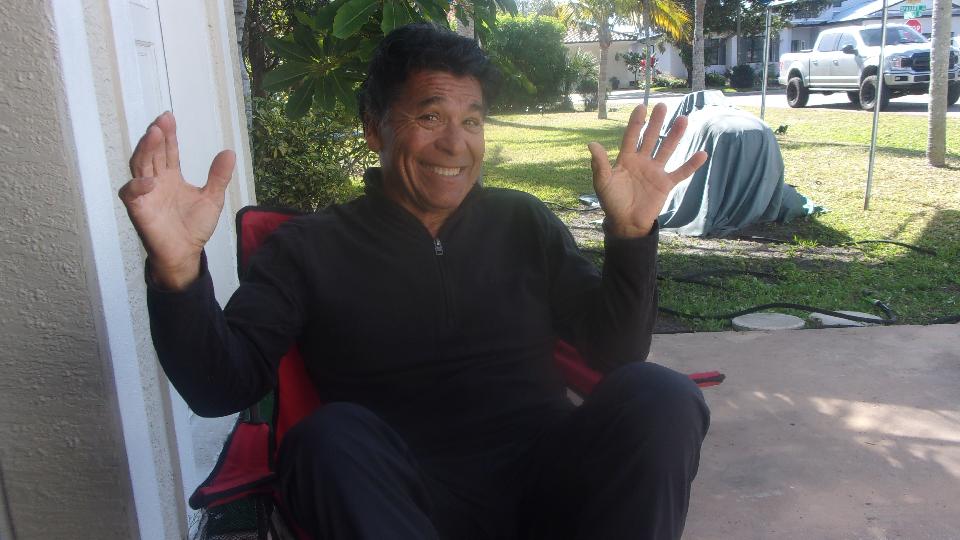
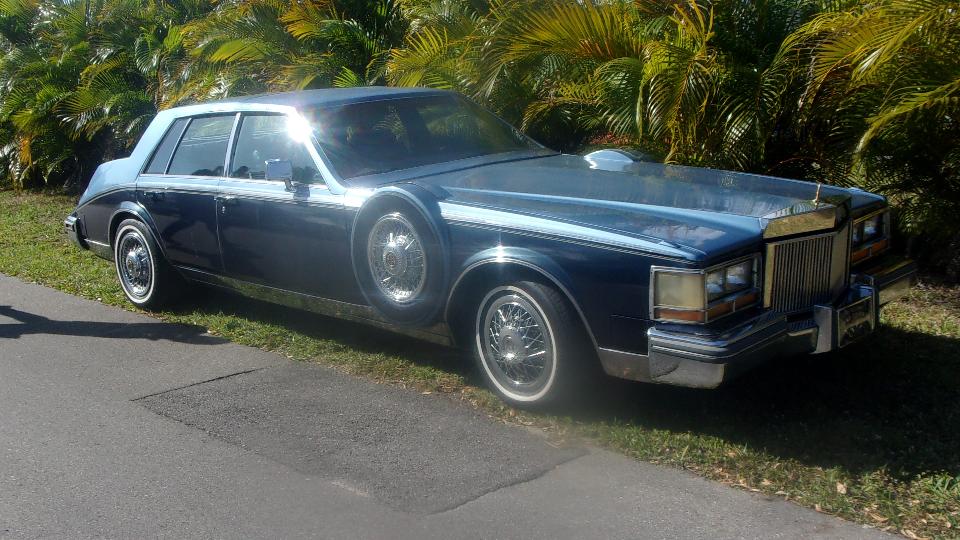
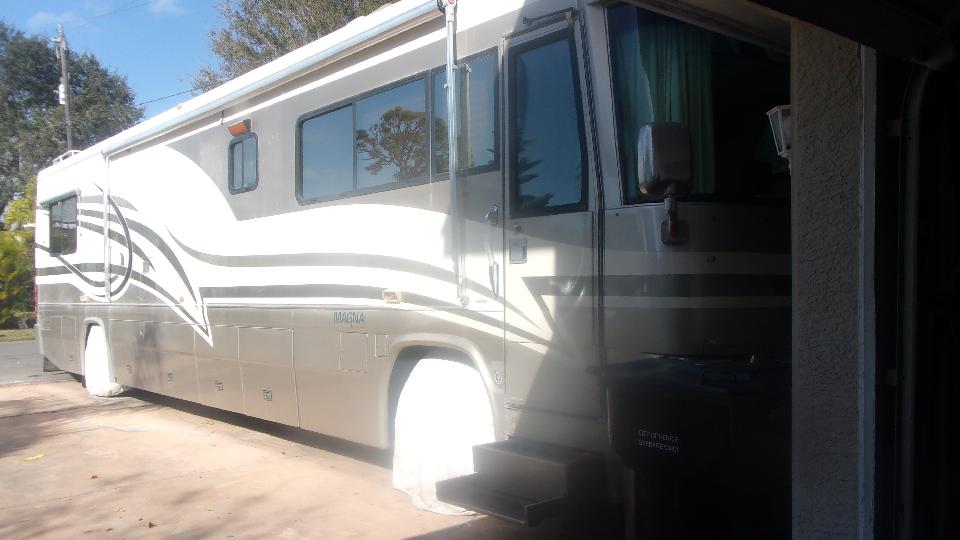
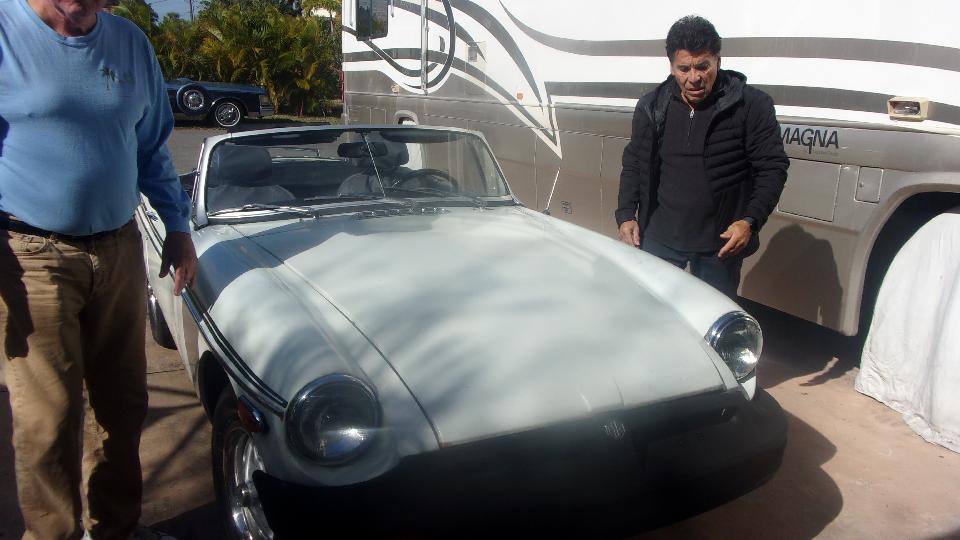
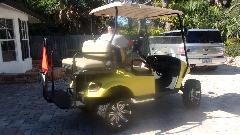
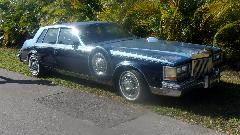
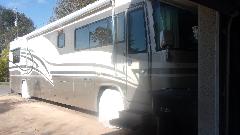
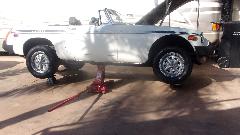
A few blocks farther away we drop in to visit Tito Gaona in Venice, FL. The big blue American sports car (1980-85 Cadillac Seville Stretch) has been his daily driver for decades, while the motor home with its tail slightly in the street may be his SUV. A bit farther on you might understand why he has these vehicles.

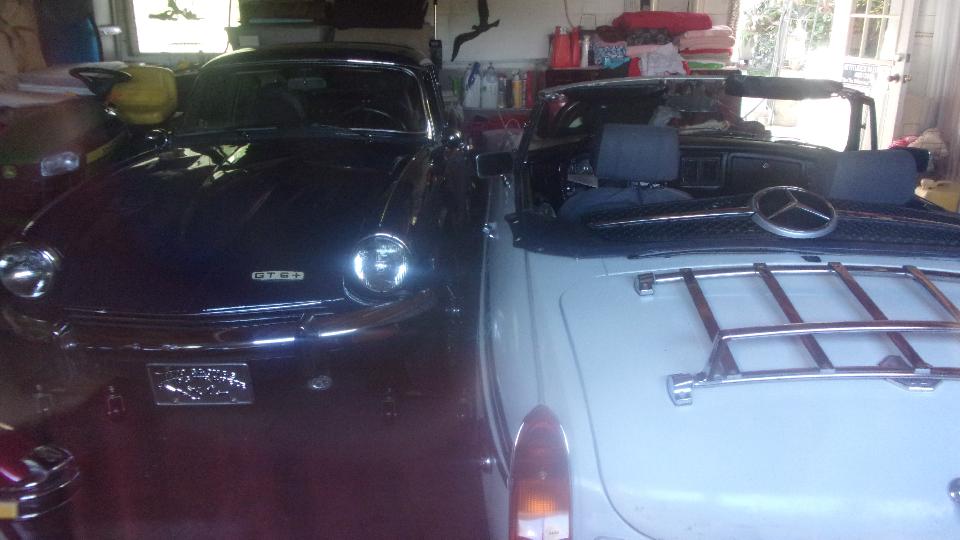
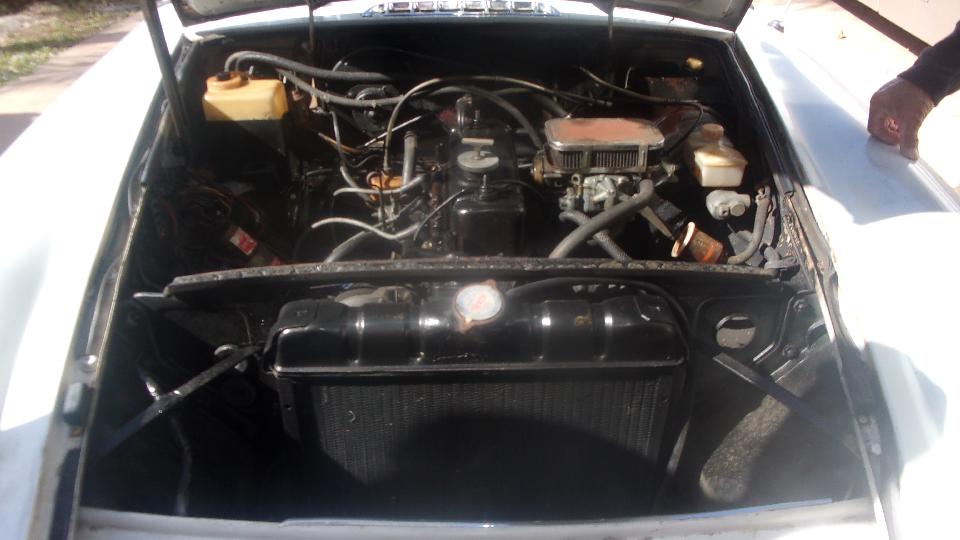
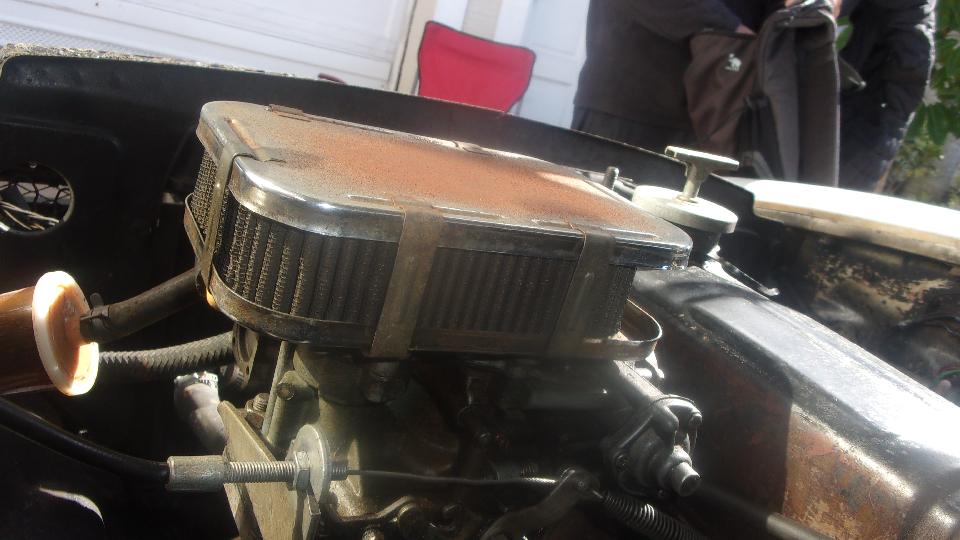
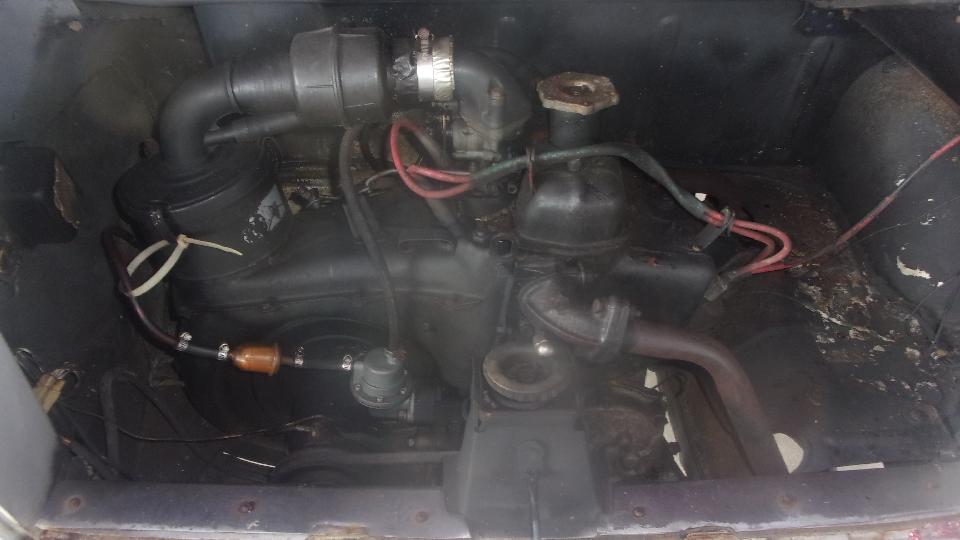
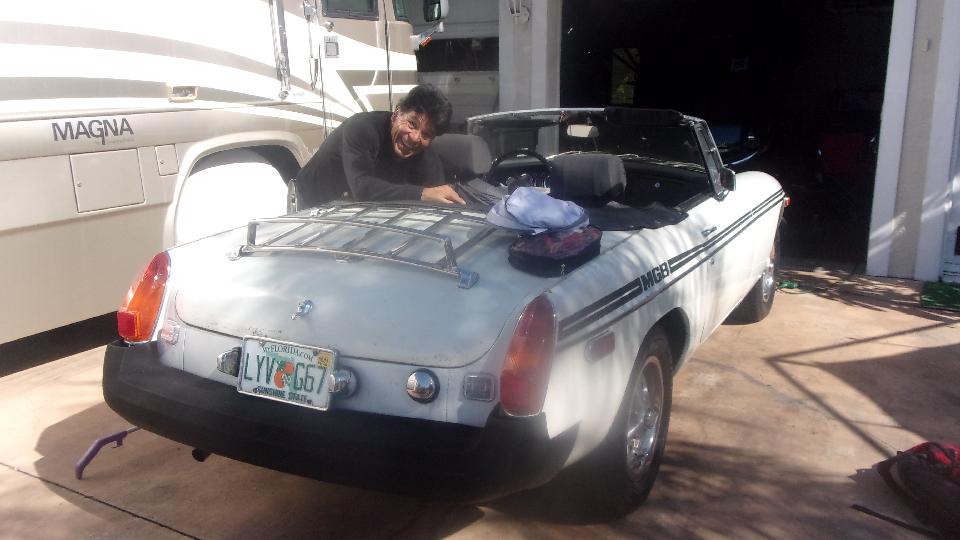
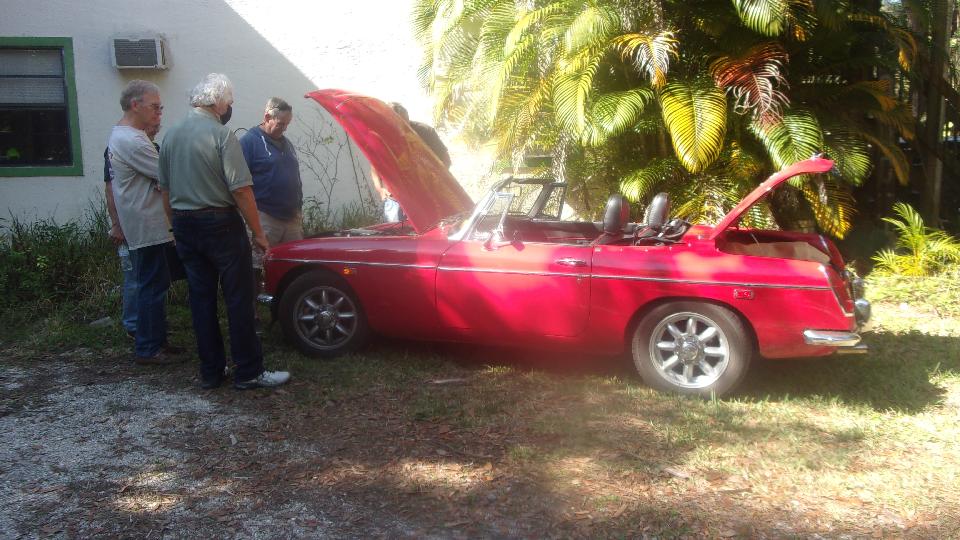
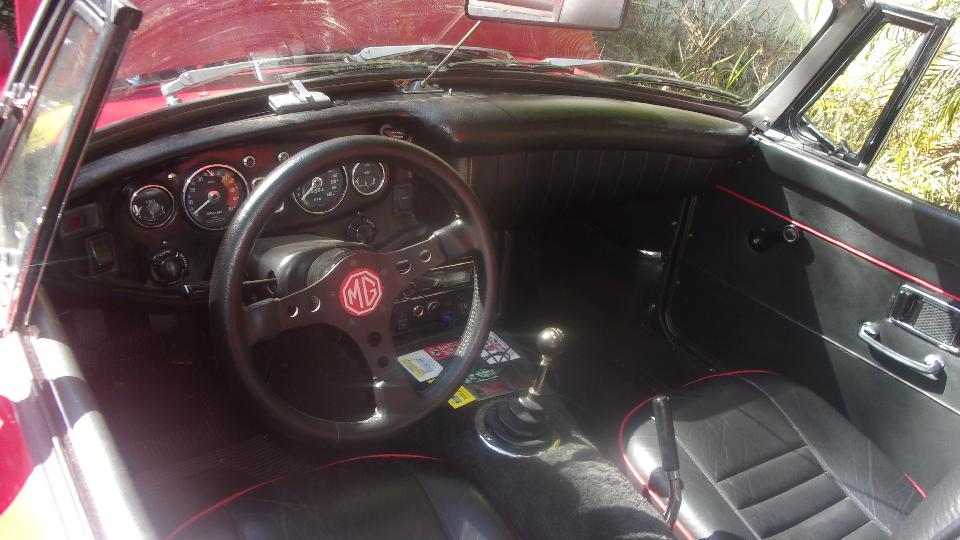
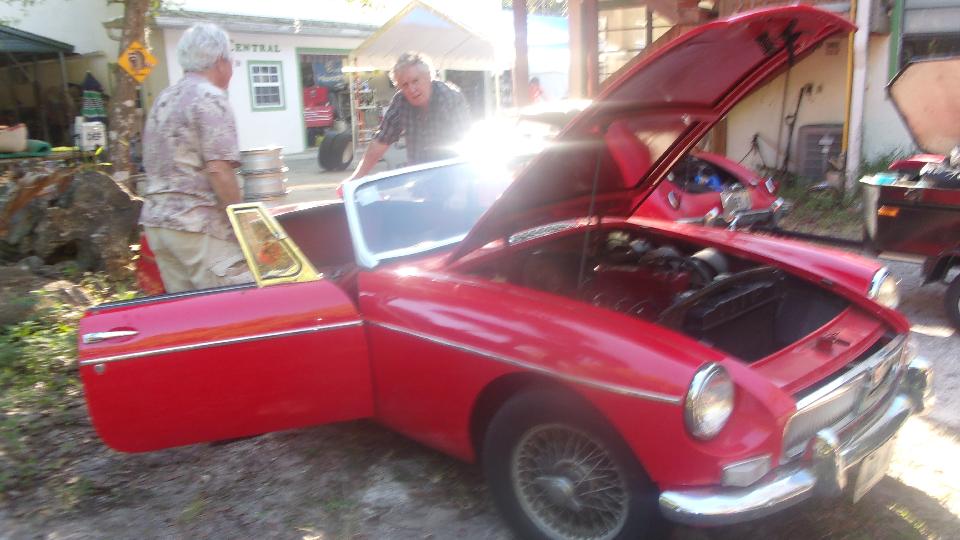
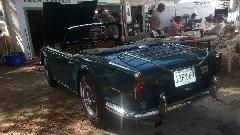
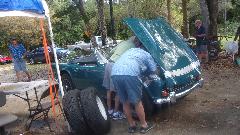
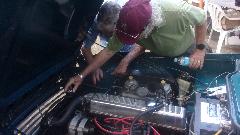
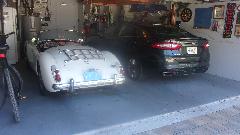
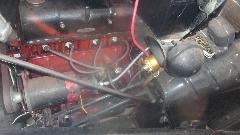
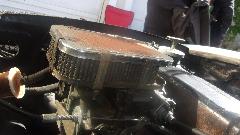
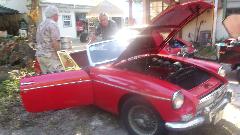
But he likes vintage British cars too. In the garage he has a Triumph GT6+ (which will have to wait its turn) and a 1976 MGB (which we will look at today). He thinks it may need a carburetor adjustment, as it starts but does not keep running. Bonnet up reveals a Weber 2-bbl downdraft carburetor, which may actually be an upgrade over the original single Stromberg carb. We may have spent too much time chatting about this conversion having defeated positive crankcase ventilation, fuel vapor recovery, and anti-run-on functions, and how to possibly restore them. But we did ultimately get down to trying to get it running.

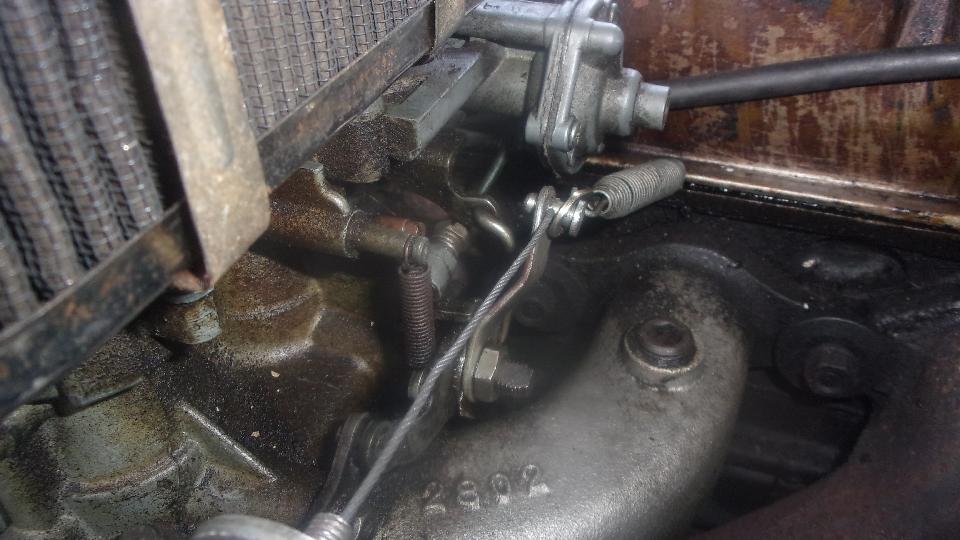
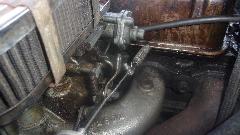
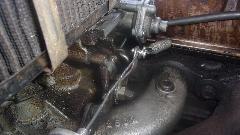
The throttle linkage was disconnected at the carburetor due to a missing snap ring (or whatever was supposed to hold it together). We eventually discovered that if the trunnion pin would be installed from the front rather than the back, tension of the return spring might hold it together (at least long enough for a test drive).
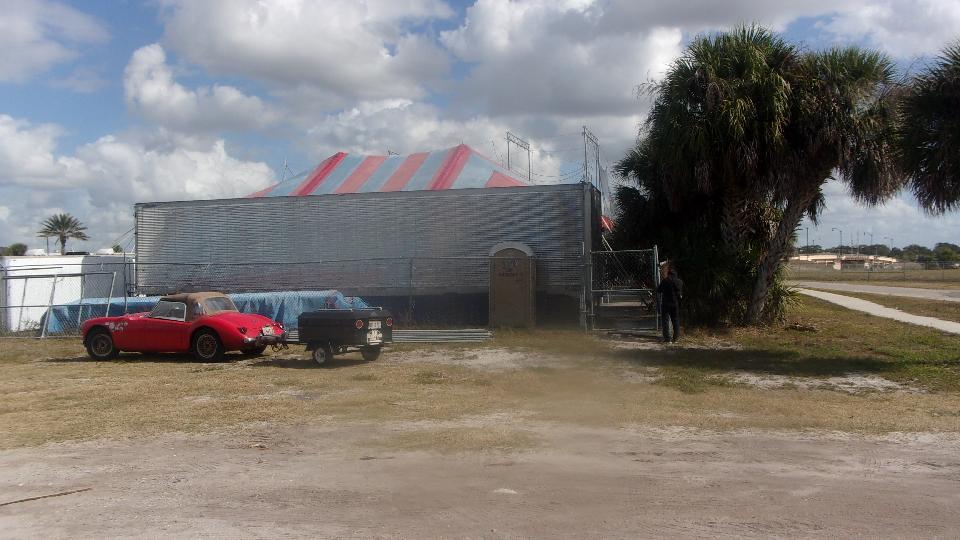
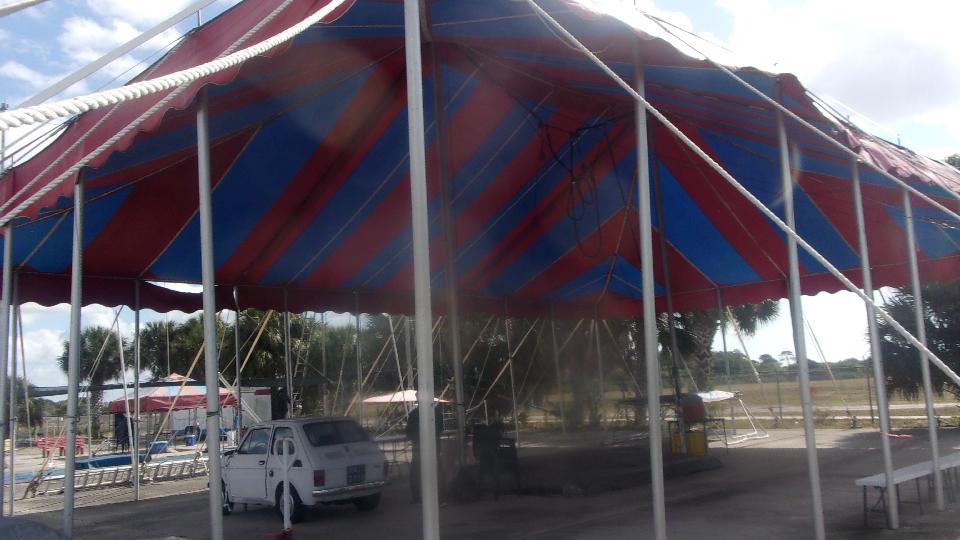
Then we took a little "coffee break" diversion to visit Tito's work place, i and around the Big Top circus tent. Like flying? Forget the airplane and take the trapeze. Tito is in his mid-70's now, and has been flying since before he was 10 years old, so maybe 65 years. He still performs in public, and "on the side" he runs his flying school for people of all ages apparently.


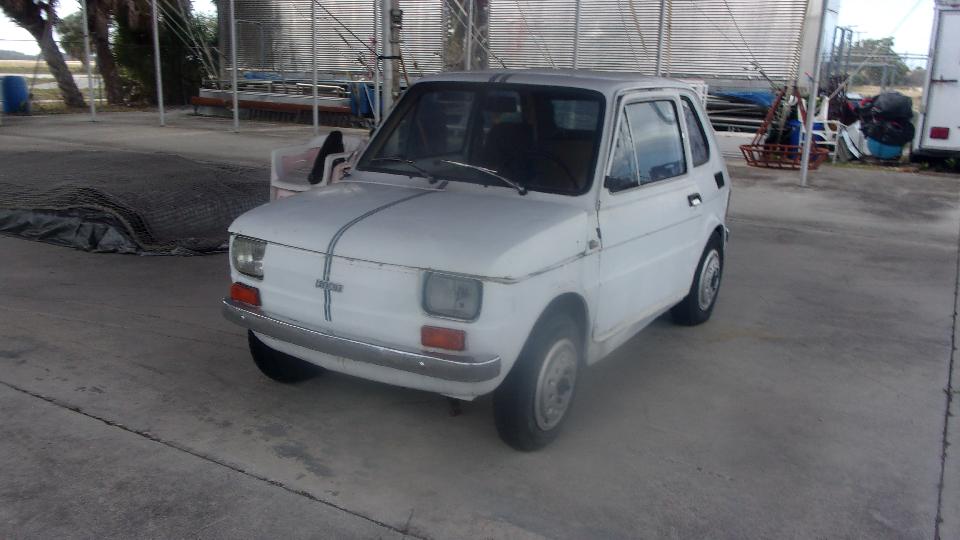
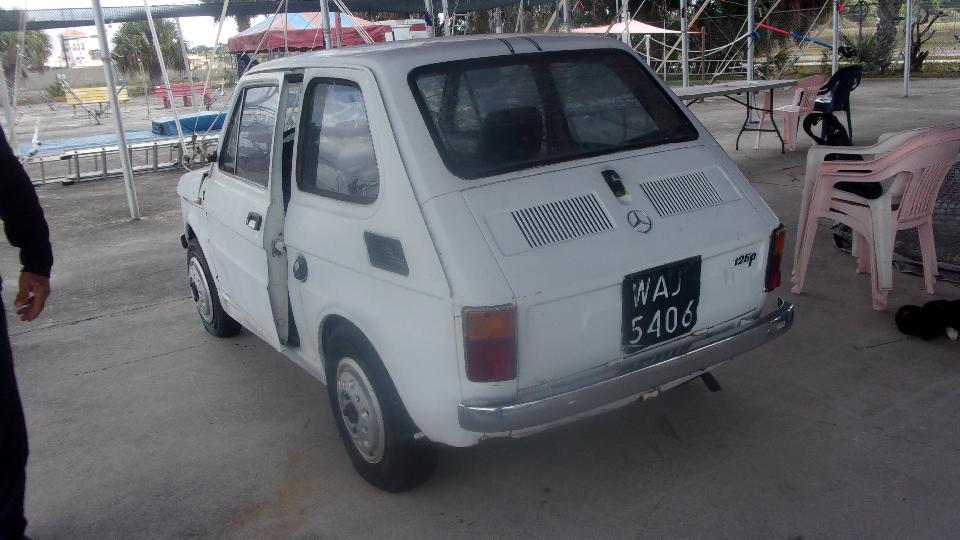
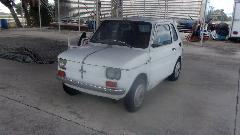
To be honest, the rear reason we came here was to check out his "clown car", a Fiat 126 with 2-cylinder engine in the rear, 1972-1993 vintage. It might be the only one in America. I hope he doesn't ask me to service that one.


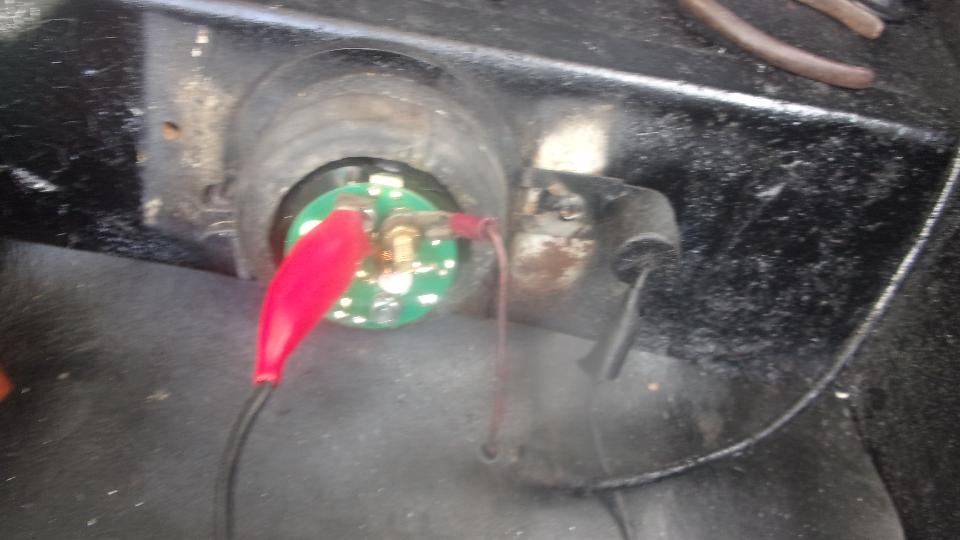
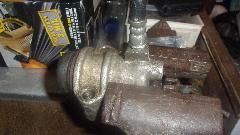
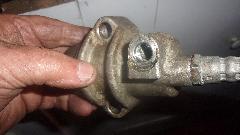
Okay, back to his MGB thinking "tune-up", it didn't take long to figure out the fuel pump wasn't running. It turned out to be an electronic replacement SU pump, and the electronic circuit was failed. You could touch power on/off and get one tick per cycle, surprisingly similar to a points-type pump with failing points. With an extra grounding wire it ran for a few seconds, and then didn't run again. Quick decision to install another fuel pump.
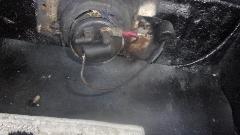
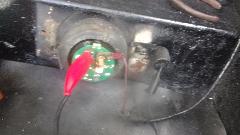
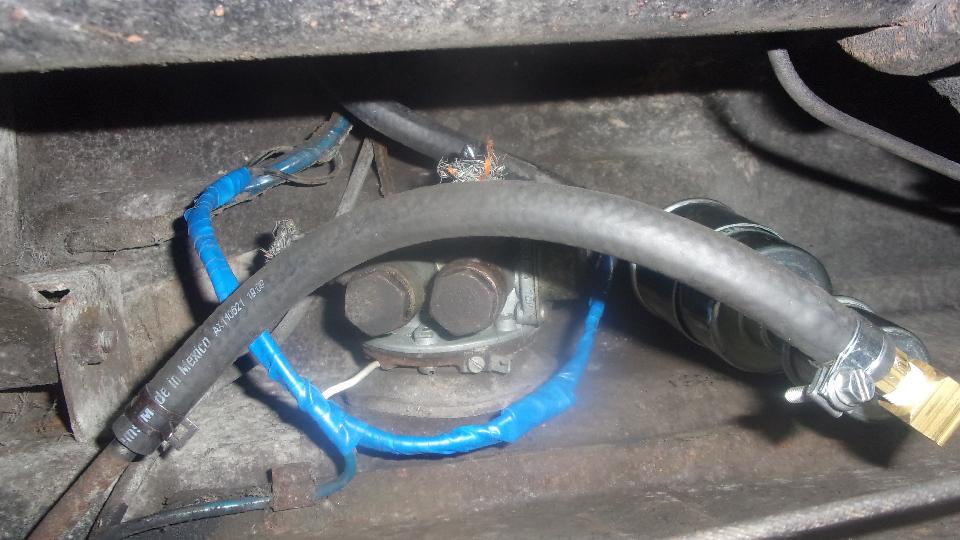
As a matter of expediency, pull an Airtex type universal electronic fuel pump out of the Magic Trailer, and begin configuration. Oops, we must have installed one too many of these recently, because I was out of brass street ells and hose barbs. Time for a trip to a parts store while Tito had an afternoon appointment at school. Wow, four parts stores before we found enough of the brass bits for Tito and for spares in the trailer. Around 6-pn we were back at it, removing old hoses and installing the new pump. Didn't take too long, but it was getting dark enough to need lamps and flashlights by the time we were done. And TA-DA, the engine was running.

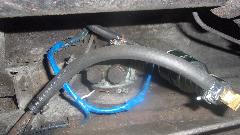
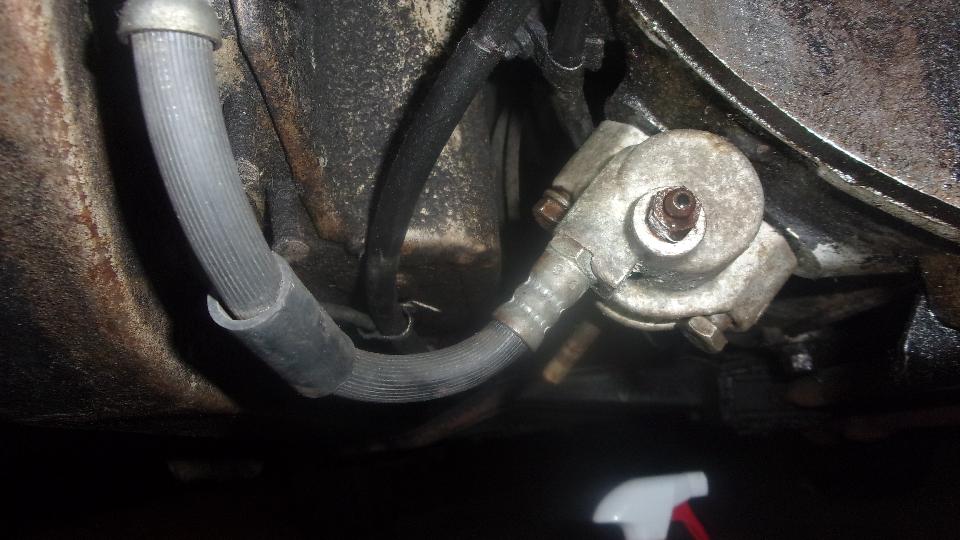
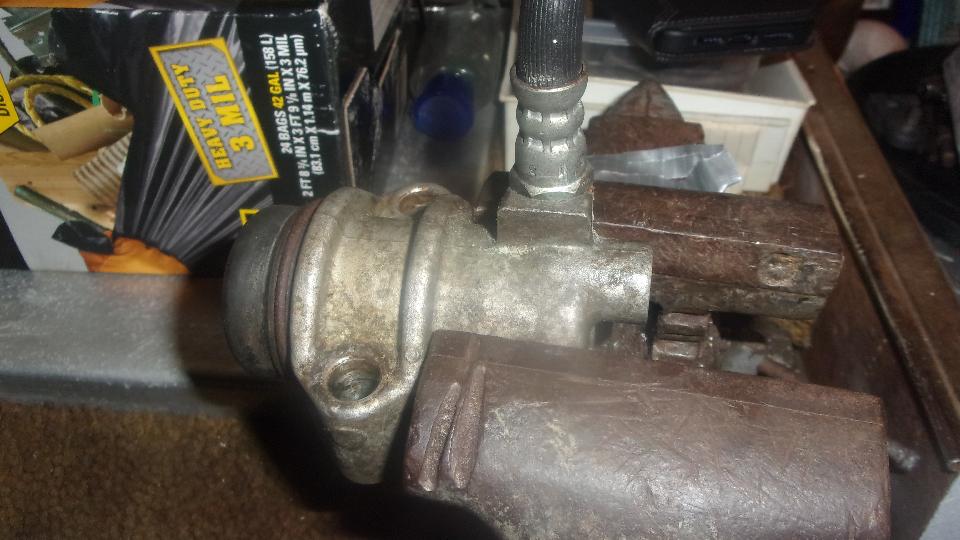
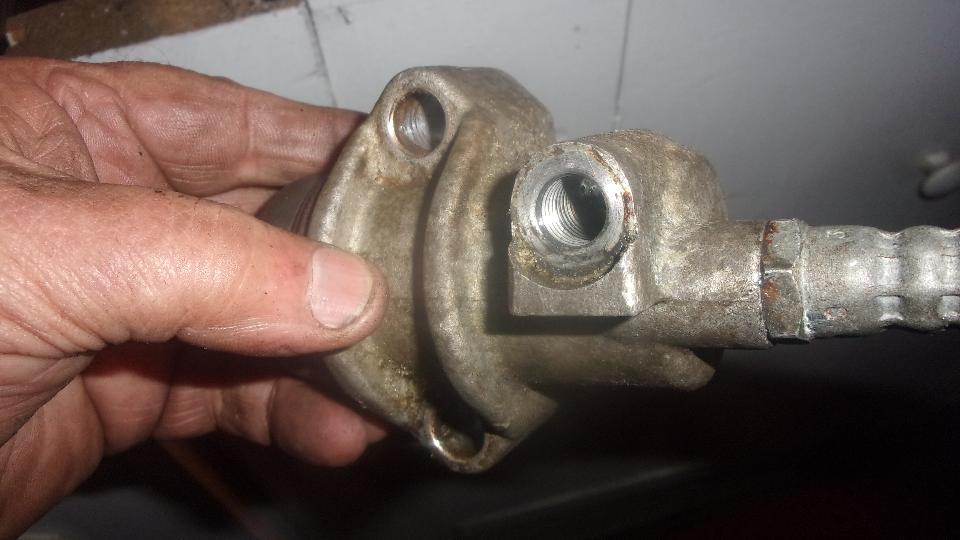
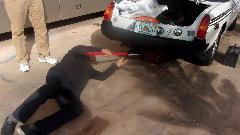
Time for a test drive? Well, yes and no. Tough to drive it in the dark when the clutch does not release, Oops again. Back up the drive to check fluid, and jack it up to check travel of the save cylinder, and what the hell? Some DPO
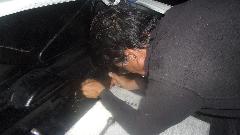
 had installed the clutch hose and bleed nipple in the wrong ports on the save cylinder, so there was no way to bleed it (at least not in normal fashion). Okay, do the right thing, move the hose to the correct port (a lot easier said than done). Then under the car for hours fighting wrench access space, ultimately disconnecting pipe from hose and removing the hose and cylinder assembly from the car to work on the bench, because we didn't want to destroy the hose (no spare handy), and the cylinder appeared to be still serviceable. Reassembly is the reverse of disassembly, plus needing to bleed it before use. After a long ordeal repeatedly bleeding it, and looking like it had enough output travel to work, still not working, no clutch release, so call it quits at 1-am, and take this up tomorrow.
Thursday, January 13, 2022:
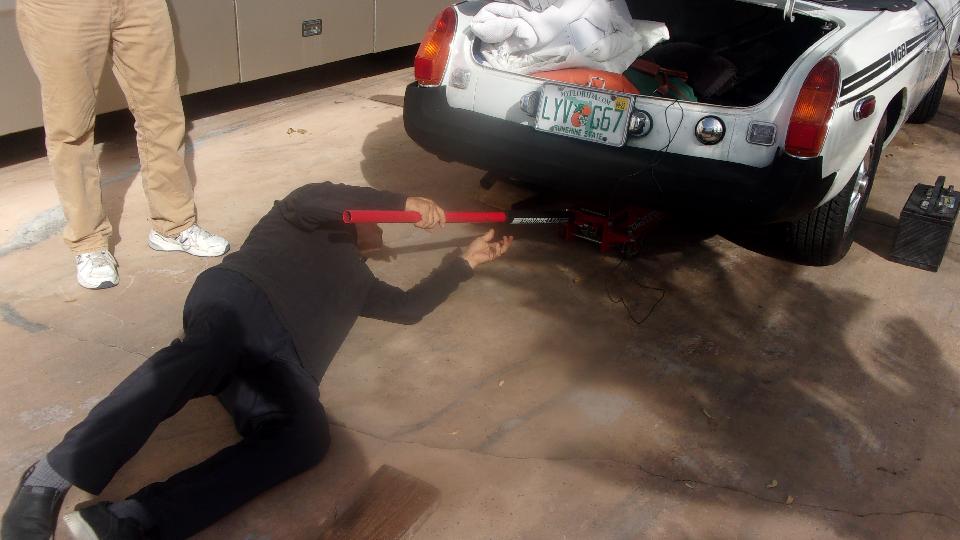
Up early with a few data chores to do, and Tito had a school appointment at 11-am, so we got back to work about 1-pm. Diagnostic work first. Jack it up, get under with a big wrench for leverage. I pull the lever while Tito steps on the clutch pedal, push and hold the lever back while Tito gives it a double pump, resulting in 3/4-inch of slave and clutch lever motion (50% more than normal), but still no clutch release. Was working when parked, about four months earlier. I recon 98% chance the friction disc is stuck to the flywheel. Can't do the driving tricks to release it until we get the hydraulics working properly.
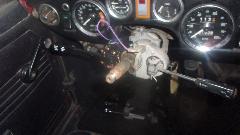
While fiddling with the clutch we notice the pedal goes half way down with no resistance, like lots of air still in the circuit. Double pump helps, but the the pedal gradually drops to the floor with no motion of the slave cylinder, meaning the clutch master cylinder is leaking (internally or externally). Then Tito was asking about the wet floor in the car under his feet, which of course was brake fluid from the leaking clutch master cylinder. Rats, we were just going to tune the carbs, right?

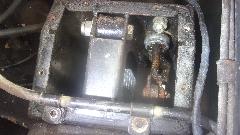

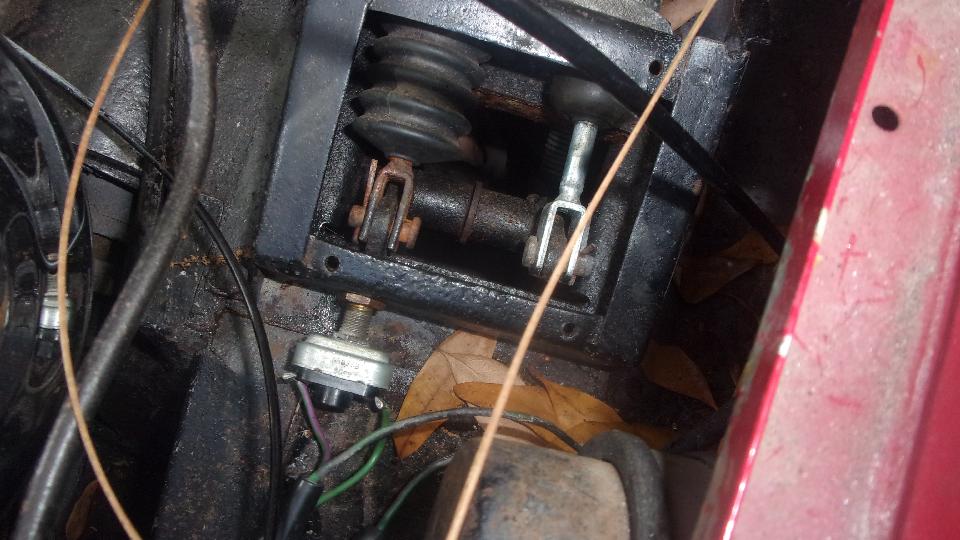
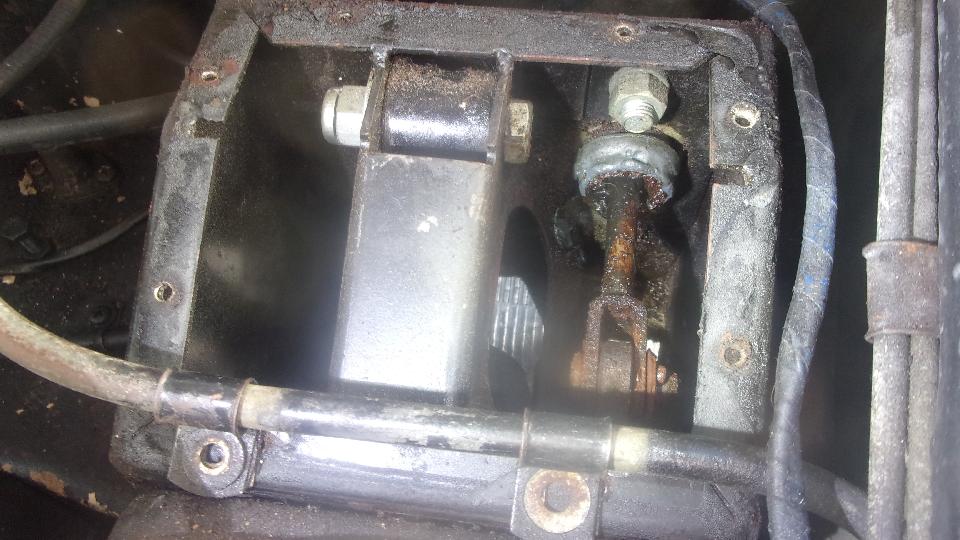
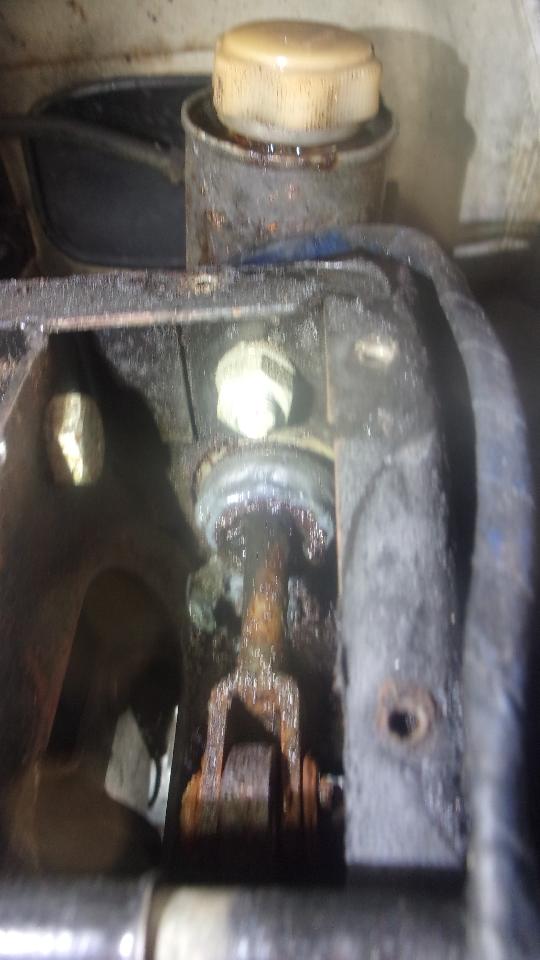
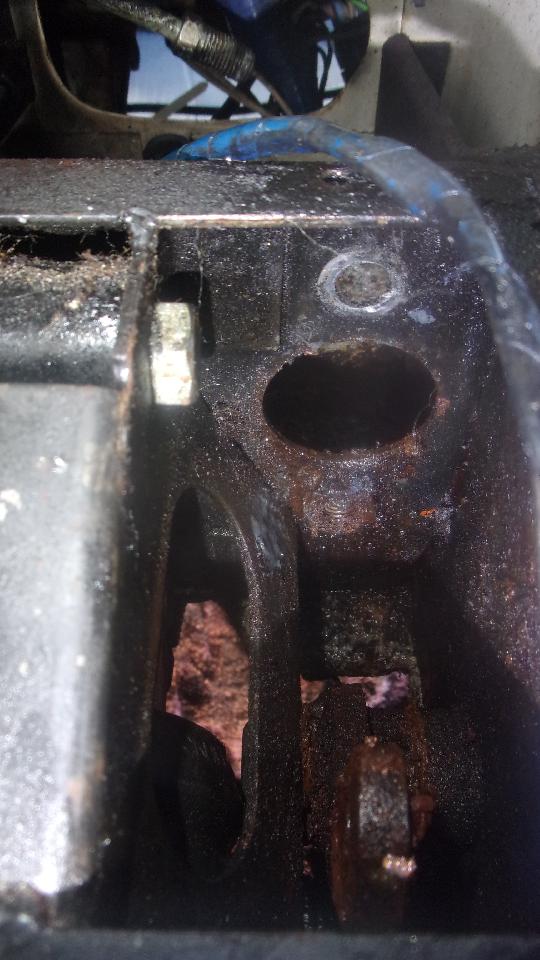
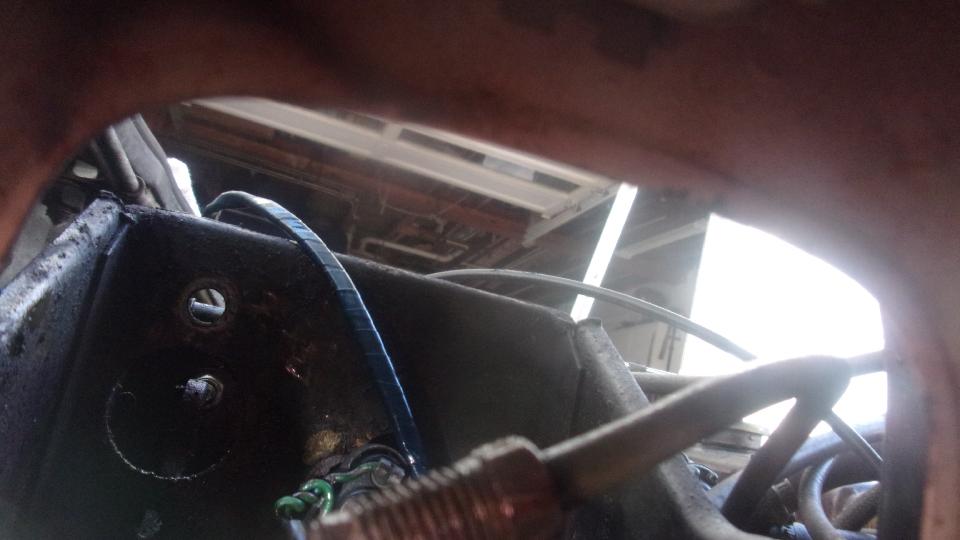
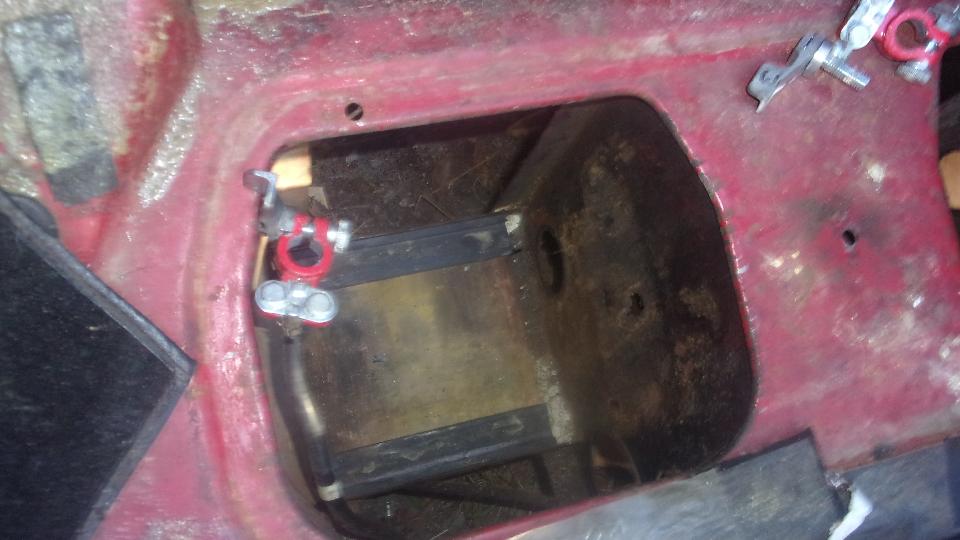
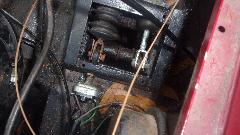
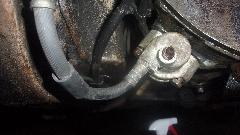
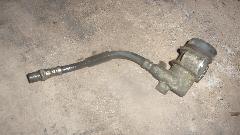
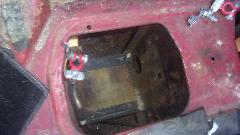
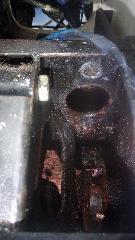 Remove cover from pedal box to reveal leaking clutch slave cylinder. Should be an easy replacement? Remove rusted cotter pin, washer, clevis pin, Disconnect pipe from rear of cylinder (in very tight quarters), and remove top mounting bolt (not bad up to that point). Then the real fun. Knock out the rubber plug in the bulkhead for rear access, and get in there with a socket and long extension and ratchet
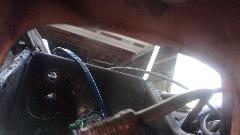 handle, which is the only way to get at the lower bolt. Fortunately the lower hex nut was welded to the bracket, one of the few things the factory did right. Time to order a new clutch master cylinder and wait for delivery.
Friday, January 14, 2022:
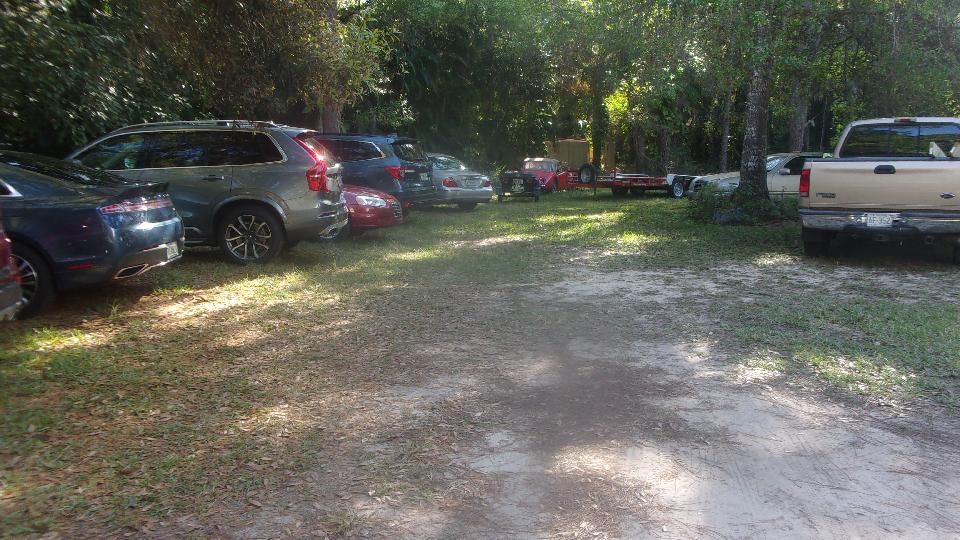
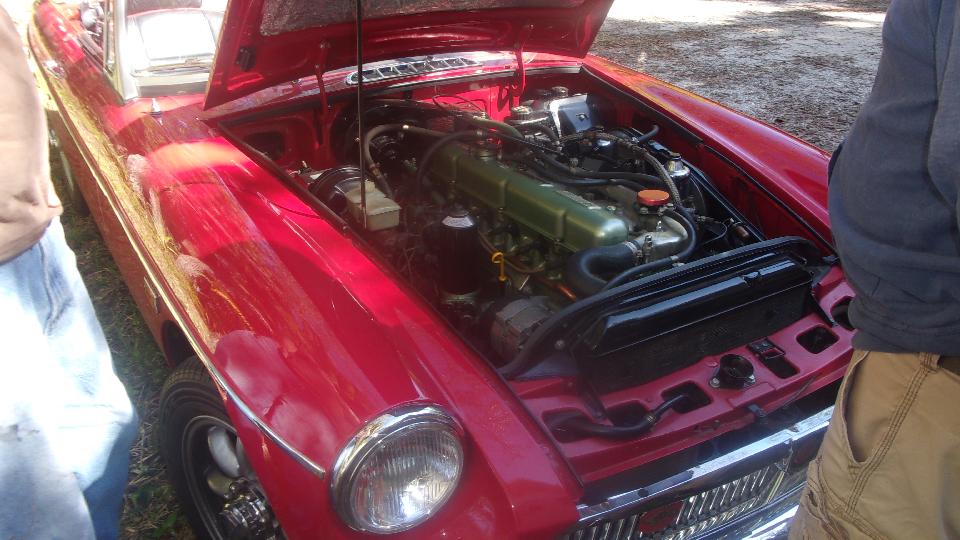
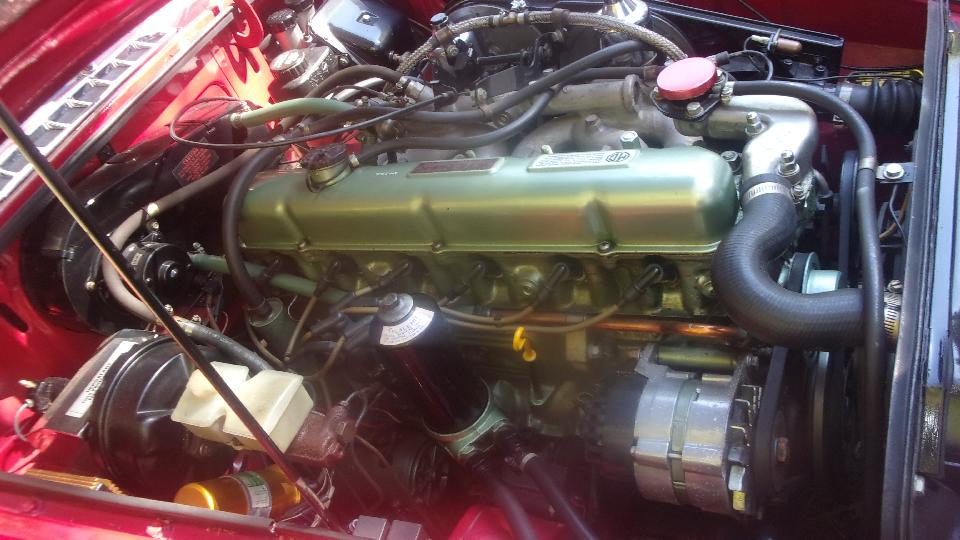
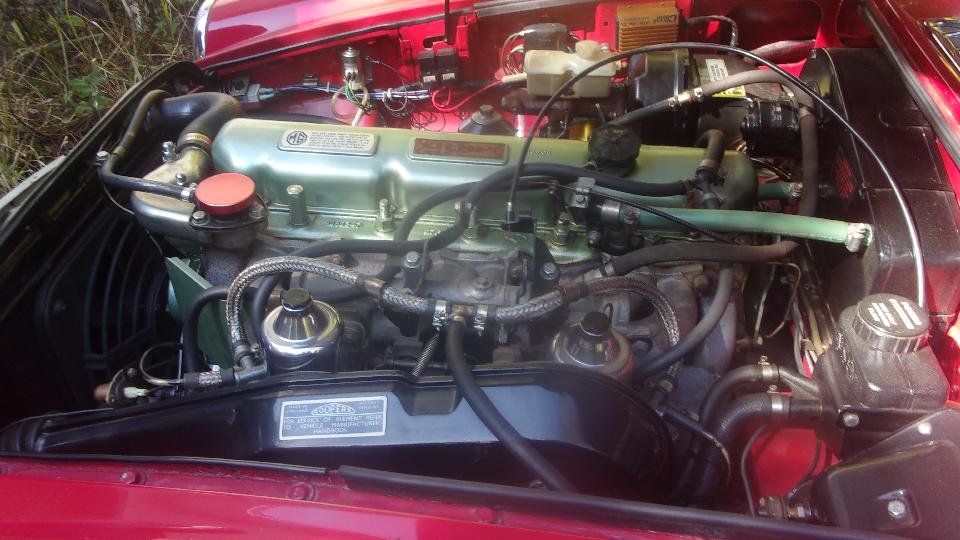
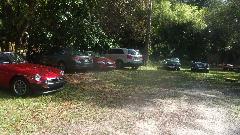
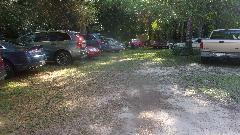 Back down to Bonita Springs for Tech Central Friday. Good turn out, almost a parking problem. I believe this was the first appearance of the freshly restored MGC, absolutely immaculate concours quality car, never driven in the rain. Go ahead and drool.


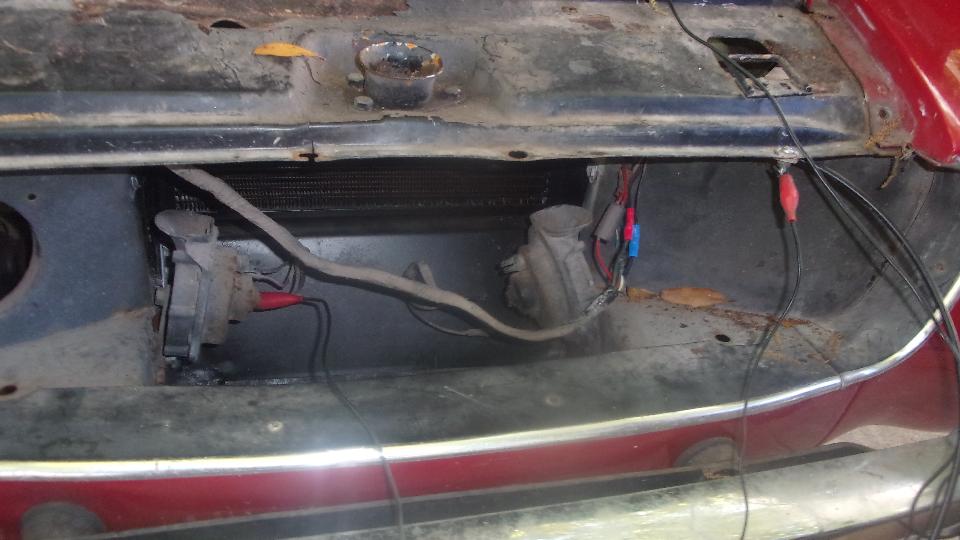
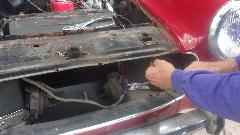
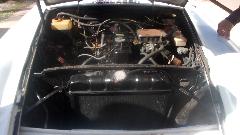
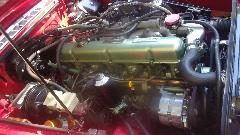
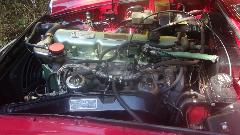
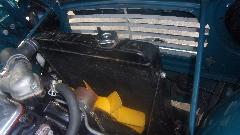
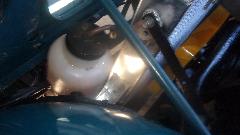
With the long 6-cylinder engine the radiator is pushed forward, right up near the bonnet latch platform (nose heavy), and the bonnet has the large "power bulge" to clear the radiator and tall engine. Front suspension cross member and coil springs have been deleted and replaced by torsion bar springs running back under the front subframe. I think this is an early production MGC with single line braking system, only one remote brake booster. For 1968 model year they got dual line braking system and two remote power boosters.

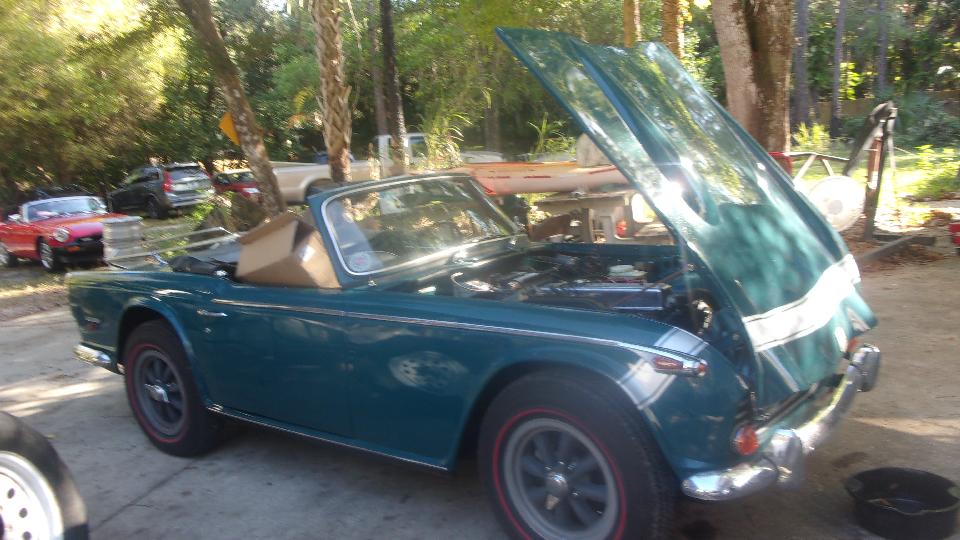
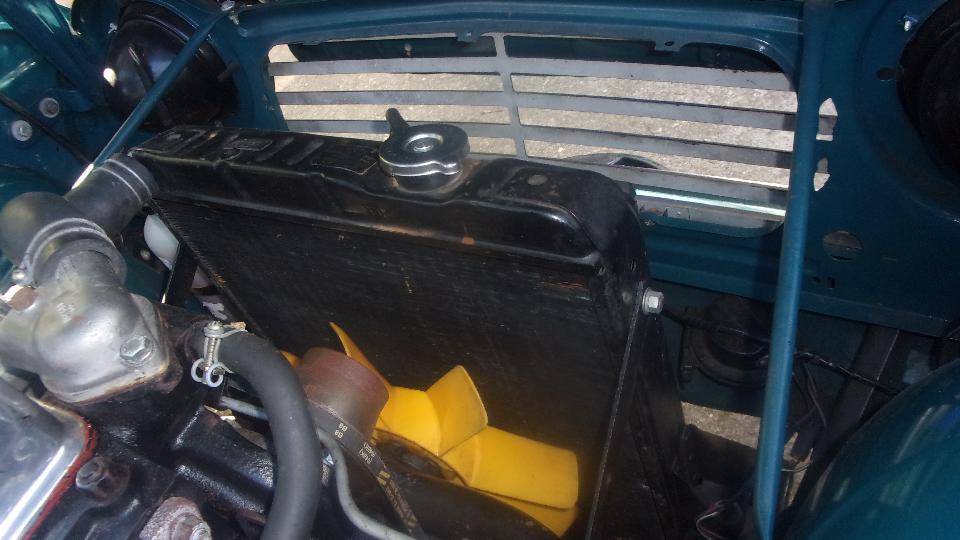
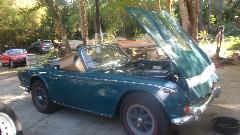
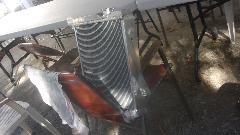
There was a carbureted Triumph TR250 in for service today. It looks like a TR4 with a 6-cylinder engine. The European version of this car was the TR5 with fuel injection. There was a new aluminum radiator to be installed, bought on Amazon for under $200. The owner said he never had any problem with the original cooling system, but he seems to like the eye candy.
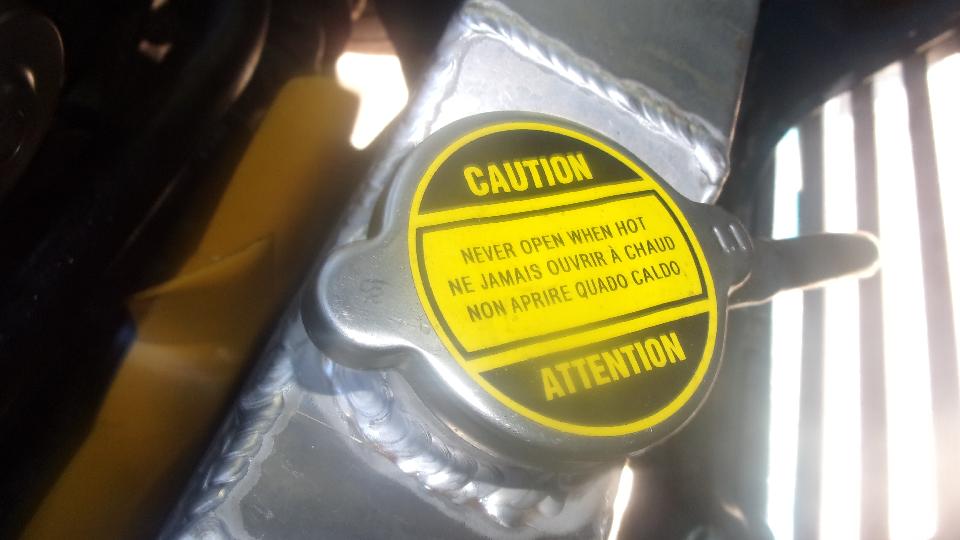
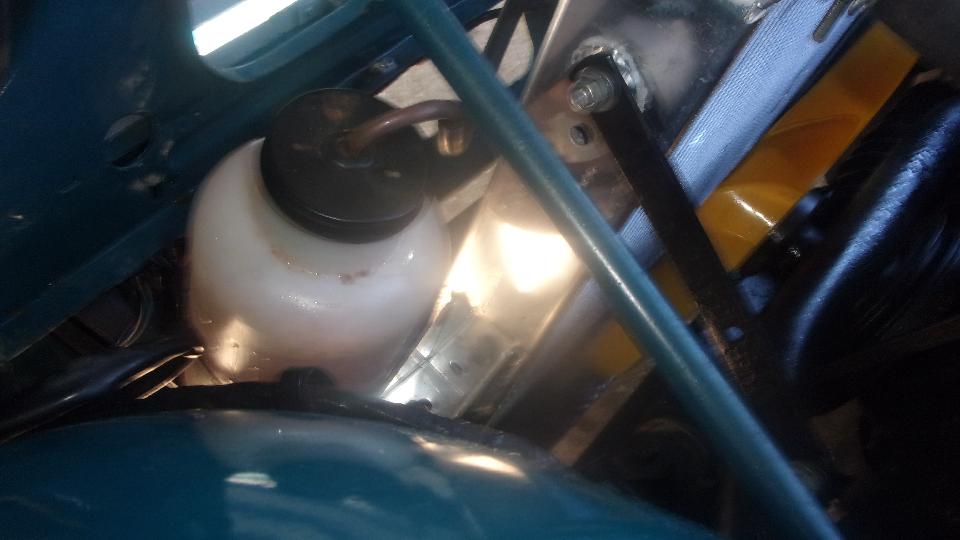
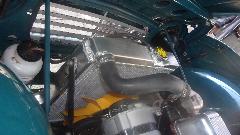
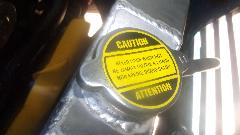
New 11-psi pressure cap is good for about 248dF boiling point (at sea level) with plain water for best heat transfer (and Redline Water Wetter additive for corrosion resistance). 50% ethylene-glycol antifreeze would raise the boiling point to nearly 270dF, but with slightly less heat transfer. There is also a coolant recovery bottle on the side to assure there is never any air in the radiator.
The rusty Midget was getting a little attention in the background, installing the new lighting switch and multi-function switch for headlight dipper and turn signals. All headlights definitely work, not sure the turn signals were tested yet. We got sidetracked by the nonfunctioning hooters. With power jumper and grounding wire efforts, both hooters were absolutely dead, and no electrical connection in the harness wire between the horns and connector at the new switch. That is a very rare situation to have a broken wire inside the harness. After installing a harness bypass wire from front to switch connector, we were using a motor powered instant-on air horn for testing, and it worked, but not enough space to install the big beast of a trumpet. A bit later we found a neat little motorcycle twin-tone air horn in the attic, cleaned up the power spade connectors, and that works too, so a new freebie for the Midget to be installed later.

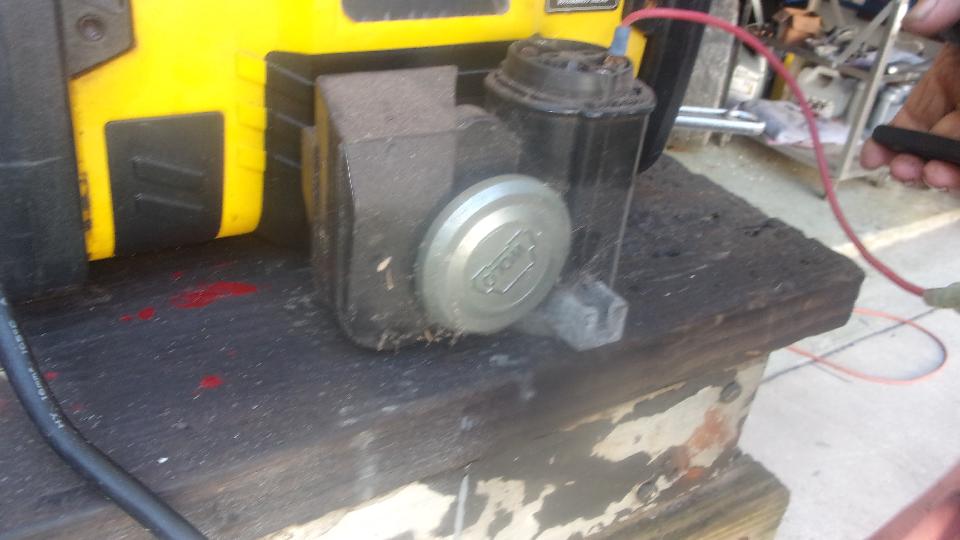
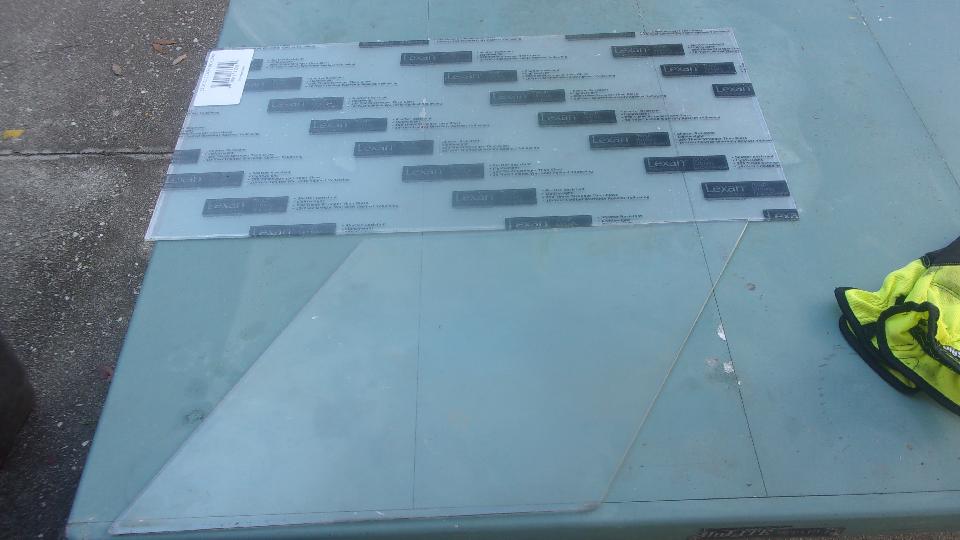
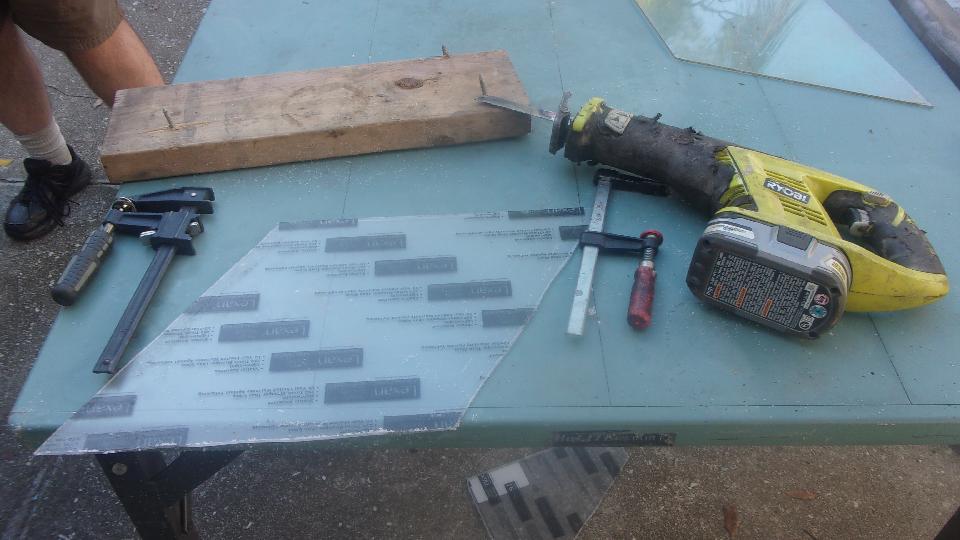
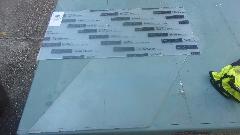
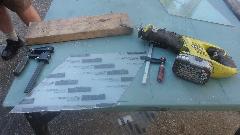
After everyone packed up to leave, we took a short trip to the local Home Depot store to pick up a 1x2 foot sheet of 0.093-in thick Lexan acrylic. Using the left side curtain panel for a template, a few scratches here and there, and some noisy work with a Sawzall. Follow that with some flat table top edge sanding with coarse to fine sand paper and deburring, and our MGA had a replacement for the right side Perspex panel that blew out a few days ago while flying down the expressway.
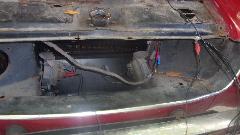
As we were finishing that up an early pull-handle MGB (all original) came in on a flat bed truck to install a new battery (a bit late after delay waiting for the truck). Fairly straight forward grunt work to rearrange cables to convert from twin 6's to a single 12-volt battery. Then Jerry followed the guy taking his family hauler home and brought him back to drive the MGB home (and we now have a happy new club member).
So at least four cars worked on today, three driving away under their own power. The evening chore then was to get a parts order together including our backlog of inventory re-stock as well as the clutch master cylinder for Tito's MGB. That part should have been ordered last night or this morning for Friday shipment, but we do need sleep sometimes, so the parts will be shipped Monday, and likely arrive Wednesday.
Saturday, January 15, 2022:
Tech question on voltage converter to install a positive earth radio in a negative earth car. Don't know why anyone wants to do that, Maybe converted to negative earth to install an alternator, but wanting to keep the original positive earth radio.
 Another question on a Spridget A-series gearbox (rib case) in a Lotus Seven Series 1 (cute). This one locked in two gears at once, would not move and could not shift. Disconnected the propshaft to move the car. Long discussion on how it happens and what is needed to fix it and prevent it from happening again. I had my MGA lock in 1st gear only, another one locked out of 3-4 range (still operating in 1-2-R), and a Fiat 124 locked in neutral (twice). Got quite intimate with wear on the shifter and interlock parts. The real question is if it can be "jiggled" back into position without removing the gearbox, and if it may be time to disassemble and rebuild the worn parts. Another question on a Spridget A-series gearbox (rib case) in a Lotus Seven Series 1 (cute). This one locked in two gears at once, would not move and could not shift. Disconnected the propshaft to move the car. Long discussion on how it happens and what is needed to fix it and prevent it from happening again. I had my MGA lock in 1st gear only, another one locked out of 3-4 range (still operating in 1-2-R), and a Fiat 124 locked in neutral (twice). Got quite intimate with wear on the shifter and interlock parts. The real question is if it can be "jiggled" back into position without removing the gearbox, and if it may be time to disassemble and rebuild the worn parts.
|