The MGA With An Attitude
MGA Guru Is GOING MOBILE - (May 1, 2015 - May 15, 2015)
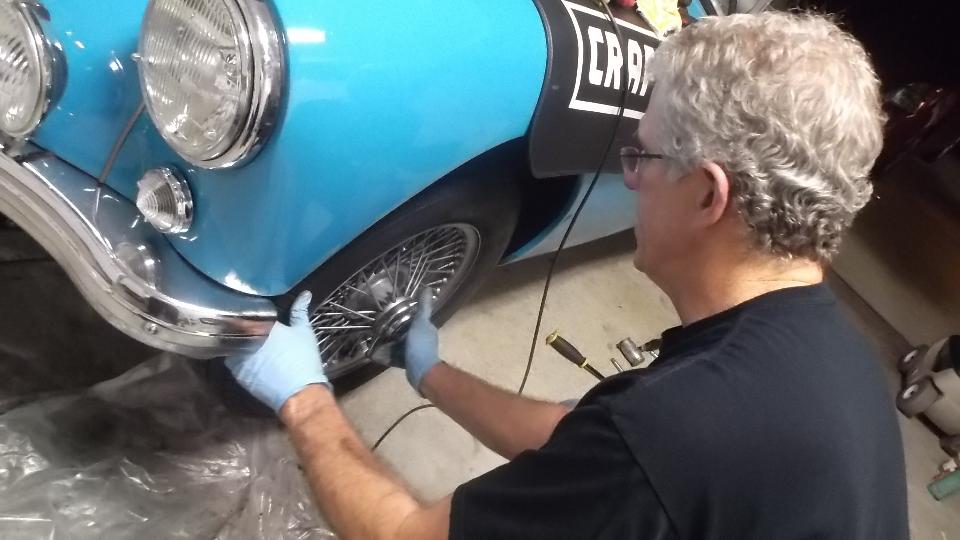
Friday May 1, 2015:
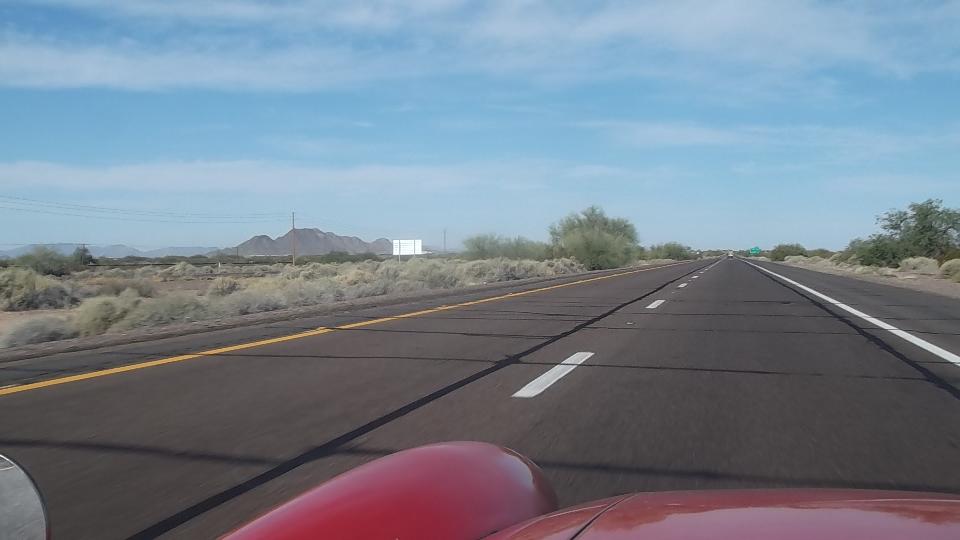
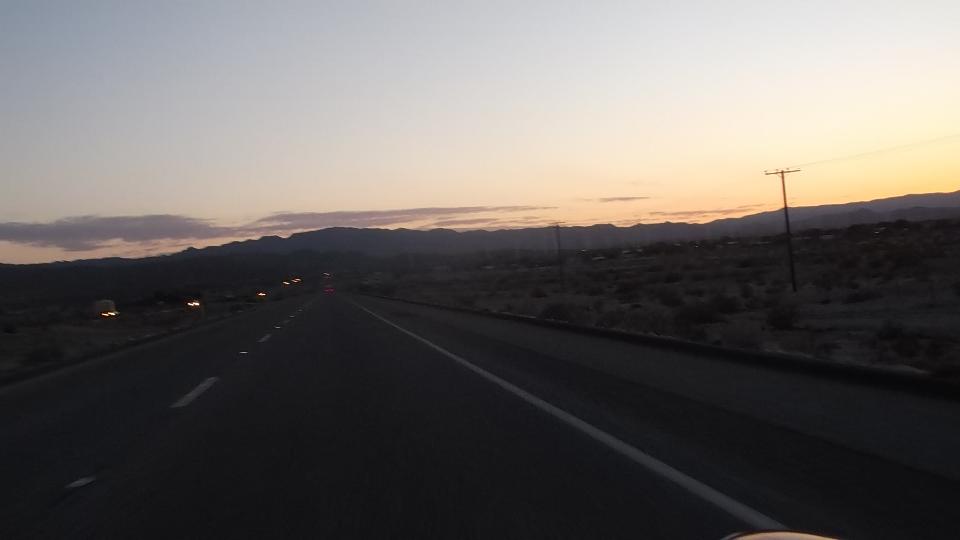
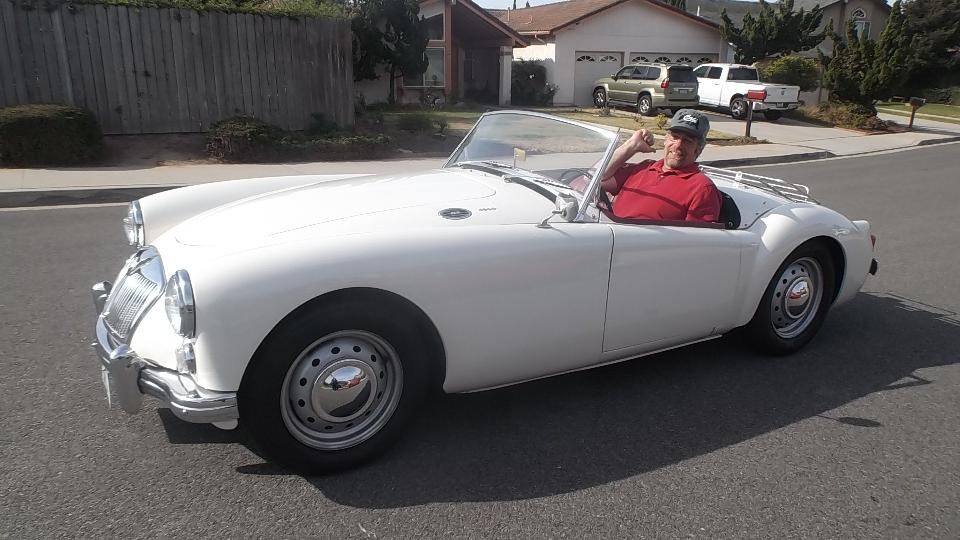
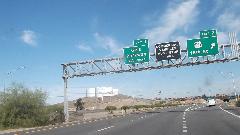
Travel day, and it's still hot in southwest Arizona. We tried top down for a while and got baked, making us wonder what we were doing down here. It was nice to hit the Fortuna Foothills and see something other than flat and straight (for a few minutes). Then we pulled into Yuma for a cooler and more WiFi, forgetting about hitting the Pacific before sundown. Early evening, still hot, top up please, one mile on welcome to California (finally).
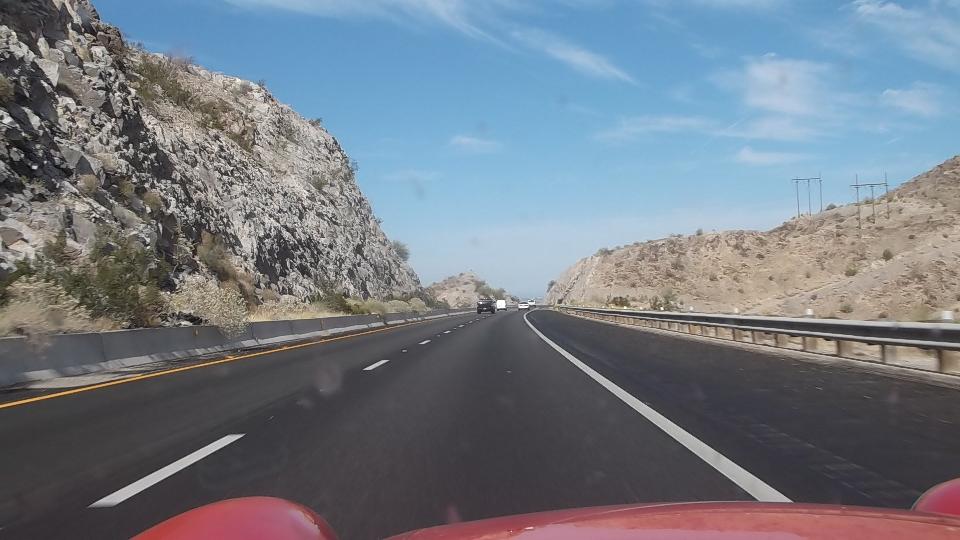
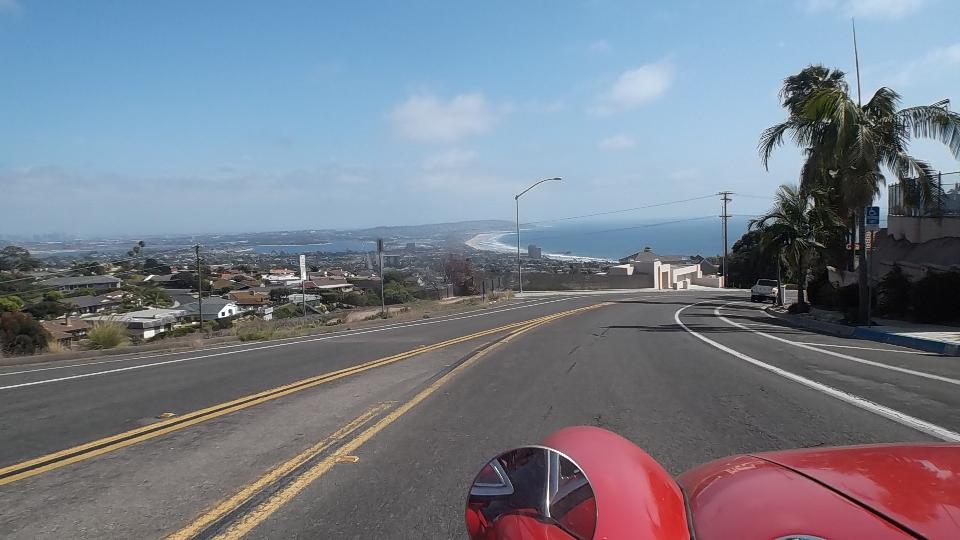
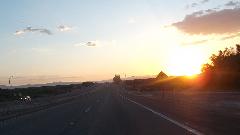
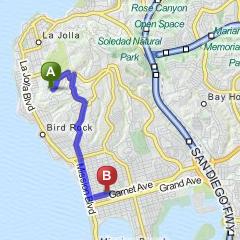
Still flat for a while until we passed El Centro and got into the foothills again before Campo. With sundown an higher altitude we finally had some relief from the heat, and the coolant temperature finally dropped from 230 to 210. Then it was happy lugging the hills in 4th and sometimes 3rd gear getting cooler all the way. We stopped just long enough to Hit Subway for a couple of Foot-Longs. Passing through Campo we had hills and turns continuously, quite delightful. Almost close enough to smell the ocean we bailed off of CA-94 onto Otay Lakes Road, then followed Olympic Parkway and Orange Avenue into Chula Vista. Then a couple exits down I-805 to Palm Avenue, and west to Imperial Beach on the coast.
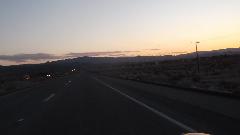

We had a McD's in Imperial Beach spotted from 360 miles away in Tempe. Ready for some late night WiFI, we were somewhat disappointed when the McD's here was flat out closed for construction. Now with no WiFi, and no more written instructions, and no California map, we switched on the "pigeon compass" and headed north on Silver Strand Boulevard along the ocean. Then we hopped the CA-75 bridge followed by I-5 north (right through downtown San Diego) and then I-8 east to El Cajon. There we found what we were looking for, the late night WiFi spot just off the expressway at 10:30 pm. That was a very long 250 miles today, but entertaining anyway.
Saturday May 2, 2015:
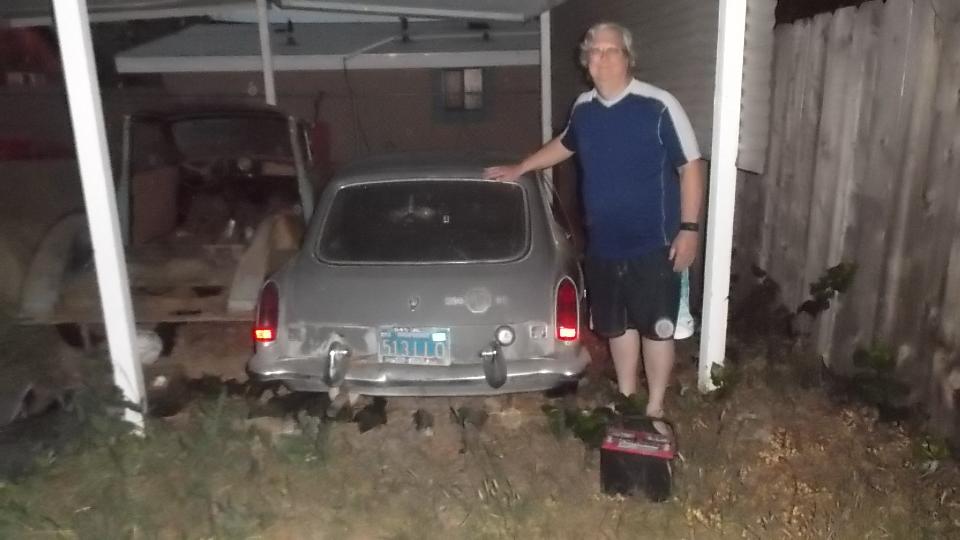
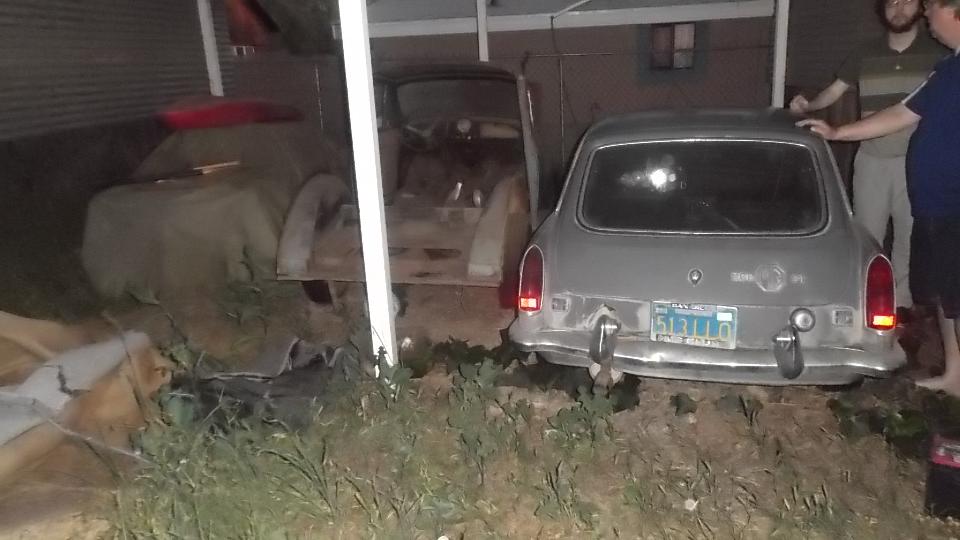
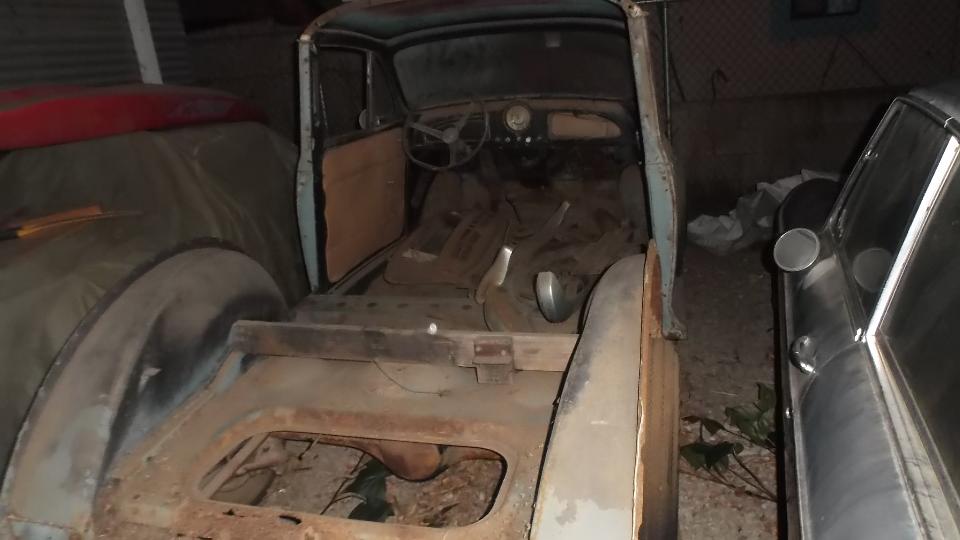
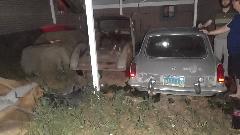
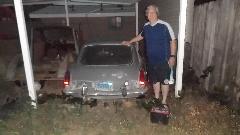 We had one appointment today, stopped in the evening to visit Dave Ambrose (and son) in Poway, CA. Dave has an MGB GT needing a lot of work, and a Morris Traveller needing complete restoration, and a TR Spitfire under wraps. His son has a daily driver MG Midget, appropriately faded from the southern California sun.

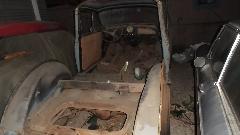
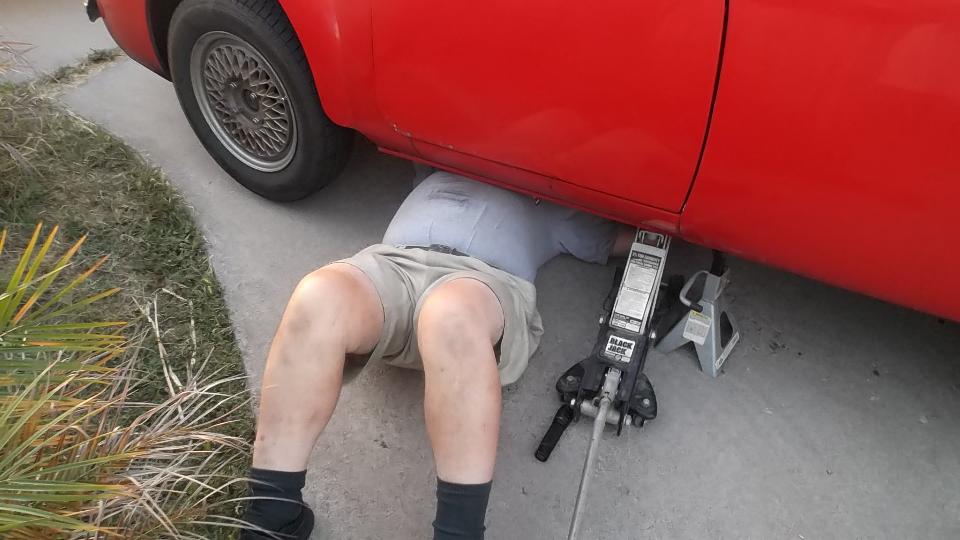
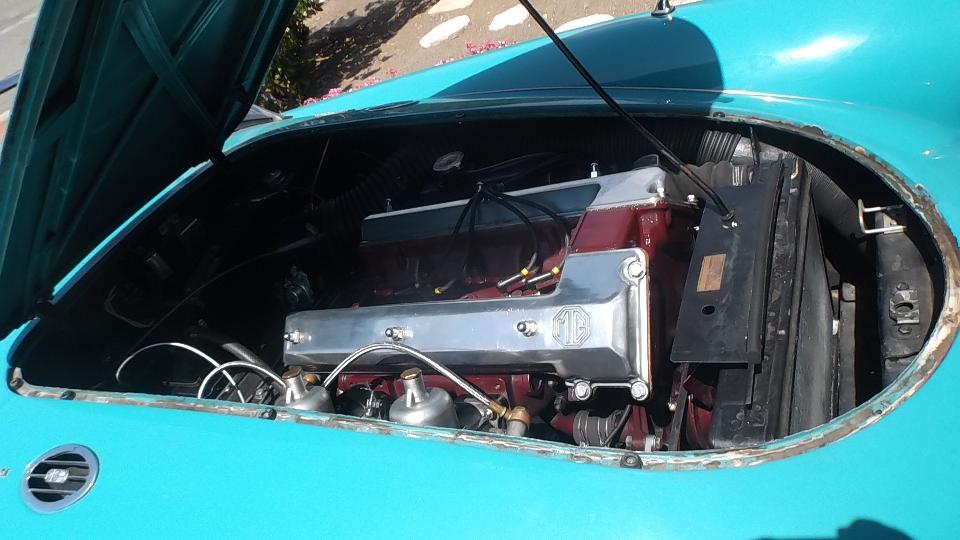
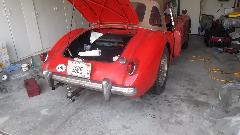
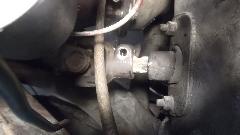
While we were there I had a chance to crawl under my MGA to check out "funny noises" in the drive train.
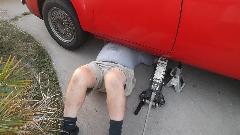 I was somewhat worried about the bronze tail bearing in the gearbox, having had such a problem once many years ago. The good news is, nothing wrong with the gearbox (just replaced in mid March). The bad news is, there is a lot of backlash at the input shaft to the differential. The differential was replaced in October, 23,000 miles back. I suspect that the fiber thrust washers currently supplied by Moss Motors (and others) have perished. It is only a few hours work to change those parts, but I am also worried that there may be something else more sinister amiss inside. Time to look for an appropriate place for another repair job. At least R&R of the differential is a lot easier than the gearbox.
Sunday May 3, 2015:
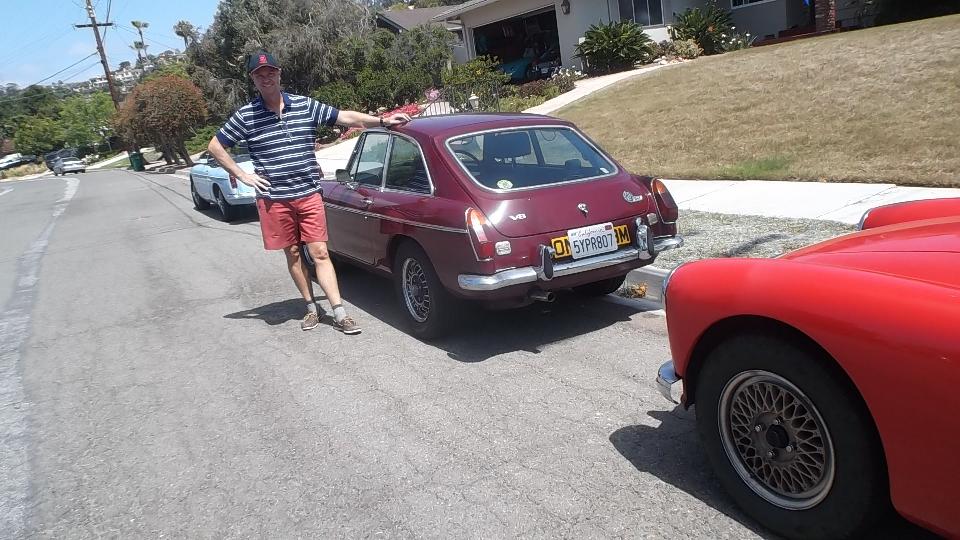
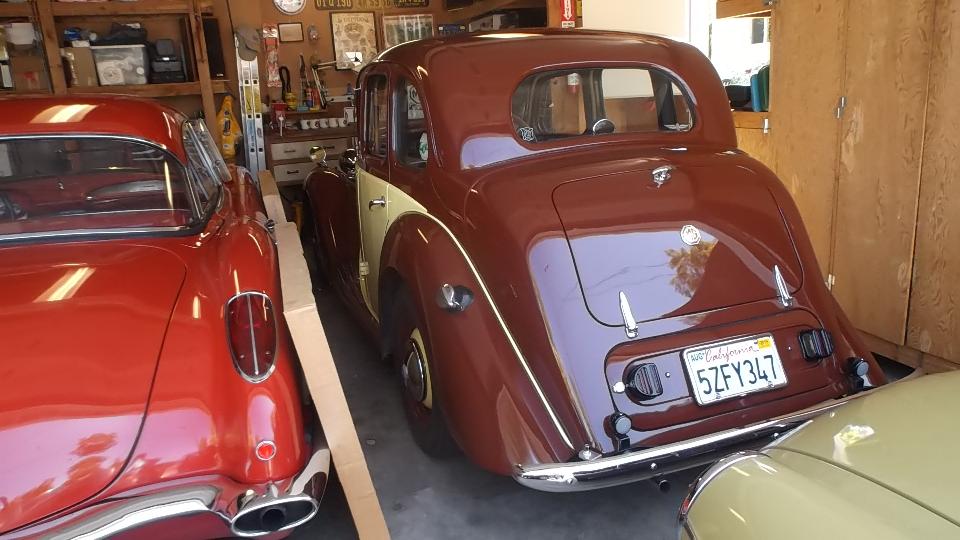
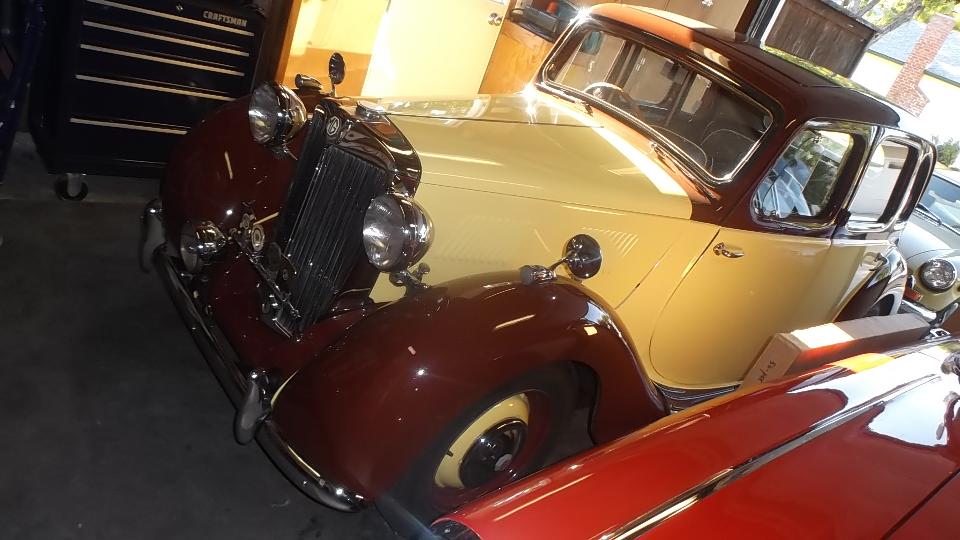
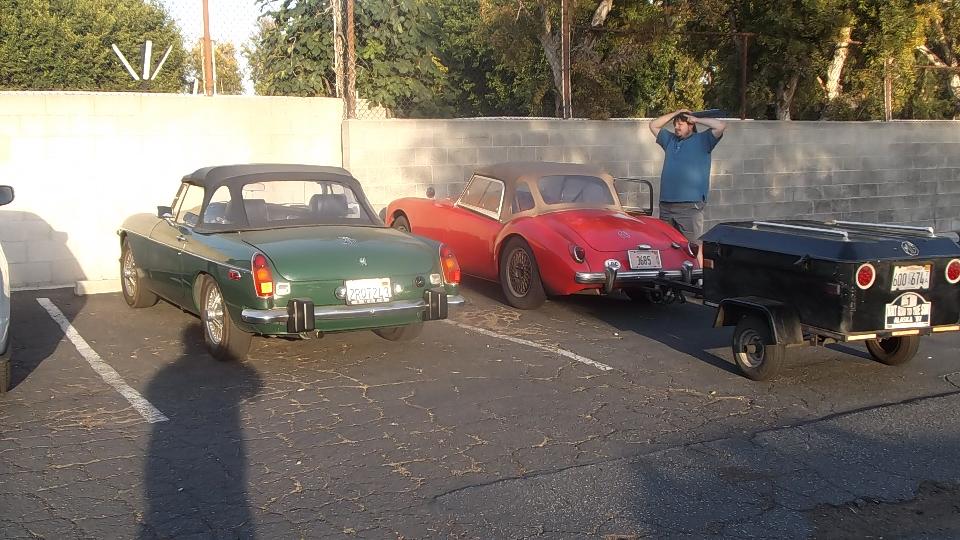
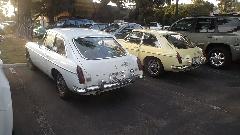
A quick visit today with Greg Bass in La Jolla, CA. He has this nice factory original MGB GT V8, and an early pull-handle MGB, and an MGA Twin Cam. They are all regular driver cars needing nothing today. The GT in the garage belongs to a friend Scott, in for a bit of mechanical service.


Each of Greg's cars has a small amount of modification. The GT V8 has air intakes deleted in favor of K&N filters for the leaner look. No need for the original heat riser intakes in southern California. The pull handle MGB originally with G-type engine has been retrofit with remote brake booster and GA-type PCV valve (which considerably reduces oil dripping). The Twin Cam has been fit with low compression pistons and an MGA distributor with vacuum advance unit (hurray, another daily driver).

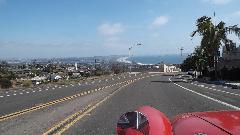
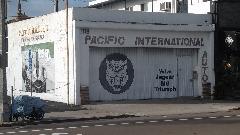
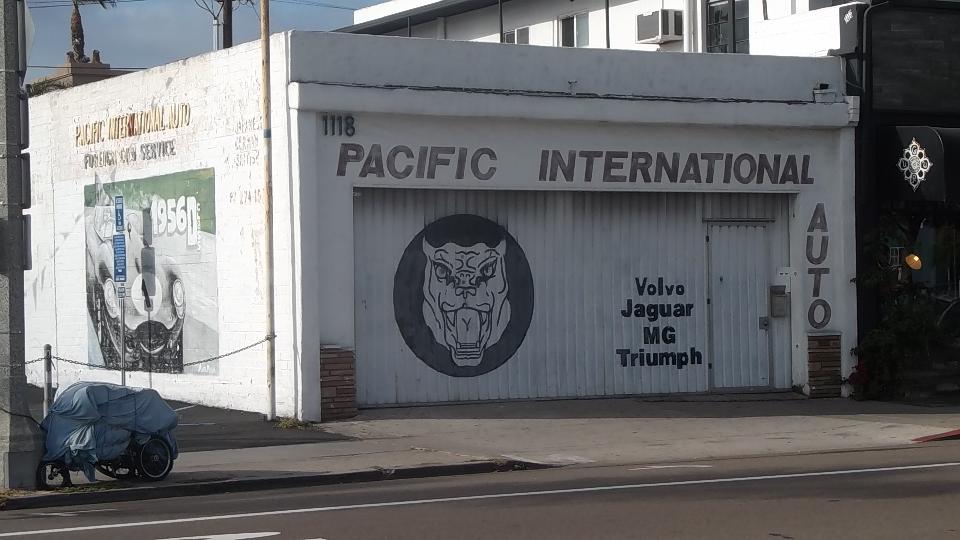
When leaving Greg's place, given a choice of three different routes MapQuest did the right thing and sent us up through the twisty hilly scenic route over the highest hill in La Jolla. On the easy roll down the hill we got a nice view of the city and the ocean front with light rolling surf. When we got to out next WiFi spot we blundered into this little "shoebox shop" across the street, Pacific International Auto, 1118 Garnet Ave, San Diego, CA. Closed on Sunday, but apparently a currently going concern, as it is listed in a few business directories.
Monday May 4, 2015:
Work day. Going late the night before and most of the day today, I was posting the CMGC May newsletter on line. Also juggling appointments. At least SIX California clubs have meetings on the first Tuesday of the month. I may have a split personality, but, .... no way.
Tuesday May 5, 2015:
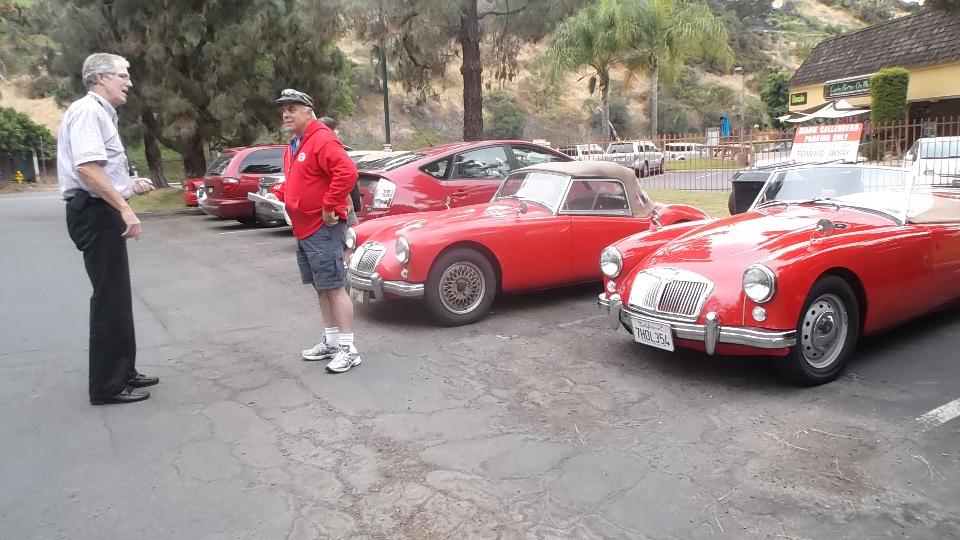
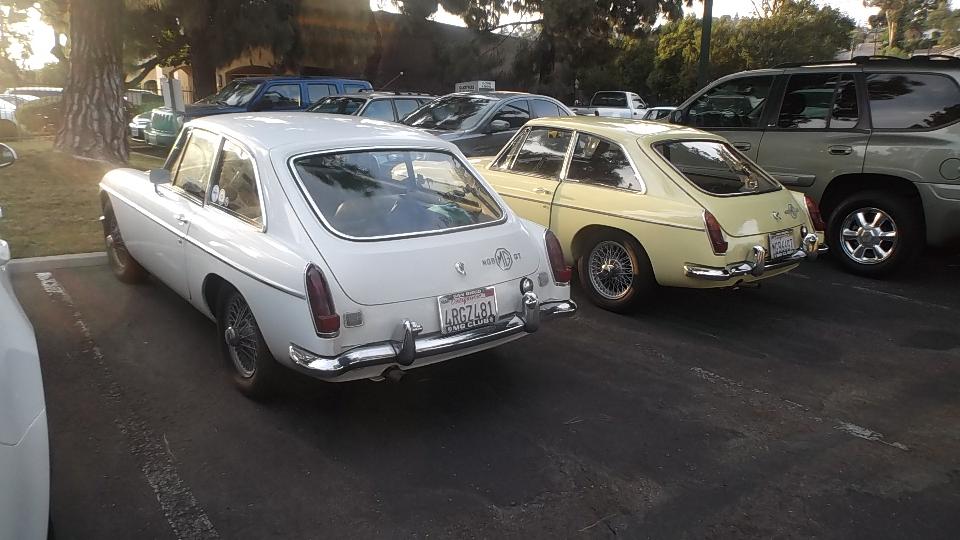
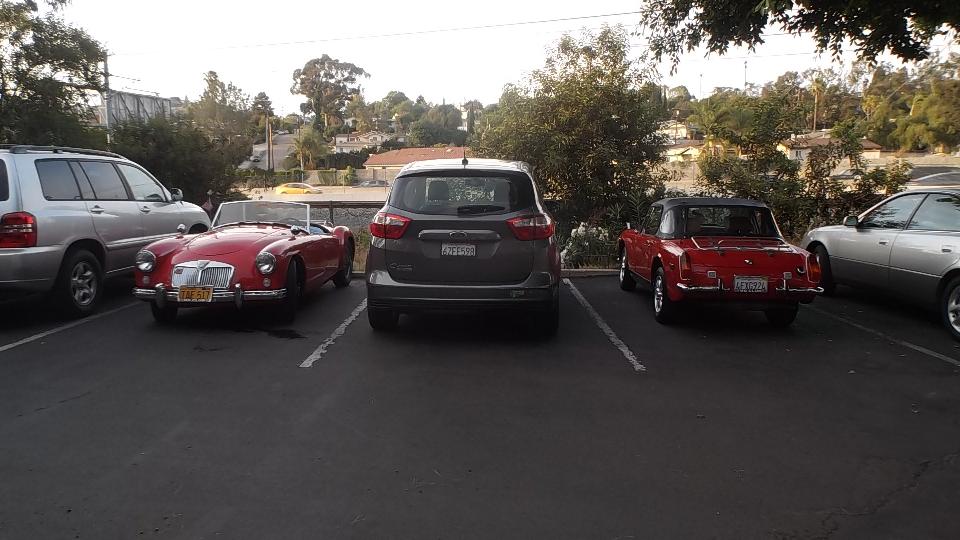
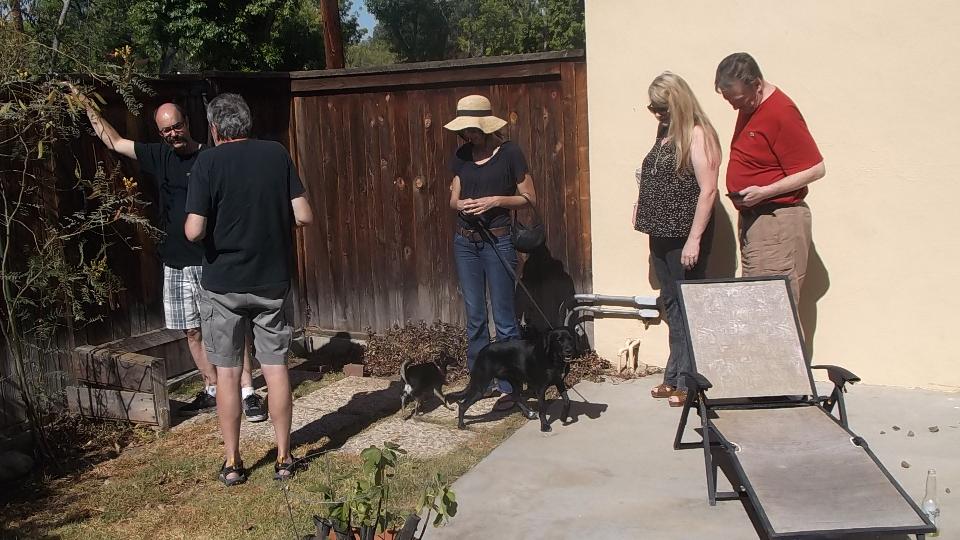
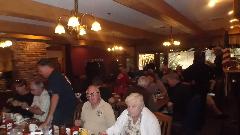
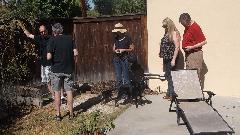
Tonight we had a dinner meeting with San Diego MG Club, and we did arrive in time for dinner this time. Half through dinner but before the business meeting I took a stroll for pictures in the car park.
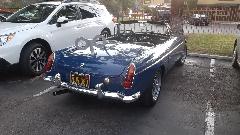 
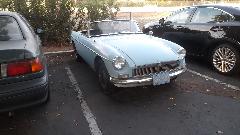
There were about 35 people present to discuss past events and future events, touring, racing, car projects and other interesting MG stuff. MGA guru got to do a little song and dance and answer a few questions, and a good time was had by all.


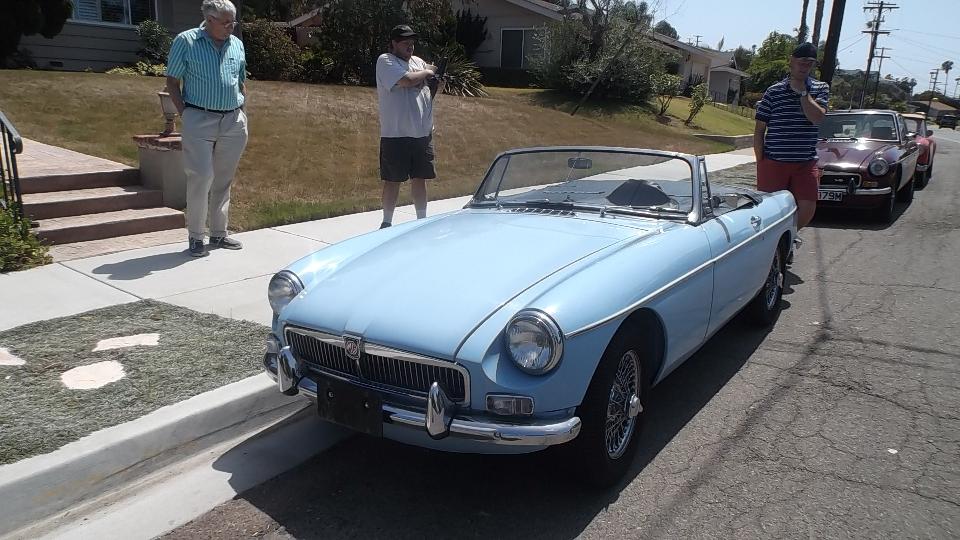
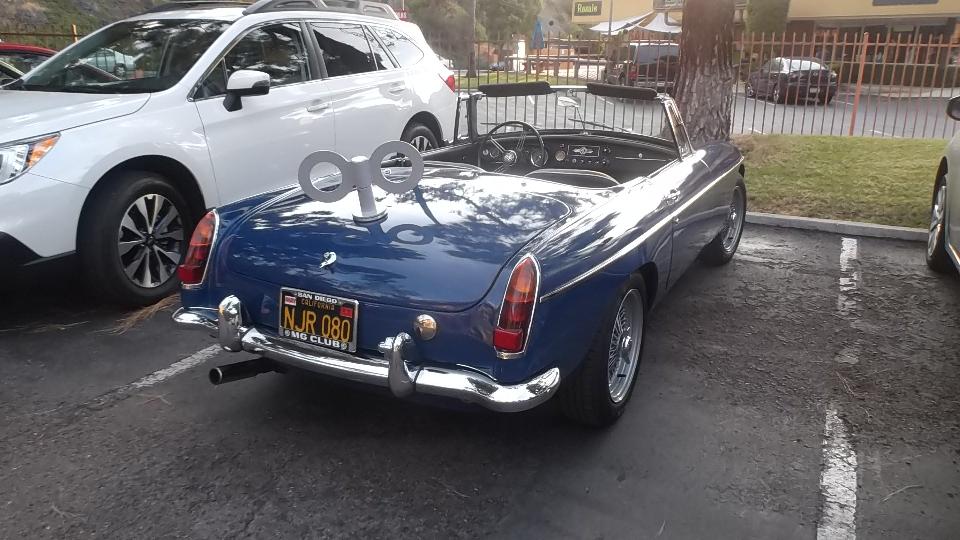
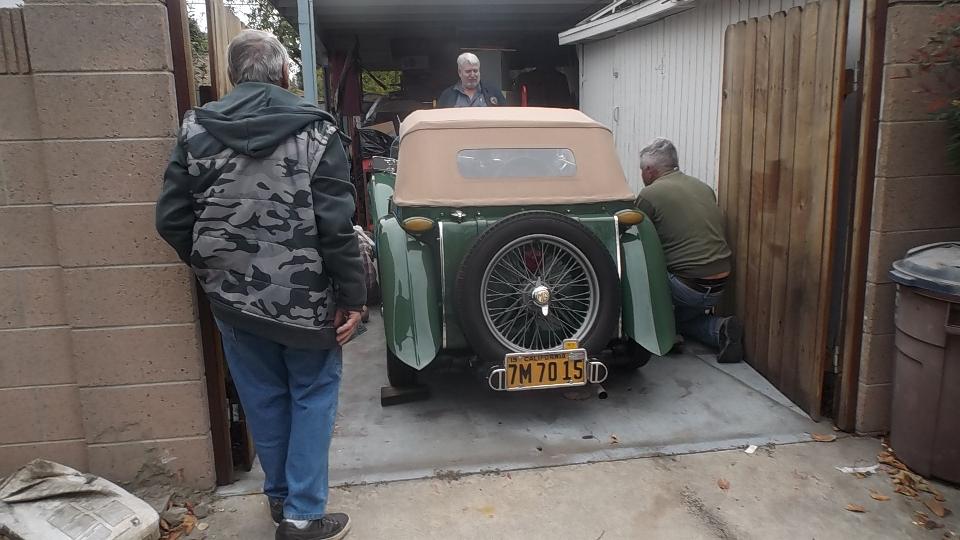
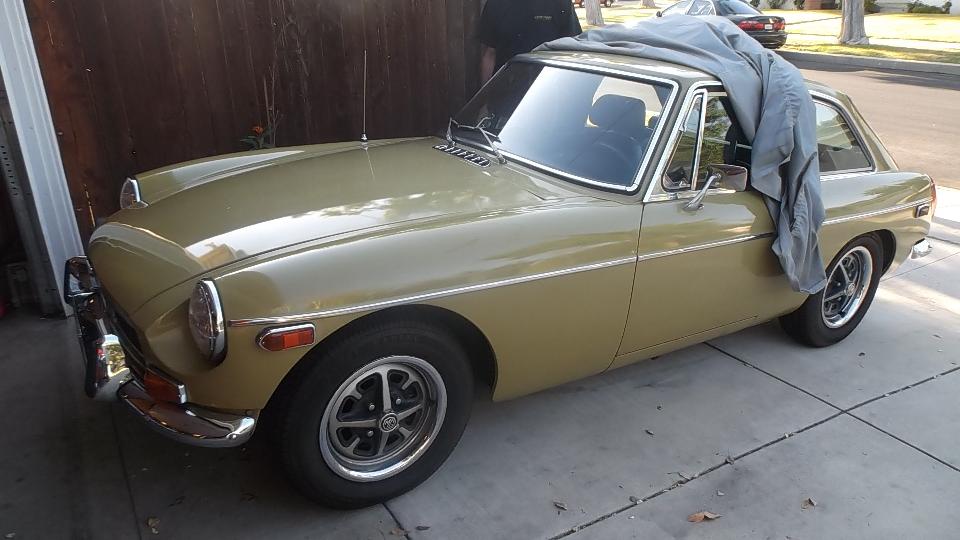
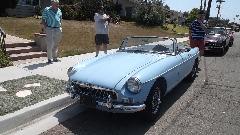
 After the meeting (and a bit of tire kicking in the car park) we followed a member's "non-MG" car about 30 miles up the coast to Encinitas. Here we got to meet a special MGA belonging to Scott and Mary Davidson. This car has been in the family for more than 50 years. It has a few minor issues which we will address later. Tonight the late night social chat was most important, until things got quiet and I got to go to work to post these photos and notes.
Wednesday May 6, 2015:
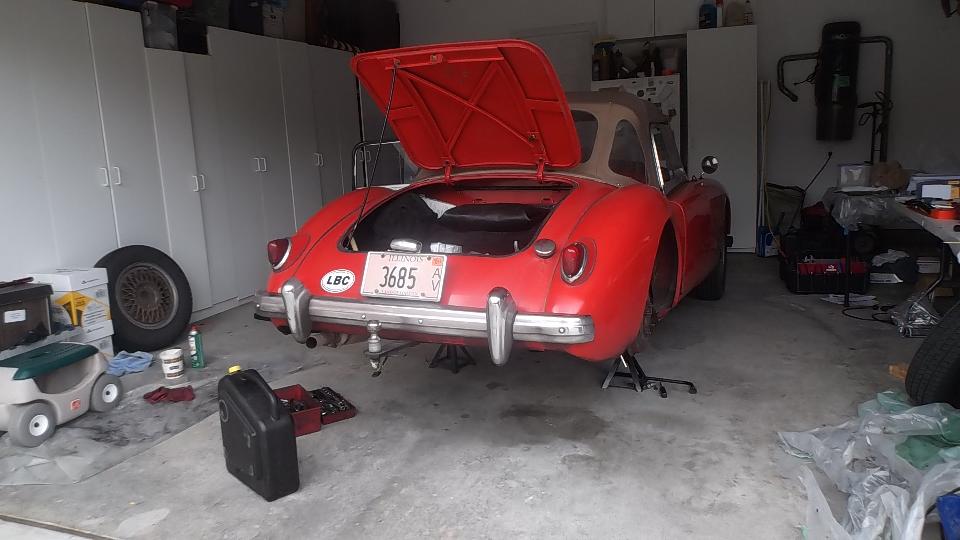
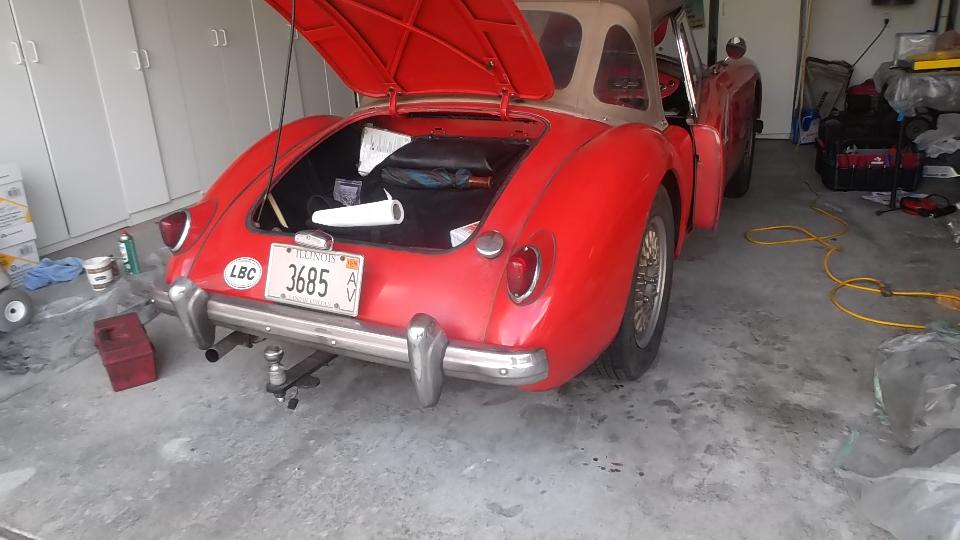
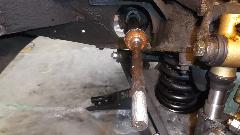
 Maintenance day. First business today was to investigate some strange clunking and clicking noises and a lot of backlash at the differential input shaft. The only way to discover what is going on inside the rear axle is to disassemble it for inspection, so I did. Drain the oil, remove wheels and brake drums to pull the halfshafts, disconnect propshaft, and remove the differential. All of the bearings were still snug with a sight preload. Backlash at the ring and pinion gear mesh was pretty much as I left it several months ago, a wee bit outside of as-new spec's but nothing serious. Four brass and bronze thrust washers behind the differential bevel gears were slightly loose, but again nothing serious.
I did find some wear on the halfshaft splines where they engage the differential sun gears. I did not find any stress cracks at the bite marks, so this is not in peril of immediate failure. But clearance in these splines is amplified by the ring and pinion reduction ratio, increasing backlash about 4x at the differential input shaft. Combining ring and pinion mesh backlash plus differential gear backlash plus halfshaft splines backlash adds up to about 1/4-inch backlash at the edge of the differential input flange. While it is a bit irritating it is not in any danger of imminent failure,
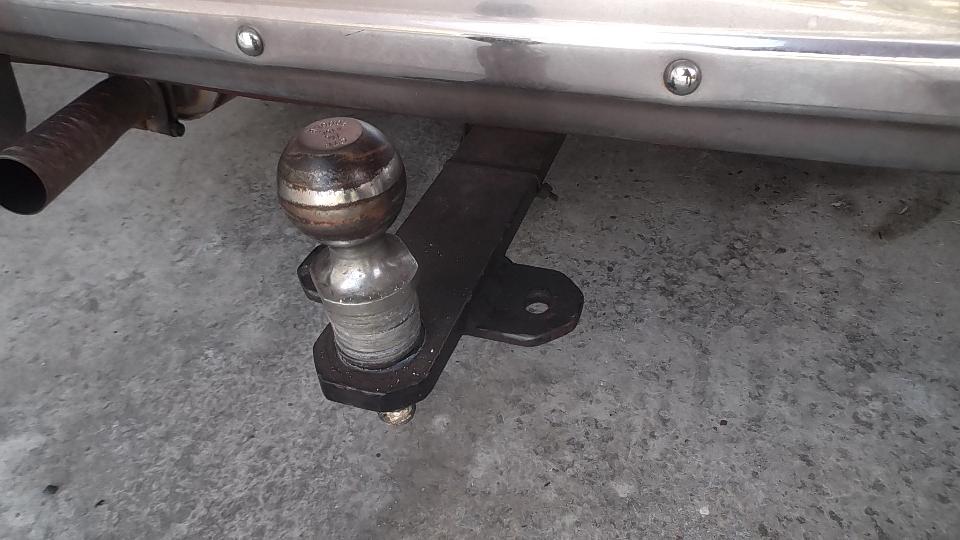
 so I put it back together with fresh gear oil and left it alone. Along with clean up and tool storage I tightened the hitch ball which had worked a little loose (given 21,000 miles since late October).
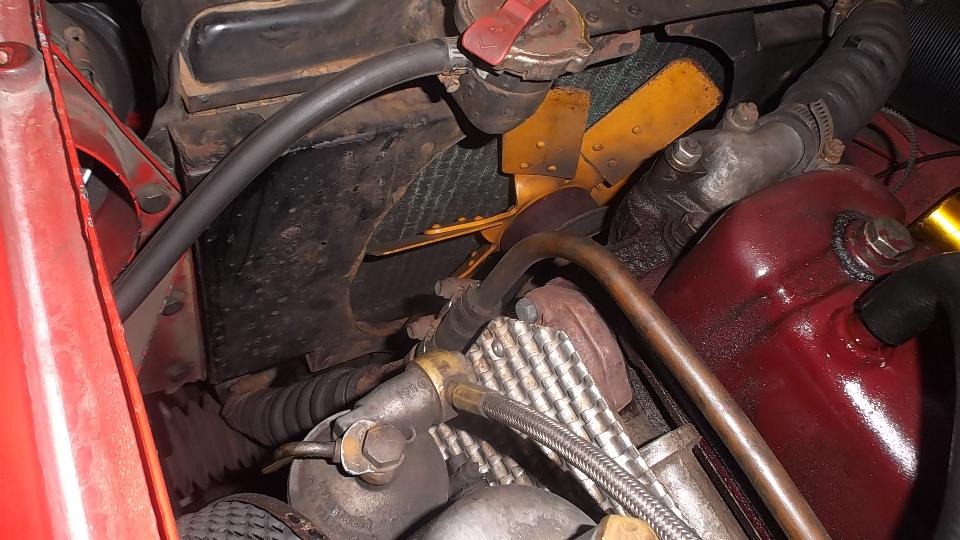
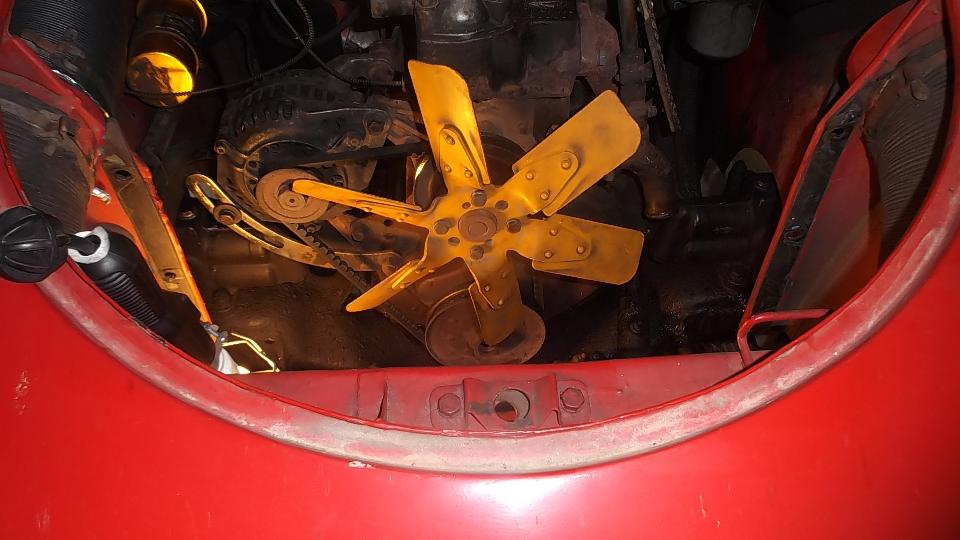
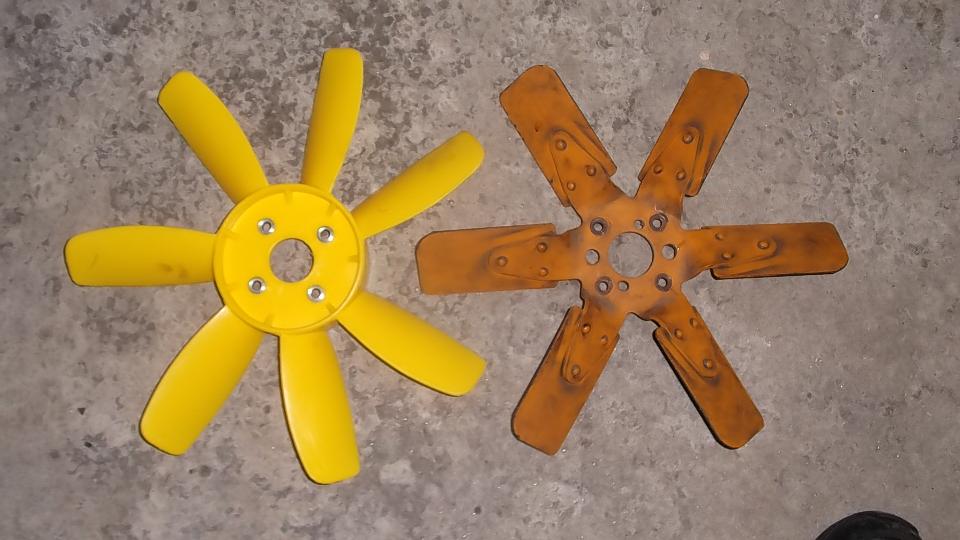
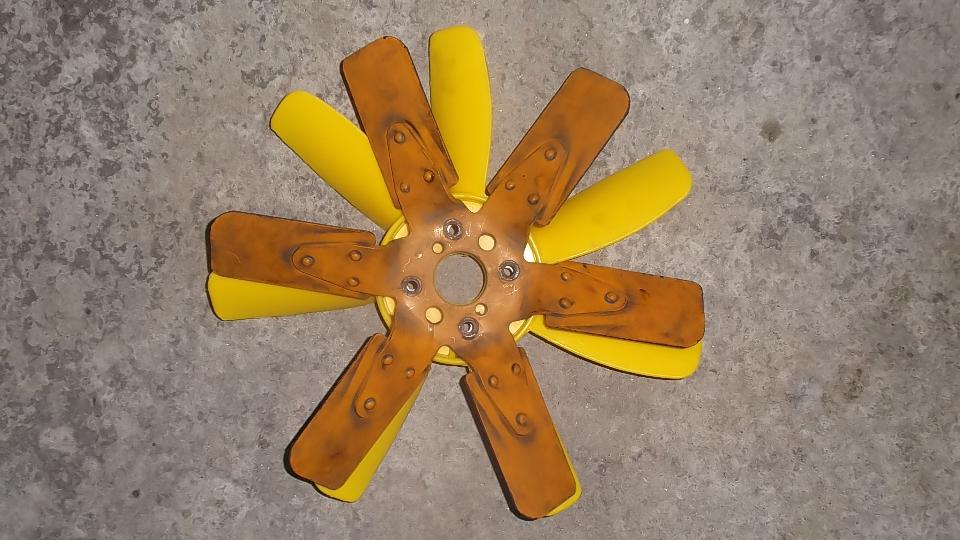
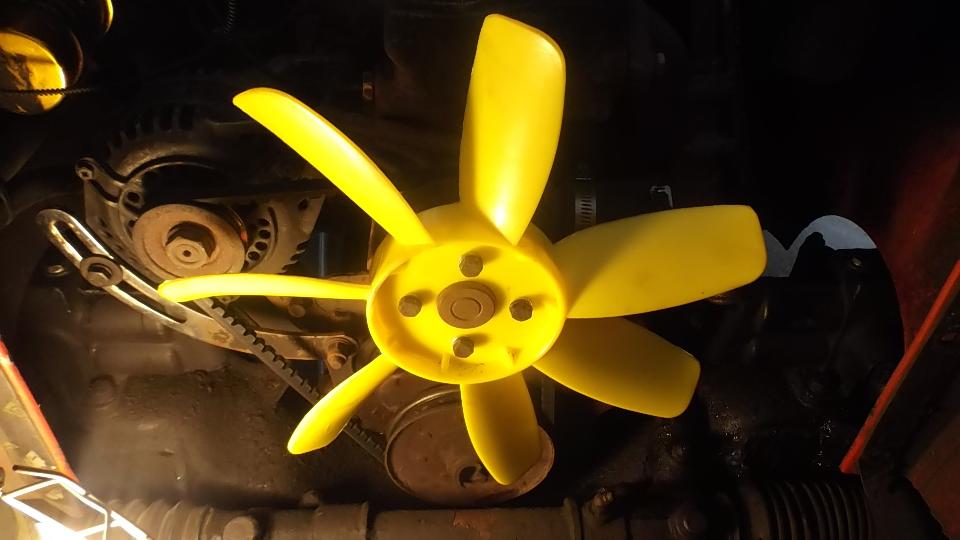
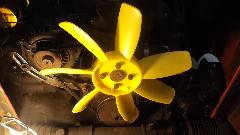
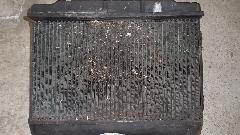
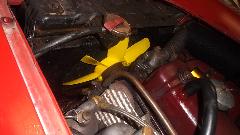
Then with a couple hours to spare it was time to install that new plastic fan. Pity I couldn't have done it a week or two earlier when we were still in the severe heat in Arizona, but better now than never. Must first drain and remove the radiator to have access to the fan. While the fluid was out I changed the thermostat from 195dF to 180dF, figuring I won't be tooling around in Chicago winter weather in the near future.
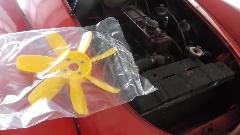
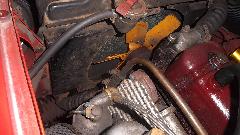

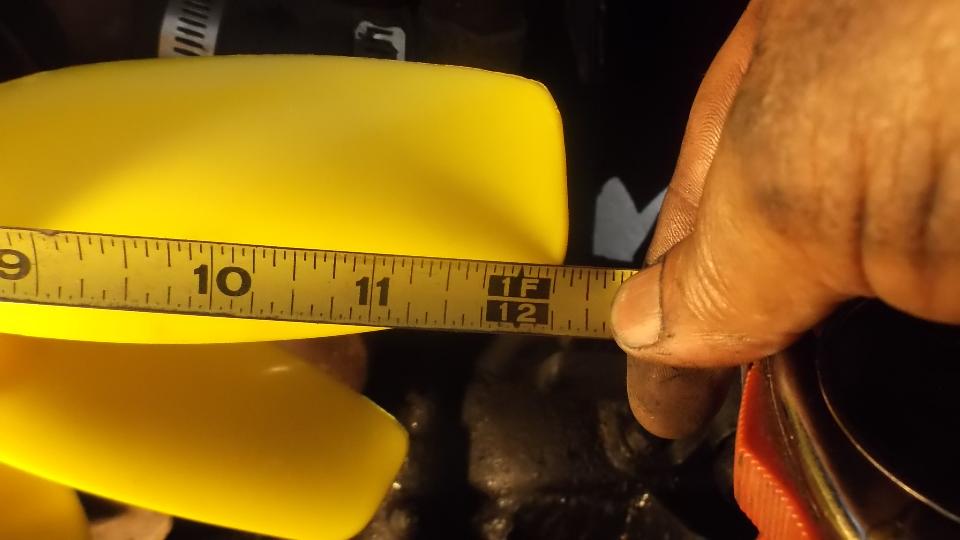
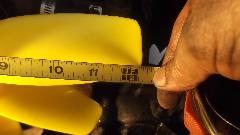
Comparing the old and new fans, the plastic fan is slightly larger diameter (12-5/16") than the original steel fan (12"). This made it necessary to trim1/8-inch from the left side of the fan shroud to clear the blade tips.
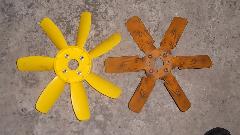
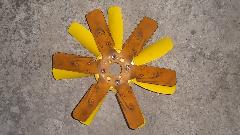
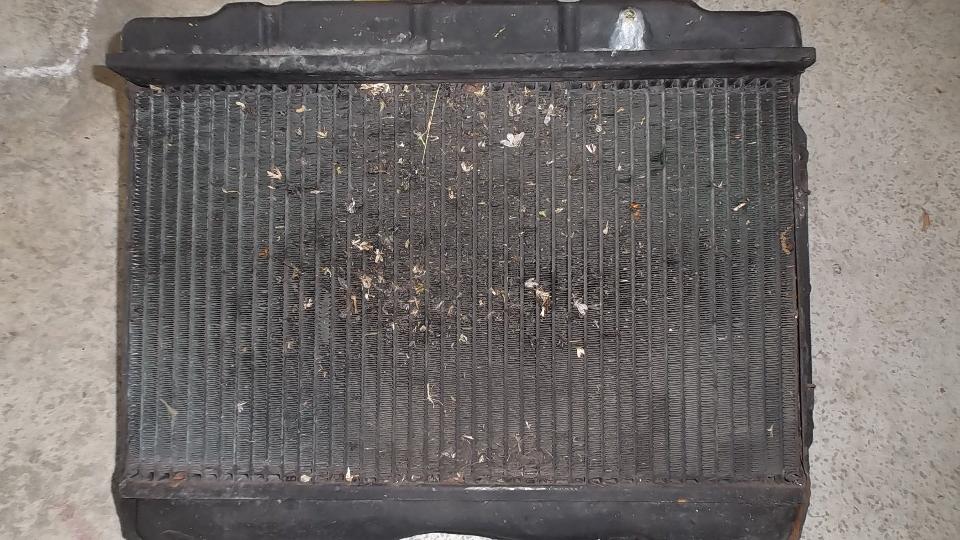
Otherwise it was a simple installation, also cleaning bugs from the radiator and straightening a few fins. The new fan does seem to move quite a lot of air, so I will be anxious to see if it helps cooling. The asymmetrical blade pattern of the new fan makes it run quieter so it does not sing loudly. So far so good.
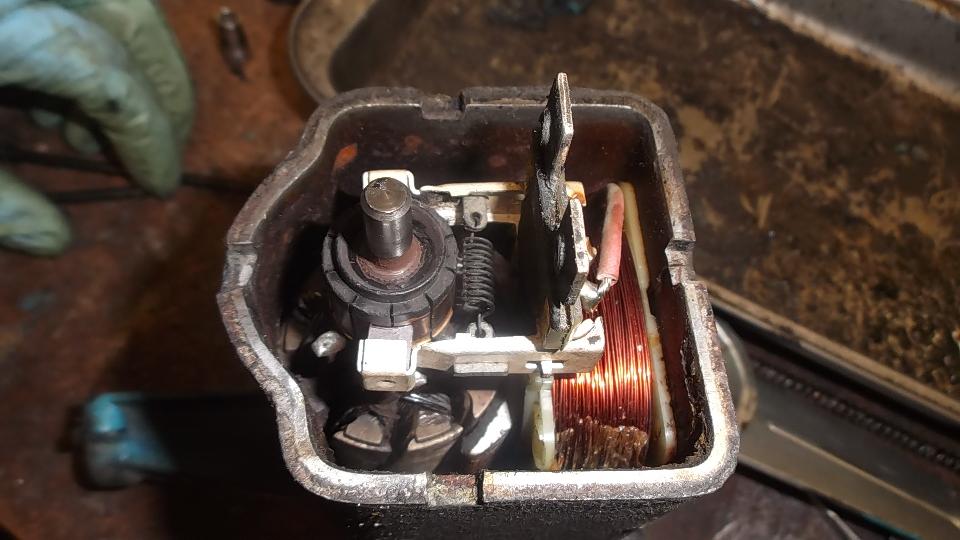
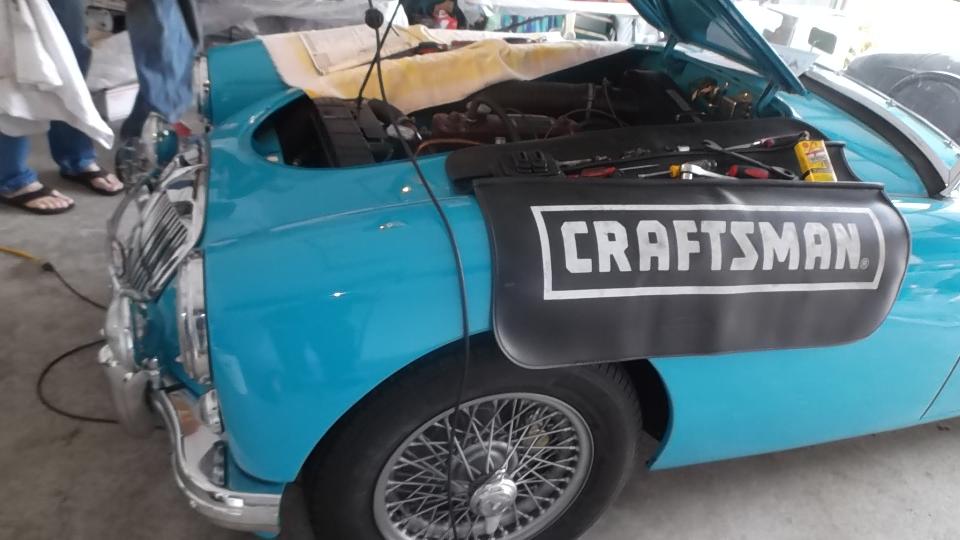
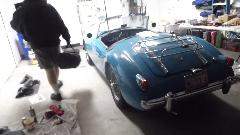
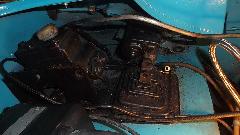
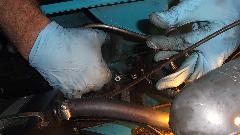
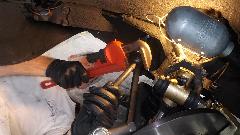
In the evening it was time to attack Scott's MGA screen wiper problem. His wipers had rather significant slop and free play in mid stroke. Running on dry glass they would neither do full stroke nor park properly. We suspected the spiral wire on the drive cable may have worked loose. I just happen to have a new drive cable in my spare parts, so we got bold and decided to remove his wiper motor for cleaning and inspection. First two pictures below show how standing on the clutch and brake pedals can give access to the screws for the wiper motor wiring. Otherwise this is a near futile effort as the wiper motor cannot be removed from the LHD car until the pushrods and pedals are moved out of the way.
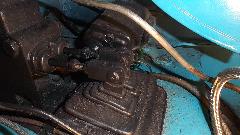
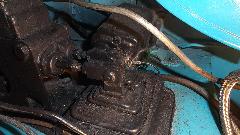
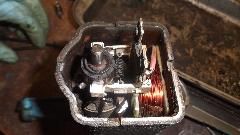
So remove clevis pins and the front bolt of the master cylinder mount, and raise the front of the master cylinder slightly to remove the pushrods. Then remove the pedal excluder rubber boot, disconnect the pedal return springs, and remove the pedal pivot bolt to drop the pedals out of sight. Remove the front bolt on top and two nuts underneath the rear to release the mounting bracket. Remove two wiper arms from the spindles, disconnect the flare nut connecting the pipe to the gearbox and PULL to extract the wiper motor as the drive cable is withdrawn from the pipe. In this case the first pipe curve had a small kink that caused friction drag and noise. We disassembled the wiper motor and gearbox for cleaning and inspection. The carbon brushes are in particularly good condition as the car has very low original mileage. It takes time to clean out old dried grease and re-lube the assembly. We pulled the wheel boxes and drive pipes for cleaning as well. Reassembly will wait for another day as time ran late (and we were missing one rubber grommet for the mounting bracket).
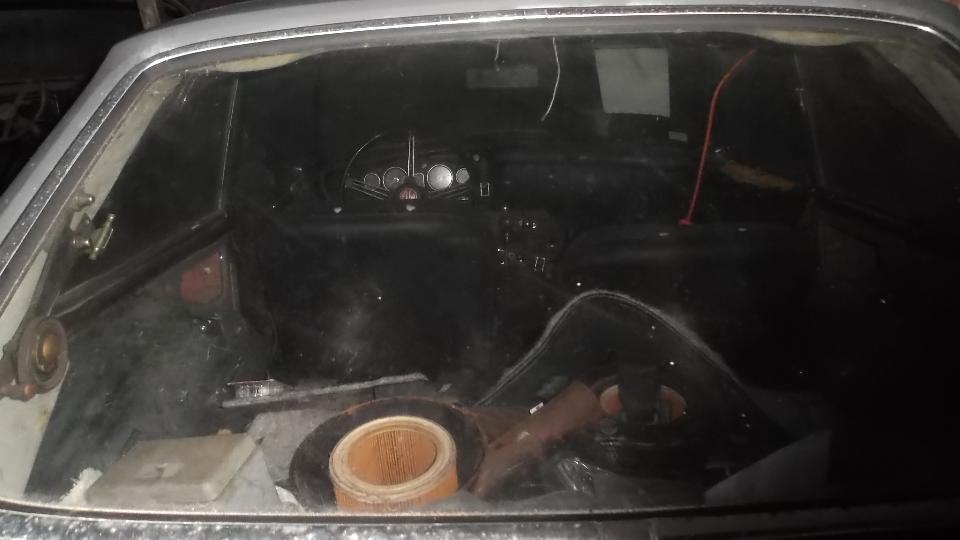
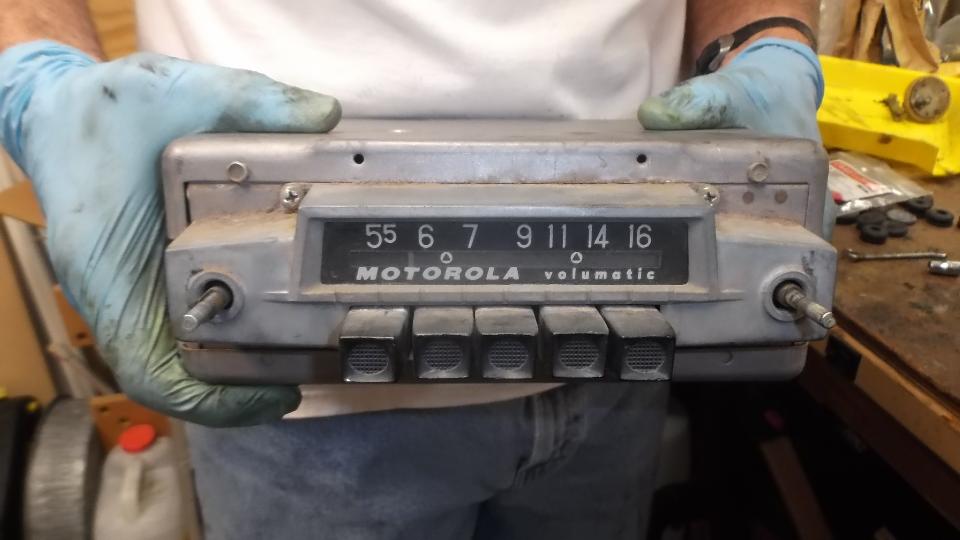
Here is a picture of the Motorola Volumatic radio that was removed from Scott's MGA.
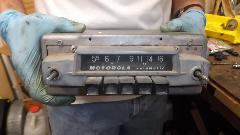 This one you really do not want in your MGA,because it doesn't fit properly. Notice the wide rectangular housing around the tuning shafts. This front housing is slightly wider then the aperture in the MGA dash panel. Installation of this model radio has been the demise of many an MGA dash panel when it was "convenient" to chop notches in the sides of the dash opening to clear this front housing. These notches would be mostly hidden by the escutcheon plate and chrome trim ring, but it makes a mess of the panel when restoration work requires straightening and welding of the dash panel before painting. This one you really do not want in your MGA,because it doesn't fit properly. Notice the wide rectangular housing around the tuning shafts. This front housing is slightly wider then the aperture in the MGA dash panel. Installation of this model radio has been the demise of many an MGA dash panel when it was "convenient" to chop notches in the sides of the dash opening to clear this front housing. These notches would be mostly hidden by the escutcheon plate and chrome trim ring, but it makes a mess of the panel when restoration work requires straightening and welding of the dash panel before painting.
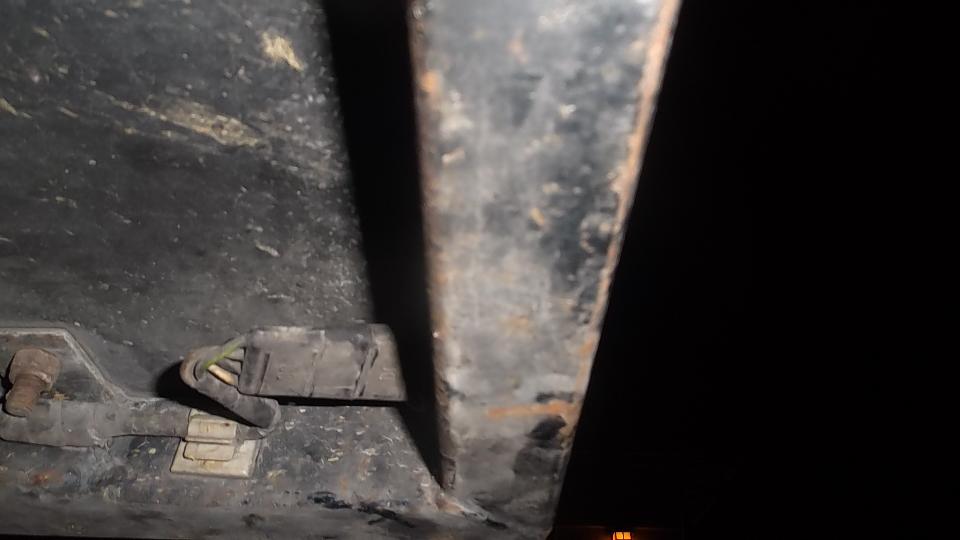
 One last late night effort before turning in. My trailer lights have been giving problems with intermittent operation. Since they all go out at once, I suspect a bad ground connection. I have fiddled a few times with the electrical connector at the hitch but this has not resolved the issue. Tonight the lights are dead again, giving a prime opportunity for diagnostics. The connector up front is okay so something else farther back is awry. Following the cable I finally found the culprit. It was another 4-pole rubber connector under the right rear corner of the frame used as the interconnect between chassis and load box. A little bump on this connector has the lights working again. If this happens again a little kick underneath may be enough to fix it.
Thursday May 7, 2015:
Day off. After yesterday and before tomorrow I need it.
Friday May 8, 2015:
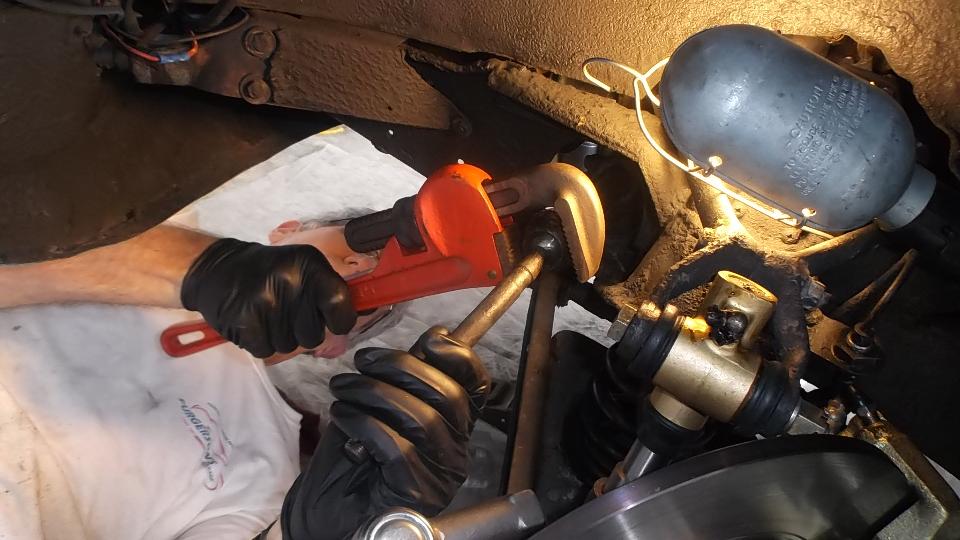
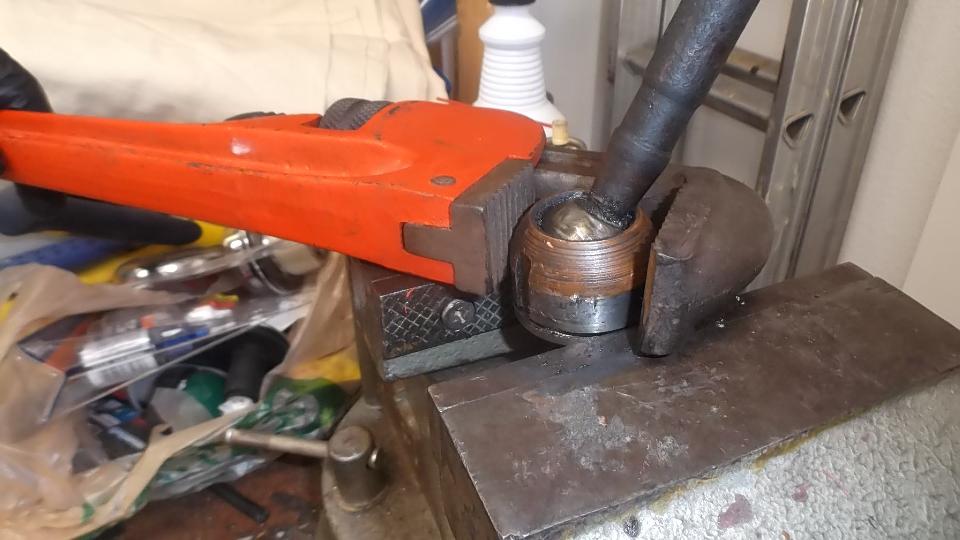
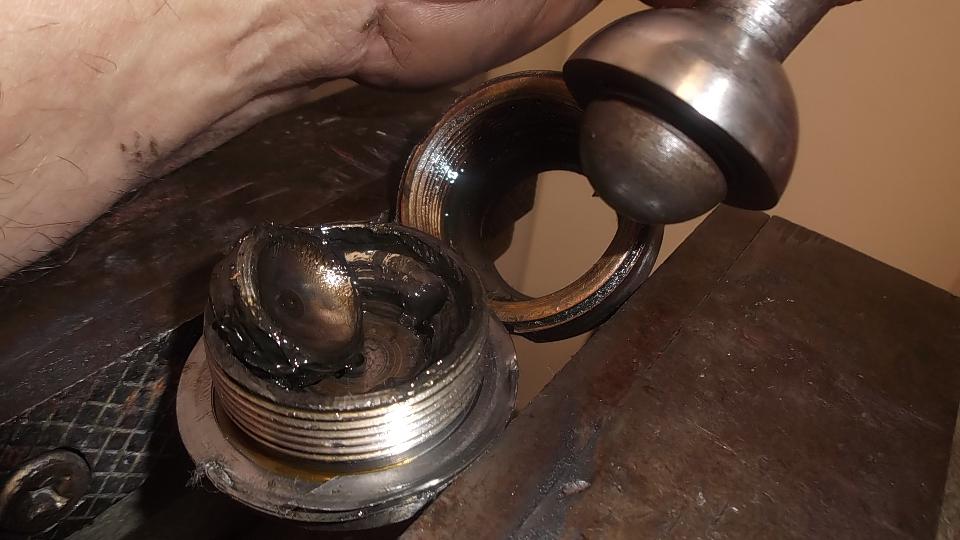
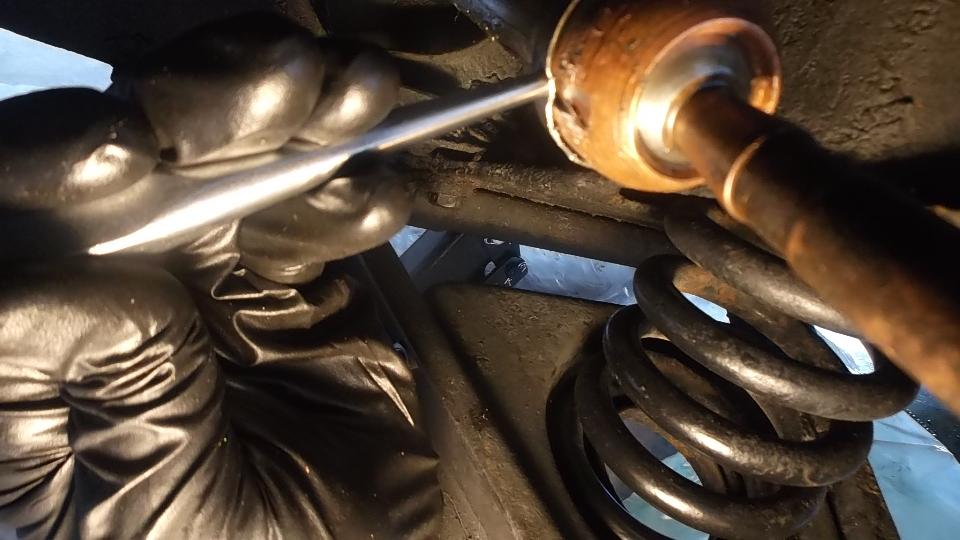
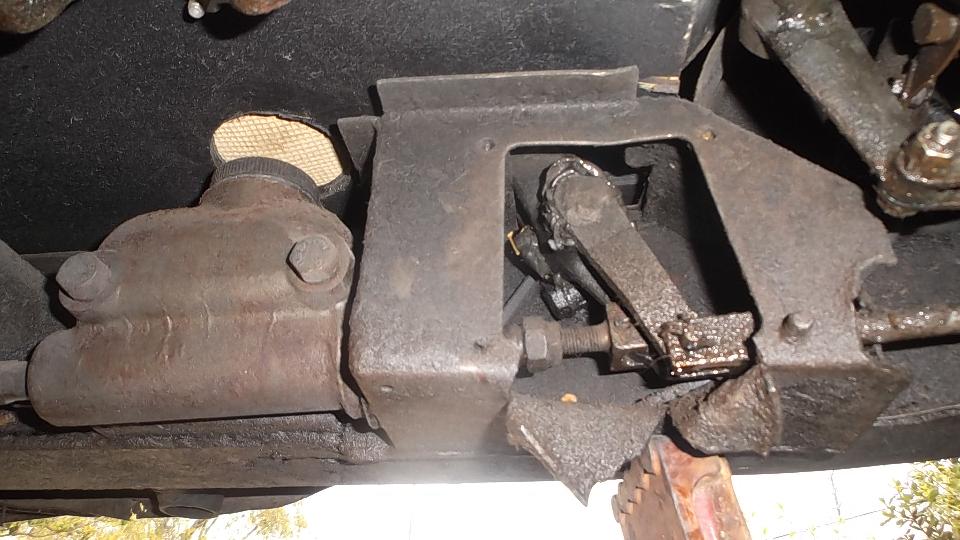
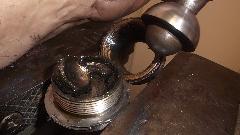
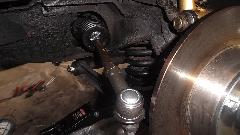
This was to be Steering Rack Tech Day for Scott's MGA. We had the intention to remove some wiggle from the inner tire rod ball joints. I have done this before a couple of times. It was once difficult and once much worse so I was a bit apprehensive. We got an early start allowing for the idea that a three hour job could easily turn into a 9 hour job. Get the car on jack stands and remove the front wheels. Loosen clamps on the steering rack gaiters, loosen jam nut on the tie rod, and unscrew the tie rod from the ball end joint, counting the turns to disassembly. Unlock the lock tab washer (cup) using a thin screwdriver and mallet, three places. Then unscrew the inner ball joint from the gear rack. So far so good (that was the easy part). Take the tie rod assembly to the bench vice, clamp the thin socket flange in the vice jaws, and unscrew the large acorn nut with a pipe wrench.

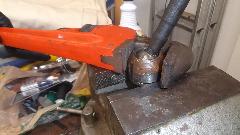
This is the point where the job sometimes takes on a new life, requiring liberal application of the Blue Wrench (acetylene torch) before the nut comes loose. This time we were blessed with good luck as both left and right side ball joints came apart on the first try with the pipe wrench alone. Wonders never cease. The first one had two shims, 0.010+0.003=0.013. We had in mind to take out about 0.004. First selection was to be one 0.010 shim. The new replacement shims were plastic (maybe Delrin), and I thought it might compress little when clamped in place. This turned out to be a good choice, as it snugged right down to zero clearance and a slight preload as the acorn nut was tightened. Score one for the good guys. The second joint was a tad looser to begin with, and it contained three shims 0.006+0.006+0.008=0.020. Here the new selection was one 0.010 plastic shim combined with the existing 0.008 shim for 0,018 total. Again score one for the good guys, as it pulled up snug with zero clearance and slight preload on the first try.
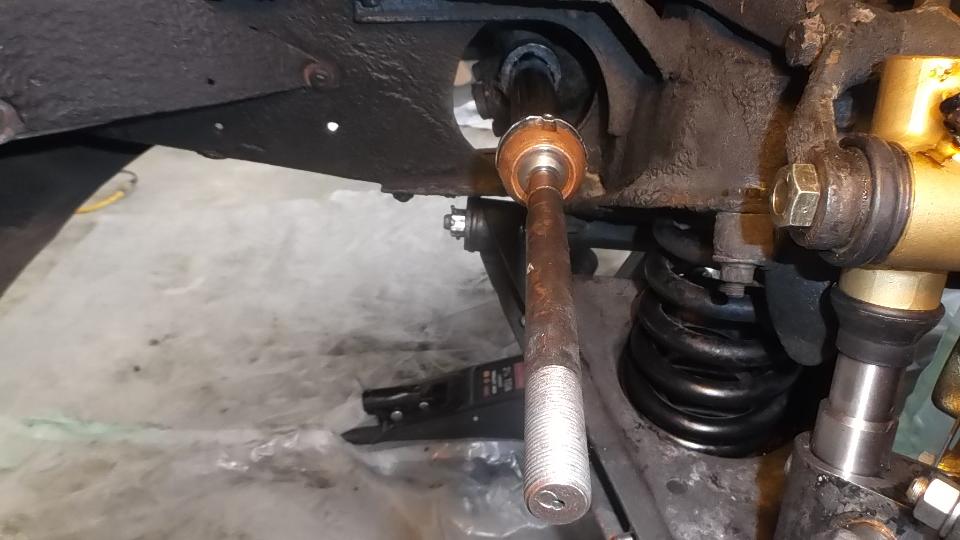
Back to the car, hold the lock tab cup in place as the ball end is screwed into the rack. Pull it up tight, and set the lock tabs into the slots with a hammer and punch. Easy peazy. Install the rubber gaiter with clamp on the inboard end only. Screw the jam nut onto the tie rod, and screw the tie rod into the ball end the same number of turns as was required for disassembly, and tighten the jam nut. Ditto for the second side.

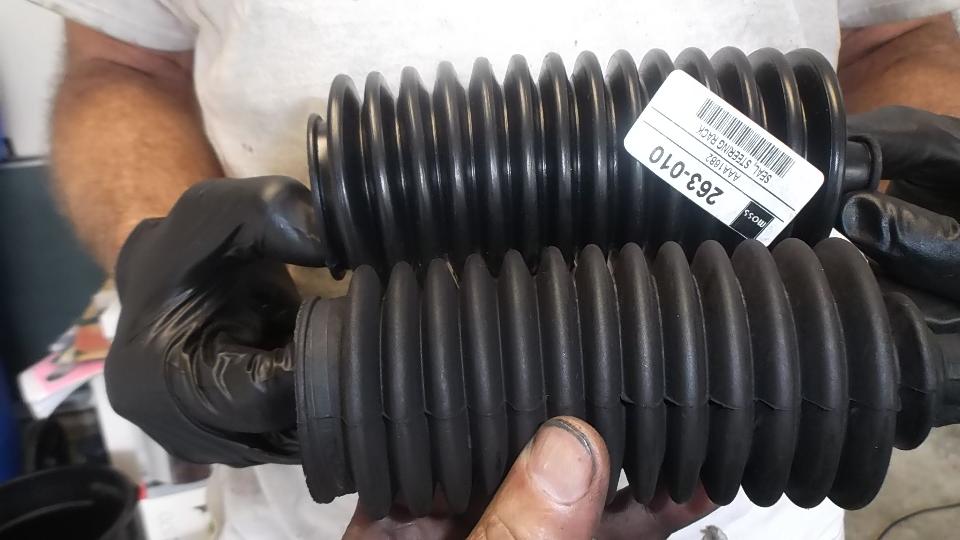
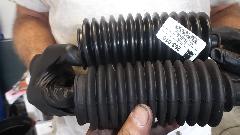
Here we have a comparison of the new gaiter and old gaiter. New one=14 convolutions. Old one=13 convolutions. If I remember right, original ones had 11 convolutions, so neither of these is concours correct. Since the old ones appear to be in good condition (and might be more robust than the new ones), we elected to reinstall the old ones and keep the new ones for spare parts. That and the fact that the old boots would accept the metal band clamps on both ends. The new boots had a narrow groove on the inboard end which would only accept a nylon tie wrap. Before installing the small end clamps we used a trigger pump oil can to inject 6-oz of gear oil into the left side boot. Then we installed the clamps and pushed the rack from lock to lock a few times to distribute the oil through the assembly. You know you have enough oil inside when you can hear it gurgle in and out of the boots as it moves. This was followed by a brief victory whoop, something like, "Yee-Haa"!
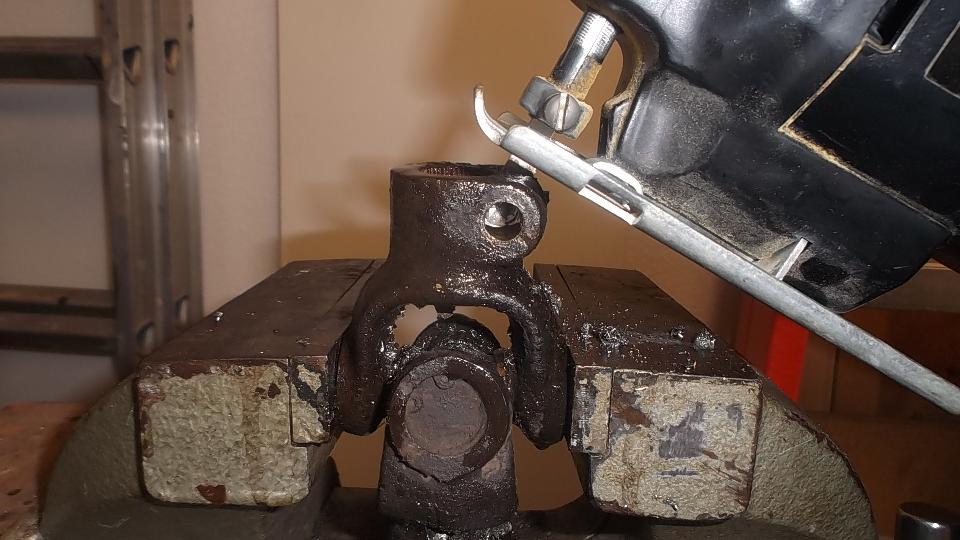
Since the ball joint rebuild went so well, and it was still early afternoon, we elected to continue with a couple more steering improvements. The U-joint in the steering column was a bit loose on the upper splines, So we printed out the factory Confidential Service Memorandum and proceeded to modify the U-joint for tighter fit on the splines. Remove two pinch bolts and pull the steering column up to release the U-joint. Easy enough. Holding the U-joint in the bench vice, drill a 5/16-inch hole, and saw cut from the original slot into the hole. Just a bit of grunt work, but that went okay. Ditto for the second end of the U-joint. Then reinstalling the U-joint was a bit of trouble, as it has very fine splines making it difficult to fit exactly back to the original position so the pinch bolt would go through. In the process we bugger the thread and had to replace one bolt (which graciously came out of the magic trailer). This was supposed to be the easier job, but turned out to give the more difficulty.
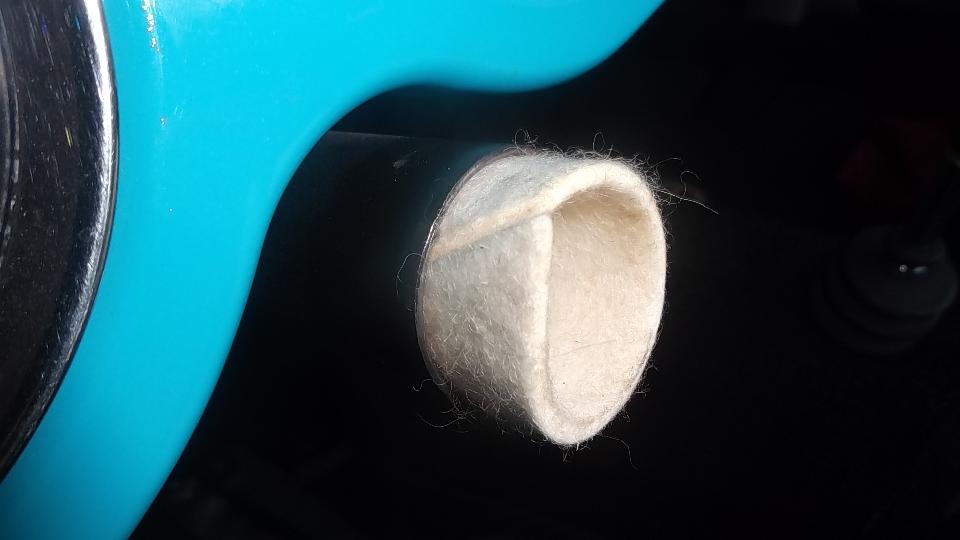
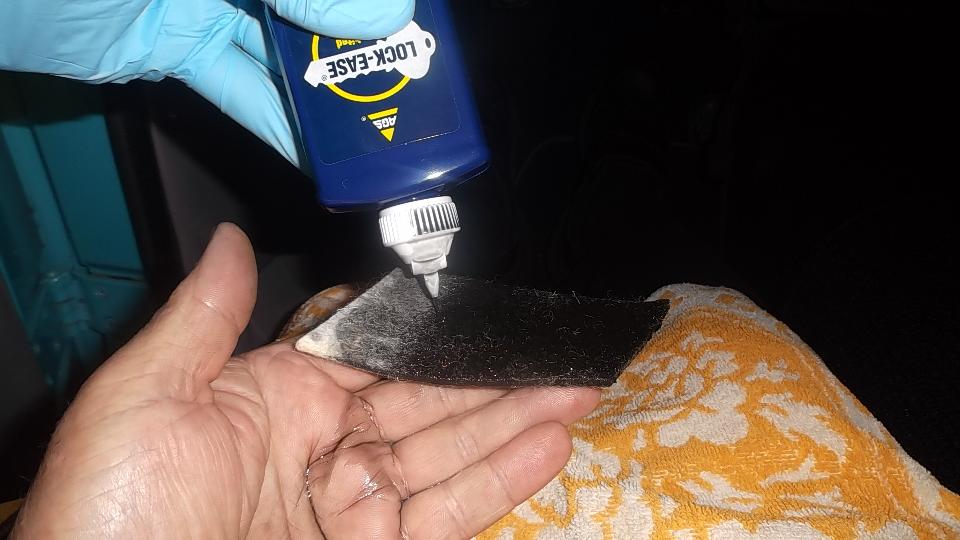
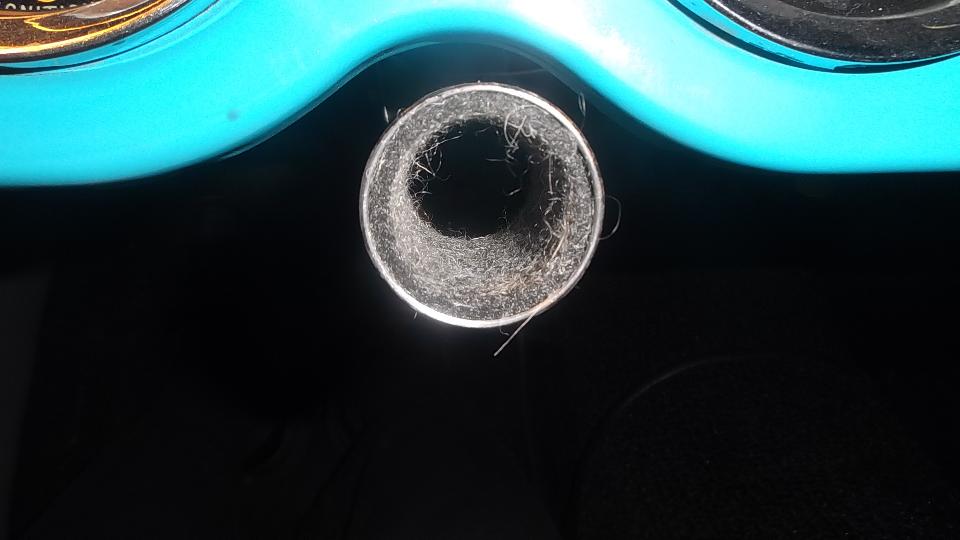
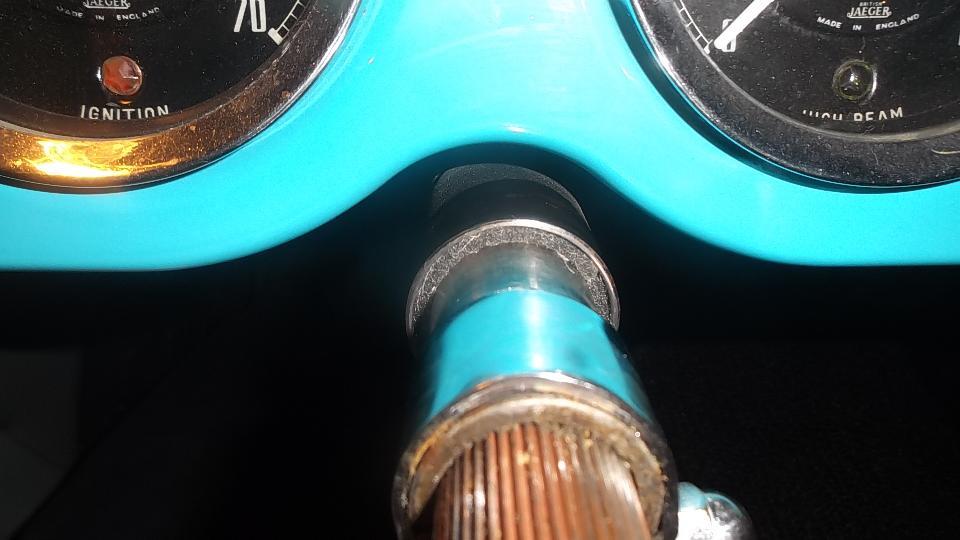
Ah, but we still had a bit of daylight, so on to the next improvement. It was time to replace the felt bushing on the top end of the steering column. A few minutes to remove the steering wheel so the shaft would pull out of the tube. Then a short trip to the hardware store to pick up a bottle of graphite lube (Lock-Ease brand name). Shake, shake, shake, and then saturate the felt bushing with this stuff, and pat dry with a paper towel before installation. We are happy to report perfect fit for this felt bushing easy installation, and no more slop in the top end of the steering column.


 End result for all this effort is a slight twitch on the steering wheel produces a slight twitch at the wheel hubs with no detectable backlash. It also produced a big grin on the faces of both Scott and Mary Davidson. Seems like a well spent day.

Saturday May 9, 2015:
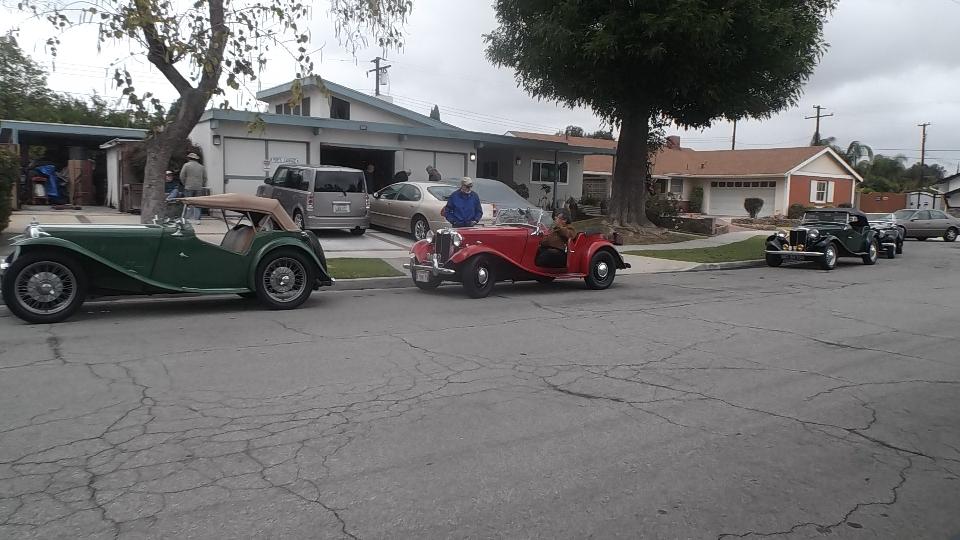
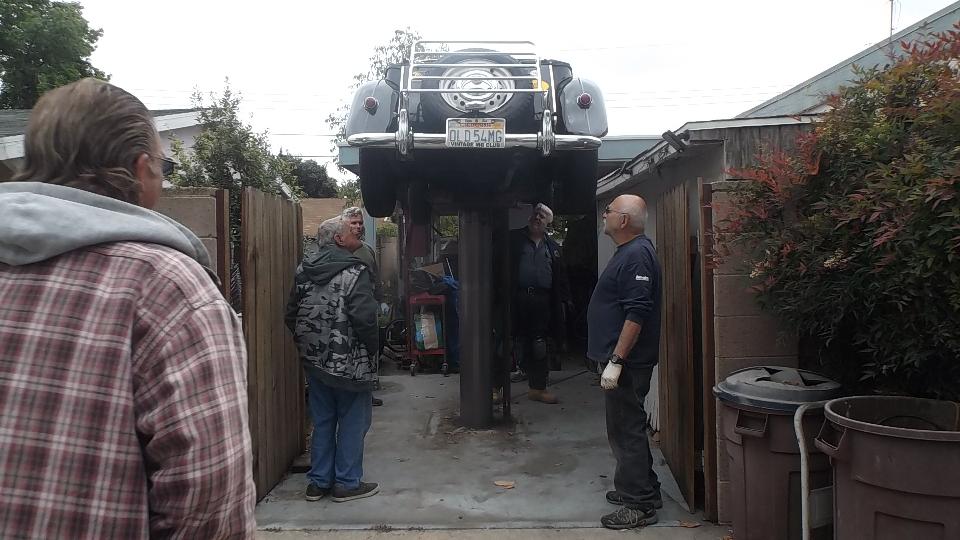
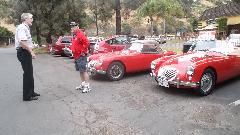
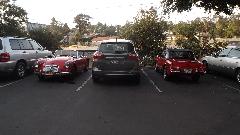
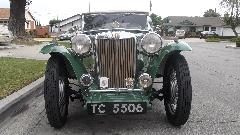
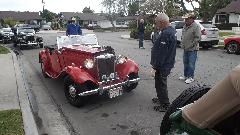
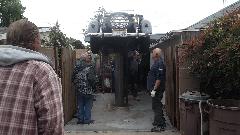
Tech day today at Vintage MG Club of Southern California. 21 miles north on I-5 and 21 miles west in US101. This was to be Safety Inspection for several MG TDs at the home of Jerry & LaVerne Felper in Anaheim. How many people have a single post hydraulic lift in their side yard? If I counted right there were seven T-types, one TC, four TD, and two TF.


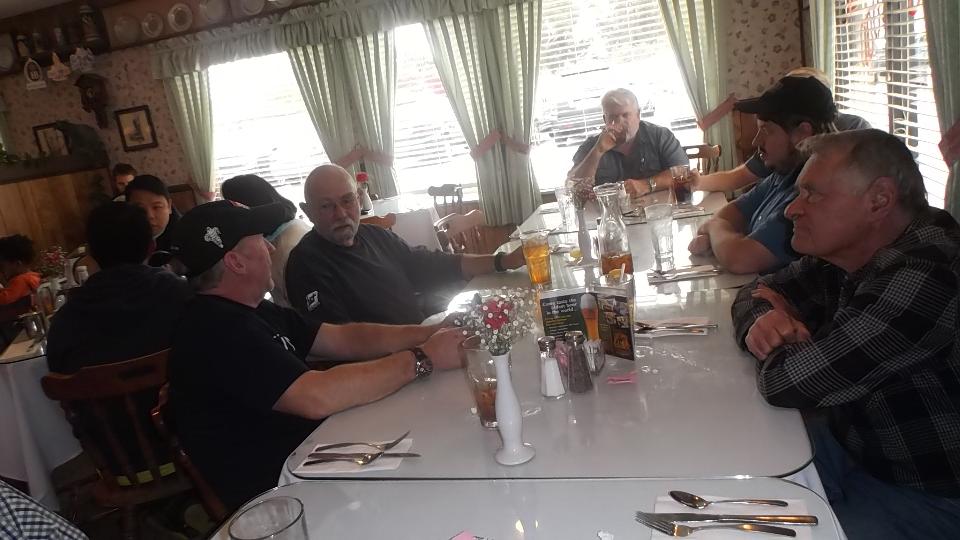
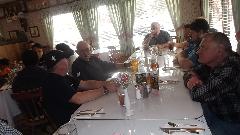 All said and done, most of the gang wandered over to Jagerhaus for lunch just about noonish. With all assembled we had eight around the table, good time chatting about vintage MGs, Of course all MGs in North America must be vintage by now (the newest MGB now being 35 years old).
Oh, remember the differential R&R done on Wednesday? Now there is a different problem that it didn't solve. We have a driveline vibration that is obviously related to propshaft speed. I will need to investigate that issue soon. I know the U-joints are good, and the propshaft does not appear to be bent.
Sunday May 10, 2015:
Couple of appointments today, starting with Adam Lombard in Encino, CA. That would be a trip through LA on the expressway, marginally slow, one dog in the road stopping traffic momentarily, so the planned hour turned into an hour 20 minutes. Adam had made a few calls and gathered up a few friends before we arrived.
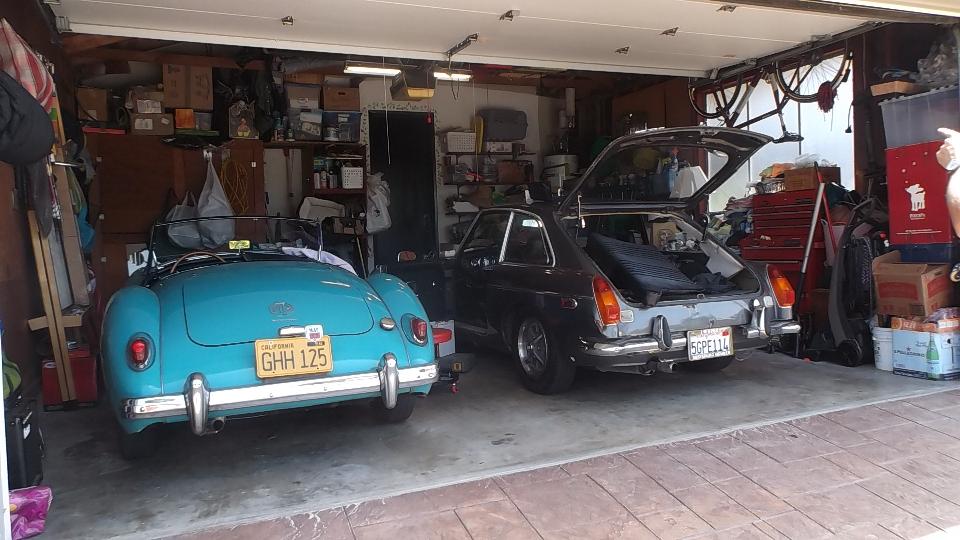
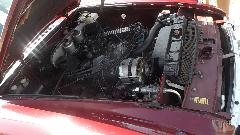
Visitors above one MGA and half a dozen friends. Residents below one MG YB saloon and one MGB GT.

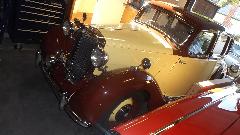
 See if you can ignore the 1960 Corvette that belonged to is father and will stay in the family as an heirloom. The YB is spectacular, while the BGT is more a daily driver type. Since the cars were all happy and needed nothing, the party turned to chat and long stories and pizza. Finally most of the guests had left, and time was short, and we needed to run. Jump back on I-5 and buzz another 30 minutes west to Camarillo.
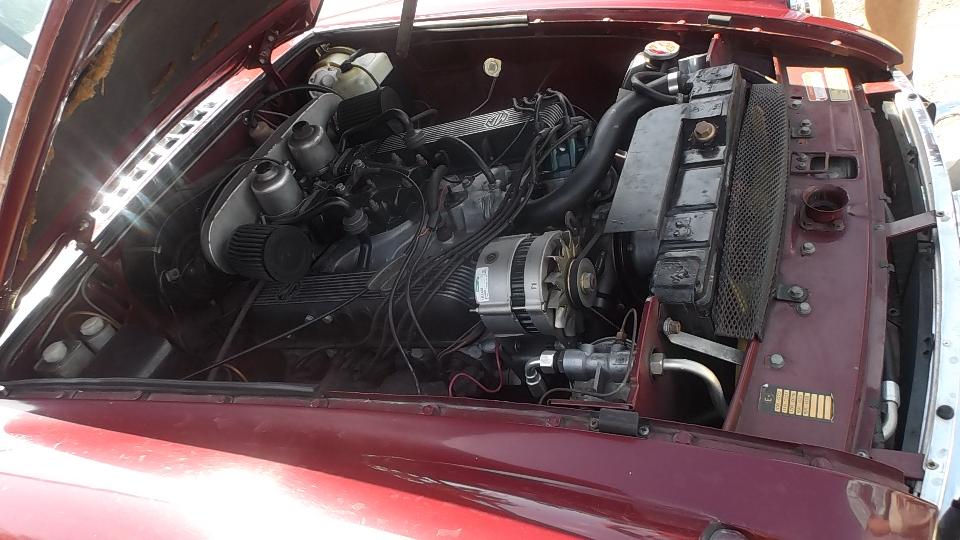
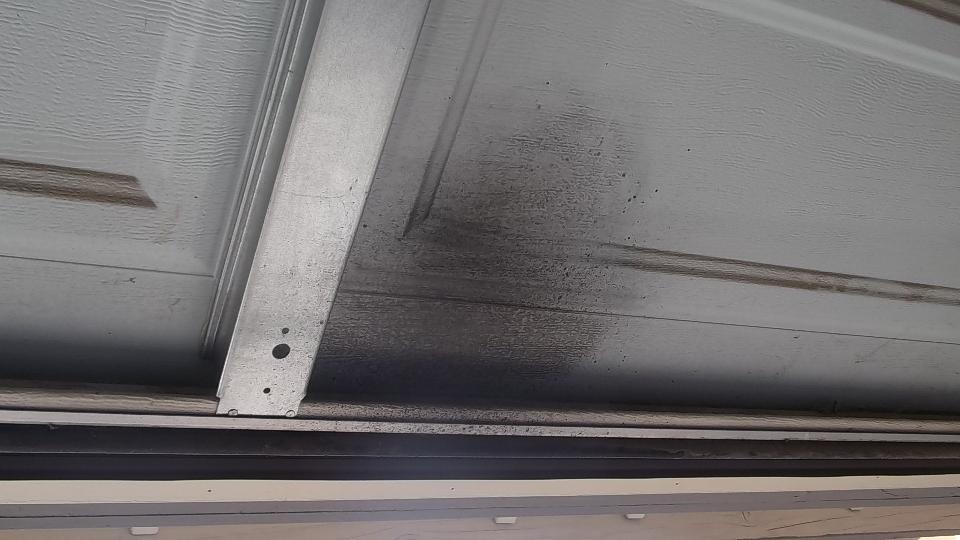
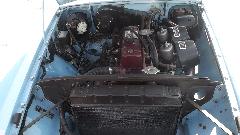
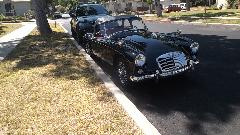
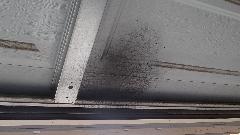
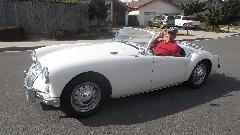
Meet Rob Zucca, curator of the Regan Library. His MGA 1600 was "restored" before he bought it, but required a certain amount of TLC for some adjustments. Today it started too easy from cold, likely running too rich, verified by the "rich spot" (smudge on the garage door), so I had something useful to do here.

Front carburetor was running rich, while the rear carb was definitely a bit lean. After a few minutes of carb adjustment it ran well, but ignition timing was suspect. A stated 7 degrees static timing turned out to be 7d with a strobe light at 1000 rpm (probably a bit less static). High speed check with vacuum disconnected showed only 23d advance at speed. After resetting timing to 32d BTDC at speed, idle timing was 16d at 900 rpm. Not by the book, but functionally very good. With vacuum connected it made 46d at speed, the extra 14d due to vacuum unit, good for cruising speed fuel economy. Another small tweak on the carbs, then time for a test drive. Trip around the block began with a big grin, developed into a few extra miles, and ended with a bigger grin. I think we did something right. Late night chat turns to later night computer work, so we will be a bit short on sleep tonight.
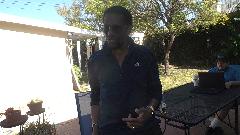
Monday May 11, 2015:
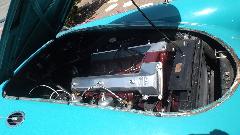
A quick morning review of the day before. Rob wanted us to notice his "rich spot" left over from before the final tuning. And then the victory shot. This baby is running good, and going to work today.
After spending a few hours on WiFi we had some idea what we might be doing for the next ten days or so. I made a call to Moss Motors, but found Kelvin Dodd was on vacation until the 19th, leading to an immediate change of plans (so much for 10 day advance planning that lasted one hour).
Vintage MG Club of Southern California has a dinner meeting at 6:30 in Santa Ana. MapQuest calls it a 90 minute drive, and it is 4pm, so we should have plenty of time (but of course this is California). Hop back on US-101 (Ventura Freeway) 41 miles. Merge onto the Hollywood Freeway, 12 miles, smack into downtown Los Angeles during evening rush hour stop and crawl traffic. Merge onto the Santa Ana Freeway (US-101), another 2 miles of stop and crawl. Merge onto continuation of the Santa Ana Freeway (I-5 south) for 26 miles, getting out of downtown LA and finally doing 4th gear occasionally. We finally arrived in Santa Ana at 6:50 having consumed 2-hr 45-min to do the 90 minute trip.
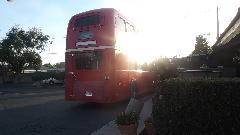

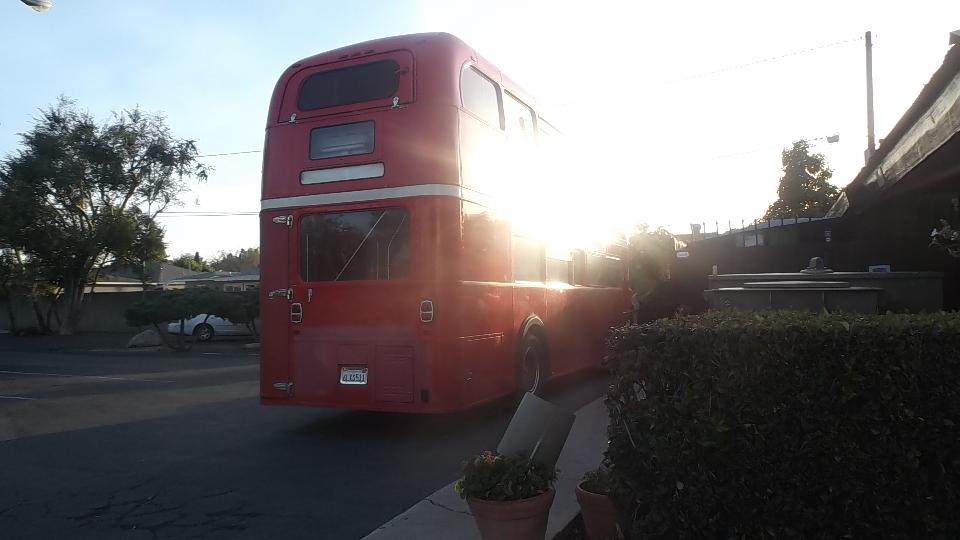
 Funny I don't see any T-types here but there are a couple of British vehicles present, one MGB and one London Bus (resident here I presume). Inside we find a dozen members of the Vintage club half through dinner. Now I'm thinking service must be very good if they met at 6:30 and had the food already so we find a seat and order up. We got the drinks in short order, had to wait a bit longer for food. By the time we were half through eating everyone else had left. Seems they mostly arrive between 5:30-6:00-pm, eat early and leave early, having an appointment to watch Dancing With The Stars. Someone should tell us these things maybe? That was a rather long trip to end up eating dinner alone. We could easily have traveled and arrived a bit earlier.
Well it was still only 8:30, so another change of plans. One phone call and hit I-5 south again sailing right along for another hour, arriving Ensinitas by 9:45-pm (with a numb hand from the propshaft vibration). Remember Scott and Mary Davidson? Very amenable hosts. We try not to chat too late this time all having things to do in the morning.
Tuesday May 12, 2015:
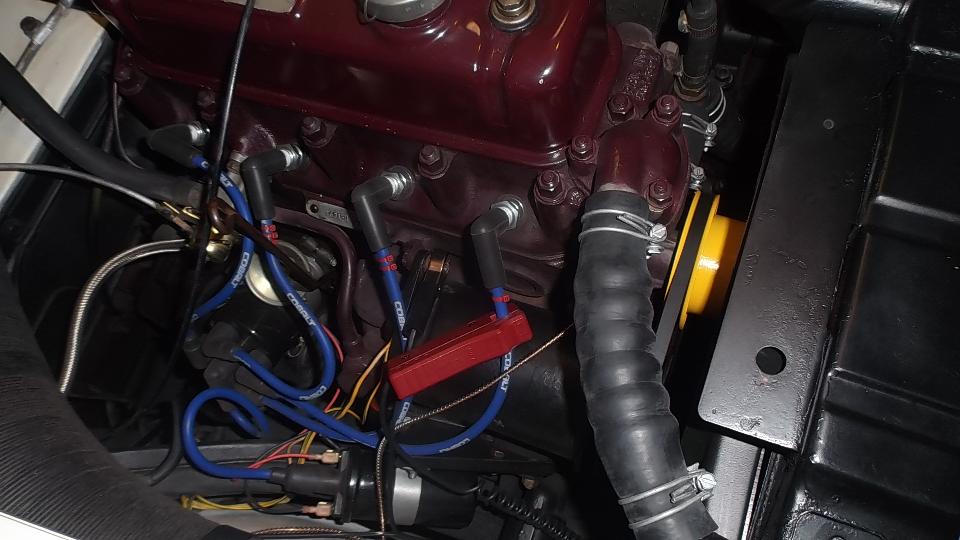
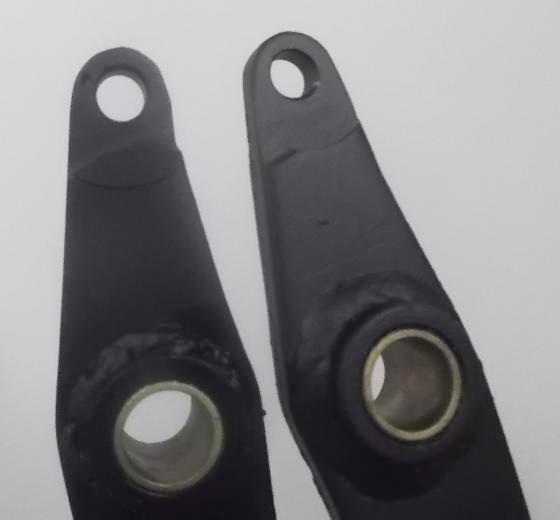
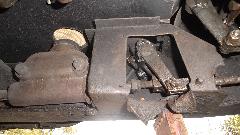
Catching up on correspondence plus re-arranging some scheduling. Scott got his pedals back from the shop with top holes welded up and redrilled. I found the problem causing vibration in my MGA, a bad U-joint at front of propshaft; not a big problem, got one of those in the trailer. Also a different problem with the tail bushing in the gearbox stuck on the propshaft and rotating in the housing. Contemplating removing engine and gearbox to repair the tail housing bushing. Trying to devise an alternate plan to avoid R&R of engine and gearbox. Sometimes taking a day to think this out can make a big difference.
Wednesday May 13, 2015:
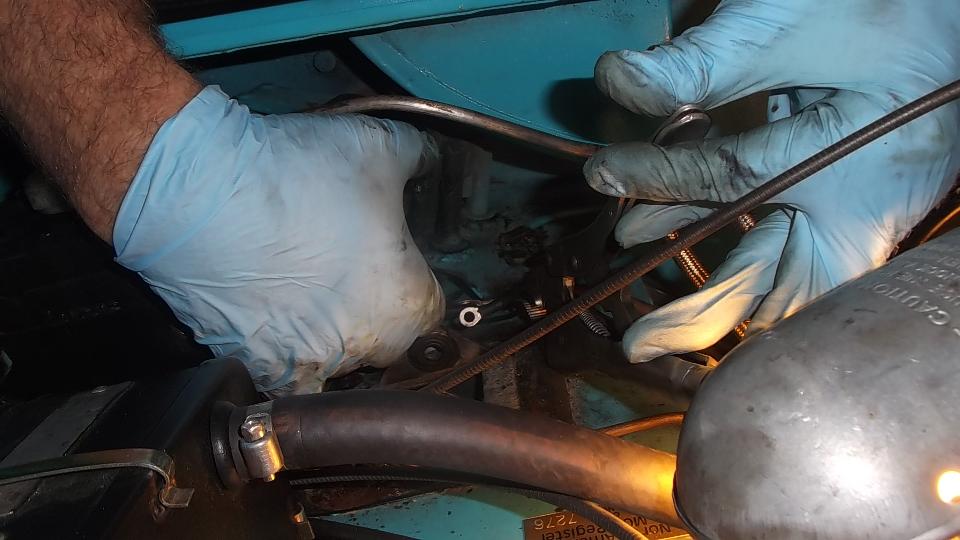
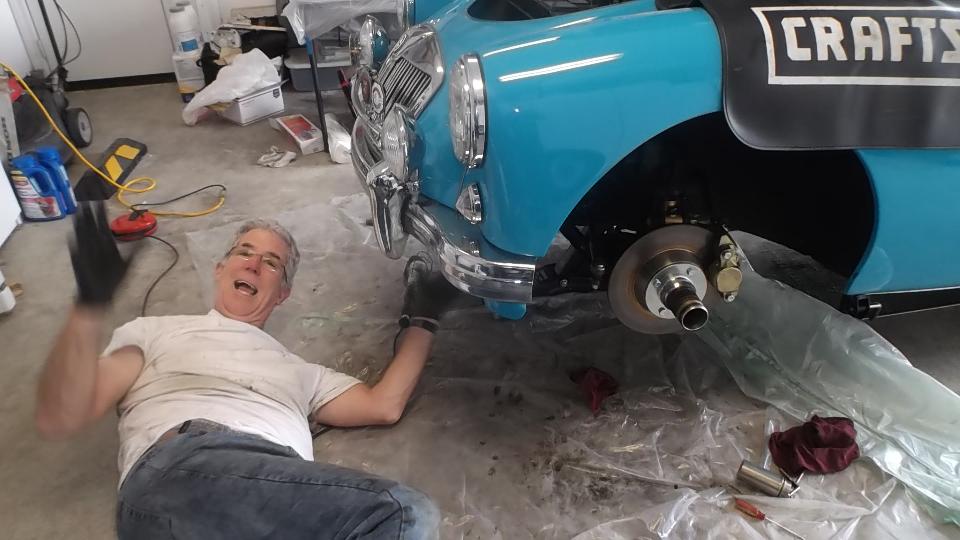
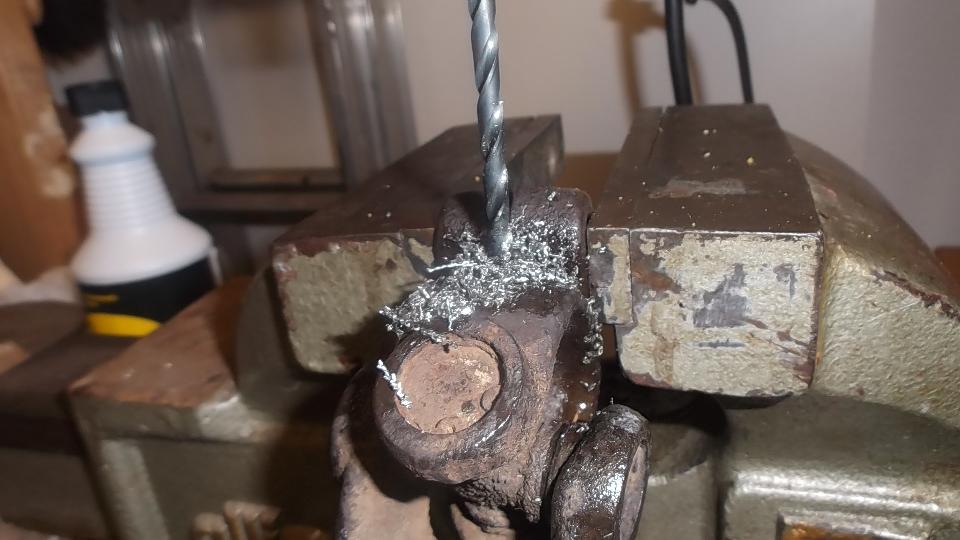
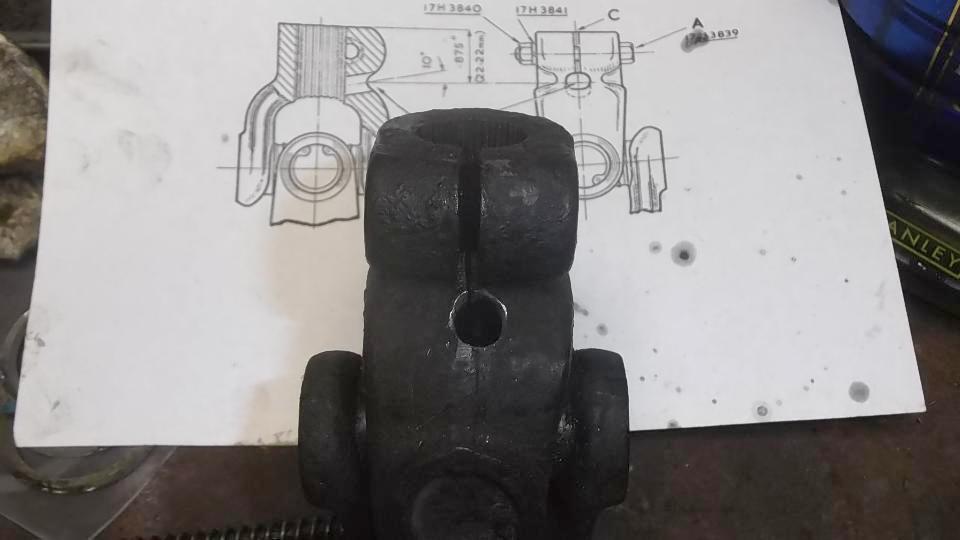
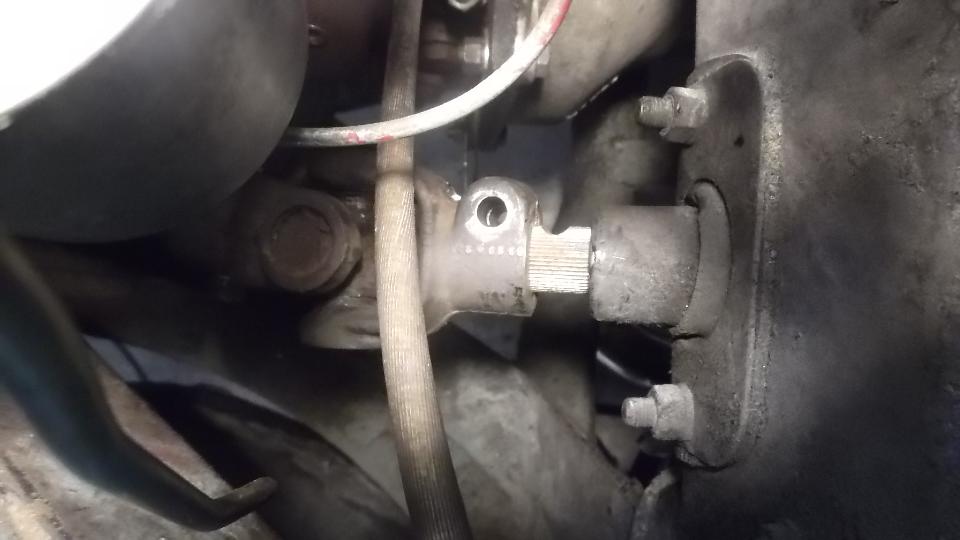
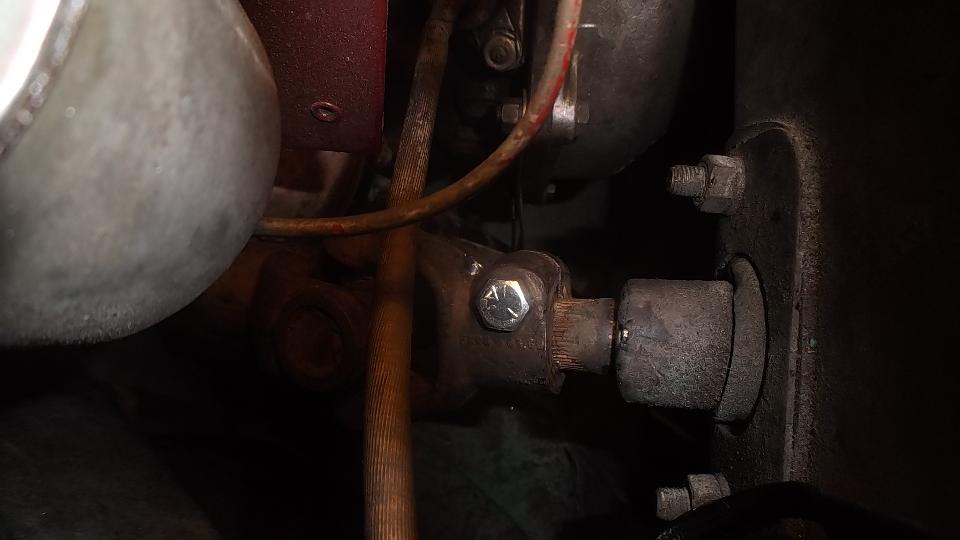
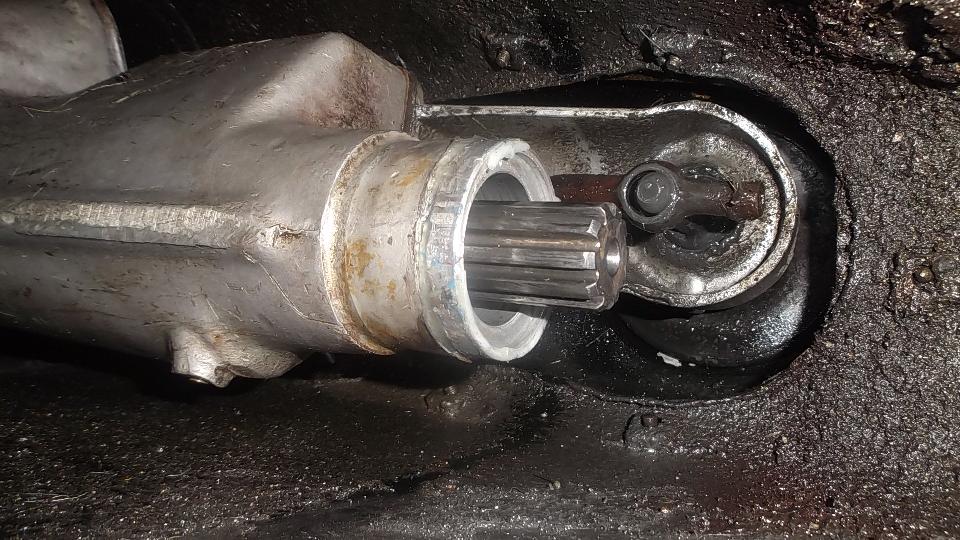
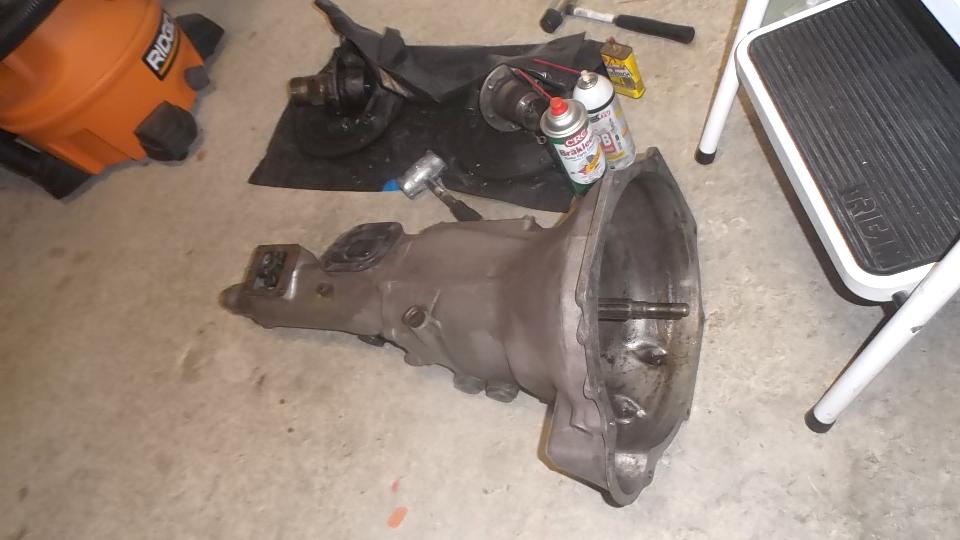
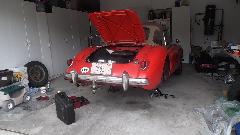
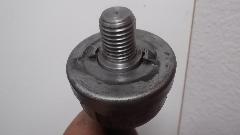
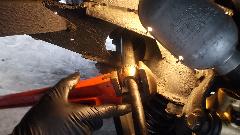
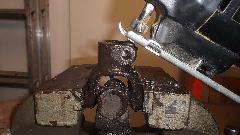
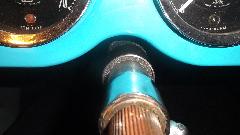
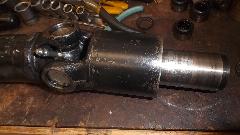
Maintenance day, big time busy day. Scott's MGA was still disabled from disassembling the pedals and wiper drive a week earlier. So push that one outside and bring my MGA inside. Jack the car, two stage, set the stands, crawl under it, drain the gearbox oil. Disconnect rear end of propshaft, get a big crow bar, pry the propshaft loose from the gearbox. The bronze sleeve bearing and the rear seal came out along with the propshaft which was actually good news meaning I didn't have to remove gearbox from car to extricate the tail bushing.
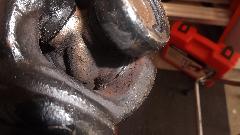


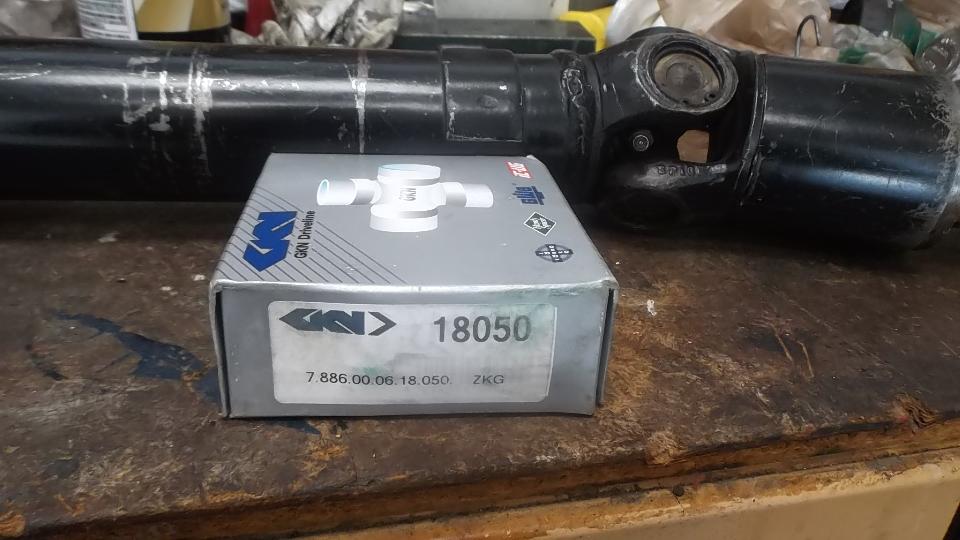
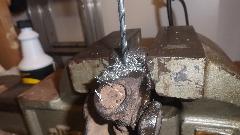
Since the front U-joint was bad I disassembled that first, and then put the front yoke in the bench vice for more work. I used a Dremel with thin abrasive wheel to split the bushing for easy removal from the the spigot. The rear seal for the early gearbox is an external cup. The seal inside of the cup is a leather lip seal with felt dust seal outboard. This OEM type seal was still in good condition and will be reused. It didn't take long to install the new U-joint. Grease both U-joints and toss the propshaft in the boot.
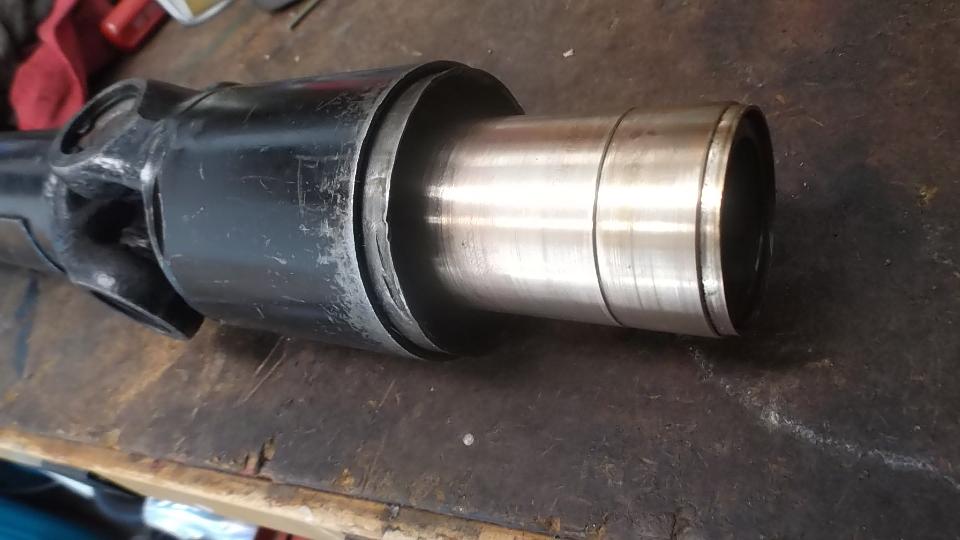
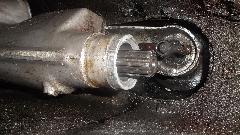 I spent some time with a thin screwdriver and rag and solvent cleaning the rear of the tail housing and spline in preparation for installing the new bushing (whenever it may arrive). Put the drain plug back in the gearbox. Jack the car two stage down removing the stands. Push the beast outside, and push Scott's MGA back inside. Now we have two disabled MGA in the same place, but will see what we can do about that.
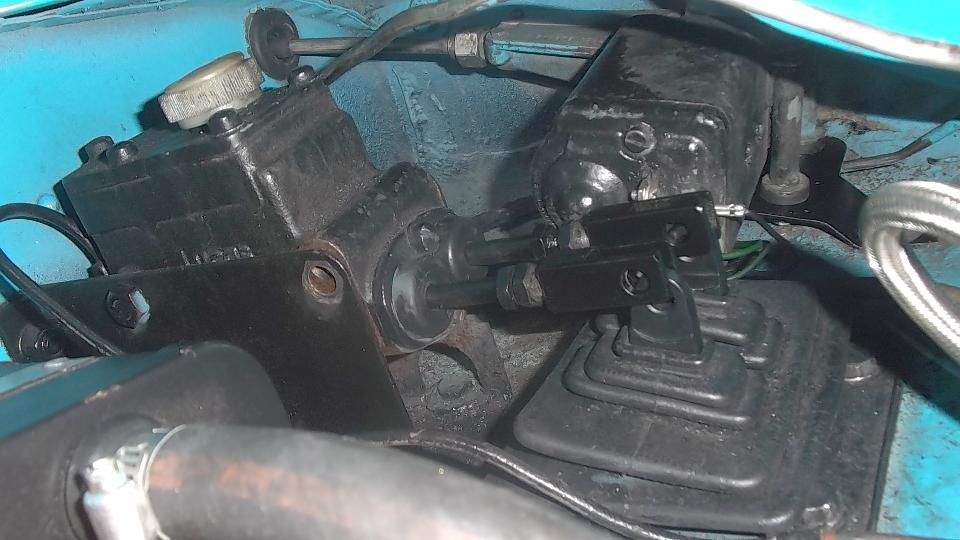
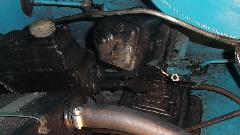
Determined to get Scott's wiper drive back together, the first task was reinstalling the spindles with wheel boxes and piping.
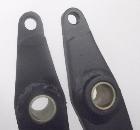
 This chore is tough enough when it is the first thing assembled into an empty body shell. Assembling these parts up behind the fully assembled dash with steering column snd defroster vents and wiring in the way is a real knuckle buster. Just keep repeating to yourself, "Failure is not an option" (and try not to count the hours). In the end we did succeed, the wipers are all back together and working well, pedals back in place with the pedal excluder and pushrods with new clevises and pins. So at least Scott's MGA is mobile again.
Thursday May 14, 2015:
I feel like a lump, sitting here waiting for a part that shipped a day late while my car is disabled. But I did get a picture to prove that it does rain in southern California occasionally, in this case just enough mist to wet the pavement. The locals call this a heavy rain, severe winter weather, and many will resort to donning a sweater before venturing outdoors.
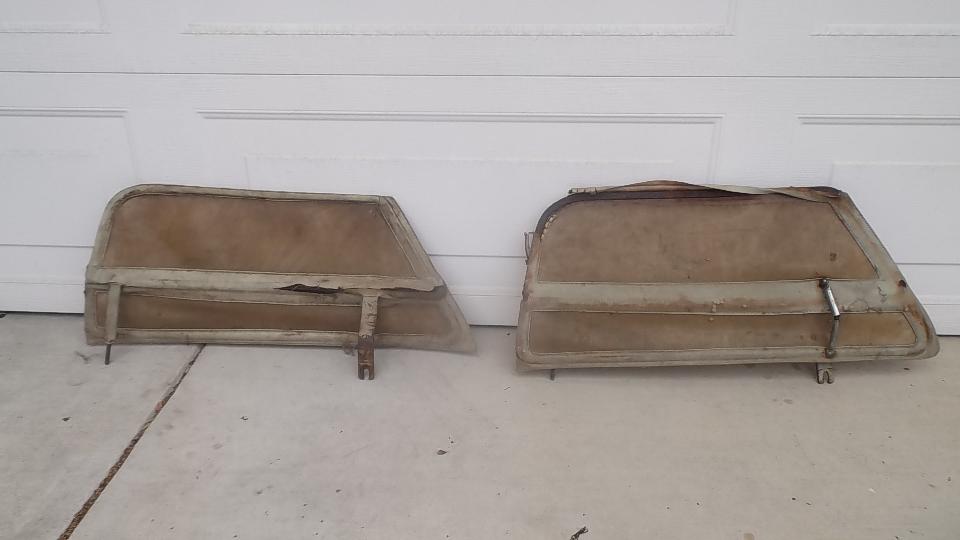
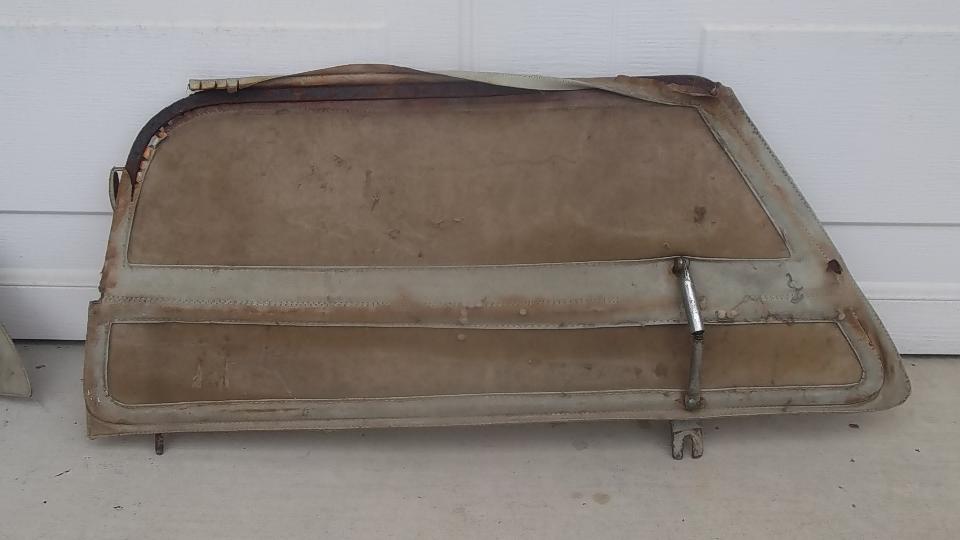
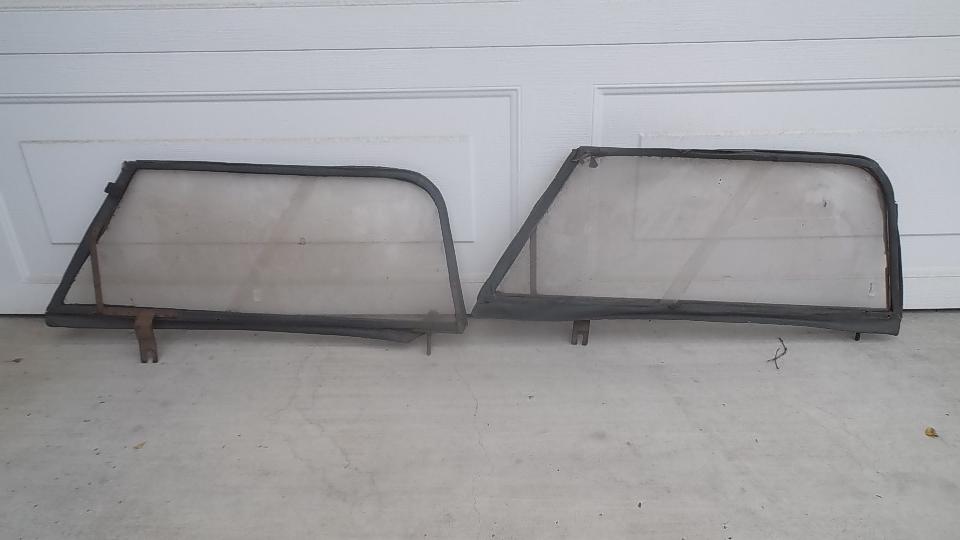
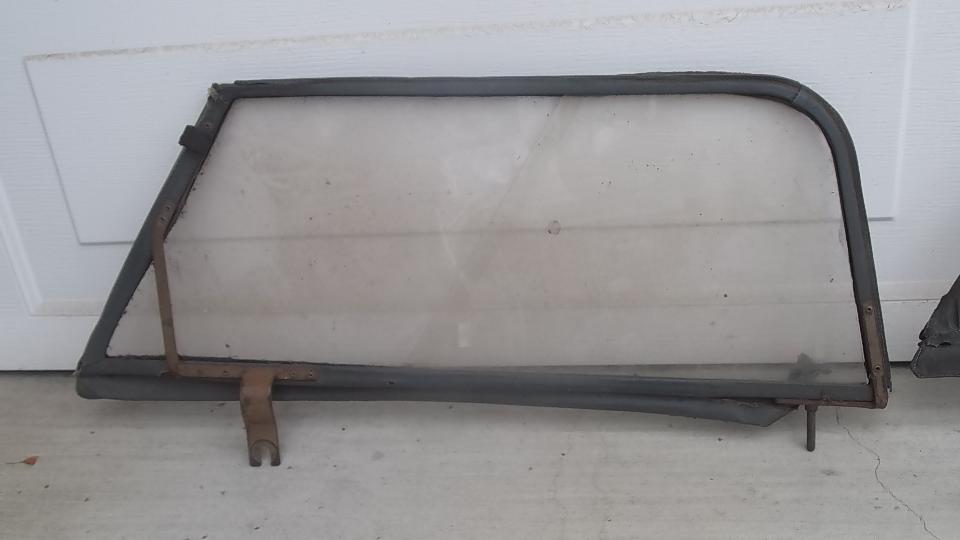
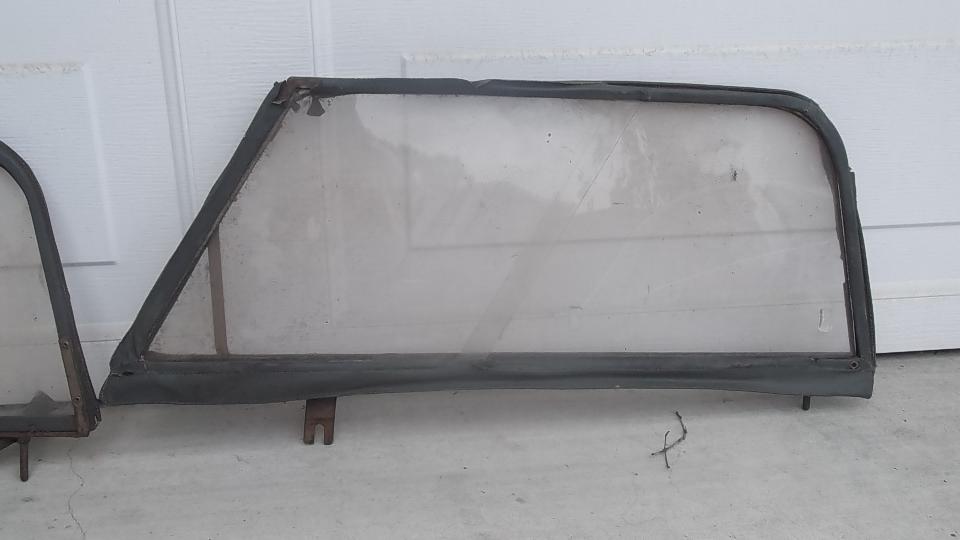
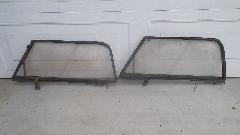
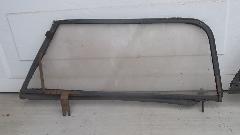
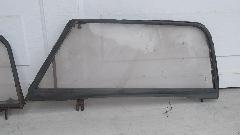
Meanwhile Scott pulled out TWO sets of original side curtains. The first is a set of flip-up style side curtains original for all 1500 roadsters. Since they were despised, back in the day, most of them have long since been thrown away. That makes them rare today, and in high demand for a concours restoration car.
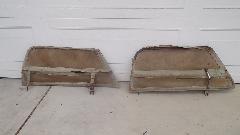
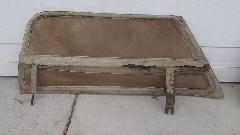
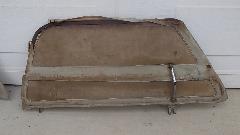
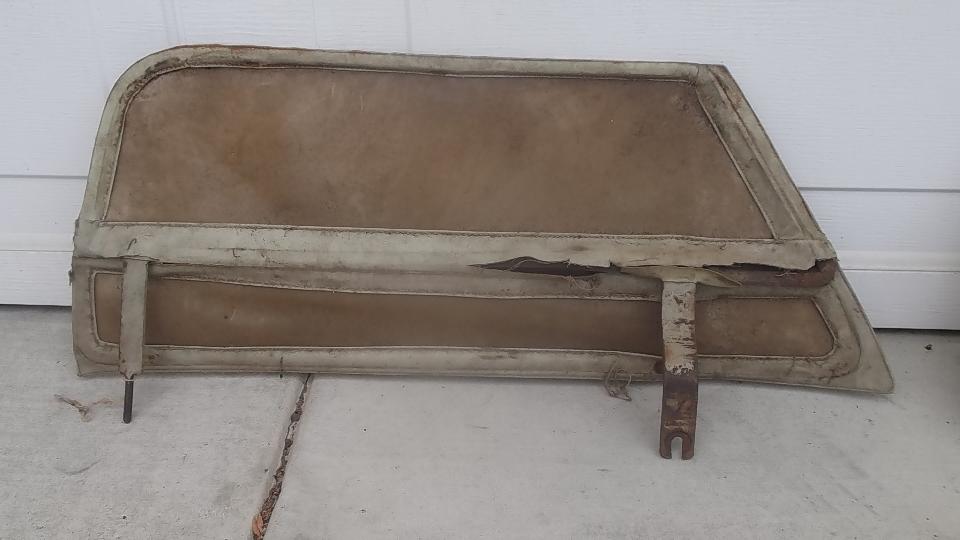
The second is an original set for a roadster with a bolt-on aluminum hardtop. The hallmark here is a very narrow (almost none) flange on the fabric around the top and rear edges (because the hardtop has a built-in seal in these areas). A similar side curtain was used for 1600 production with the fiberglass hardtop. As
MGA production was nearing an end this stye side curtain became the standard replacement part, superseding all prior part numbers.
Friday May 15 2015:
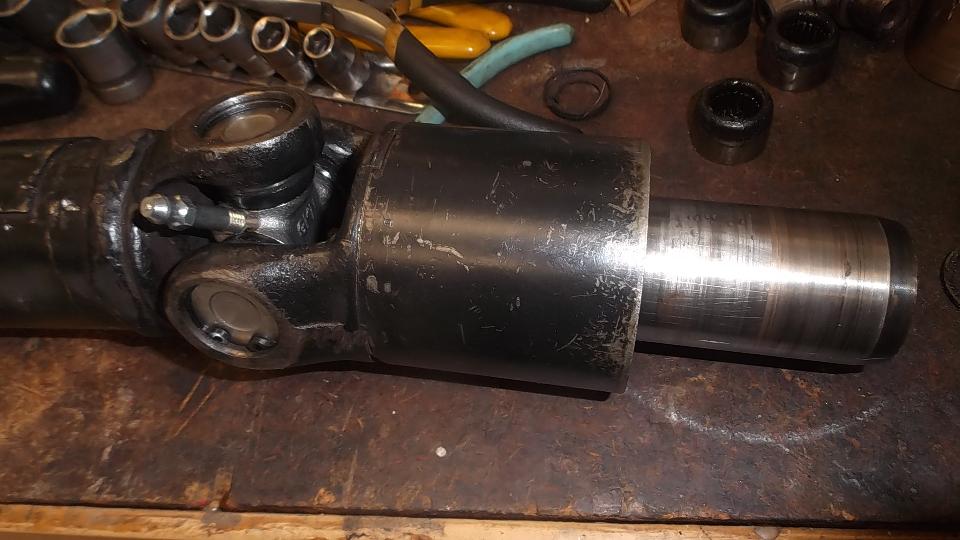
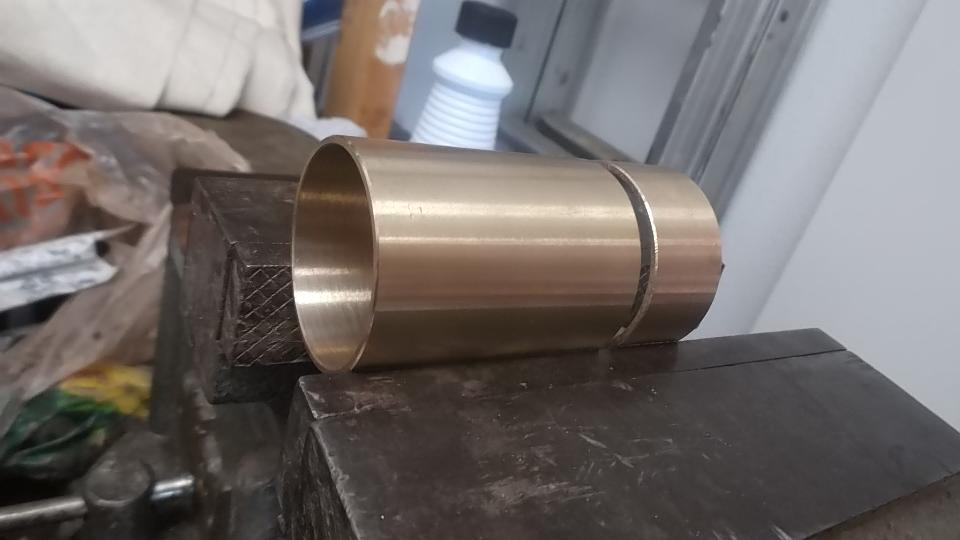
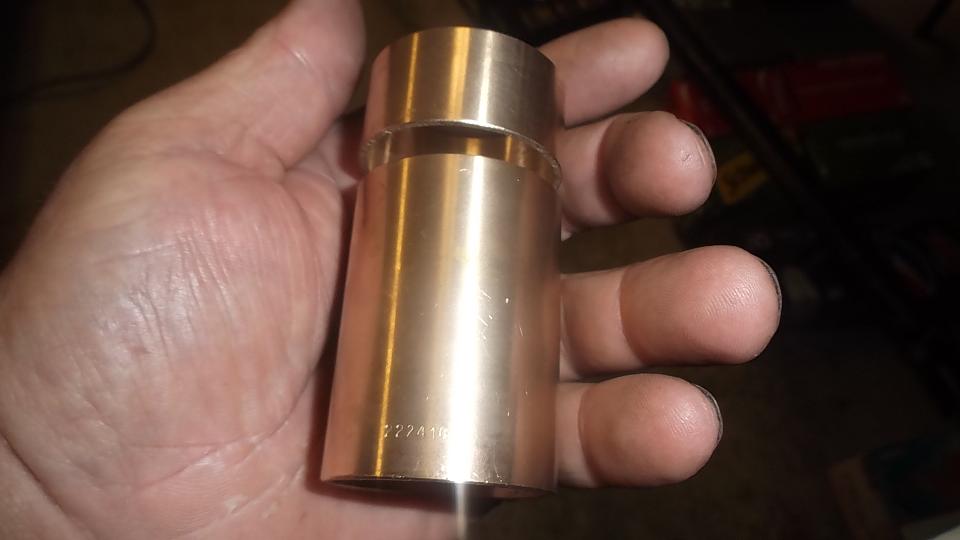
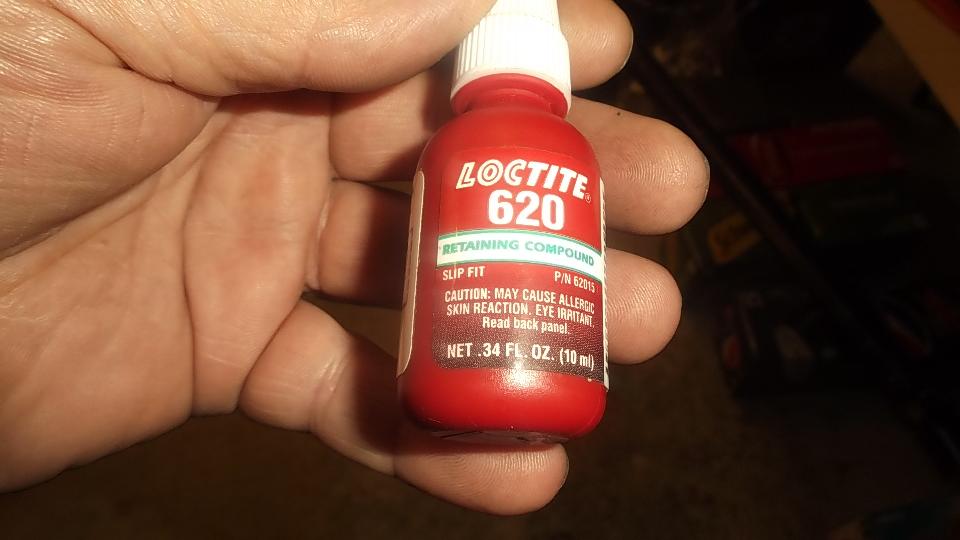
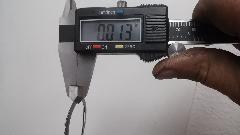
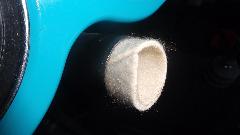
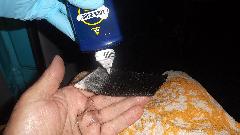
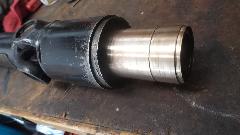
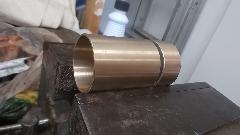
Ah-ha! The Loctite 620 bearing set adhesive and the bronze bushings are here by mid day. Prepping the bushings first. Required bushing size is 1-3/8" ID x 1-1/2" OD x 2-3/4" long. But off the shelf parts are not available that long. So I bought three pieces 2" long, then cut 3/4" off each end of one piece to have two useful sets. The idea is to press the 3/4" long piece and the 2" long piece into the tail housing end to end to have the 2-3/4" length required. Got the car jacked up and set on stands, crawled underneath, and swabbed out the tail housing with rag and solvent a few times over to be sure the bore was clean, and gave it some time to dry. Under the car again with tools in hand, slobbered some adhesive on the bearing OD short piece first, and taped it gently into the housing driving it half way in using the old loose bushing as a driver punch. Slobbered more adhesive on the longer bushing, and taped it gently into the housing.


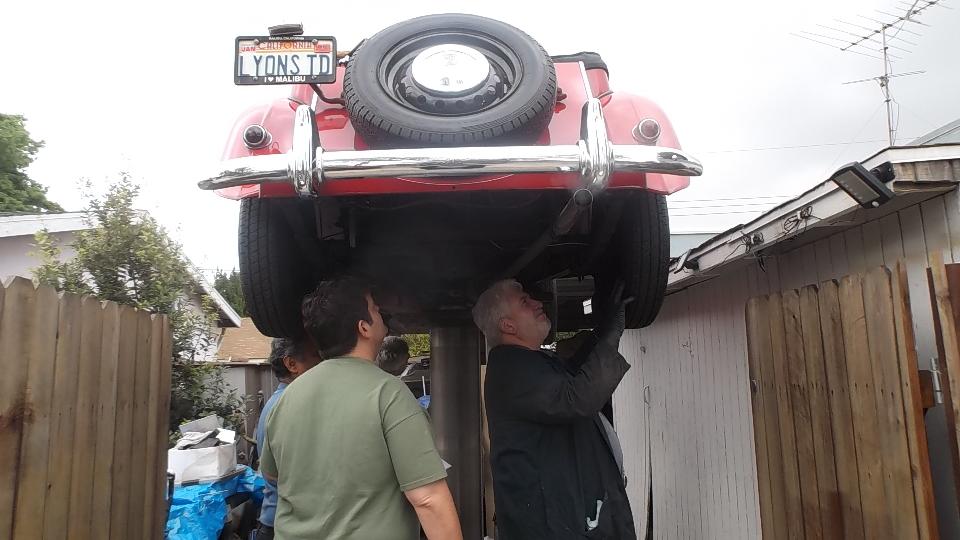
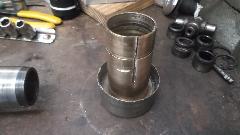
You may know the best laid plans of mice and men do not always work out. When the long bushing hit the short bushing the game was over. Apparently in the two minutes or so elapsed the adhesive had set up enough that the small bushing could not be driven any farther into the bore not even with a hard swat of the hammer. An evil feeling swept over me momentarily when I realized the engine and gearbox would now have to come out of the car to rectify this situation. Curses would be in order here. Well, it seemed like a good idea at the time, and the MGA guru tends to try anything once. I suppose I will never try this again.
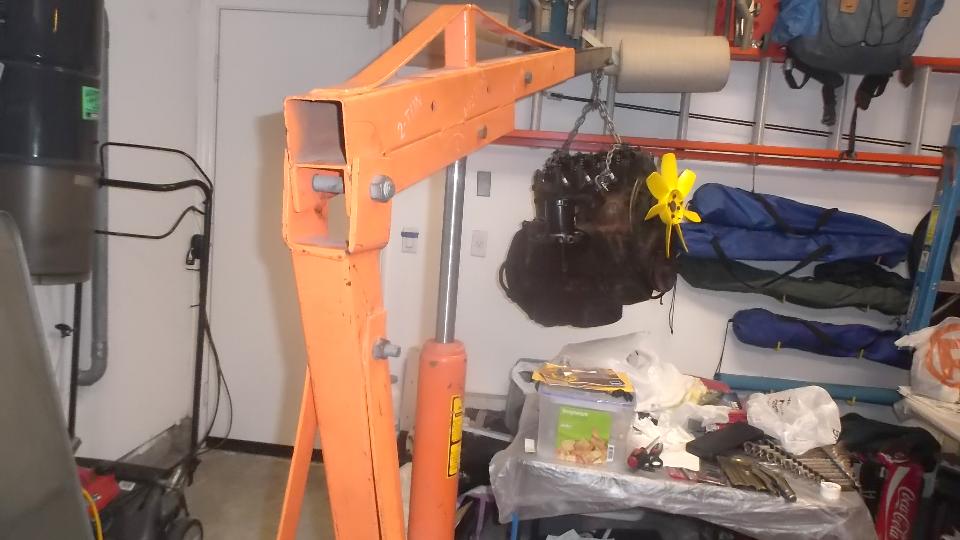
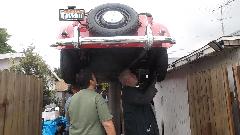
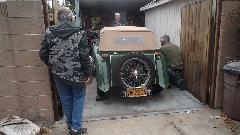
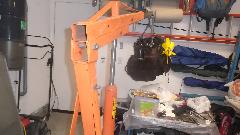
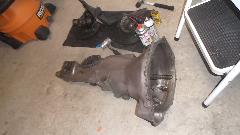
No sense wasting time, so get the car jacked down off the stands and start removing center carpet and tunnel cover and the shift extension from the gearbox. Having cooled off a bit by then, I made a few phone calls to locate an engine hoist. First rental shop had two out for repairs, none available. Second rental shop had one, on wheels to be towed. No car here with a tow hitch (running), so I called Home Depot to rent a truck for an hour. Sorry, their trucks do not have hitches. Bummer. Call a friend time. After a few more calls we have a friend Sky Hoffman from the San Diego MG Club on his way up to Ensinitas with an engine hoist (having to fight rush hour traffic for an hour or more). And a few hours later we have engine and gearbox out of the car, but it is dinner time, so we will take this up again in the morning,

|