The MGA With An Attitude
MGA Guru Is GOING MOBILE - (December 1 - December 15, 2025)
Monday, December 1, 2025:
After 8-hours of inquiry and searching, I think we have found suitable crankshaft for the 18G/GA engine in Ohio. Waiting now for pictures and shipping cost information. We also found possible crankshafts in southern California and central Arizona. They are maybe not as rare as you might think.
Tuesday, December 2, 2025:
Negotiating for delivery of some additional parts that we may need to make two complete engines, so we can finish assembly of the 1800 ready for installation ,and also keep the Magnette engine in MGA configuration when we give it back. Now making a wish list headed by new main and rod bearings for the incoming replacement crankshaft.
Wednesday, December 3, 2025:
More progress today. A new reground crankshaft, oil pump with drive gear, pickup screen, oil pan and timing cover and crank pulley were paid for and shipped today, expecting arrival in a week. New crankshaft bearings to match the new crankshaft also ordered and paid for, expecting delivery before the crankshaft arrives. Another dozen smaller parts, gaskets, seals and such, also ordered expecting delivery in a week or less. Smile, sit down and relax.
Thursday, December 4, 2025:
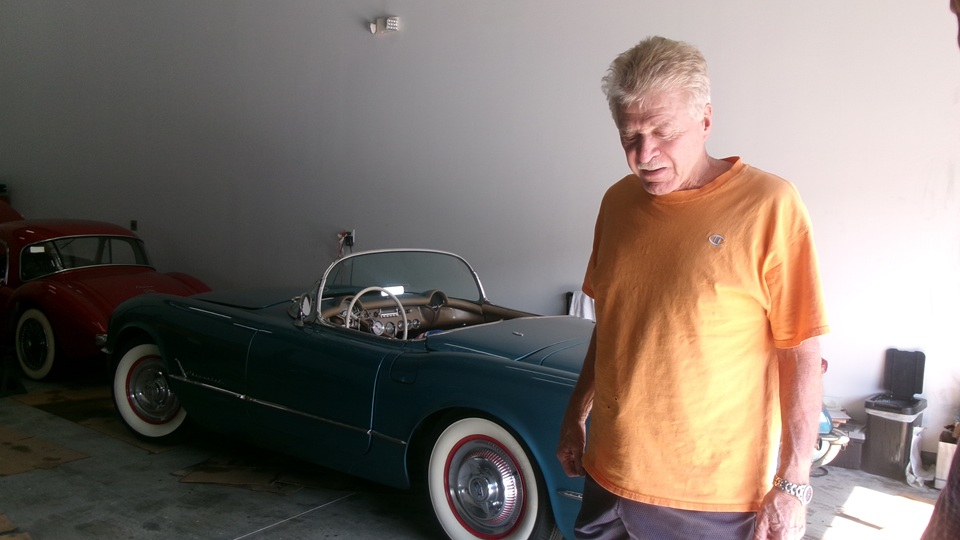
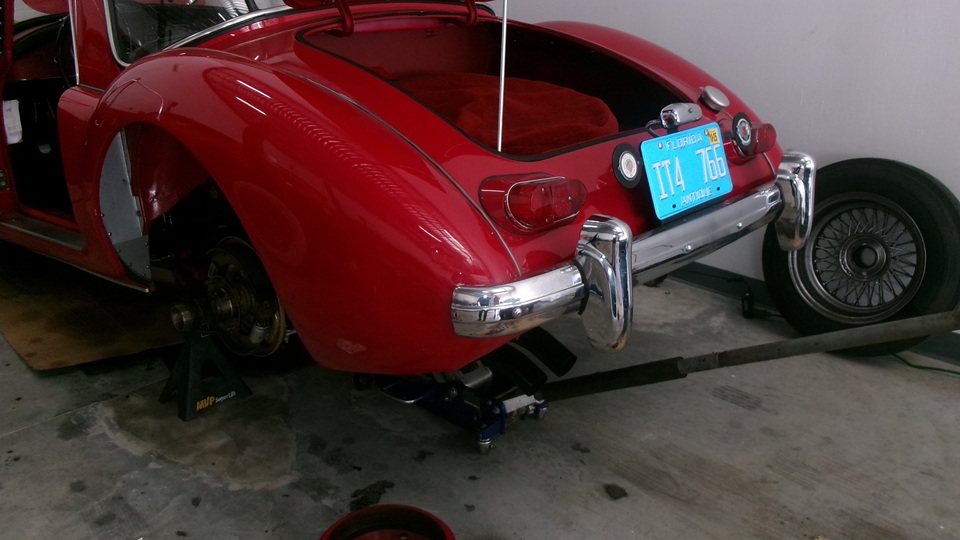
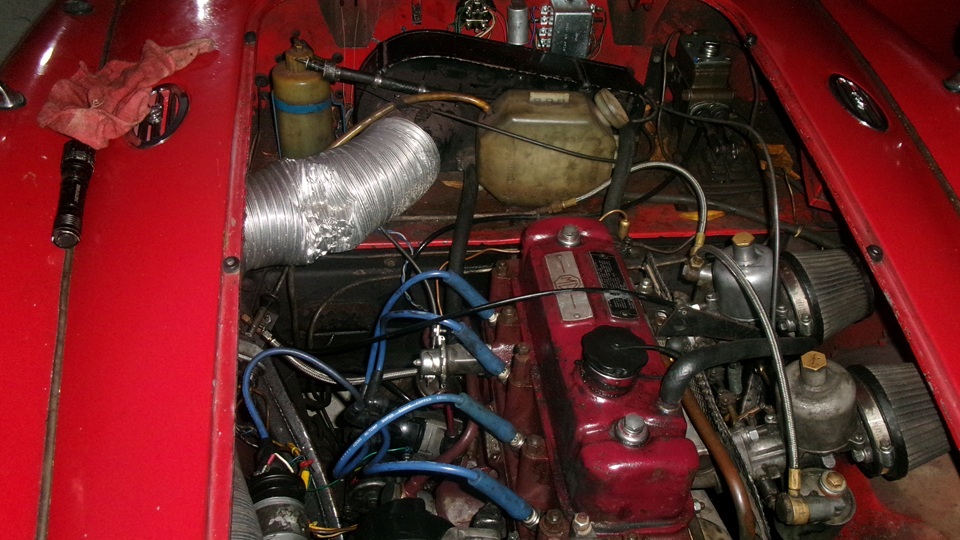
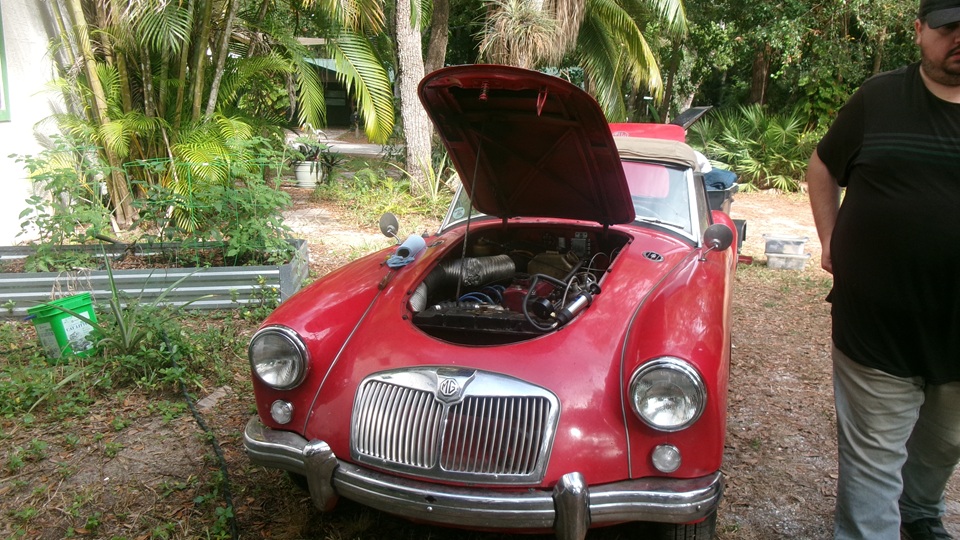
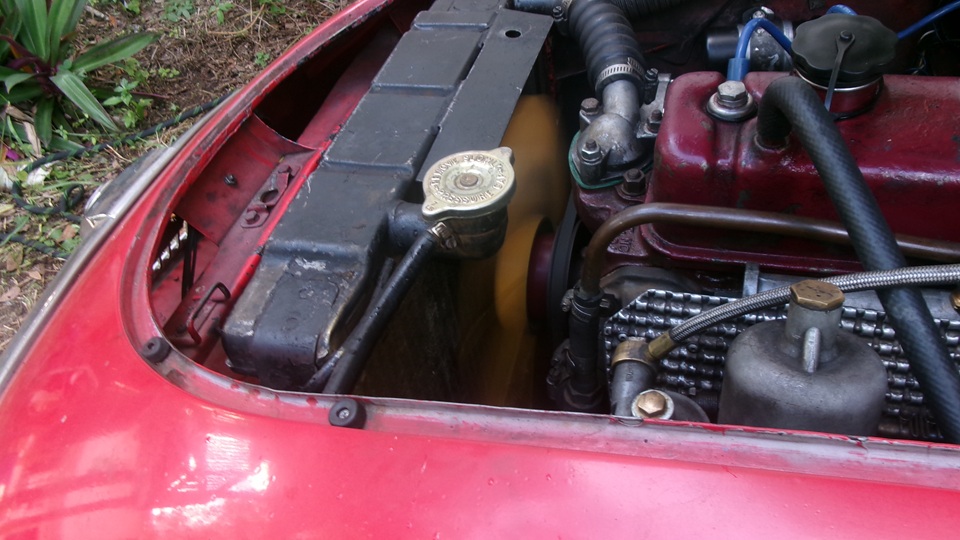
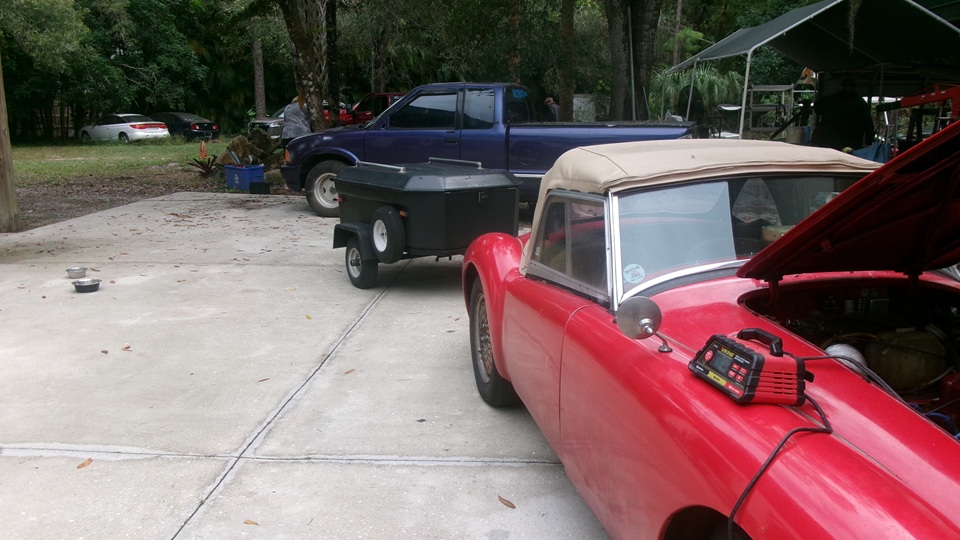
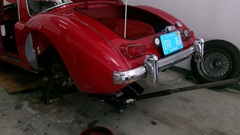
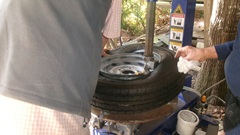
Something to do today, starting with driving 5 miles from Naples to Bonita Springs, FL.No mercy for the Magnette engine this time, hit the throttle and drive with traffic flow on surface streets around 45-mph. It blew some water out and pegged the temperature gauge by the time we got there, so we will have to do something about that later. -- But first, Toss the jack and stands and some tools and some small brake parts into Jerry's truck, and head on up to Fort Meyers. We had an appointment with an MGA 1600-KII (Coupe with an empty master cylinder, intending to replace rear wheel brake slave cylinders to fix fluid loss.
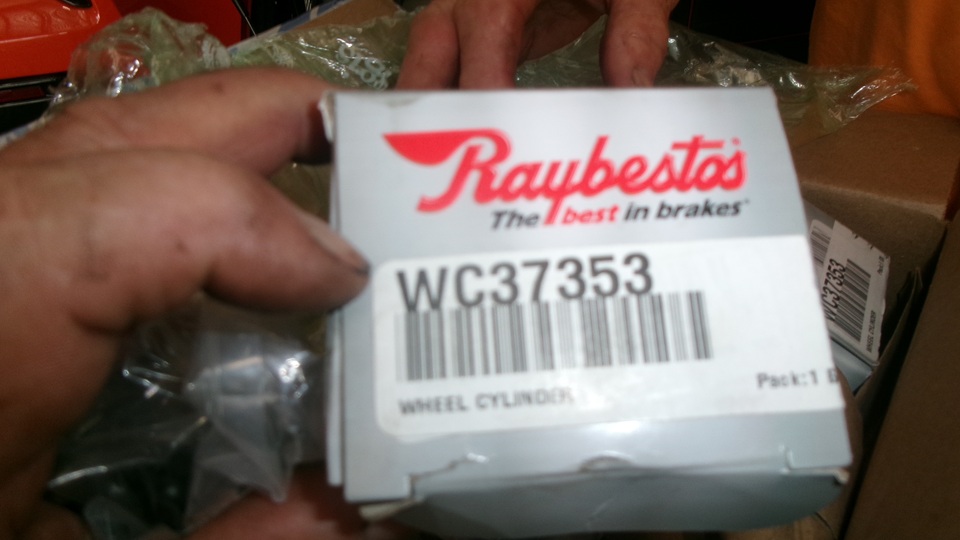
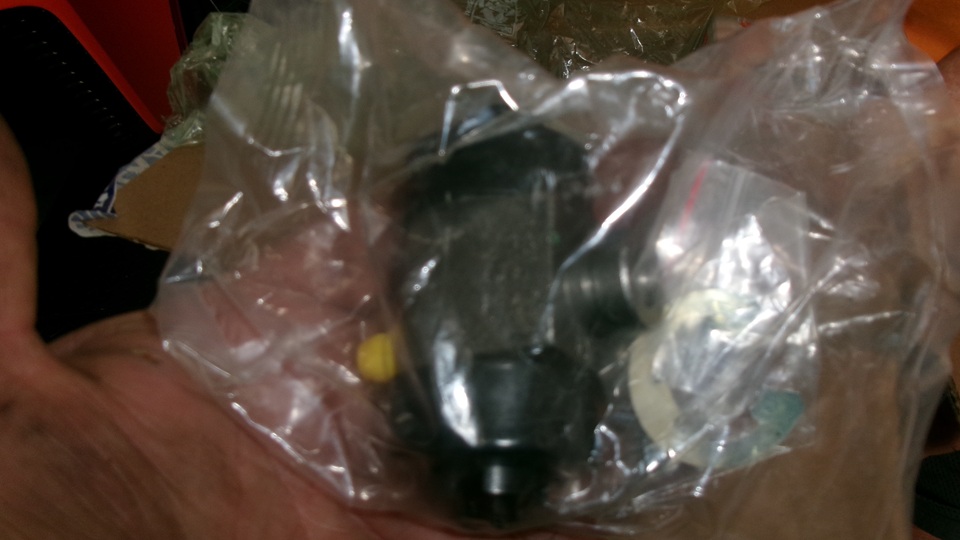
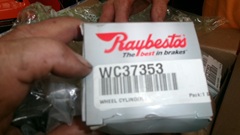
Jack the car up to remove rear wheels and brake drums. Pick up the new rear slave cylinders procured from Rock Auto to realize they were the wrong parts.

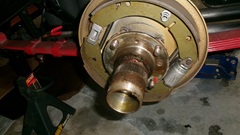
These were rear cylinders or 1962 and later MGB rather than for 1962 and earlier MGA. Go check on the Rock Auto web site, to find they have this part number listed for the MGA, so is is a Rock Auto error. Give the car owner the name and phone number for the MGA parts specialist Scarborough Faire, and tell him to call there to order the correct parts.

 Put the wheels back on the car, fill the master cylinder with brake fluid, and proceed to bleed the rear brakes to restore full brake action.
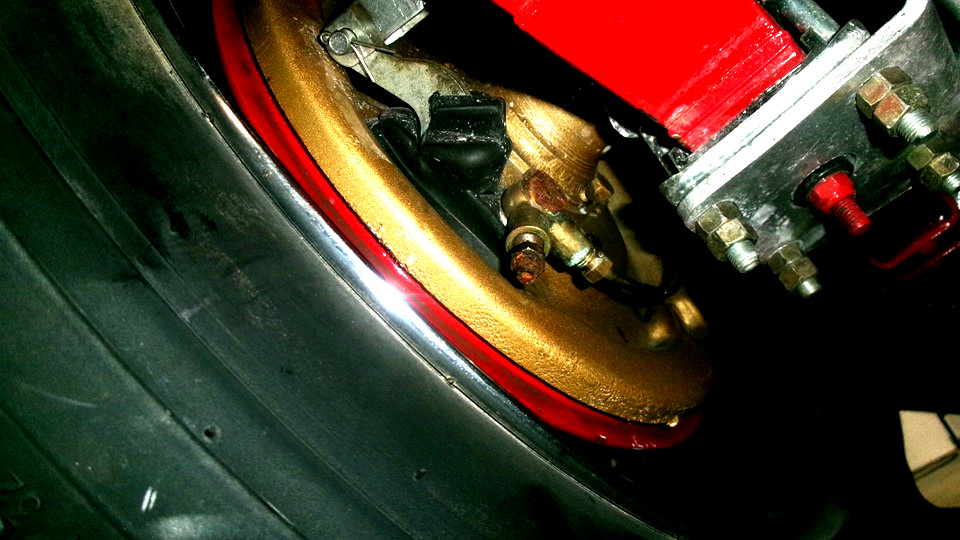
Notice the "L" shape fluid banjo parts are misoriented with bleed nipples on the bottom (should be pointing upward). And rubber dust excluder boots on the parking brake levers are perished. We can fix those items later once the new parts come in. Wipe leaked fluid from inside of the wheel rims for clean up. Let the owner now if the brake pedal is firm he could drive the car a little, but if fluid leaks again,and the pedal goes to the floor, don't drive it.
Put the wheels back on the car, fill the master cylinder with brake fluid, and proceed to bleed the rear brakes to restore full brake action.
Notice the "L" shape fluid banjo parts are misoriented with bleed nipples on the bottom (should be pointing upward). And rubber dust excluder boots on the parking brake levers are perished. We can fix those items later once the new parts come in. Wipe leaked fluid from inside of the wheel rims for clean up. Let the owner now if the brake pedal is firm he could drive the car a little, but if fluid leaks again,and the pedal goes to the floor, don't drive it.
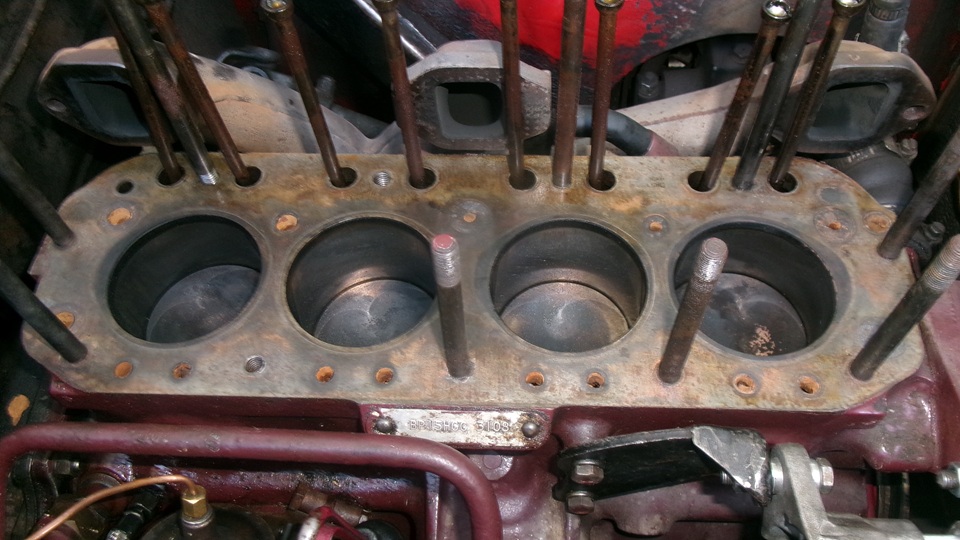
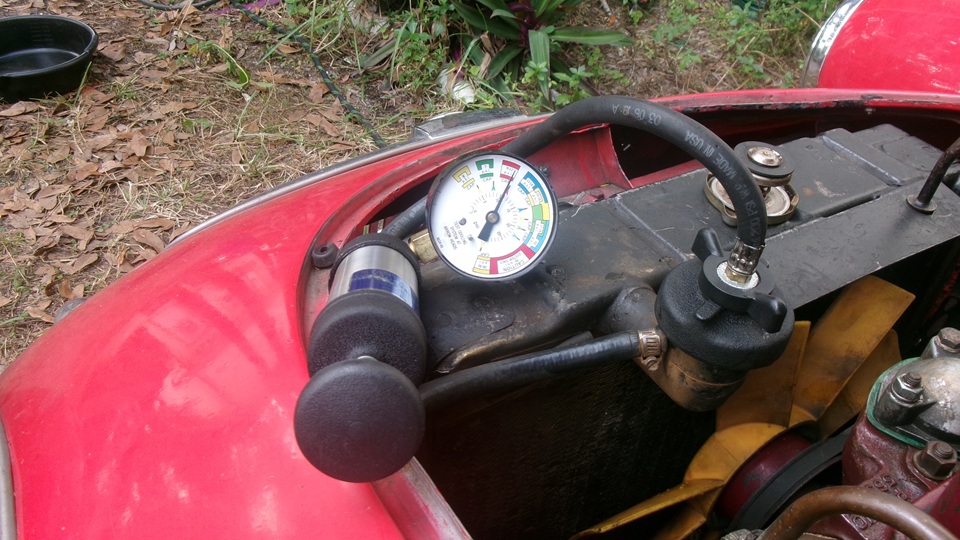
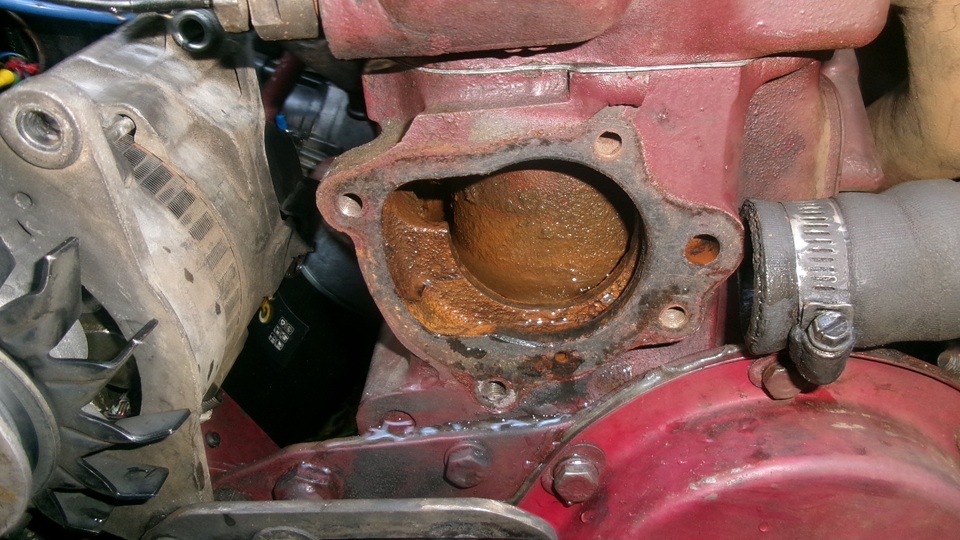
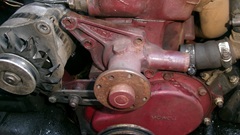
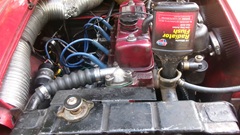
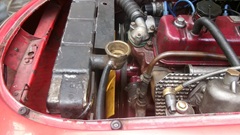
Truck on back to Bonita Springs to see what we can do for the Magnette engine in the MGA. Top up with water,and fire it up again. I had a notion the ignition timing might be too far advanced, so reset the timing and check fuel mixture again. Top up water again, and connect the radiator pressure tester to check for fluid loss. It will hold static pressure with engine off and with engine idling, no apparent leak. When I pull the throttle hard briefly the pressure jumps up 1-psi and stays there. Pull throttle hard again,and pressure jumps up a little more and stays there. So we have a head gasket that leaks only under hard throttle with high combustion pressure.
grab a wrench to check torque on the head bolts, just in case it might be loose. No chance as they seem to be already over-torqued. Okay, it wants a new head gasket. Maybe tomorrow. For now, top up water and cruise carefully 5 miles back to Naples for the known good WiFi spot and late lunch. For the recond, we had to stop once half way to refil water, which git st the gest of the 5 miles, then refil again.
Friday, December 5, 2025:
After breakfast, top up water and head north. 3 miles on, stop to top up water, which got us the rest of the way (much as expected). We will change the head gasket later.
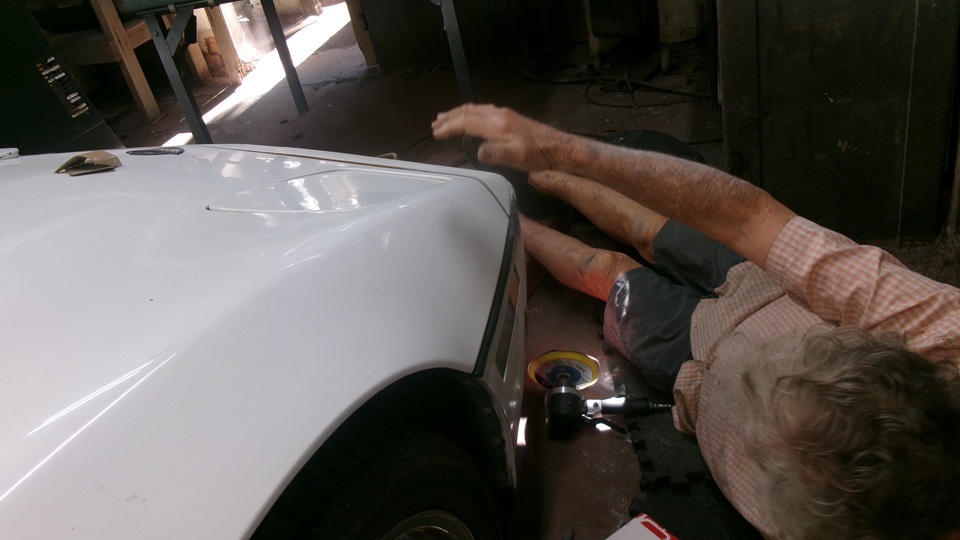
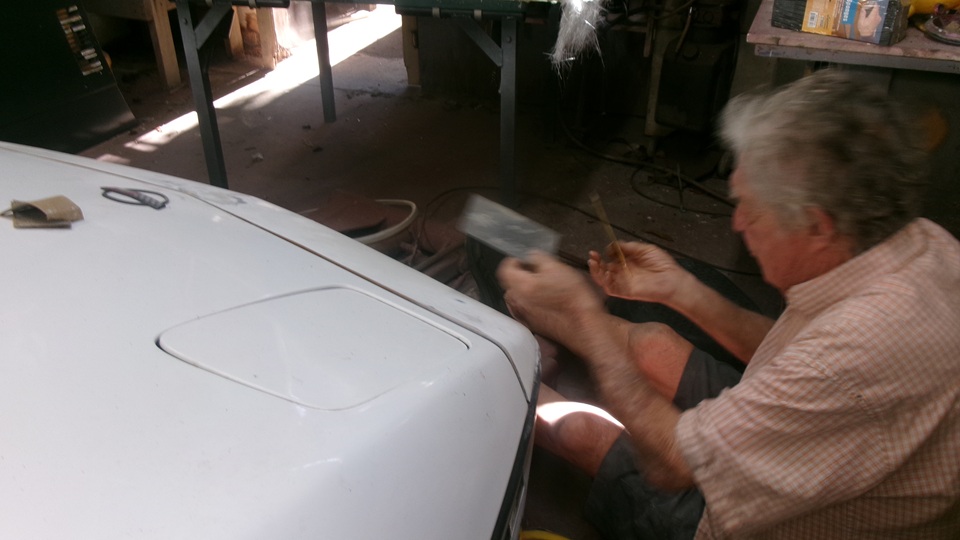
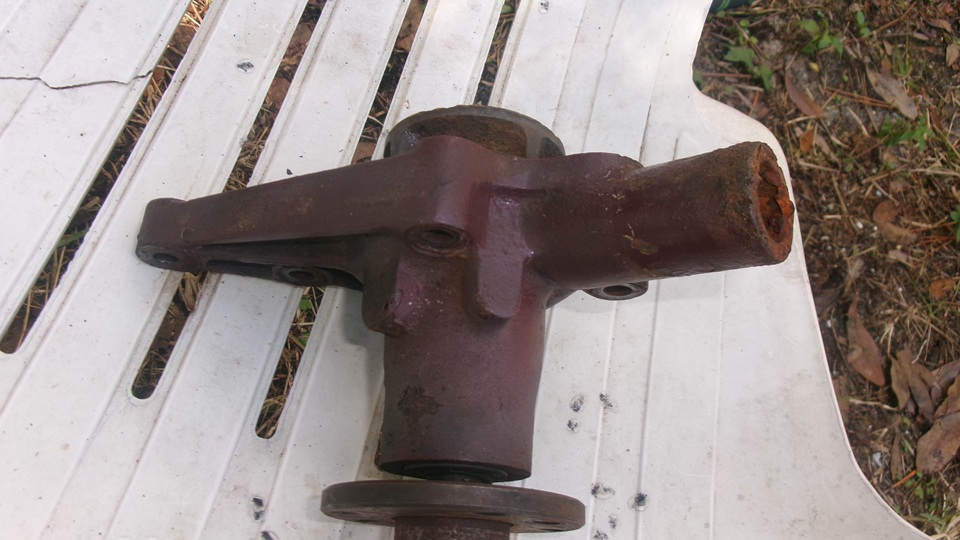
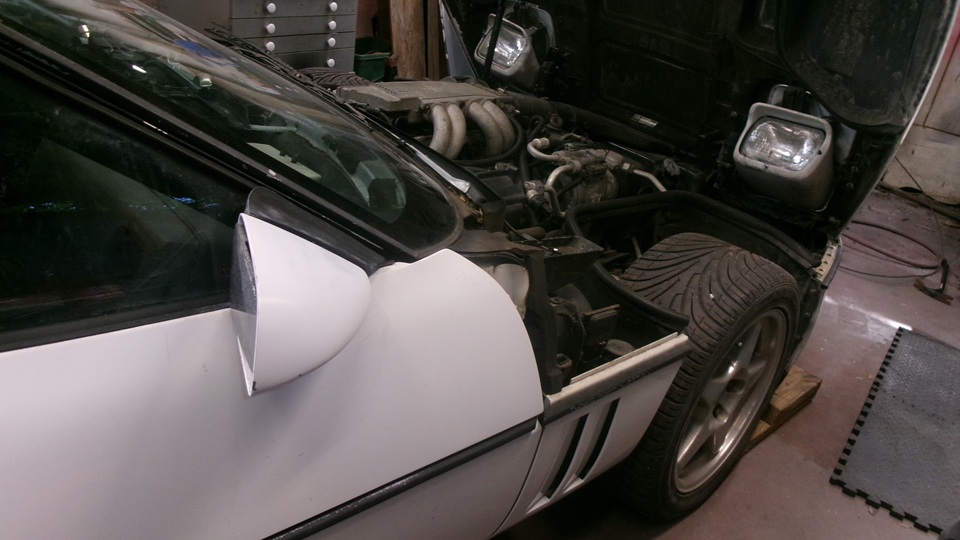
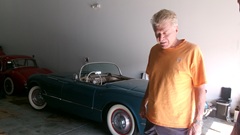
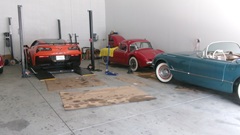
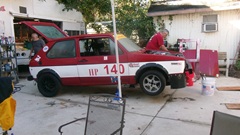
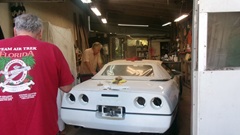
Good morning Friday at Tech Central. Check around as the gang is arriving. The racing Rabbit had broken a wheel hub while racing. Same wheel that got the new wheel bearing, which was still okay. but the front hub that rotates with the bearing and carries the heel was broken at the outboard side of the bearing. No other damage, and the part was replaced, about ready to go racing again. There was this white Corvette in the paint booth fora little touch up and maybe repaint. More on that later.
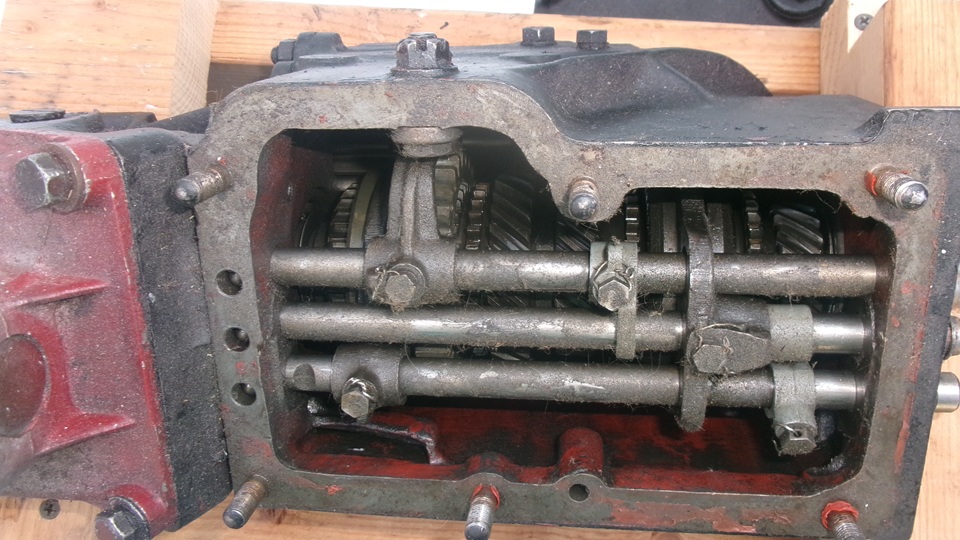
There was an MG TD gearbox that came in for inspection and some opinions. The guy's TD runs and drives, but whines in lower gears and pops out of 2nd gear sometimes. This gearbox is a recent acquisition, hopefully good. The cover was open for while while in storage, so the exposed rods and forks were a bit dirty and stick action, but looked okay otherwise. We shuffled the cogs multiple times while examining all of the gear teeth and what we could see of synchronizers. It all looked good. Rumor is that it may have been rebuilt, but the seller could not find the receipts, so it was obtained cheap on a bit of speculation. Owner is going to install this in his TD to see how lucky he might be.

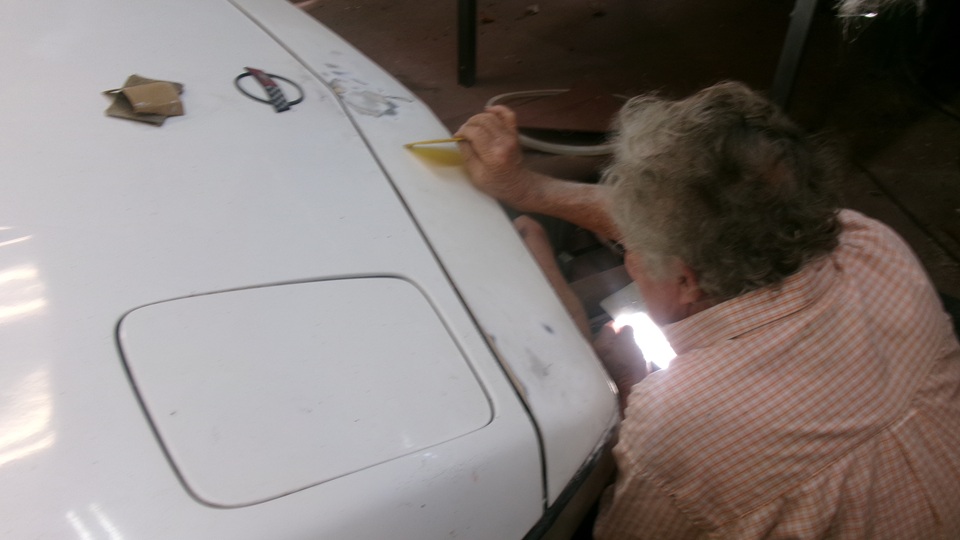
Back to the Corvette for a few minutes before lunch. Couple of chips and scratches in the flexible front bumper cover. Funny story that the owner was using a gasoline fuel pressure washer when vibration walked it close to right end of the front bumper, and the motor exhaust melted a small hole in the flex cover. Bummer. But they are touching up the hole and a few more scratches, hoping to sand it down and spot spray the paint to match (maybe).


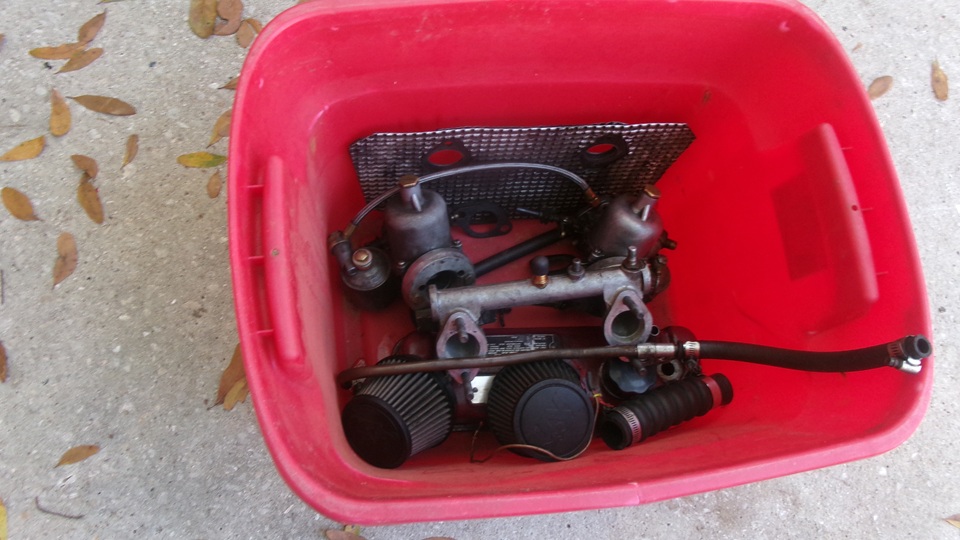
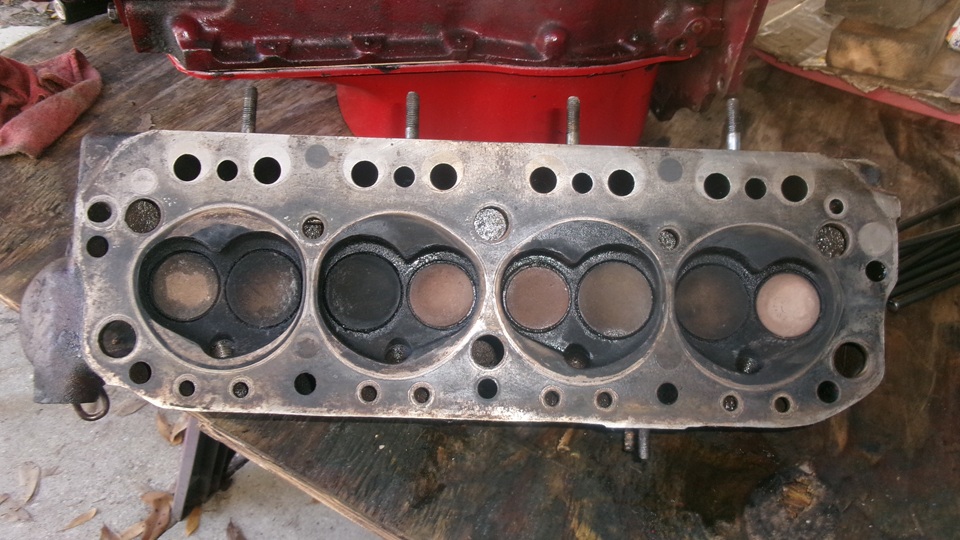
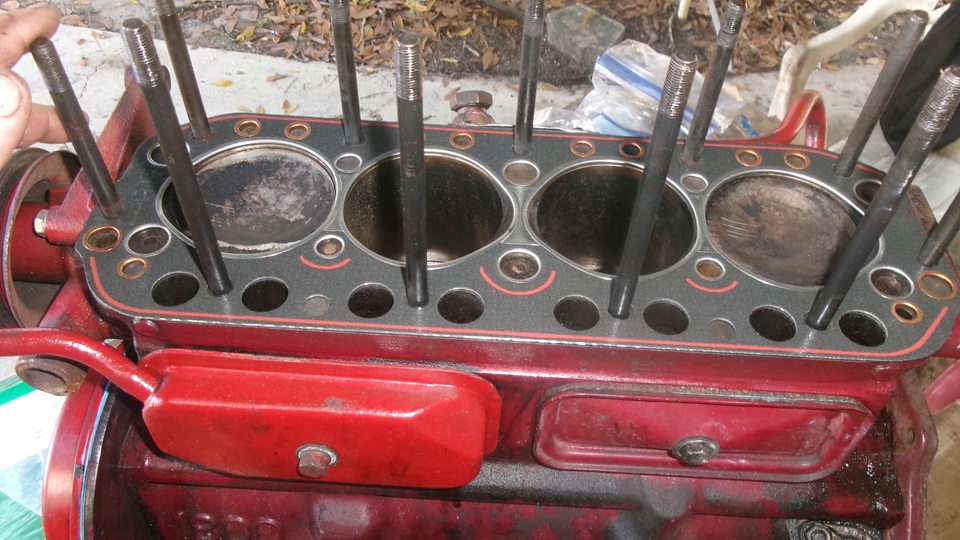
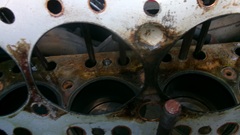
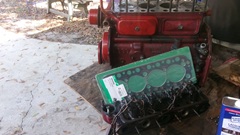
Take a lunch break with the guys and chat a bit. By half past one, get on with replacing the head gasket.Take the bonnet off and set it aside (just a few minutes with the thumb screws). Pull the carbs off and toss them in a box. Remove heat shield, intake manifold, and the last two bolts from exhaust manifold. Drain radiator, remove top radiator hose and heater hoses, and disconnect cable on the heater valve. Eleven head bolt nuts later, lift off the cylinder head, all in less than an hour.

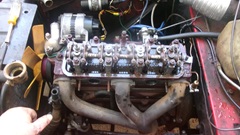
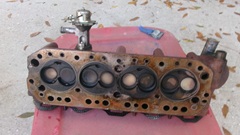
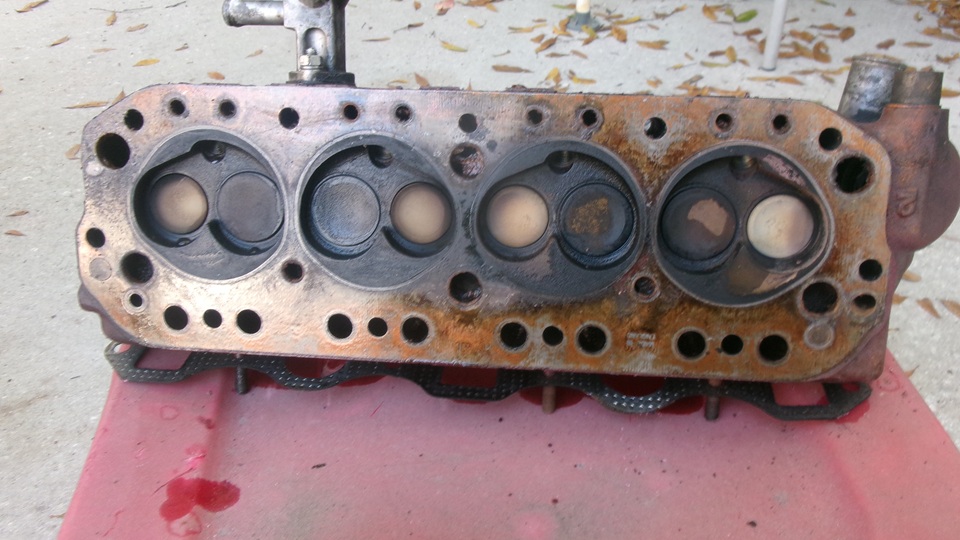
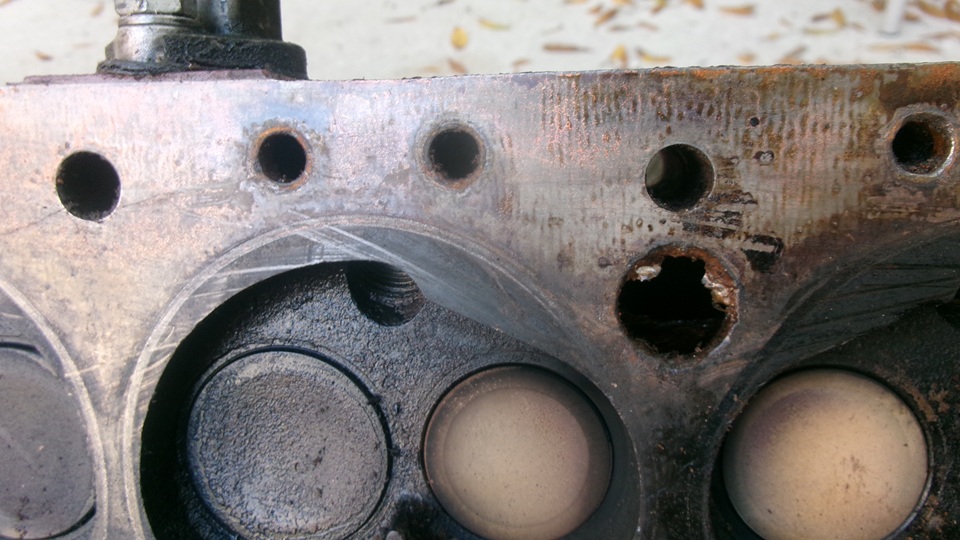
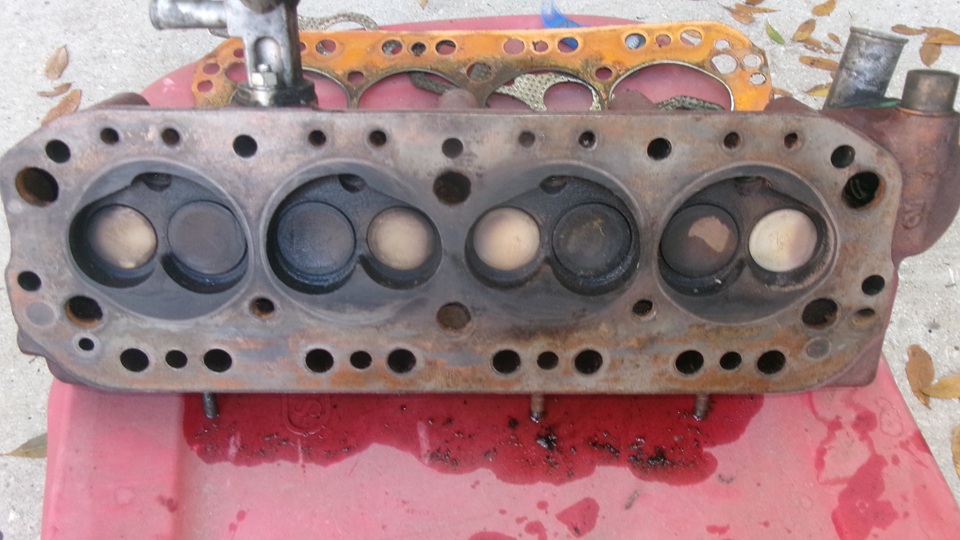
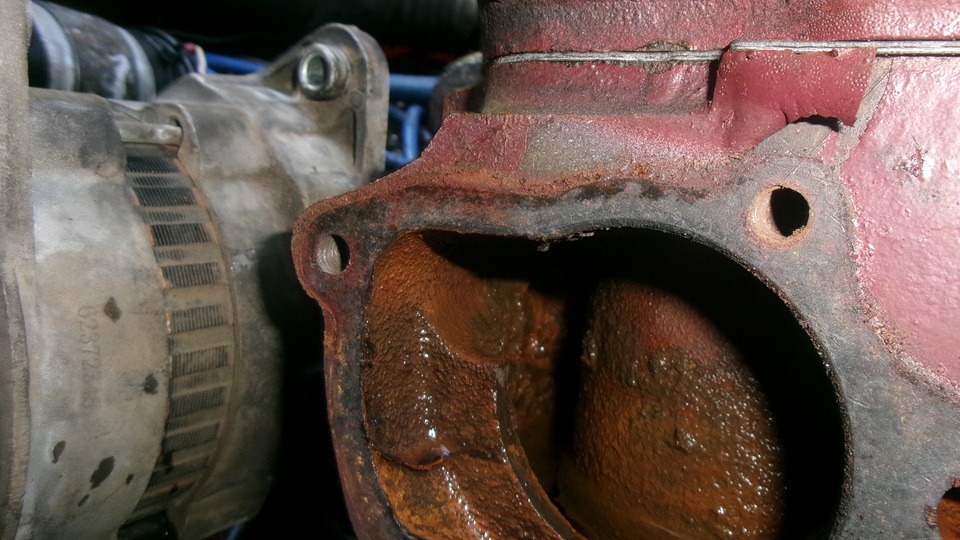
the first revel is that this is a laminated metal head gasket with thin copper on top and thin aluminum on bottom, which must de the dregs of the options. Then often piss out coolant along the ignition side, and leak compression anywhere around the cylinders. I have not installed one of these in at least 35 years, but there it is, age unknown. Looks like the fuel had been running a little rich, but that should not cause a blown head gasket. Nothing obvious wrong with surface of the head. Examination immediately reveals a divot in the top copper layer between the #2 cylinder and nearby water passage hole on the ignition side of the engine. Quite deep, looks almost like it was hit by a chipping hammer. I suspect it is corrosion of the copper caused by water intrusion from the from the water hole side. But no black stain there, so maybe not the point of compression leak.
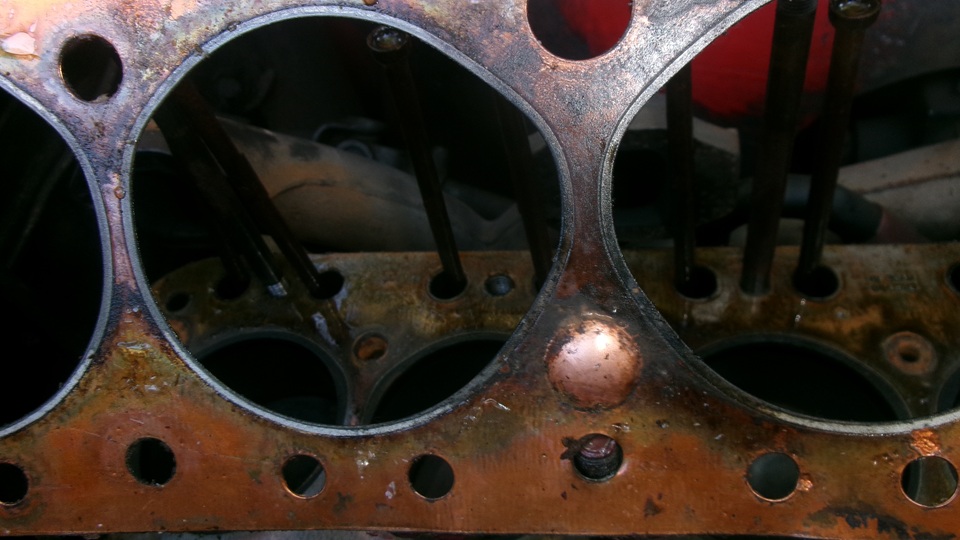
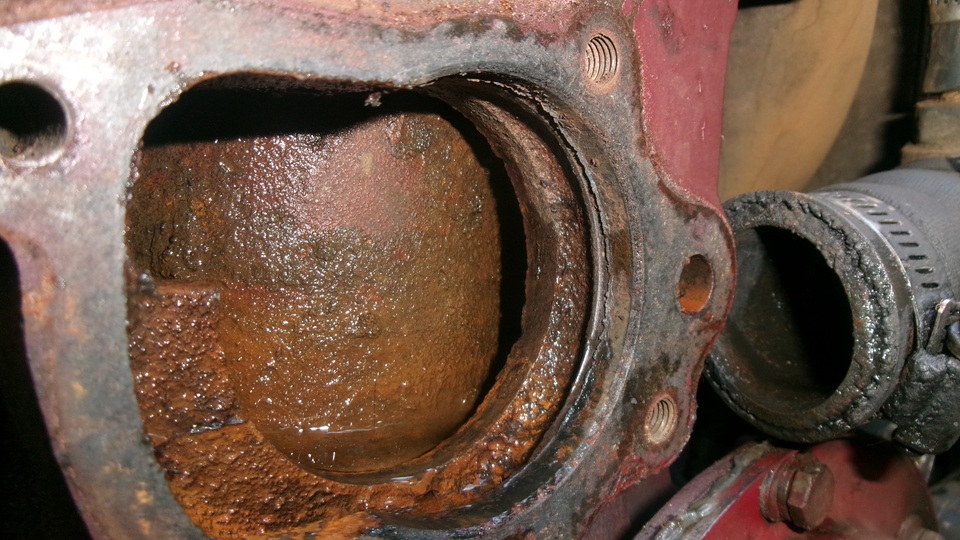
Some rust in the water jacket, but not enough to obstruct circulation in the head. There are black stains on the gasket surface of the head between #2 and #3 combustion chambers. Bottom alloy side of the gasket has a large upward depression the size of my thumb at the block water hole between #2 and #3. This is also a large upward dome on the top copper side of the gasket. No way this could be caused by differential water pressure. This had be caused by high pressure combustion gases leaking under the gasket. Also heavy black stains on top indicating combustion leak there as well. Definitely a blown head gasket.


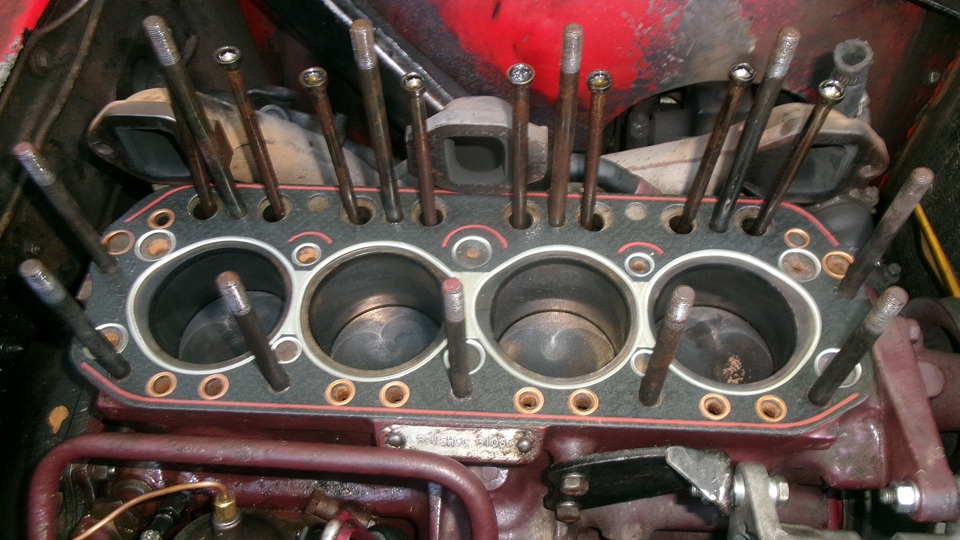
Gently scrape and wipe with solvent to clean top of block and bottom of head. Both surfaces in good condition. Install a new Felpro/Payen black fiber head gasket, which has very good reputation, highly recommended. I have been using these for decades.


Get the head back on with a new manifold gasket this time, head bolts sequentially torqued evenly to 50-lb-ft all around and do a compression test. 133, 136, 145, 136 PSI, all very good, all within10%. I double checked #3 and still got 140+, so it's real, not sure why it it slightly higher than the others, but all is well. Reinstall the carburetors before it got too dark, all hoses connected and top up water. It fired right up on the first crank, minor tune-up adjustment, running very smooth at idle speed and good throttle response, huge improvement. Put the bonnet back on, pick up and pack away tools, clean up and head out before 6-pm.
When driving, it still heats up to peg the temperature gauge, not good. I really expect the block water jacket is half full of rust and water stone from running with plain water coolant for decades.
Saturday, December 6, 2025:
Up early, short run to Walmart to pick up more oil for the 1800 engine install after it gets the new crankshaft. We took a few minutes to remove the thermostat and blanking sleeve and top up water again. Probably not the problem and not going to make any difference, just covering all bases for diagnostics. Then drove it a few more miles before breakfast stop. It still wants to peg the temperature gauge, so the removed thermostat was not bad and has nothing to do with it running hot. Now down to two possibilities. Either the block water jacket s full of sediment (very likely), or the water pump lost its impellor (not very likely). We got a call late morning saying the new crankshaft has arrived a couple days early, but no bearings yet. Sitting on WiFi today finishing up photos and notes from yesterday, checking tracking numbers and future planning. -- Early afternoon got a tracking notice saying the crankshaft bearings have arrived. One more step in the right direction.

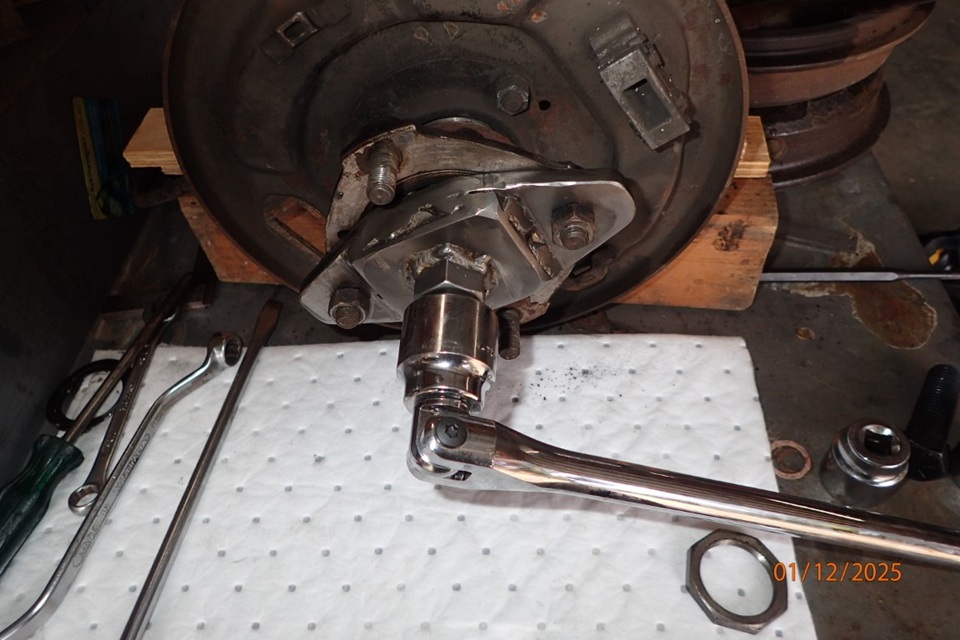
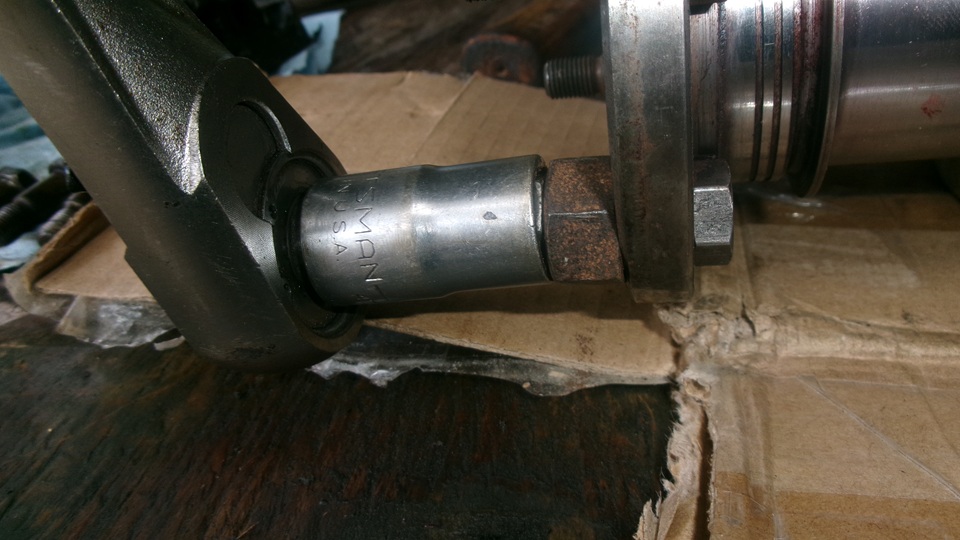
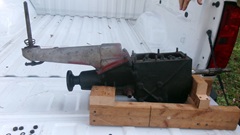
Some time ago someone sent me pictures of a special tool for removing and tightening the MGA rear hub bearing octagonal nut, and I finally found time to post it with a page in the Tools Tech section. This one is a portable tool that might travel in a tool box, and it is not much larger than an octagonal socket. It can be used with a socket wrench and a breaker bar, and the same tool can also serve as a bearing hub puller.
Sunday, December 7, 2025:
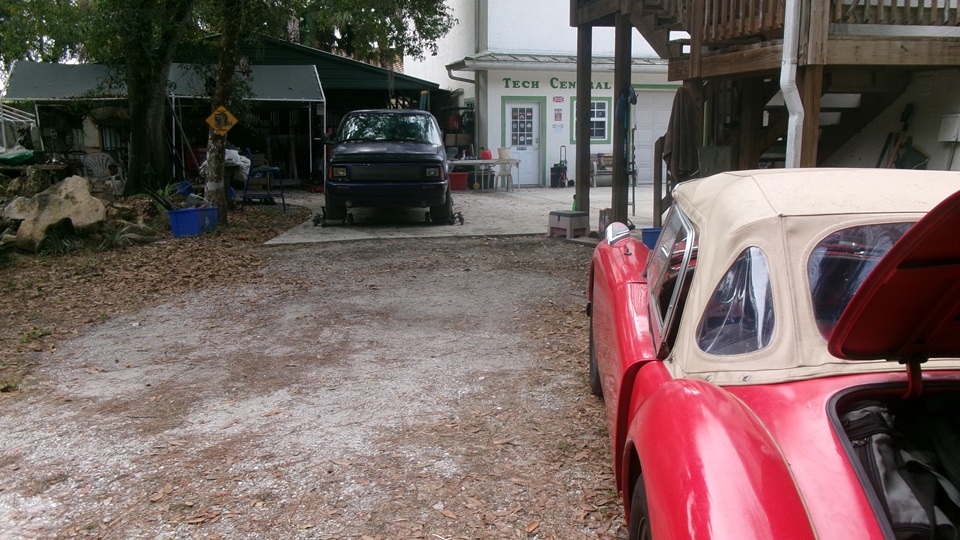
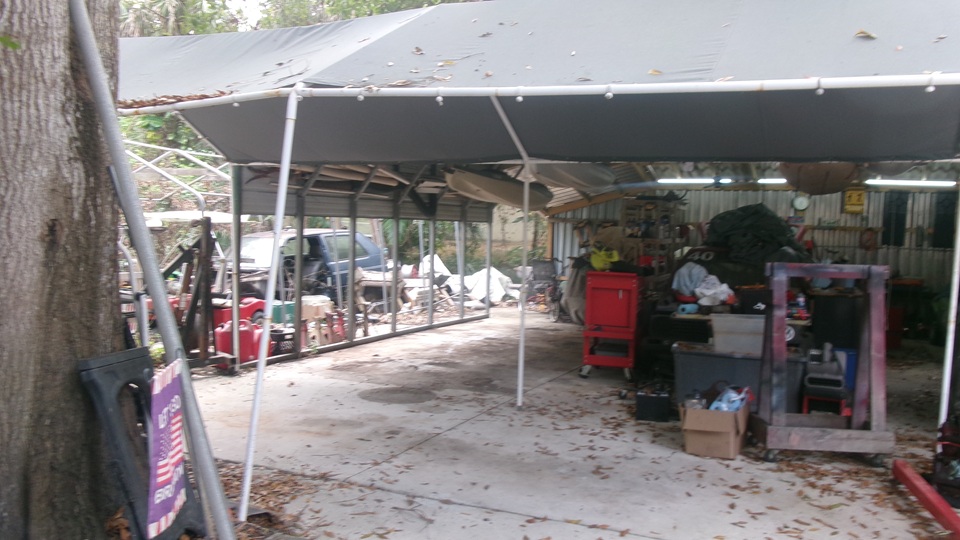
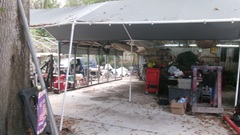
Half past ten we were headed back to Tech Central just for a little work space.Top up water, and manage to driver 5 miles gently. Hello, the Chevy S10 truck that has not run in several years has been dugout and moved out, freeing up a large area of the patio work space under canopy. Much of this new free space will be reserved for 4-weeler,utility bikes, and lawn mowers that will free up work space in the "Lift Garage",the center garage space with a lift. This will then allow work to resume on the Sunbeam Alpine (Tiger I think) that has been stalled for the past few years.

Determined to discover why the car is still overheating. Top up water. connect the cooling system pressure tester, pump it up to 10-psi, and look for any leaks. With only water and no air in the system, the pressure gauge holds pretty steady It only dropped maybe 1-psi in ten minutes. This my be attributed to a pin hole leak in the top tank solder joint. That is not enough leak to account for the significant overheating issue, and could likely be fixed with a touch o cooling system sealer in the water.


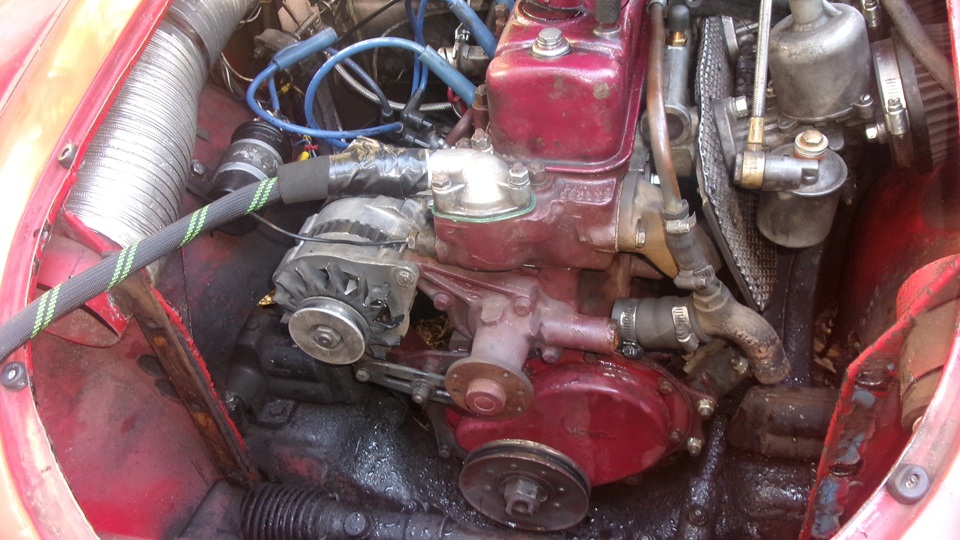
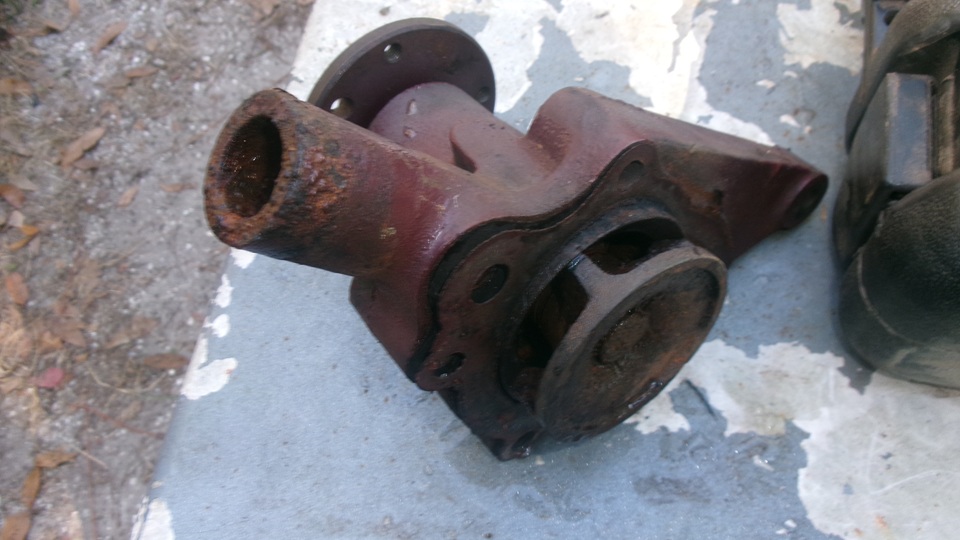
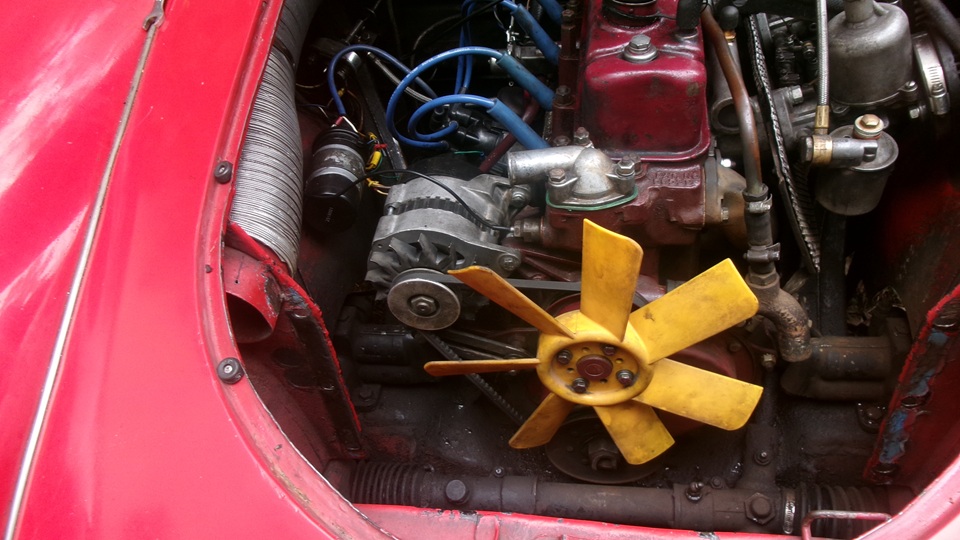
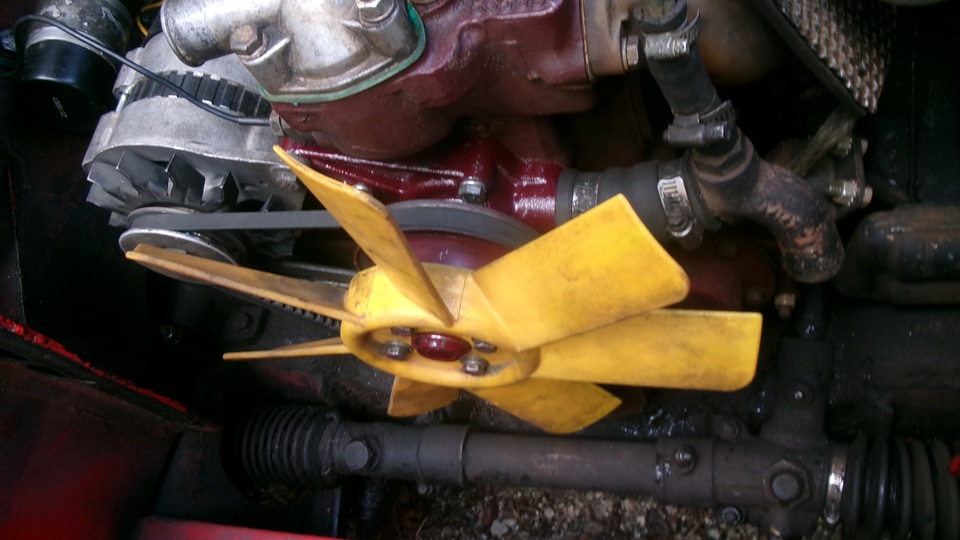
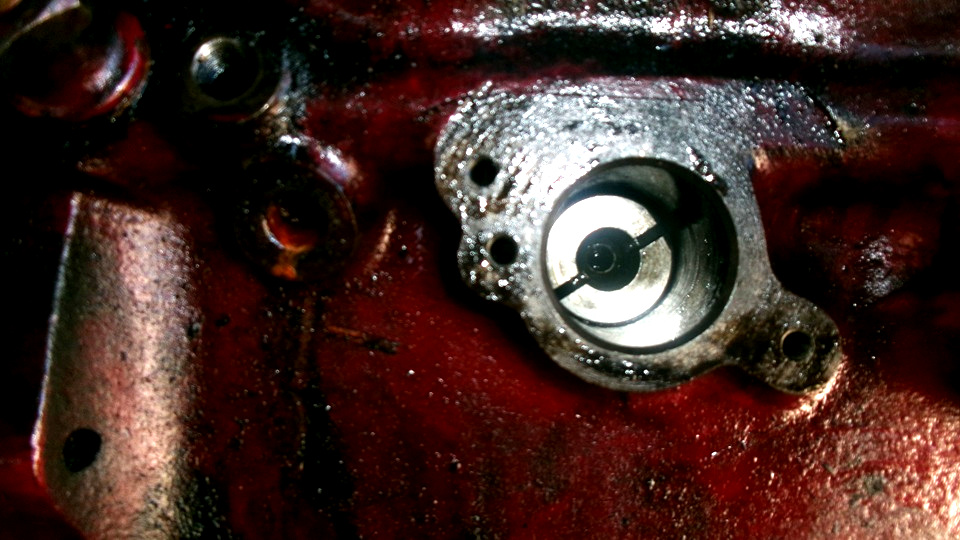
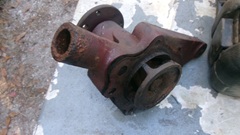
Drain water, remove radiator, dismount alternator, and remove water pump to inspect the W.P.impellor. Nothing wrong with the water pump,even though I was hoping it might have a broken impellor.

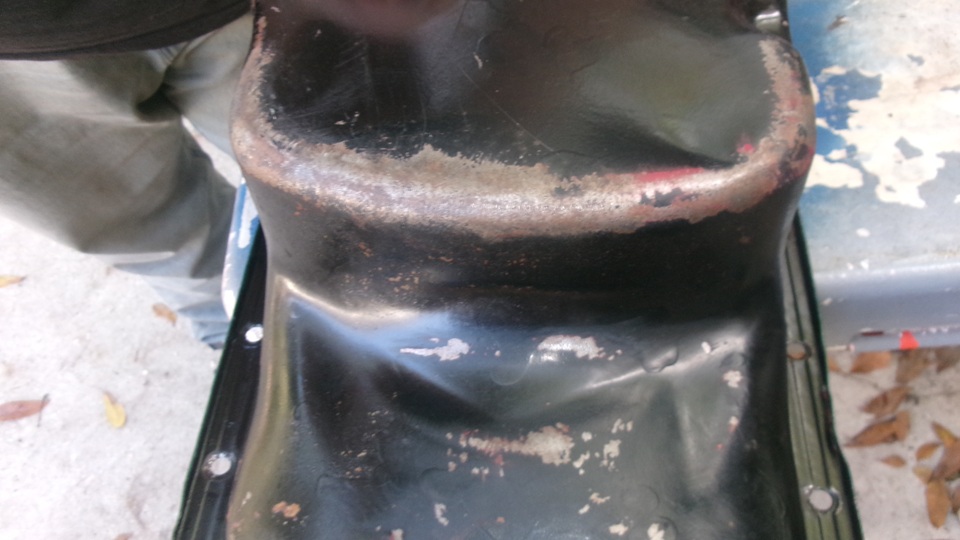
Find a piece of thin aluminum strap,and poke around inside the water jacket, checking to see if the water jacket might be half full of solid sediment. Nope, nothing clogged there, just some rust on the jacket walls. Put water hose into the thermostat cover, (thermostat removed), and back flush at full flow. Water runs out of the water pump opening like Niagara Falls. no flow problem.


What then? Clogged radiator, maybe? Hard to believe,as the cooling system was working well with the 1800 engine, before and after it broke the crankshaft. The first time the car would overheat was an hour after we installed the Magnette engine.
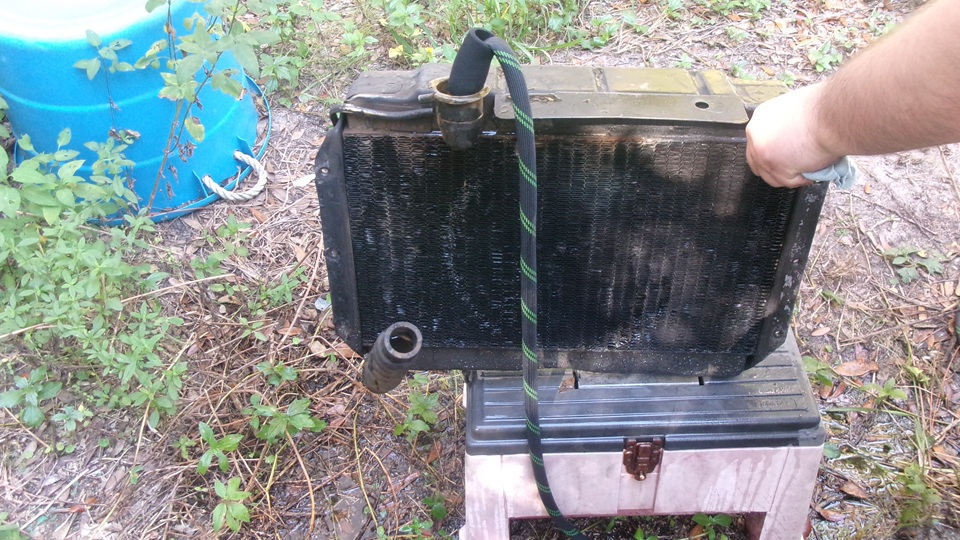
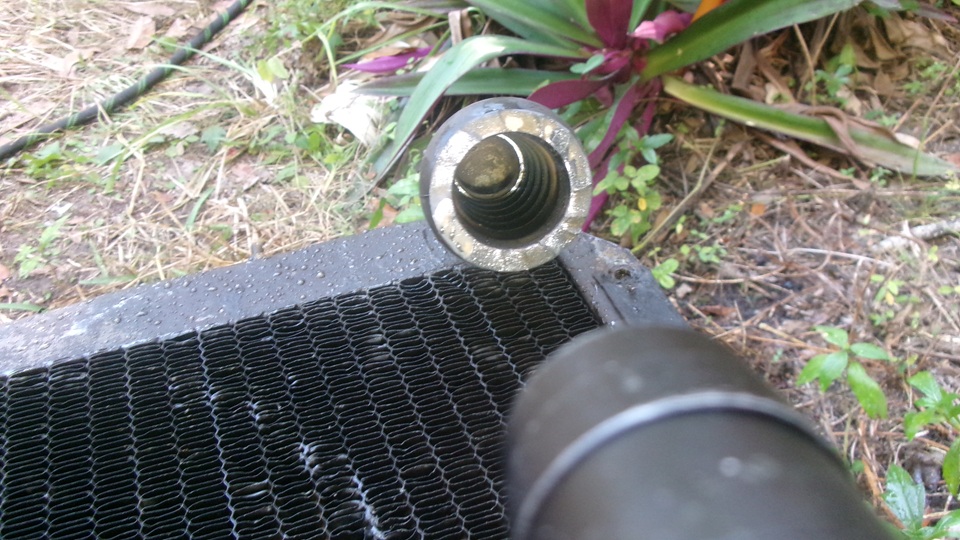
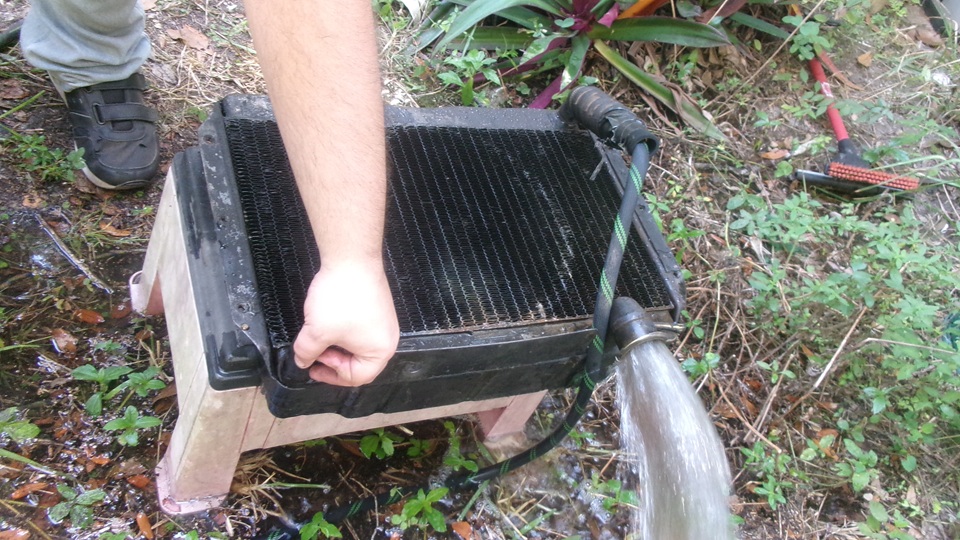
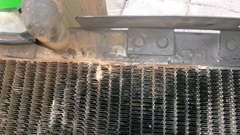
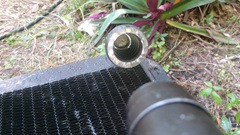
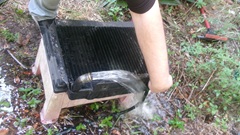
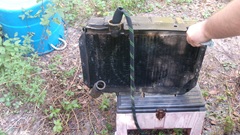 -- Get the garden hose, hold radiator upright, and fill the radiator with water. Water going in the top does not come out the bottom by gravity. Really? Nothing at ll in that bottom hose.
That means all of the vertical water passages must be clogged. So the Magnette engine has dumped a bunch of sediment or trash from the water jacket into the radiator? Okay, stick the water hose into the bottom radiator hose, which was still attached. Force water in the bottom to let it flush full flow out the top from top hose fitting and from the filler neck. Back flush, fore flush, back flush, assuring water can flow freely. Seems like a little pressure is required to make it flow quickly. I don't recall how much resistance there should be but may be time to think about having the old cell core radiator chemically cleaned.
-- Get the garden hose, hold radiator upright, and fill the radiator with water. Water going in the top does not come out the bottom by gravity. Really? Nothing at ll in that bottom hose.
That means all of the vertical water passages must be clogged. So the Magnette engine has dumped a bunch of sediment or trash from the water jacket into the radiator? Okay, stick the water hose into the bottom radiator hose, which was still attached. Force water in the bottom to let it flush full flow out the top from top hose fitting and from the filler neck. Back flush, fore flush, back flush, assuring water can flow freely. Seems like a little pressure is required to make it flow quickly. I don't recall how much resistance there should be but may be time to think about having the old cell core radiator chemically cleaned.

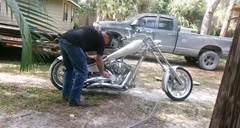
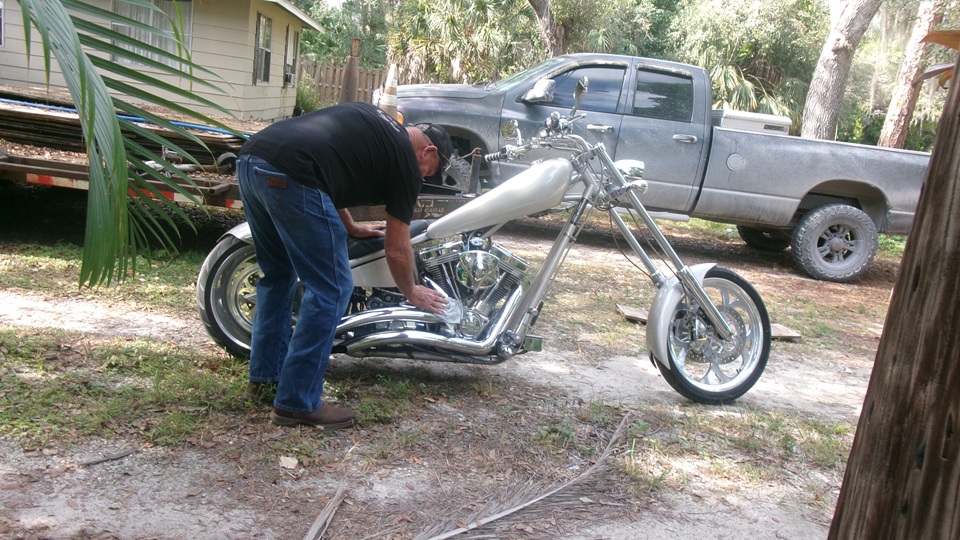
We had short distraction while the next door neighbor was cleaning his vintage Harley Davidson and getting it fired up (if you can call 2004 model vintage). This guy has a national championship for motorcycle drag racing, having run the quarter mile substantially over 200-mph on two wheels.
Meanwhile, reinstall the water pump, cooling fan and alternator.Reinstall radiator, fill with water, add a bottle of radiator flush chemical. Start and run engine (remember no thermostat) until it finally stabilizes at 160dF at idle, and run another 15 minutes at hot idle to finish chemically flushing the water jacket. Drain, flush with water, drain again,and let clean water flow through another 5 minutes while running. Fill with water, drop in a couple of pellets of cooling system stop leak that might take care of the pin hole in the solder joint. Cap it off, and let it run at fast idle for a while longer. It finally stabilized at 170dF and would go no higher. Big improvement. -- Hoping we have solved the circulation problem, pick up, pack up, clean up.


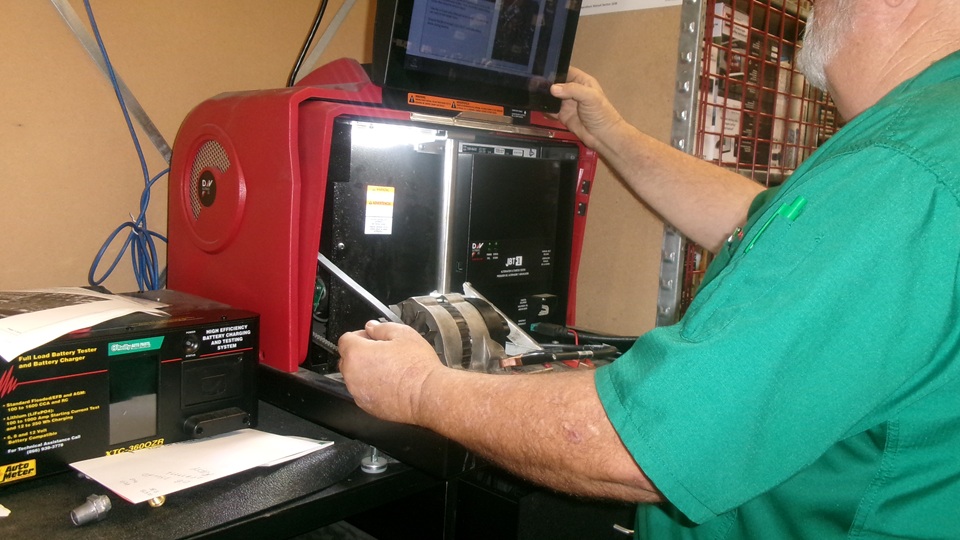
Then we were off a few miles to the nearest O'Reilly Auto Parts to have the known duff alternator tested and exchanged. They honor the warranty this time, but having to order one, it should be here by Wednesday. Then a few more miles to Harbor Freight looking for a digital scale to weigh and balance connecting rods. No luck there, but they did refer us to another Harbor Freight store that should have one.
Before leaving Harbor Freight, navigator noticed a puddle of water under the car, was that ours? I don't think so, as it was not overheating on our way here. Now 6-pm, head on back to our known good WiFi spot for late lunch and clerical work. That was 8 miles more including 4 miles at speed on the expressway. We made it, but it pegged the temperature gauge again during the last few miles at speed, then cooled down not boiling as we were slowly going half a mile from the expressway, but we had driven it 15 miles. Leave it running, open the bonnet, get the flashlights. We had a notable dribble under the front suspension cross member, coming from front of engine. More checking up top revealed a dribble on top of the timing cover, obviously leaking from he water pump. By then it had lost nearly a gallon of water. Well, maybe that included the puddle under the car at Harbor Freight. Too bad it's not perfect yet, will need to install a new water pump tomorrow.
Monday, December 8, 2025:

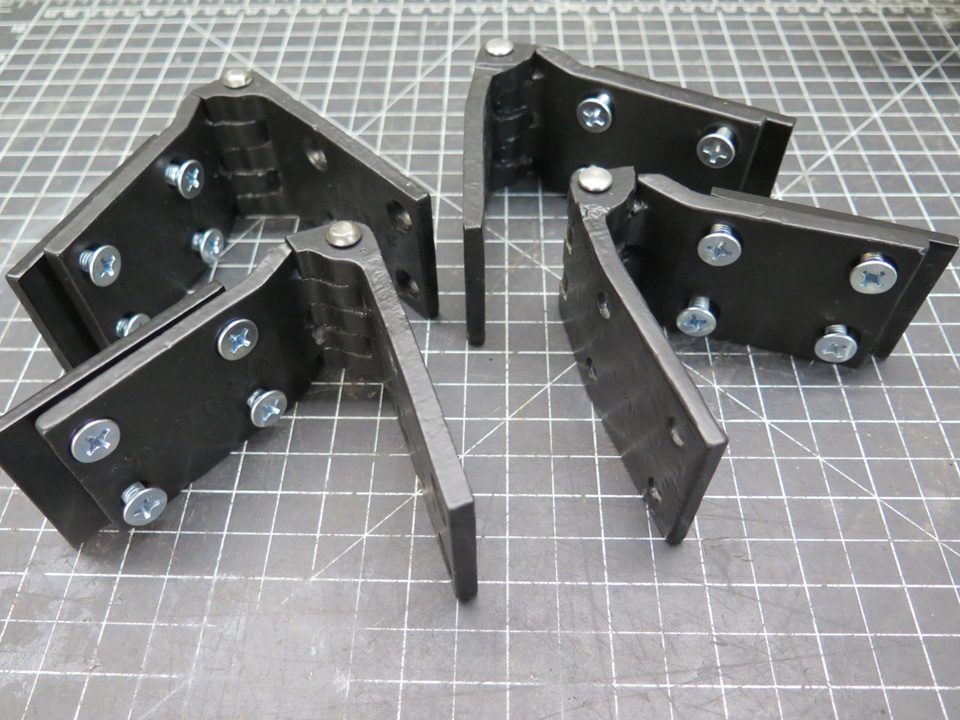
Over breakfast I added another Body Tech page for Door Hinge Pin Repair. Photos and notes contributed by Ed Hollingsworth in Omaha, NE, USA.
Then we drove casually 5 miles back to Tech Central. Drain and remove radiator, dismount alternator, install a new water pump, and put it all back together. We dropped in another cooling system sealing pellet for good measure.

By mid afternoon we were running again. This time we were driving 20 miles south to another Harbor Freight in the south end of Naples. Near then end it was running a bit warm, but not boiling (I think). We propped the bonnet up to help cool down. After running inside to buy a small digital scale, we checked the water again, and added two liters to top up. That seemed a bit strange, as we didn't think it was running notably hot. But we think we can continue on with casual driving. Then another 16 miles back north before stopping for late lunch. It took another liter and a half this time, still puzzling.
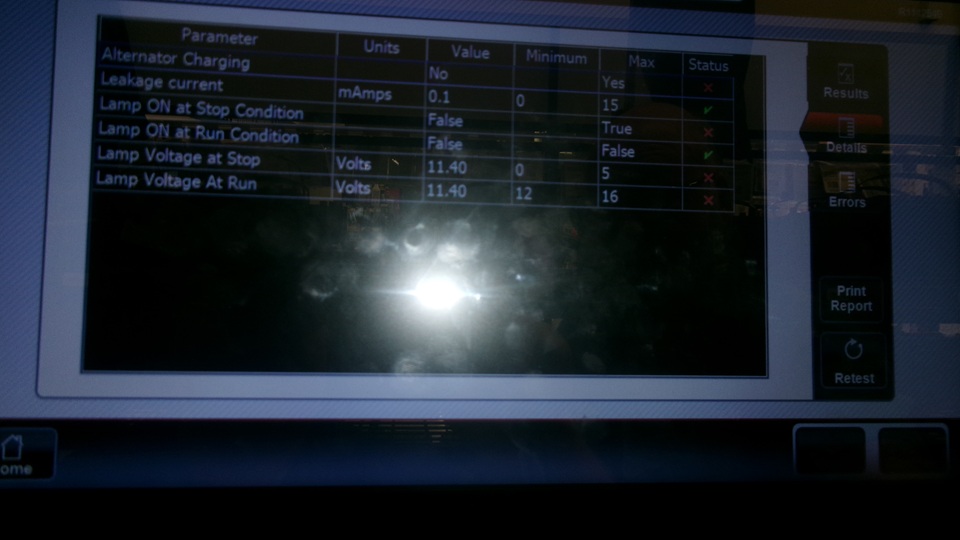
But worse yet, the alternator was not charging again, no ignition light, and it was raining a bit. Test light and jumper wires in hand, it looked like the ignition bulb itself had intermittent function, independent of anything else, so we borrowed a good bulb from the fuel gauge. Power from ignition switch to lamp was good. Wire from lamp to alternator had good continuity, could make the lamp work if it was grounded. But plug that wire into the alternator signal lamp terminal, and no light. Looks like another alternator failure with exactly the same symptoms as the last one, now two duds, and we won't have the next new one until Wednesday morning. Set it aside, as it is time for late lunch, and time to post the photos and notes above.
Tuesday, December 9, 2025:
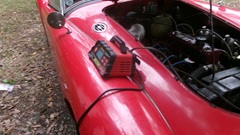
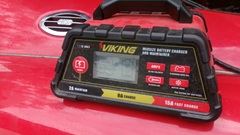
Alternator not charging, battery down to 11-volts open circuit, cool engine, slow cranking, reluctant to start. So we use the Lithium battery jumper box to fire it right up and drive a mile for breakfast stop.Quarter of ten, jumper box again for restart. Five miles to Tech Central to work on the 1800 engine. Put the car on battery charger while we work, so can survive another day until we pick up the next new alternator Wednesday morning. When first connected it displayed 60% charge level, but I knew it was way lower, as it only had 11 volts open circuit and would not crank fast enough to start the engine. After a half hour we had to move the car off the gravel drive to the cement forecourt to allow loading of the old Chevy S10 truck onto a trailer. At that time the charger said 80%. A couple hours later navigator said it displayed 100% and he shut it off, because he thought it would overcharge and damage the battery. After another half hour, I plugged it back in, because it is supposed to be automatic shut-off and float charger. By 4-pm it said 100% again, so I unplugged it long enough to shut down with fan off. When I plugged it back in to re-boot, and it displayed 100% again, so I recon it was real and fully charged. This is an Odyssey sealed AGM battery now nine years old, apparently in excellent condition. Once we get the duff alternator replaced, we will charge it up and do a more comprehensive battery test.

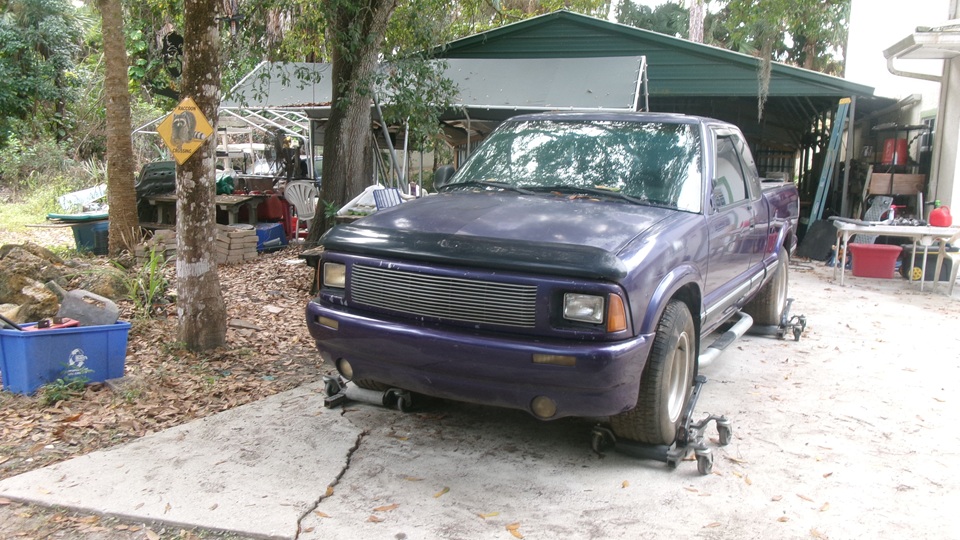
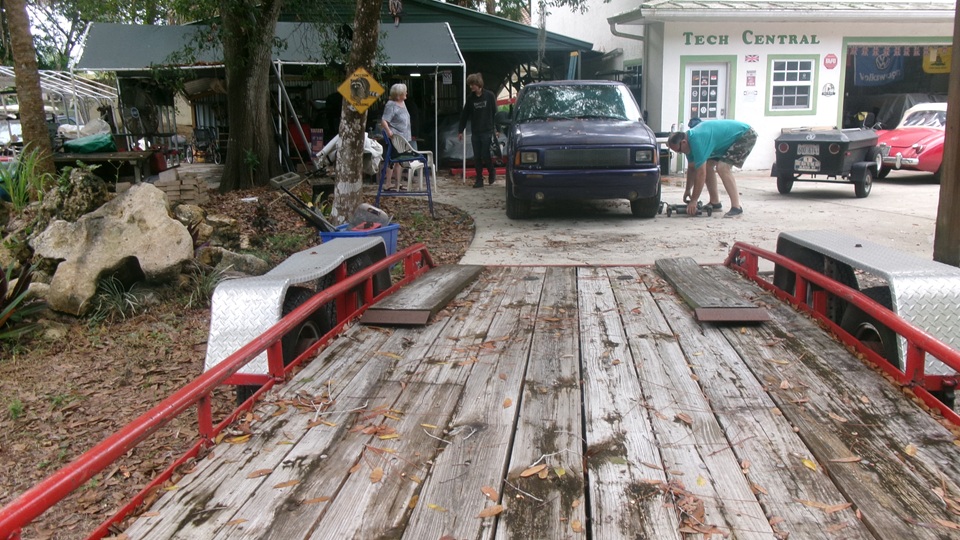
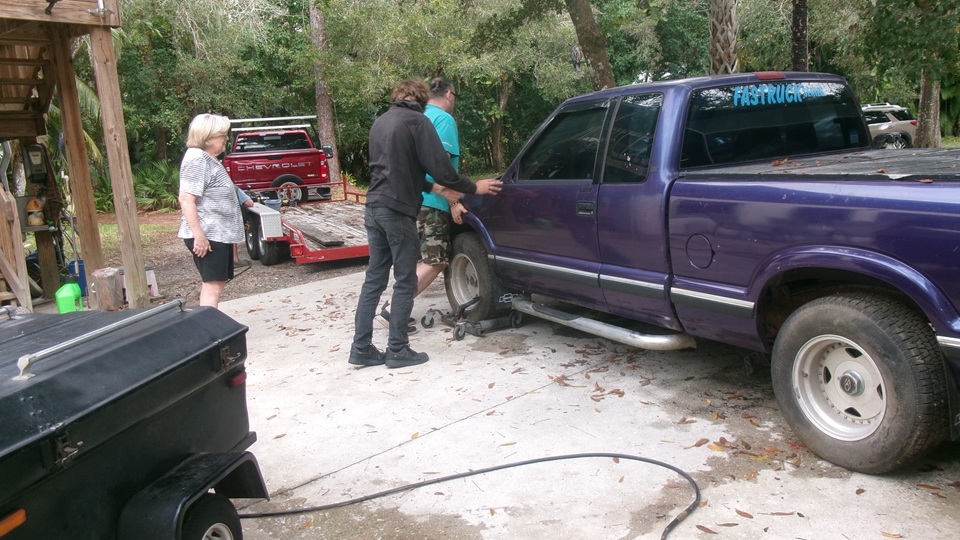
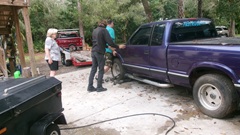
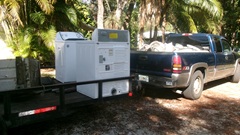
For loading the truck onto trailer, the truck steering was locked a little left of center. So they used wheel dollies to set the front wheels at base of the ramps, then wheel dollies to move the rear wheels a bit left of center so the front tires were parallel to the ramps. Once front tires were at top of ramps, they removed the rear dollies to winch the rest of the way, and it fit easily between the side rails. When it got to its new home, they backed it up to the garage and reversed the process to unload it right into the garage. It will need a new fuel tank and some electrical work, and new ignition switch/steering lock. We will keep in touch to see how long it takes to get it back on the road.


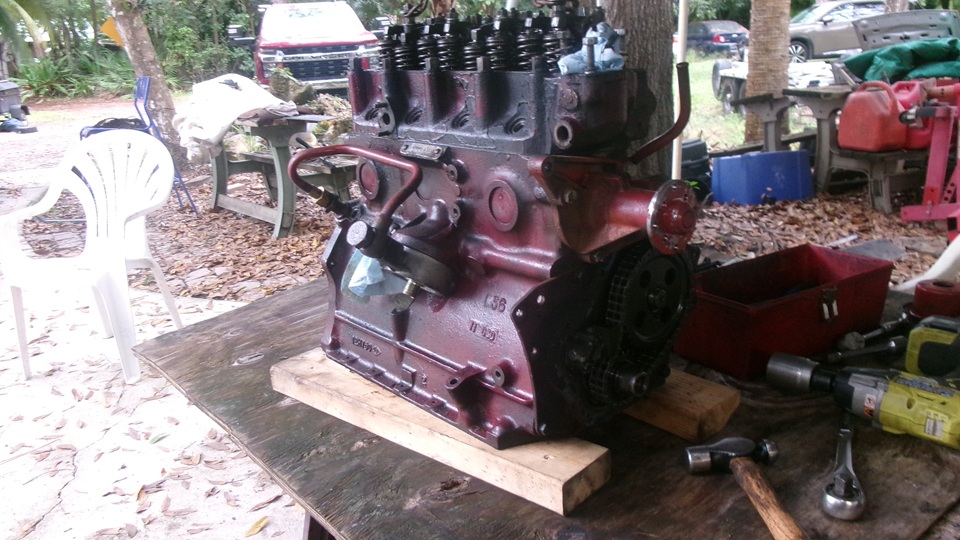
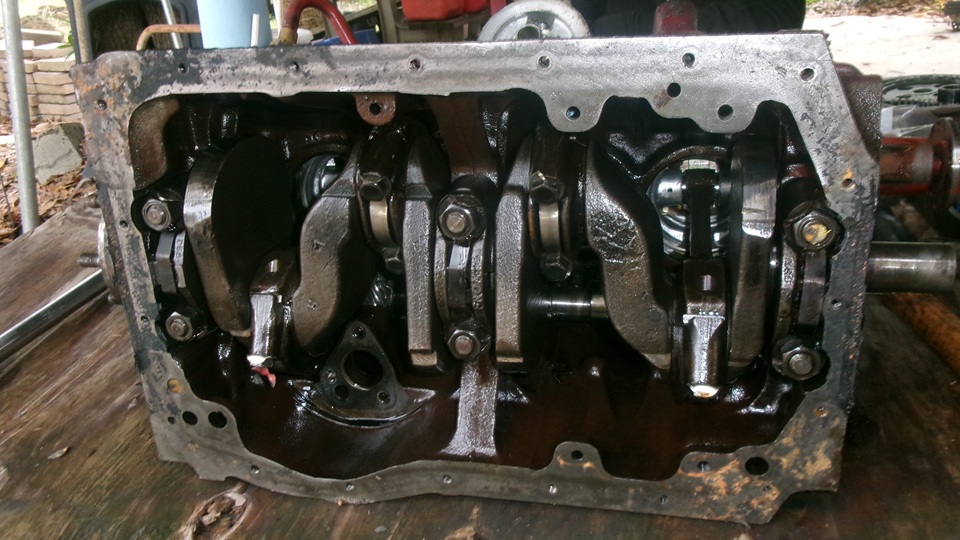
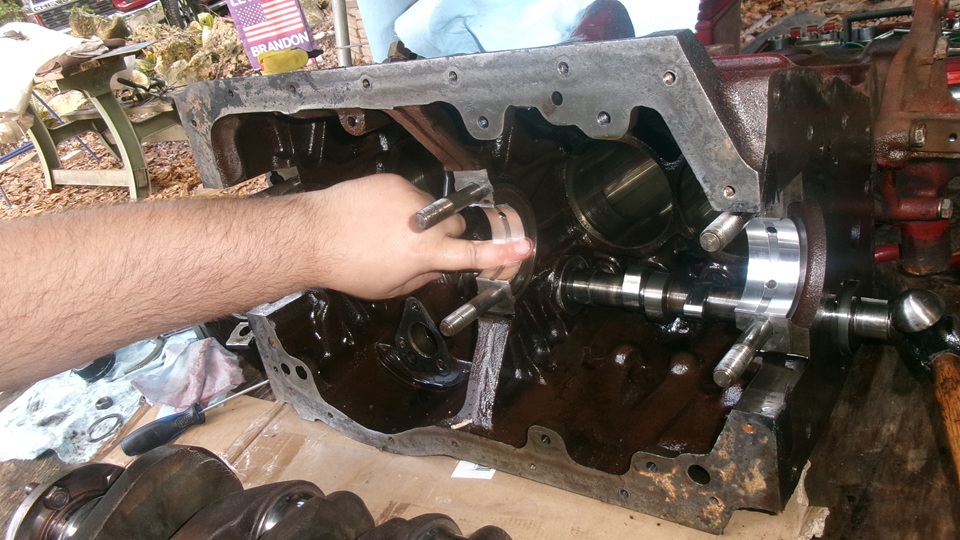
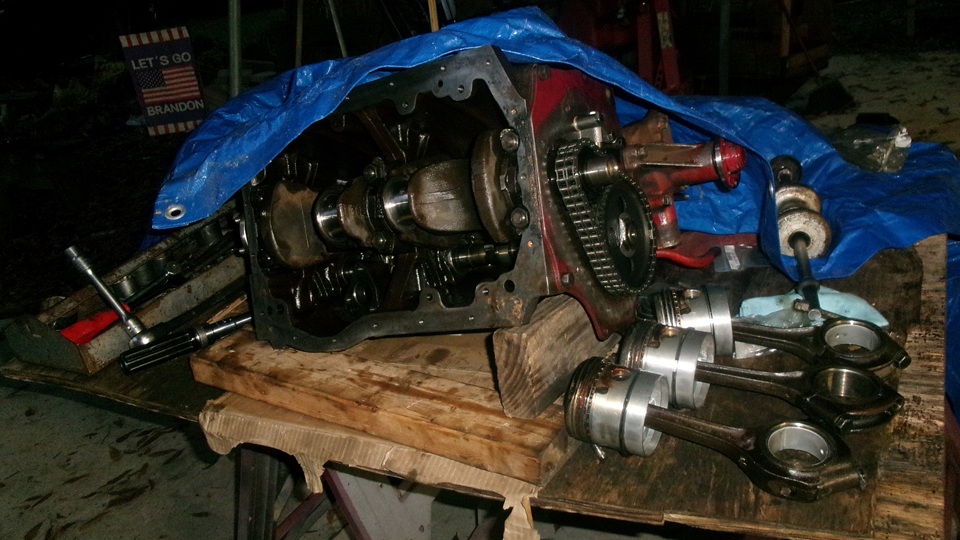
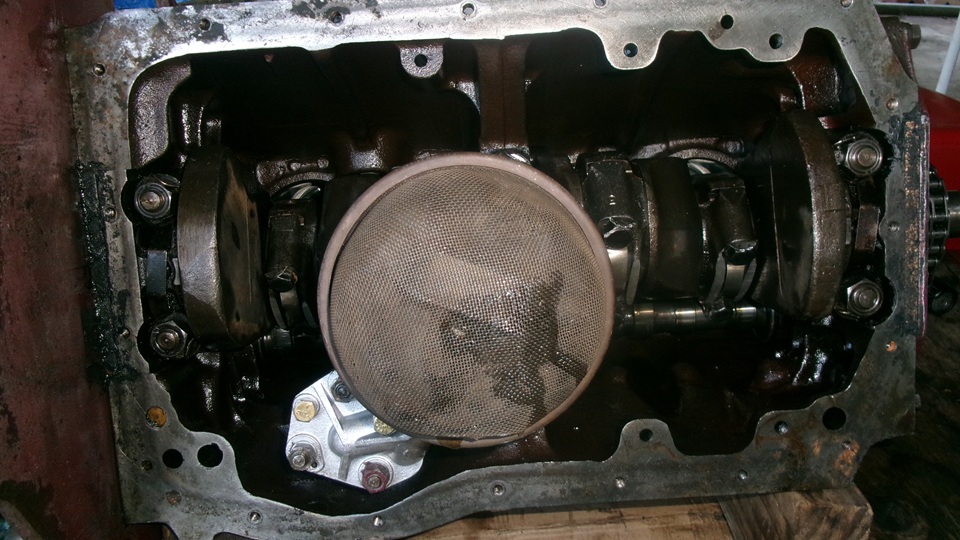
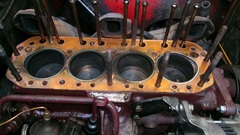
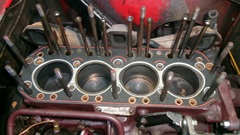
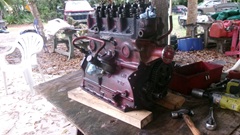
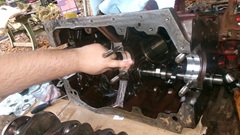
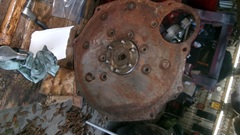
Early afternoon we were finally working on the 1800 engine. Block it up so the crankshaft can turn, unbolt and lift off the head. The only reason we remove the head is because we want to remove the pistons to separate and balance the connecting rods. Otherwise you can change the crankshaft with pistons and rods left in the cylinders. Mark the pistons 1 through 4 on top, then lay the engine on its side.
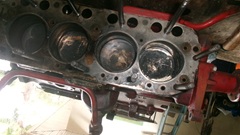
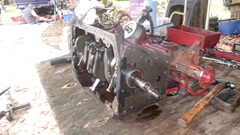
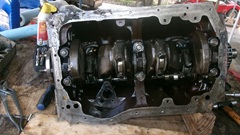
Knock down lock tabs, remove big end bearing caps, push pistons out of bores (trying not to disturb the rings), and put the caps back on the rods for safe keeping in correct matching sets. Then unbolt and remove the main bearing caps.

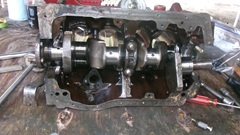
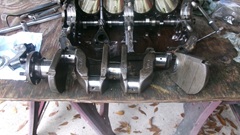
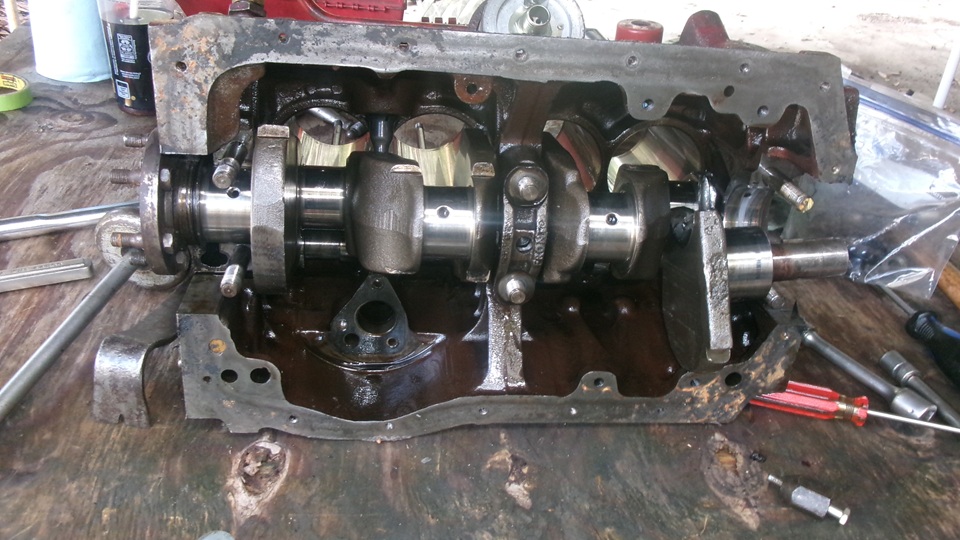
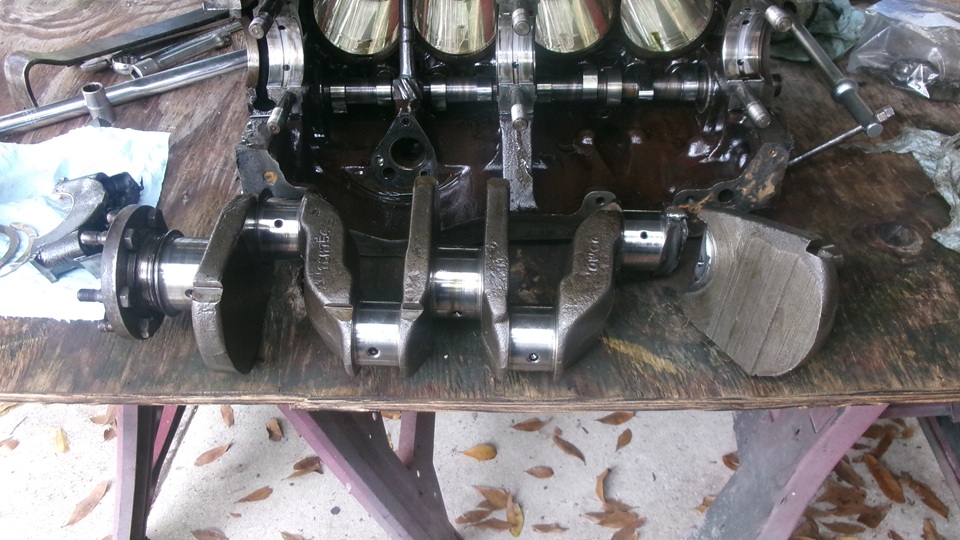
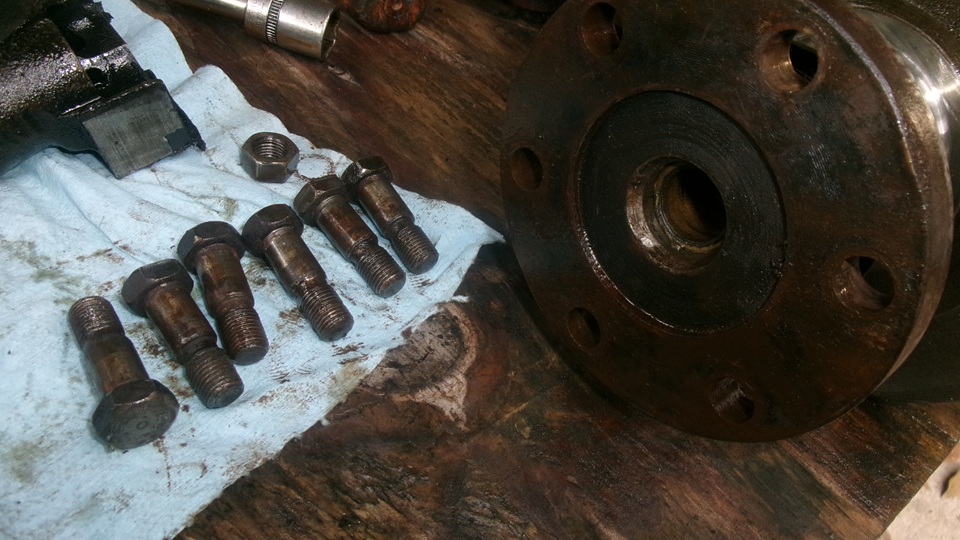
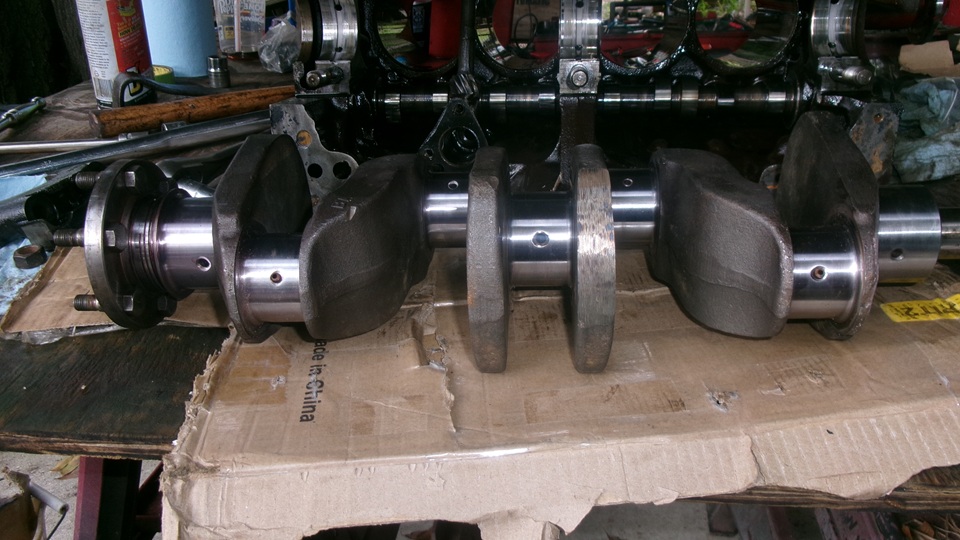
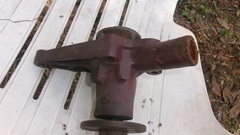
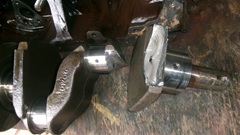
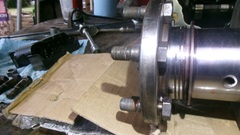
Ah, gotta love the first unobstructed view of the broken crankshaft. Not my first time working with this same problem I did this during a road trip in 1989 with the original 1500 engine, and at least once more in between. When they break from fatigue, it is common to break across the web just behind the front main bearing. This is often induced by faulty re-grind job with sharp corners in the bearing journals where there should be generous radius. The sharp corner is a nasty stress riser point. Before we junk the broken crankshaft, knock out the six flywheel studs and save them, In recent years there have been some replacement studs too large on the shoulder, so keep the good factory original parts.
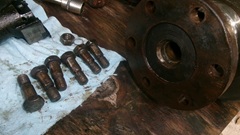
Always check the rear studs on a new crankshaft. These are often removed before regrinding, and reinstalled after. It is also common that they are not properly seated tight against the hex head. If so, put a larger nut over the shoulder of the stud, and use the original nut to tighten and pull the errant stud down into proper seated position. Do all six of course.
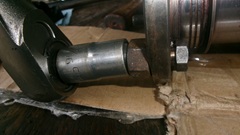

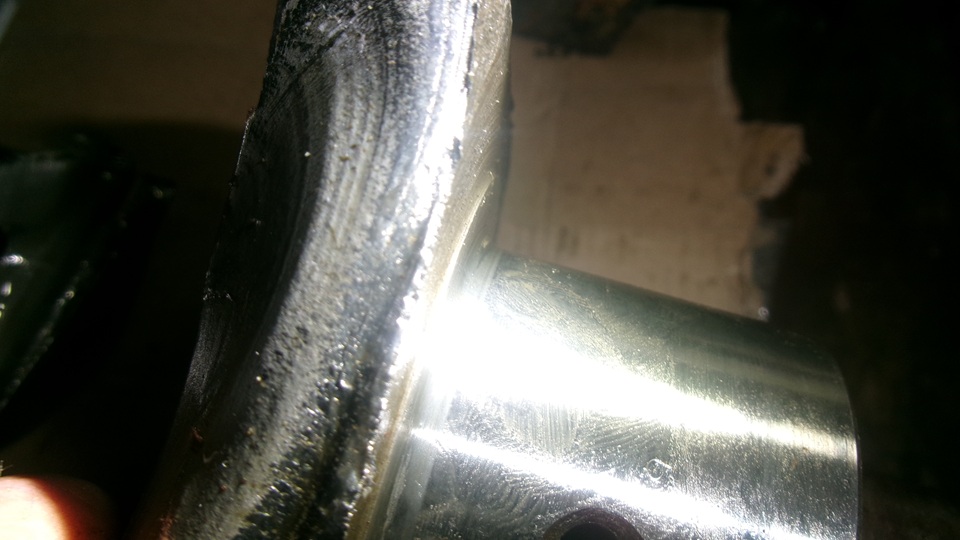
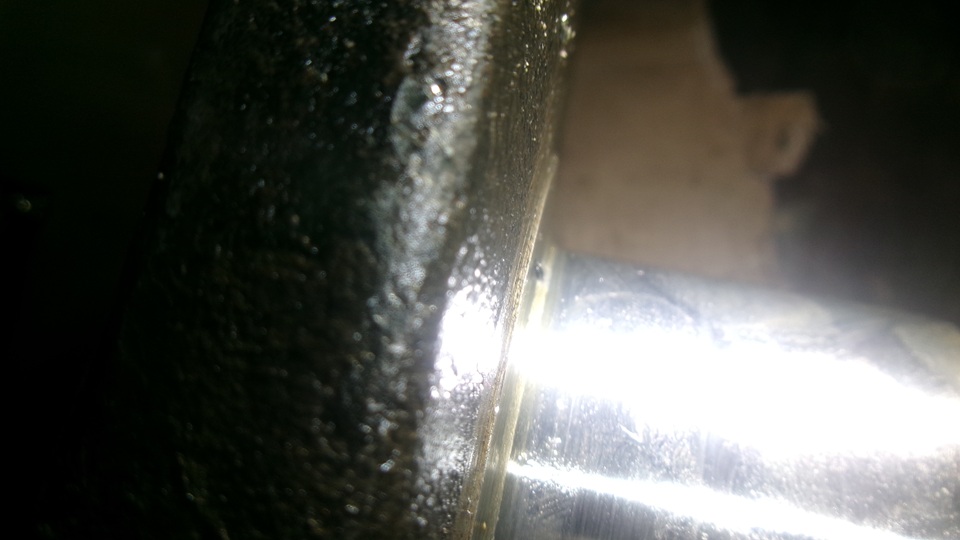
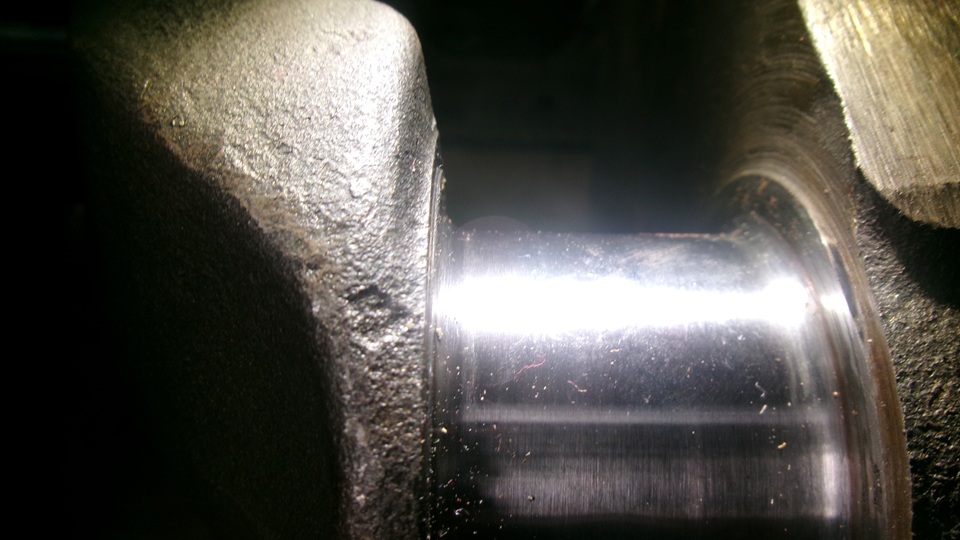
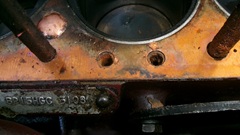
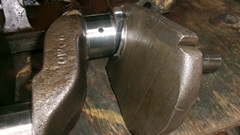
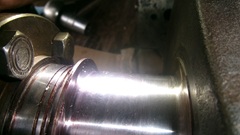
My best attempt at photographing relatively sharp corners in the journals of the broken crankshaft. In this case, I may not blame the break on this, because the break across the web does nor seem to have originated in this corner.
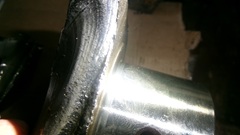

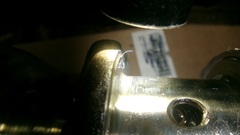
However, it is very clear that the new reground replacement crankshaft has much more generous radius in the corners of the bearing journals. Very nice.


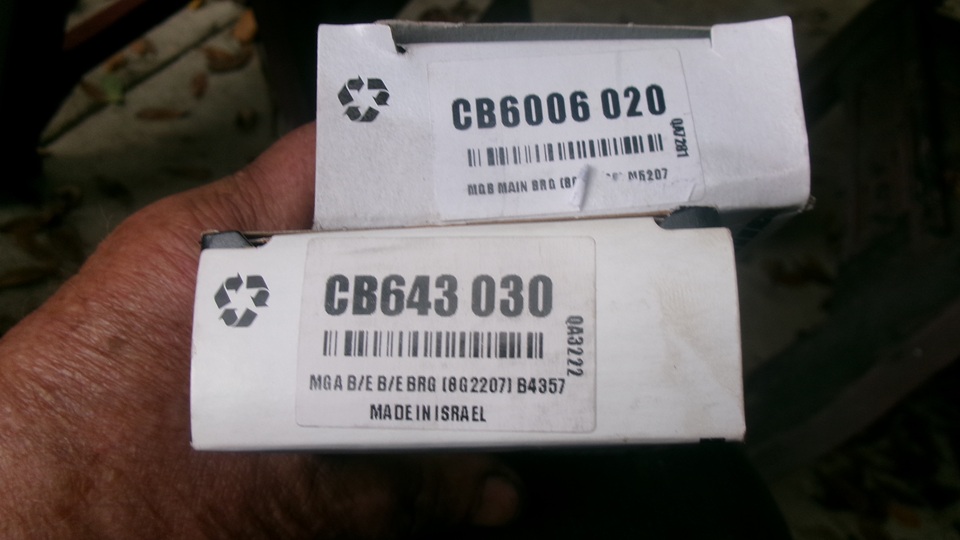
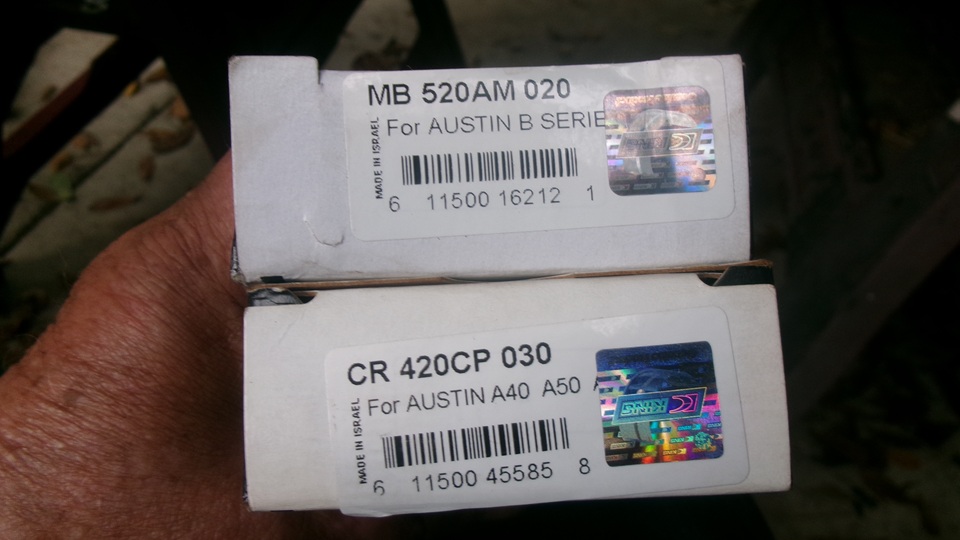
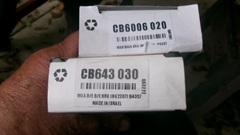
King bearings are supposed to be good, highly recommended. 0.020 u/s for the main bearings, 0.030 u/s for the rod bearings.

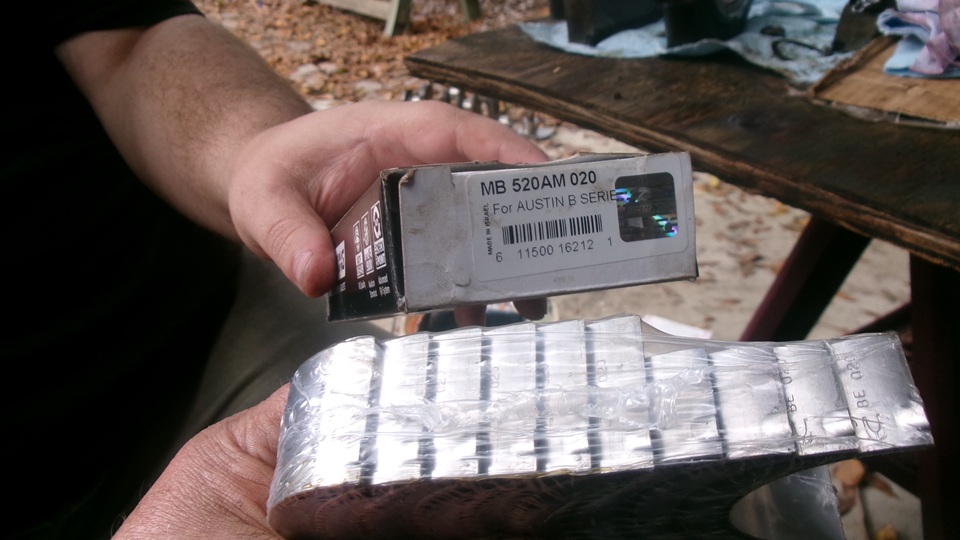
I was surprised at first to see the main bearing set with six wide half shells, and four narrow half shells. Then I remembered this was a set for a 5-main bearing engine, 1965 and later. For my 1962-1964 3-main bearing engine, use the wide bearing shells, and feel free to discard the unused narrow shells. Not too long to put three half shells into the engine block saddles, and three half shells into the main bearing caps. Oil them up, insert the crankshaft into the block cradle bearings, insert the two smaller half thrust washers and rotate them around the crank axis into the block. Slap the larger half thrust washers on either side of the center main bearing cap, tap that into place and install a lock tab and hex nuts. Spin the crank with fingers to assure it turns freely. Similarly install front and rear main bearing caps with half shells, lock tabs and hex nuts. Torque it all down tight, and spin the crank again, with one finger. Peachy, crankshaft installation finished.

Wednesday, December 10, 2025:
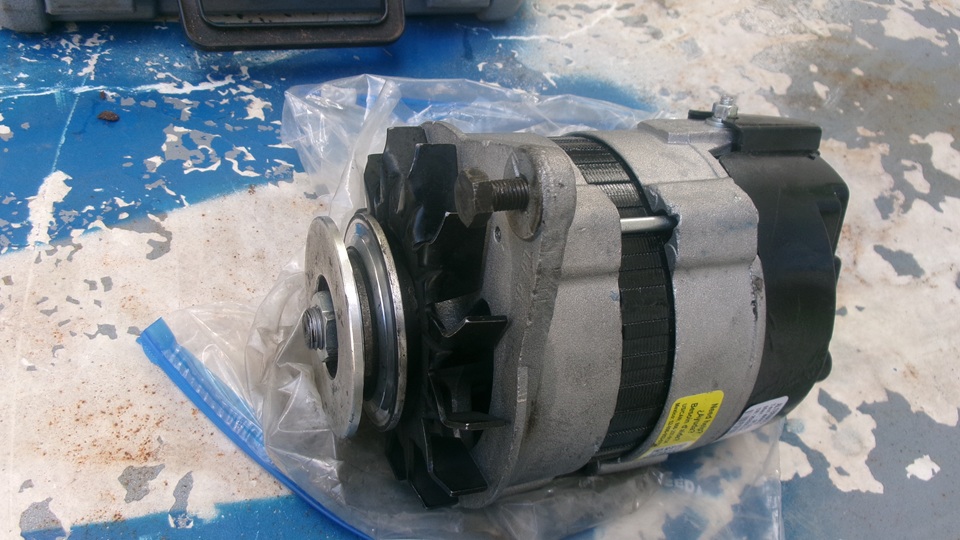
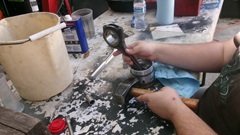
By 9:30-am we were were at O'Reilly Auto Parts in Bonita Springs, Florida to pick up the new alternator that was ordered late Sunday. This one came in with no fan or pulley, so there was a short delay while the counter man provided an impact wrench to R&R the front nut to transfer those parts from old to new alternator, and turn the old one in as warranty core exchange.


Then back to Tech Central to drill out the silly 8mm metric thread and install a 5/16-24-UNF Heli-Coil. This is partly so we don't have to use metric wrenches to adjust a fan belt, and also to assure the thread won't strip out of the cast aluminum housing. Set that aside while the engine is cooling down.
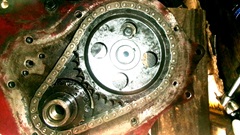
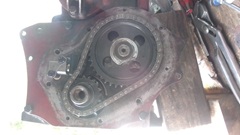
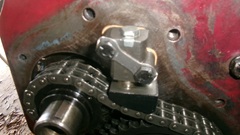
Then we were cleaning and installing the 1800 engine front plate, capturing the long rectangular cork seal in the bearing cap. Then installing the timing chain and sprockets and tensioner. Easy enough to line up the punch marks for correct cam timing. Just a little tricky getting the cam sprocket keyway to line up with the camshaft key while tapping the sprocket into place. Then we encountered the timing chain tensioner from hell. It is a perfectly good tensioner assembly, except for two features. It requires 3-mm metricAllen wrench (should be 1/8-inch) to turn back the spiral staircase locking cam, and that cam does not lock in the retracted position as it should. So you have to physically hold the rubbing foot in the compressed condition while adding the steel backing plate and little paper gasket and two screws with a lock plate. Good thing the helper was there, as it took four hands plus ten minutes of try and try again while cursing at the idiot designer to get it installed. So much for making aftermarket replacement parts cheaper.
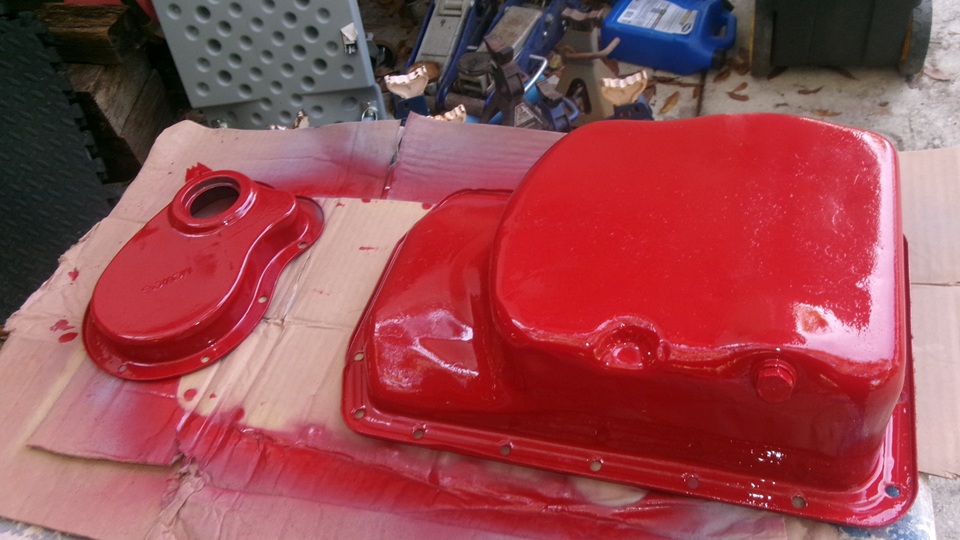
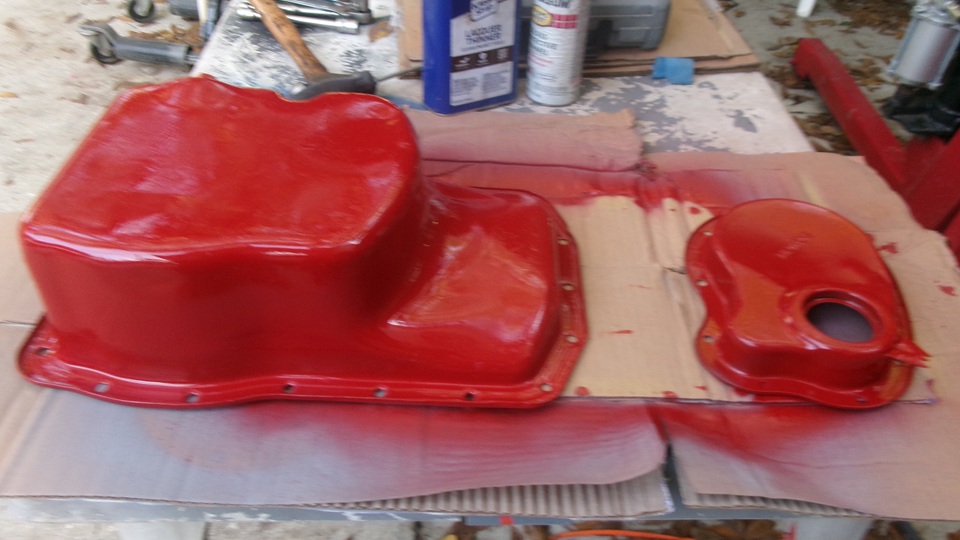
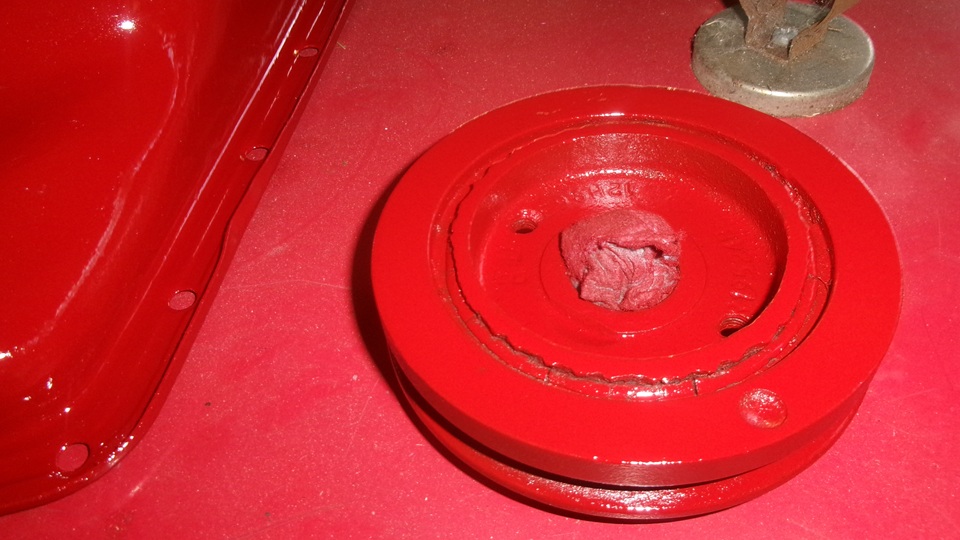
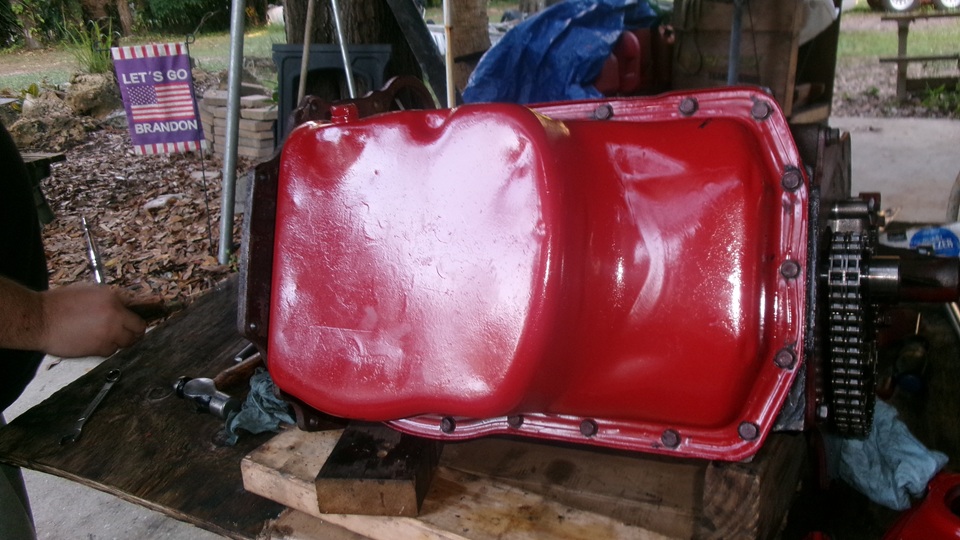
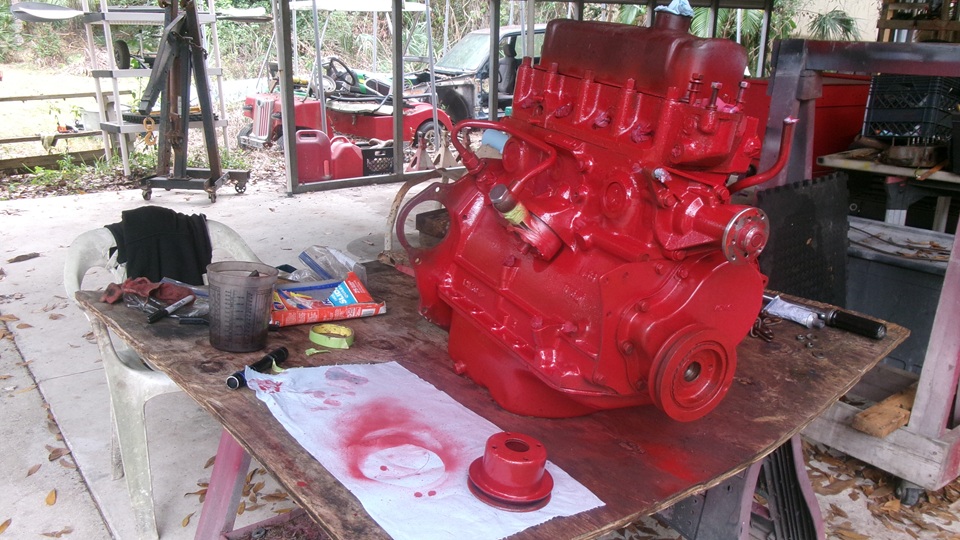
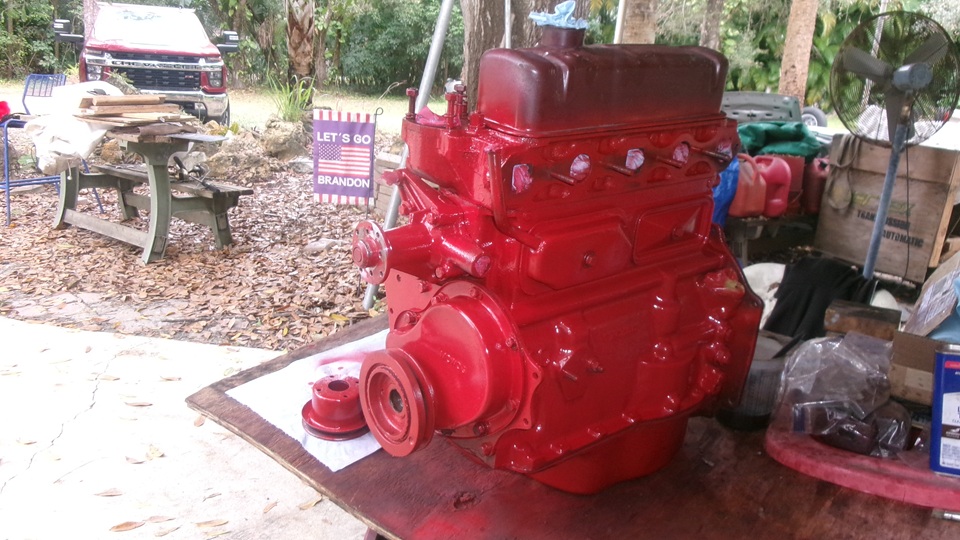
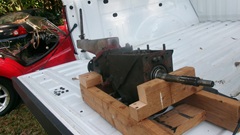
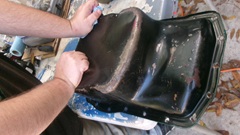
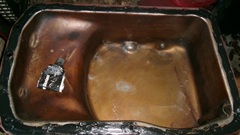
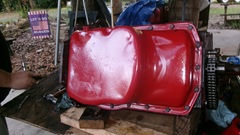
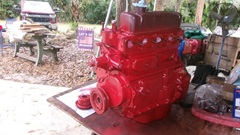
Along with the new reground crankshaft we bought a used oil pan, timing cover with rubber seal, harmonic Balancer, and new oil pump with pickup screen. These parts will allow us to reassemble the 1800engine in MGA configuration while leaving the borrowed Magnette engine also in MGA configuration.Kill some more time cleaning and priming those parts.


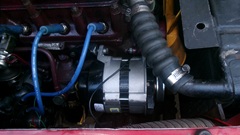
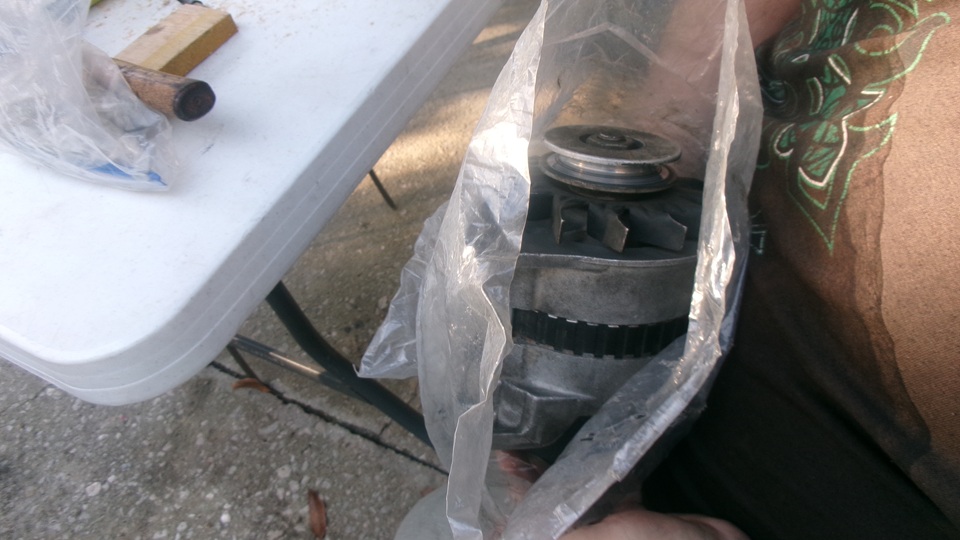
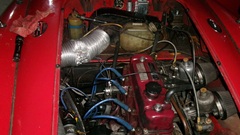
While the primer is drying, go install the new alternator in the MG. It works of course, so bag up the most recent failed one for warranty return. Then spray some dark red paint, and leave the engine external parts to dry.


Getting dark to work, so pack up and head over to O'Reilly Auto Parts to swap/order another alternator, hopefully still under warranty. Successful test failed with the indicator lamp signal circuit bad, same issue as the last one we just replaced. This has same effect as burned out bulb or missing or disconnected bulb. Without a bulb in the circuit the alternator stops working, at the same time as there is no indication of any fault. So we often leave a small digital voltage display plugged into the cigar lighter power socket for regular reference. O'Reilly has ordered another new (rebuilt) alternator, scheduled to arrive Monday morning.

Thursday, December 11, 2025:
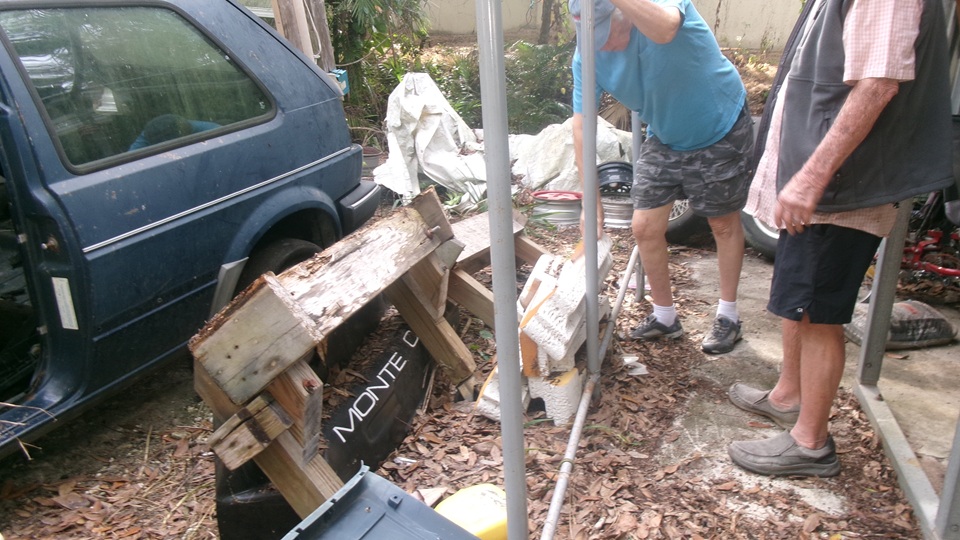
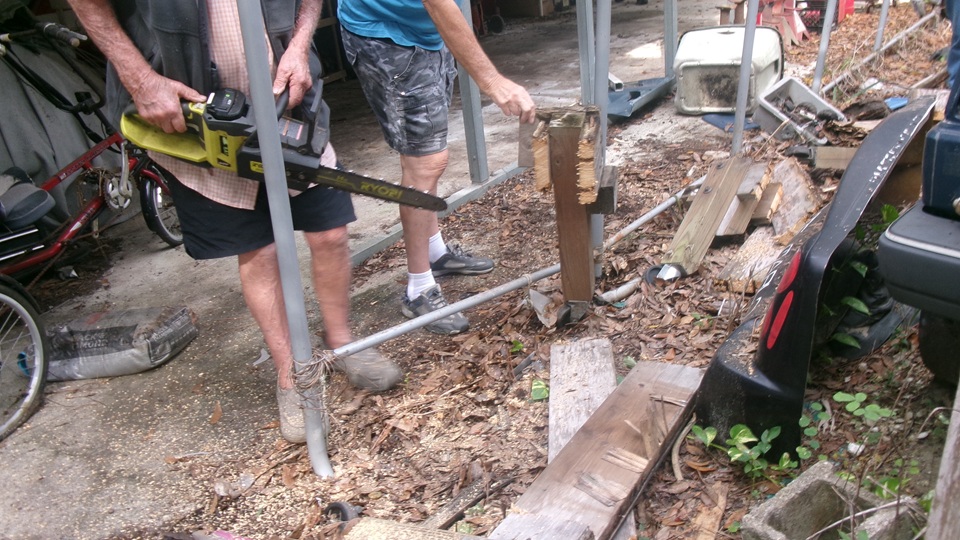
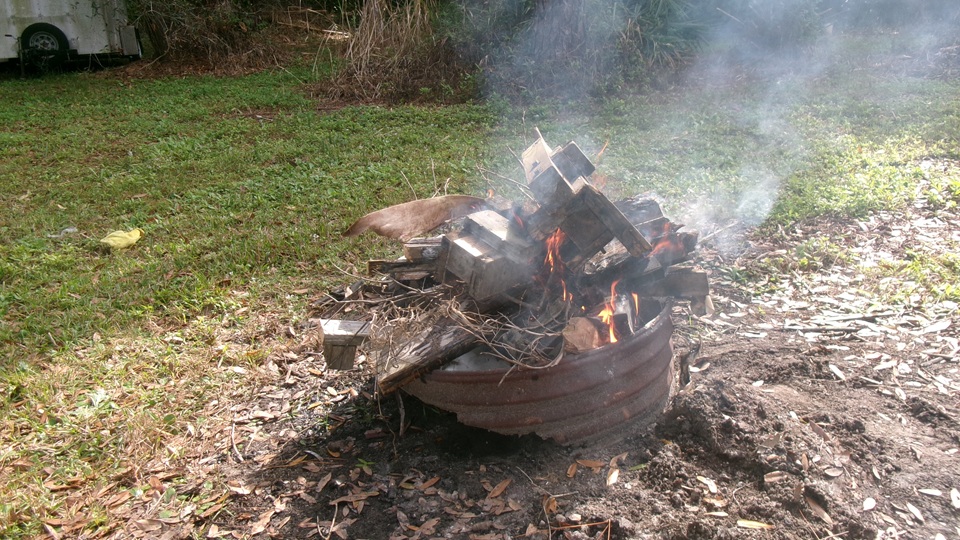
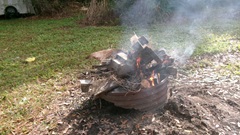
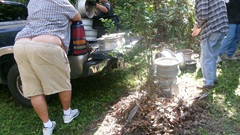
We showed up at Tech Central at 10-am, and some of the guys were already busy cleaning up, cleaning out, tossing out trash, and eventually putting away and organizing tools.They seem to do this every Thursday, as Friday is trash pickup and Tech Day. So we jumped in to lend a hand. Bunch of trash just outside of the canopy covered side court work (and storage) area. The ugly wood structure things were parts of an old rotted work table with caster wheels. Nice functional wheels, so we spent some time unscrewing and/or breaking off very long rusty woods screws to salvage the nice set of four caster wheels before the rotted wood was cut up and went to the fire pit. Then it was time for traditional lunch break and chat time, so we didn't get to work on the 1800 engine until 1-pm.


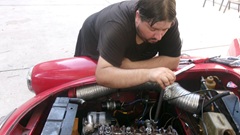
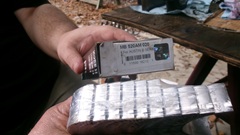
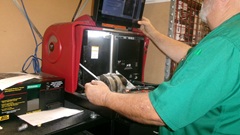
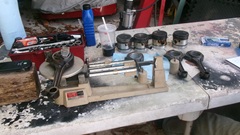
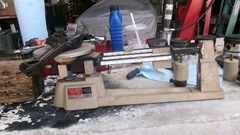
Time to separate the four pitons from the connecting rods, being sure the pistons, rods and bearing caps were all marked1 through 4. The little blue and white box contains the cheap 1-kg digital scale we bought from Harbor Freight. Not one of their better products. Try as we may, we could not get it to be repeatable within 10-grams, so toss that aside. But Jerry has a nice triple beam balance scale going from zero to 610-grams. There are also two additional weights to increase the range by 500 and 1000 grams, which when used together get the max range up to 2110 grams. Cool. Since an MGB 3-main engine connecting rod weighs about 1050 grams, we added only the +500 weight to give it range up to 1110 grams.
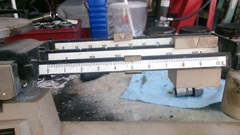
Then we got busy weighing all of the connecting rods, big ends and small ends. On average, they weigh about 1050 grams including the cap with two bolts, locktab and bearing shells and the pinch bolt in the small end. Since a large majority of the weight was in the big end, and there was very little material that could be removed from the small end, we decided early on not to do any grinding on the small end. Since we would only be grinding on the bearing cap, it was convenient to remove the cap and weigh it separately while doing the grinding. The bearing cap alone weighed in around 350 grams.
We weighed all of the conrod assemblies four times to be sure or repeatability of thge measurements. There was a little difference depending on where the rod was placed on the platform, So after little practice we were careful to place them consistently in the same position. Then the measurements for any one rod came out within a range of 3 grams. So we used the numerical average of the four measurements to be the initial weigh of each rod. And the numbers were: #1 - 1057.5, #2 - 1045, #3 - 1049, #4 - 1047. Seems like we just found the cause of the slight engine vibration that has been bothering us for the past year. It also looks like #1 rod, being more than 10 grams heavier, may have come from a different engine (mixed set).
So I started with the heaviest one first, grinding it down to mach weight of the lightest one. Remove 12.5 grams from the #1 bearing cap please.That required a lot of grinding time with multiple trips back to the scale to monitor progress. Then remove 4-gm from #3 and 2-gm from #4. All finished and reassembled, they all weigh 1045 grams (+/- 1-gm).


First picture above shows the lightest rod untouched, and the heaviest rod after removing 12.5 grams. Then the class graduation picture. Then we put the pistons back on the rods and started putting them back in the engine. Elliot was working the ring compressor and stuffing them down the bore, while I was lining up the bottom end and installing the bearing cap. Oops, #1 got rotated 180 degrees, so the offset big end would not go in, turn that one around please, then all was well. #2 was a no-go, as I think we got the conrod flipped over in the piston, so set that one aside for a bit. When we were inspecting and puzzling over #3 and #4, it was getting too dark to work, even with flashlights, so we decided to call it a night and take this up tomorrow. that's what we get for helping with clean-up in the morning (just kidding).
Friday, December 12, 2025:
Tech day Friday at Tech Central Check the water to be sure it didn't lose any. Ignore the Ferrari, except there is a trailer tire in the passenger seat (more on that later). Nice bunch of the standard guys' cars. Someone working on the glove box door on the TR6.
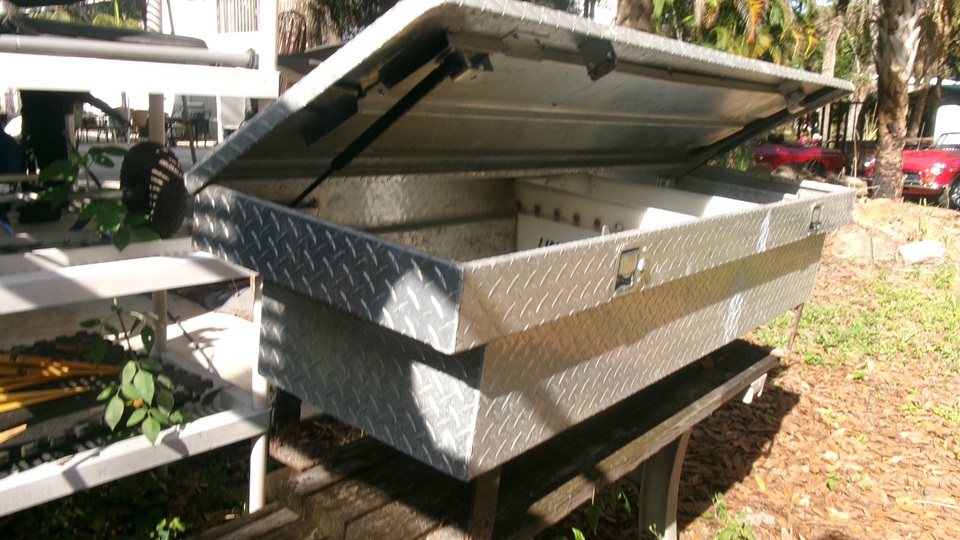
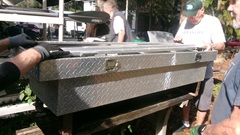
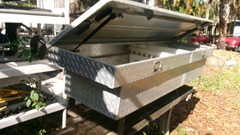
Somewhere in the clean up process there was a truck bed tool box that had the inner stiffening brace liner of the top cover come loose. It had broken a number of faulty original weak welds, then got pop riveted back together, then had some pop rivets fail. So drill out all of the old pop rivets and start over with more rivets so it hopefully won't break again. This box is going into the front of the flatbed car hauler trailer.

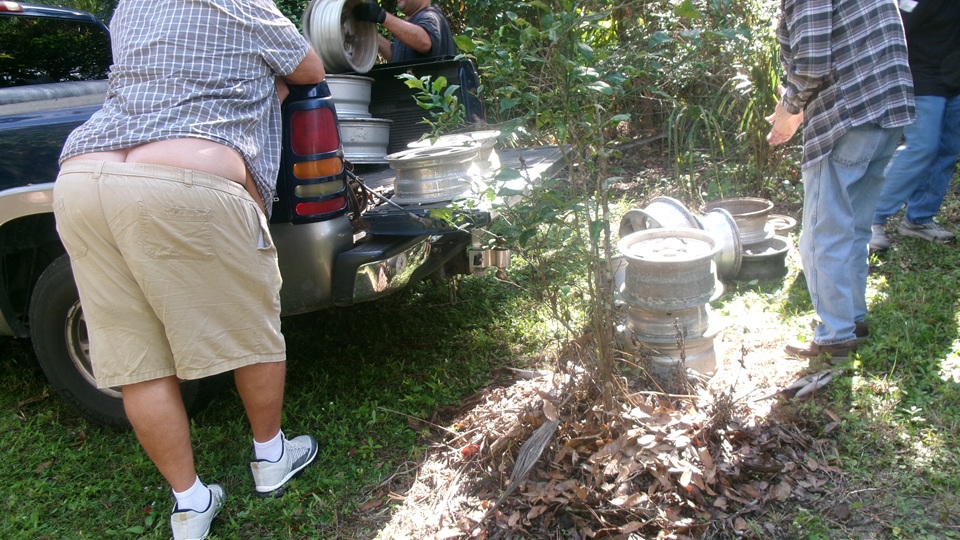
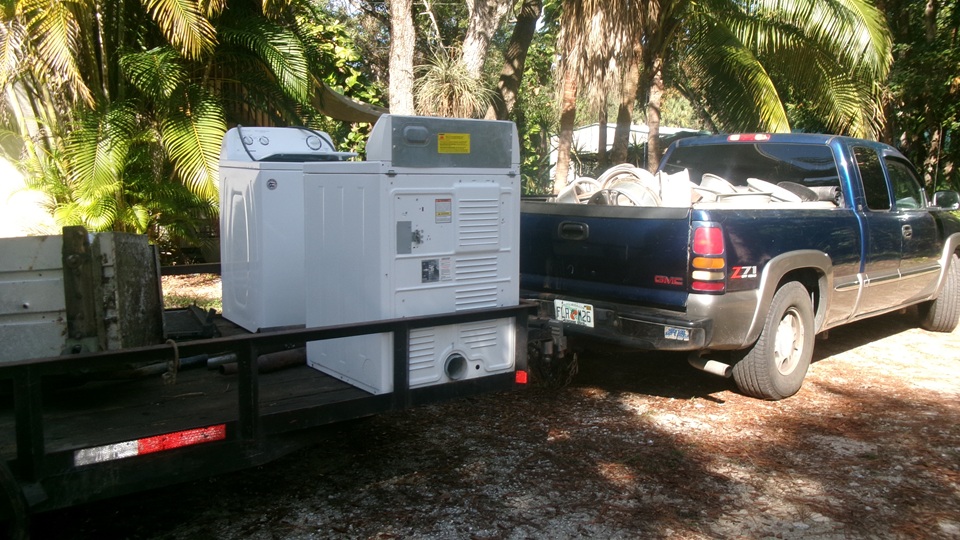
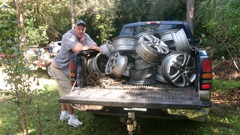
More clean up/clean out work. They called the metal recycler guy and started loading up used aluminum wheels, and then more, and more, until the truck was stuffed. Good aluminum is now worth $0.75 per pound, so what do you suppose this load is worth?
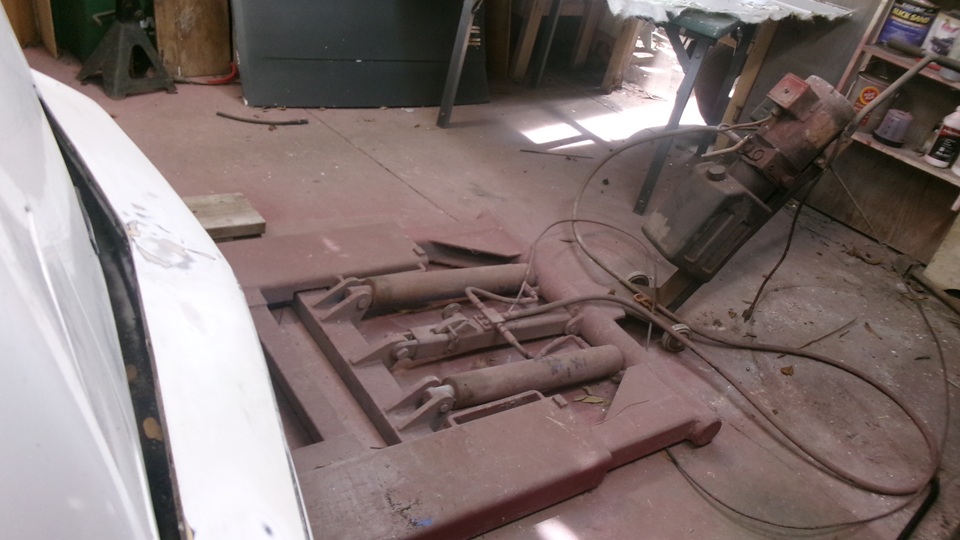
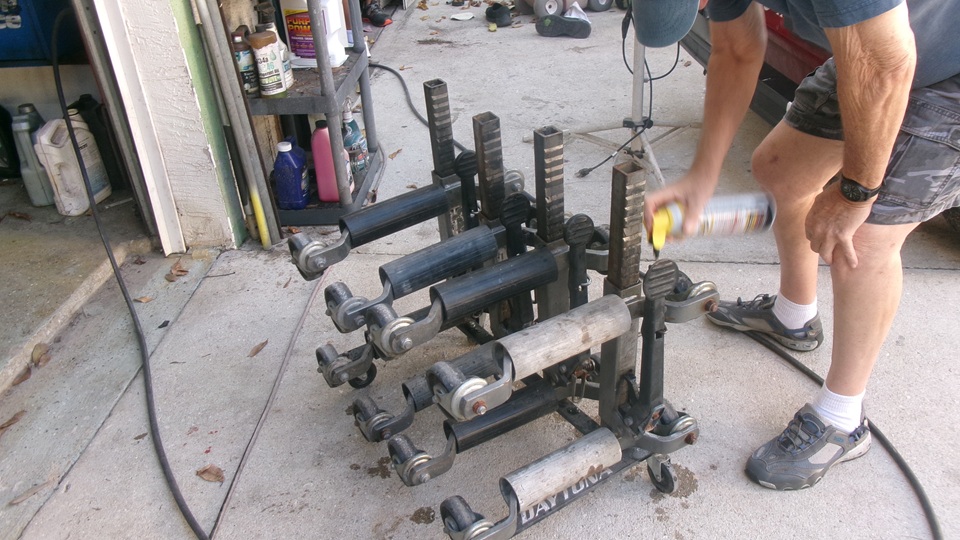
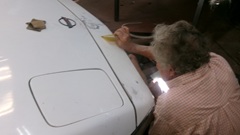
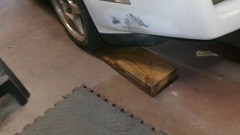
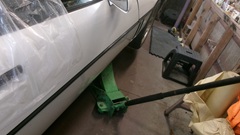
Back to the Corvette that needs a little body touch up and paint. The portable floor hoist wouldn't fit under it, so they were getting creative with wheel blocks and wheel dollies that didn't work.


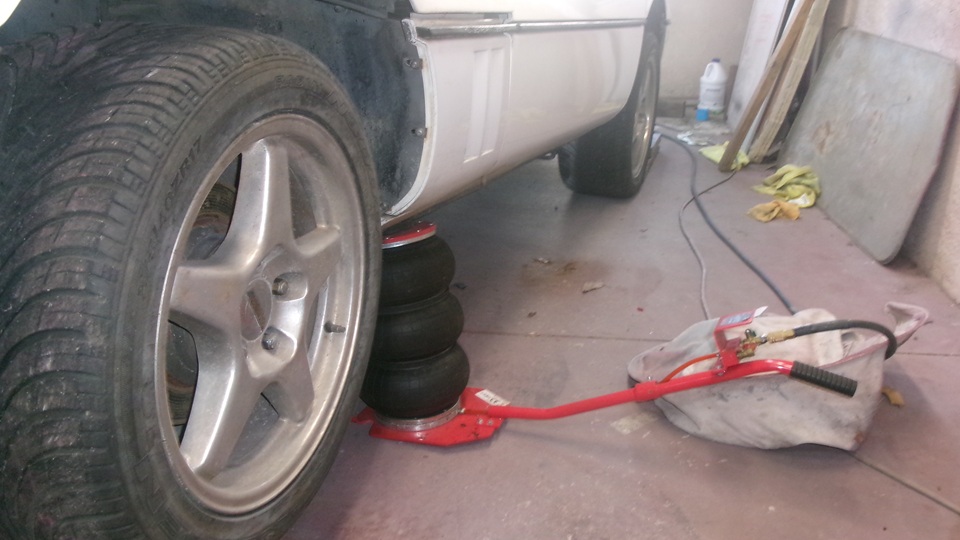
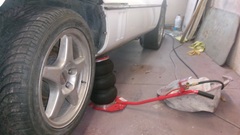
They finally got it jacked up on both sides to work on the front end.

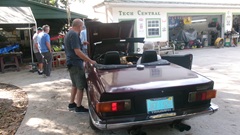
After lunch they pulled the trailer tire out of the Ferrari to have a tech session on the tire machine. It had been sitting flat for a longtime due to a slow leak between tire bead and wheel rim. Take the tire of and put it back on after cleaning the rim and applying sealer. It had a nasty kink in the tire bead that made it difficult to get to seal and inflate, but persistence pays off in the end, and the tire assembly got its ride back home in the Ferrari truck.
Then Elliot and I got back to work on the 1800 engine. Fixing what we messed up last night as light was failing, we had to swap a few con-rods round before installing the last three pistons.
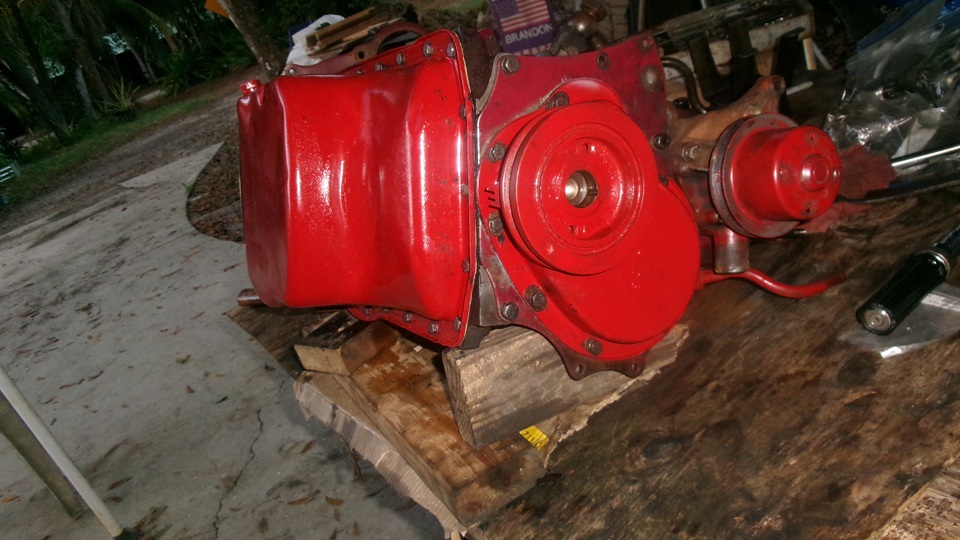
Install the oil pump and pickup screen. Temporarily install the old Magnette rear plate (with three bolts loose and without a gasket) to hold the rear cork seal in place before we button up the oil pan.

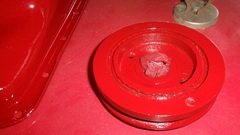
Install a rubber seal in the timing cover,and get the cover installed, using the crank pulley to centralize the cover and seal before tightening the bolts. Remove pulley to tighten the last few bolts. Reinstall the pulley temporarily to close things up, and stick the water pump pulley in place just for effect.


Good timing as daylight was failing us again. Clean up, cover the engine for the night, pack up and head out for dinner and WiFi to post these photos and notes.
Saturday, December 13, 2025:
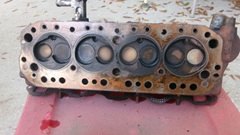
Good morning with an honest 10-am start. taking up where we left off yesterday, clean the top deck of the block and the bottom of the head, and grab a head gasket in preparation for assembly.

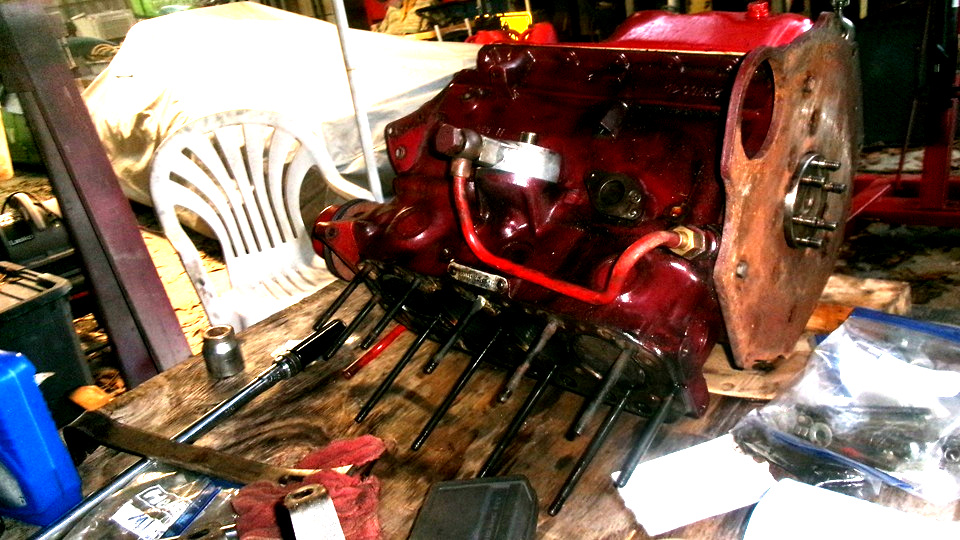
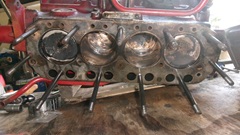
Drop on a head gasket, and insert the pushrods. Oops, a couple of the tappets slid out of their bores while the engine was on its side, so R&R the front tappet cover to reset the tappets. Gently set the head in place, apply 11 heavy washers and tall nuts, and make a few rounds with the torque wrench to pull it all down tightly. Double check and reset position of the distributor drive gear.


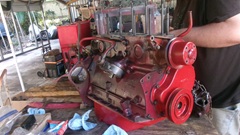
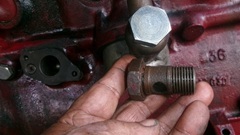
While reviving the Magnette engine we had a small issue with the large banjo bolt on the oil supply pipe to filter adapter. The Magnette part had a larger pilot diameter immediately under the head, requiring a larger copper sealing washer, which we did not have at the time. We had snatched those parts from the 1800 engine to get the Magnette engine together and running, Then we bought a new banjo bolt and more copper sealing washers, so we can put the 1800 back together without stripping these parts from the second engine. There were a few more minor parts, like a new adapter fitting for the oil pressure signal port, which was missing from the Magnette engine, and a cross-engine oil port plug (same as oil drain plug) which was used to plug the block water drain port (playing musical chairs with the plugs). Then an hour with stiff brushes and lacquer thinner cleaning the engine before painting, (as the light was fading). Having done our five hours between 10-am and 3-pm, we got to clean up, pack up and knock off a little earlier this time. We may take tomorrow off to let the paint dry.

Sunday, December 14, 2025:

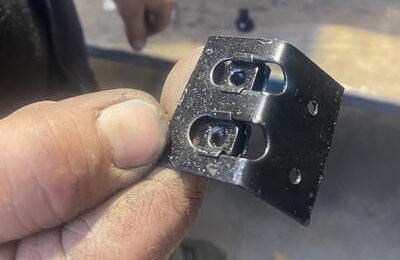
Day off to let the engine paint dry. I posted a new Part Numbers tech page for the AFH1787 Reinforcement Assembly (captive nut bracket) that goes under the MGA front body cowling behind the fascia panel to accept screws securing bottom end of the windscreen grab handle. It is common for these parts to be lost/missing, and they are not currently available, so people may need to make their own parts.
Monday, December 15, 2025:
Persistently working on the persistent high temperature coolant problems, still losing water sometimes. I think we're gaining on it, gradually. Drove 5 miles to Tech Central to be thoroughly warmed up. About to back flush the radiator again this morning, did a pressure test first. Maybe the aging pressure cap was failing, so installed a new pressure cap (coolant recovery type). Looked like we still had a pinhole leak in the top tank solder seam, so we dropped in another sealant pellet. Also doped it up with a pint of cooling system flushing fluid.
 Took a half hour to unwrap masking tape and hole plugging tissues from the freshly painted 1800 engine, and install the blanking sleeve and thermostat with a new gasket and now thermostat cover (water outlet cap). Drove a few miles to O'Reilly AP to pick up the second exchange alternator, but it wasn't there yet, come back after noon. Killed a few hours and drove several miles, returned, did get the second alternator for spare in the trailer. Took a half hour to unwrap masking tape and hole plugging tissues from the freshly painted 1800 engine, and install the blanking sleeve and thermostat with a new gasket and now thermostat cover (water outlet cap). Drove a few miles to O'Reilly AP to pick up the second exchange alternator, but it wasn't there yet, come back after noon. Killed a few hours and drove several miles, returned, did get the second alternator for spare in the trailer.
Cooling system seemed to be working better with the new pressure cap, so we took the long way around and drove another 10 miles getting back to Tech Central, then left it idling for a while. Temperature went up a bit, but it did not blow the water out, and the pin hole leak seems to have stopped leaking. Bully! Maybe we won't have to re-core the radiator. Decided to leave the flush and sealant in it for another 24 hours. took it for a 5 mile run down the expressway, which took the temperature gauge higher again, but not enough to boil, no water loss and still dry all around. Looks like the coolant recovery system is working again. Doing better by the day. Plan for tomorrow to back flush the radiator again, then refill and drive it some more, maybe longer distances. We have enough time to work on more flushing and cleaning, no rush to reinstall the repaired 1800 engine yet-- Had a John Twist Zoom tech session this evening, chatting about car clubs for a couple hours.
|