The MGA With An Attitude
MGA Guru Is GOING MOBILE - (February 1 - February 15, 2017)
Wednesday, February 1, 2017:
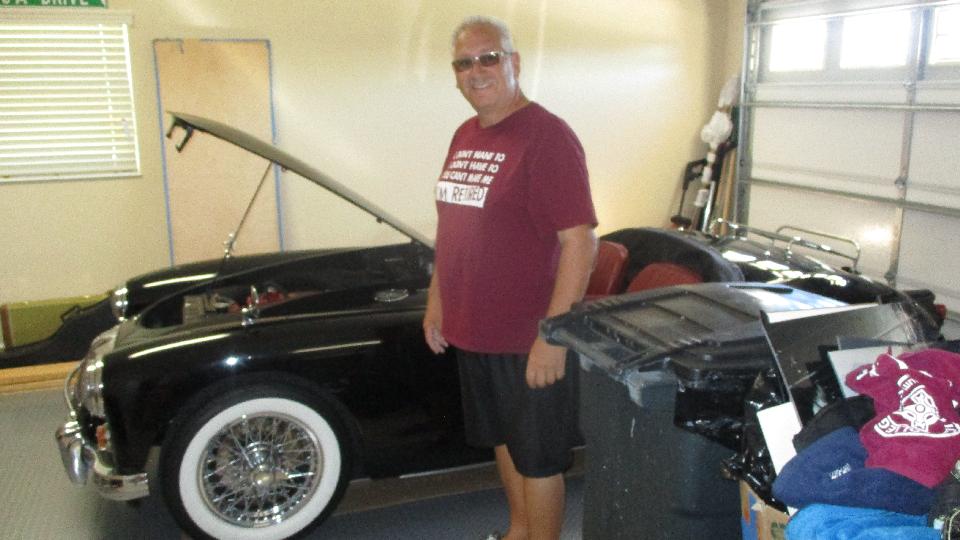
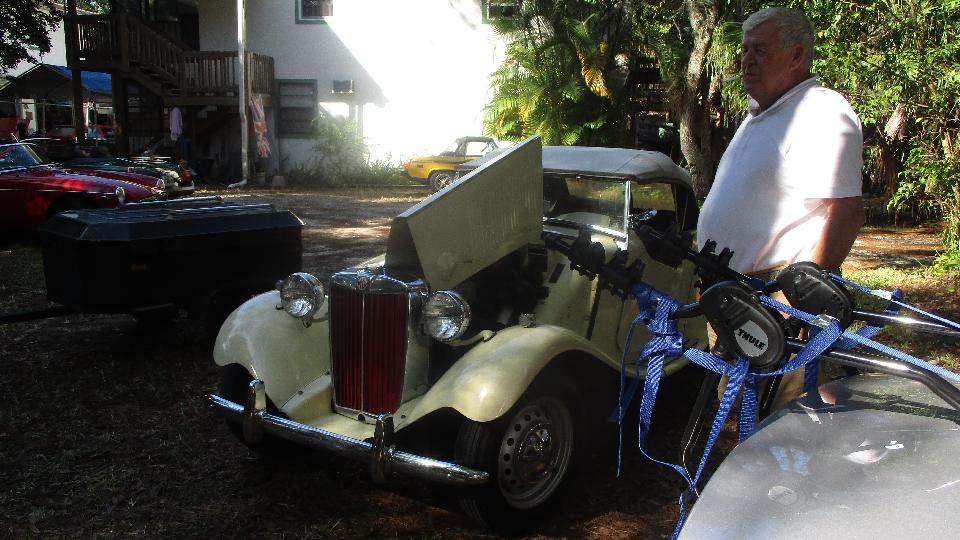
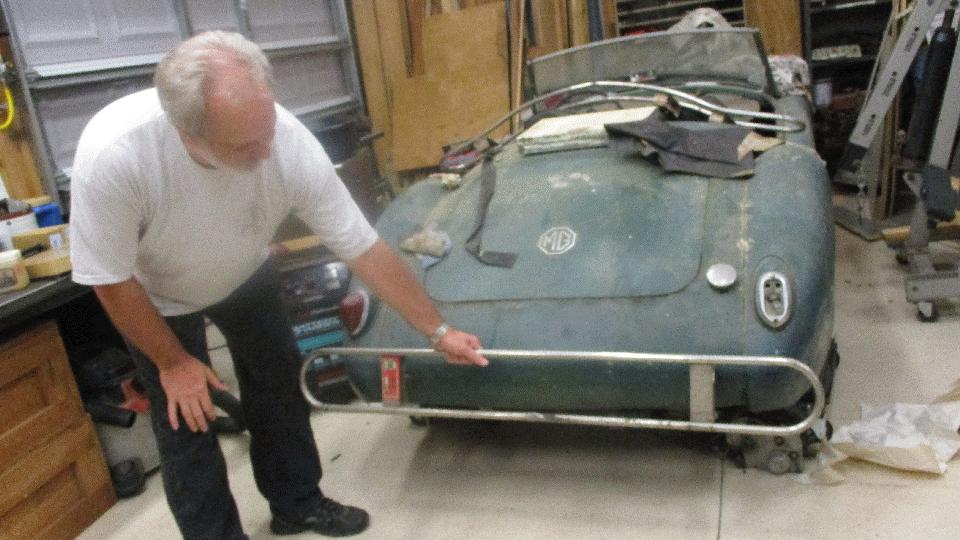
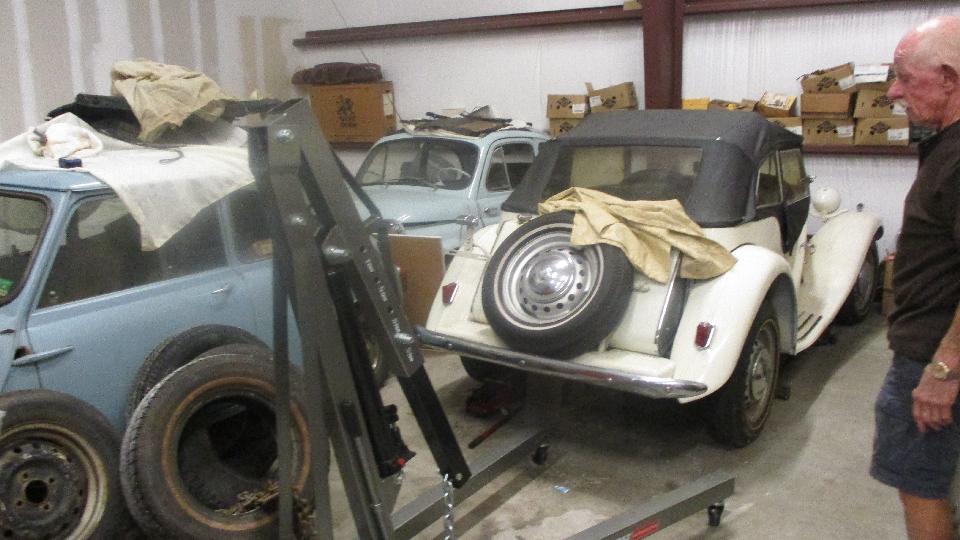
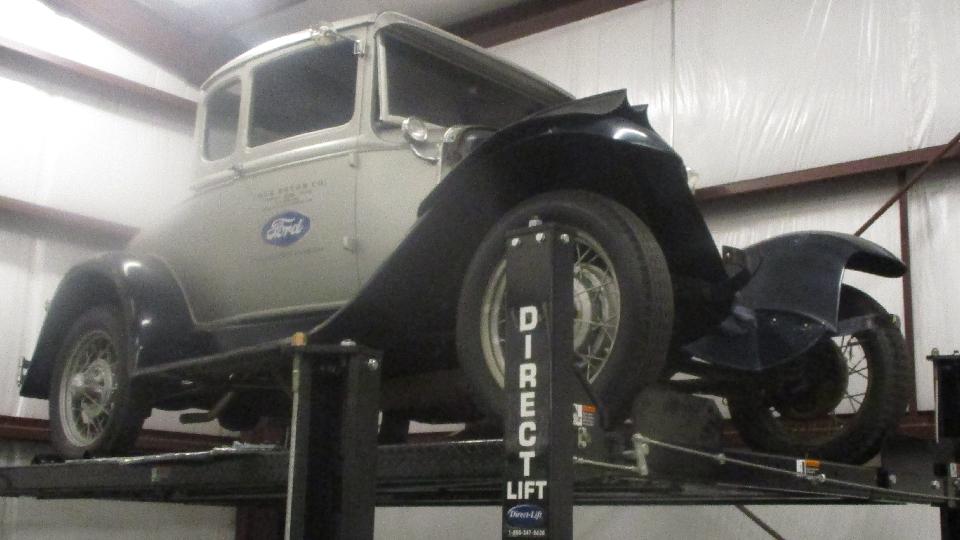
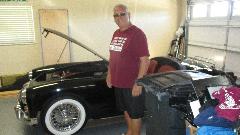
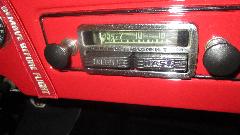
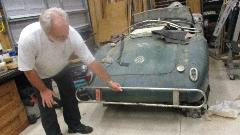
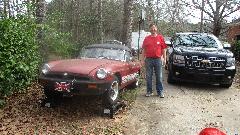
First programmed stop today was a long awaited visit with Tom Orland in Wildwood, FL (one of The Villages). We first met him at a WIFI spot in Florida a year earlier, but then he moved to Staten Island, NY, and then back to The Villages, FL. Tom has a very nice 1959 MGA. The dealer tag on the back is original from its first sale in Paris. The radio is also the original Blaupunkt.
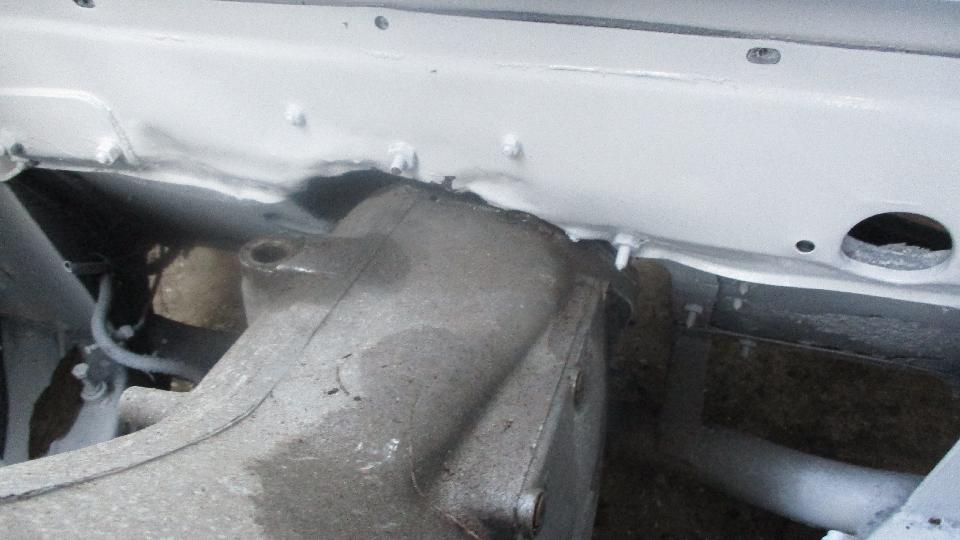
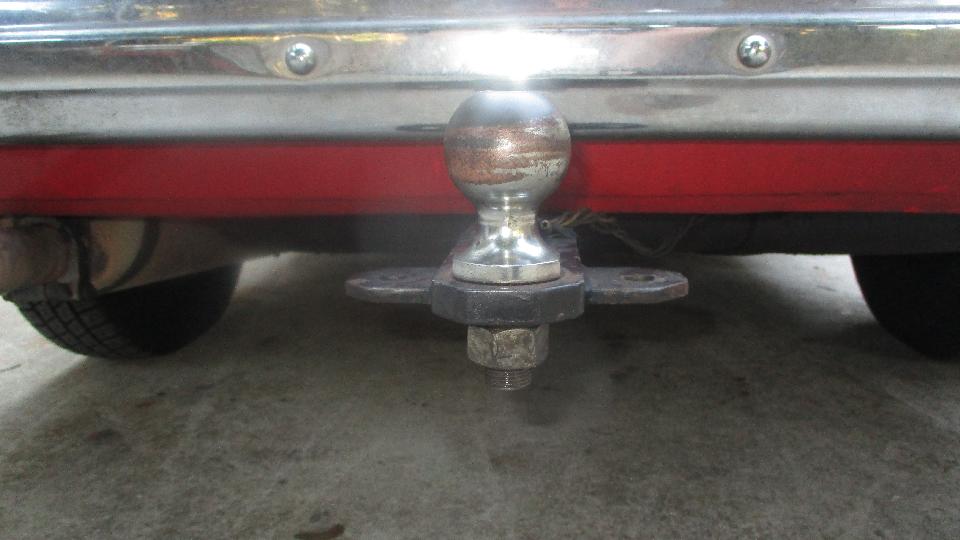
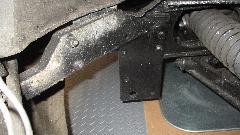
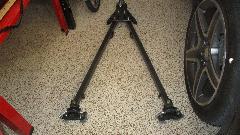
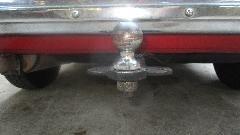
One feature of his car caught my attention immediately. It is a towing plate attached to the front frame extension and extending downward slightly below the front valance panel. This led to a short search for the tow bar. Unfortunately he does not have the tow bar that was originally used for this car. He does have a "universal" tow bar that may be used with almost any car, if you can devise a proper attachment to the vehicle. As tow bars go, they need to be almost level in use, so want to attach somewhere around bumper level (meaning I don't know how to adapt this one just yet).

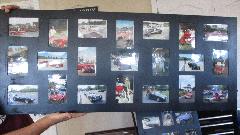
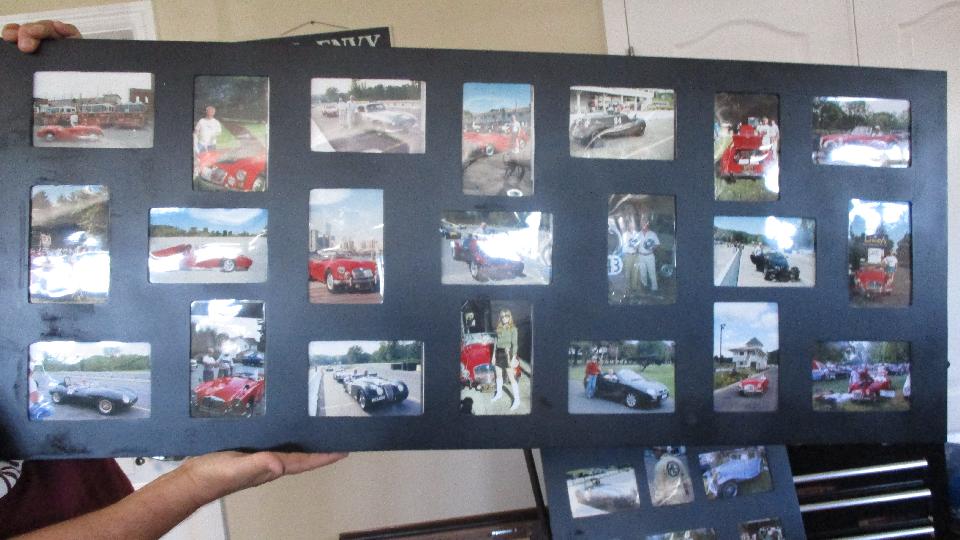
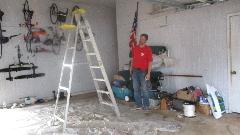
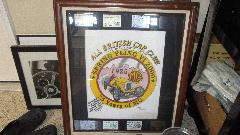 Tom has been in this auto sport hobby for a very long time, so his collectibles line the walls.
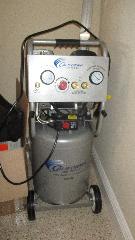
Then his air compressor caught my eye, as I know a few things about these. It is California Air Tools model 10020C. It has a small foot print with a vertical 10-gallon air tank. I was expecting a noisy and inefficient high speed diaphragm compressor, but this one has a two cylinder direct drive piston compressor that runs at a leisurely (and fairly quiet) at 1680 rpm, first time I have seen this arrangement. The motor is an honest 2-HP pulling 14-amps at 110-VAC. And it puts out a respectable 6.4-cfm at 40-psi, or 5.3-cfm at 90-psi. Not quite equal to the 9.0 and 7.5 of my lower speed belt driven compressor (with similar motor), but pretty good for a little guy.
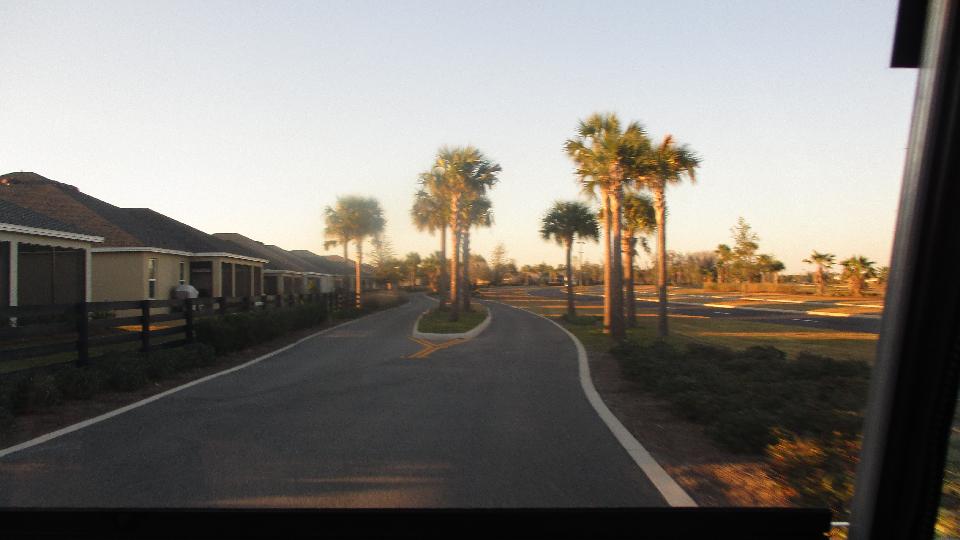
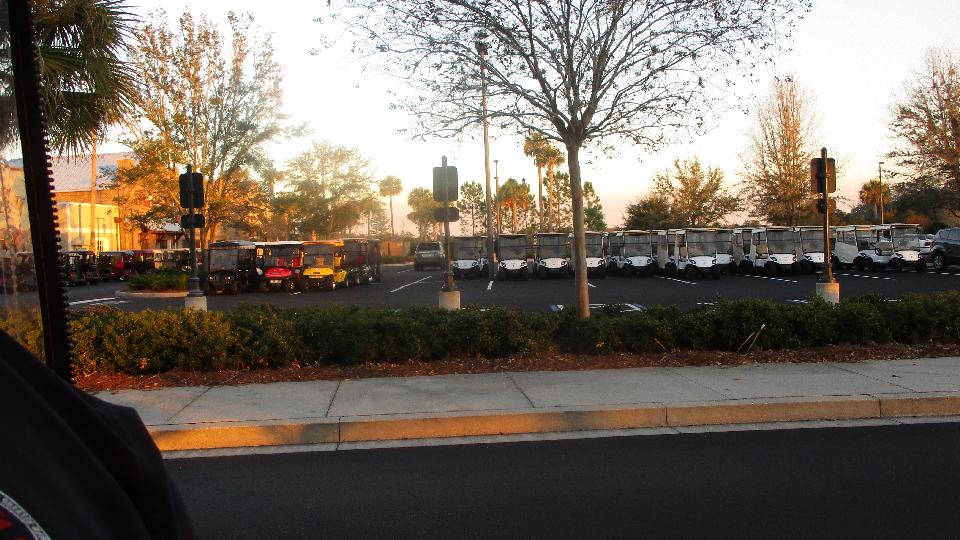
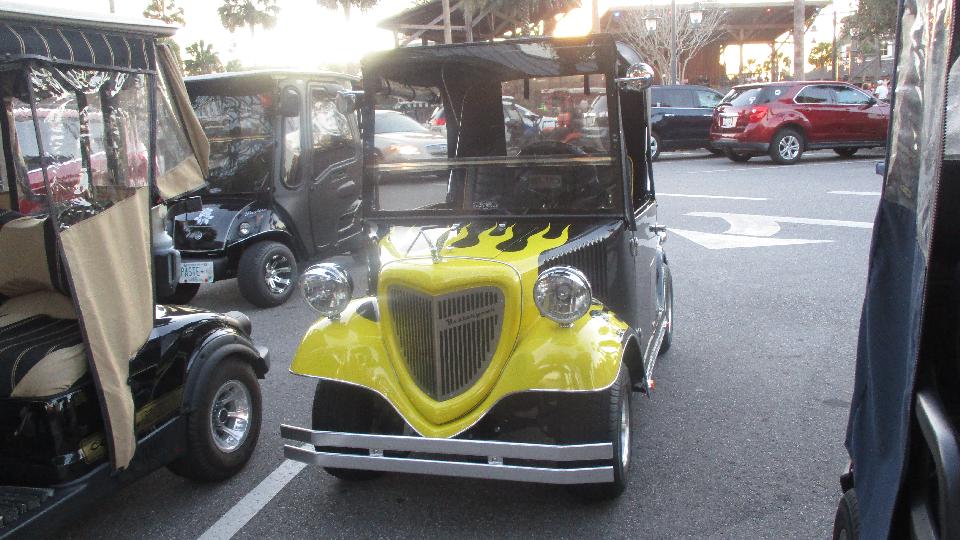
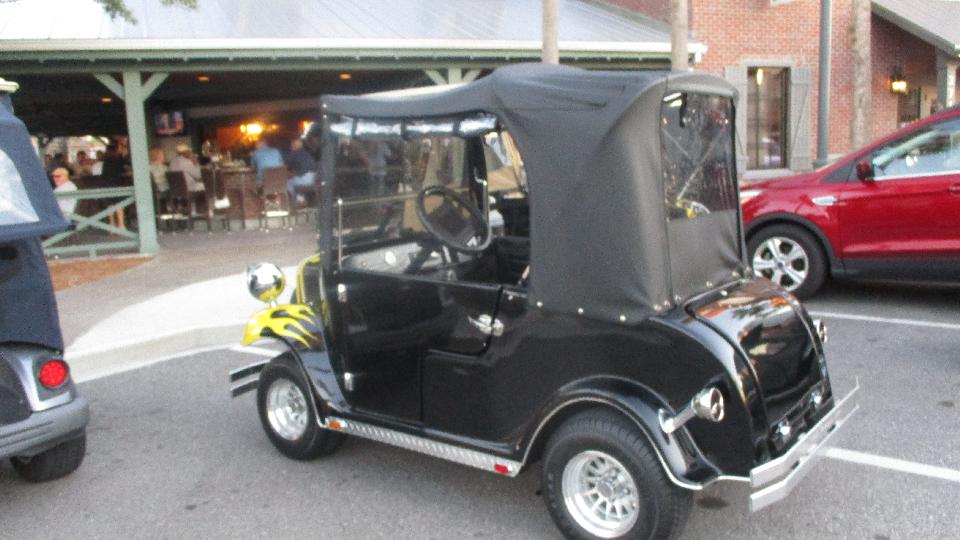
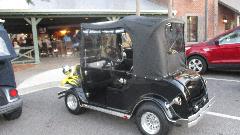
Then we took the Florida Spots Car for a cruise around The Villages, which turned out to be jolly good fun. Lots of cart dedicated freeways in this town.


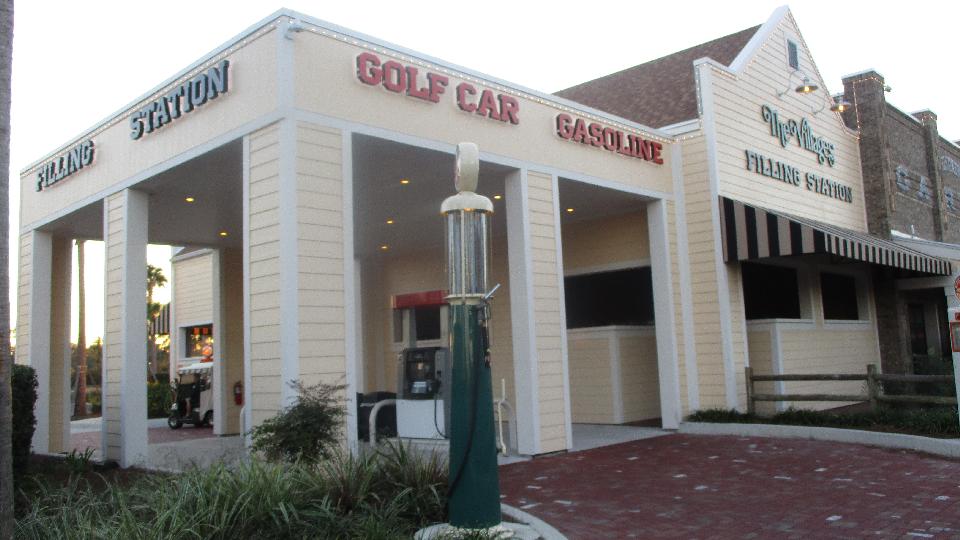
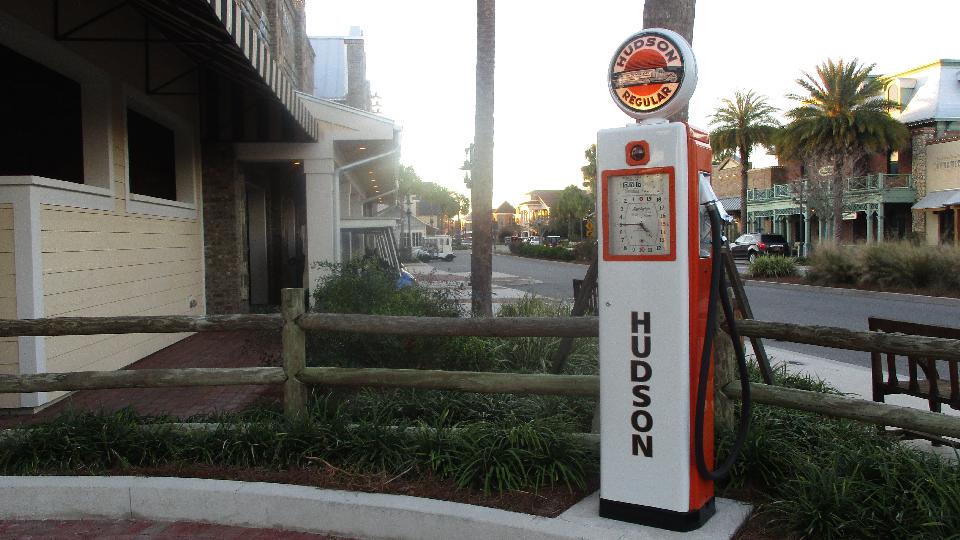
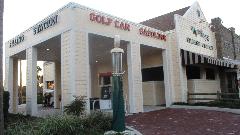
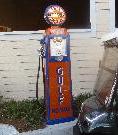
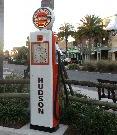
 Right next to the Cart Shop (sales and service) is the Golf Car Filling Station, where you can get ethanol free fuel. A couple blocks away is the custom car sales and rentals, where they turn the plain white ones into pretty much anything you might like.


After the pleasant cruise it was dinner time, followed by more chat until well late when it was time to shuffle on bit farther south.
Thursday, February 2, 2017:
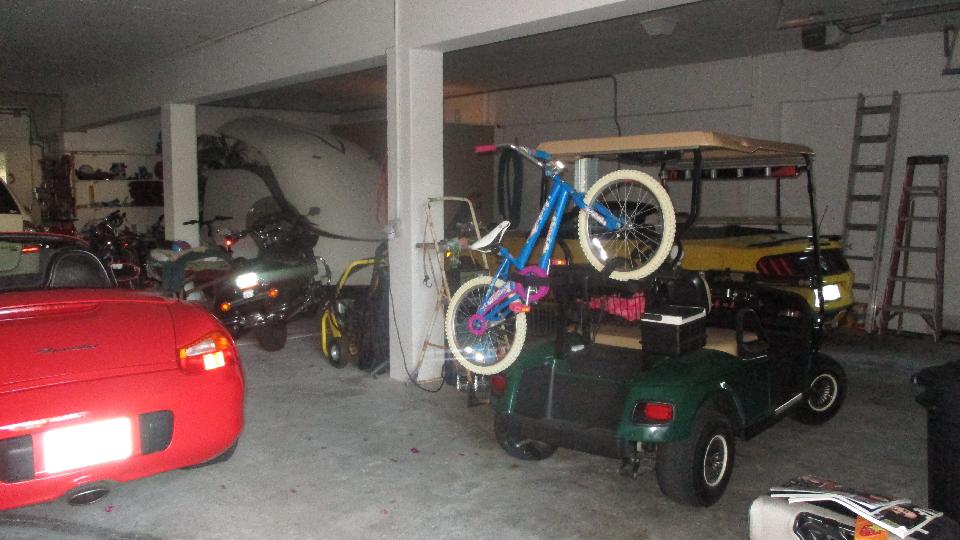
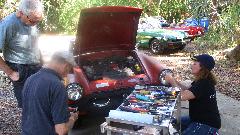
Today we had a sort of impromptu appointment with "Mike L" (couldn't recall his last name) in Punta Gorda, FL. Apparently he moves faster than my camera flash. The condo is like every car guy's dream, big apartment over a big garage. Mile used to have an MGA, which mysteriously turned into a Miata for his wife. That turned into the red Porsche Boxter, which eventually led to the yellow Mustang. And there's another one of those Florida sports cars with a surrey top, and a custom 3-wheel Harley, and a big trailer to haul the Harley, and a few more toys in the picture. I recon you need something to fill a garage this size. Nice long chat, then time to head south again.


Friday, February 3, 2017:
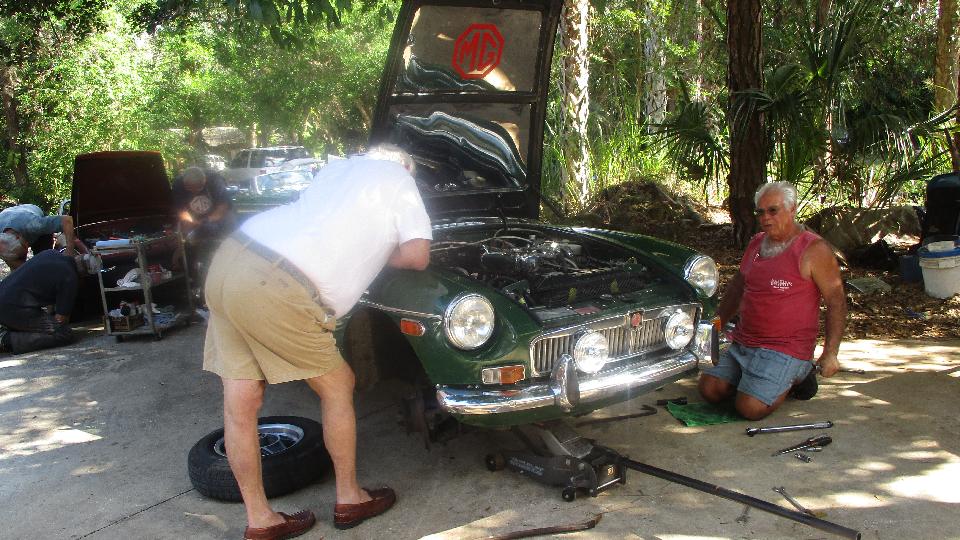
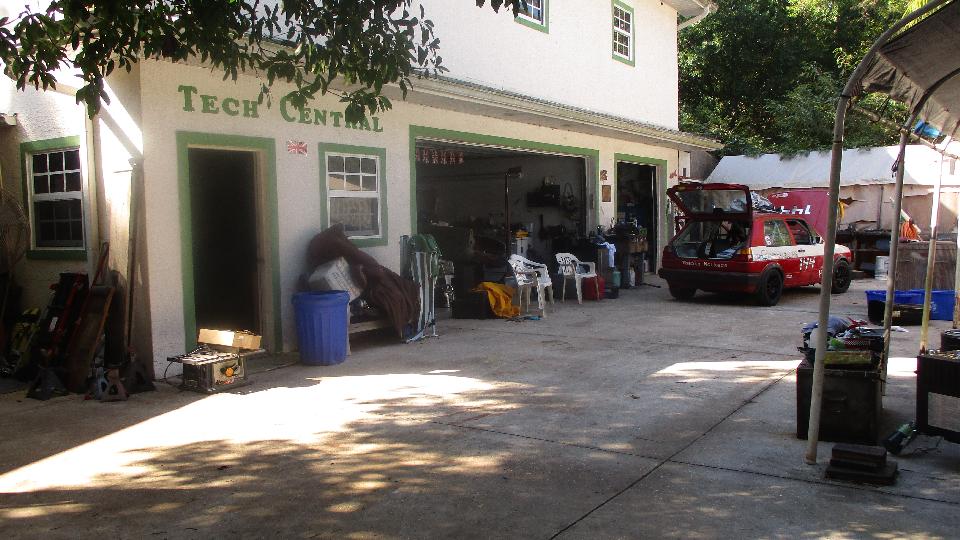
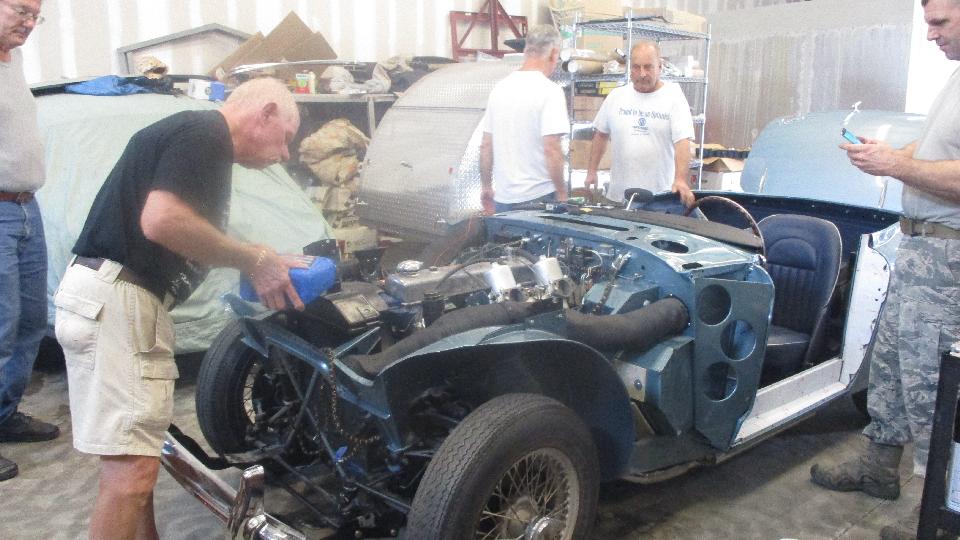
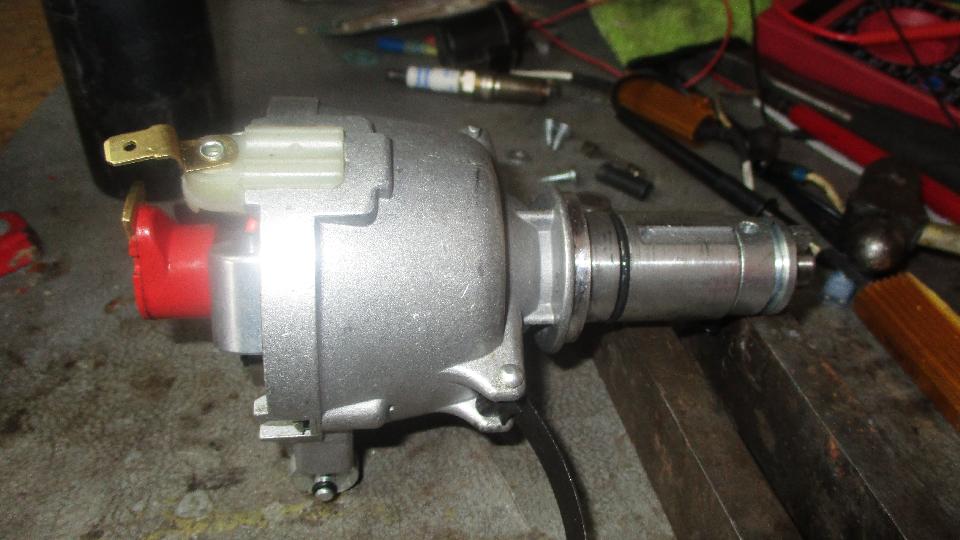
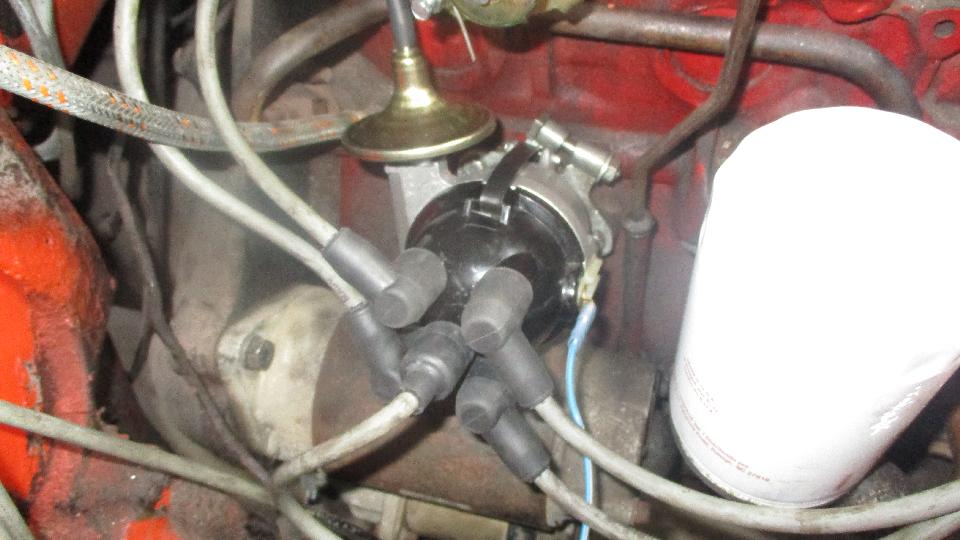
You didn't guess yet? Friday tinkering day at Tech Central in Bonita Springs again. with at least half a dozen cars demanding service. I think the TD had a problem with hot carburetors, then the thermostat was removed, then it had problems with too-cold running (can't win). A quick overview of some of the visitors. The TR3 got a tune up the week before but more recently has been running badly. The owner bought new distributor cap and plug wires and a Pertronix ignition module. In about five minutes I found a loose distributor rotor with a metal spring clip dislocated. After putting the clip back where it belonged inside the rotor, the rotor fit well, and the car ran like a champ. Plans now to send the new parts back for refund. Behind the TR3 is the site owner Jerry Wilcox discussing a bump and rattle problem in front suspension of the MGB.

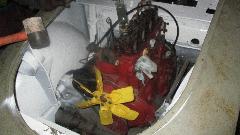
The rubber bumper Midget was getting new headlamps and some diagnosis of faulty wiring. I found just enough time to replace a dead flasher unit in my MGA, and wire in a plug-in socket for it at the same time. I think the team must have removed the clunk from the MGB, as it drove home by day's end. Headley Wilson was finishing up work on his MGB engine in the morning.
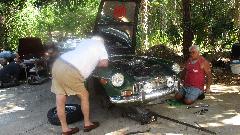
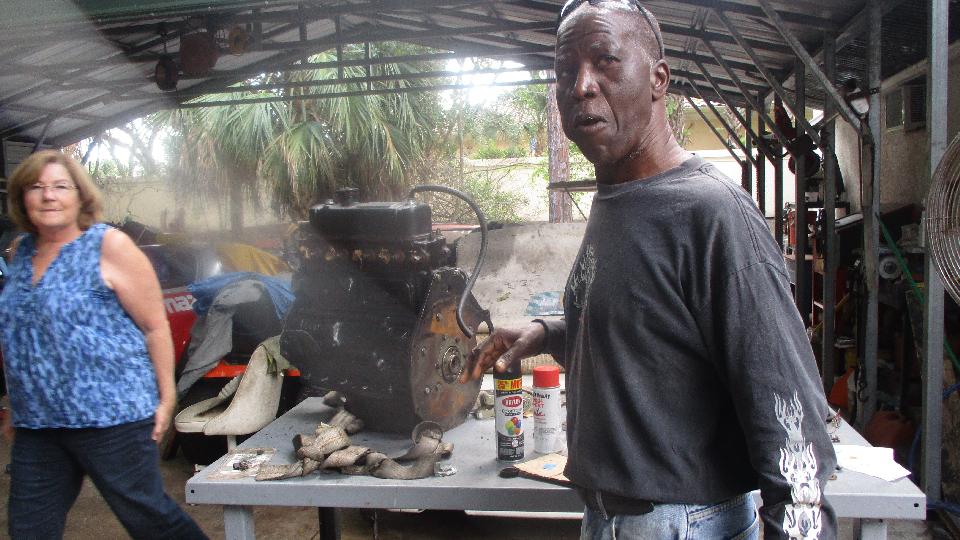
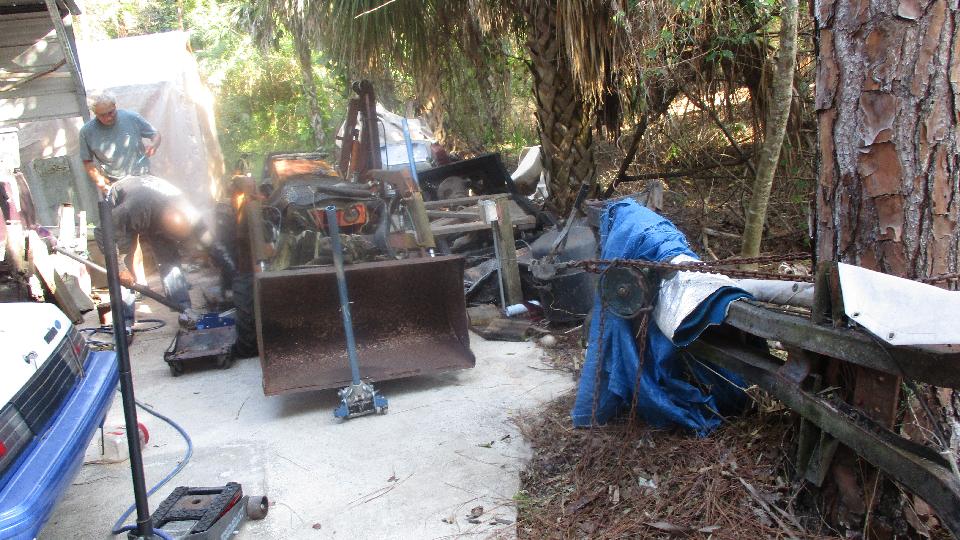
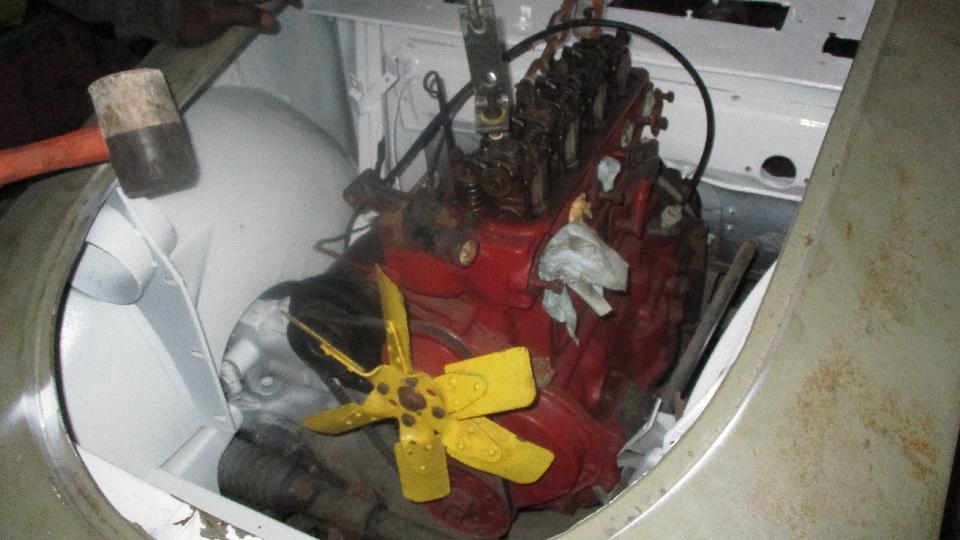
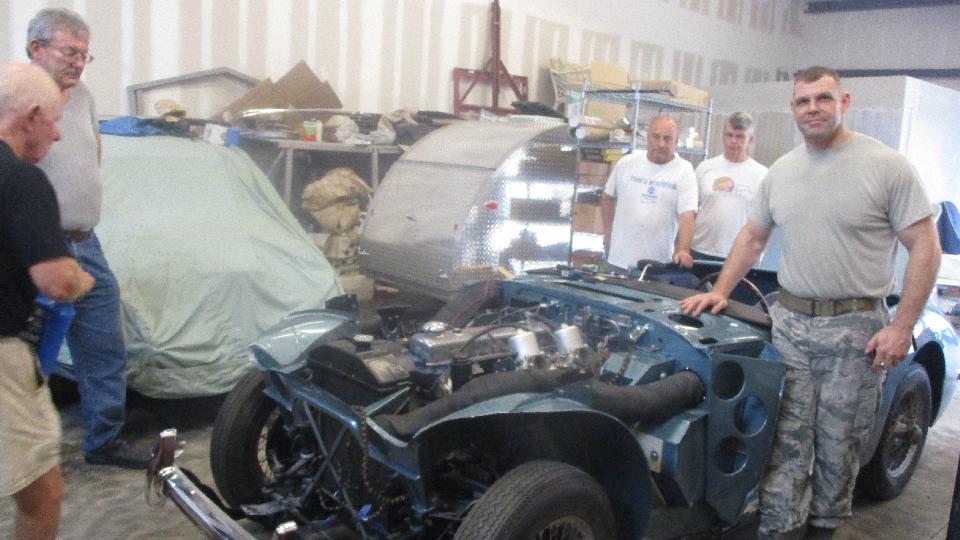
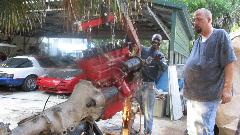
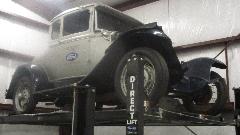
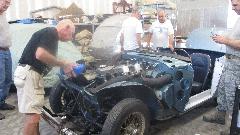
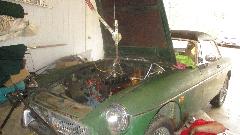
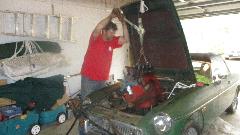
Before lunch There was a chrome bumper Midget getting final touches on rag top installation. After a late lunch it was time for grunt work. We had to jack up a failed relic of rusty tractor to get it on dollies and tow it forward with a come-along. This was to free up some space on the cement pad for some car work. Once the space was clear Headley was picking an MGA engine and gearbox off of a chassis frame and inserting it into another MGA (which was a rolling chassis with a body sitting on it).

 This soon ran onto problems with a three way interference between power unit and chassis. The gearbox rear flange hit the frame mounting ears, while the gearbox was jammed up against top of tunnel, and the crankshaft pulley was still sitting on top of the bonnet latch support. That's when I remembered why I never install engine and gearbox together for the MGA 1600. Sure glad this one didn't have the finish paint yet.

About an hour of cursing and swearing later we had crow-bared the assembly through the constipated aperture (still not quite sure how), so Headley could get on with bolting it down. Finally put to bed as the light was failing.
Saturday, February 4, 2017:
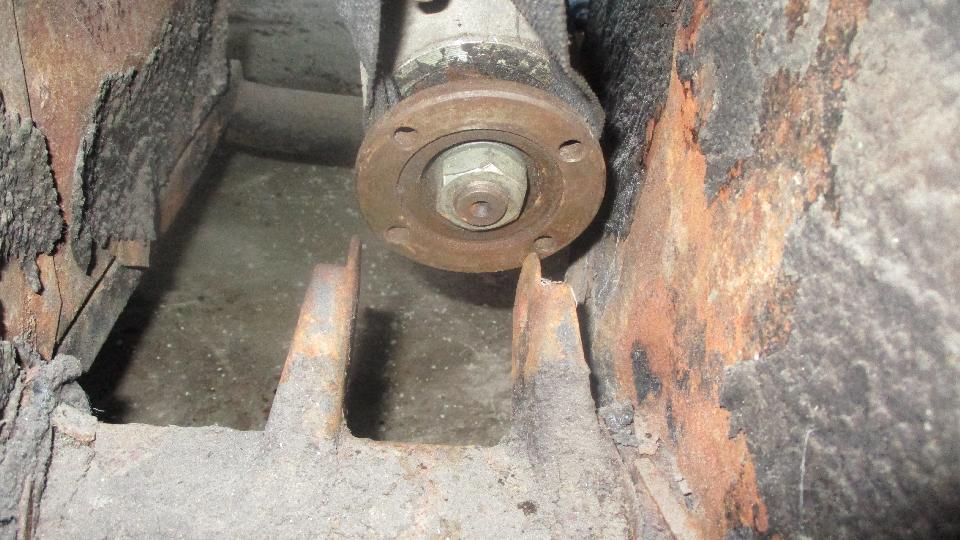
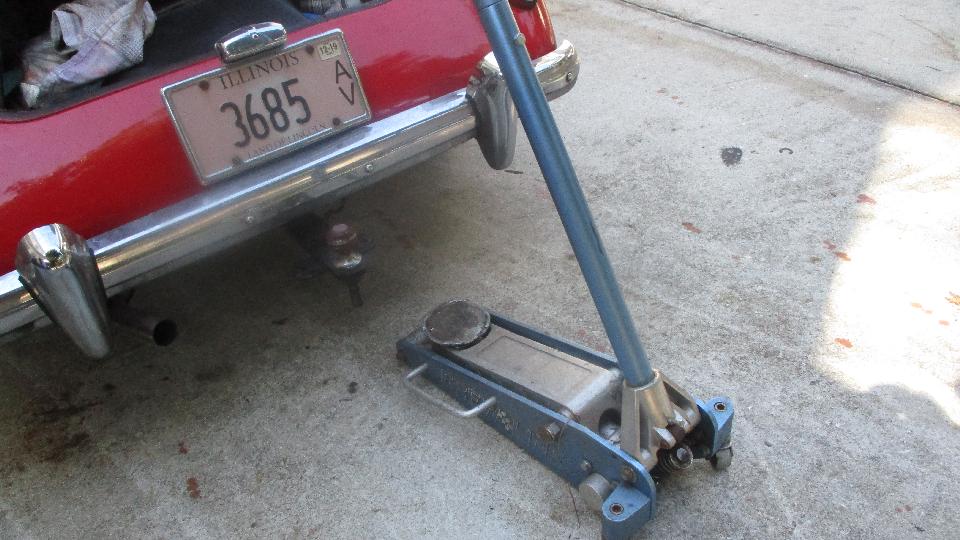
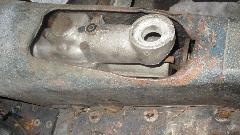
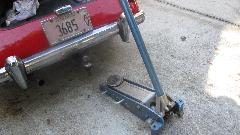
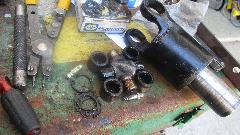
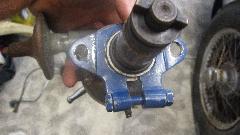
Much quieter at Tech Central today, so this will finally be a maintenance day for my MGA and I can use that open slab of cement. First I got to sharpen a drill bit to drill and tap the jack handle to install a bolt for a fix. Later I was trying to fix a cross-threaded nozzle on a grease gun until it turned out to have a stripped thread. But eventually I got the car jacked up with jack stands underneath and pulled out the offending propshaft.

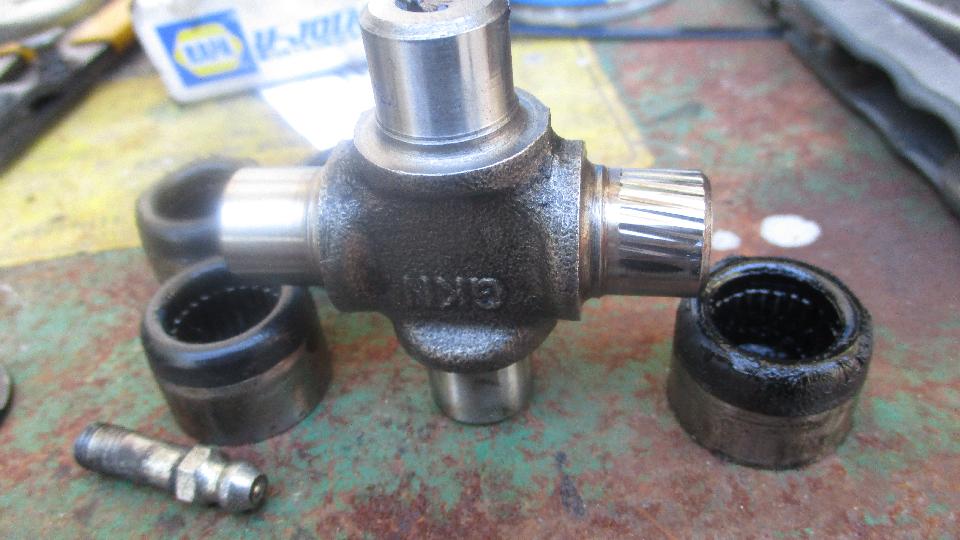
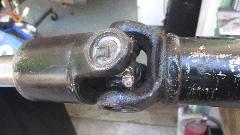
Another bad universal joint, the front one this time. A good bench vice, snap ring pliers, lead hammer, and not long to disassemble spider. Obvious what was ailing it when we saw the grooves in one of the bearing journals. Plenty of grease in it. Very odd, as this one was new in May 2015, only 61,000 miles back.

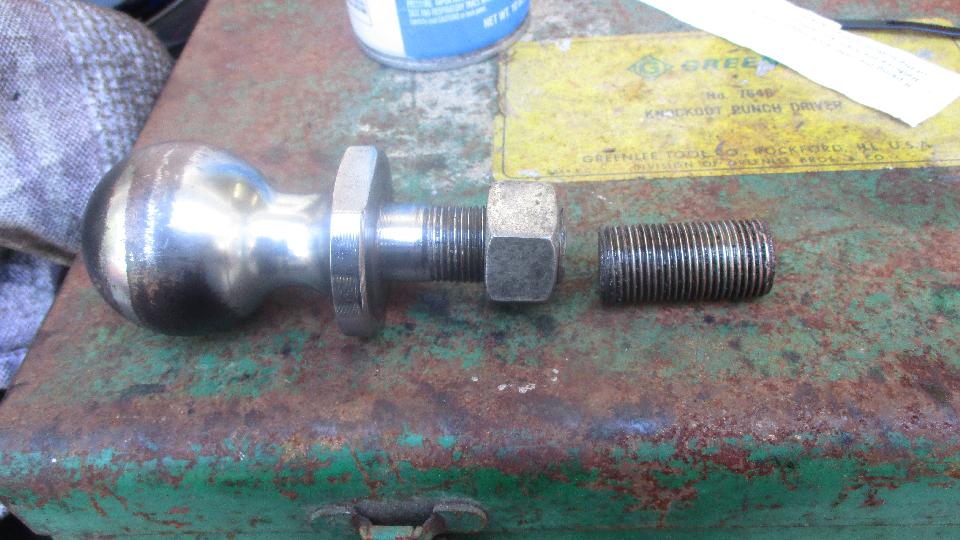
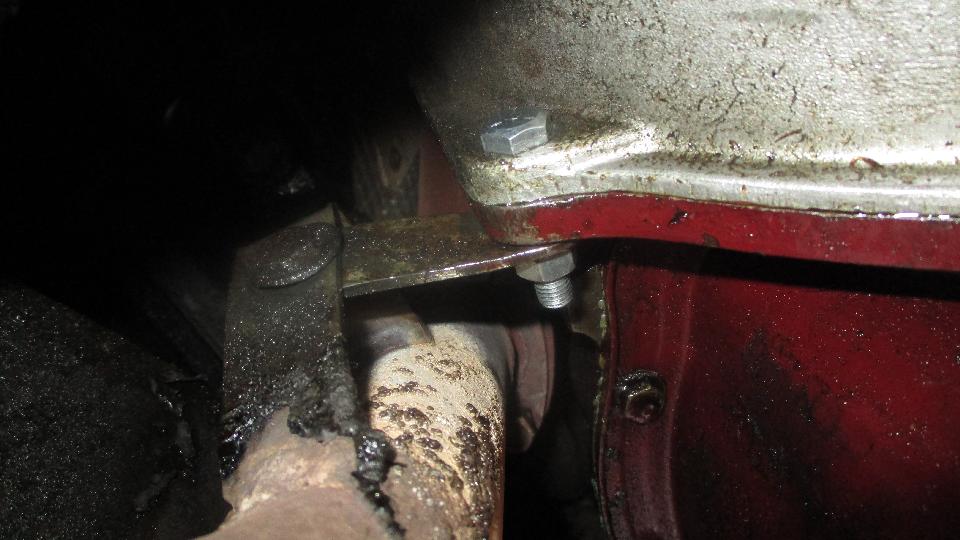
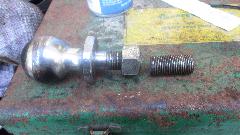
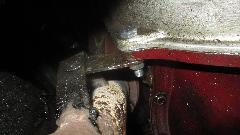
While reinstalling the propshaft I was checking out the differential, which has been making some unsettling noises lately. The input pinion bearings are still snug, so I'm guessing the irritation is in the carrier bearings. Also I know the halfshaft splines to sun gear joints are worn with significant backlash. Time to look for another differential and halfshafts. I suppose I got my $50 worth out of this differential in the last 20 months and 85,000 miles. --- Then some minor tasks, like saw two inches off the hitch ball stud to prevent it scraping the cement on a deep curb crossing, replace a missing bolt in the bellhousing to exhaust pipe stabilizer.
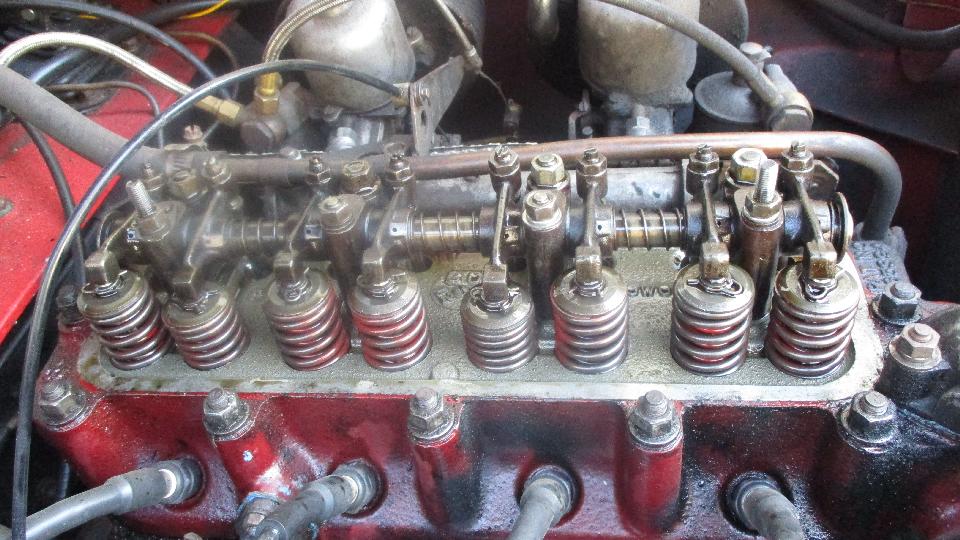
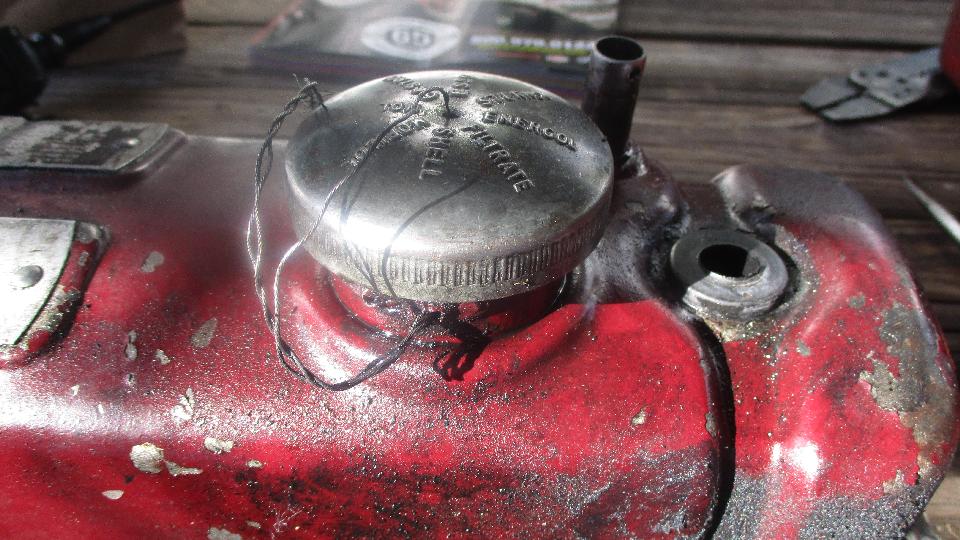
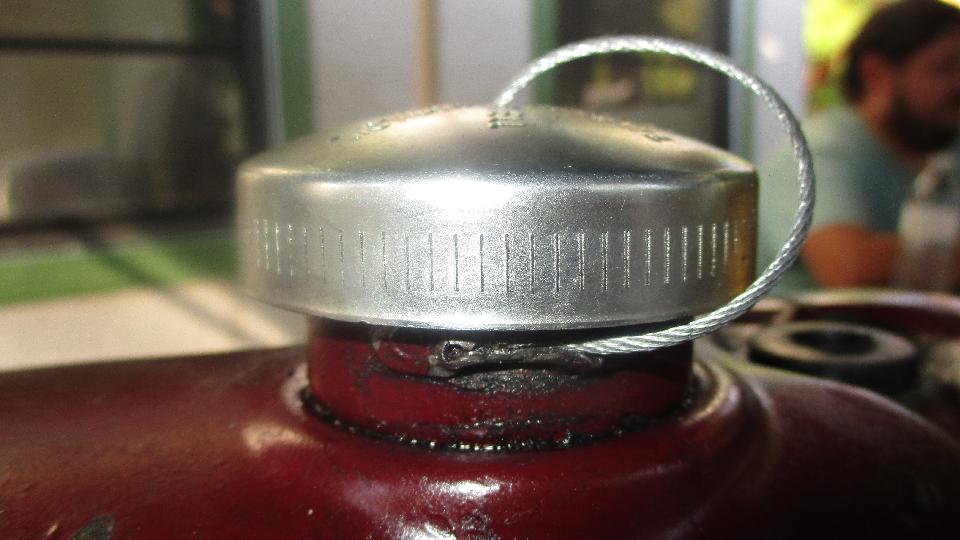
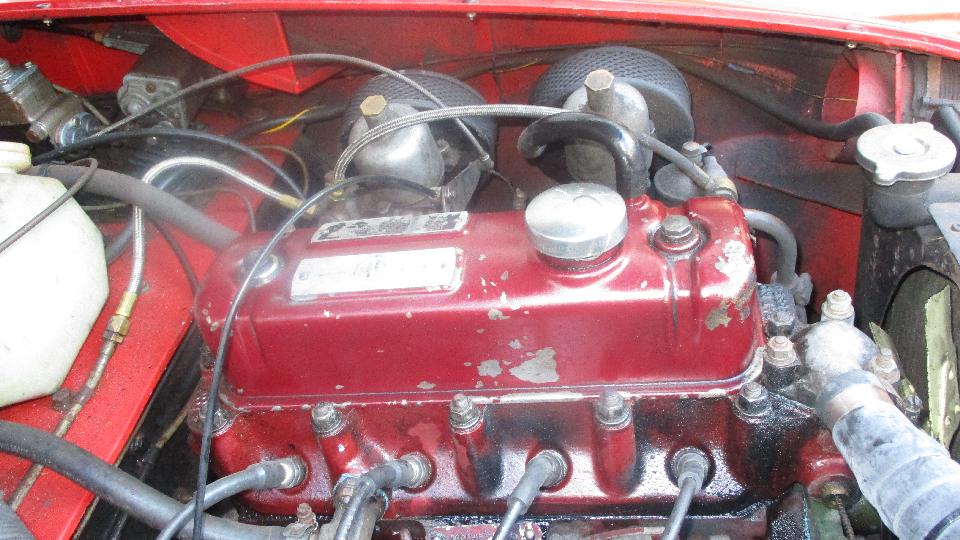
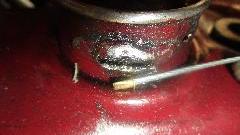
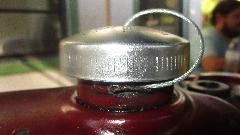
Also do a valve adjustment (last time 5/27/16, 23,000 miles back), and replace the oil filler cap (because the tether cable was badly frayed and about to be lost).
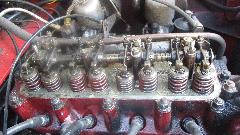
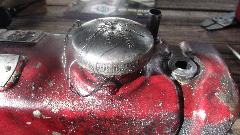
Note to self, replace valve cover gasket next time it's off again. By evening we're ready to roll again, before dark, and we're not the last ones out this time.
Sunday, February 5, 2017:
Aside from catching up with photos and notes for a few days we had one appointment today. We had to hustle north some more to Lake Louisa St Pk to meet George Horton (at a campsite). By prior arrangement, George had ordered some Moss parts for us, and this is where we needed to meet him for the pick up.
Monday, February 6, 2017:
More WiFi work ate up much of the day, but one more appointment. Just before dark we hauled tail down a
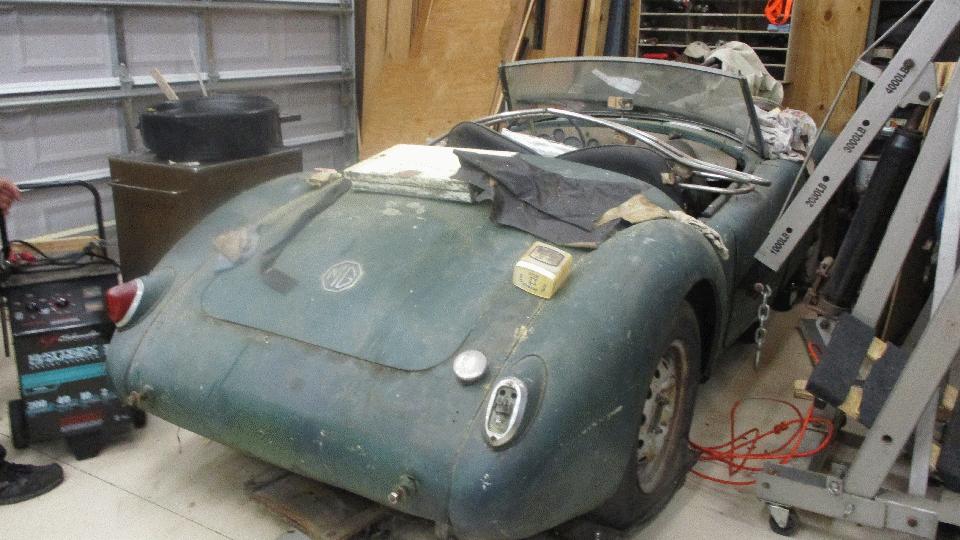
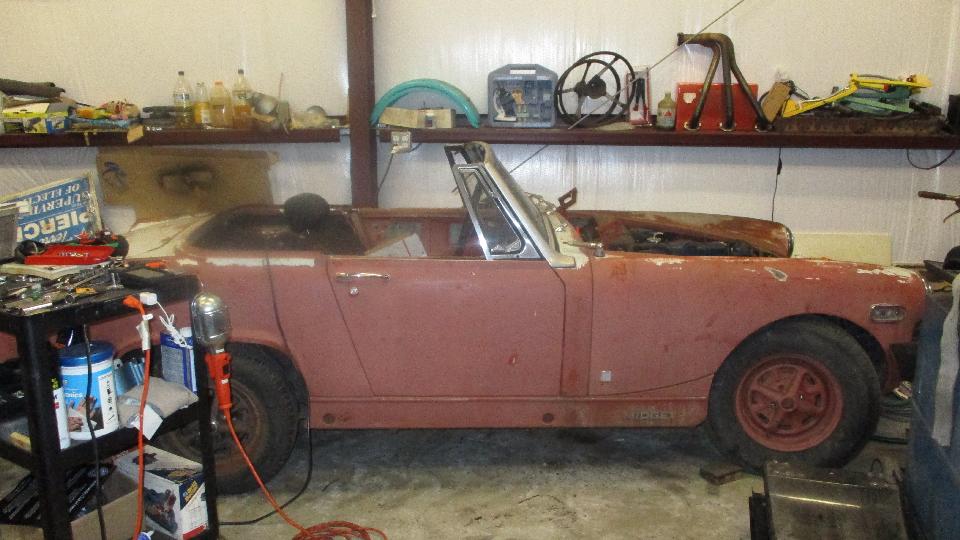
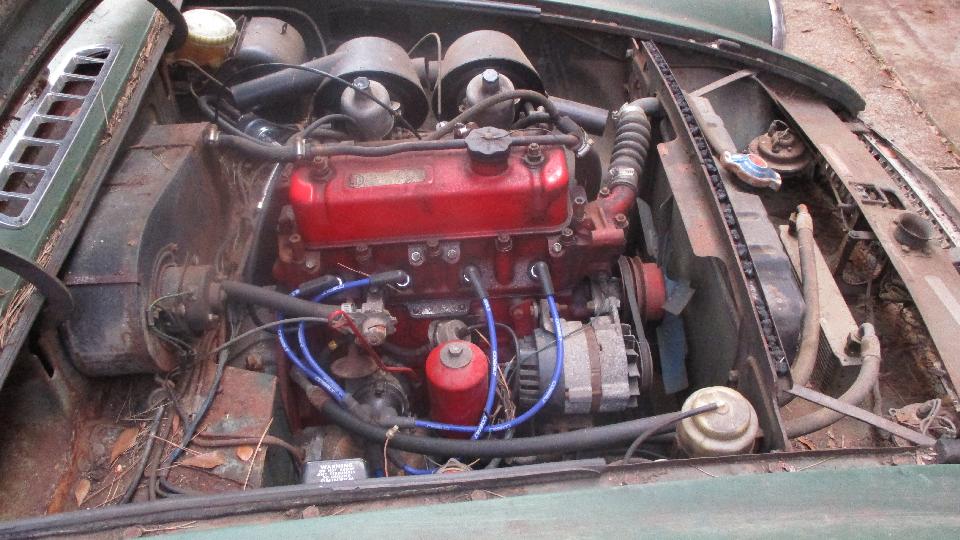
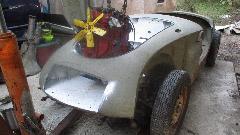
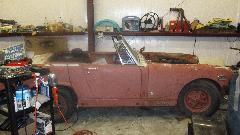
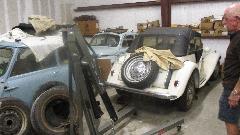
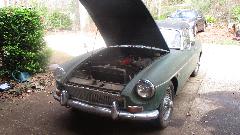
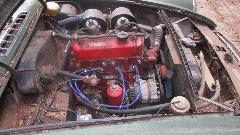
 ratty gravel road into a well hidden two-track driveway leading through the woods to a secluded home to meet Kyle Keller in/near Micanopy, FL. Kyle has one of those "first car" stories with a 1957 MGA waiting for the proper priorities for restoration. It needs some body straightening, has been moved twice, and has engine and gearbox out for 20+ years. One eye-catcher was front and rear Nerf Bar bumpers that would have been all the rage back in the day with the cars weren't worth much.

Tuesday, February 7, 2017:
A bunch more driving north and west out to Panama City Beach in the Florida panhandle. Please reset clocks for Central Time Zone. Stopping for an email check, we hadn't even gotten out of the car when we were greeted by a gent summoning us to a local private shop for a look at an Austin Healey 3000 with some problems. This shop is owned by a local club member who uses half of the building while renting out the other half to some other club members.
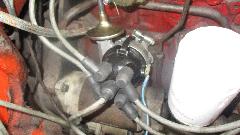
 Meet Charlie Schott who was working on the Healey today. There was a new Pertronics Flame Thrower
 electronic distributor installed, but apparently the electronic module was fried in the process, so the original distributor was reinstalled, but missing the rotor. Rotor from the Pertronix unit was too tall, no go. Rotor from 4-cylinder distributor is too small diameter, also no go. This will have to wait a day for a new part.
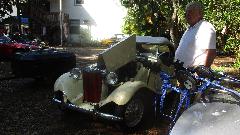
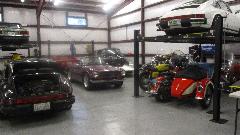
Meanwhile we had a look around the shop to see what else was there. MG Midget in early restoration stages, an AH 3000 with lots of fiberglass panels and V8 engine, a 1974 MGB (notice the big overriders), and a Jaguar big early sedan under the tarp.


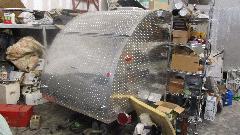
A traditional teardrop trailer (smaller than it looks) built with aluminum diamond sheet skin (lighter than it looks). An MG TD, a vintage Mini, a Fiat 500 and a Jaguar E-type (hiding under the tarp).

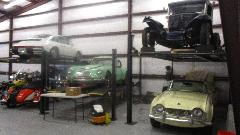
On the other side of the building we found a collection of cars belonging to other club members. Trying to ignore the vintage Ford, a Mercedes, two Porsche, a Ferrari and a number of odd motorcycles, we did find an MGA, an MGB, a TR4, two TR6, and a Jag E-type.
Okay, I had another look at the Ford Coupe before we left (pretty nice restoration). In the evening we were off to a dinner meeting with Bay British Cars. Been here twice before. Nice seeing some old friends, some folk who already knew us, and making a few new friends, and a couple more appointments. On special request I dragged in my laptop computer to pull up the club's new web site for its first public preview.


Wednesday, February 8, 2017:
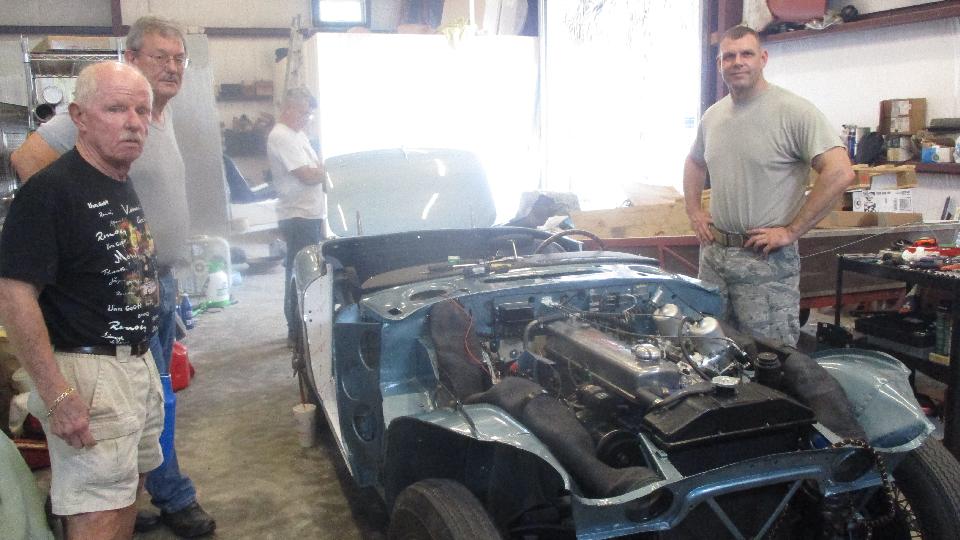
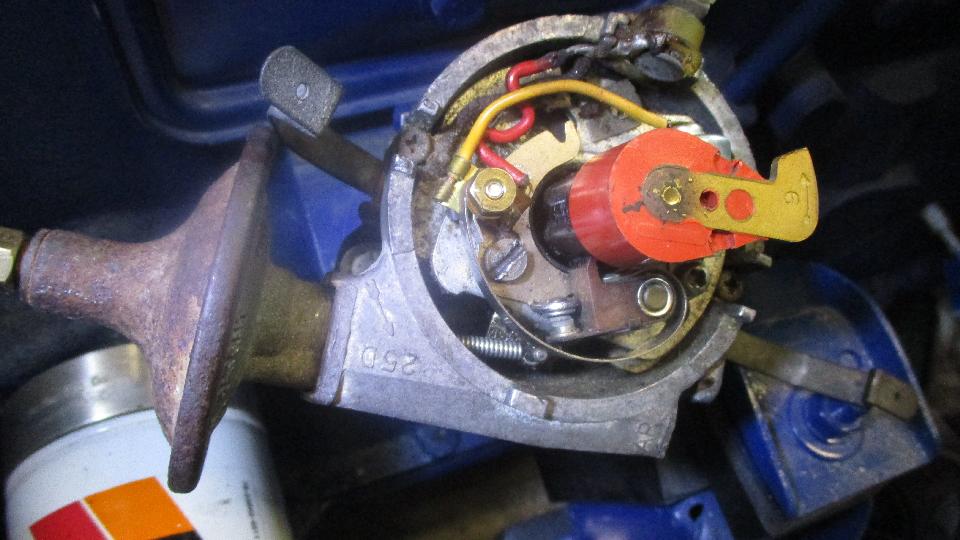
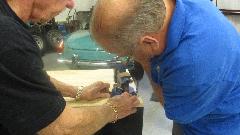
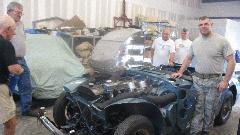
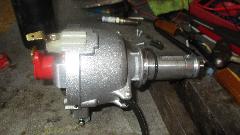
 Back to the local shop today with a mission to get the big Healey running. Notice the big strapping lad on the right is Phillip M Worth. The car is long time in the family. His father was restoring the car but now has Alzheimer's and cannot continue, so Phillip has been pushing the project along so his father might enjoy seeing it finished. Today we started with tightening the fan belt, and relocating the ignition coil to allow the generator to swing out properly. Someone brought a rotor that fits. The base plate clamp needed straightening, so we went next door to look for a bench vise.
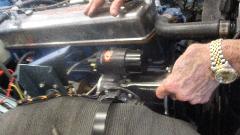

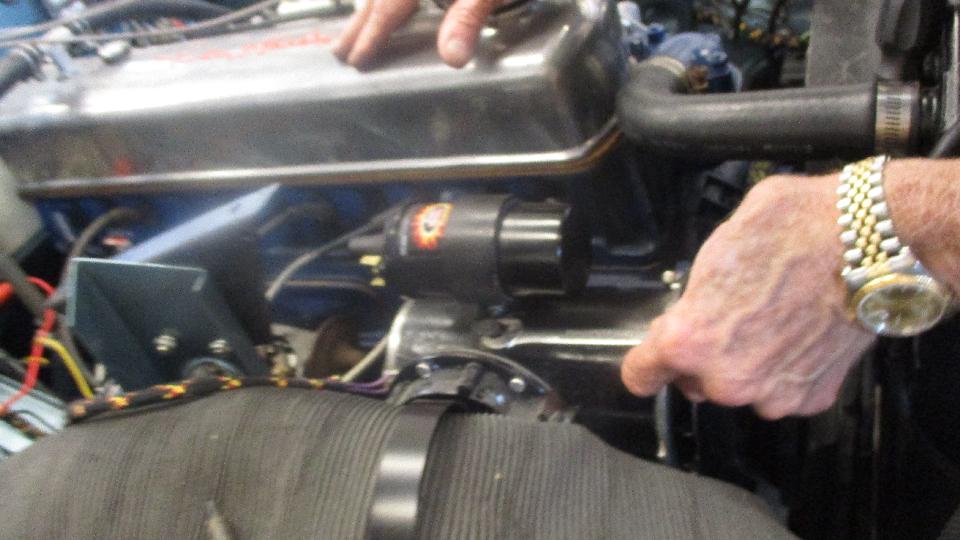
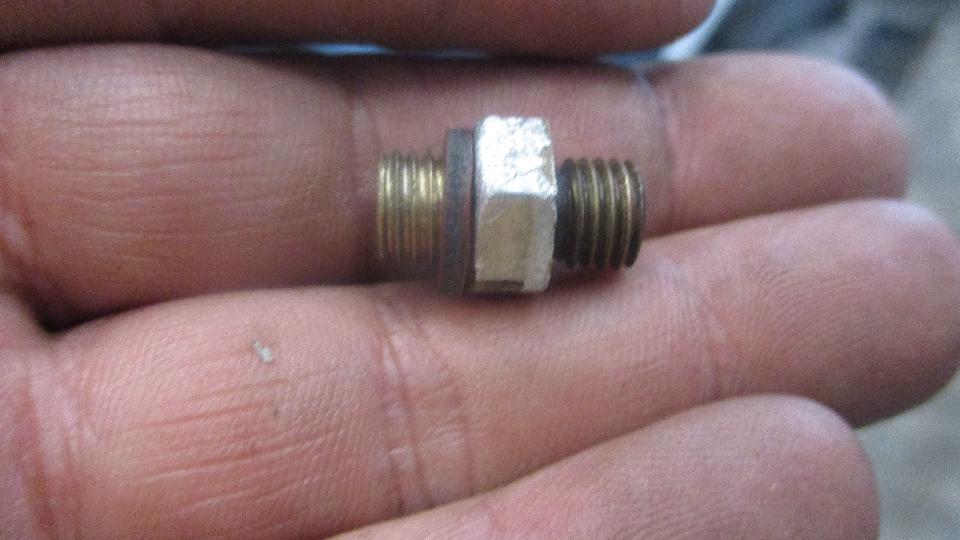
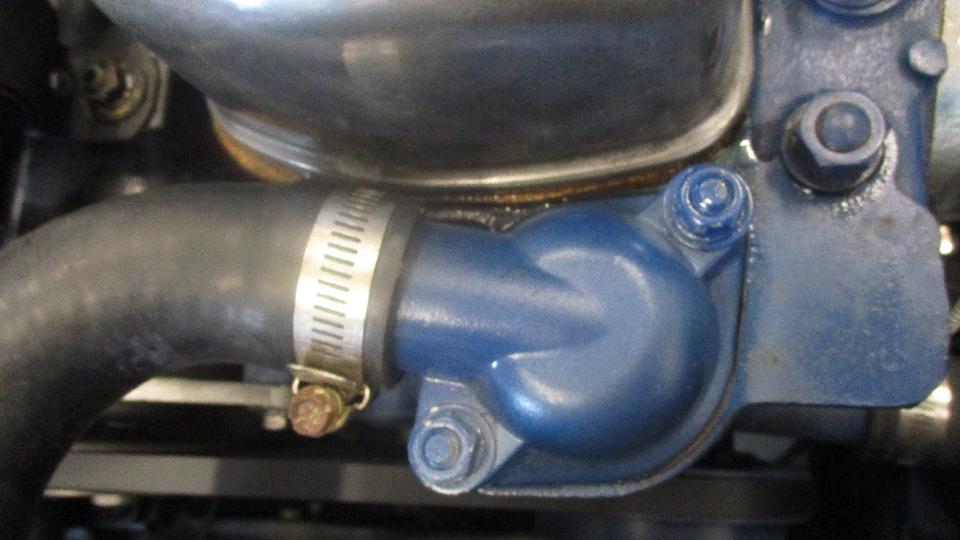
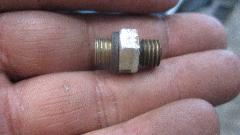
Friends there were by coincidence just bolting a small vice down on a new work top, so there was a small delay for that task. Not long to straighten the distributor clamp well enough to be serviceable then back to the Healey. Trying to install a vacuum pipe to the distributor, ran into a thread adapter fitting that was 5/16-24-UNF on one side and something else (possibly Whitworth) on the other side that wouldn't mate. We finally re-cut the odd thread to be 5/16-24, and then it went together okay. Dizzy not sitting down in the clamp properly, so remove a redundant O-ring. Short to ground fixed by proper connection of condenser in dizzy.
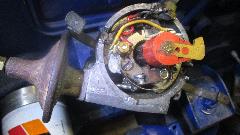
Top up the fluids, tighten a leaky thermostat cover. Contact, fuel pump running, rear carburetor flooding over, so a small delay to R&R the float cover to clean the float valve. Contact again, no flooding, good cranking, timing in the ballpark, but no spark, clean the contact points. Then a very weak spark, so pull a new condenser out of the magic trailer. Good spark, good cranking, shot of ether, and it was running. Tighten the valve cover to stop an oil leak. Get the victory picture of the big grin on the owner's face.

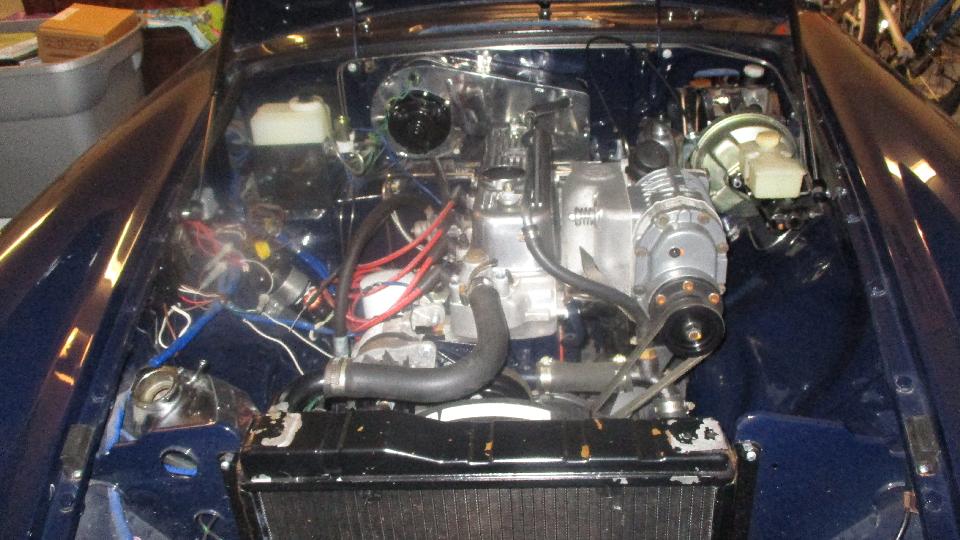
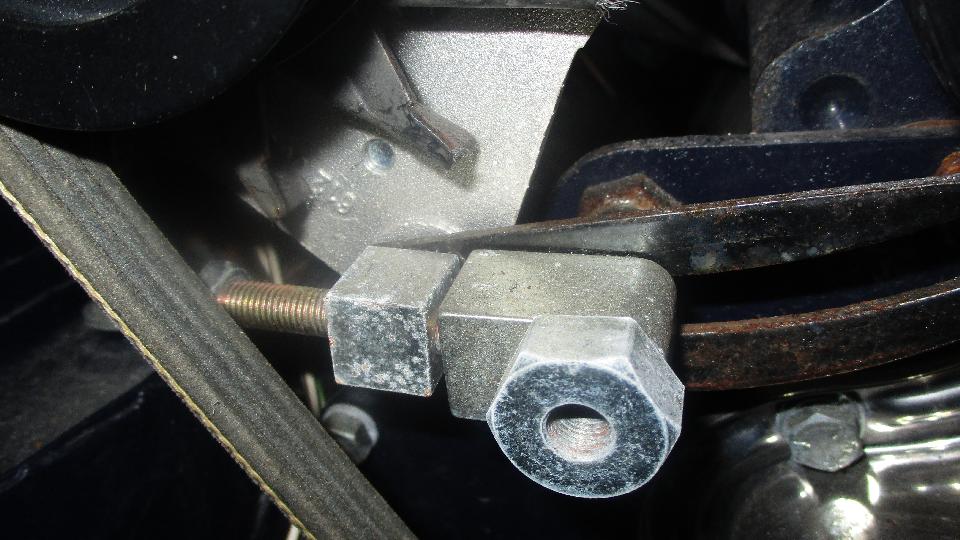
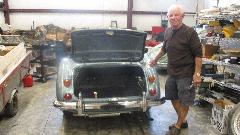
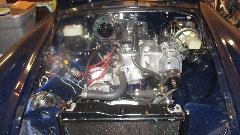
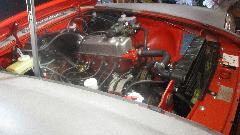
Okay, kind of done here, but we have another appointment pending. Head west another half hour to visit James Sumpter in Inlet Beach, FL. James has a very nice 1977 MGB that is most of the way through restoration, getting close to finish. He has owned this car for a long time, and recently ventured into the restoration. He was paying a pro shop for lot of the work, being influenced somewhat by the pro, doing the chrome bumper conversion, five speed gearbox, aluminum cylinder head, roller rockers, supercharger, a considerable amount of chrome plating, high speed gear reduction starter motor, and slightly enhanced interior and instruments. This thing is looking good. Unfortunately not quite finished. I think he wanted to stop paying the big bills. Loose accessory drive belt, just tweak that tensioner a bit.

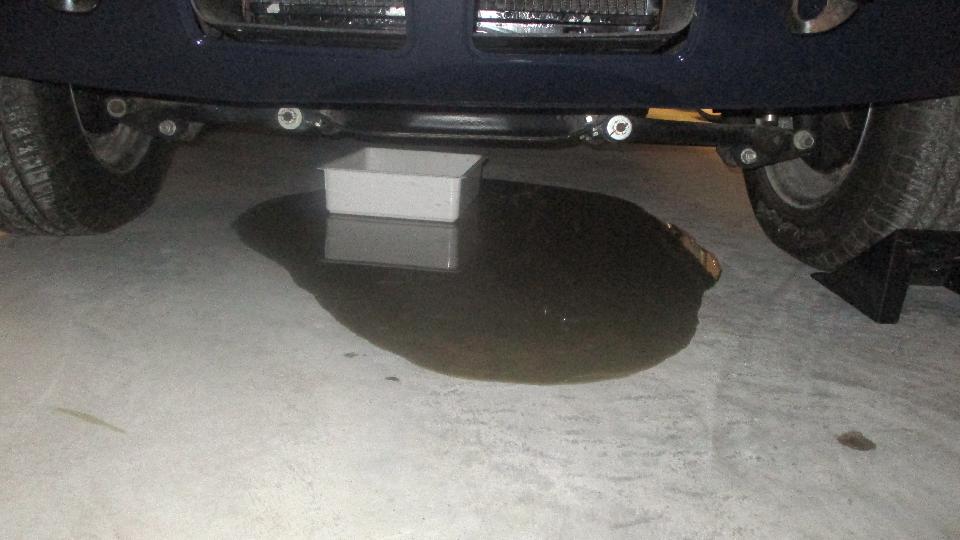
The engine hasn't run since it was rebuilt. Does it have oil? No dip stick. Borrow the one from my MGA for a quick check. No oil, not a drop. I have oil, let's top it up. About through the second quart when we notice an oil spot
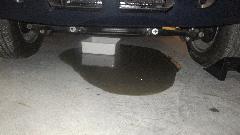 on the floor. Oops, grab the drip pan. Too late, big puddle. No drain plug? I have one of those in the magic trailer.
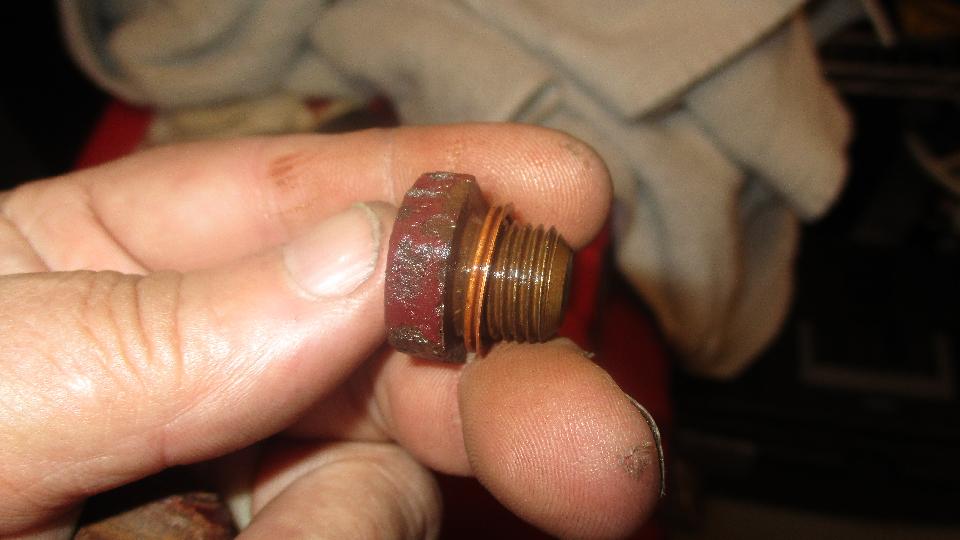
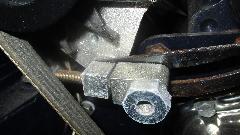
 Unfortunately it doesn't screw in. Threads looks good, but no-go. Could have something to do with the chrome plating job on the sump pan. Or maybe the sump was a purchased speed shop part with the wrong thread. Bummer. No joy tonight.
We spent some time checking the rest of the car. Missing clutch slave hose, put that on the shopping list (along with the dip stick and another drain plug). No vacuum hose and check vale for the brake servo (more shopping list), missing coolant pressure cap and connection hose and drain hose (shopping list). Some discussion about dual line brake system with the differential pressure switch deleted (uh, okay), no fuel vapor recovery parts (matter of personal choice), no anti-run-on valve (kill it with the clutch), and no provision for crankcase ventilation (that one is serious and needs to be fixed).
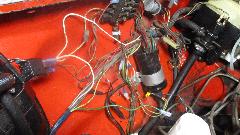
Lots of wires still not connected. This looks like an aftermarket wiring harness, kind of universal in nature, wires in two different locations for horn switch (and what looks like a $5 plastic horn). Seems like the pro shop hot rod guy had some odd priorities. The wife just got home, play time over, time to call it a night. I think we got James motivated, just have to check back later to see how he's doing. Now I get to go back to work.
Thursday, February 9, 2017:
Laundry day. Maybe that's a good enough report for a day off when I don't feel like remembering everything I did on line. But this time we actually did laundry. It happens occasionally.
Friday, February 10, 2017:
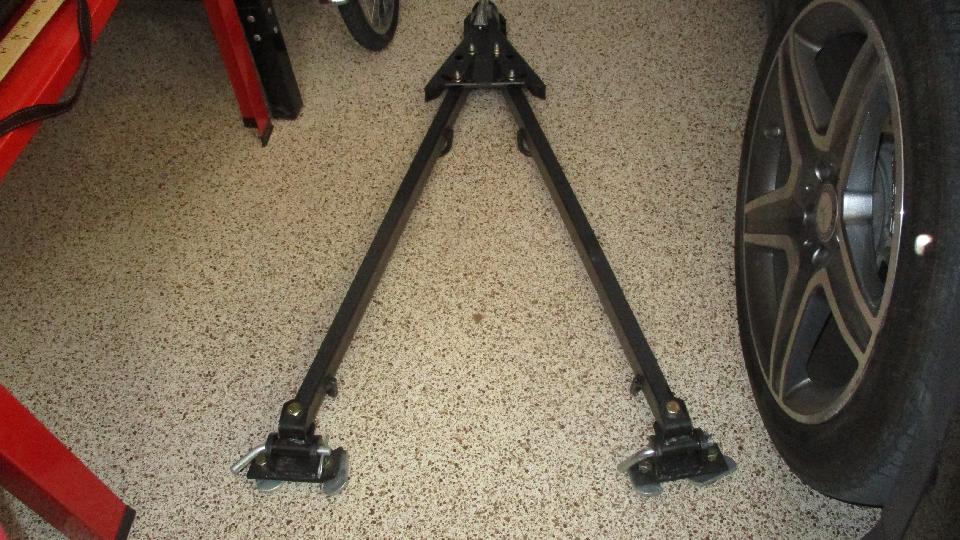
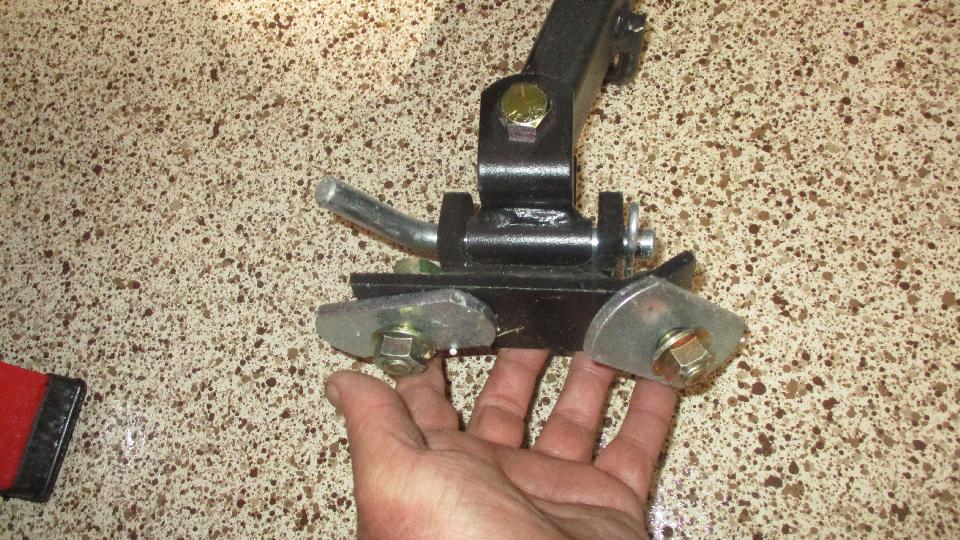
I put some time into a new web page for tow bars used to flat tow your MG. Also some advice on differential input pinion shaft bearing shims. Review a good article on laboratory testing of modern motor fuel in a Vintage engine (and post a link to it).
Saturday, February 11, 2017:

Nothing special, just thought this was an interesting place. Posted another web page on installing core plugs in the engine block. Having a chat with an MGA Twin Cam enthusiast about rebuilding the Twin Cam engine. Did an update to the new web page on relays to control the DR3 two-speed wiper motor using a standard lighting switch. Posted a new web page on installing high-back bucket seats in the MGA Coupe.
Sunday, February 12, 2017:
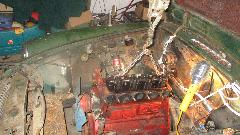
Albany, Georgia, last here November 17th getting Bill Waller's MGB running. Today we would be pulling the engine to free up the stuck clutch. First needing a sky hook, climb up there and install a large lag screw eye in a stout beam in the ceiling. Starting out doors in the light and pleasant breeze, we stripped the ancillaries off the engine before rolling it inside.
Once inside we tied back the bonnet and slung a rope under the bellhousing to support the gearbox once the engine was removed. Then undo the engine mounts and bellhousing bolts, and lift.
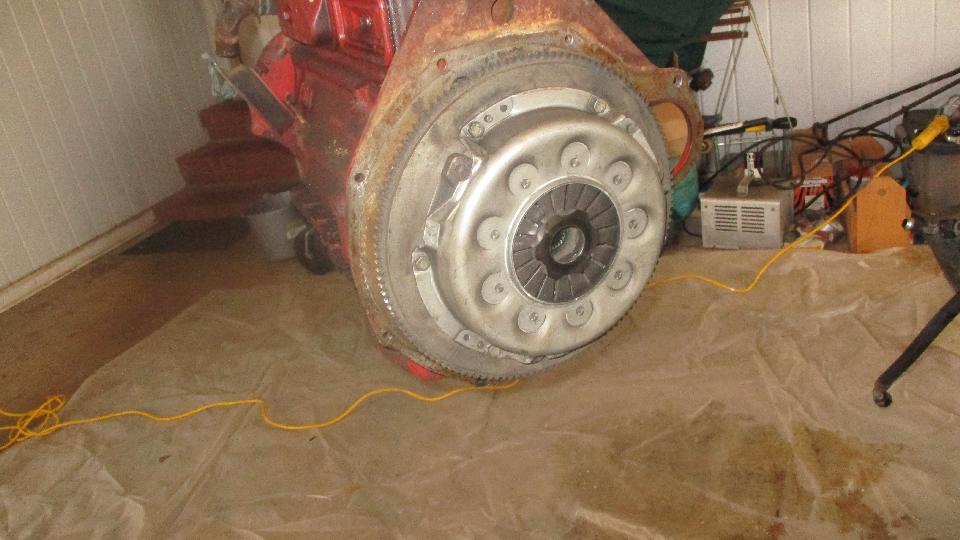
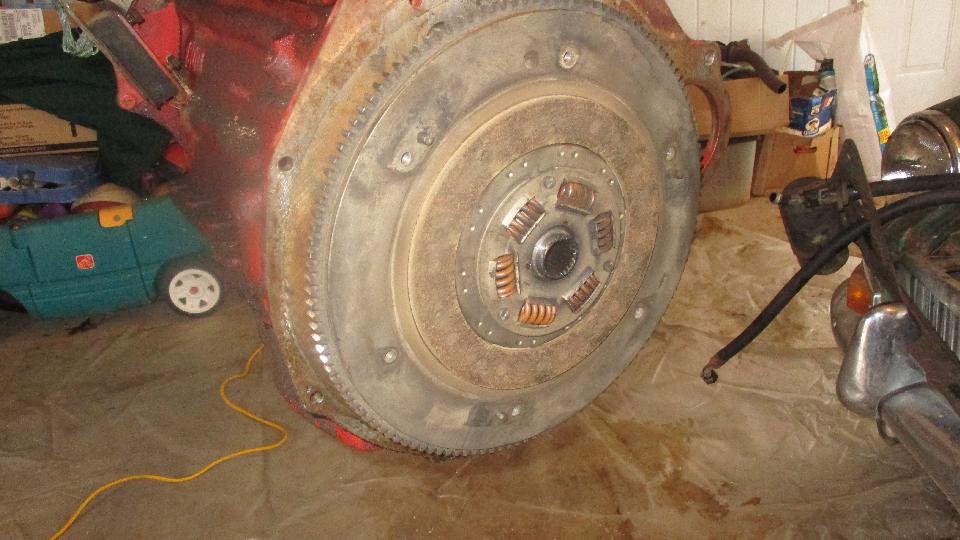
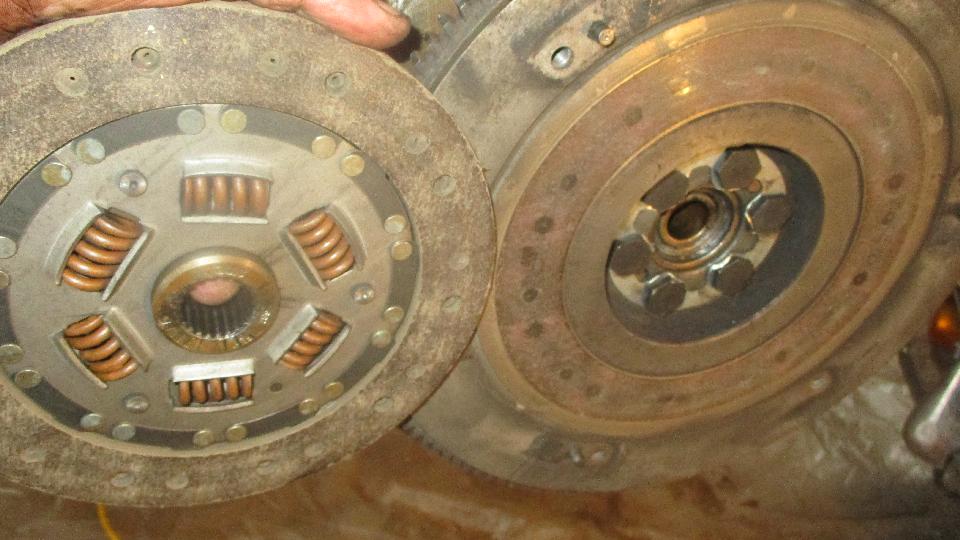
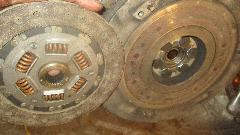
Quickly getting to the root of the problem, we removed the clutch cover (pressure plate) to expose the friction disc, which was stuck securely to the flywheel. We tapped on it, then whacked it, then hit it with a two pound hammer, and it still didn't come loose. Then we stuck a large pry bar in the center hole followed by a good jerk, and it finally popped off. I have never seen one stuck that tight before.
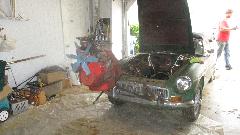
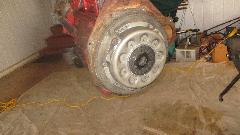

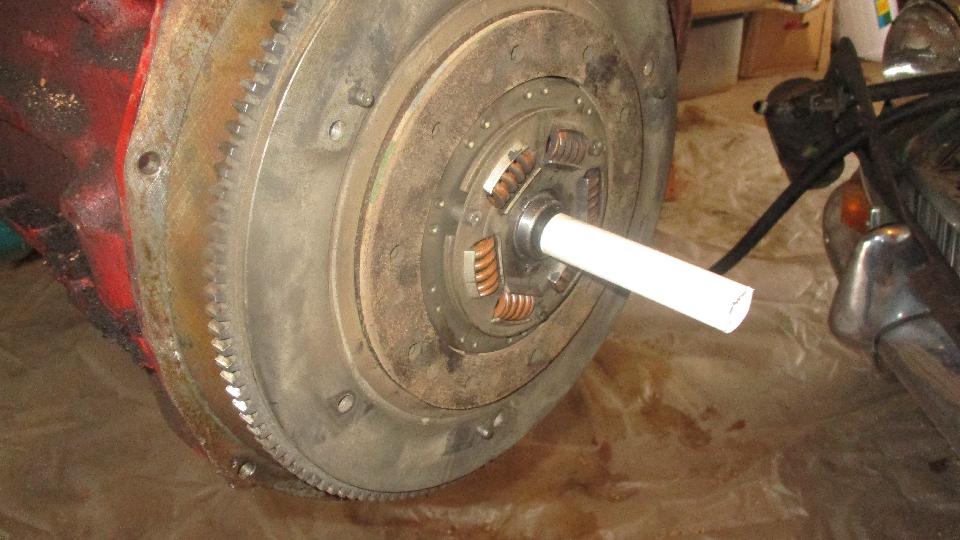
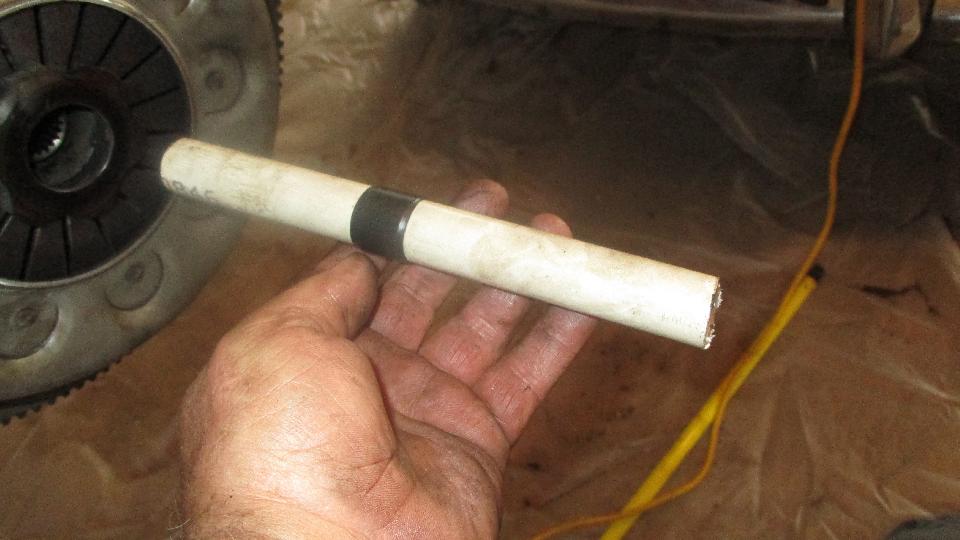
Photo below left shows the rust pattern on the flywheel. The clutch parts otherwise looked like new, so we promptly put it back together with the same parts. Notice the home made clutch alignment tool, a piece of PVC tubing and a bit of tape.
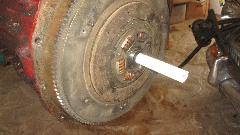

We got the engine back in the car,bolted up to the gearbox, then had to quite here, needing to order new engine mounts (and a few other small bits.

Retired to the nearest WiFi spot until 11-pm closing, then headed west to land in Columbus for the night.
Monday, February 13, 2017:
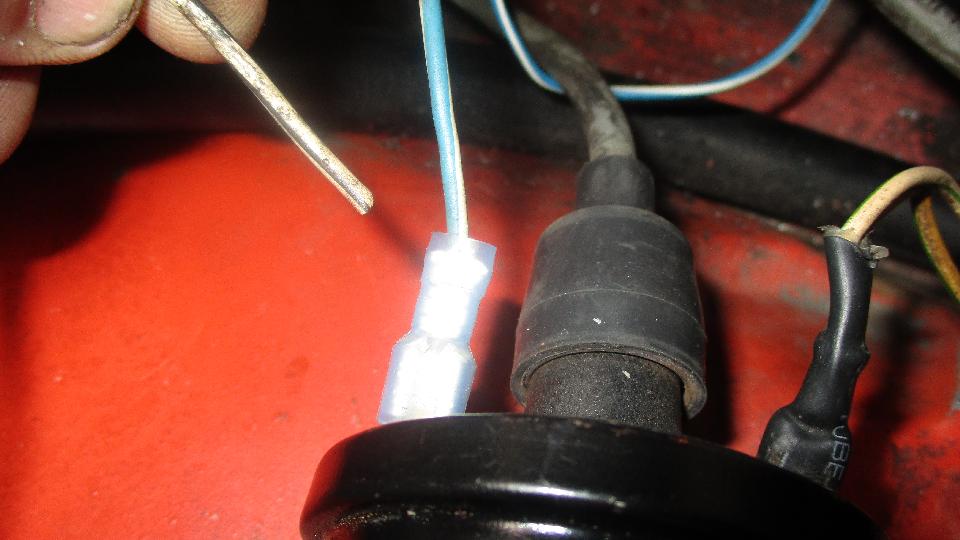
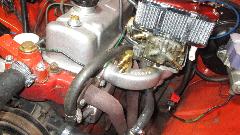
Up early to take advantage of WiFi for a few hours, then headed west again, destined for Montgomery, Alabama for an evening club meeting. Half way there we got a phone call, which couldn't be heard over the noise at 75-mph on the expressway, so reverted to texting. Terry Young in Montgomery had some problems with his 1980 MGB, some kind of ignition issue. We could be there in 30 minutes, but managed to do some diagnostics via text messaging. Arriving 3:30-pm, got to work on diagnostics. Lots of non-standard jumper wires, tear them all out. Figure out where the ignition resistor wire is, and get it reconnected. Electronic ignition distributor gone, replaced with points and condenser. Found a really strange problem with ignition relay that would switch on but would never switch off, soon replaced with a new one. We got it running, then pondered a few issues with a Weber downdraft carburetor in a late model MGB, having disabled fuel vapor recovery, anti-run-on, and positive crankcase ventilation. Time for the club meeting, but we will take this up next day.
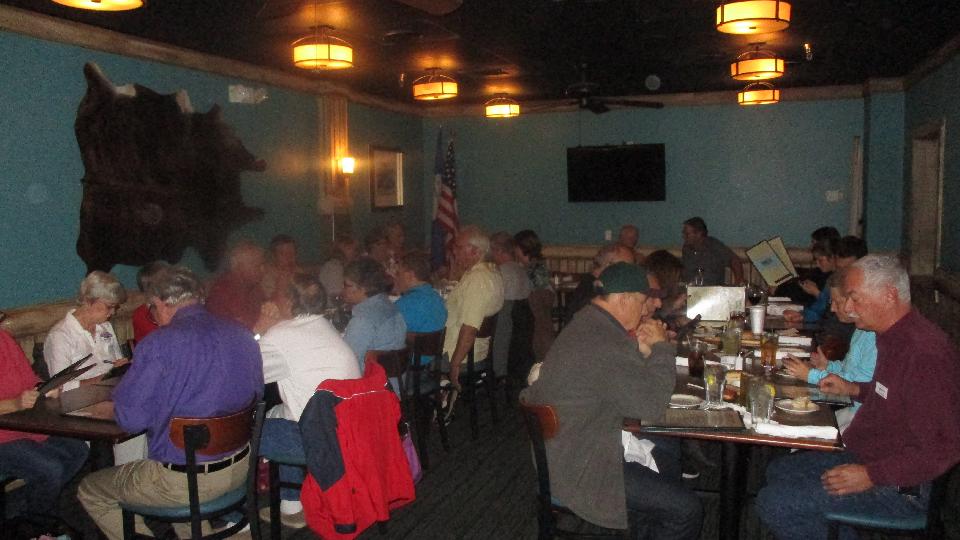
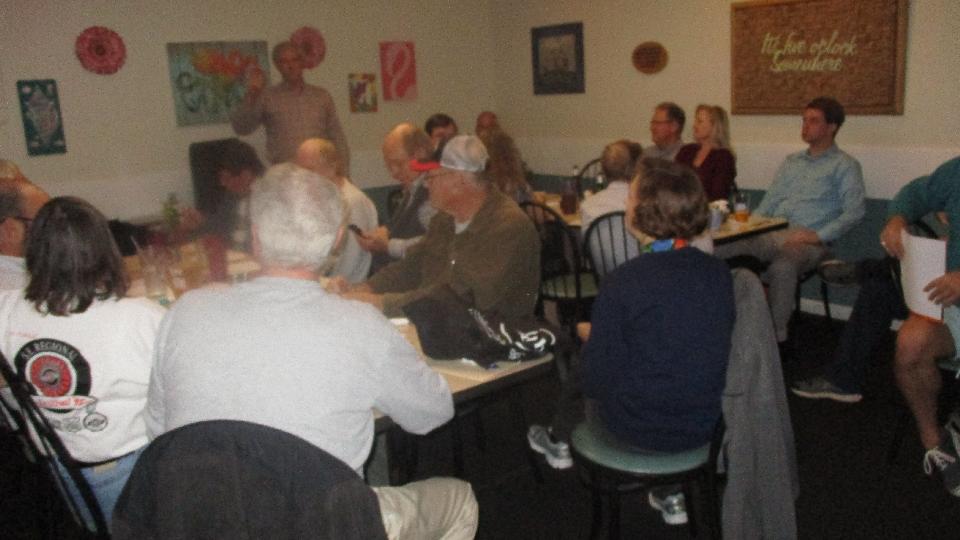
 Off to a dinner meeting with British Motoring Club of Montgomery at Jan's Beach House Grille, about 25 people in the room. Been cruising and lunch with this group for the past two Februarys, and at least half the folks in the room know about us in advance. Good meeting with an active club, busy folks with lots of little British cars. The cars must be well kept as no one else seems to need help at the moment, and some of the cars are waiting patiently in the car park.


Tuesday, February 14, 2017:
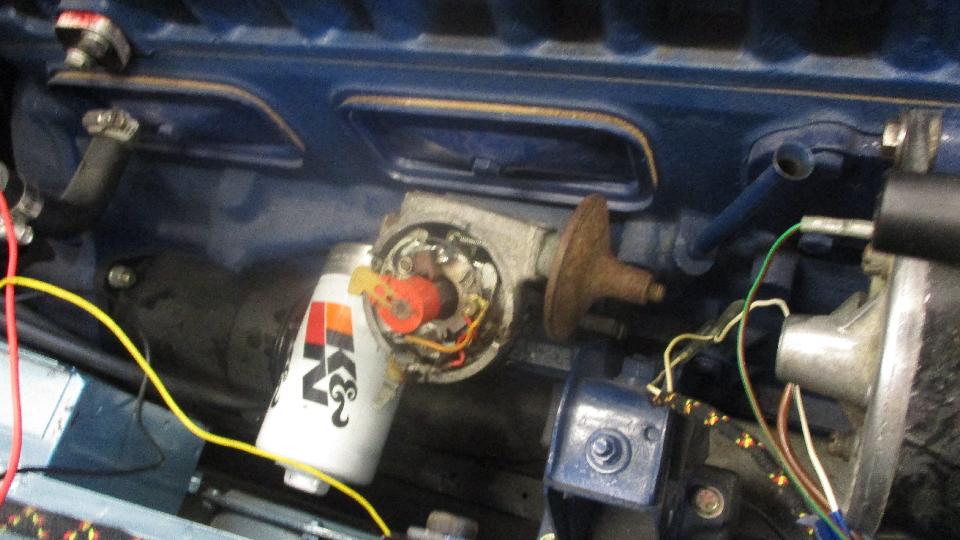
Back to Terry's place to resume work on his MGB. Simple stuff first. Distributor was slightly twisted, and spark wires in wrong positions. Solution is to pull out and re-orient the dive gear, but the distributor was still 20-degrees out of place. So knock out the roll pin at bottom to rotate the drive tab 180 degrees, then re-orient the drive gear 160 degrees (4 of 9 teeth), and then it all lined up properly. Wanted to set spark timing to 32-degrees BTDC at high speed, but the timing light is standard type,not a set-back model. So painted another timing mark on the pulley at 20, and align that to 12 (20+12=32), and we get the timing where we like it.
Then the tachometer didn't work. Power and ground at the instrument were okay. We ultimately found the disconnected signal wire at the ignition coil, reconnect that, and the tach was working again.

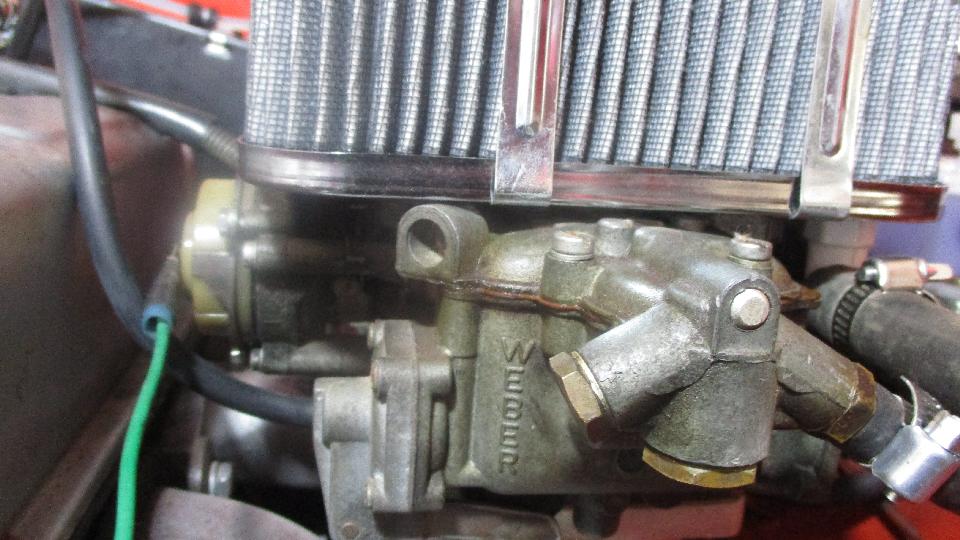
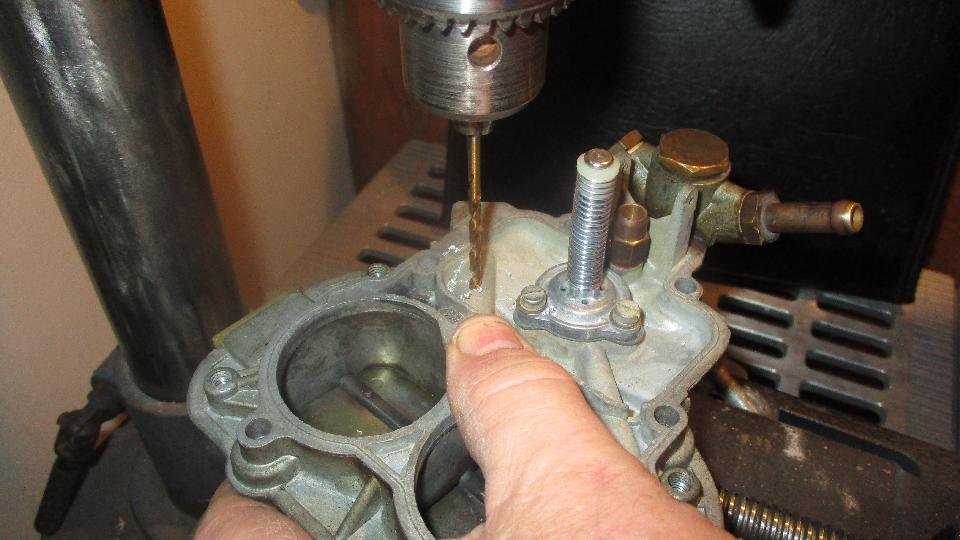
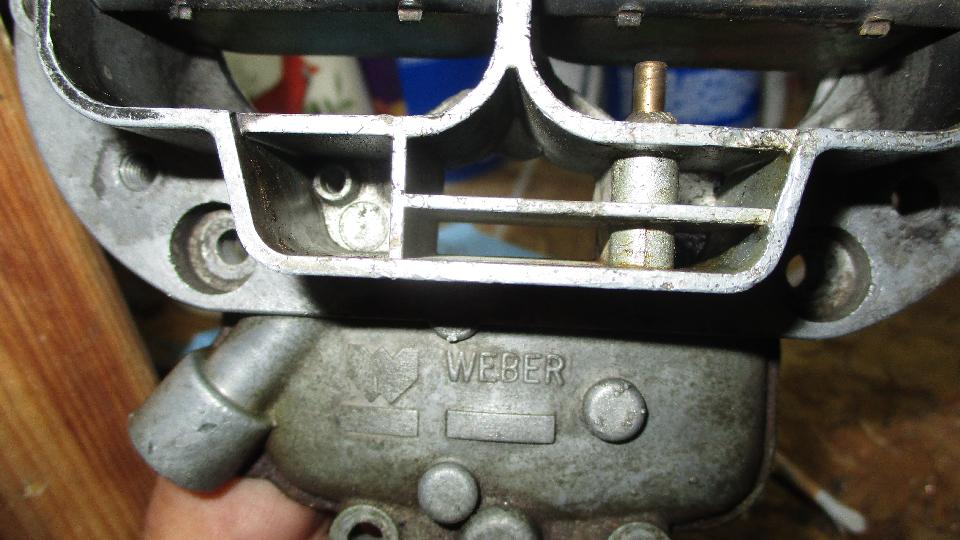
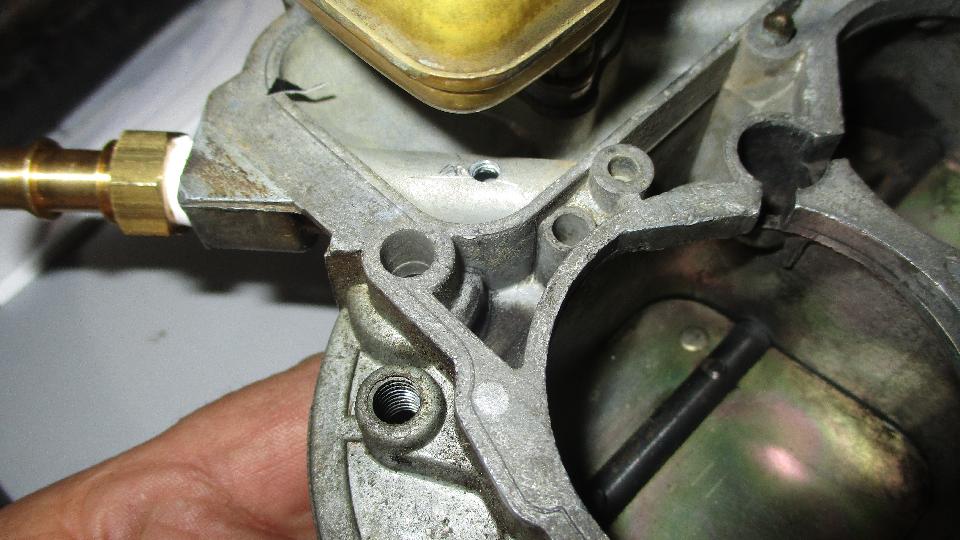
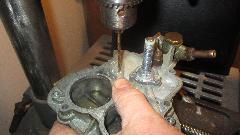
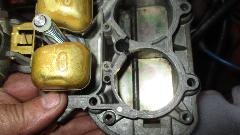
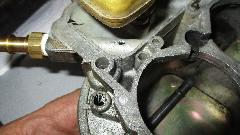
Then on to the really tricky issues. The car had a Weber downdraft carburetor installed (as do a lot of late model MGB). This had disconnected and disabled fuel vapor recovery, anti-run-on and positive crank case ventilation, all of which we intended to restore to operation. The trickiest bit was to figure out how to seal the float chamber and provide an external port connection to be able to both vent and draw a vacuum on the float chamber.
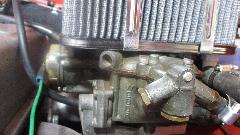
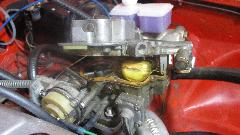
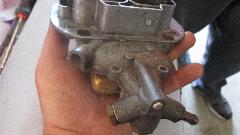
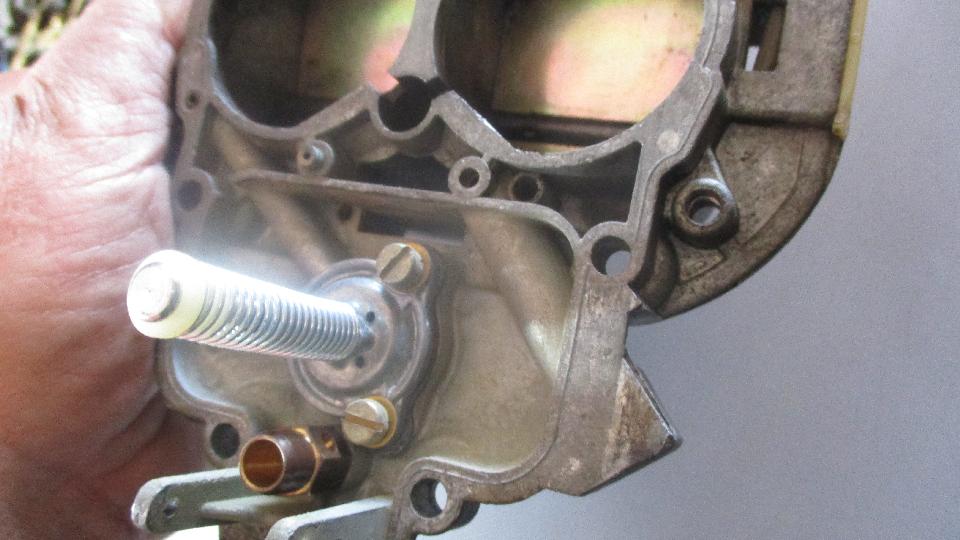
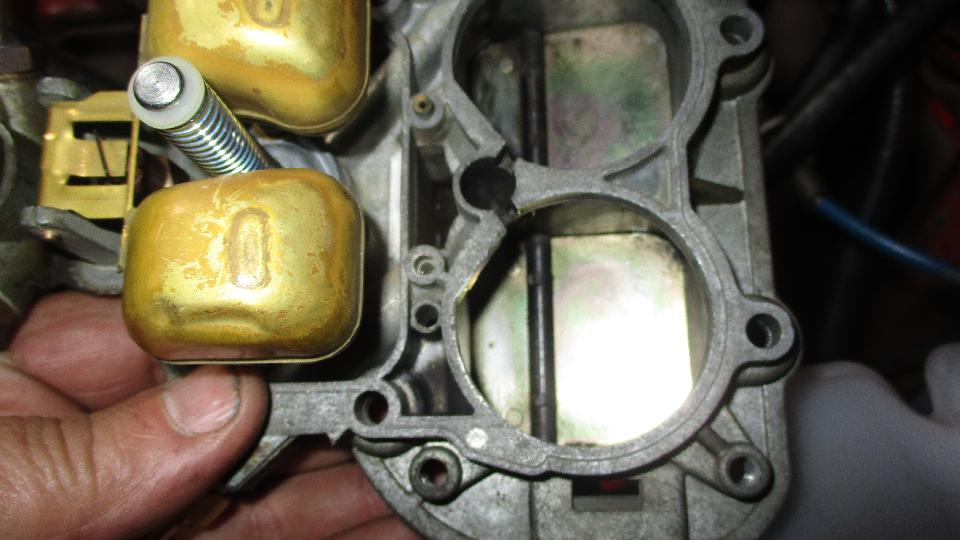
There was a very nice side port that was "dead end" never drilled through. Here we would tap the port for 1/8-NPT pipe thread to install a hose barb, and drill a small hole underneath to connect this port into the float chamber. This provides the vent for fuel vapor recovery and anti-run-on functions.
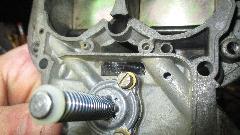
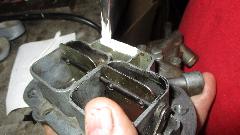
Inside the carb the float chamber was vented through a rather large slot upward to the air cleaner. We would tape up the bottom of the slot, and mix up some epoxy to fill and plug this vent slot, allowing to draw a vacuum in the float chamber for anti-run-on function.

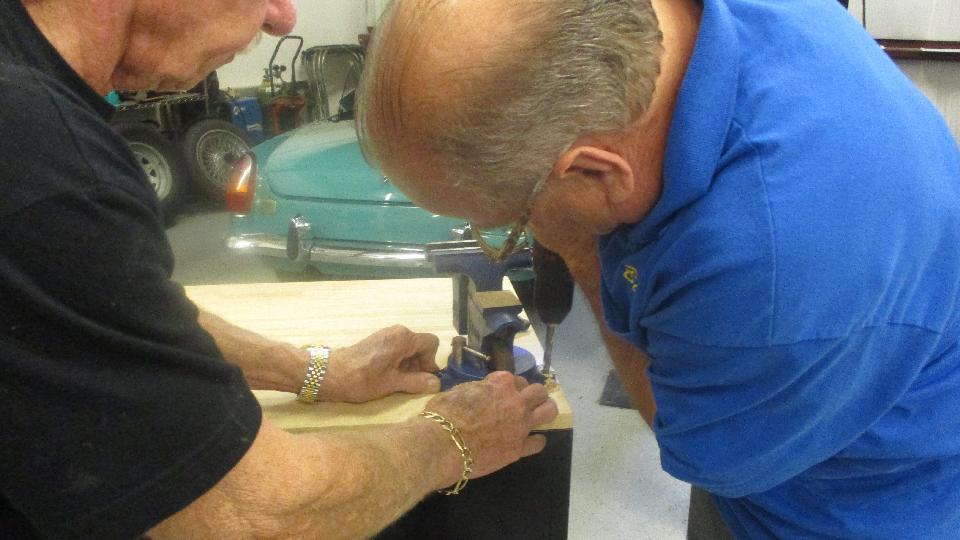
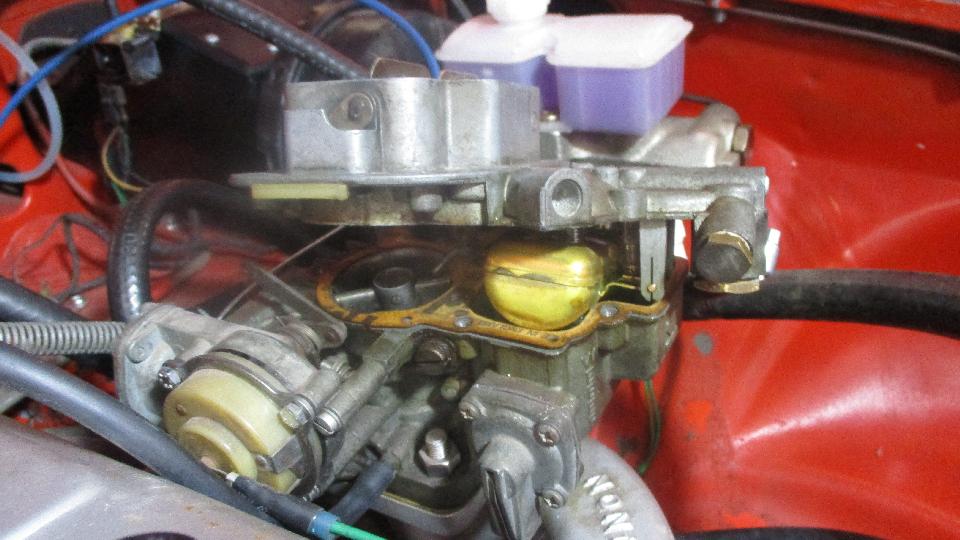
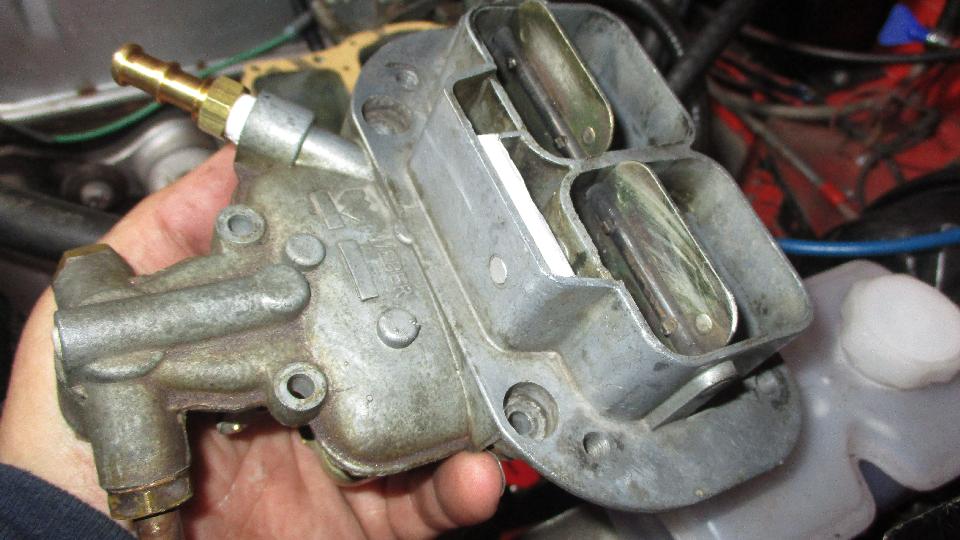
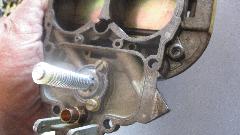
Then we would install a "T" fitting in the intake manifold. The lower port would have a small hose barb and hose going to the anti-run-on valve, while the upper port would have a larger hose barb to connect an in-line PCV valve to the front tappet cover vent hose. Installing the "T" into the manifold turned out to be a minor nightmare, as the port had BSPP thread, an no adapter bushing available to convert to tapered pipe thread. We would have re-tapped the port to 3/8-NPT, but the local hardware store didn't have a tap that size. Then all attempts to drill and the old plug to make a reducer bushing failed with a bunch of dull drill bits (must have been a very hard forged plug). In the end we would settle for a BSPP to hose barb followed by a hose "T" and more hoses. Out of time, but hope to get a couple more photos later. -- [See February 19 on next page].
Wednesday, February 15, 2017:
This was a WiFi catch up day while waiting for news from the MGB with converted Weber carburetor. The news came, and it was good news, now running with all the intended functions working. Now I get to post the tech article on how to install a Weber downdraft carburetor on a vehicle with vapor recovery and/or anti-run-on functions. We must tell everyone not to connect the tappet cover vent into the air cleaner. Next news was that parts had arrived in Albany, GA, so we headed off across state lines again. Wanted to make a banking stop in Columbus, GA before bank closing, then another WiFi stop in Columbus until the WiFi spot closed at 11-pm, then heading east again making Albany by 1-am for snooze time.
|