The MGA With An Attitude
FRAME REPAIR, and Accurate Measurements #2 - FR-220B
Nov 15, 2020, Ahmed EL Abasiry in Calgary, AB, Canada wrote:
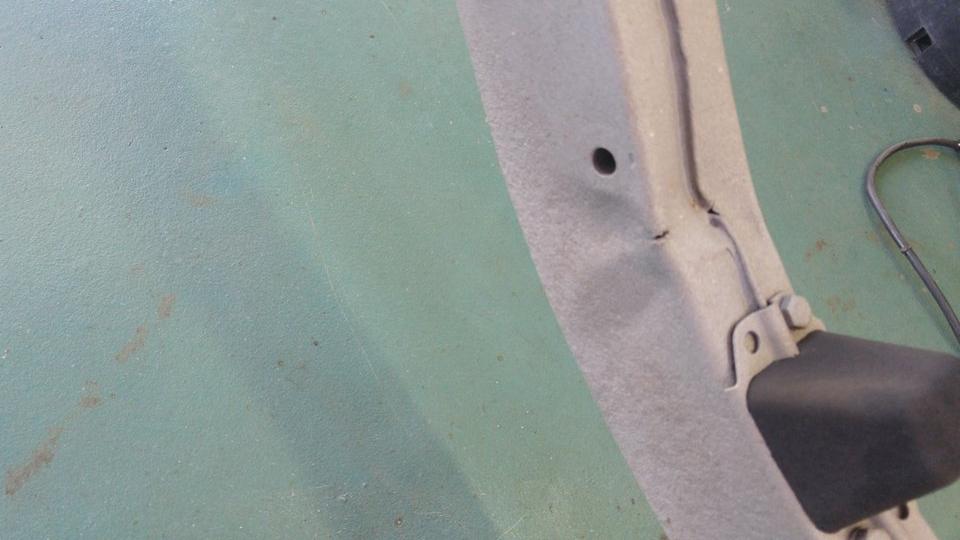
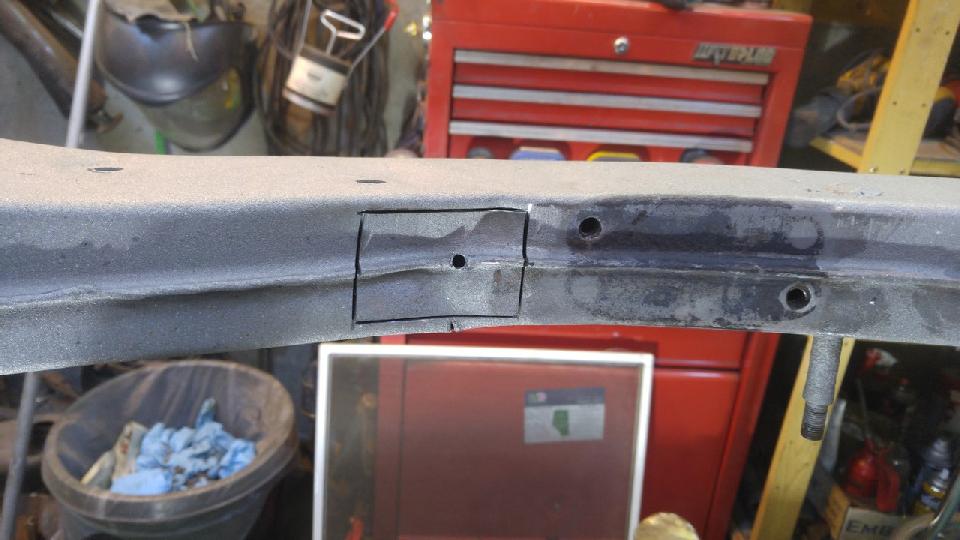
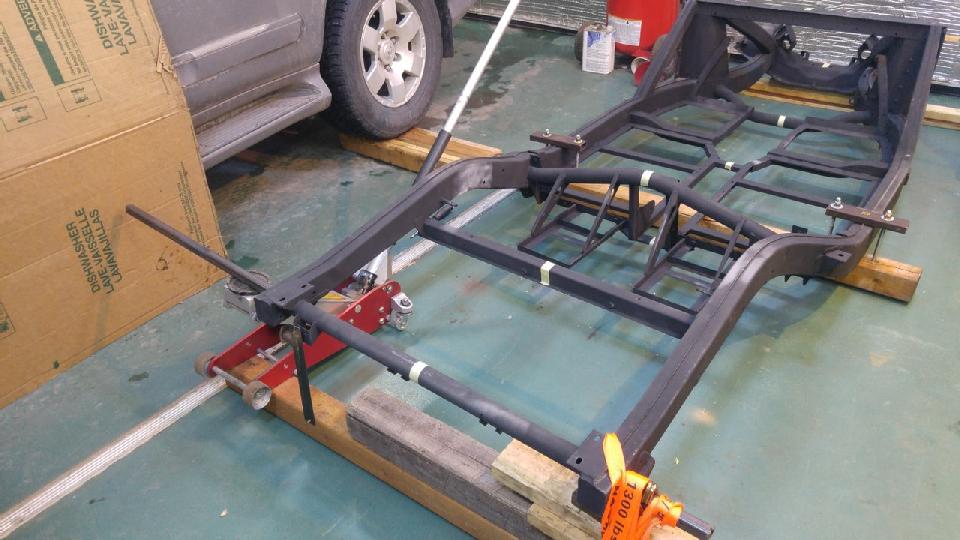
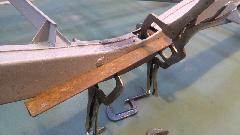
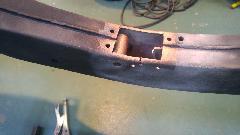
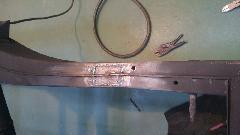
"Even with the small difference in height as I measured before, the "clonk-clonk" from side to side was driving me nuts! So, I decided to straighten the frame. First, mark and cut the creased section to relieve stress and give it room to move:


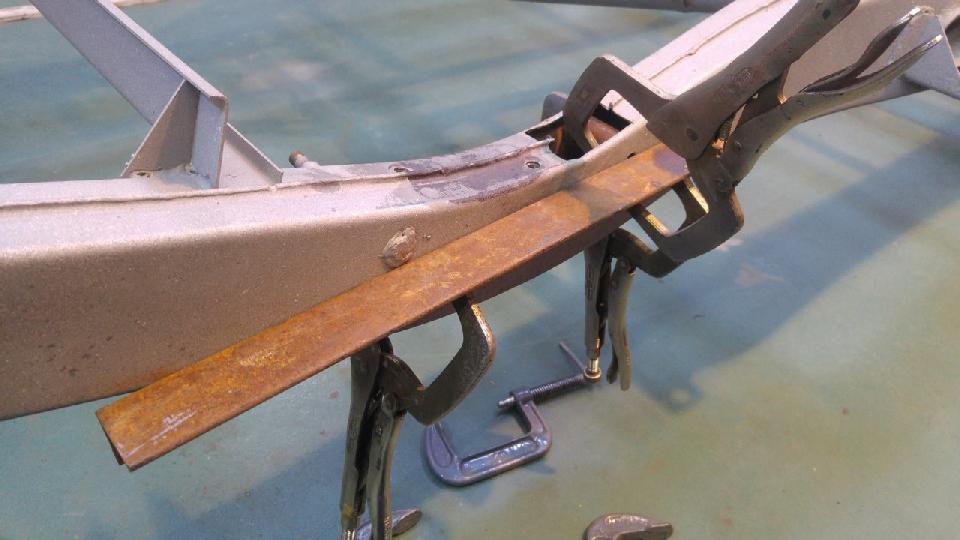
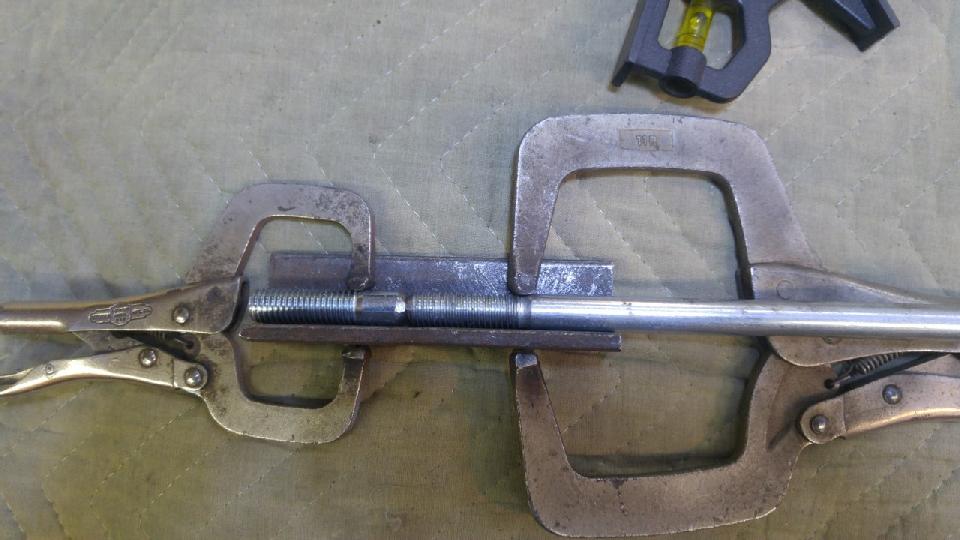
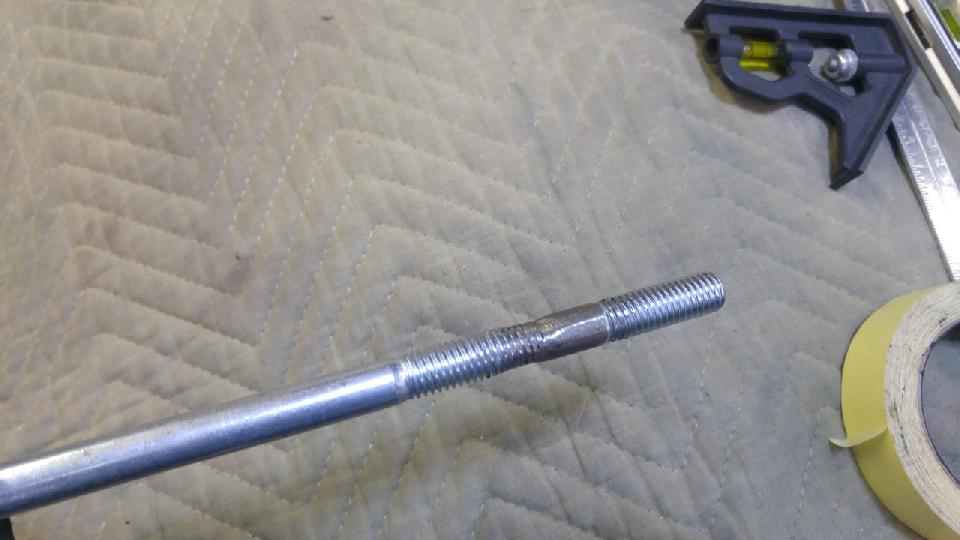
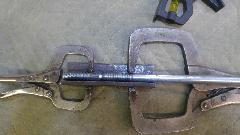
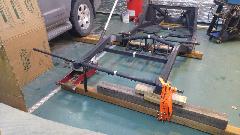
Then try to flatten the sides as much as possible using a straight piece of angle iron and an assortment of clamps. Bend the cut piece to shape and test fit. For the straightening process I devised a simple plan, anchor 3 reference points then apply force to the fourth (low) point to bring it to the same plane as the rest. First, I needed extra long bolts ~ 9". I had 7" and 4" bolts. So, I cut the shorter bolts and welded them on to the long ones.

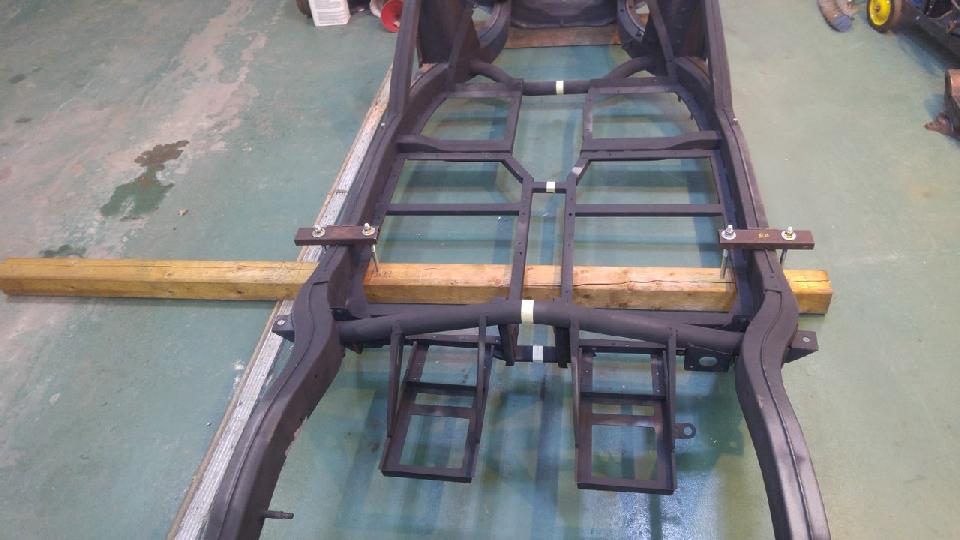
Next, using the straight 4x4 pieces of lumber, build a platform to anchor two rear points on the frame.

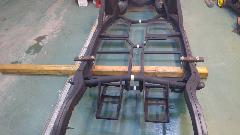
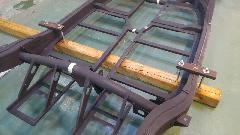
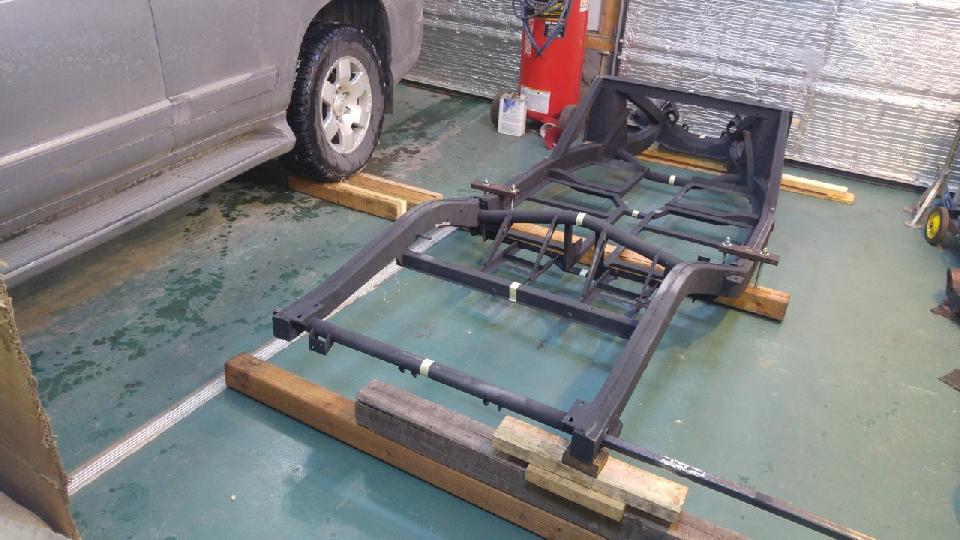
For a counter weight, I placed my SUV on top of the 4x4. And used a beefy ratchet strap to anchor the 3rd point. And used a jack to move the low tip point higher. All I needed is 10mm or so.

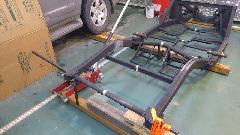
 It was a bit springy and came back to the same point, so while leaving the jack applied I heated the arch area with a MAP torch for approx 15 mins. I could hear the metal creak as stress is relieved.
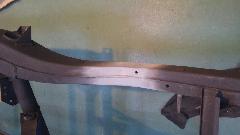
Once done, I re positioned the frame and took measurement again. All is good. Now I have a difference of approx 2mm and no clonk-clonk. Right side (which is good). Left side (which was low before).
Next I will weld the section I cut back on (after welding a small brace inside for extra strength) and call it DONE!!
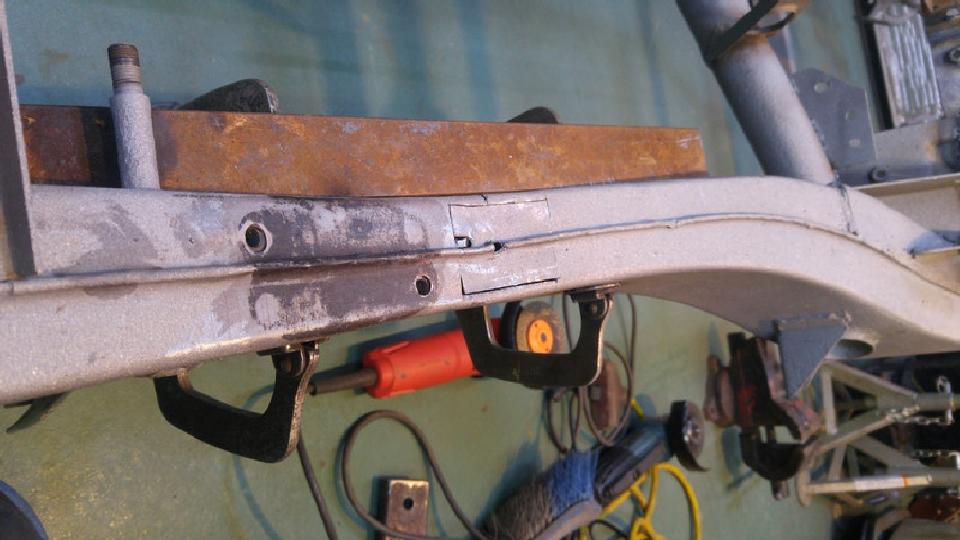
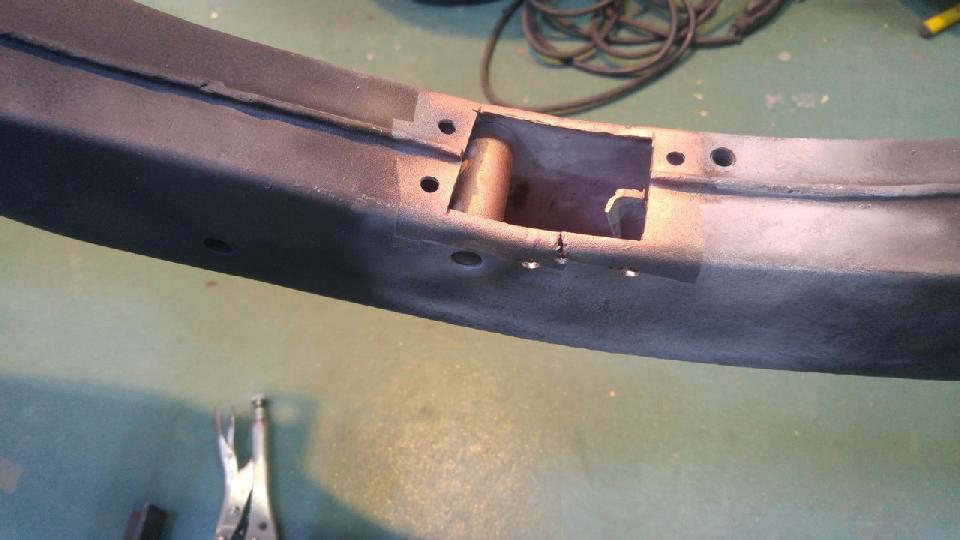
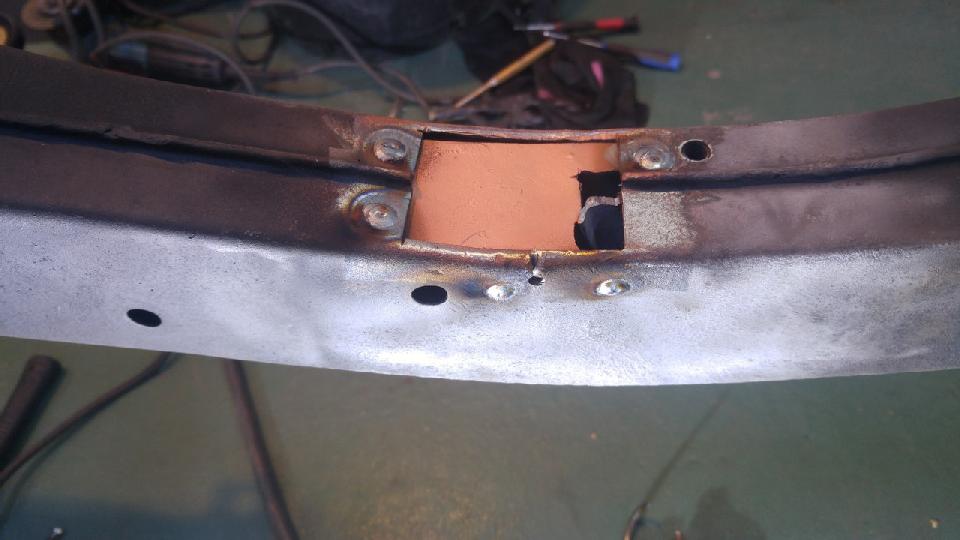
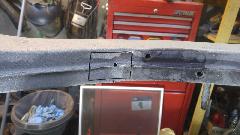
So just to close this chapter of the repair. I made a small reinforcement patch inside the frame then welded it shut. First drilled some holes for plug welds (note I also drilled the end of the crack on the side for stress relief). Then installed an intermediate patch. This only gives a bit more stiffness while keeping the area flexible, as it is meant to be a crash zone (I think!) that's why it buckled when was hit. Test fitting the original patch (after straighten it to shape).
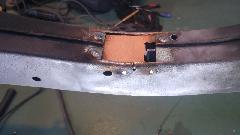
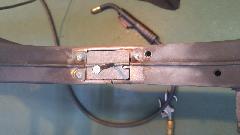
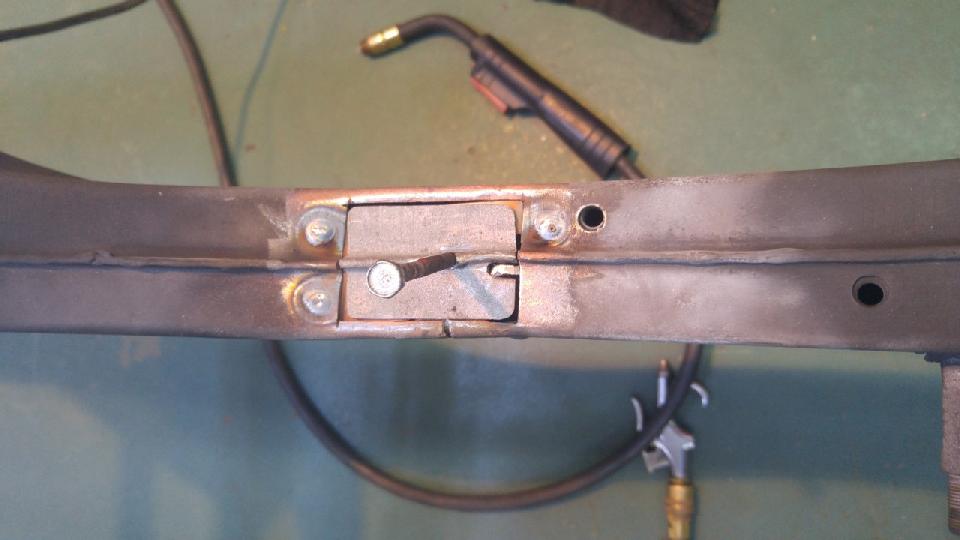
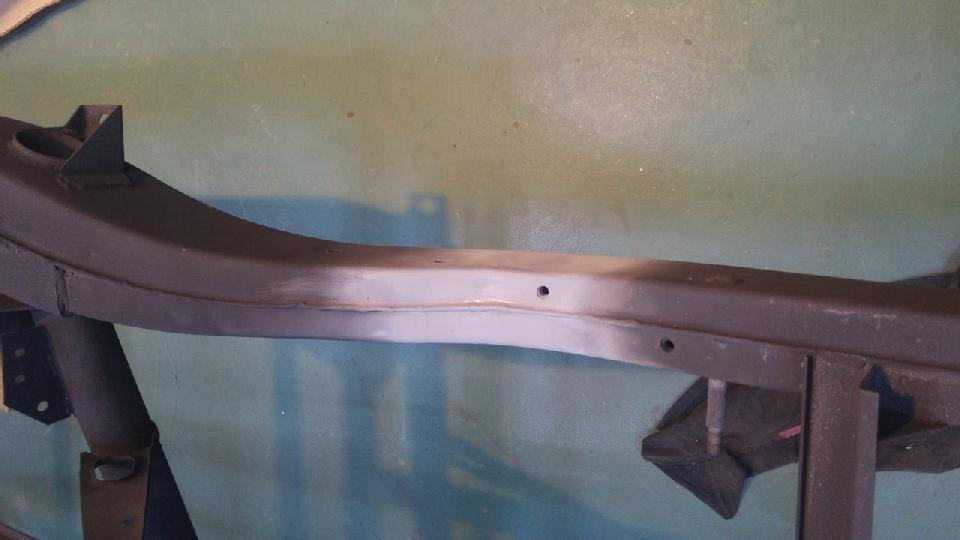
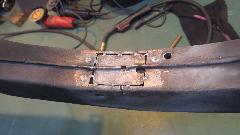
Tacked in (and also welded to the intermediate patch below, hence the wider than normal gaps around the patch). Finished welding. Then ground and painted for the vanishing repair".
|