The MGA With An Attitude
INSTALLING Clutch and Brake PEDALS In The Car - HT-110C
On May 12, 2023, Mark Mack in "Cols, USA" wrote:
"Is there a process to installing the pedals with their spacers and bushings, or are they just fed up from the bottom, from inside the cockpit, and the Pivot bolt slid into position? That would require 2 people. ..... is it possible to pre assemble the pedal assembly and get installed thru the gaiter opening"?
The bracket is above the shelf, and the pedals have to be put in from the bottom up. Yes it can be done by one person, but it requires a little finesse.
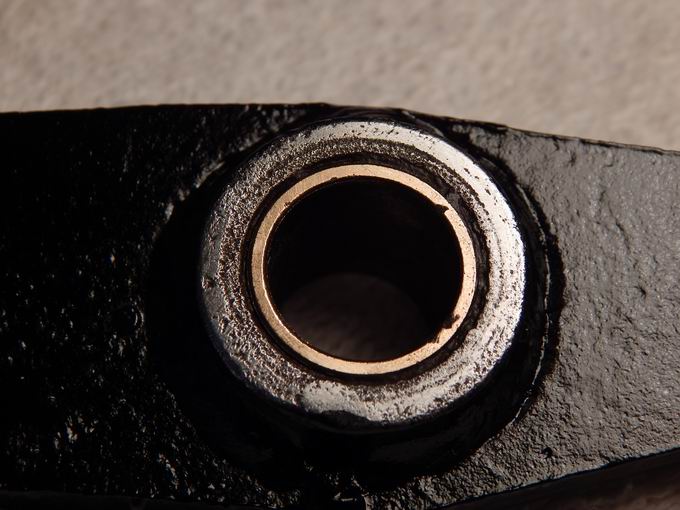
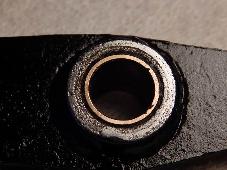 The bronze bushings must be installed in the pedals, and do check to assure that the steel pivot tubes have a free working fit in the bushings. If you haven't installed the top bracket in the car yet, you can assemble the whole works to the bracket on the work bench to check and adjust fit of the moving parts. If the pedals have too much side swing, you can grind the spacer tube slightly shorter to reduce clearance. If the pedals bind from too little side clearance, you can grind the pedal pivot hub slightly shorter to increase clearance.
 Install all of the brackets first, and you can install the master cylinder and hydraulic pipes and fittings as well, but leave the two master cylinder bolts slightly loose (more about that late). Have all of the fasteners lined up handy in or near to hand in the engine bay.
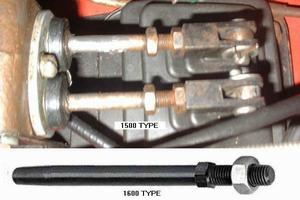
Drop a couple of wires down through the hole and tie them to the top ends of the pedals. Lift pedals with the wires to bring them up through the hole, and check twice to assure the pedals are in correct orientation (clutch pedal on the left and pads to the rear please). Install the steel pivot bushings into the pedals. Start the pivot bolt through one side of the bracket, and slip the pivot parts onto it in sequential order. Bolt; pedal with pivot tube; spacer washer; second pedal with pivot tube; and push the bolt all the way through. Check again to assure the pedals are still correctly oriented. Install the lock washer and nut, tighten it up, and check to assure the pedals still move freely (without too much side sway).
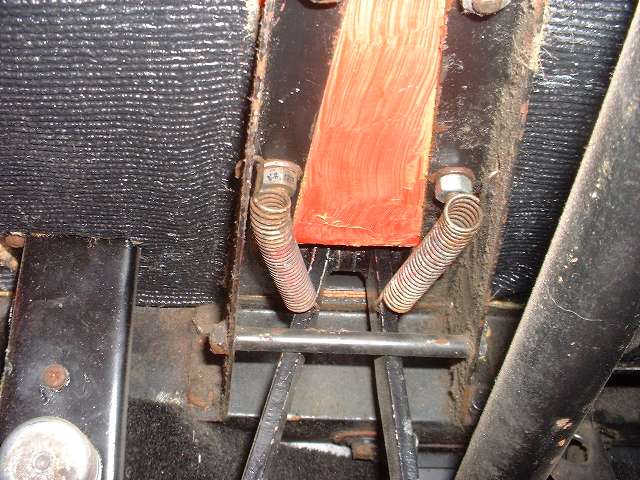
On top, install the dust excluder boot with retaining plate, and do include the P-clips for the hydraulic pipes. Underneath install the two pedal return springs. Back on top, install the push rods, and adjust their length for "minimal free-play". SIDE NOTE: you may remove the front bolt from master cylinder and lift the front of the master cylinder slightly if needed to install the pushrods with clevis. Then tighten the master cylinder mounting bolts. Underneath you should be able to push the pedals 1/8" to 1/2" with one finger before you feel the resistance of the master cylinder piston motion, or readjust the push rods as needed.
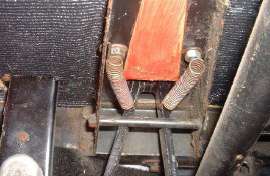
Pedal return springs
After bleeding the hydraulics, if you push the pedal and release, and the master piston does not return, that's another issue you can ask about later. It is all about free movig pistons, and bleeding the hydraulic circuits.
|