The MGA With An Attitude
FRONT WINGS, Front Face Replacement - RT-710A
These photos and notes compliments of Eric O "ohmite" in Wilson, New York, USA.
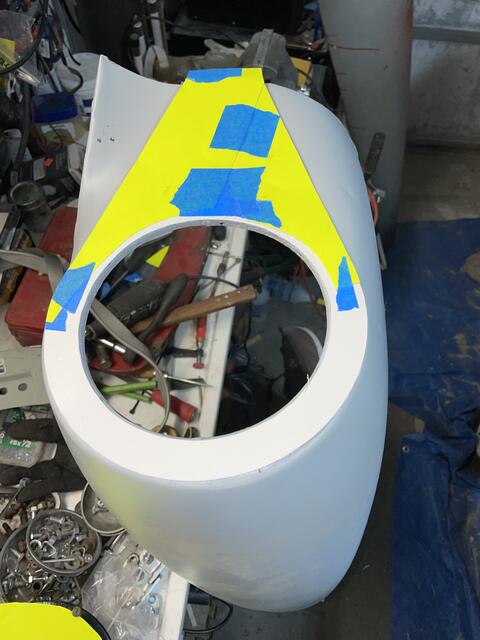
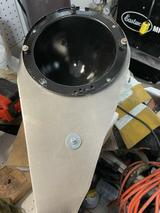
I spent some time working a solution for the fender repair. The light bucket mount and area down past the turn signal lamp is flat. Bringing the old bent metal up with the hammer and dolly wasn't working as well as I had hoped and doing a partial repair on the light bucket base as well as fixing the area between that and the turn signal lamp mount wasn't going to cut it.
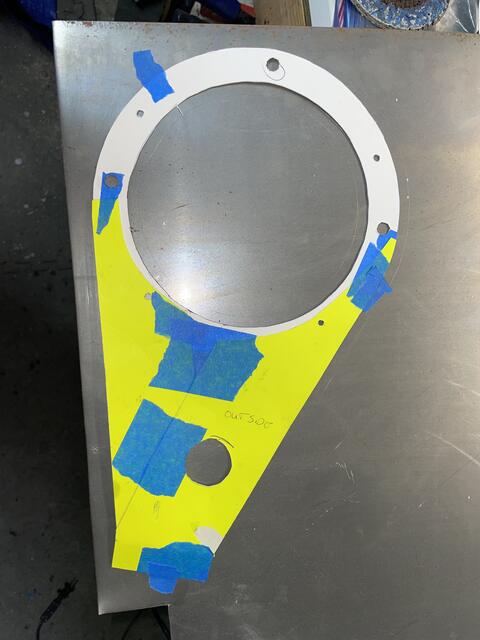
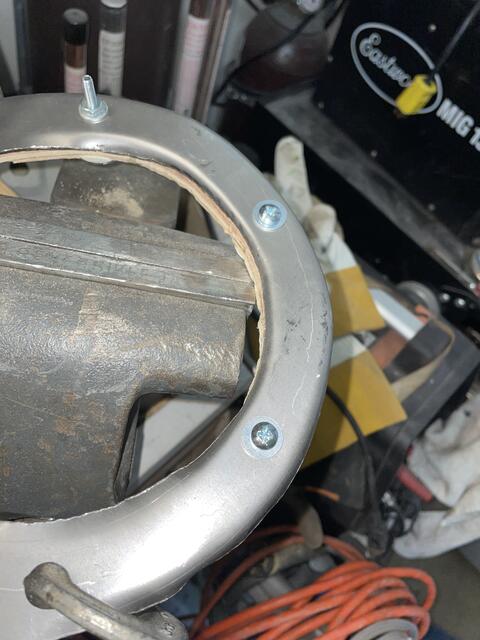
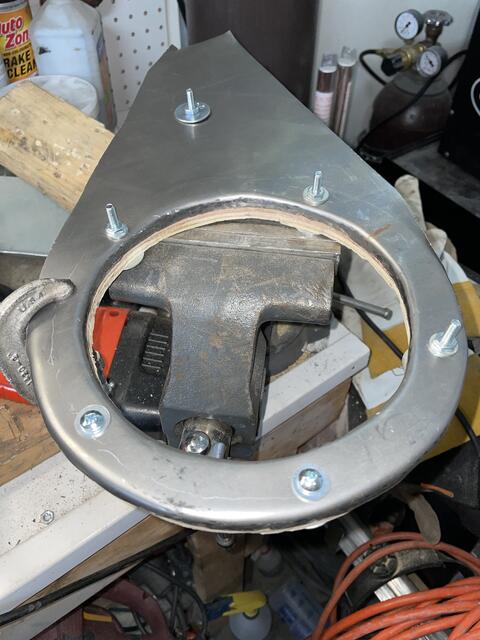
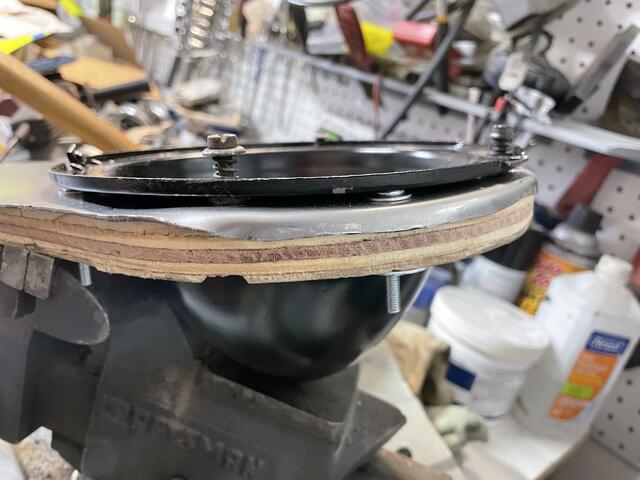
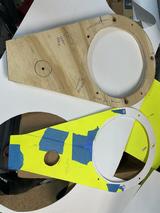
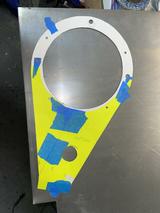
Taking advantage of the flat area here I made a cardboard template whose edge followed the edge between flat and the curve of the front part of the fender. I used the fender from the '59 (which is in very nice shape in this area) to create the template. Transferred that to a 1" thick plywood I had laying around and made a buck. Cut a piece of sheet metal just larger than the template. Then attached that to the buck using the holes that would mount the bucket and clearance holes for the adjusters. I added one though the center of the turn signal lamp to keep the whole thing together while I hammered. It's important that the metal be held tightly to the buck as it will want to lift away from it as you hammer over the edges. I typically make a piece to go over the top to clamp it in place, but the need to make curved edges on the outside and the inside of the bucket hole pushed me to try it with screws and washers. It worked pretty well and only pulled up a little in two spots. Once I weld it in place those should be easily fixed.
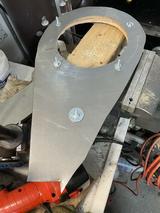
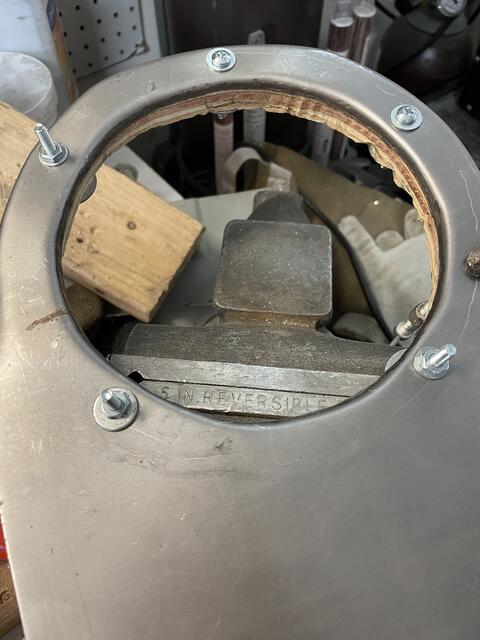
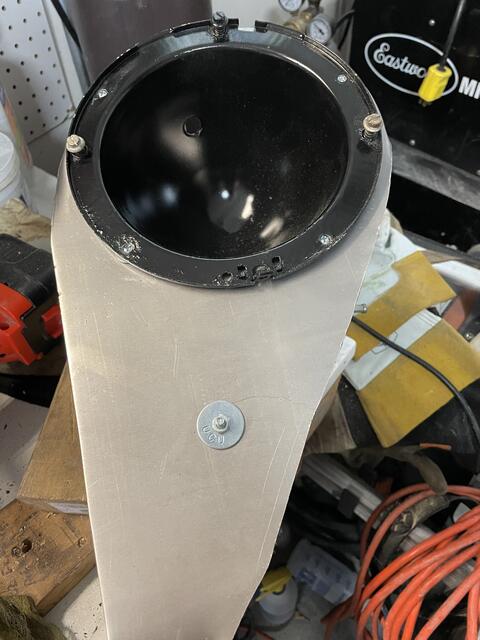
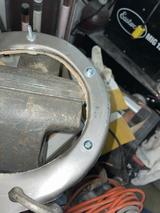
After many, many ball peen hammer blows I think it came out pretty good and the light bucket fits well.


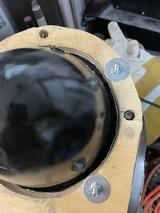

 Next steps are to decide if I will simulate the joint that normally goes down the front of the fender (where the flange is welded from behind) using the bead roller. Or to leave it as is and fill the other side to make it smooth like this one. This hinges on how I mount the Sebring lower valence. Making the valence removable with a joint along the mount line to the car (which would push me to have both vertical seams in the fender there) or have a completely smooth nose, with no joint (which would push me to have no seams).
The other steps are to even up, smooth, cut down the edges of the patch, cut the old metal out, finish the profiling of the curve (using profile templates from the '59 fender) and then tack welding the patch in. All the while making sure the vertical angle is correct.
Cheers, -- Eric
|