The MGA With An Attitude
INSTALLING Brake Shoes and Springs - BT-116
On 12/15/2016, Bart Lehman wrote:
"Is there a magical way to connect the two front brake springs? I get one on easily, but can't seem to stretch the other far enough to connect. I'm an old guy so maybe it is hand strength that's the problem. Any ideas for me"?

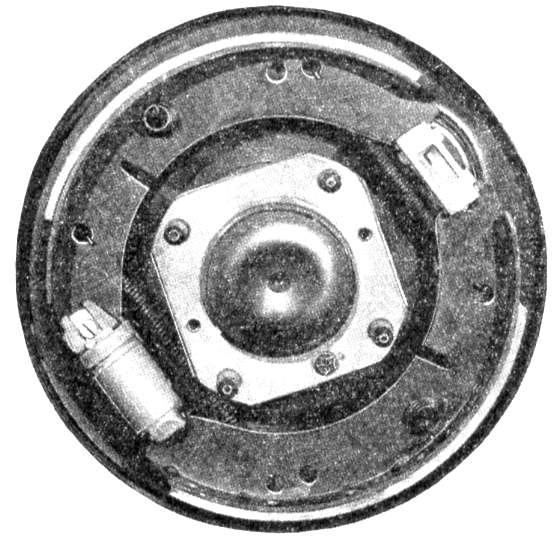
Rear drum brakes, right side - - - Front drum brakes, right side, for disc wheels
Drum rotation is clockwise for forward travel.
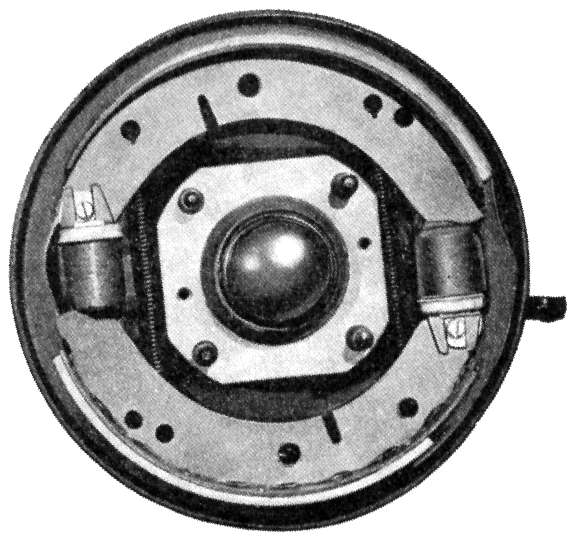
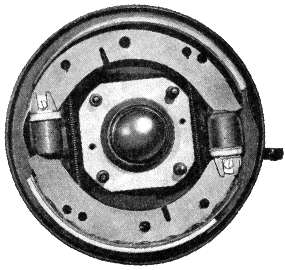
Front drum brake, right side, for wire wheels.
|
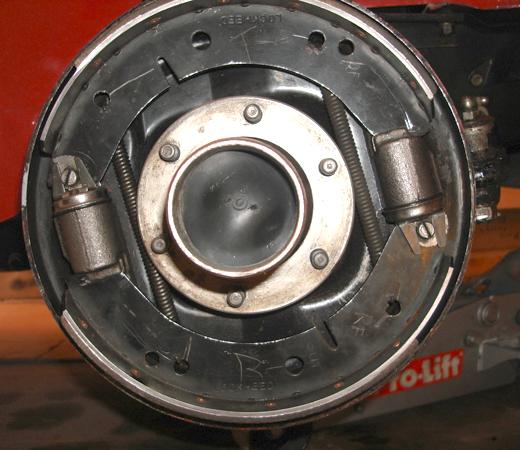
See pictures. The springs go on the back side of the shoes. Assemble two springs and the shoes first, along with the snail cam and mask adjusters. Then offer up the assembly to the backing plate and slave cylinders.
Put the top shoe on first so it will hang in place by gravity. One end of the top shoe gets the snail adjuster and sits on the slave cylinder piston. The other end of the shoe sits in the slot on the rear end of the other slave cylinder (or abutment at rear).
Then you need to position the adjuster end of the lower shoe against the second slave cylinder. Note that the adjuster mask will sit in the rectangular nest on the slave piston, and the piston can rotate to accommodate orientation of the brake shoe. You can move the lower brake shoe upward like a lever to relieve some tension on the spring closest to the adjuster end, nest the adjuster mask into the slave piston, then pull the shoe downward to stretch the spring as you move the rest end of the shoe toward the slot in the other slave cylinder. The slave piston will rotate a bit as you do this.
Then be sure the final spring is hooked to the shoes. The last move is to pull the remaining free end of the shoe downward to hook it into the slot on the tail of the slave cylinder. That requires a substantial pull to stretch the last spring. Easiest place to apply this force is on the tail end of the brake shoe. Essentially, pull hard and drop the heel of the shoe into the slot.
This may seem at first to require four hands and a lot of force. Once you get the hang of it, you can do it with two hands and some finesse, and just one good tug at the end of the process.
Notice where there are two holes close together in the shoes for the tension springs. Springs for the rear shoes go into the closer holes, while springs for the front shoes go into the longer distance holes. Front slave cylinders are shorter than rear slave cylinders, while the rear abutment is shorter yet. This makes the front shoe assembly symmetrical and the rear shoe assembly asymmetrical. The top or forward spring on the rear shoes is also thinner and shorter, while the springs pulling to return the cylinders to rest are thicker (for stronger pull).
|