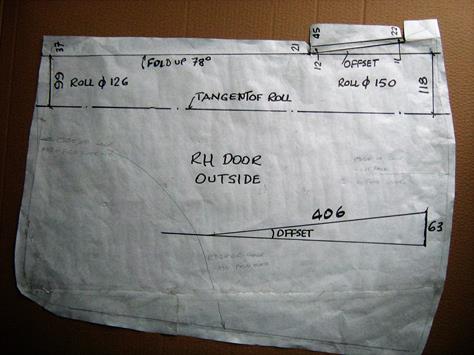
Photos and notes compliments of David Adams in the UK. I needed to have a special RH door skin with more material on the rear edge and I thought I could get one which had been formed but which had not had its edges turned up. Impossible. Sheet metal workers wanted hundreds of pounds to make a special, so I decided to make my own out of 1.2mm soft aluminum sheet. I bought half of an 8x4 sheet with the potential of making a second attempt if the first one failed.
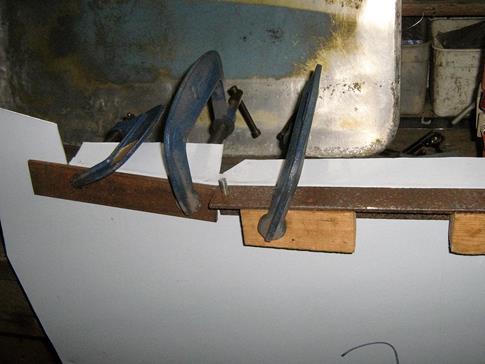
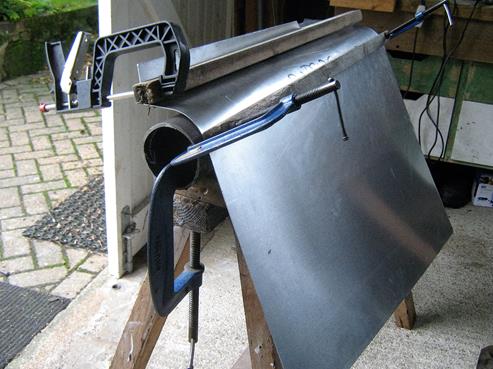
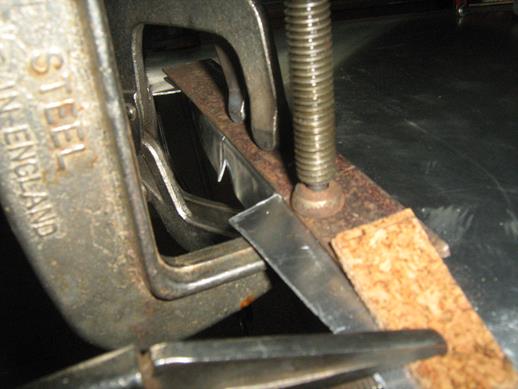
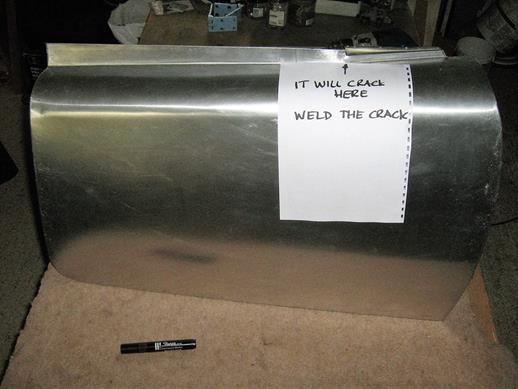
The skin will crack where shown in the picture above. Weld up the crack and dress before fitting the skin. Original skins also show signs of this crack having been welded up. When fitting the skin to the door shell, it will not be possible to turn the skin over the edge of the shell in a continuous run like the shop made skins since the shell flange is too flexible and will deform. Snip into the fold-over in short sections at the top curvature and longer ones as you go further down, but do that only as you progress down the door. Start at the quarter light, drill and rivet, then do the top rear and fold the tabs over at the rear of the window. Clamp the skin to the shell on the sides and bottom. Repeat at the top front and then work down each edge alternating between front and back, 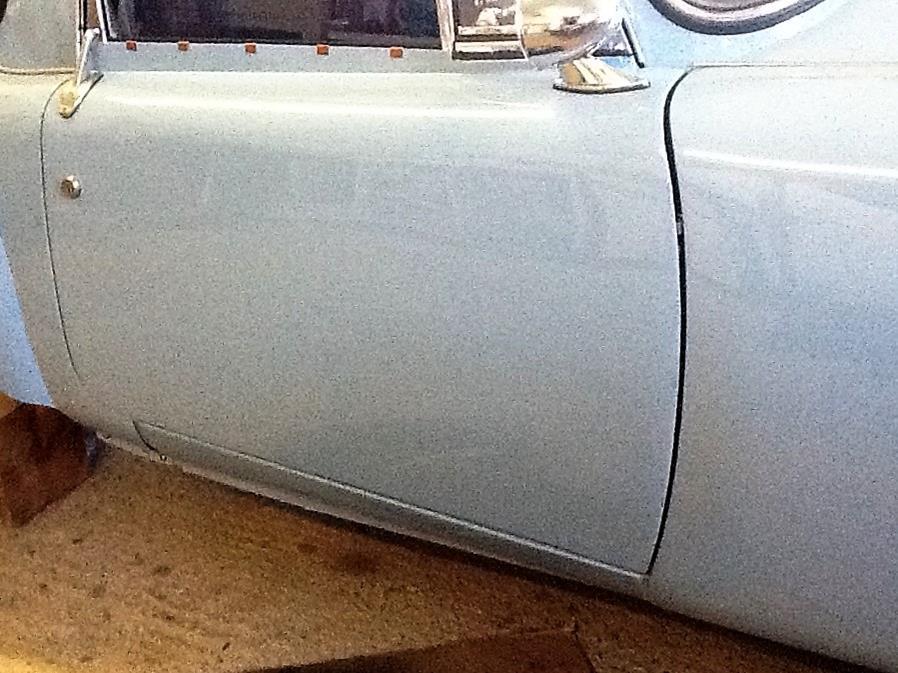 adjusting the lower clamps as you go. Then fold lightly over the flange on each side and turn the bottom edge up but don't turn it over. Firm the fold-over down starting from the top and then fold over at the bottom. See also CP-201. Trim the upstand at the side of the window when all crimping is complete.
 The last picture above shows the skin as fitted to the door shell, and at right is the door on the car. |