The MGA With An Attitude
LIGHTING For Small Dash Instruments -- DT-215
At 10:00 AM 4/25/05 -0600, Dennis Billo wrote:
>"I'm wondering if there is a solution to the poor lighting of the fuel gauge or whether I might be missing a part of the bulb holder assembly. Mine has a bracket that is attached to the side of the gauge and held there by the main gauge mounting screws. The bulb consequently shines all over under the dash with a little of the light shining through the blue plastic window surrounding the gauge case. At night this results in the whole cockpit area being a quite bright. Am I missing a directional bulb cover?"
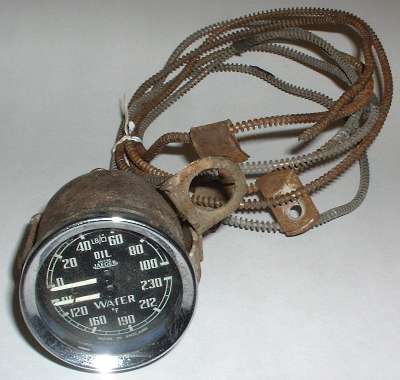
No you got it all. That's the nature of the beast. To minimize light transmission to other parts of the car, I think the bulb holder should be positioned to the top of the gauge and nearest the centerline of the car. Also there should be a thick card stock blanking plate covering the back side of the radio speaker grille (when there is no speaker there) to prevent light from coming forward through the grille.
>"I have thought of simply finding a small metal cylinder cut to the proper length that would allow it to be wedged between the bulb mounting base and the back of the dash panel after cutting a small slot in the side to let the light shine on the blue plastic strip on the gauge body."
I did something a little more exotic about 35 years ago for a kit car, when I was too young to realize there might be a commercial part available for this application. I made some bulb holders from 22 gauge galvanized sheet metal. The prime ingredient was a narrow strap which would wrap all the way around the instrument like it was going to cover all of the side slots. Add a pair of bent up tabs to the ends and punch holes for a small pinch bolt to hold it in place. But also make the strap longer so the center of it, opposite the pinch bolt, could stretch out far enough to encompass the bulb. This makes a quasi-parabolic reflector around the bulb to direct light into the slots on one side of the instrument. Also add a back cover plate to match the shape of the parabolic loop on the outside, and the cylindrical side of the instrument on the inside. Solder the plate (or two of them) to the loop and add a hole to accept the plug-in bulb socket.
This fixture would completely enclose the bulb to prevent any light from escaping outside the instrument case. I had five of these behind the center console with hardly a glow sneaking out anywhere it shouldn't, and the instrument lighting was quite good. Of course it took all day to make the five bulb fixtures, but then it was just a hobby then too. See next page.
I should have stamped out a million of them and sold them for a buck apiece (when gasoline was $.36/gallon). But I was too busy building the kit car, and a few phone calls probably would have turned up a commercial part already available from the instrument retailer. In the early 70's those were Stewart-Warner instruments, and for sure the supplier had to have some sort of matching lighting bracket.
>"My main concern is the quantity of heat this would create in the tube and the possible damage to the blue plastic or even worse, to the outside paint of the dash panel."
My special sheet metal enclosures got fairly hot to the touch, but they never seemed to bother the fiberglass console panel. I don't recall if those instruments had a plastic color filter or just an open aperture for white light. My bet is more like a clear plastic ring used as a dust excluder. I wouldn't worry about it burning the paint off the steel dash. The dash has a formed indentation around the instruments. If you make these fixtures with a font plate, that plate would keep a small air space between the fixture and the back of the dash for convection cooling.
|