The MGA With An Attitude
Wiper Wheelboxes and Drive Casings - ET-113W
The first half of this page is an excerpt from our travel log. Then we'll see about adding a few more photos and comments to complete the tech experience with more information.
Monday, March 14, 2022:
 Nice working weather, so we took the opportunity to install new screenwiper wheelboxes. One of the most miserable chores in the MGA, crawling under the dash on your back, trying to work past everything in the way. These parts are best installed as first parts into the body before anything else is installed, meaning there is a significant urge to disassemble the dash and much of the stuff behind it in the process. The trick is to figure out how to light up the dark area and reach around stuff without removing too much of it. Nice working weather, so we took the opportunity to install new screenwiper wheelboxes. One of the most miserable chores in the MGA, crawling under the dash on your back, trying to work past everything in the way. These parts are best installed as first parts into the body before anything else is installed, meaning there is a significant urge to disassemble the dash and much of the stuff behind it in the process. The trick is to figure out how to light up the dark area and reach around stuff without removing too much of it.
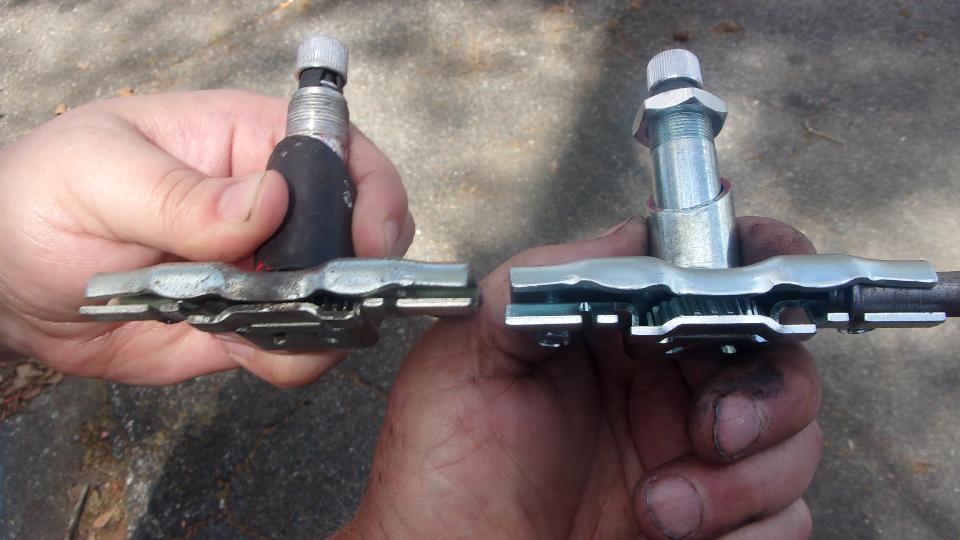
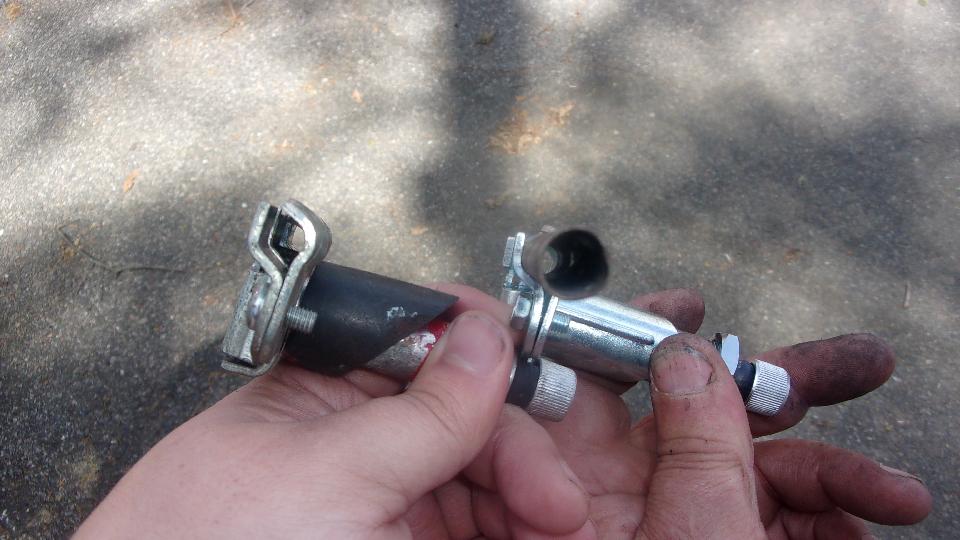
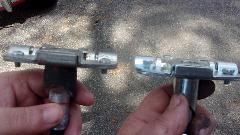
Hard to see the difference between crap parts and the good ones, but most of it is in the shape of the brackets that have to capture the casing (the outer jacket flared pipe).
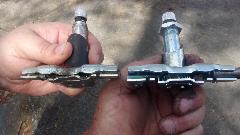
The old ones (Moss aftermarket parts) also had soft plastic back spacers, and incorrect Phillips screws, and really bad rubber seals that failed within 90 days of installation. The new parts have nice plated cast metal back spacers and little hex drive screws (much easier to work). Mind you the new ones were not perfect either, but work okay with only minor re-forming of the clamp parts.


Then came the old time hang-over issue, while trying to get the parts back in the car. The center casing pipe running between the two wheelboxes was too long, had been that way since first restoration in late 1986, and I was determined to get it properly shortened this time around.

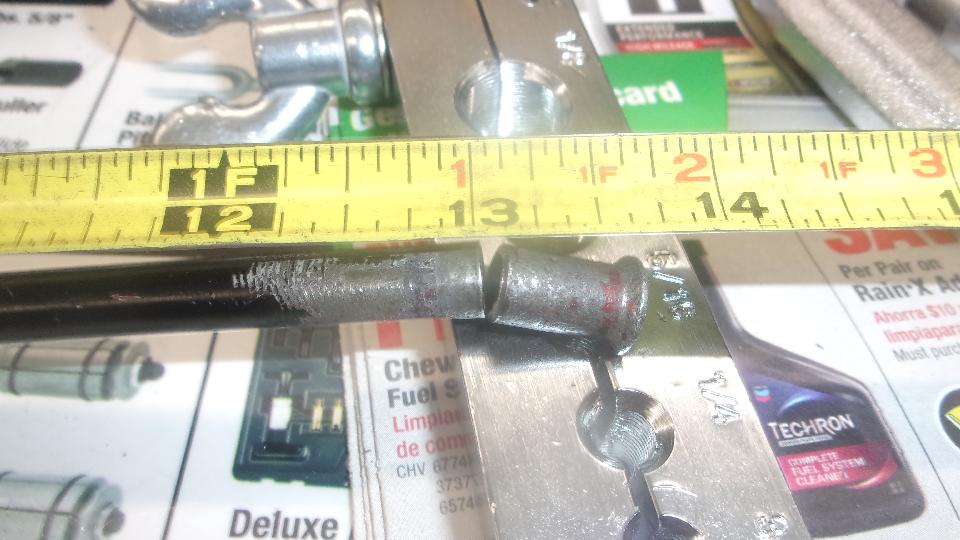
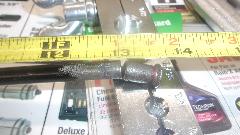
 After lots of fussing and measuring in situ, the casing needed to be shortened from 13-5/8" to 12-3/4". I don't carry the flaring tools on the road, so off to O'Reilly Auto Parts to borrow a loaner tool. After shortening and re-flaring the pipe it went back together with less pain, and the wipers are working properly again for the first time since we tried to install the Moss wheelboxes a few years ago. Net working time from lunch to dinner hour was 6-hours, and boy do I have a sore back from all the time under the dash.

Now the additional stuff. There is a chance that not all MGA had the same center spacing between wheelbox spindles, so maybe not all center drive casings would be exactly the same length. There is a prior tech page from 2005 noting the center casing to be nearly a full inch longer than my final installation, but on further review, that may have been written in reference to an MGB rather than MGA.
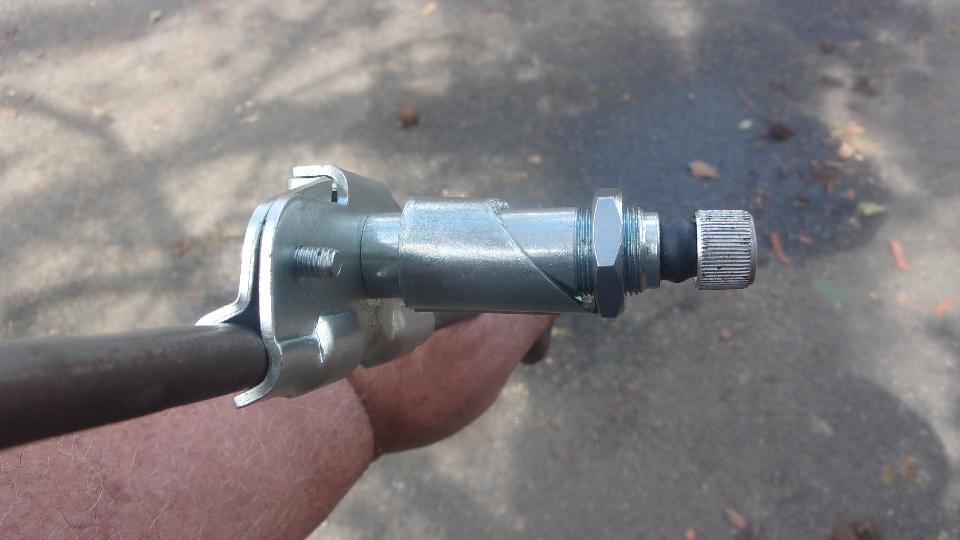
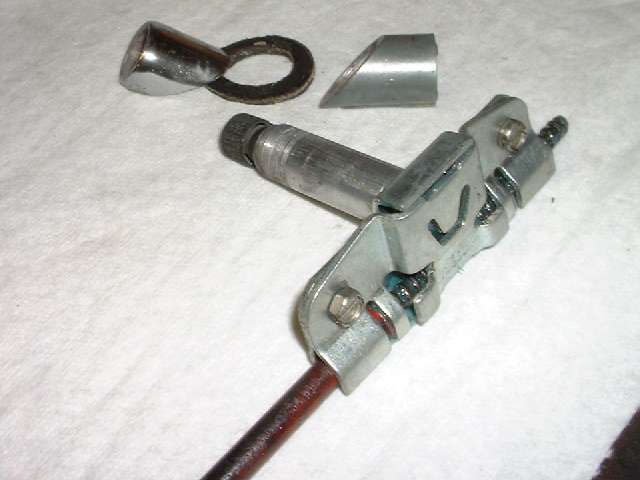
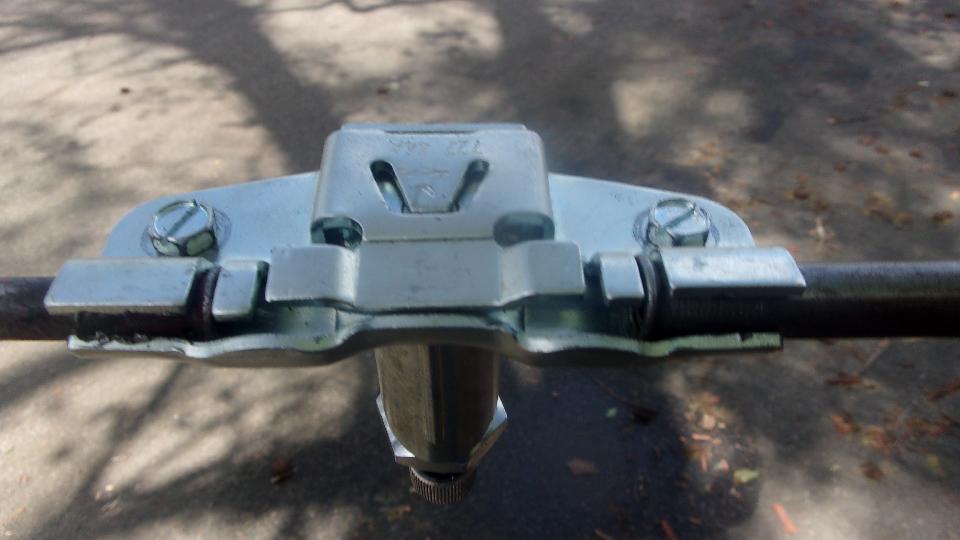
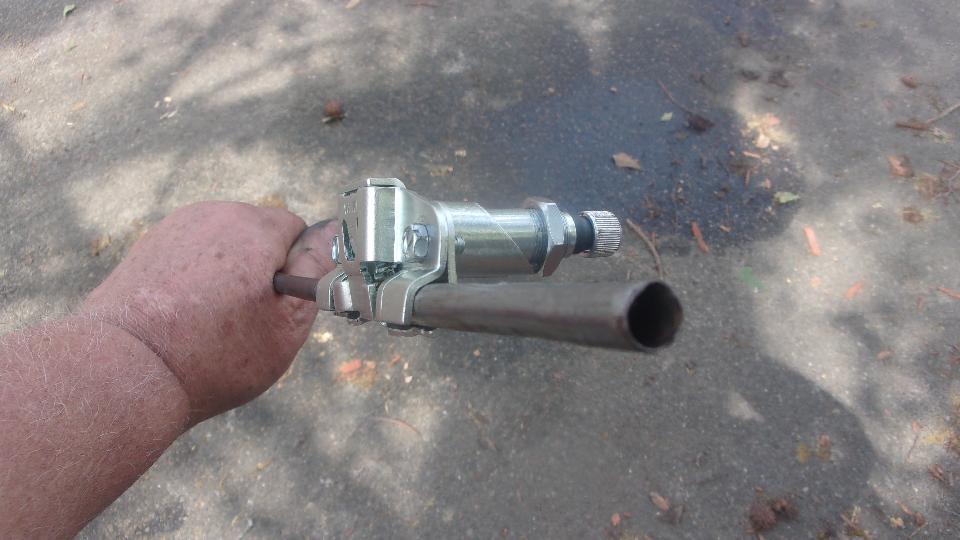
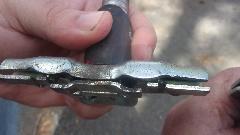
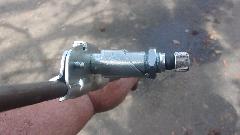
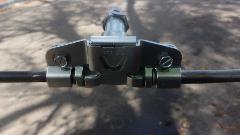
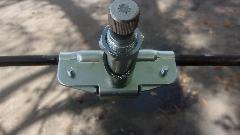
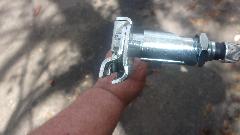
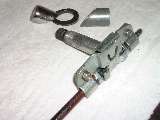 The picture here shows the wheel box removed with the tube and cable drive connected. In operation there should always be a tube installed on both sides of the wheel box to guide the cable and to protect the otherwise exposed cable end. Pay special attention to the flared end of the casing pipe, and the curled tabs holding it. The flared end belongs in the first slot with the two tabs holding it to prevent end-wise motion in either direction. The tabs must be formed, or re-formed, to hold the pipe secure so this assembly does not wiggle. Some aftermarket wheelboxes have this form wrong, and must be adjusted during installation.
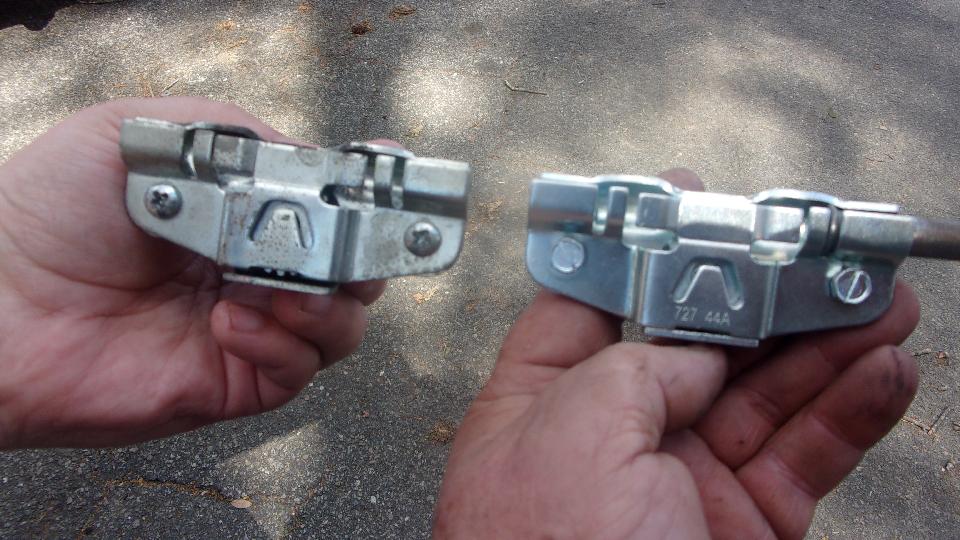
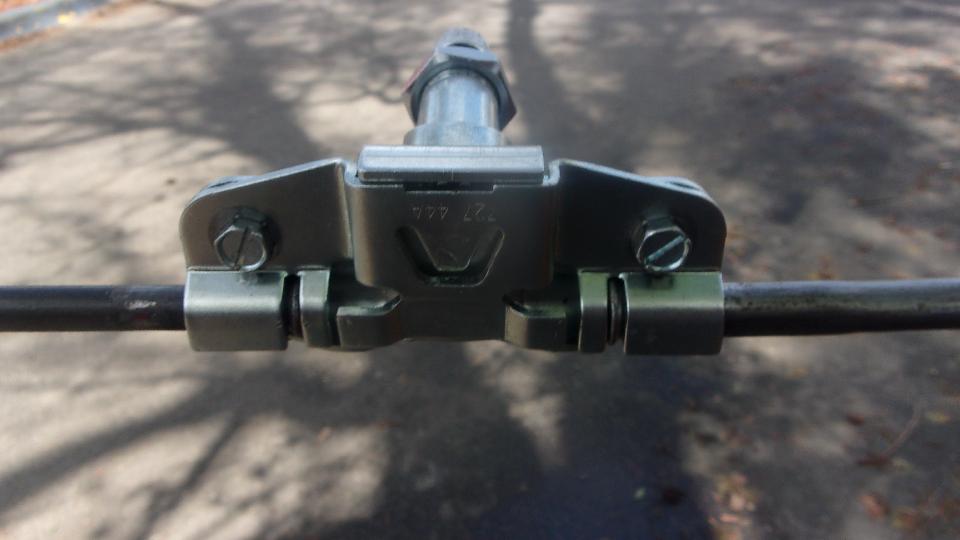
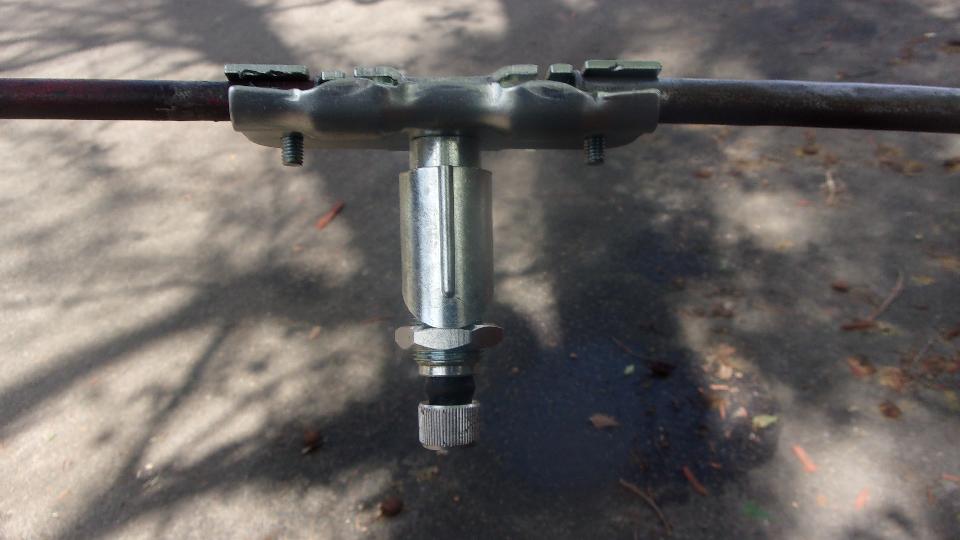
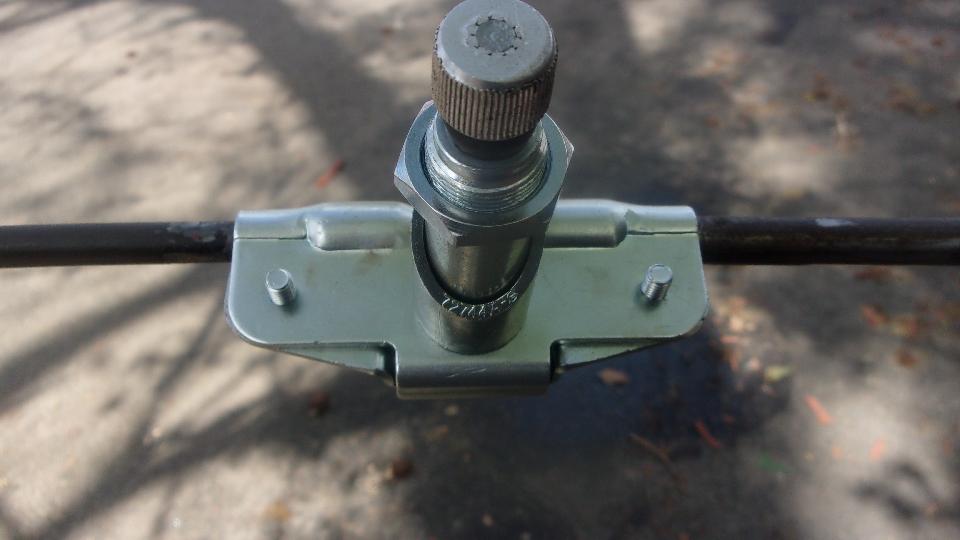
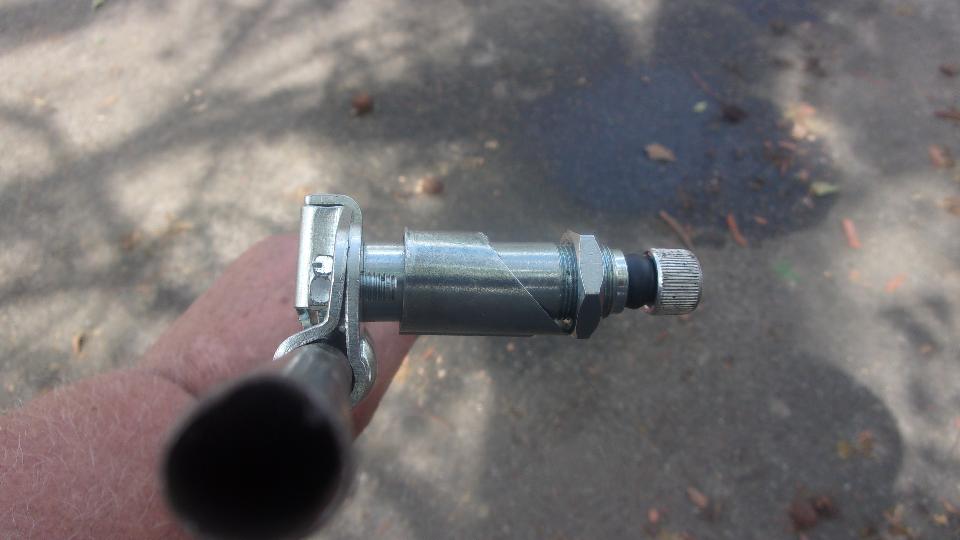
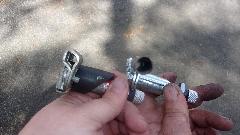
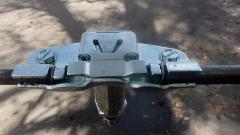
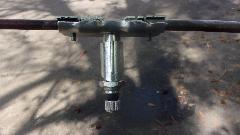
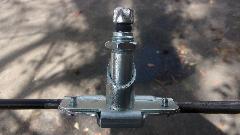
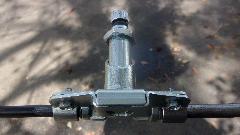
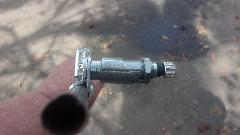
And now just a bunch more pictures to have the proper forming and assembly of these parts ingrained into your brain. I don't know the intended function of the two fingers pointing left and right from the center, as they do not touch anything in assembly. It looks like it may have been intended to include a pair of short bronze tube bearings to guide the cable close to the wheel, then later omitted as not necessary.
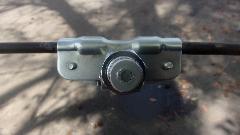


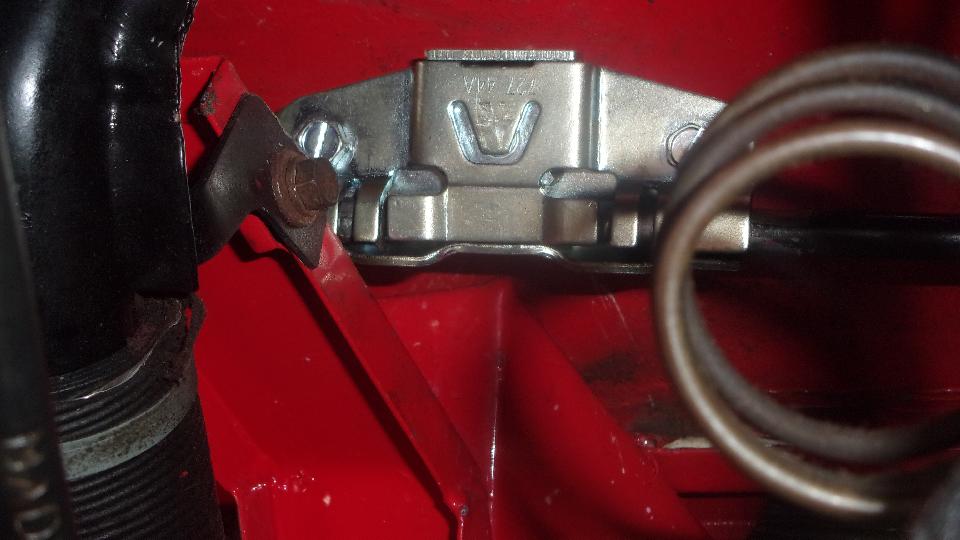
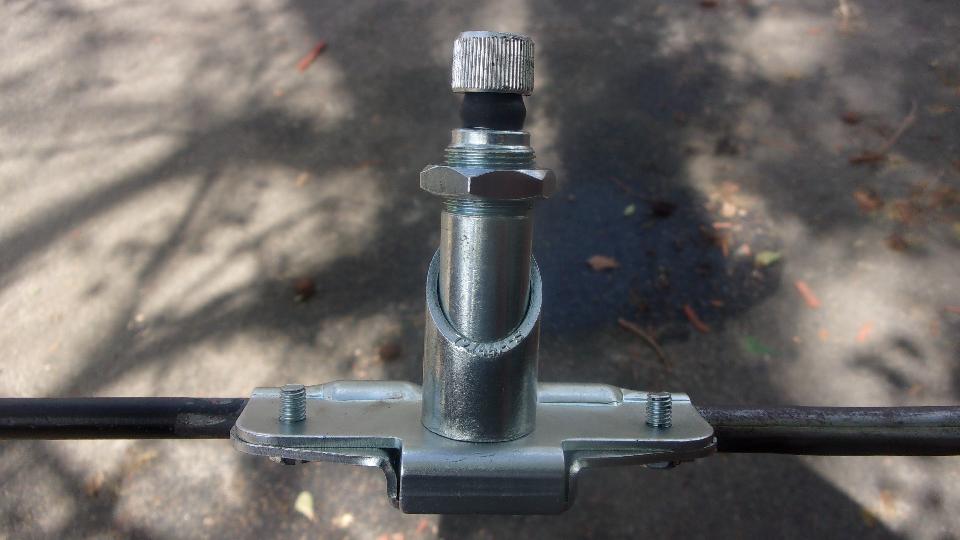
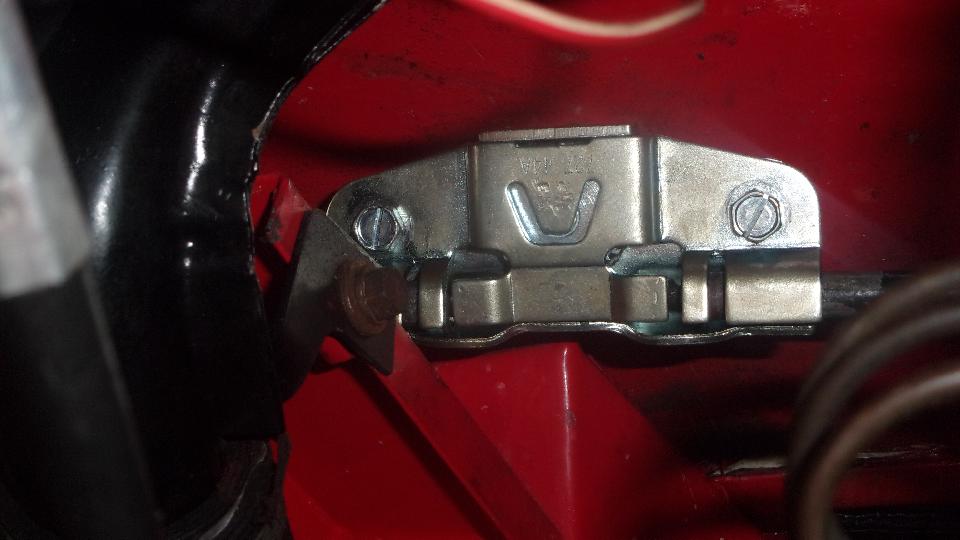
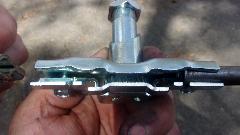
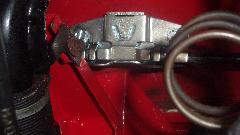
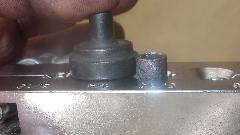
 One last picture of the assembly installed. Notice one of the assembly screws is partially hiding behind the non-moveable body bracket holding the demister vent housing. It doesn't look too bad in the picture by craft of the camera angle, but in the real word these screws can be very difficult to reach. hen finished, br sure the spacer tube is angled properly, as well as the chrome bezel on top (outside). Use a good quality outside gasket, and get the chrome bezel nut tight enough to squeeze the gasket to prevent leakage when it rains.
Addendum, Apri 10. 2022:
Ahmed EL Abasiry in Calgary, AB, Canada wrote:
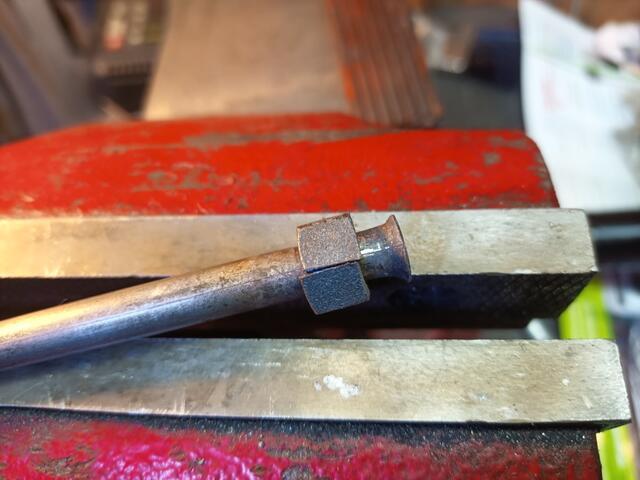
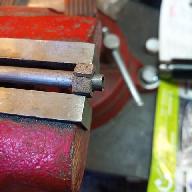
"Here is how I flared the tubing without a flaring tool".
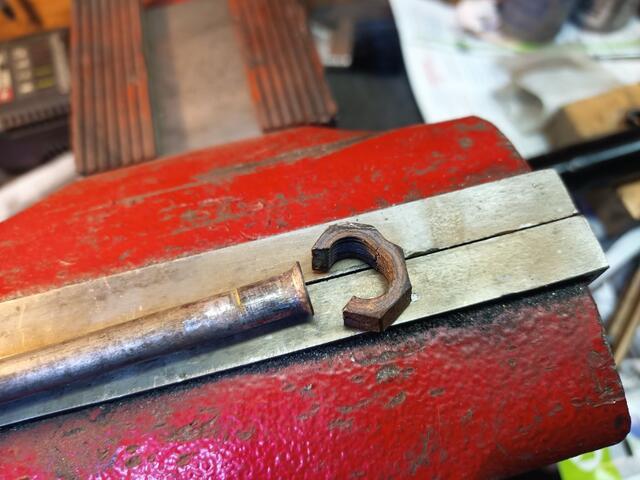
1- Cut a 3/8" nut.
2- Put the nut around the tube and clamp in the vise.
3- Heat up the end, and using your favourite tapered punch (or small socket), hammer the end to shape the flare. May have to do it a few times.
4- Split the nut with a screwdriver and discard,
Whole process took less than 10 minutes"..


Find additional informatoin on length and form of the cable drive outer casing tubes:
14G3722,
AHH5410,
AHH5411
|