The MGA With An Attitude
IGNITION SWITCH Repairing Electrical Parts, MGA - ET-126
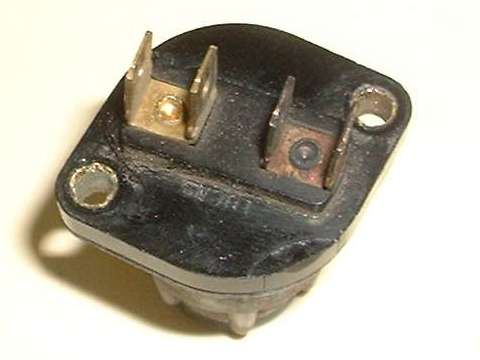
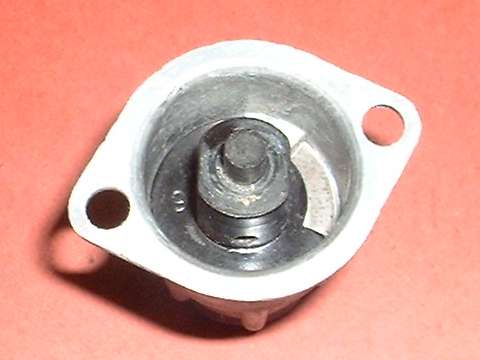
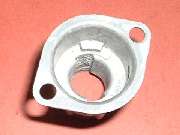
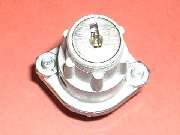
Having cleaned up the mechanical end of the ignition switch I decided to fix the loose terminals on the electrical end. Since the rivet heads are inside the switch, the only way to do a good job of resetting the rivets is to take the switch apart. So use a 3/16" drill bit to remove the rolled over ends of the tubular rivets, and there it is exposed, complete with 24 years of dirt and corrosion and 238,000 miles of wear (which doesn't look bad at all).
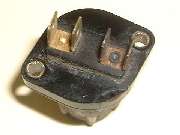
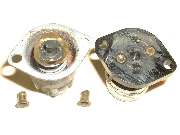
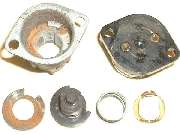
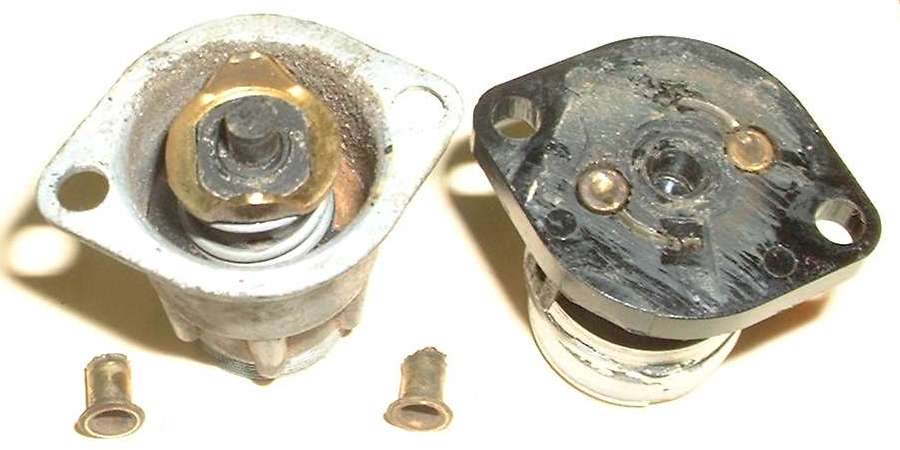
Above from left to right: Corroded and burned terminals with loose rivets. Phenolic rear plate removed from switch. Internal parts removed in sequence, right to left, brass contact plate with double-D hole and two turned up ears, coil spring, phenolic rotor, and a thin steel thrust washer (slightly rusty).
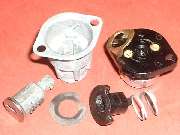
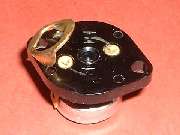
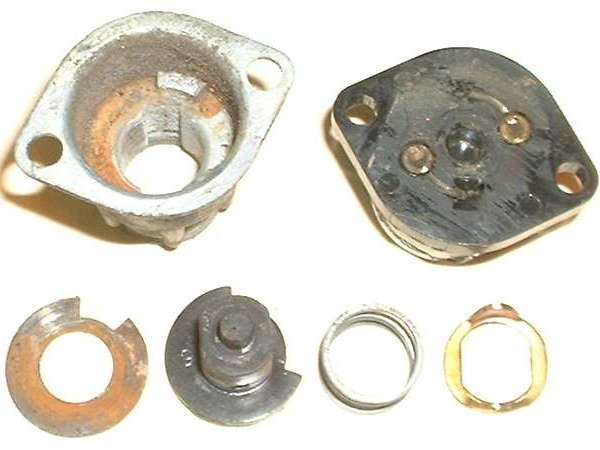
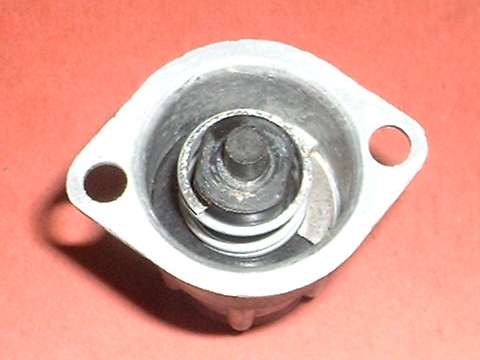
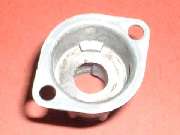
The parts clean up nicely with a touch of CLR and a little scrubbing (and a darker color backdrop makes better pictures). The thick silver ring under the rear plate is just a temporary support fixture. Center photo above shows the brass rivet heads with and the mating brass contact ring. On the rear plate above and below the center pilot hole are two shallow V-shape depressions that serve as detents to provide the positive click in the "off" position. The rivet heads have a center dimple that provides the detent to keep the switch in the "on" position. The two ears of the brass ring slide around on the back plate with force of the coil spring to make the detents and electrical contacts effective. There are shallow wear marks it the back plate (nothing to worry about). Wear on the rivet heads and brass ears is minimal, looking like it should be good for many years to come. Picture above right shows a physical stop in the housing that limits movement of the rotor.
This is an example of a "gross motion switch", so called because of long sliding motion of the electrical contacts. Other switches in the dash have similar gross motion, although different shape parts for pull-push operation. These switches are very robust and self-cleaning when used regularly. Ditto for the dipper switch. If a gross motion switch might develop high internal resistance from disuse and corrosion, then repeated operation of the switch may clean the contacts to keep it in service.
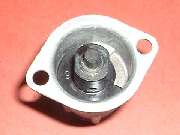
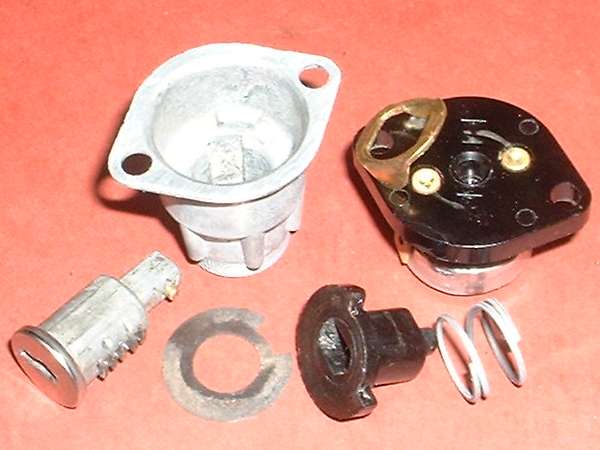
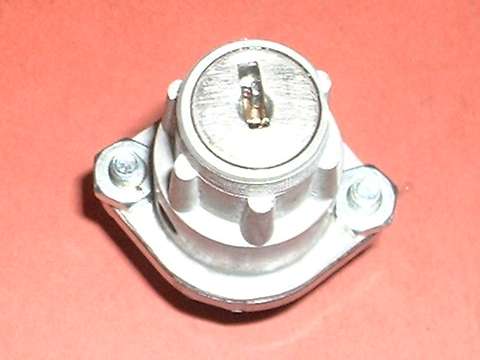
Now the reassembly sequence: Above left to right, drop in the thin steel thrust washer, then the rotor and the coil spring. Below left to right, install the contact ring with ears outward, then the back plate (asymmetrical, either way around works). I secured the assembly with two #10-32 x 1/2" machine screws and hex nuts. For one off it's easier than rivets (which I didn't have handy anyway). Below right shows the hex nuts with one side ground back a bit to fit close to the housing wall. That might not be necessary for small hex nuts (5/16" across flats), but these were standard size (3/8" across flats). At least it doesn't need lock washers.


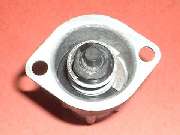
In the center photo above, notice the nicely secured rivets. After all, that was the purpose of this exercise. To snug up the rivets I clamped a center punch in the vice, pointed end up, and nested the dimpled rivet head onto the point. Then I used a flat nose punch on top and hit it with a hammer to depress the originally rolled over end of the rivet. I tapped it a few times as necessary until the brass contact began to deform slightly (hard to see here), and that's as tight as it can get without breaking the back plate. Now cross my fingers and hope I can keep the Lucar connectors tight for another 20 years.
Addendum, December 9, 2014:
I did the repair work on the replacement type switch because that is what was in my car at the time, and it needed repair immediately to stay on the road. I only took that one apart because the rivets were loose.
An original type switch with screw terminals might never need disassembly for repair. With gross motion contacts, the contacts should be self cleaning, and the rest of the electrical parts of the switch are very robust. If the drum and/or tumblers wear out they can be replaced. If the internal parts seize up from disuse or corrosion, a good soaking in CLR may free it up, followed by rinse water and some exercise.
|