The MGA With An Attitude
You should not need to remove the tumblers from the cylinder unless you intend to re-key the lock. In that case you would need new tumblers, and cut a new key to match, or install the proper combination of tumblers to match the new key. This job is usually left to locksmith who would have the correct parts. It may be cheaper and easier to buy a new cylinder and key set (if you do not need to match a particular key number).
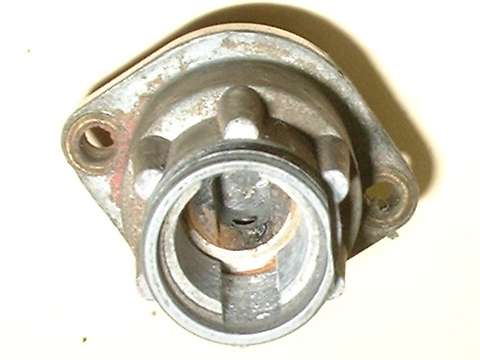
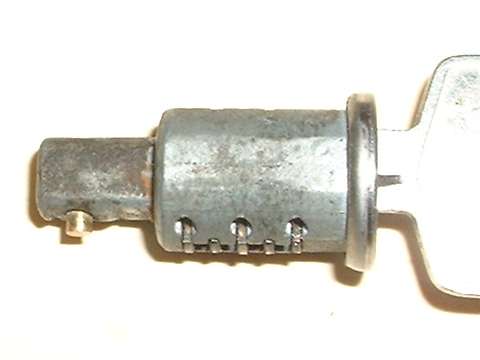
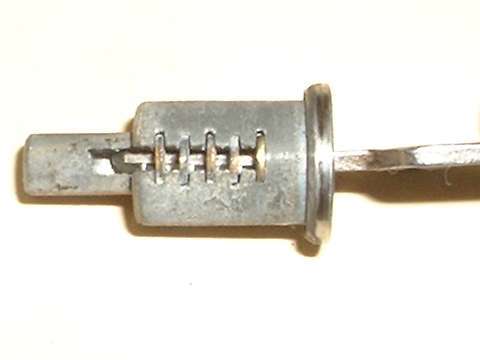
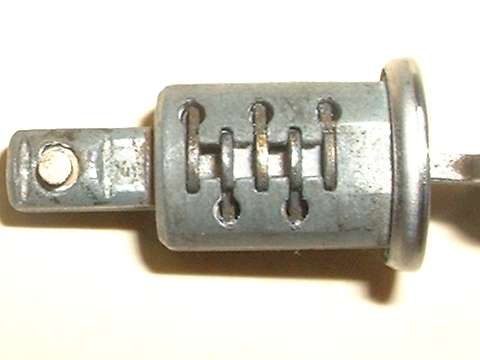
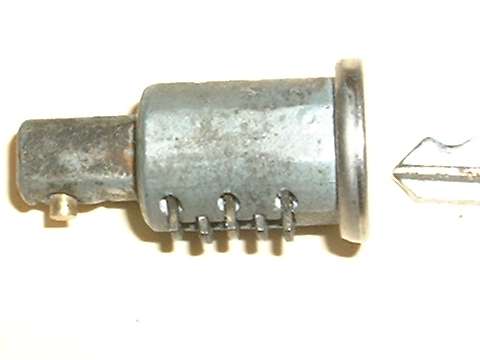
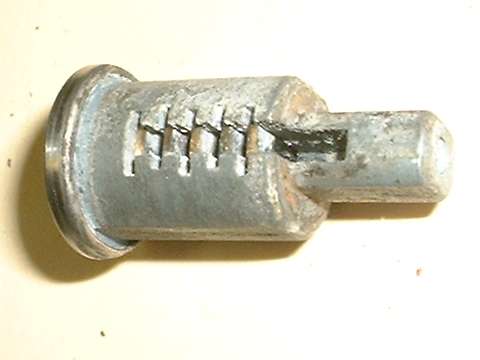
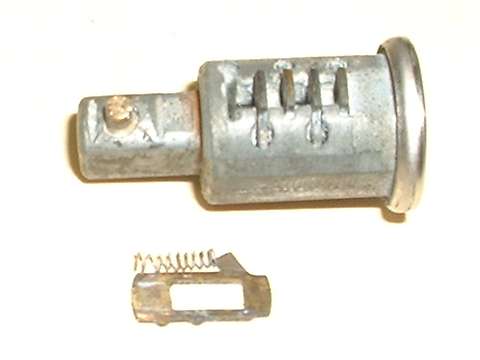
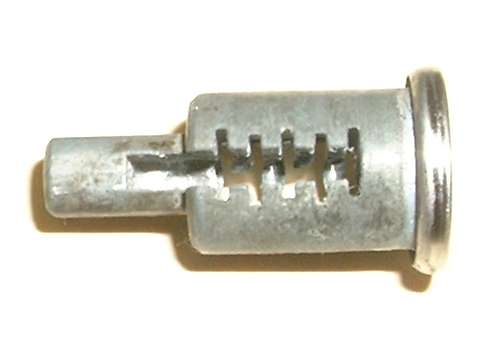
To remove a tumbler, press down firmly on top of tumbler until it pops loose and moves downward to be extracted from bottom side. The two small bumps on side of the tumbler opposite the spring serve as motion limit stops within a shallow slot in the cylinder. This requires a firm push to install or remove the tumbler, but once inside they move freely within the normal working range of motion. Although this lock was working well before disassembly, there was some corrosion inside. In particular, the springs were stuck in far end of the pockets, mired in bit of compacted oxide dust. The one spring in the picture was stretched a bit before it came loose. When cleaning after disassembly, a significant amount of oxide dust was dislodged. Over the prior 24 years of regular operation, it could have benefited from a periodic touch or graphite lube, but such may not come to mind when the thing is always working okay.  This is a 5-tumbler lock, so the numbers in picture at left represent the 5 stations on the key and the 5 matching tumblers. Notice the wear marks where teeth on the key bear against the apertures in the tumblers. The key also wears down some with use. This makes the tumblers drop slightly below the bottom of the cylinder where they might hang up in the slot of the housing. If you have to fiddle a bit with your key to get the lock to turn, this may be the problem. If you don't have a key, you can take it to a locksmith who might make a serviceable key in less than 10 minutes without even disassembling the lock (cute trick). If it is an original switch and has the key number on the front, Pete Groh can make you a key on an original blank. Contact information: British Car Keys 9957 Frederick Rd. Ellicott City, Md. 21042-3647 Phone: (410) 750-2352 Evenings - (443) 912-4740 Cell Email: pete_groh@yahoo.com Otherwise drill out the cylinder and tumblers starting center front with progressively larger drills until you can dig out the remains of the tumblers with a metal pick. Drill only as deep as the length of a key (3/4 inch deep). Expect final drill size of 1/4". Once all bits of tumblers have been removed, rotate the cylinder 60 degrees clockwise to align the locking pin with the access hole, then follow instructions at top of page. |