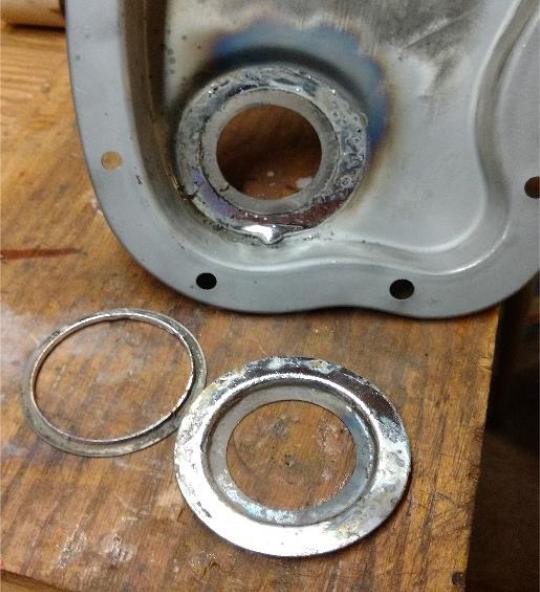
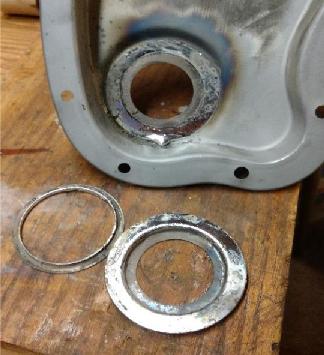
1. Unsolder the existing seal retainer from inside cover (this consists of two rings).

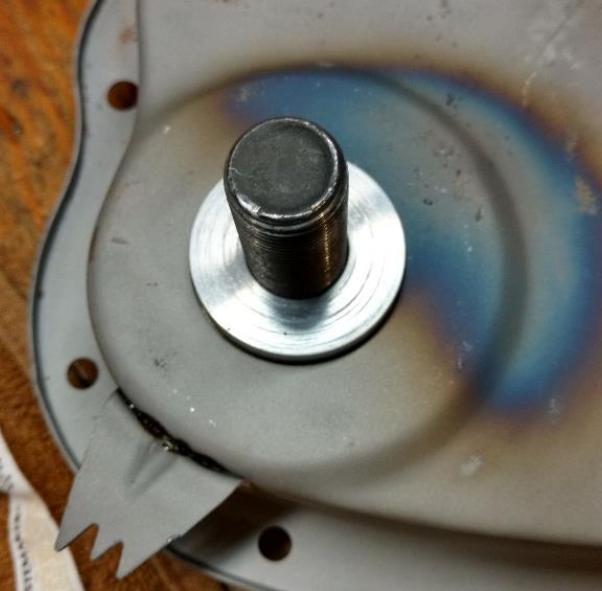
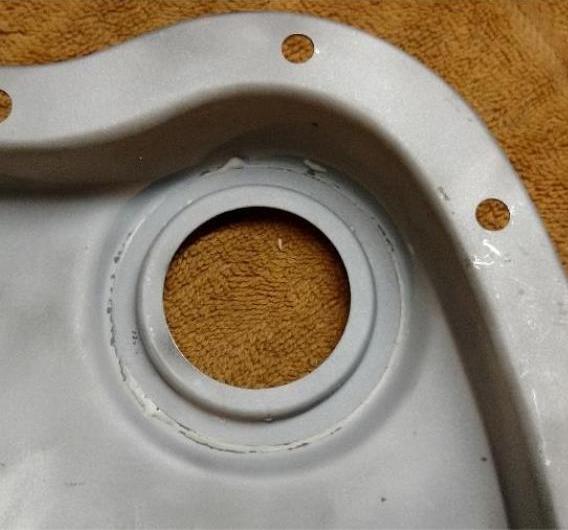
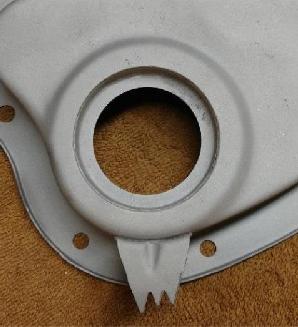
2. Carefully center a 2-3/8 chassis punch over the existing hole in the cover. This is important because the seal must be centered on the crank pulley. I made a centering jig. When you are sure of the centering, punch the 2-3/8 hole.

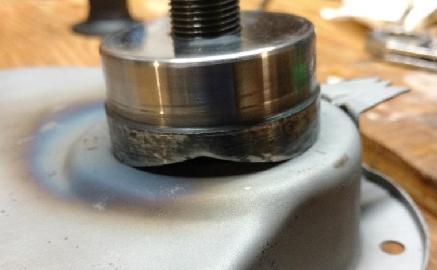
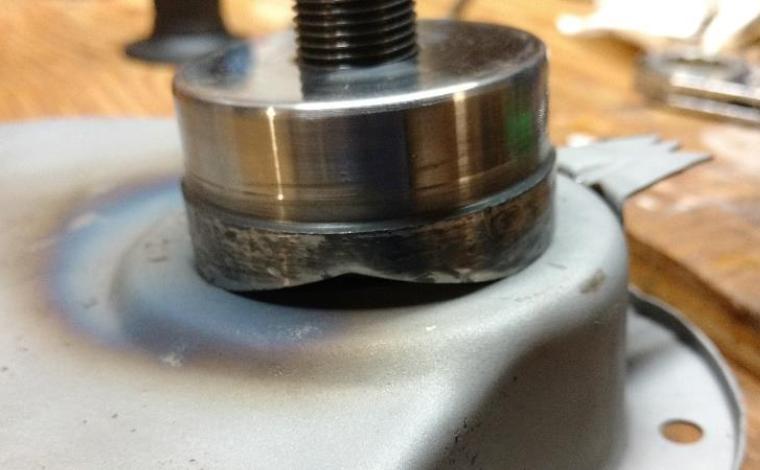
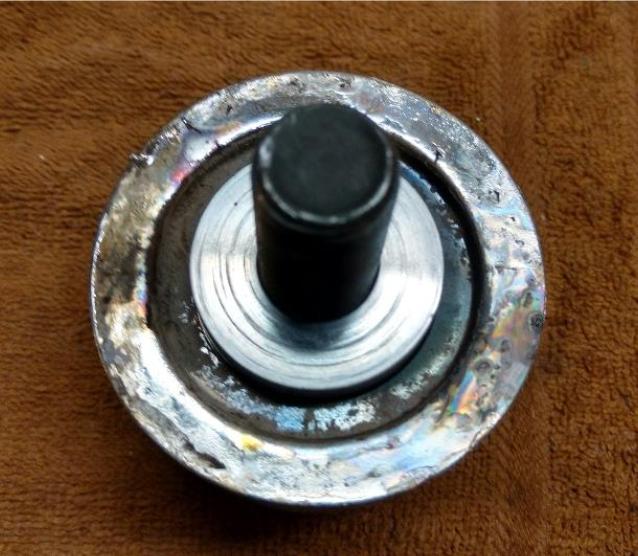
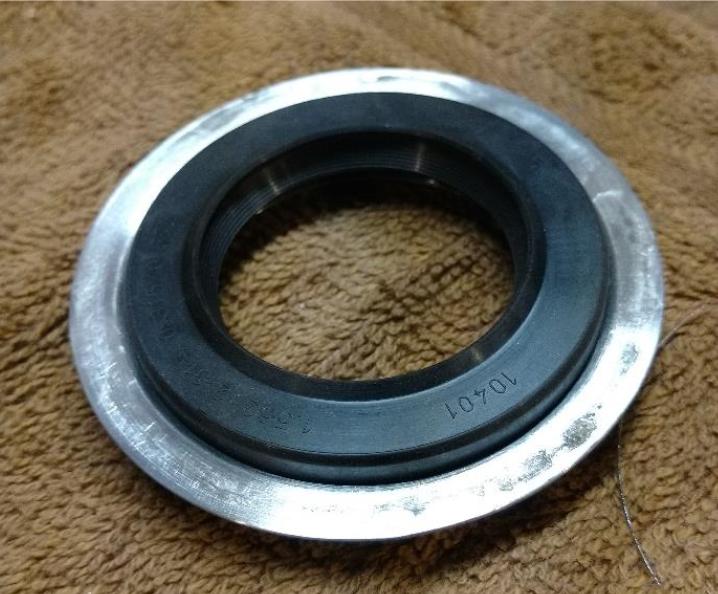
3. The cup ring that you removed from the inside of the cover is too small for the rubber seal (Moss # 120-000). Place the cup ring inside the cup of the chassis punch. Now screw the punch onto the cup inverted. Again centering is critical. Carefully draw the punch together for a depth of .290. This will expand the cup ID to the correct size for the rubber seal. If you screw this up you can make a new on from 22 ga steel obtained from local hardware or home improvement store. (See additional note below).
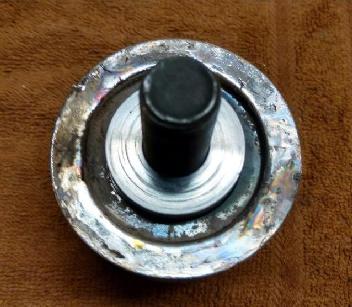
 4. Make sure seal fits.
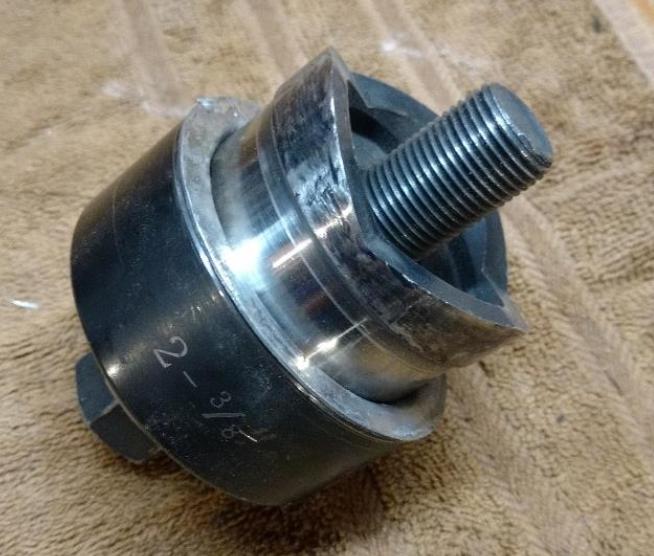
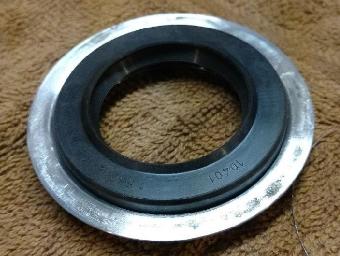
The rubber seal is intended to fit into 2-5/16" housing bore (2.312"). The heal of the punch shown above has been turned down in a lathe to 2.300" or 2.310" diameter. If you have a rubber covered seal it might be forced to fit into the smaller bore, but if you have a steel shell seal the bore size in the finished cover will have to be very close to 2.312" (original size).
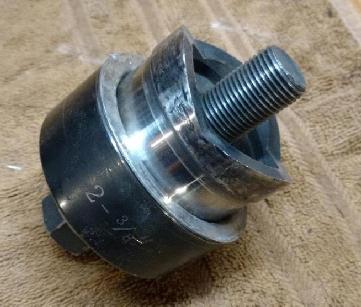
Considering a punch size close to 2.313", and a die size of 2.375", this leaves net clearance of 0.062" on diameter,or 0.031" on the radius. This should accommodate up to 22-gauge sheet metal (0.030" thickness).
5. Solder the expanded cup to the inside of the timing chain cover making sure it is centered.

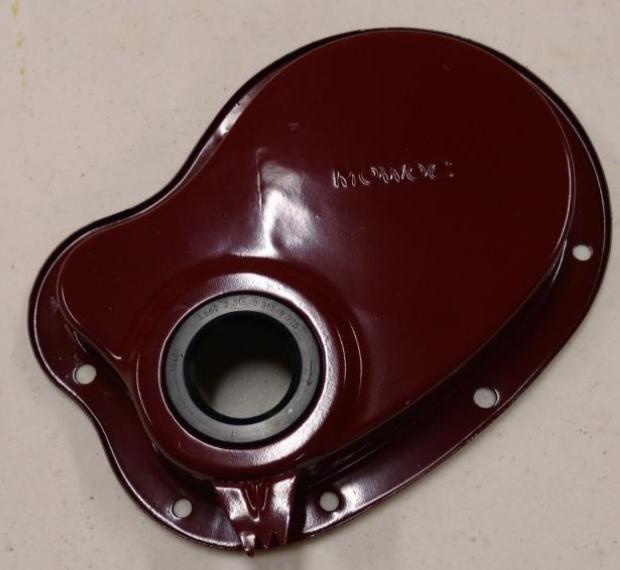
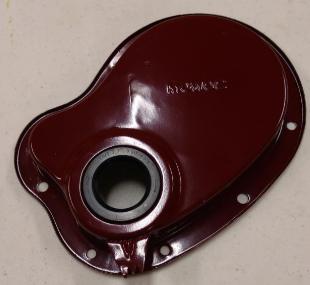 6. Paint the converted cover. Rustoleum Merlot is a perfect match for the original engine color.
7. Install the new rubber seal into the cover (I apply black RTV gasket sealer to the rim of the seal just to be sure).
8. Install the timing chain cover but leave the bolts loose. Then insert the pulley. This will center the cover to the pulley, then tighten a few of the bolts.
9. Remove the pulley and tighten the rest of the bolts.
|