The MGA With An Attitude
FRONT SHOCK STUDS Base Plate Repair - FR-107
On 8/26/2022, Bruce Bodenstein wrote:
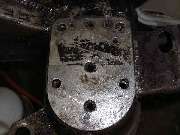
 I was replacing the incorrect 8 bolts used with the correct 3/8-16 studs and nuts. While doing this, I noticed that a couple of the installed studs were quite wobbly and sure enough when I began pulling down on the nuts, two of the studs (one on each side) wanted to pull out. Not certain of the cause but probably related to a hard hit suffered on the front end of the car prior to my ownership. I was replacing the incorrect 8 bolts used with the correct 3/8-16 studs and nuts. While doing this, I noticed that a couple of the installed studs were quite wobbly and sure enough when I began pulling down on the nuts, two of the studs (one on each side) wanted to pull out. Not certain of the cause but probably related to a hard hit suffered on the front end of the car prior to my ownership.
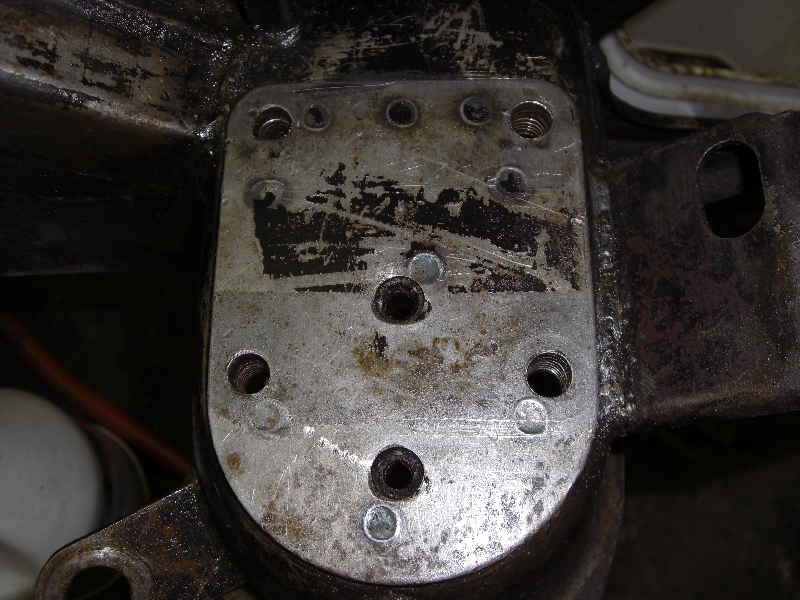
Upon further examination of the defective threaded holes, I began to consider possible corrective actions. One being replacement of the Base Plates on both sides, which seemed possibly overkill as 6 of the 8 holes seemed fine. Obviously, the next choice would be to somehow replace the bad threads. As I carefully studied the 2 holes, One impression was that there didn't appear to be a lot of metal to grab onto. I could see a couple of small gaps around the threads where there was no apparent metal at all. The other impression I came to was that I would only have one shot at fixing these holes. Should I fail, then the base plates would have to come off most likely. I wanted to move slowly with this repair.
 After a bit of internet searching, I found there were several options for thread repairs. I had used Heli-Coils on numerous occasions and this would have been the easiest route. Just run down to the auto parts store and grab a kit for 20 bucks or so. This approach made me nervous though. Remember, just one shot. I was concerned that the "coil" approach wouldn't provide the amount of grab I felt was required to adequately fix the issue.
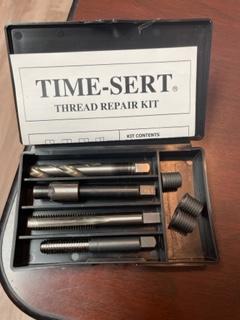
 I was attracted to the Time-Sert brand as it consisted of a thin solid sleeve that would be screwed into a newly tapped hole. After much consideration and a lot of the "gulp factor" when I considered the cost compared to Heli-Coil, I ordered a Time-Sert kit in the proper size. In due time a very nicely packaged kit arrived containing the installation tools needed plus 5 inserts and a very detailed instruction sheet. As expected, the repair job went quickly:
1. Use included drill bit and bore a fresh hole,
2. Using included tool, cut small counterbore at the top of the hole,
3. Thread hole for insert using included tap,
4. Using included tool, install insert sleeve (ridge at the top of insert fits into counterbore to prevent sleeve from going in too far).
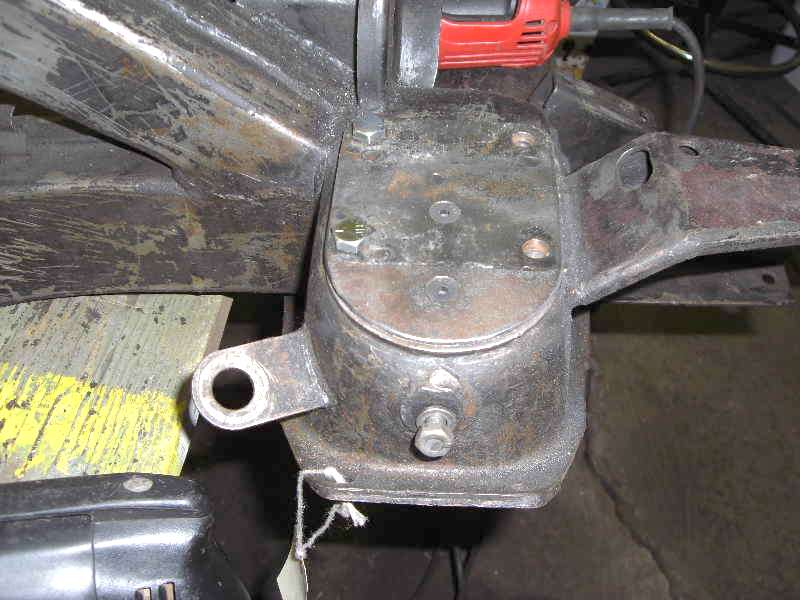
Overall, I was very satisfied with the repair. The two holes with essentially destroyed threads now secured their respective studs very nicely and both shocks snugged down appropriately with all eight studs. Yes, I may stand accused of over thinking, over engineering and overspending on the repair but again, I knew I had but one shot. Plus I am now ready to fix 3 more 3/8-16 holes on my MGA. BTW, If anyone wants to borrow my installation kit (replacement insets are pretty cheap), contact me at 704-277-2018 text or phone. -- Bruce Bodenstein
|