The MGA With An Attitude
FRAME REPAIR, Square Tube Forward Of Seats - FR-210-ST1
Photos and notes supplied by Eric Russell in North Carolina, USA
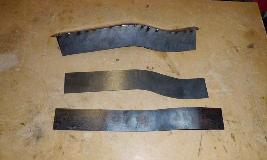
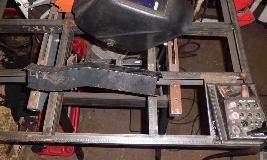
For the square cross member at the floorboards, I bought some 2" square tubing, and cut out the sides where it needed to bend. I fit in into a jig I made, then cut some new side pieces from 14-Ga and welded them into place.
Del Rawlins in Anchorage, Alaska, USA, had a different approach, writing:
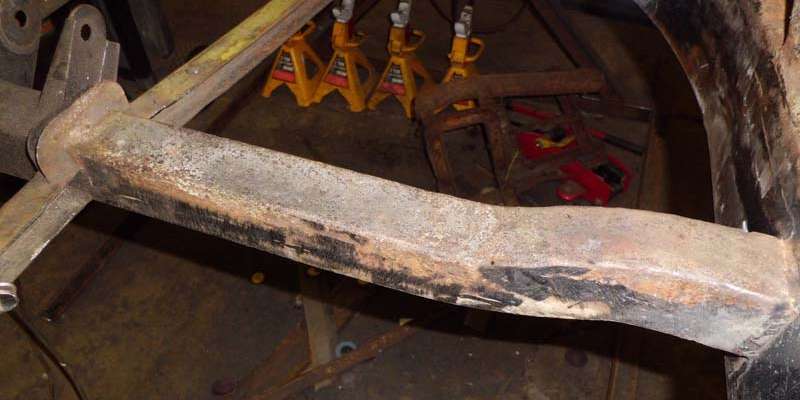
"Started tackling the RH square cross member this morning. The bottoms of both sides of the cross member are actually in good shape other than a few dents, and even still had some original black paint in place. The top and sides are another matter, however, with severe pitting and rust through in spots, and others where a prick punch penetrated easily. I wound up cutting out the flat sides (but not full height), and then clamping them together and match grinding. Then I cut a 2" wide strip for the top, and formed it to the shape of the existing piece using a torch and clamps. I used the cross member itself as a jig for tack welding the first side to the new top piece, then clamped the other side in place using bits of angle iron and tack welded. Then I marked the cross member and removed the top and all but about 1/4" of the sides, until the repair piece nested in place".
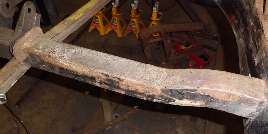
"I am not sure if I am going to weld the top corners with the O/A torch, or if I will drag the TIG unit out. I don't want to use the MIG for that because either of the other methods should give me a more rounded corner with less grinding, and probably better penetration on the weld which is important if I am going to make what is a sharp edge now, round. This is working out okay but I think I am going to just make the entire tube for the other side, instead of trying to save the bottom of the original one".
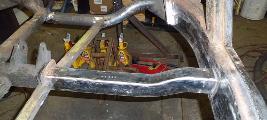
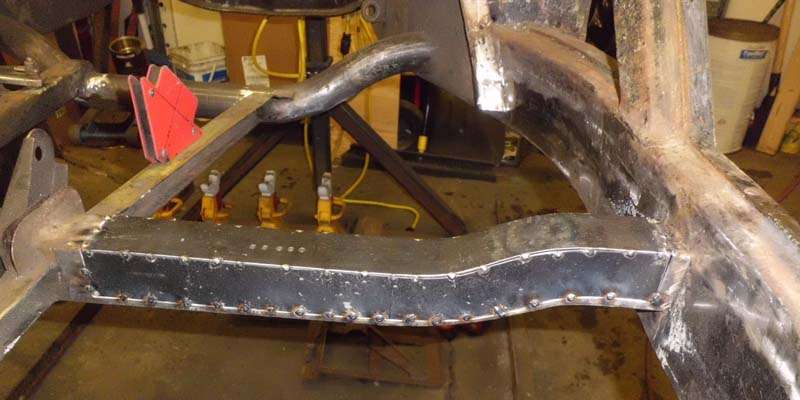
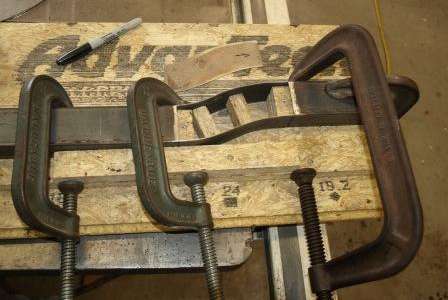
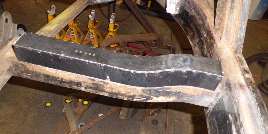
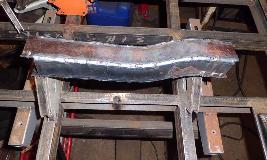
Next up, the left side. Building up an entirely new piece and welding it up on the bench worked fine. I skipped around a lot, only welded an inch or so at a time, and changed corners between welds, so that the seams more or less worked their way from one end to the other together. It seems to have prevented any noticeable distortion from occurring. Here I am using the existing crossmember as a jig for tack welding two of the pieces I made. The tack welded parts, along with the other two pieces. I tack welded them in the same way, against the opposite corner of the crossmember, then I tacked the two halves together.
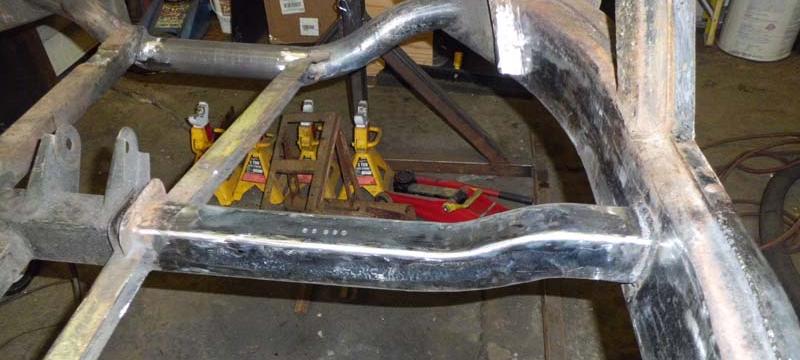
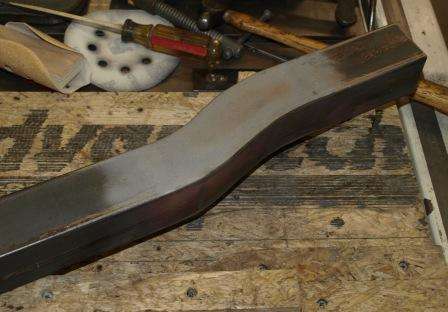
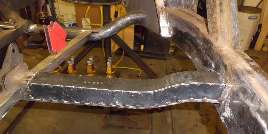
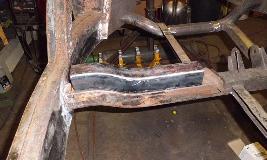
Preparing to TIG weld the corners. I didn't do any special bracing; I just put the tube on the 45 with some magnetic welding clamps. Welded tube. These welds are pretty ugly for TIG, but my goal here was max penetration so the part would retain strength even with the corners ground. So I really gave it the amps.
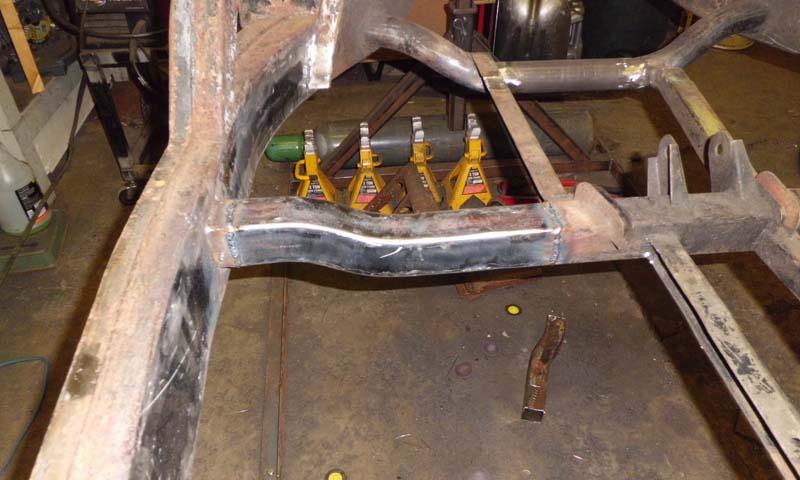
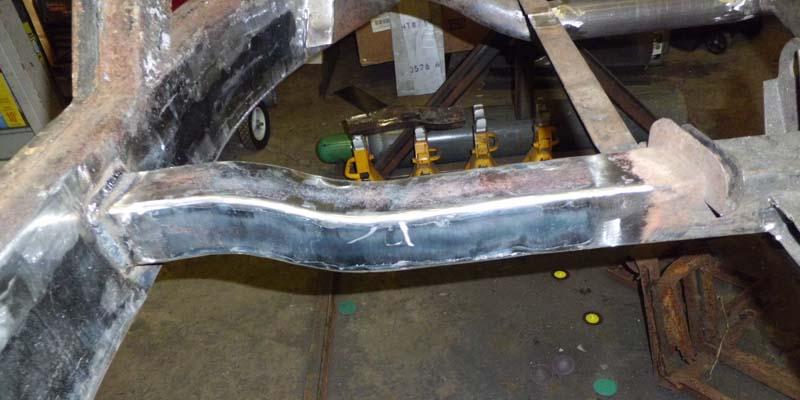
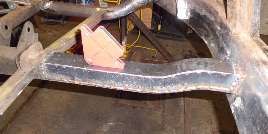
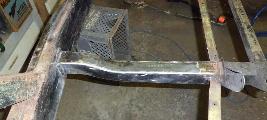
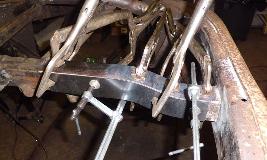
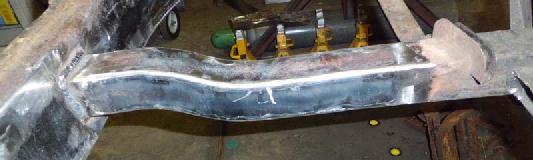
Corners ground/smoothed. There are some spots where I could lay in more weld bead, and re-smooth for a slightly better appearance, but as was so astutely pointed out, it's just going to be covered by carpet anyway. Crossmember welded into place.

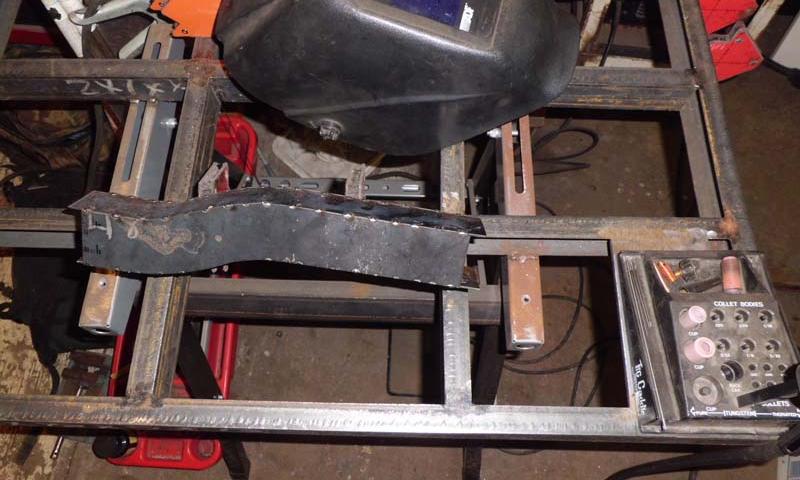
I need to grind the welds and hit it with my air sander still, but I ran out of the little roloc discs for my angle grinder. Last picture of the finished square cross member.
|