The MGA With An Attitude
FRAME REPAIR, and Accurate Measurements - FR-220A
On Nov 11, 2020, Ahmed EL Abasiry in Calgary, AB, Canada wrote:
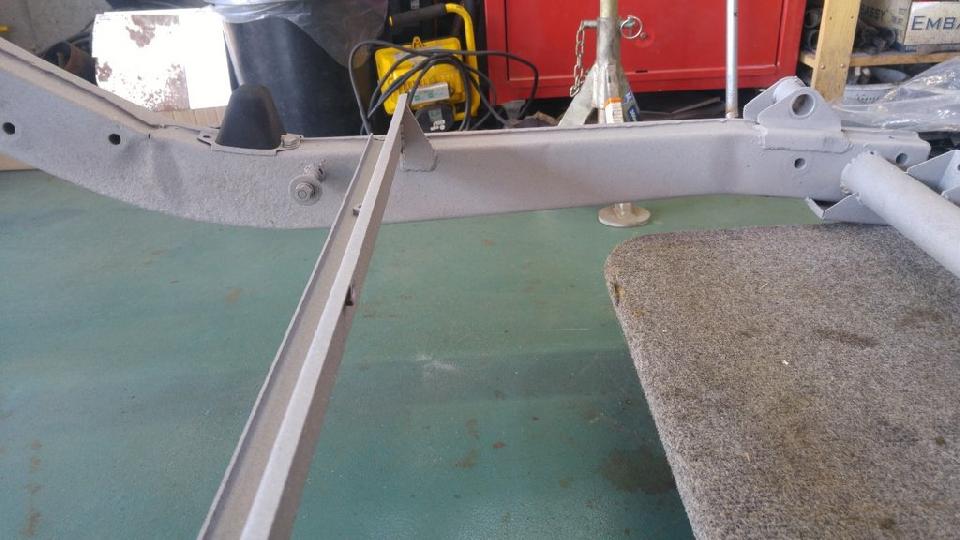
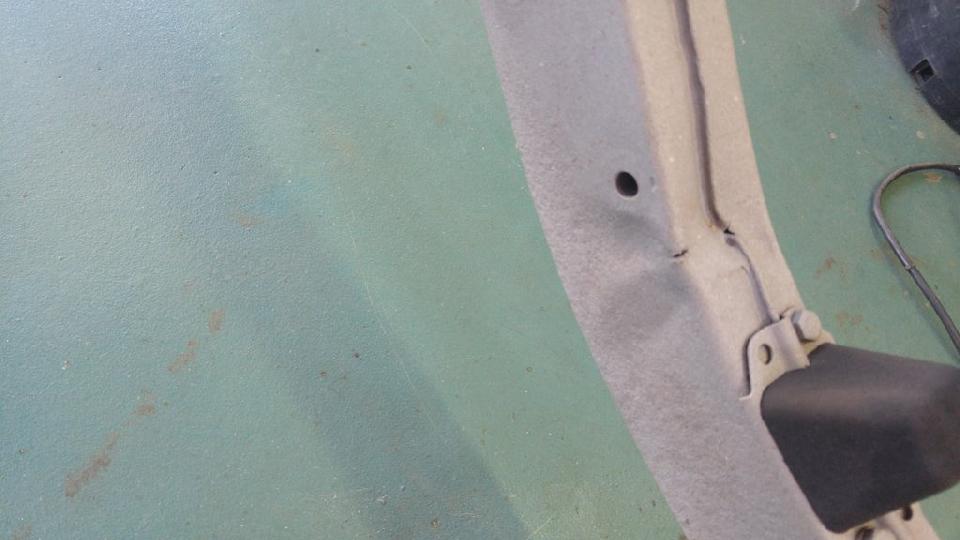
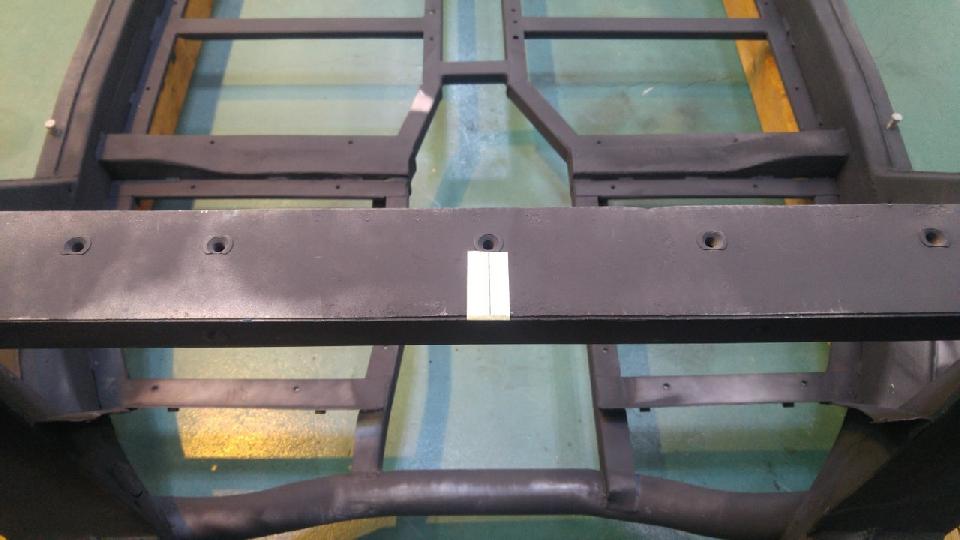
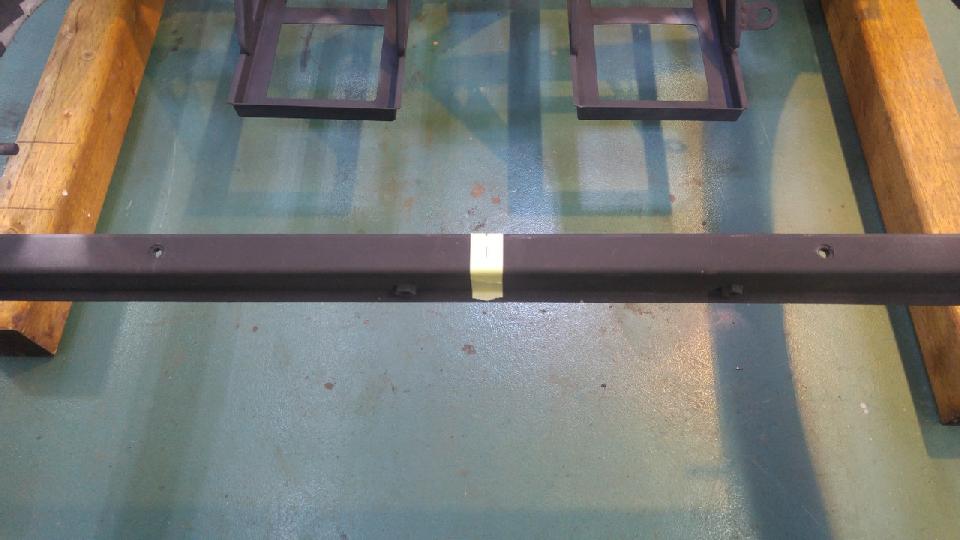
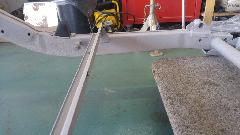
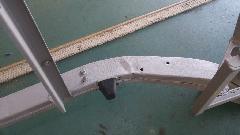
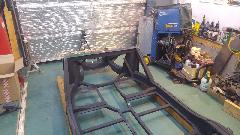
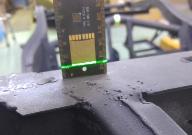
"I noticed that my frame had previous rear end accident which caused a crease in the frame arch right above the rear axle. While working on it on jack stands, it would wobble diagonally. It could also be my floor not perfectly level, but I doubted that. To put the matter to bed, I decided to do some measurements and checks to see the extent of the damage. First of all, here's some photos of the crease:

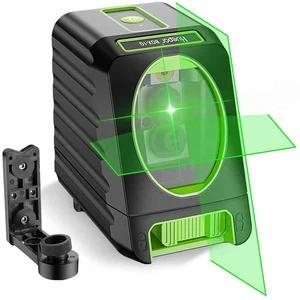
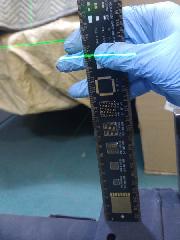
 To check the frame alignment, you will need a cross-hair laser with self-leveling feature. These are becoming more popular and reasonably priced. Amazon has several and I chose this one as it has better accuracy than other models (2mm for 10m range). This particular laser level cost me $66 CAD ($50 USD)
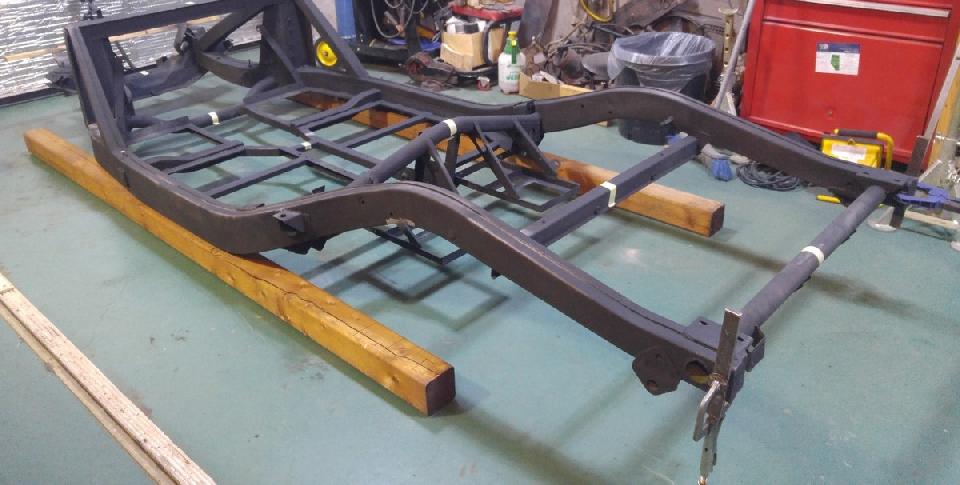
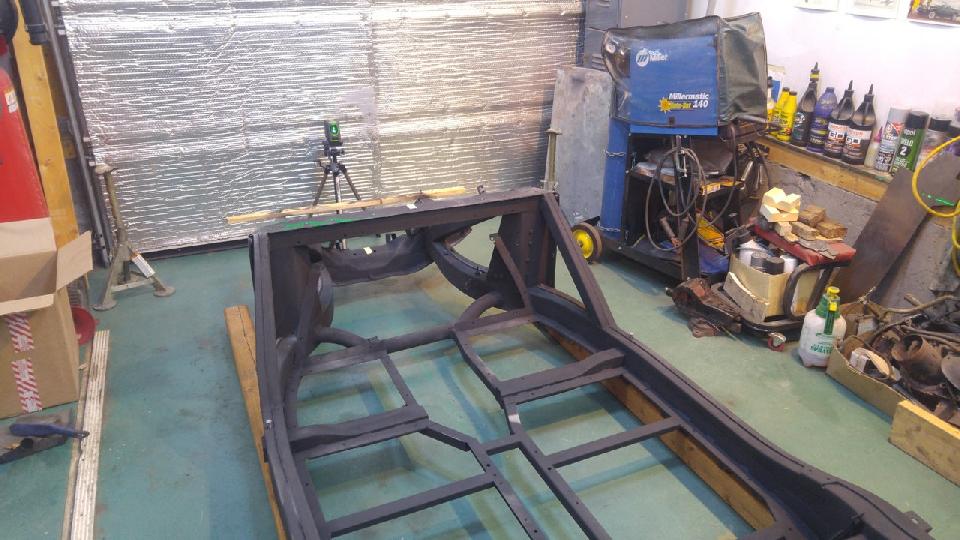
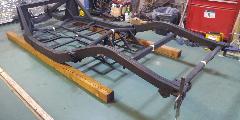
 First step is to get two straight and flat pieces of lumber. I picked up those two 4"x4" posts from Home Depot after choosing the most straight ones I could find in their stock. First step is to get two straight and flat pieces of lumber. I picked up those two 4"x4" posts from Home Depot after choosing the most straight ones I could find in their stock.
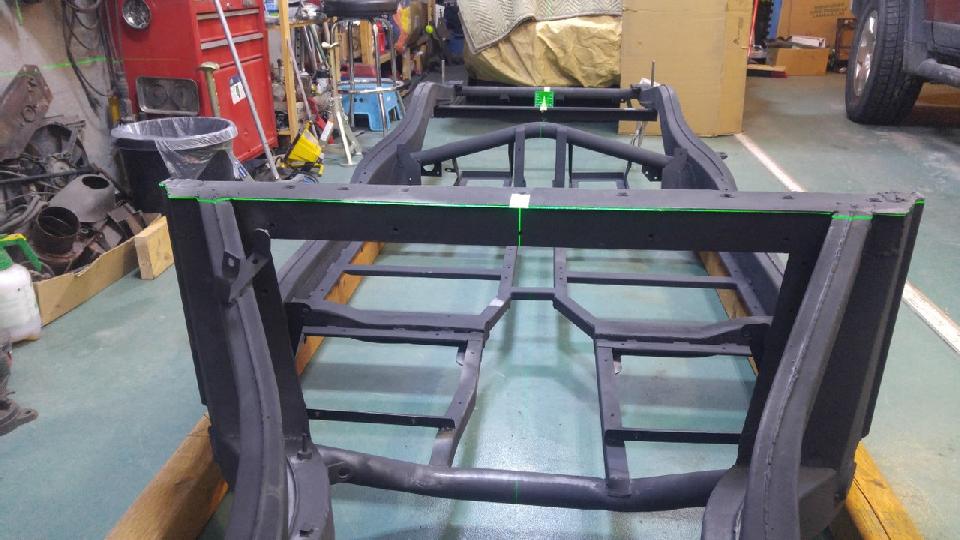
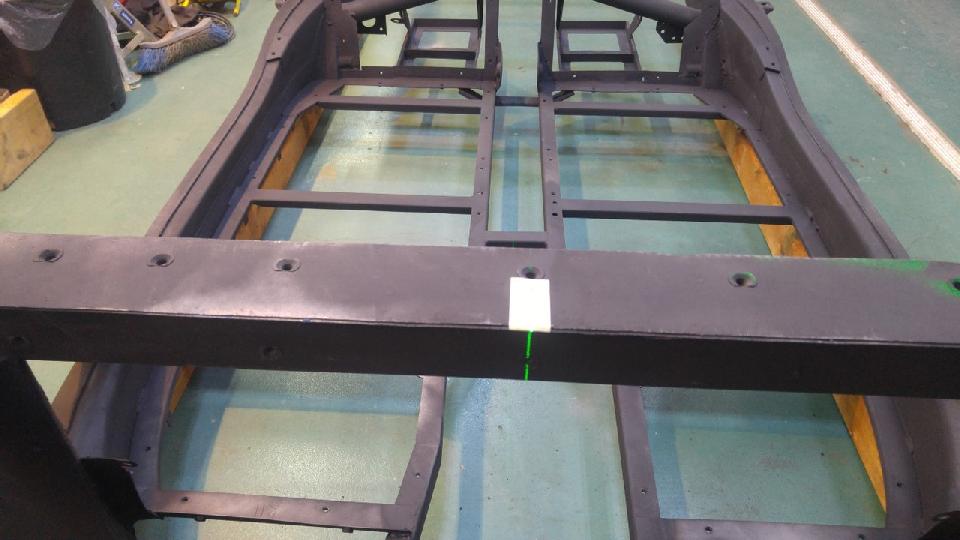
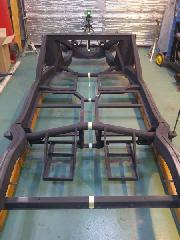
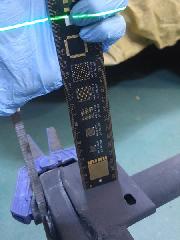
Next, set the frame on the lumber as shown (I also swept the floor clean before placing the lumber on them). The idea is to project a plumb & level vertical & horizontal lines on the frame, align the center of the frame to the lines then take measurements to find any deviation or discrepancy.
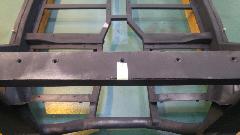
Now, we have to find the center of the frame at two points, front and rear. On the "goal post" there a bolt hole right in the center so I placed a piece of tape then marked the center with a small dot. I did the same with the cross-brace near the rear end (behind the battery boxes). There are two bolt holes there so I measured the distance between them , divided it by 2 and mark the center on another piece of tape. Note that I used reference points that were welded by the factory. Avoid using points or surfaces that were repaired/welded later as there is no way of knowing if they are still in their original position
 This laser device came with a magnetic mount but I have a camera tripod which I chose to use for better stability. The laser level has a threaded base which fits standard camera tripods (the majority of them do). I positioned the laser device to project a level horizontal line across the frame.
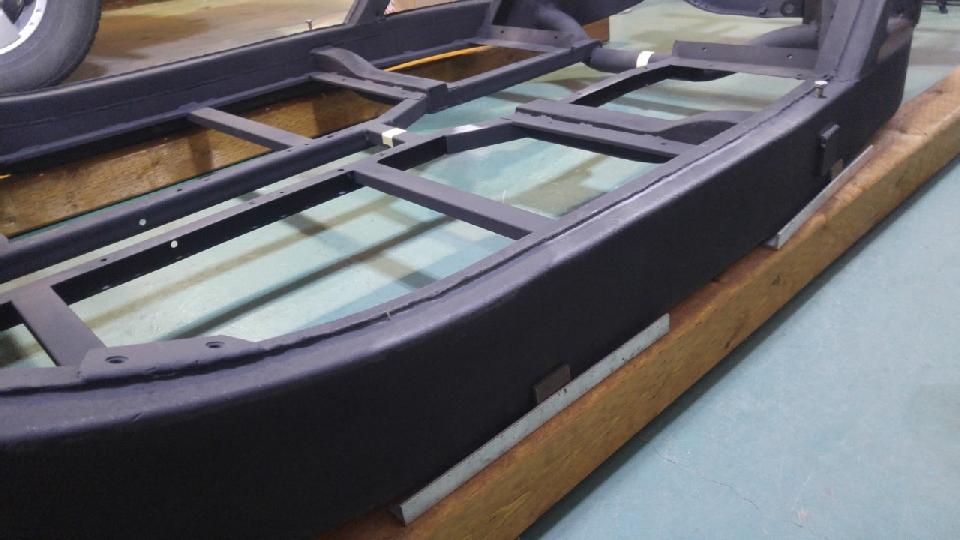
After doing so, double check the horizontal alignment didn't change I checked the frame against the horizontal line and added shims under the frame to level it (I had pieces of angle stock lying around, but anything similar should work).


 I visually verified that the frame is level horizontally, and also with a straight ruler from the RH side, as well as the LH side.
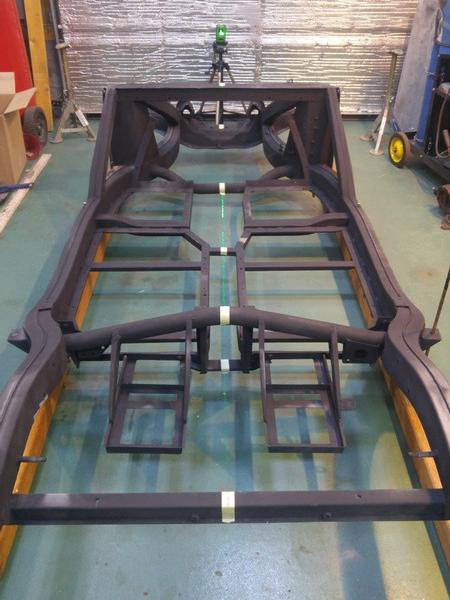
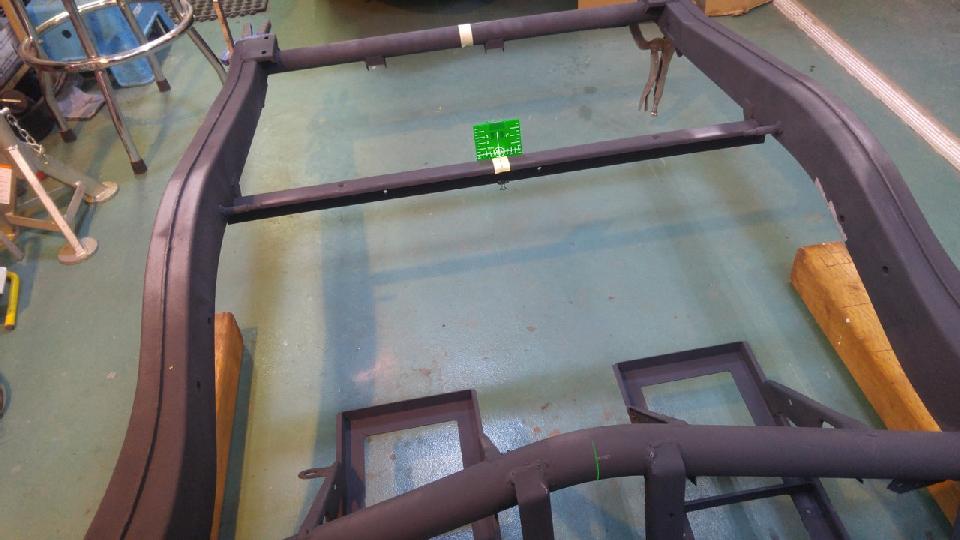
Now I know the frame is horizontal, I positioned the tripod to project the vertical line to cross the center of the frame at the front and the rear center marks. After doing so, double check the horizontal alignment didn't change.
 The frame is now centered to the laser both vertically and horizontally. At this point DO NOT move either the frame or the laser.
I carefully placed extra pieces of tape on other cross surfaces and marked the center on them in case anything gets knocked over so I can use those as reference points.


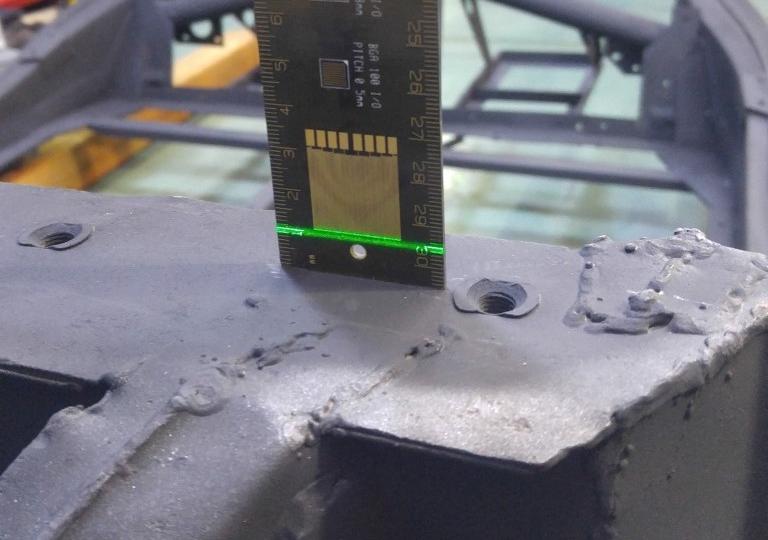
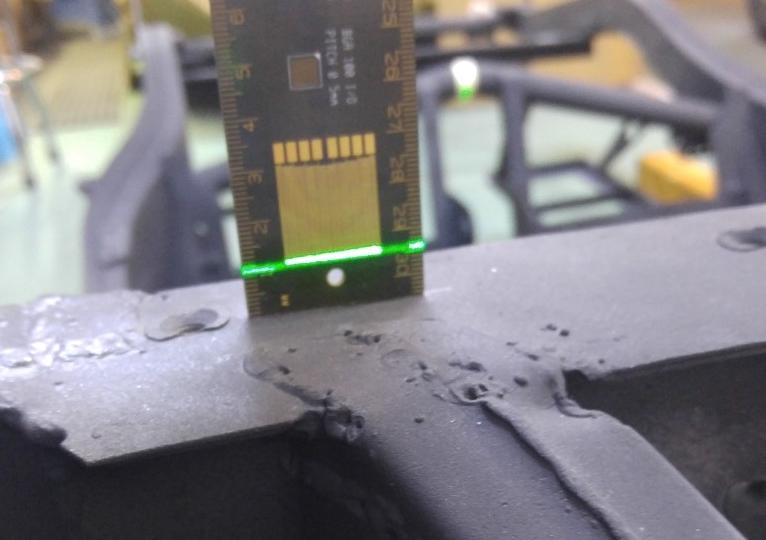
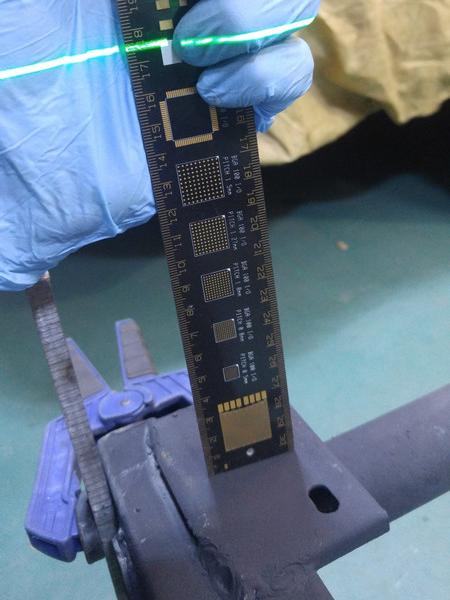
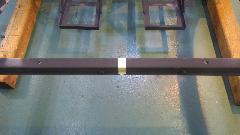
 Now, I could proceed with taking the measurements. Resting the ruler on the LH side, I measured from the surface to the laser beam. This came to be 181mm, and the same point on the RH side measured 175mm. This shows that the LH side is 6mm lower than the RH side.
I took other measurements moving towards the front of the frame and the difference between the RH and LH got smaller and smaller, which told me the damage was localized at the very rear tip.
With only 6mm difference (1/4" ) at the very back I am not sure if I should be bothered re-aligning it. Do you think it is worth the effort?
Hope you find this method helpful in checking your frame. Of course it also works for any car, not necessary MGAs". -- Ahmed
|