The MGA With An Attitude
MGA HEATER, DESCRIPTION And Options - HR-102
The MGA had three factory options for this device, no heater (standard with a blanking plate), optional Heater (HTR), and optional Fresh Air Ventilation System (FAVS).
 Heater option above -- Fresh Air Ventilation option below Heater option above -- Fresh Air Ventilation option below
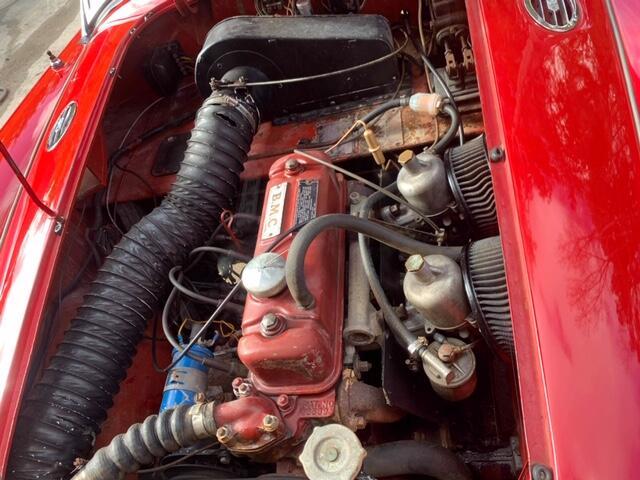
 At right is a picture of a Fresh Air Ventilation System installed. Notice no heater water hoses.
There are two models of blower switch, one with a pull function on the temperature control lever, and the other with a twist function on the left air control knob. There is also a different slider knob (rectangular and pointed at the front with a witness line on top) that goes with the switchless temperature control lever. First edition of the Service Parts List (1000 copies printed) lists the pull switch type first and calls the twist switch "Second type". There is no transition point listed, which likely means they were both in production at the same time. I could guess that the full heater was produced first with the pull switch, and the (less expensive) fresh air ventilation system became available later.
With the vent only system there is no hot water core or water valve or temperature control lever. No lever requires having the blower switch on the air control knob. There were some FAVS installed with no control panel by drilling holes in the dash for the two cable controls (which may have been original intention). The alternate heater control panel with "PUSH & TURN" may have been intended to commonize parts and functions to have only one style air control (push for air and turn for blower). This panel could also be used with FAVS having the temperature control lever deleted, thereby avoiding the need to drill holes in the dash. All of this happened very early, possibly from beginning of production (since it appears in the first edition of the SPL).
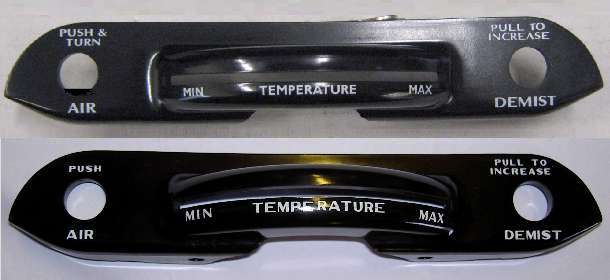
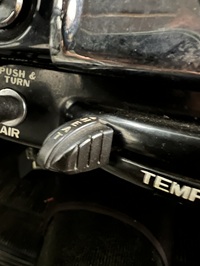
Top left "PUSH & TURN". -- Below it "PUSH", alternate style.
Notice this is more than just a difference in printing on the panel. The early panel (top) has a "D" shape hole on the left side to accommodate the push and turn switch (detailed on next page). This requires a slightly different detail (a "D" shape pin) in the production molding die. The "PUSH & TURN" version is like the one I bought from Moss in 1986 (except that one did not have the "D" shape hole). I bought a replacement about 1995 that also said "PUSH & TURN". The one I bought in 2006 says "PUSH", and I figured they finally got it right. Now they're back to selling "PUSH & TURN" again in 2011? It would be nice if they could offer both parts, but in fact the "PUSH &: TURN" version will have very low market demand.
Pull switch style at left. -- Turn switch style at right.
#17 knob has "B" for Blower. -- #21 knob has white line on top.
Part numbers that are different (below)
Later issues of the Service Parts List show the pull switch type first and call the twist switch "Second type". This might be due to far greater popularity of the Heater option over the FAVS option. In fact the FAVS option was so rare that most people have never seen one, and the twist switch control cable may not be available as a replacement service part. The twist switch control cable is not even listed in later SPL's (although the other alternate parts are always listed). Most MGA were produced with the pull switch through end of production.
On 7/10/2021, Dr. Frans Henskens in Austraalia wrote:
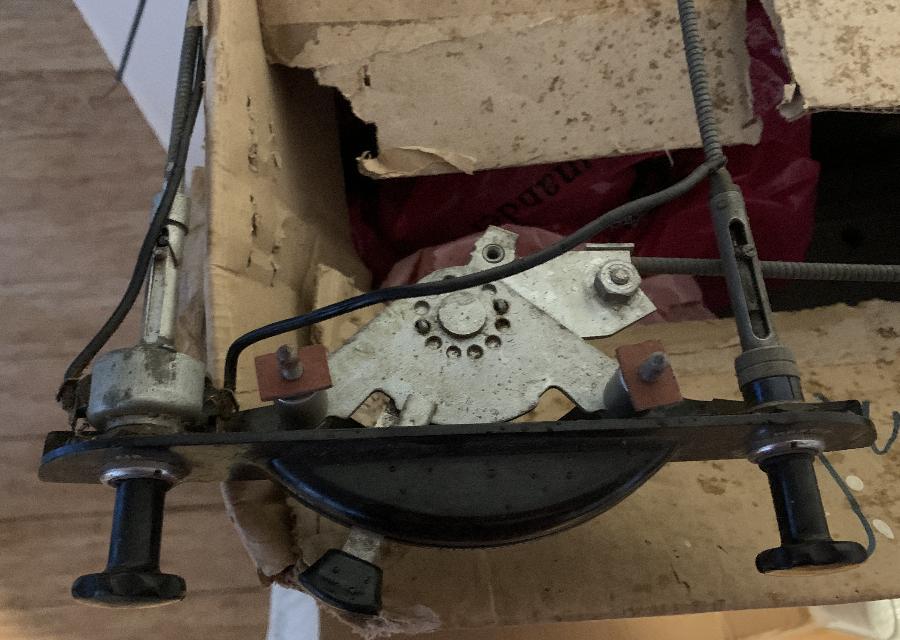
"I have just come across a set of heater controls that the PO said he had sent from the UK to fit in his new MGA 1500 in the 1950s. His father fabricated the heater unit incorporating a factory fan and matrix - Australian cars didn't normally come with heaters.
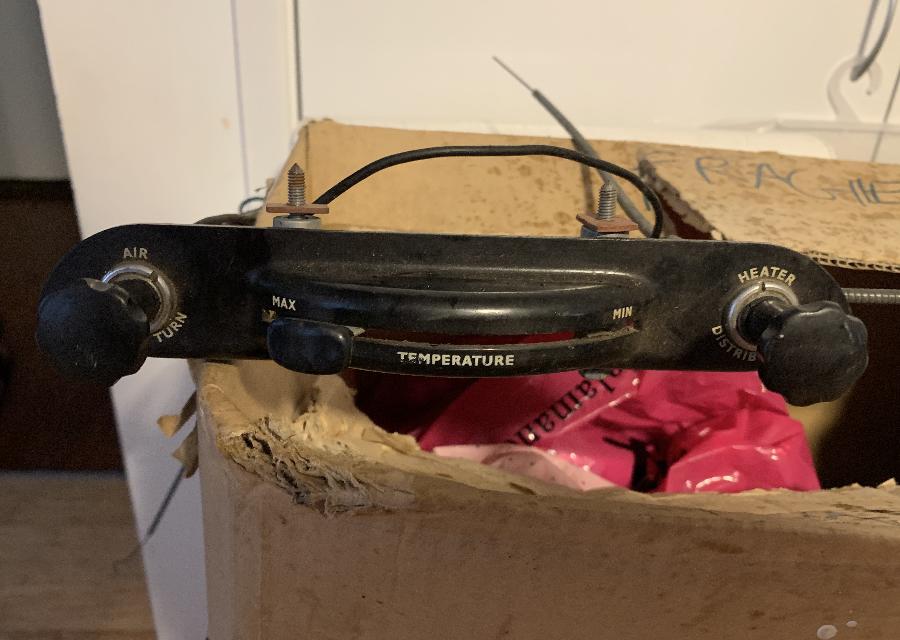
The fan switch is in the air control cable. The writing on that side of the panel says "AIR" and "PUSH & TURN" . It only turns if the knob is pushed right in. The writing on the right side says "HEATER" and "DISTRIBUTION". The larger knobs are knurled".
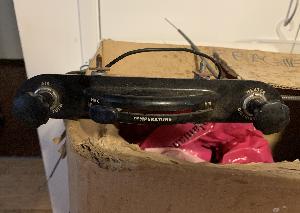

Early style heater control with "Push & Turn" fan switch.
The Drivers Handbook (operators manual) describes use of these controls, twist switch style in First Edition and pull switch style in Second Edition. The early switch could only be turned to switch the blower on when the air control knob was pushed fully in for open air vent. This would negate free-wheeling the blower at high speed with no air flow.
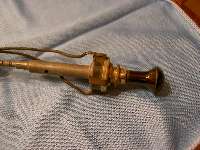
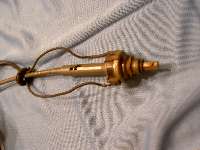

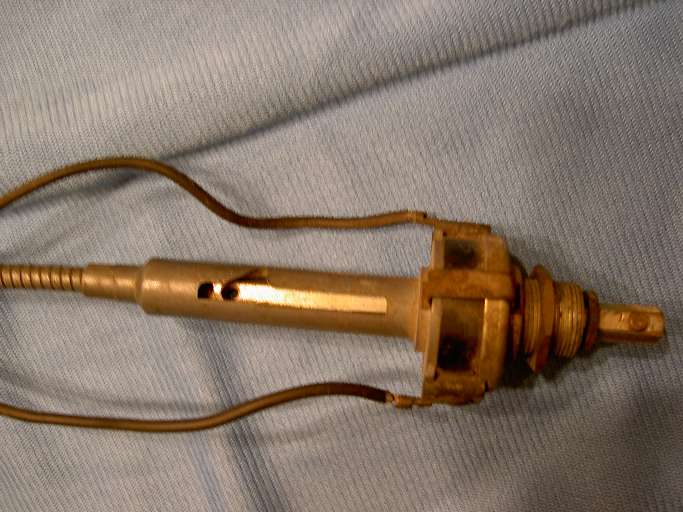
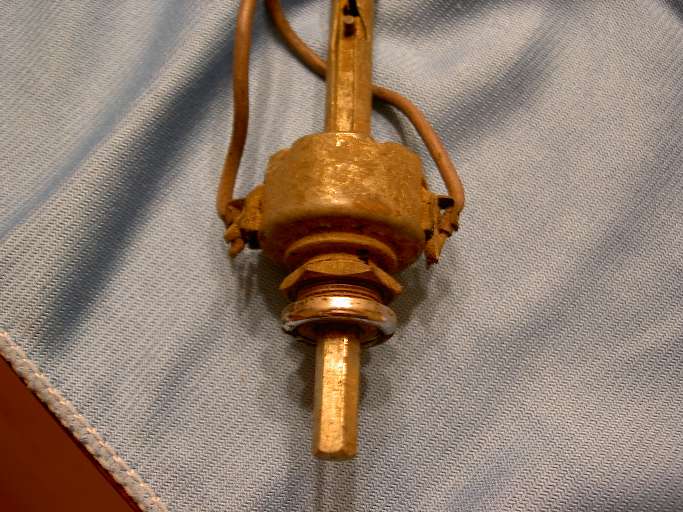
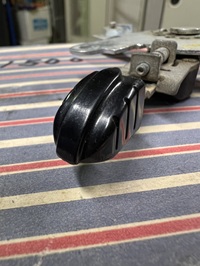
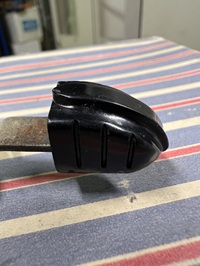
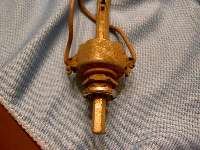 Here are pictures of the "Push and Turn" air control switch from the early production cars. Above you can see the control slot and indexing peg on the rear shank of the switch that will inhibit turning the electrical switch on unless the control is pushed in. The spring peg to retain the knob goes on bottom in final assembly, and the control slot should be on top. Notice two different styles of switch with the same function. Switch above has two clips on the sides, while switch at right has a full steel shell with crimps at the back edge to hold it together. More about this switch on the next page. - Switch photos courtesy of Giovanni Delicio in Obrigheim/Pfalz, Germany.
Pictures above (courtesy of Mark Wellard) are for the early style control AHH5424 with Push/Turn Air control and blower switch on left, and temperature control only in the center. There are some variations in appearance of thecenter knob. The first has "HEAT" embossed on top, notches in the sides, likely from an early Rover.. The second is blank with notches in the side, no embossing. There is another style with a straight white line embossed down the center (not shown here). When the system changed to have the Blower switch in the center control, the center knob changed to round with "B" embossed on the front end, as shown below.
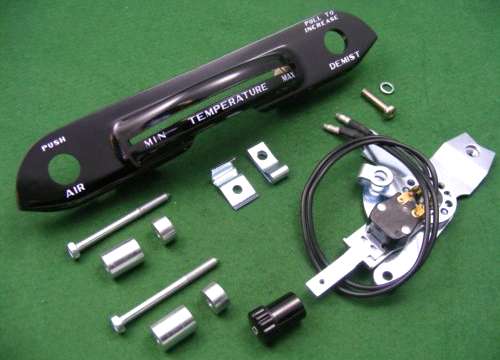
Heater control panel parts with later model Blower switch
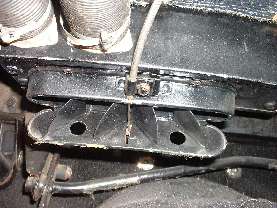
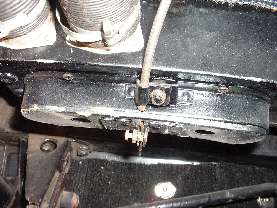
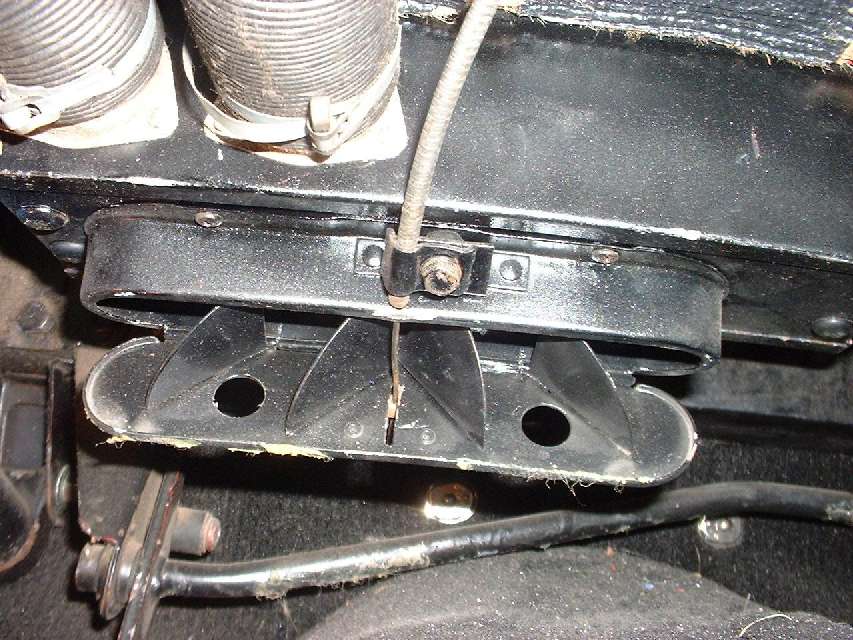
Demist valve, open at left to vent to your feet, closed at right for air up the hoses.
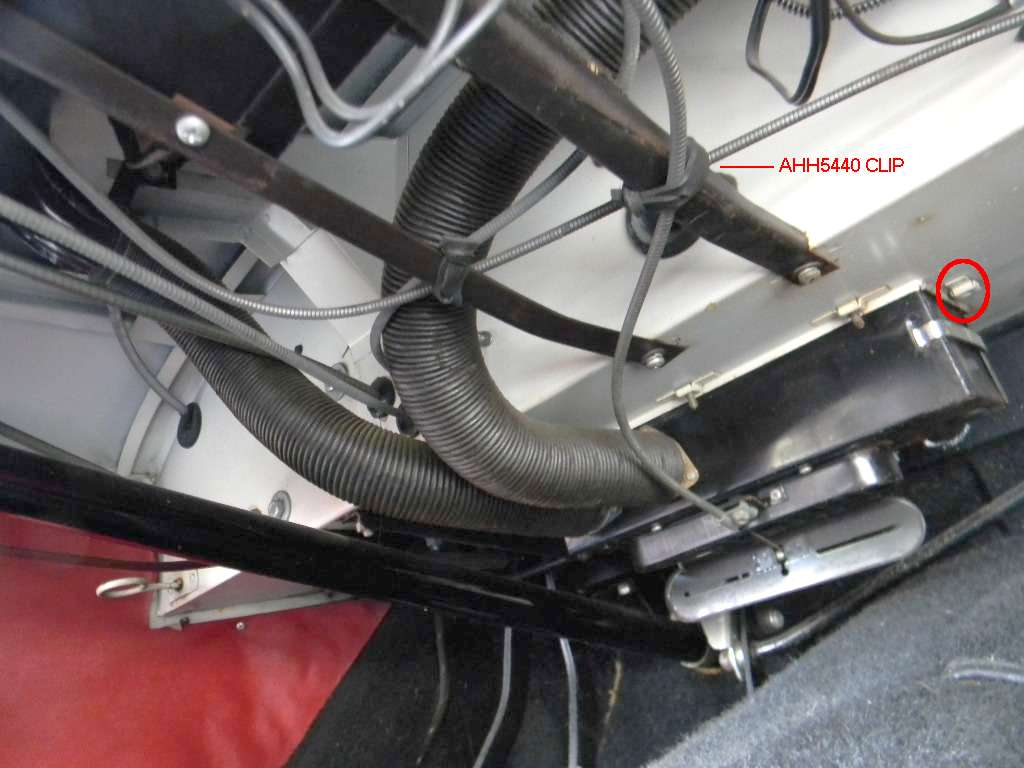
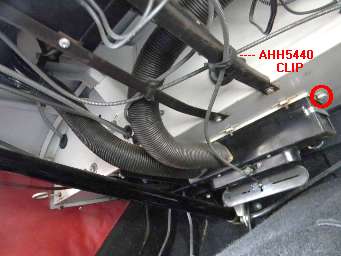 At right notice a part that is often missing, an AHH5440 rubber clip to secure the heater demist cable to an under dash brace. The Service Pars List calls for one only when the optional heater is installed. This picture shows two, and it is on a well documented very original low mileage MGA 1600.
Notice also a screw missing from the heater mount to heater shelf. I believe the heater boxes do not have a screw hole in this location because of impossible access under the blower end of the box. Rather this screw location is used for installing a heater blanking place when the heater is not installed. The demist door is the later style where air deflector baffles are in the fixed base of the heater box.
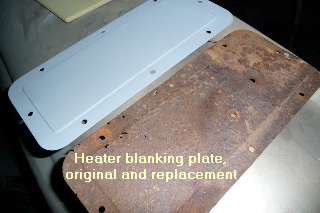 With no heater there is a blanking plate in its place, and no under dash control panel. The FAVS looks similar to the heater, except the heat exchange core is omitted, along with the heater valve and hoses, and the return port in the lower radiator hose to water pump elbow is plugged. It retains the rest of the heater cabinet and blower parts up front, but the original cabinet likely did not have holes for the water pipes or internal fittings to hold the water core. In the cockpit it still has the demister parts and two air control cables but lacks the control lever for the water valve. It would also used the twist switch on the left cable knob for blower control.
The Heater or FAVS could have been installed at the factory, or as a dealer installed option. In the case where FAVS was dealer or customer installed the control cables may have been installed in drilled holes in the dash, and the under dash control panel may have been omitted. I have seen a couple of owner modifications like this. I don't recall ever seeing an original factory installed FAVS, so I don't know if the factory drilled the dash or included the "PUSH & TURN" panel (without the temperature control lever). There is no known reference to any escutcheon plates with the text for function of these controls (without the control panel).
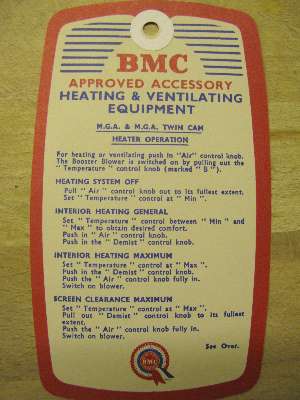
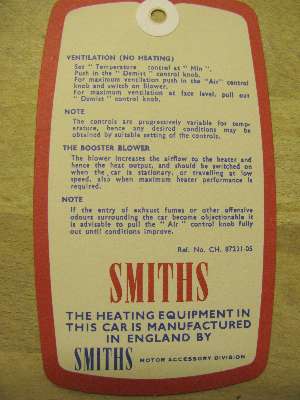
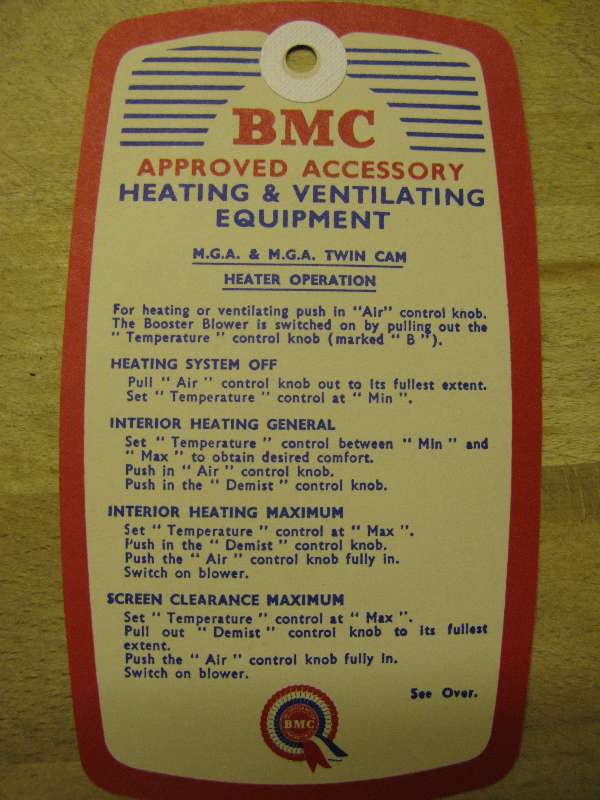
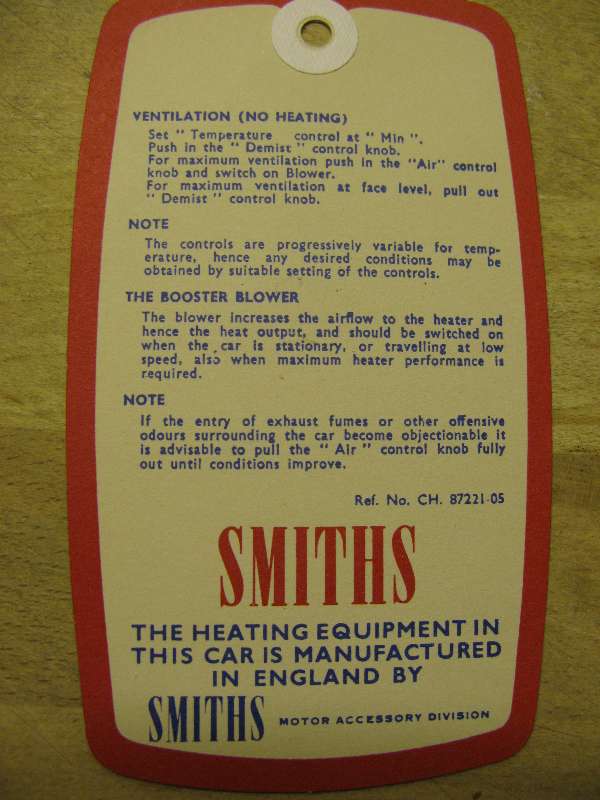
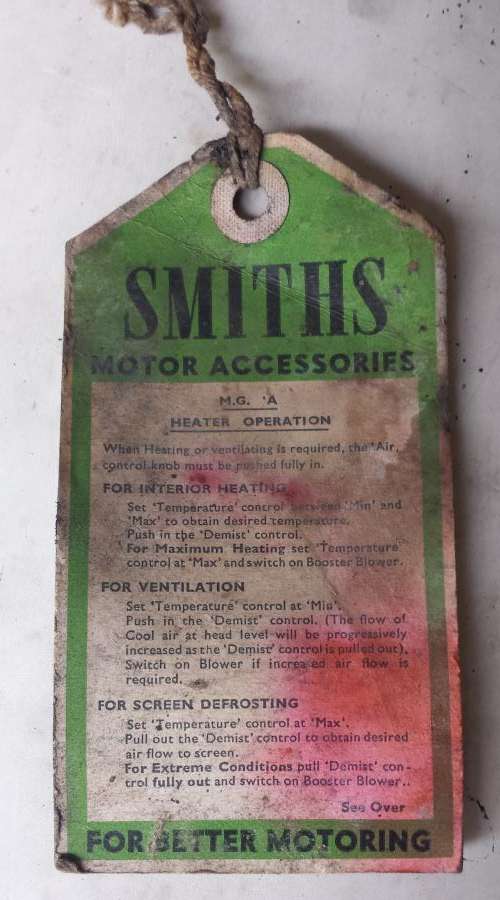
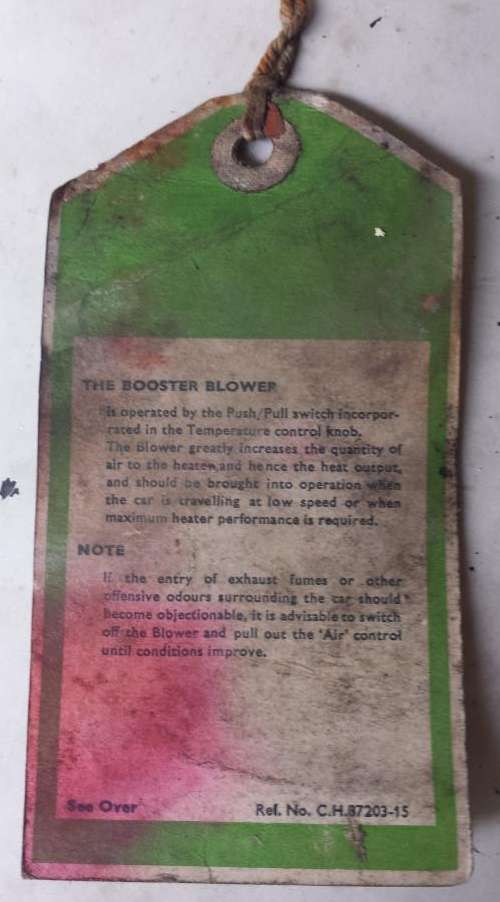
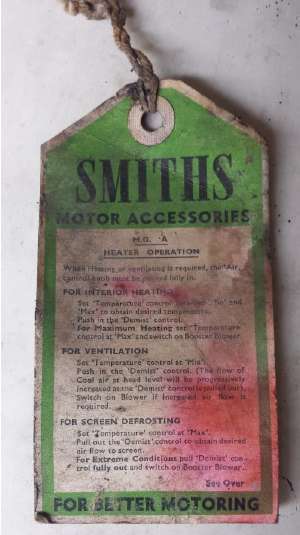
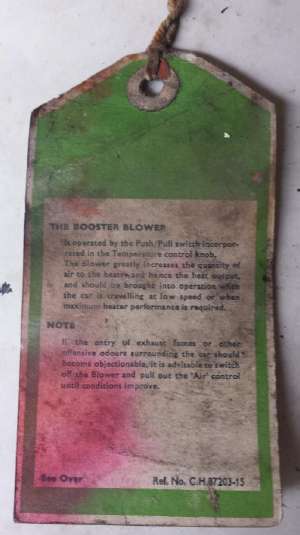
Original heater use instruction tags
|