The MGA With An Attitude
RECOVERING THE COCKPIT FRONT TRIM RAIL -- INT-106
After covering the side rails, I can tell you with a smile that the toughest part of refurbishing the front cockpit rail might be removing it from the car and reinstalling it, but only if the dash assembly is still in place with all the instruments. I found the easiest way through that problem was to remove the larger instrument closest to the center of the car (in my case the tachometer). Then I could reach the front trim rail fasteners with little problem. Disconnect battery power before starting on this one, so you don't accidentally short your ring or watch or tools on a hot wire.

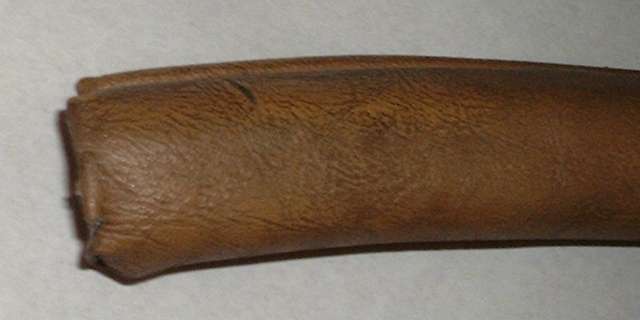
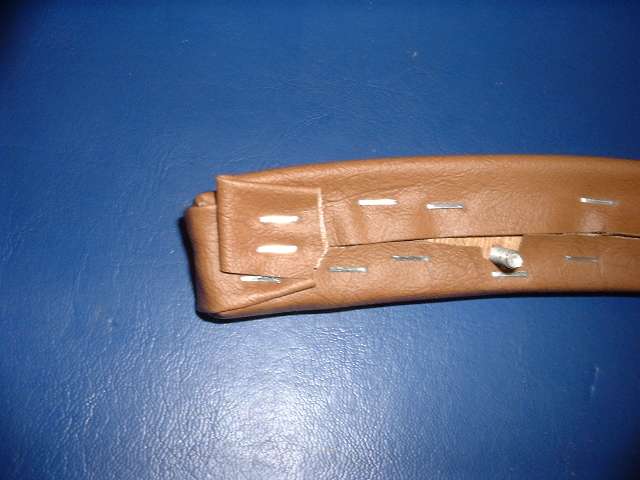
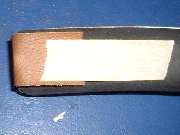
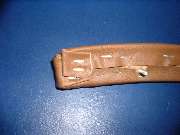
Slightly tattered front cockpit trim rail after 17 years of service (the 2nd time around).
Although it is not commonly noted, I believe the earliest MGA 1500 cars had vinyl covered solid wood trim rails for the front fascia. In September 1968 I personally owned a 1956 MGA Roadster that did have a solid wood front trim rail, and I'm pretty sure it was original issue. By January 1969 I owned a 1958 model, and I was surprised to find that it had a padded front trim rail. In that case the seats, armrest, and trim rails had been recovered in a non-standard medium blue vinyl (no leather at all). At the time, still not knowing that much about these cars, I assumed the padded front rail was a contrivance installed with the new interior fabrics. But several months later I owned a 1957 model that also had a padded front cockpit rail which seemed to be original issue (judging by condition of all rail coverings). Now I believe the switch from solid wood to padded front rail probably occurred at the same time the cast aluminum parts were introduced in the side trim rails, about one year into production in mid 1956. This may have been close to the time when the instrument fascia appearance was changed in April 1956 (maybe just a coincidence).
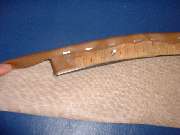
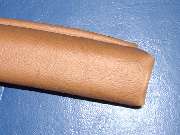
 Click on the picture at left for a larger view. Notice at the end of the rail there is a visible ridge and a small tear in the fabric near the bottom corner. This begins another small lesson learned the hard way. This is an example of the padded version of this rail. It is based on a thin plywood backing strip with the mounting studs attached to the back, and has a thick foam rubber strip on the front making up the rest of the thickness. At the ends there is a thin steel plate attached to the backing strip and bent forward to form a metal end cap for this rail. The front edge of the metal plate is appropriately curved to match the contour of the rubber strip. One must be careful with edge of the steel part so not to tear the covering material during installation. While you have it apart, you might at least take a close look at the metal end, and maybe file off any sharp corners you might find there (particularly on some new reproduction parts which may have a thin pad). For a solid wood rail you might similarly file a bit off any sharp corners.
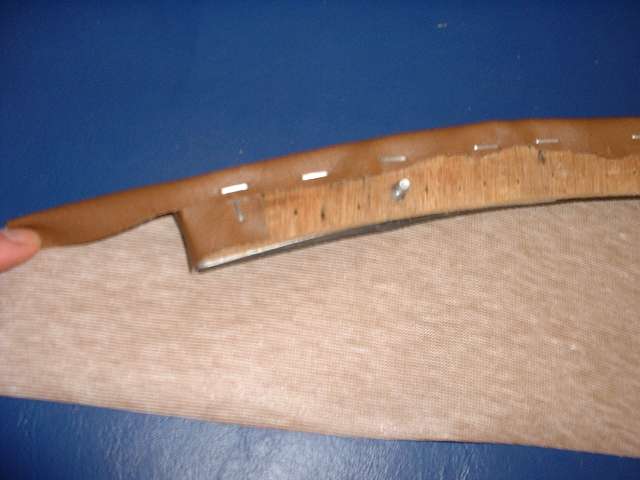
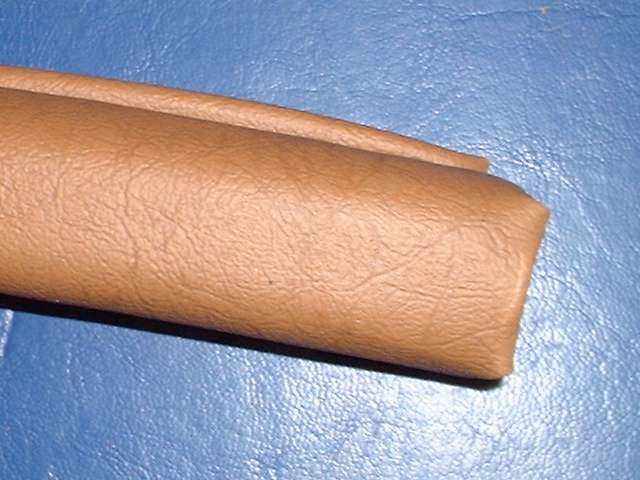
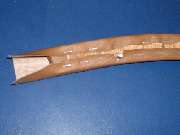
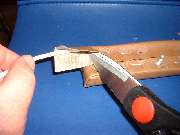
 Here we have a picture of the padded rail with the covering removed. If you click for the larger picture you can see a corner of the steel end cap exposed. You will also see the feature I have become particularly fond of, especially since I accidentally tore the last vinyl cover during installation, and proceeded to live with it for 17 years. Before installing the new cover I cut a small strip of the same vinyl material and wrap it around the end of the rail, securing it in back with a staple and in front with a bit of masking tape. This provides an extra layer of protection between the steel tab and the new outer covering material, which should serve to significantly reduce the likelihood of tearing of the outer cover. You will in the process be tugging and stretching the new cover material a bit, trying to make it conform to the contour of the rail while attempting to reduce any protuberance of sharp corners on the cover folds. Just keep the metal tab in mind, and don't pull too strongly when wrapping the ends.
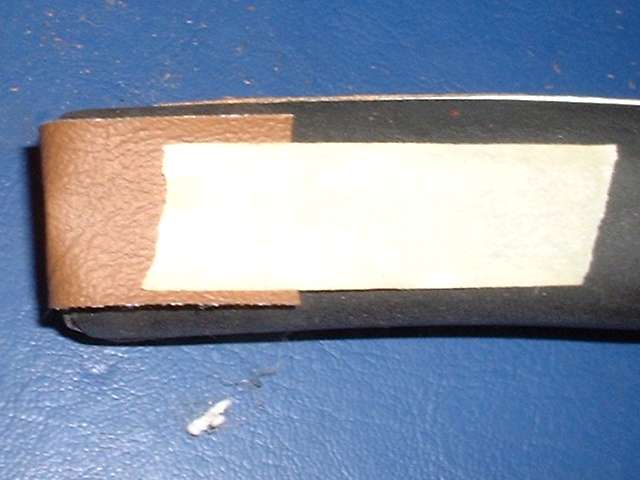
 Keep in mind that you cannot compress vinyl sheet stock without causing wrinkles. Therefore you would rather finish with a little stretching of the material. To this end, start by wrapping and attaching the covering along the outside of the curve. Work from the middle toward the ends, staple along the outer half of the backing board, and trim the excess material near the centerline of the rail. This single layer thing is not nearly as important with the thin vinyl as it is with the thicker leather material, so if you think you may have trouble with that, go ahead and lay the material all the way across the back and staple it anywhere you like.
Notice also in the picture above, the shiny edge of the steel end plate exposed along the side of the wood backing strip. As the wood strip is moderately thin, a carpet tack would be somewhat difficult to drive fully into the back of the rail in the area of the metal end plate. Tacks are also hard to hammer into the wood strip when it is laying over a soft piece of foam rubber. So as a matter of experience, the power stapler works much better here than tacks and a hammer.
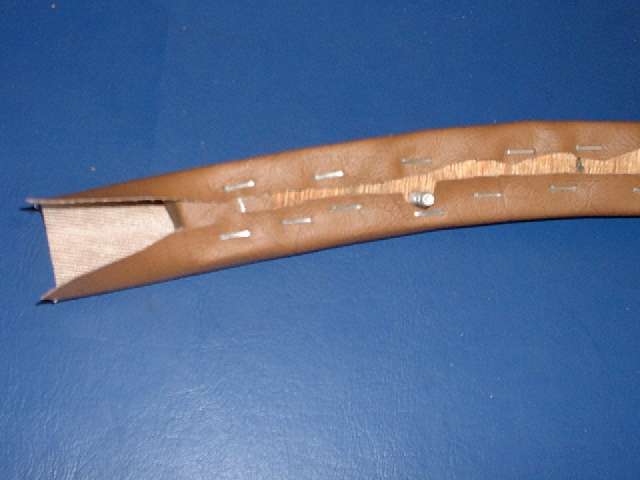
  For the rest of the wrap you can trim off some excess material, wrap and staple the material on the inside of the curve starting in the middle, stretching it just a bit as you go, and trim off any excess after stapling. Then do your well practiced trim, fold, tuck at the ends, tap down just a bit for neatness, and finish off with one last staple in the back.
  The final touch as always is installation of the piping along the outer edge, which will be the top of the part when held in a vertical plane. Position piping snug against the side and flush at the back. Trim the piping core piece a bit shy of the end, fold over the jacket material, staple down and trim. See, I told you this one would be easy.
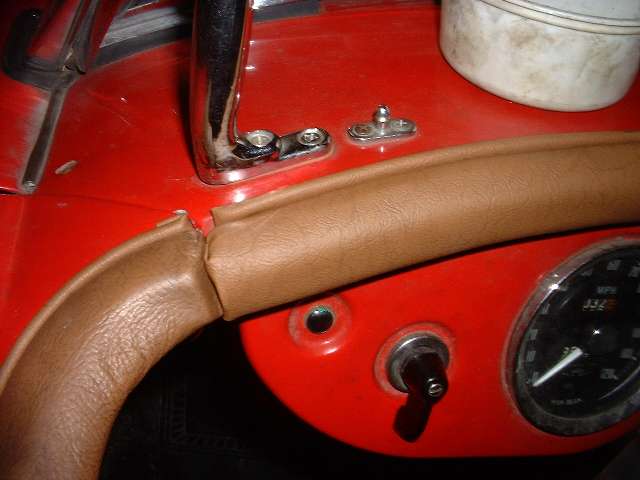
 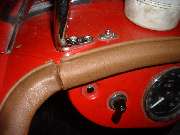 And there you have it, the finished front rail ready to install. Place it on the front fascia, go ahead and bump a few knuckles installing the washers and nuts on the back, and align the ends in close proximity to the door rails before tightening the fasteners. Re-install any instruments that may have been removed from the dash. Don't forget, you're not finished until you reconnect the battery power and check operation of all the electrical apparatus, just in case you may have knocked loose a wire or two while bashing around behind the dash panel (like I did).
|