The MGA With An Attitude
COCKPIT TRIM RAILS, Make Your Own -- INT-107B
On Jan 9, 2017, Alan Wiedie Bolton, CT, USA wrote:
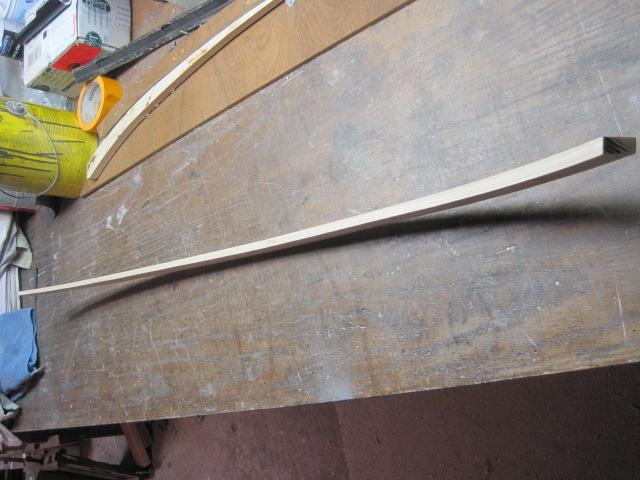
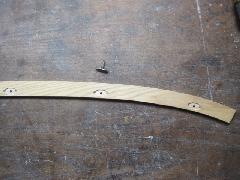
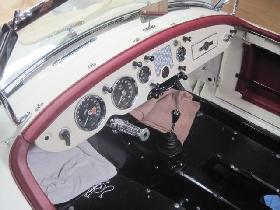
"With the leather-covered rails finished and installed, I tackled the front and rear vinyl-covered pieces. Should be easy, right? Well, yes and no. First of all, I had to make both wood backing pieces, which I did out of White Ash. I believe the original front piece was 1/4" plywood, but I needed something different as explained below.
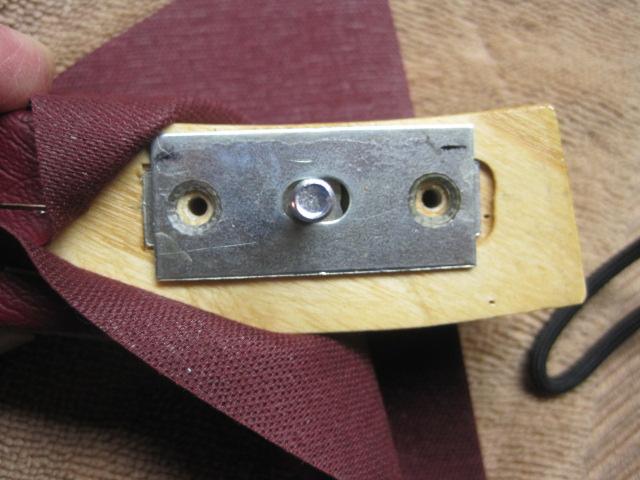
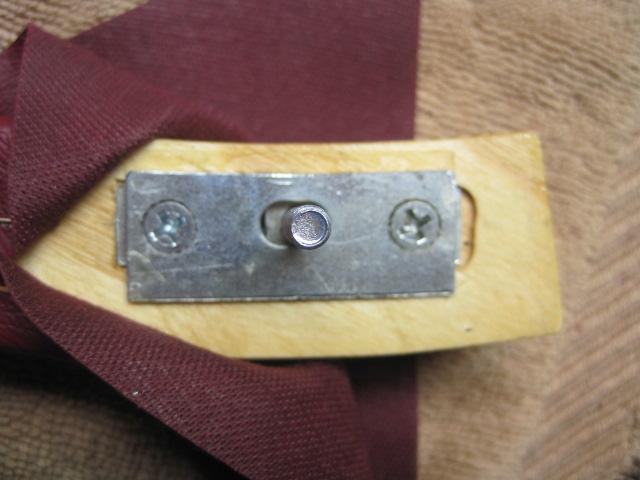
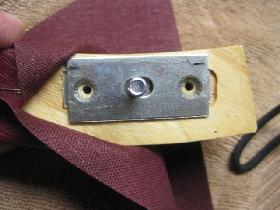
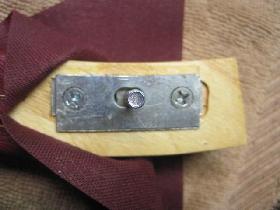
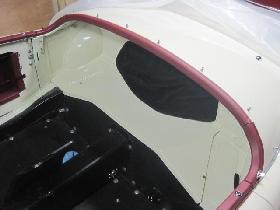
The rear piece was pretty straight forward as I cut it with my scroll saw out of 3/4" material, after first making a cardboard pattern shaped to the curve of the bodywork. Rounding the top edge was done with a router. I then marked the attachment screw locations, routed recesses on the backside for the attachment hardware, and installed that. The screw plates came right to the edge of the wood, so I ground down that edge of the screw plate so I would have room there to staple the vinyl.
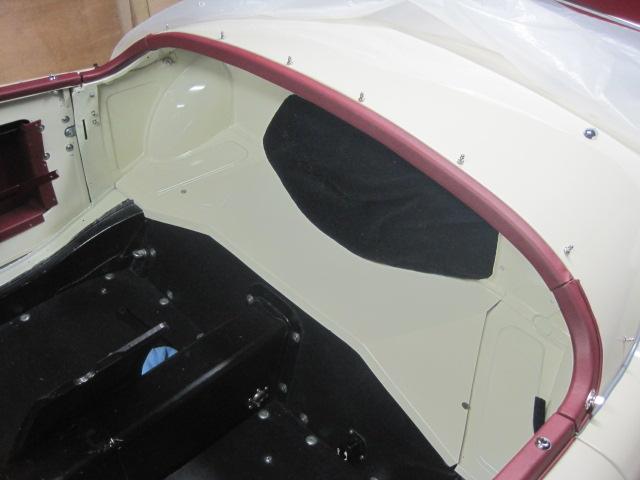
I fitted the wood piece between the previously covered and installed rear corner pieces, leaving just enough room for the vinyl that would wrap the ends.
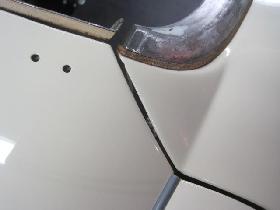
The front piece was another story. I discovered that the bodywork was less curved on the right side of the car than on the left, resulting in the misalignment of the front rail and the door trim on the right side.
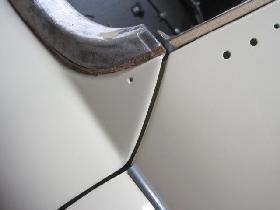
I basically needed a wood piece about 1/4" thick on the left side and 1/2" on the right. I cut the top and bottom curves on the scroll saw, drew a line on the bottom of the piece 1/4" wide at the left end to 1/2" wide at the right end and cut that freehand on the table saw.
My concern was that the difference in thickness, when covered and installed in the car, would be noticeable. That turned out not to be the case. As with the rear, I fitted the wood to the car, making the angle at each end match as closely as I could the previously covered and installed door rails. Since I was using the original fasteners, I had to rout out the wood for some of them so they would reach through the bodywork.

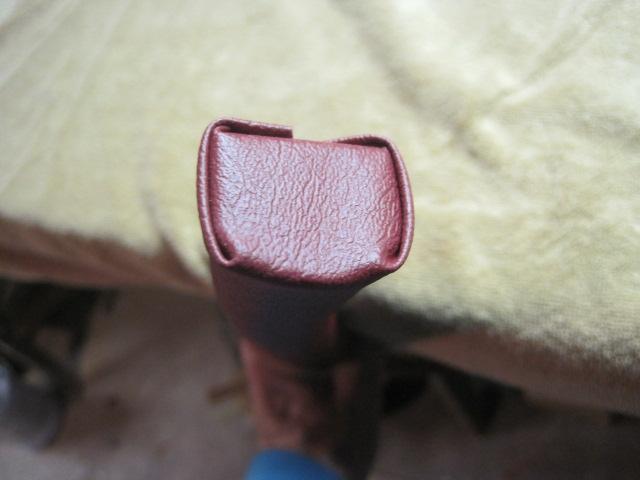
I used the standard metal end pieces and the Moss rubber backer as it seemed a good profile when meeting the door rails.
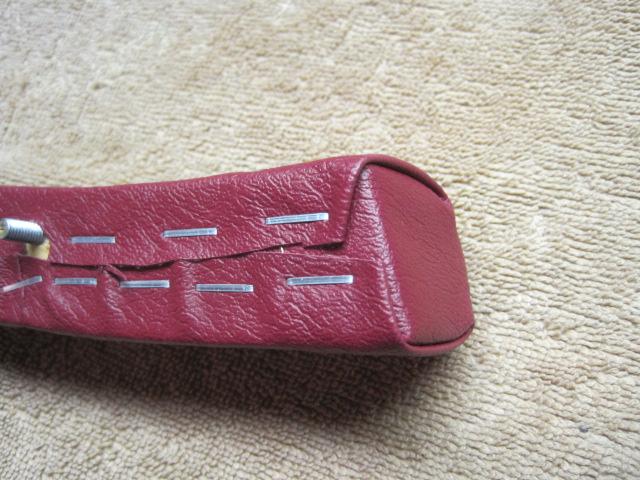
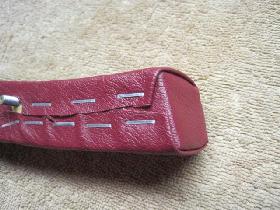
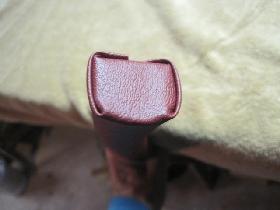
Covering with vinyl was done similarly to how I did the leather pieces. In a way it's easier but the vinyl does not stretch and form as well as the leather, especially at the ends. The rear piece has sort of squarish ends and lent itself to the folds, whereas the curving profile of the ends of the front piece was more difficult and did not come out quite as well.
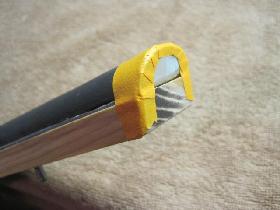 I filed the metal ends of the front piece to remove any sharp edges and also wrapped with masking tape.
Unlike with the leather end wrap method, I did not snip away any vinyl at the bottom corners, but just folded the extra under the corner folds. Piping was done as before, stopping just at the ends of the piece. I won't put the piping on the rear piece until I get the side curtain bag installed. I used a pneumatic gun with 3/16" staples.
|