The MGA With An Attitude
|
| MGAguru.com |
|
MGAguru.com |
MIRROR Restoration -- INT-116A
On page 222 of 'A-Antics Tech Tips 1976-1988' by the Michigan Chapter of NAMGAR:
"Repainting Your Rear View Mirror -
General Motors 2410 M is close to the original color. Ford 3572 is a bit too brown and Chrysler 4666 L is too yellow. If you are careful, you can spray the Chrysler color first and then a light coat of the Ford to kill the yellow. The Chrysler 4666 is also a good match for the T series mirrors and steering wheel bosses. All these colors are available in small spray cans at auto supply stores."
This information was collected many years ago and these colors may not be currently available. -- More on mirror paint colors in the Paint section here: PT-105M.
On Feb 28, 2015, Jim Cheatham in Amelia, VA, USA, wrote:
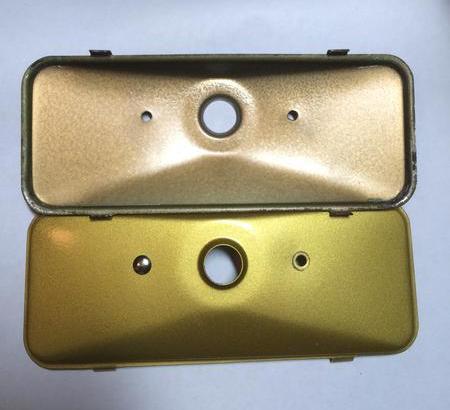
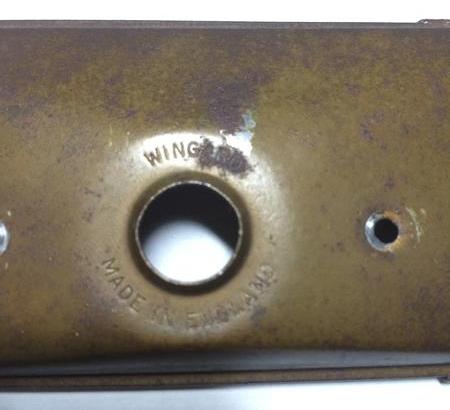
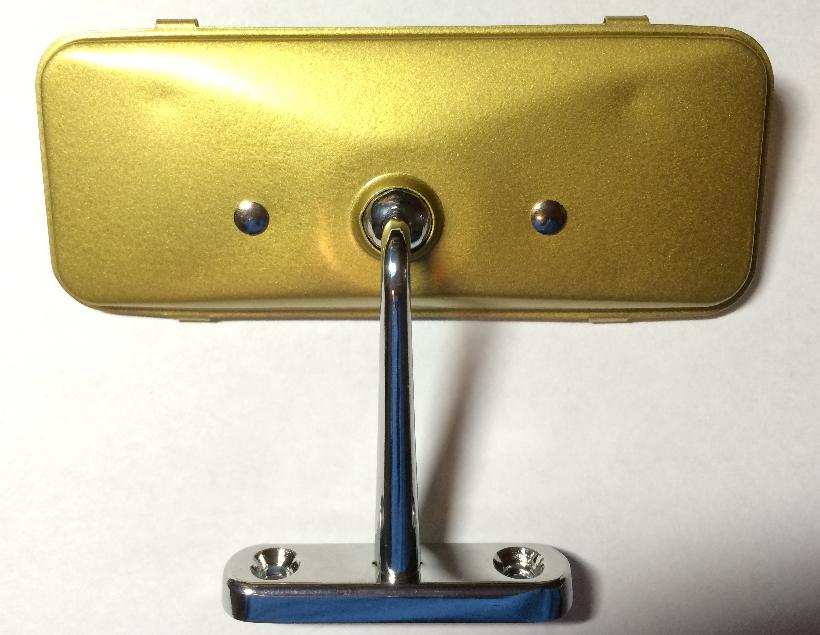
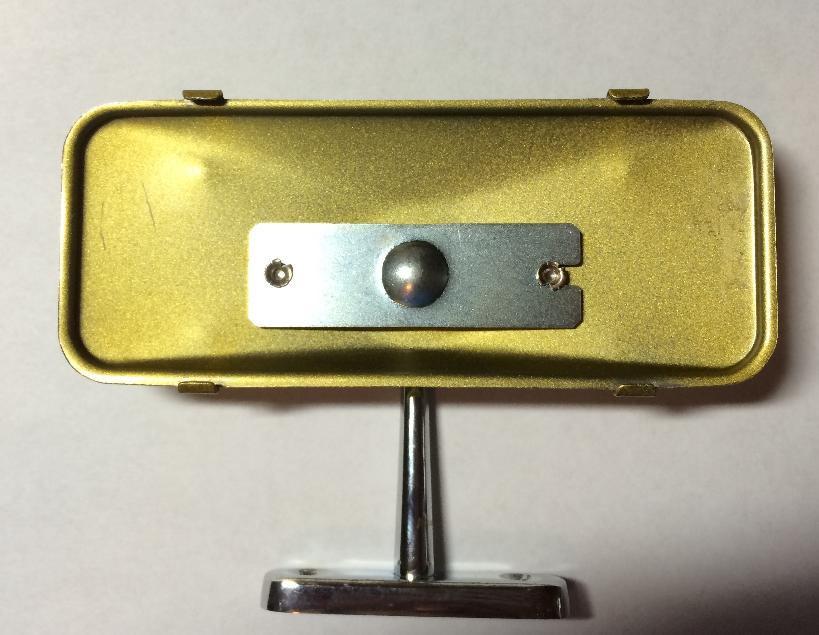
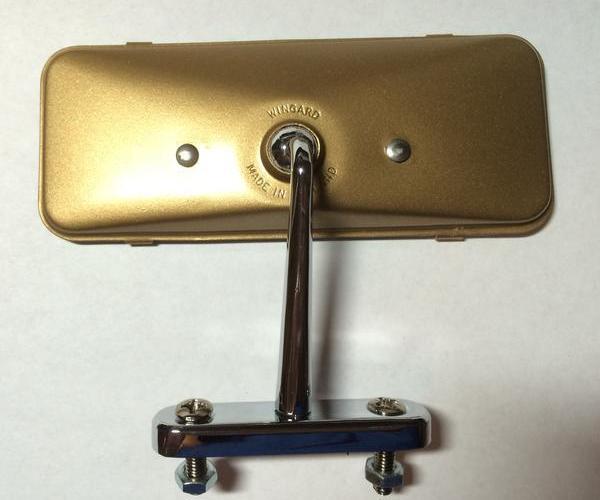
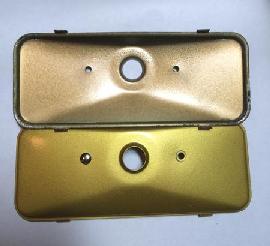
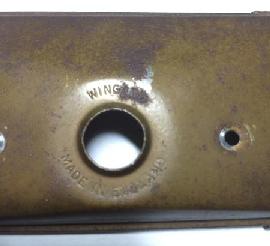
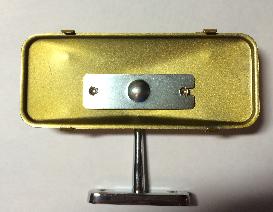
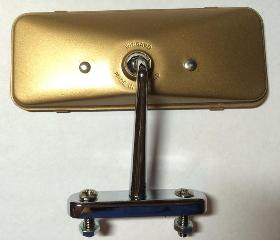
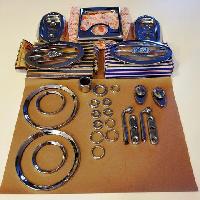
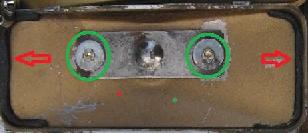
"I have a new Moss Classic Gold dash mirror (Moss # 165-100) that I have taken apart. I plan to use the mirror, stem and pedestal from the Moss mirror with my original Wingard housing. I will bead blast the original housing, repaint it and will get new semi-tubular stainless steel rivets to reassemble it. I found some gold Krylon paint today that is pretty close. Have to do some experimenting. The first picture below is of the inside of my original Wingard mirror and the outside of the Moss Classic Gold mirror. Colors are quite different. The second picture shows the words WINGARD and MADE IN ENGLAND which should clean up nicely in the bead blaster. I'll post pictures after I repaint it and reassemble it. If it doesn't work out, I'm only out $19.75 for another Moss Classic Gold mirror ."
On Feb 28, 2015, Jim Cheatham wrote:
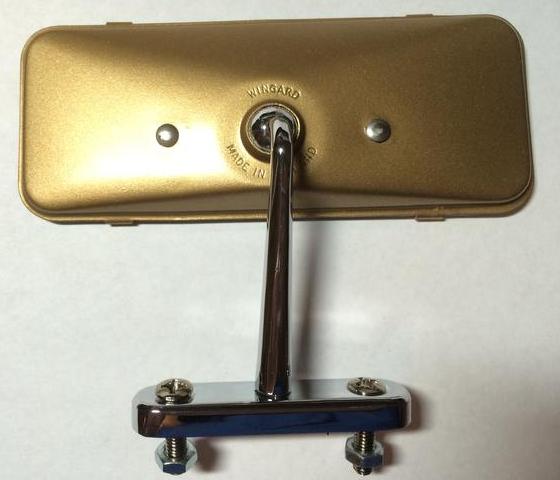
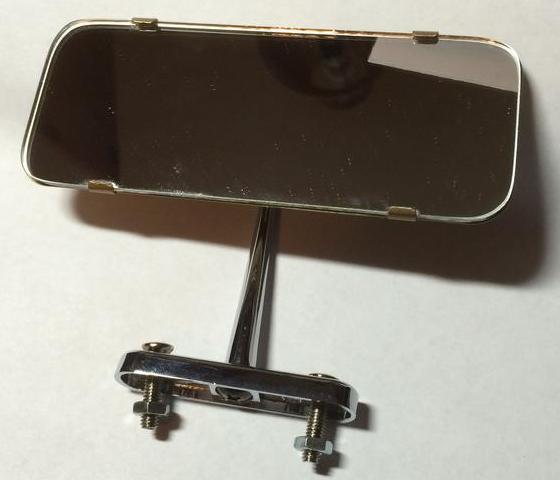
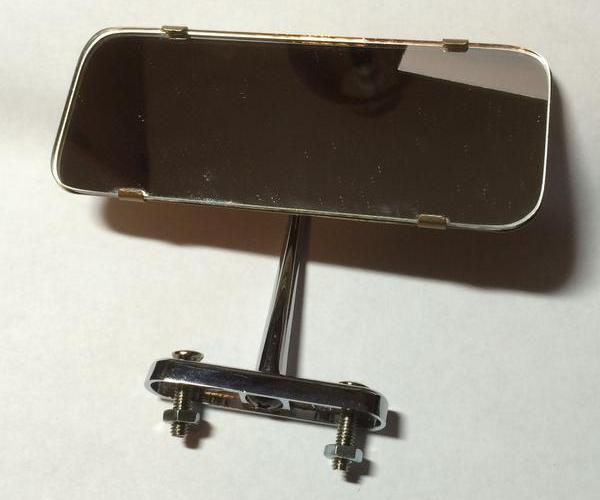
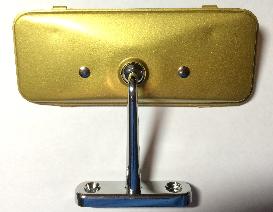
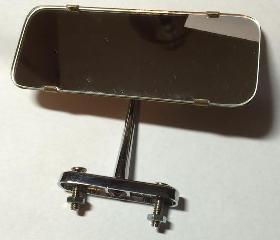
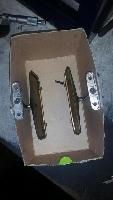
"It took me two tries but I have finally restored my original dash mirror. On the first attempt, I cracked the new mirror glass and had to start over. Here are pictures of the final result. I need to clean the glass a little better but I'm pleased with the results".


On Feb 28, 2015, Jim Cheatham wrote:
"I found a glass shop locally that would cut mirrors to size, but because of the radius corners and the labor involved, it would have cost more than a new mirror from Moss. I bought a new Classic Gold mirror from Moss, removed the glass by bending up the tabs and carefully prying the glass away from the back case. Be careful not to scratch the silvering on the new mirror. The new mirror is held to the back case with two thicknesses of double sided tape. I slipped a knife blade between the back case and the glass making sure the knife blade went under the tape. I used the stem, base and the bracket/socket from the Moss mirror because the chrome on my original was very pitted. I have stainless steel rivets that are the correct size if you or anyone wants to try this".
On 6 Aug 2015, Jim Cheatham wrote:
"I was not too concerned about saving the original mirror glass but did get it off without damaging it any more than it already was. I used my pocket knife to bend the four tabs so the glass can be removed. You can probably get the glass out by just bending two of the tabs on the same long side almost straight up and bending the other two up just a little. Seems to me there was a small bead of mastic around the edge of the glass holding it to the back shell. Use a knife blade to separate the glass from the back shell.
When I put the new mirror on my original back shell, I used Mirror caulking that I bought at Lowe's and just put a big blob of it at each end of the mirror. Slide the mirror back into place with it at an angle so it is caught under the partially bent tabs with the other edge up so it clears the caulking and set it down. To bend the tabs back, I pushed them against a hard metal surface so I wouldn't scratch the back shell with pliers. Before you put the caulking in, dry fit the mirror to make sure it sits flat against the back shell. On my first attempt, the back shell had somehow gotten bent slightly and when I tried to bend the tabs to hold the mirror against the back shell, I cracked the glass".
On May 17, 2022, Jim Cheatham j in Amelia, VA, USA wrote:
"When I did mine, I bought a Moss mirror and used the stem, base and the mirror glass with my restored original Wingard shell. At that time, the Moss reproduction mirrors glass was a perfect fit on the Wingard shell. A couple of years later, I tried to restore another original mirror using a Moss reproduction mirror and found that the size of the glass had changed. It was slightly larger than the Wingard shell. I found that Cecelia sells replacement mirror glass so I bought a couple of these from her. I was disappointed to find that her glass was also too large". -- Jim
On May 17, 2022, Don Tremblay in Rutland, MA, USA wrote:
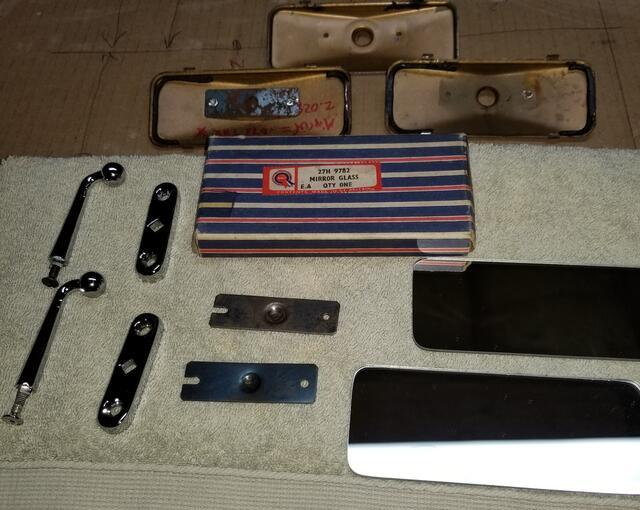
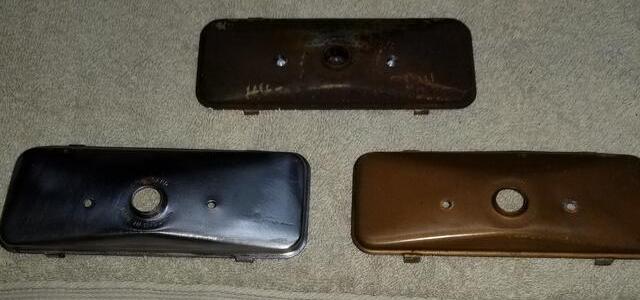
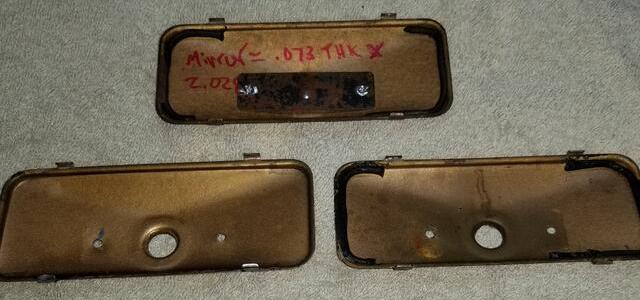
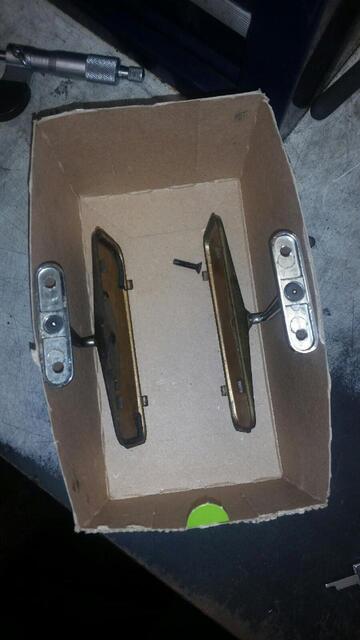
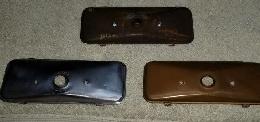
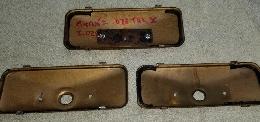
"A few years back, I decided that I would restore two to concours condition. I gathered four original used mirrors. The first thing was to separate the mirrors from the housings, without damaging the mirrors. I later decided to simply have new mirrors cut. While I was bending the tabs to remove the mirrors, I hit upon the idea of making a fixture for reassembly that would eliminate later rebending of the tabs. As such, I made a fixture that emulated the mirror, but was made out of aluminum. The fixture was the same width and length as the mirror, but .005" thicker than the mirror. Using this fixture, I was able to place the fixture onto the housing and then bend the tabs over. Once the tabs were repositioned, I slid out the fixture. This allowed me to later slide the new mirrors in without having to mess with the tabs or risk damage to the glass and the newly painted surface of the tabs.

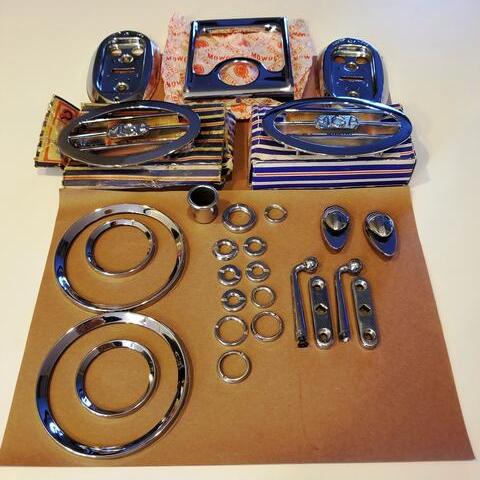
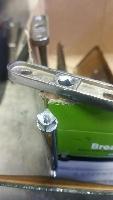
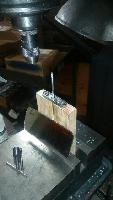
To remove the stem from the base, I made a quick fixture to mill out the stem where it attached to the base. Once removed, I drilled and tapped the stem for later reassembly using an Allen head counter sunk screw. The next step was to send out the best stems and bases out for chrome plating. At the same time, I used the opportunity to send out all the chrome items on my dash board for rechroming along with some other bits". -- Don
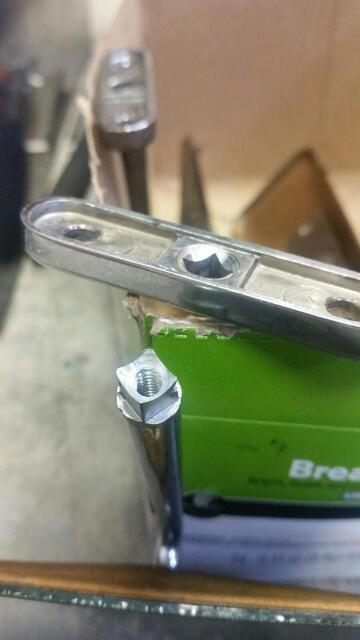
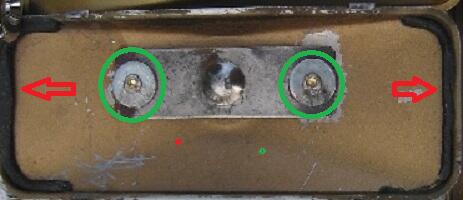
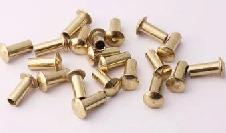
On May 17, 2022, Nick Kopernik in Western, CT, USA wrote:
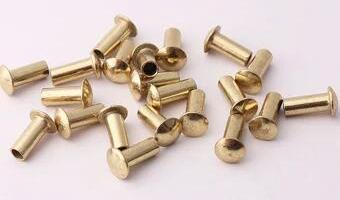
"I used brass semi tubular rivets that I found at my local hardware store. They were a bit too long so I used washers to take up the slack. The mirror frame is quite delicate, and you need to balance the head of the rivet on something hard, while at the same time compressing the other end of the rivet and holding the spring in place. It actually took two of us, one holding the frame & spring in position, while I hammered away (it doesn't take much to compress these very small rivets).
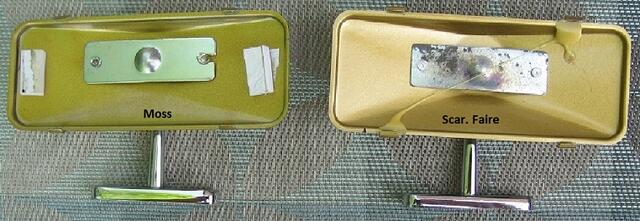
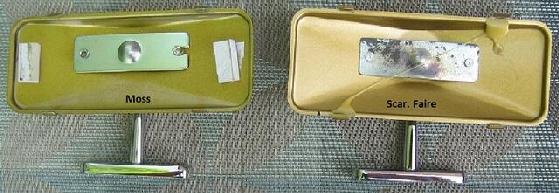
The original mirrors were held in place by the four tabs and by a line of black adhesive at each edge of the mirror frame. The adhesive on my mirror frame had completely dried out and the mirror came off rather easily, but it did pull off the mirror backing, so this is a risk if you plan on reusing the original mirror. As for the reproduction mirrors, Moss used double stick foam tape to affix their mirror while Scarborough Faire units were held in place by what looked like hot glue.
If you plan on using an aftermarket mirror as a replacement, do be careful as the mirror backing can easily be scratched as one is trying to use a tool to cut though the adhesives. I used a very thin/sharp utility knife to cut, and it was held at an angle away from the mirror back. Luckily I never scratched the back of any mirror, but I did mange to break a few"!
|