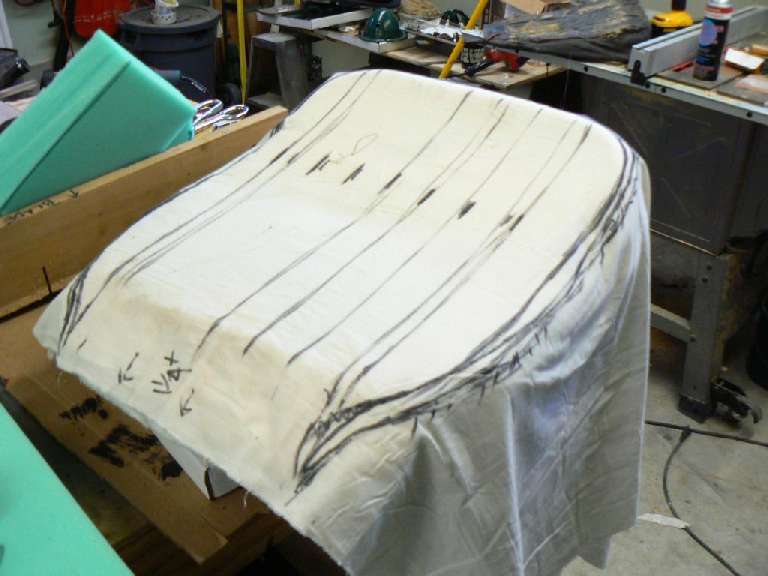
Laying out the new pattern - Kind of a check on the correctness of the old original seat cover - might have stretched or shrunk
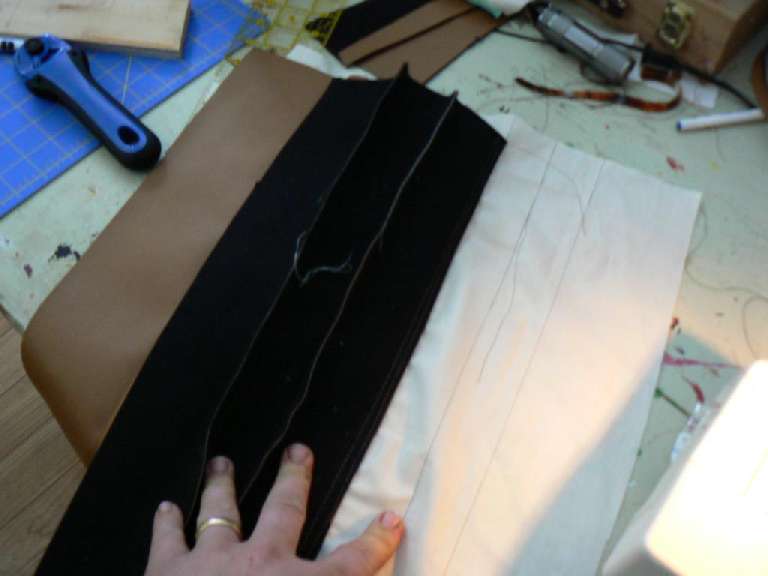
Making the seat covers - This is called Tuck & Roll - the vinyl is cut into 2" strips and seamed, then the muslin is sewn to the flaps after being marked at narrower intervals to create the pockets.
The raw pleats are 2.5" wide but only 1.5" wide when finished. There are six of them on both the bottom and the back - the two outside pieces are cut to about 4" for the seat base but wider for the back (haven't done that yet). Sew them together edge to edge from the back leaving about 3/8" seam allowance. I eyeballed this by running the edge along the outside of the foot on the machine as a gauge. Here is the tricky bit - mark a piece of non-stretchy muslin with lines spaced 1.5" apart. Then (see the pic) sew the seam on the vinyl to the line on the muslin with the seam edge facing to the right (toward the inside of your sewing machine, with the bulk of the fabric on the left or outside). All these seams will lie in the same direction, but you won't see them from the top later. You've now created the pockets for the tuck and roll portion. There should be a 5" wide piece of vinyl on either side of the pleats - so the bottom is made up of 8 pieces total at this point.
I next sewed a length of 5" wide vinyl across top (sew face to face and fold over) to become the back flap that gets stapled to the rear of the seat base. This was sewn on later on my original example, but I can't figure out how I'd do it later...?...made sense to do it now. It is approx. 13" long and extends just past the width of the six interior pleats across the back. You should probably cut this to 15" and plan to trim later - mine will be tight so I'd better not miss.
Then, stuff the pockets. Cut a 1.5" wide piece of 1/2" foam longer than the pocket and wrap a piece of the batting around it for a bit of added loft and softness - 1" is too thick and the 1/2" is too thin. place it on top of your yardstick. Then make a stuffing sock by wrapping a long thin piece of muslin over the foam and the yardstick the long way so it covers the end of the foam and yardstick that you are planning to insert into the pocket. Pushing against the muslin, force the foam into the pocket with the yardstick and then withdraw the yardstick leaving the foam and batting in place. Then, pinch the foam to the vinyl at one end so it doesn't move and pull the stuffing sock out of the other end one leg at a time and reuse it to stuff the next pocket.