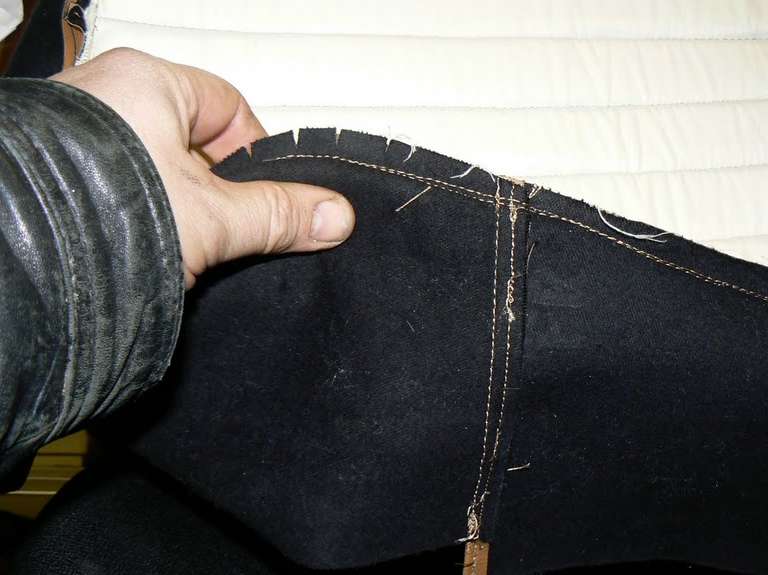
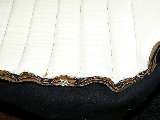
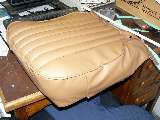
Now I moved onto the sides and front pieces. There are three pieces here - the front was originally leather and the sides were vinyl. Mine are all vinyl of course. Cut them out from the tracings you made of the original pieces. The shape is shown in my pics. The top is taller in front and then angles down in a long slope toward the rear on both sides. Both sides are identical, or nearly enough that it is OK to make them symmetrical here. Sew the front and sides together by sewing first with the two pieces face to face, then open the pieces and sew the seam flat on the side that is away from the front (the "sides" side). This will look like a seam on your Levi's when done with two rows of stitching visible from the back, but only one from the front.
|
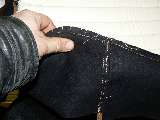
Rear side of vertical seam - after double stitching for extra strength |
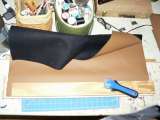
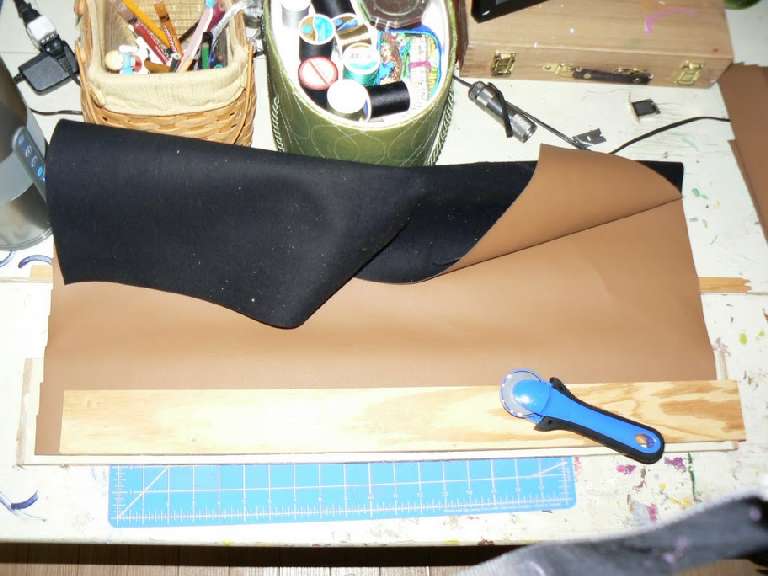
Cutting the strips of vinyl - Make a plywood jig and use a roller cutter - very fast and accurate |
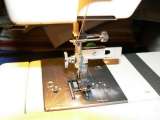
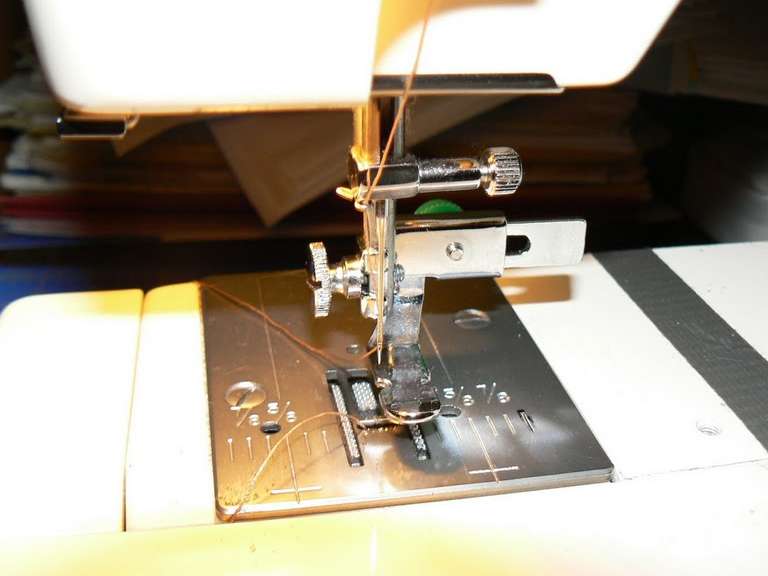
Zipper Foot - looks like a piping foot, but not as rugged. Works OK though. |
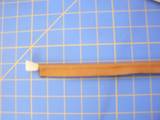
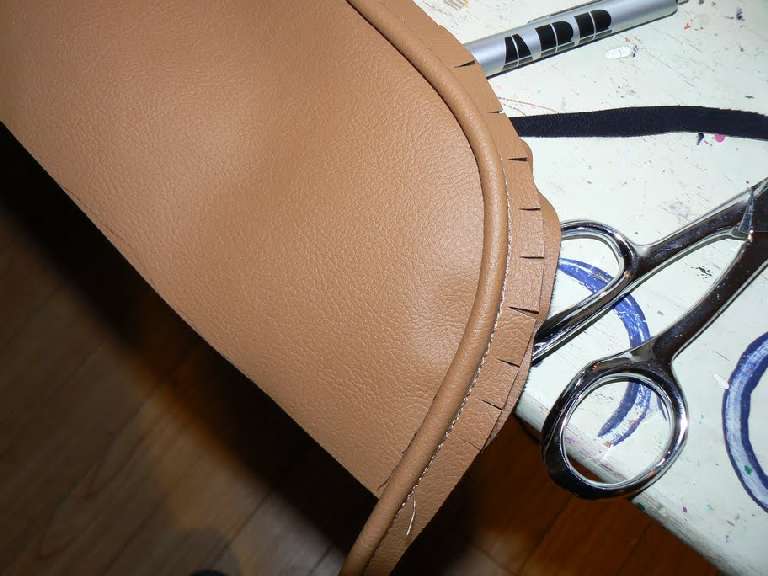
Homemade Piping or edge trim |
Next, make the piping by wrapping a 1.5" wide X approx. 65" (?) piece of vinyl around a length of cotton, paper, or plastic cord (clothes line is great). You need a special one-sided foot for your machine for this step in most cases, but some machines have a setting that offsets the needle to one side of the standard foot to make this kind of hem. Then sew the piping to the sides with the two top edges butting (see pic). This is the next big secret trick - when you mount this on the seat cover top you will sew through the seam on the piping without having to flip the whole thing wrong side out - makes it much easier. Wait for those pics when I get that far.
|

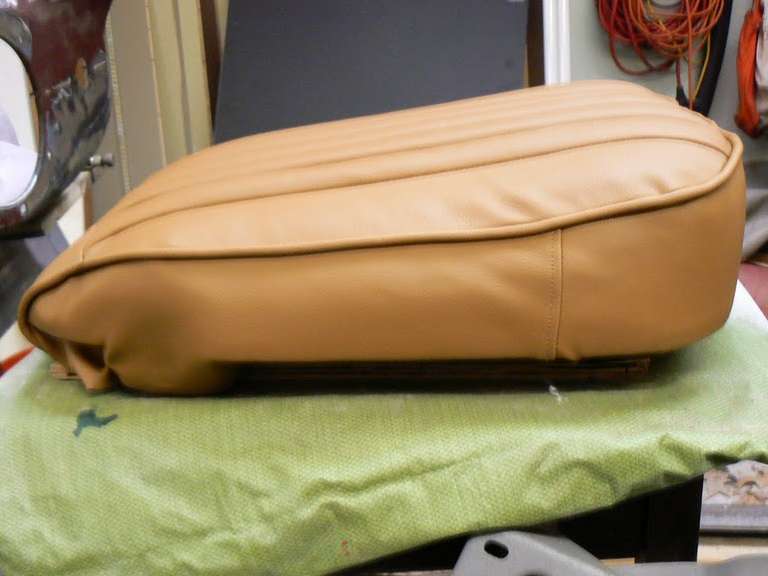
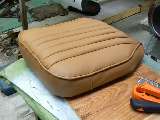
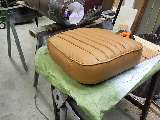
Sides of bottom - Here is the piping sewn to the sides which were traced from the original seat base |
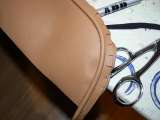
Piping - stitched in place |
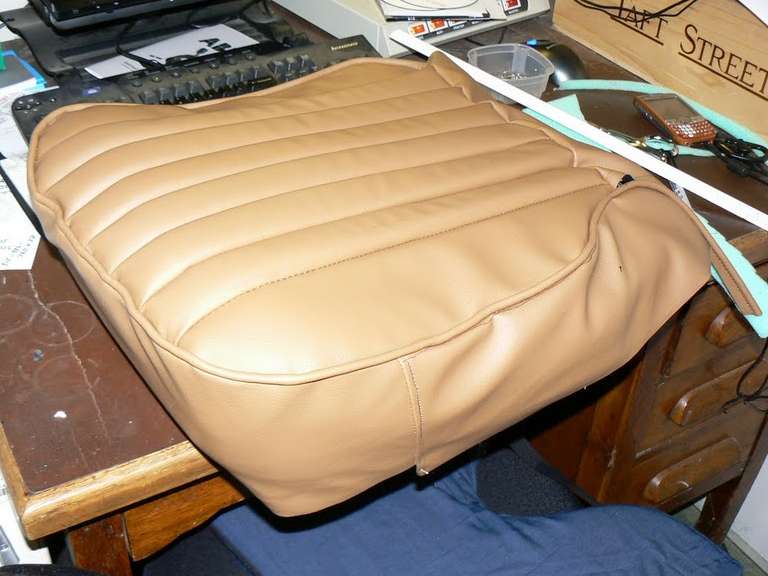
Sides stitched to top - internal view |
 |
 |
 |

Vertical side seam - Double stitched |
 |
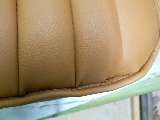
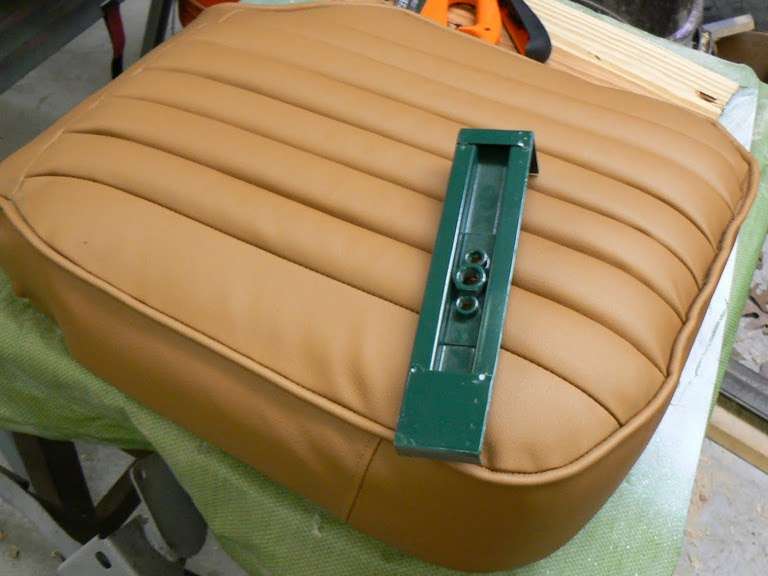
I missed while sewing - need to go back and fix this. The stictches should have been right through the stitches on the piping. |
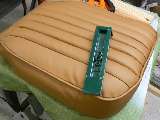
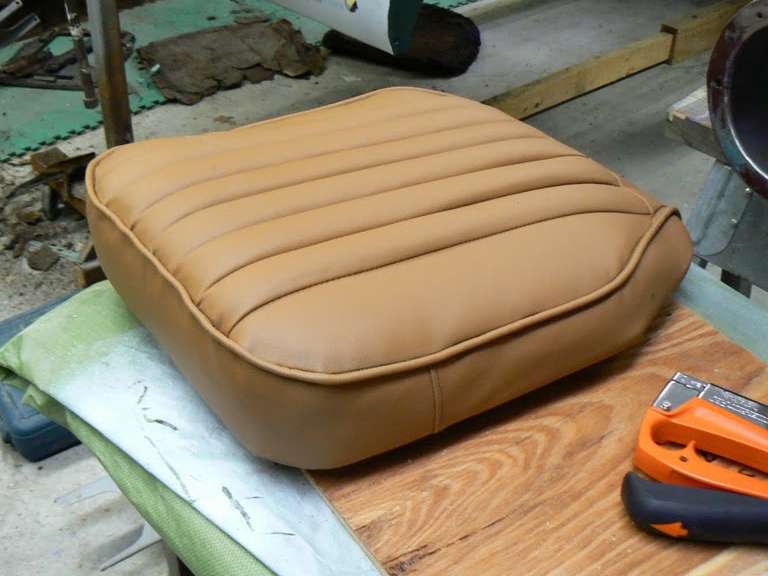
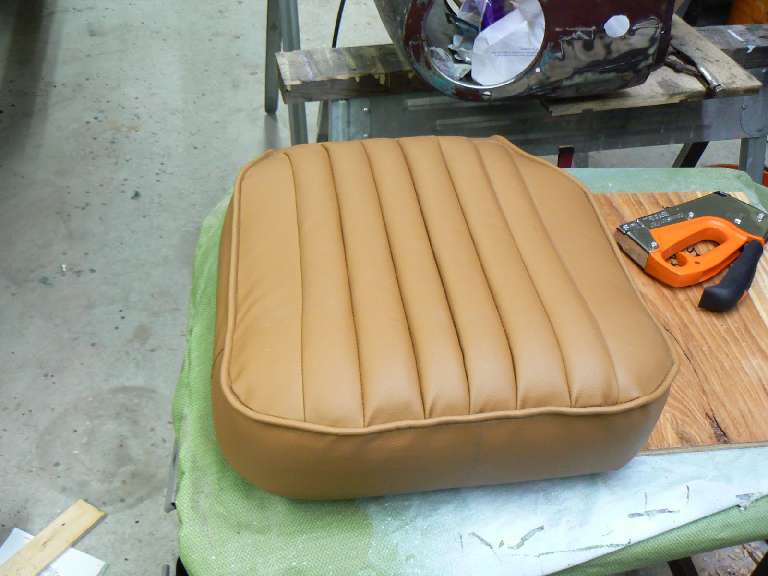
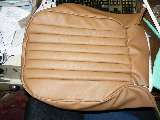
car color on part, and seat color - good combo, IMHO |
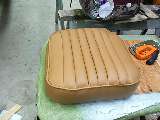 |
finished seat bottom - I still need to redo the sewing for the piping here though |