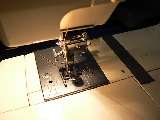
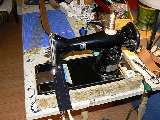
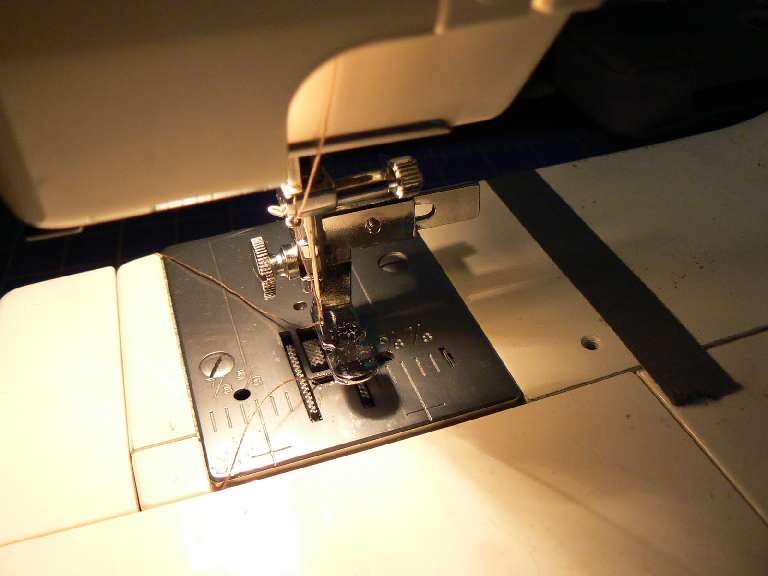
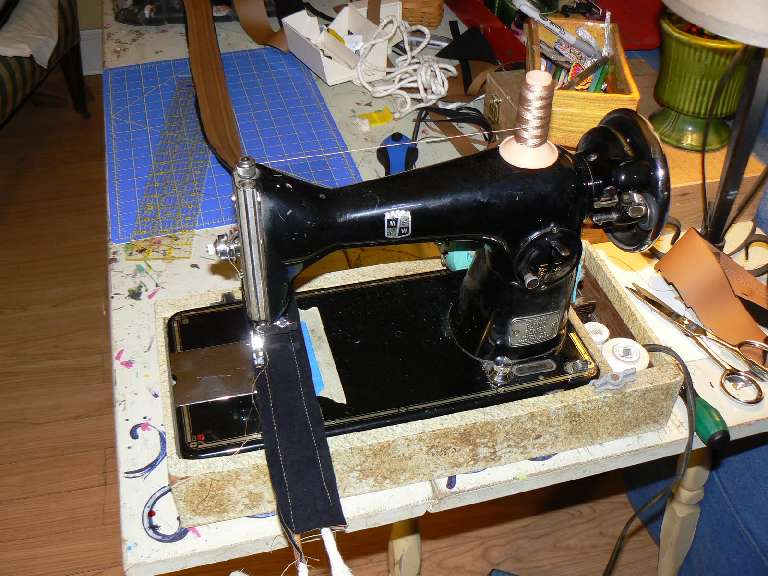
zipper foot being used as a piping foot. Sits off to one size of the seam being sewn and is adjustable. Get the heaviest duty one you can - this one is too flimsy, but I got a Singer foot which was very nice. |
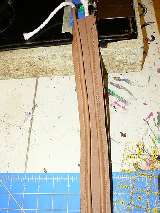
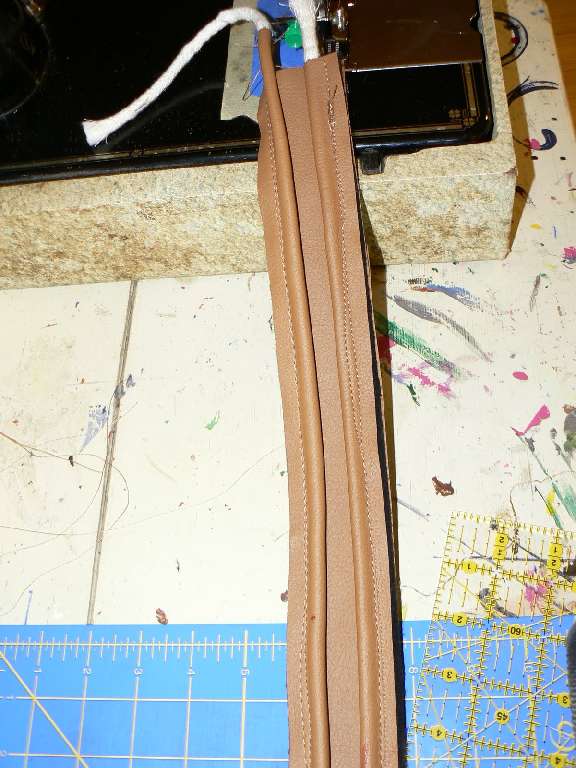
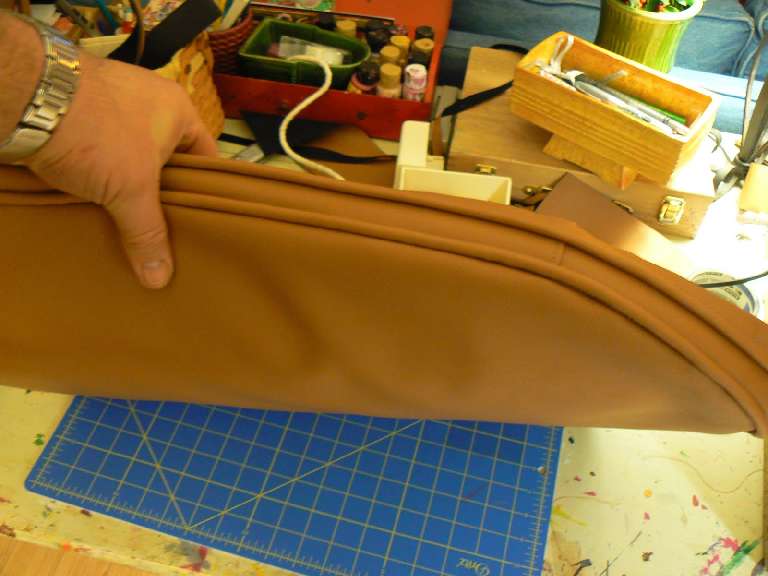
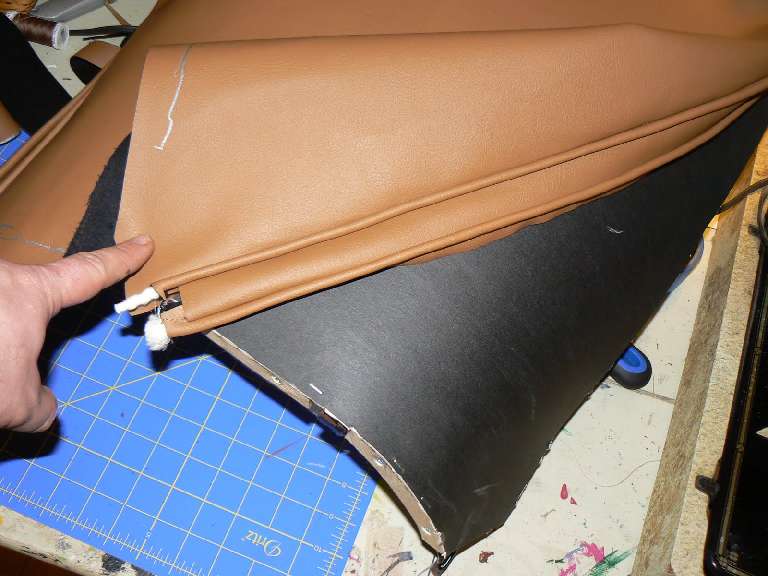
double piping detail for seat sides - you can see I missed here too - this time going too far into the welting. This is why I started sewing it with the piping side up vs. the later pic showing the black side up. |
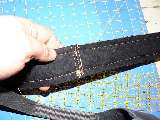
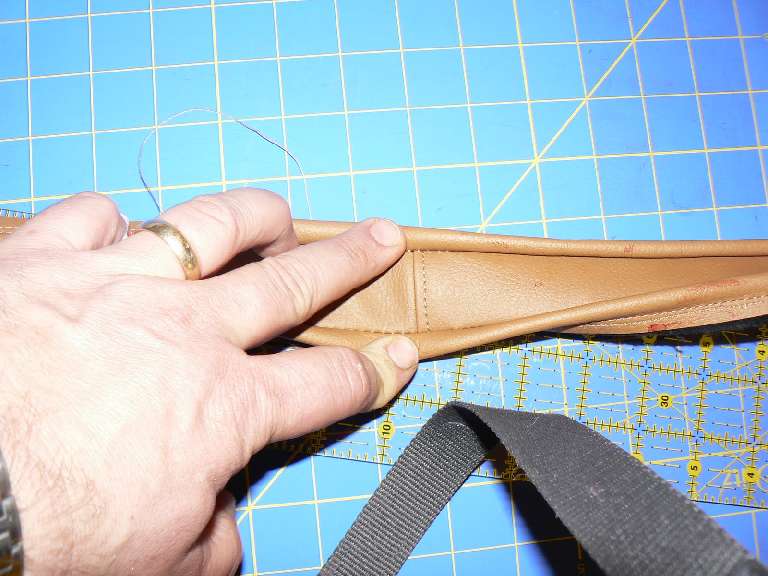
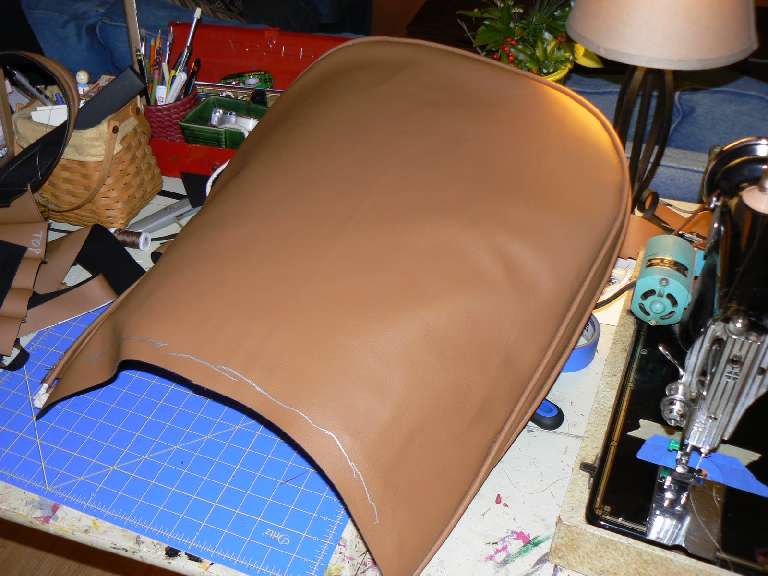
back of seam double stitched on seat back side pieces |

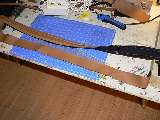
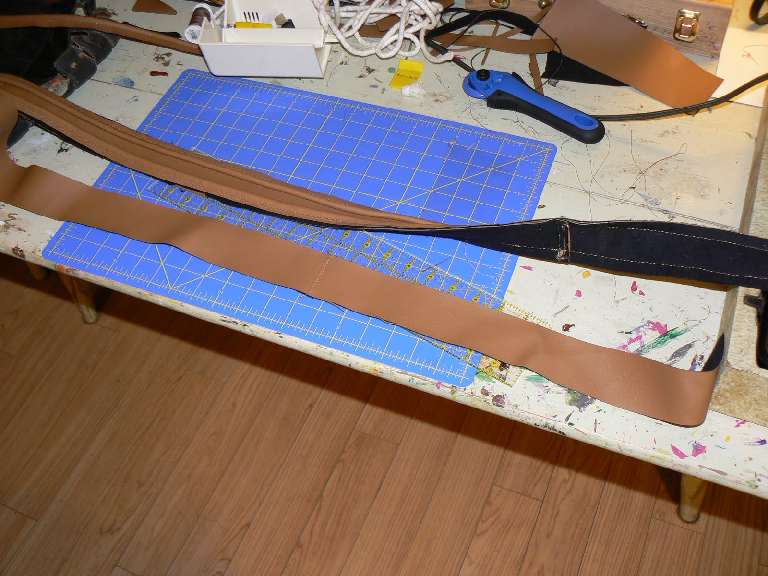
finished double piping for seat sides - I made the seam across here upside down for both seats - oh well. The fold should be aimed down, not up. |
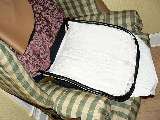
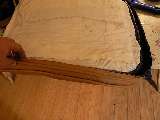
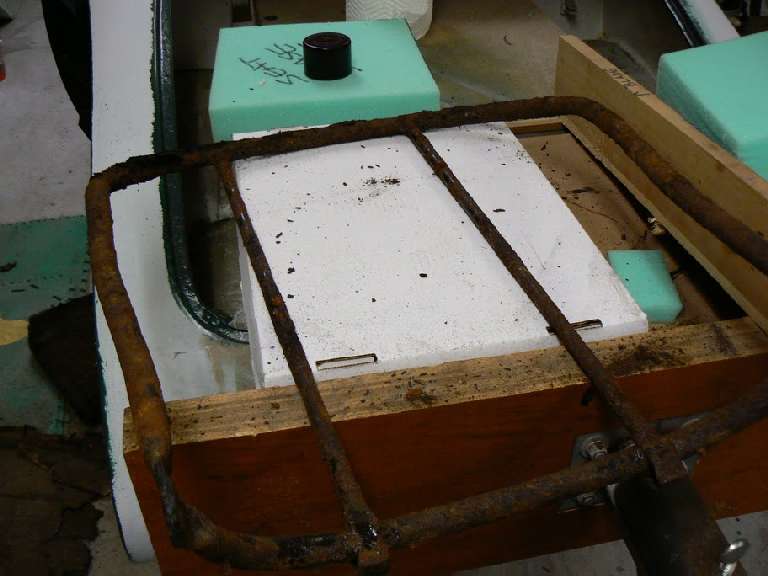
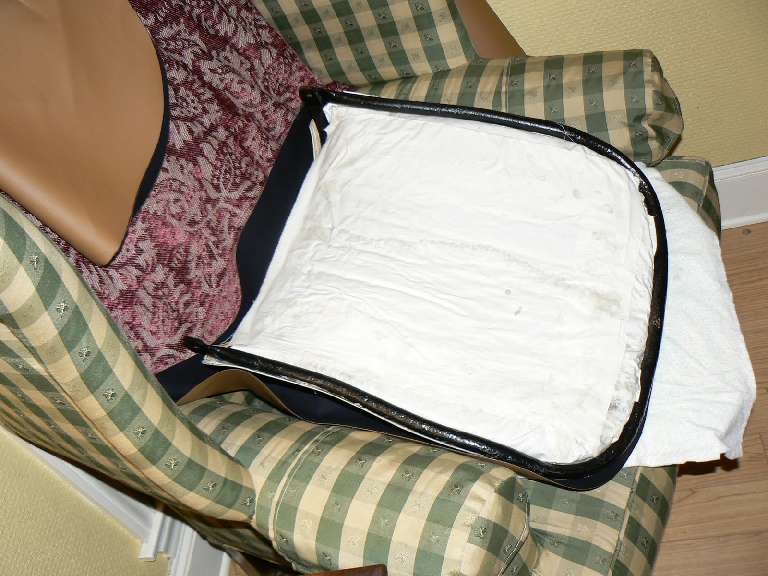
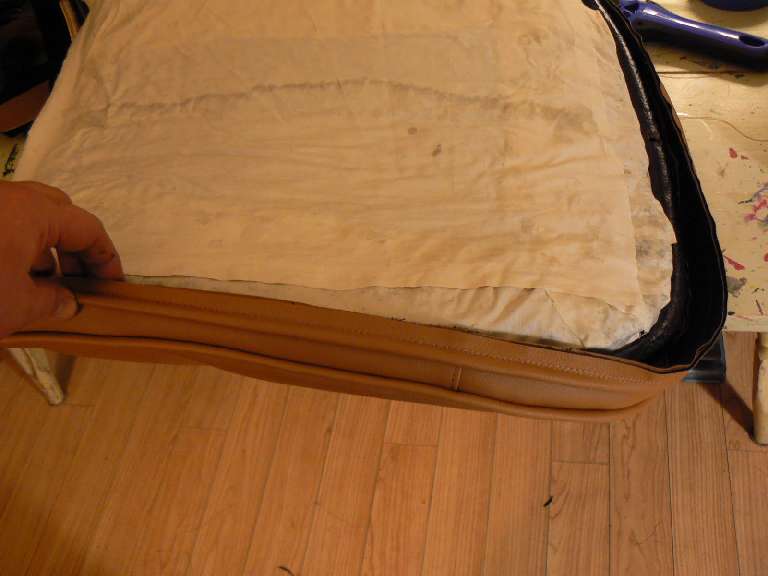
restored pass side seat back with muslin "envelope" covering the horsehair padding and a new cardboard back hot glued onto the frame |
sewing the double piping to the 1" wide (finished width - leave 3/8 to 1/2" per side for seam allowance) seat sides. |
This is actually wrong - it's better to sew from the other side and let the foot run against the welting - stitch through the same seam as you used to make the welting to begin with. |
 |

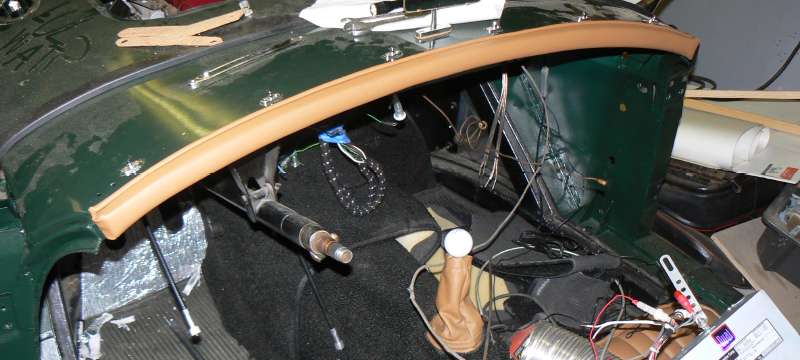

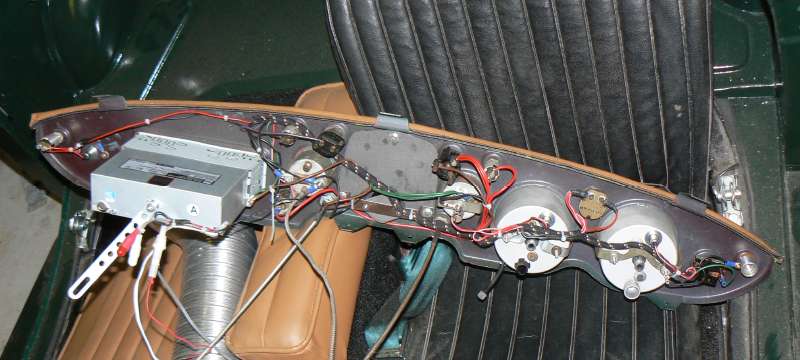
 Here is the padded front rail. Made with a piece of 1/2" plywood traced and cut to fit the lip of the cowl. I used T-nuts to secure it, and padded the front with leftover weatherstrip from the body packing kit that I bought. Same type of piping I have been making all along - large diameter above the dash and smaller between the rail and cowl.