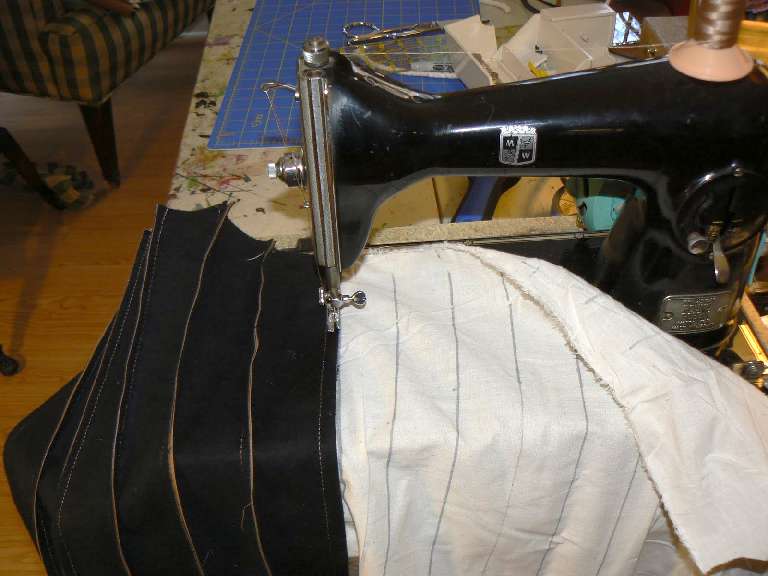
Love this sewing machine. Get one like it for $30 at a yard sale and tell your wife it's yours, but she can borrow it if she asks nicely. |
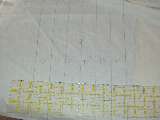
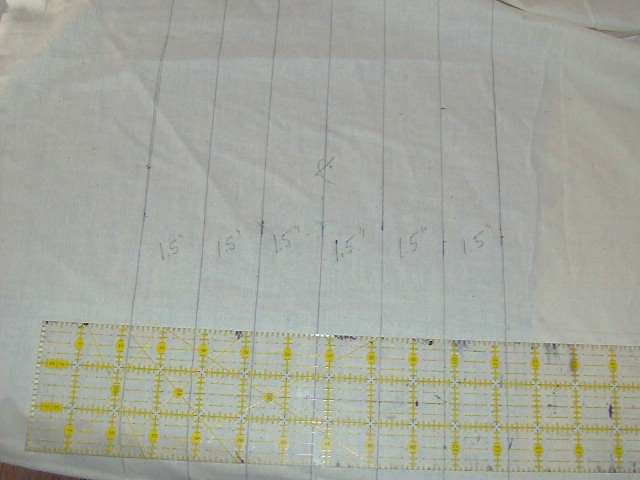
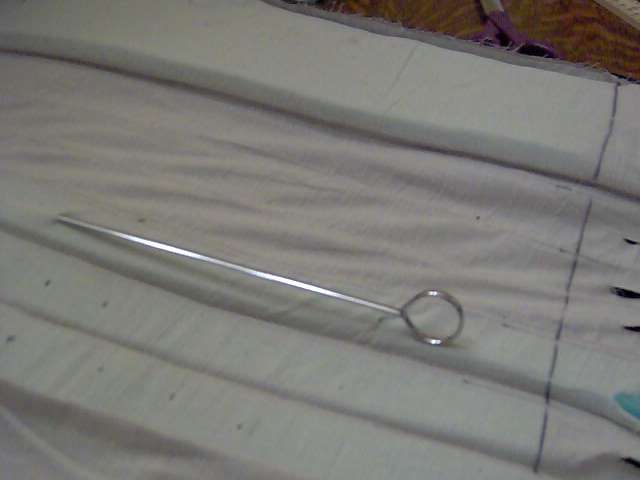
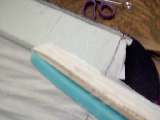
laying out the lines on the muslin for the tuck and roll. These are 1.5" wide, and the vinyl is 2" wide, creating the pockets. |
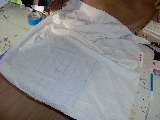
Layout lines for tuck and roll on muslin. |
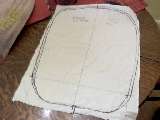
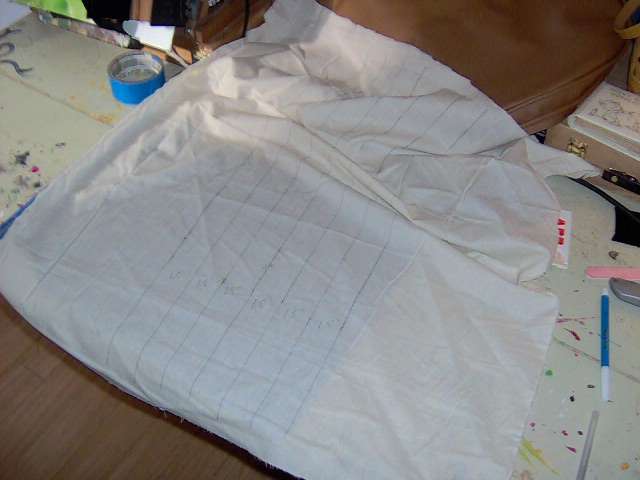
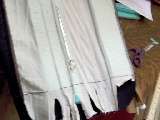
pattern for seat back - flip over for passengers side. I cut this out and traced it onto the assembled vinyl pieces, then cut them out to the (outer) line. The line at the bottom middle is the stopping point for the foam pieces. |

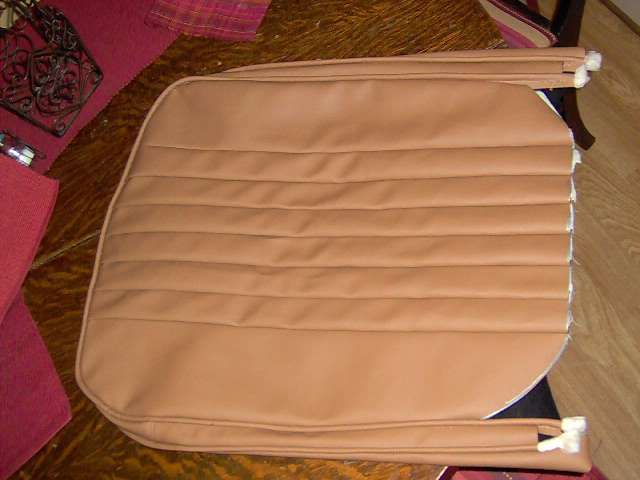
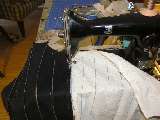
finished sewing on seatback. The pleats should probably have been 2.5" each to match the original early MGA's - looking at some pics it seems my outsides are a bit too wide...? Looks OK though. |
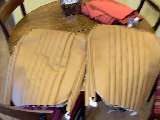
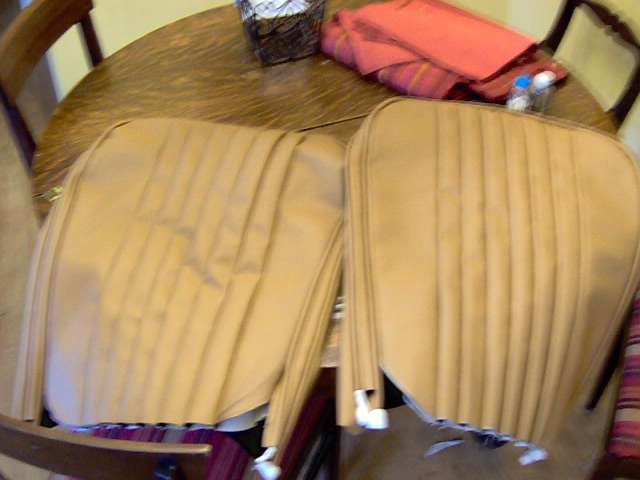
Hooray - two finished seat backs - left and right mirror images. |
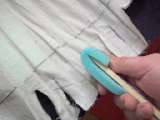
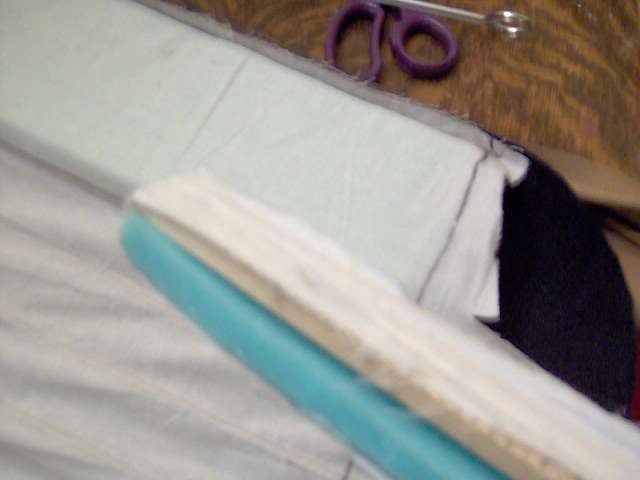
fold the foam over the end of the yardstick to stuff into the pockets - unfold it once it's in place with the end of the yardstick or skewer |
a "stuffing sock" with a yardstick - wrap muslin around the foam and the yardstick and it is easier to slide into the pockets. I ended up not using it in favor of just folding 2" of the foam over then end of the ruler - which was faster. |
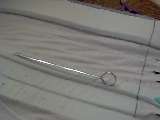
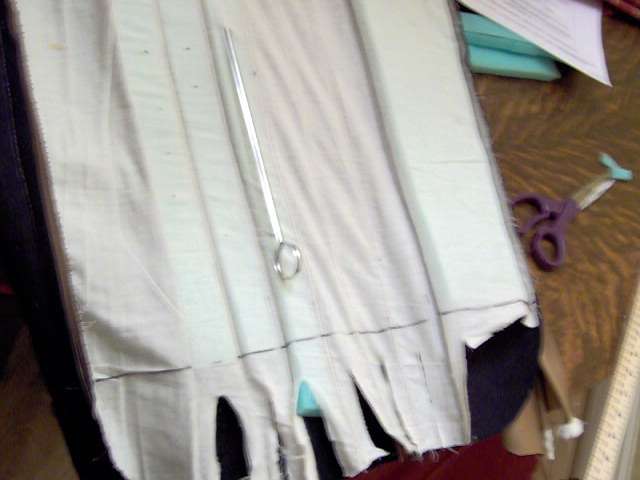
skewer to poke foam into place |
using a skewer to poke the foam into position after stuffing |
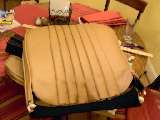
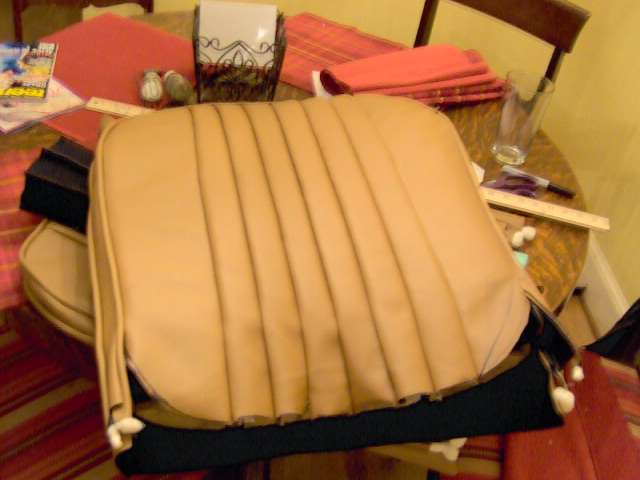
Test fit of seat backup. |
test fit of seat back showing construction |
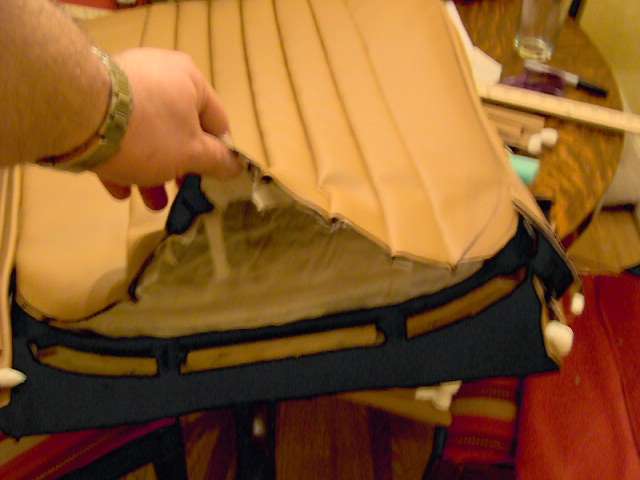
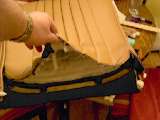
Test fit on seat frame with horsehair - still plan to add another layer of 1/2" foam on top of horsehair and cover with batting before final stapling up.
|