The MGA With An Attitude
Rear Hub Orientation And Assembly - RA-103B
There are three tapped hoes in the bearing hub, all on the same basic circle, so it is possible to put the first screw in any of those holes. The small hole pattern is offset, so if the paper gasket is flipped over the holes will not line up.
Very early production MGA 1500 had only the paper gasket for sealing this joint. Later MGA also have an O-ring seal. Install the O-ring first, then the paper gasket. Do NOT omit the paper gasket, as it is needed to make up the stack height for clamping the wheel bearing outer race. If you omit the gasket you may end up bending the hub flange when wheel bolts are tightened.
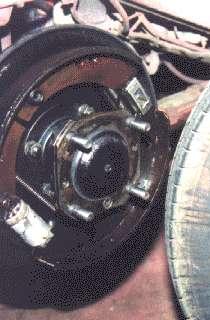
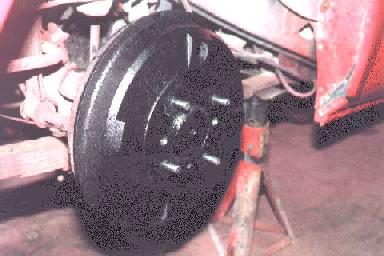
Starting with the disc wheel hub, with the gasket properly oriented, you should be able to reassemble the half shaft (including flange) flange with all three small holes aligned. One flat head screw holds the hub together temporarily until the brake drum is installed. Install the drum with the third (not countersunk) hole over the first screw head. Once assembled you can insert the screwdriver through the third hole in the drum to tighten the first screw again, after the O-ring seal is fully compressed. Then when you remove the drum later for brake service the O-ring should stay sealed.

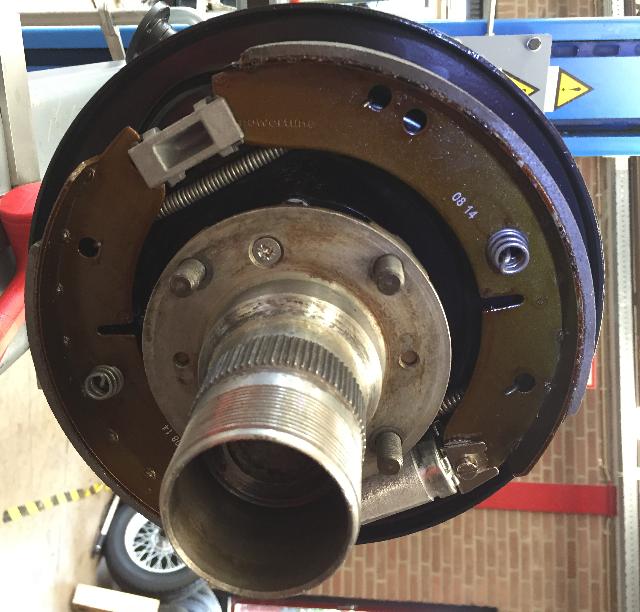
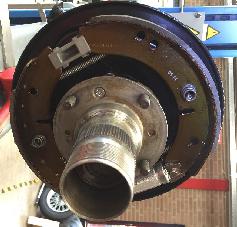
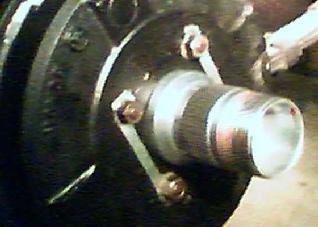
The wire wheel hub is different. It uses only one flat head screw to secure the splined hub to the bearing hub, and the remaining two holes will not be aligned with threaded holes in the bearing hub. The brake drum here is to be secured with two lock tabs and four hex nuts.
|