The MGA With An Attitude
Body Sill Replacement - RT-618
Painting Inside the Sill Boxes
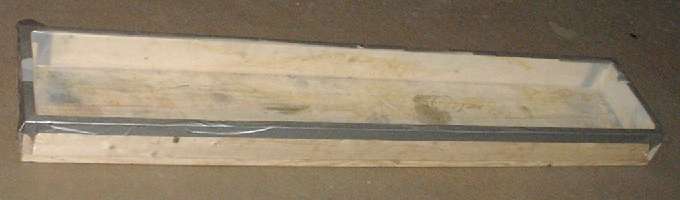
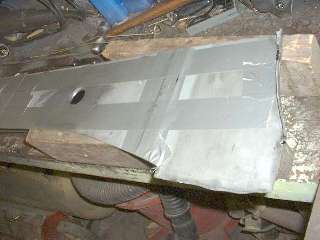
 This started as a good idea that changed to a better idea. I disassembled the box panel assembly jig and recycled the side boards as part of making this drip tray. It is a 3-1/2 inch deep box, large enough to contain one body sill assembly, and lined with heavy plastic sheet, sprayed between with contact cement and taped on the edges. The original idea was to pour in 5 gallons of paint (about 2 inches deep) to dip paint the box sill (turning it over once in the process). The change of mind came quickly with the thought of the cost of 5 gallons of paint (ouch).
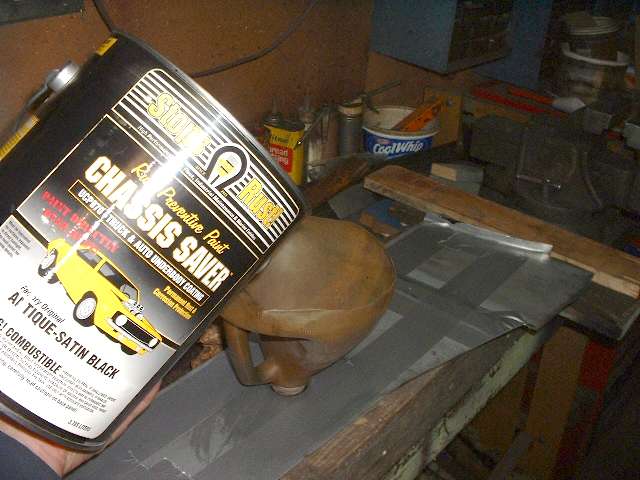
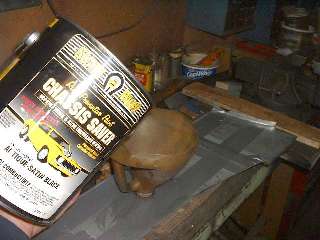
The new idea was to tape over all the weld seams and holes it the sill box and fill it with paint to get all inside surfaces painted. The sill box has around 300 cubic inches of volume, so I only needed three quarts of paint to make it more then half full. I bought one gallon of Chassis Saver Satin Black (similar to POR-15), about $85, which would later be used to paint some of the underbody and to brush paint the frame while the body would be off. I went ahead and assembled the wood box as a drip tray anyway, just in case something unpredictable might happen with the tape and paint in process. Fortunately nothing nasty happened, and the tray only served to catch a few drops of paint that could just as well have been wiped off the floor.
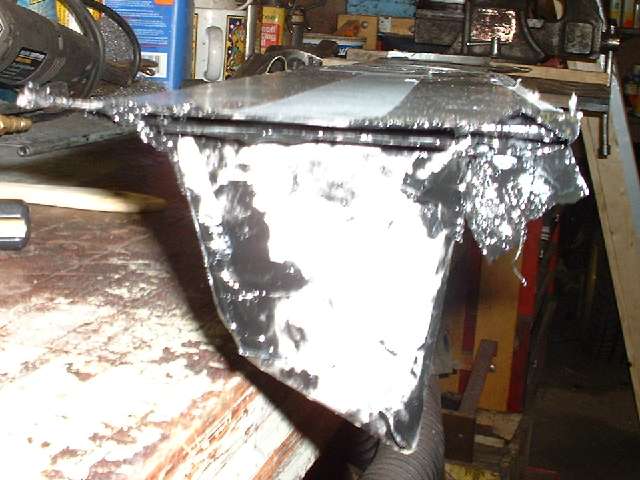
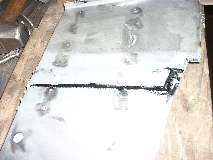
The next move was to wash down the outside of the box sills with solvent, allow to dry, and tape over all of the weld seams and holes with double layers of Duck Tape, being very careful with the corners, and taping the open slot in the front end last. I also put one layer of tape over the spot welds on the back panel in case a few of the weld spots might have pin holes. The parts weren't completely covered like a mummy, but it did need more than 40 yards of tape to do two sills. I left just one vent hole open as a fill port.
Recruiting 20 minutes of assistance from my son, I pulled out my 30 year old home made funnel (that was cut from the top of a one gallon windscreen washer fluid bottle) and proceeded to pour most of the gallon of paint into the sill box. Remember the sill has gussets inside that block off most of the cross section except for a quarter inch near the inner panel. With just two quarts of paint installed it appeared to be full. This required lifting one end of the sill several inches to allow the paint to flow over and past the gussets inside, after which it would accept most of the gallon. I then taped over that port to close the box.
We tilted one end of the sill assembly up about 30 degrees and slowly rotated it around the long axis, then tilted the other end up and rotated it again, thus coating all inner surfaces of the sill assembly. By this time I noticed the tape over the vent holes bulging out a bit, apparently from some vapor pressure of the paint inside, and a few drops of paint beginning to ooze out from taped corners in a few places. So it was time to lay it out horizontal and punch a hole in the tape over the fill port to relieve the small internal pressure.

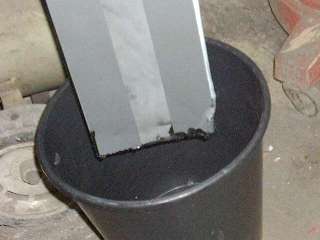
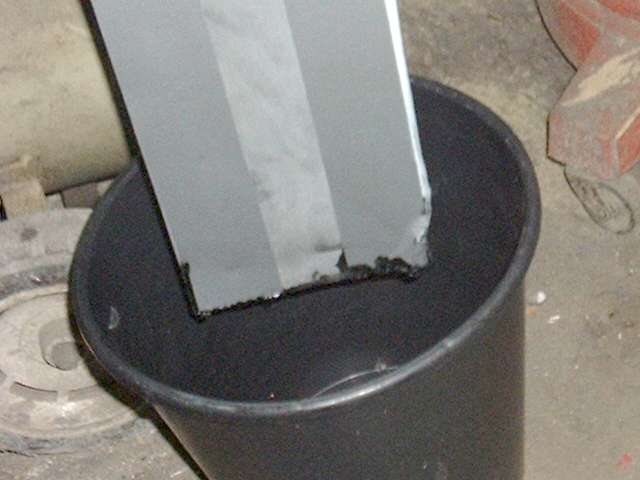
We then elevated the front end of the sill, pulled the tape off of the front end slot, put that end over a plastic bucket, then held the tail end straight up to let the paint drain out. I also applied very low air pressure to the fill and vent port, after which most of the paint was out in a matter of seconds. We held the part over the bucket for another minute or two until the draining slowed to intermittent drips.

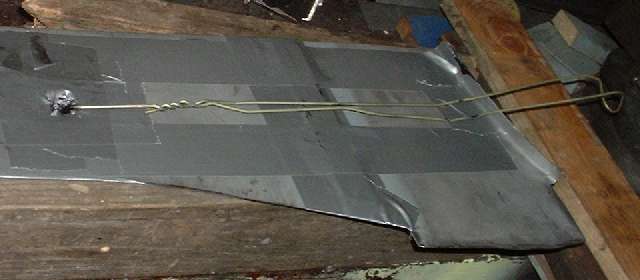
 Then I poked a wire coat hanger into the fill port and hung the assembly on the garage door over a drip tray. We repeated the process for the second sill, pouring paint from the bucket into the sill, closing the fill port before tilting and rotating the part, opening the slot at the front end to drain paint back into the bucket, and finally pouring paint from the bucket back into the original gallon can. I didn't measure precisely, but I think we got back about 90% of the gallon, so each sill only kept about six ounces for the internal coating. On fond reflection, it wasn't much fun washing out the bucket with solvent.
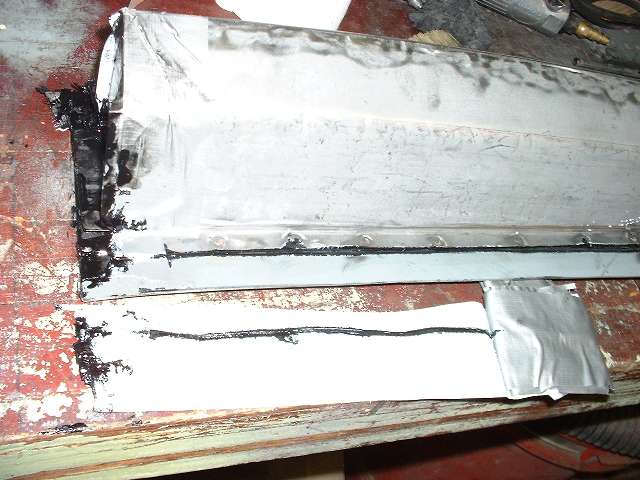
 I left the parts to drip out overnight and pulled the tape off the next day. I was very pleased to see that the black paint had seeped through and out of all of the weld seams, not only coating inside of the joints but also apparently completely sealing them as well. Hopefully it won't be me or my son replacing body sills next time, but maybe the grandchildren after another 50 years on the road.
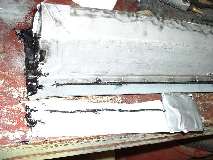
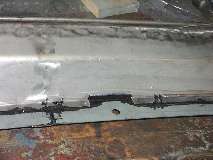
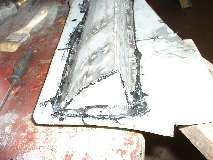
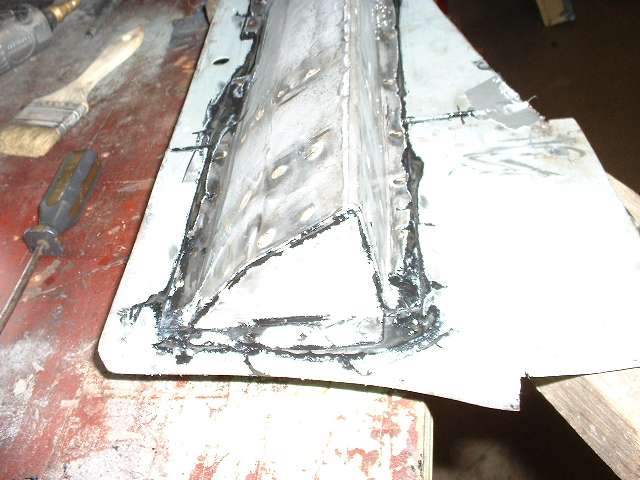
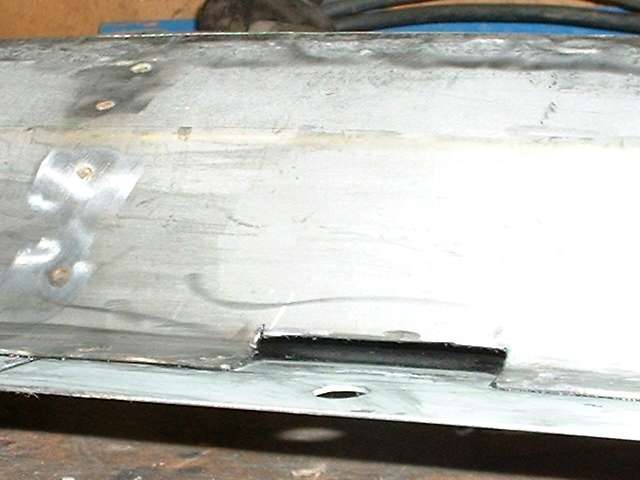
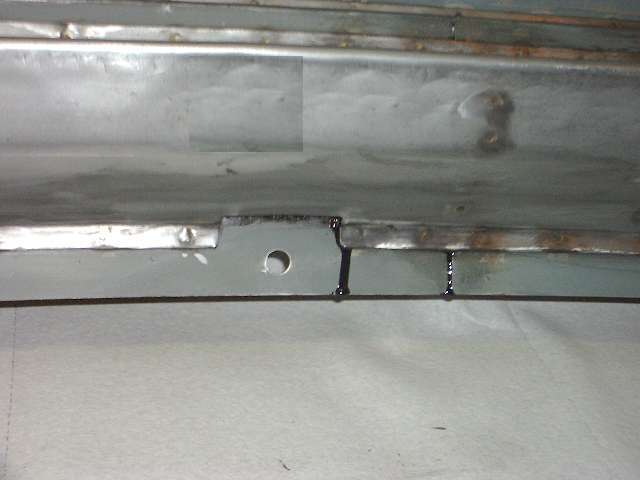
Then it was time to clean up the parts with solvent and paper towels, just to be neat and clean for subsequent handling, and also clean up the drip trays. One final task was to use a piece of sheet metal to clean paint out of the slot on the front end that will ultimately be part of a three layer spot weld on the body. That took a few minutes of swiping back and forth with repeated wiping of the tool with solvent (photos below). By that time perhaps I was more intent on cleaning some Chassis Saver off my hands, which is almost a lost cause as it may take a few weeks to wear off.

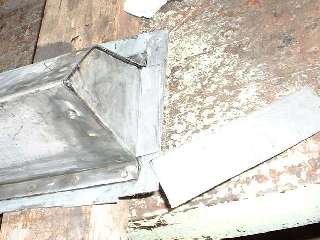

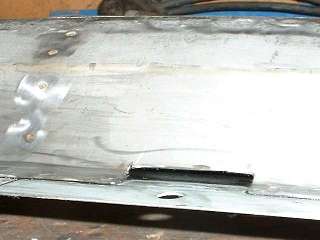
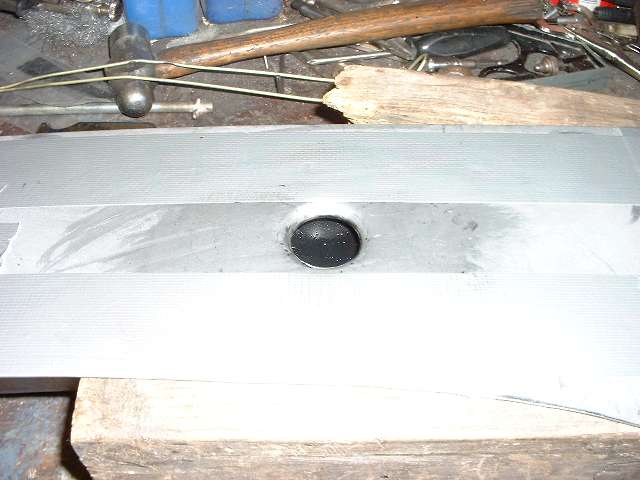
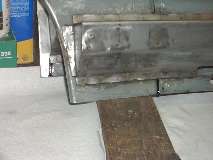
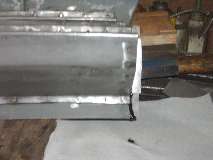
Finally it was so nice to see clean parts again with that beautiful satin black paint inside the box wherever I could peek in (above). I then set the parts right side up to allow any paint inside that was still liquid enough to flow down to the bottom, hopefully sealing the bottom joint even better. After half an hour upright the pictures below show no more paint getting through the flange joint, but a little bit draining at the corners and at vertical seams. With all the drain slots and vent holes open the paint inside should dry enough in 24 hours or so to allow welding the new sills onto the body. (1 Mar 08)

|