The MGA With An Attitude
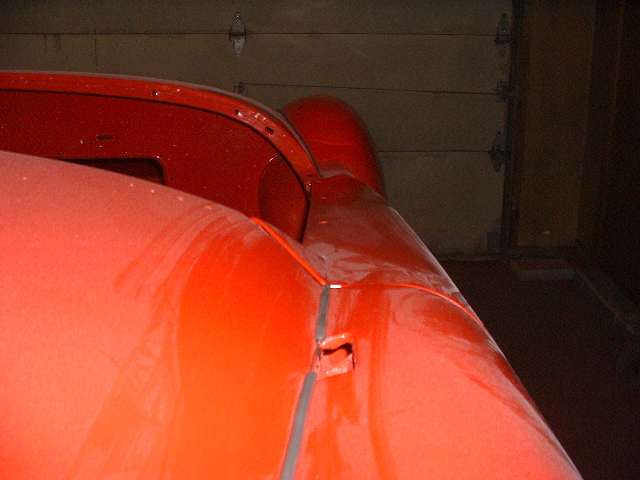
Body Sill Replacement - RT-632A
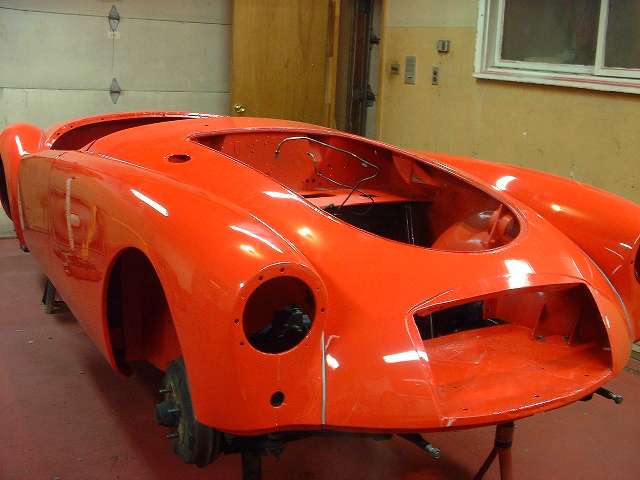
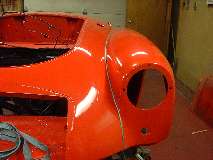
Body Assembly
By now installing doors and fenders is no big deal. This has all been assembled and aligned before in the process of doing body work and primer paint, so now basically bolt it together with piping and a little care in alignment. As usual, install the doors first. It's a cake walk, as long as you haven't mixed up the hinges. Just get the hinges and latches working, and don't worry too much about lateral alignment until the finders are in place. The latch striker plate may have to be re-installed a couple of times, as the shut face plate cannot be finally secured until after the rear fender is properly aligned and tightened in place.
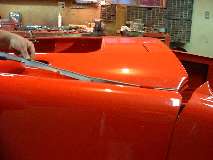
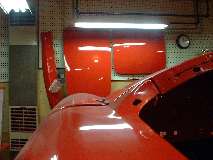
I like doing the rear fenders first, as I can then finish installing shut face pates and aligning latch striker plates before doing front fenders. When installing fenders, leave all the bolts a few turns loose to have at least 1/8 inch gap between fender and body. Notch the web of the piping with plenty of clearance around the bolts, and make the notches three of four bolts in advance of where you're working. Start at the end of the fender next to the door. Get the gap right between door and fender, 1/8 to 3/16 inch or whatever looks best all around. Don't be surprised if the gap may be larger somewhere, but with little diligence you can likely do a better job of alignment than factory did.
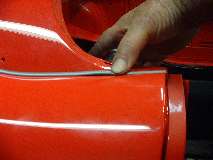
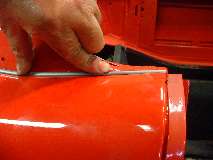

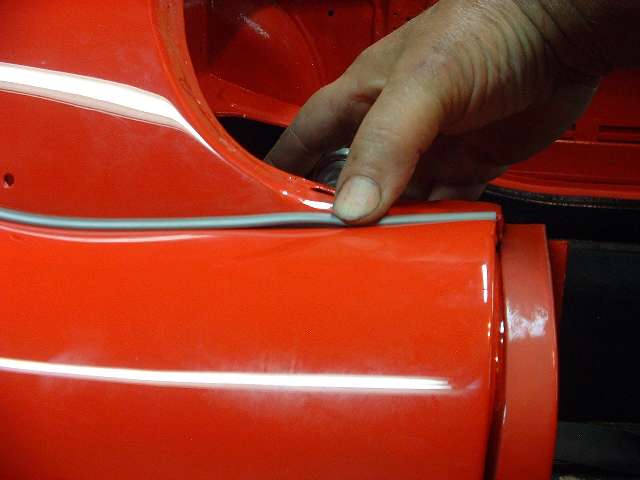
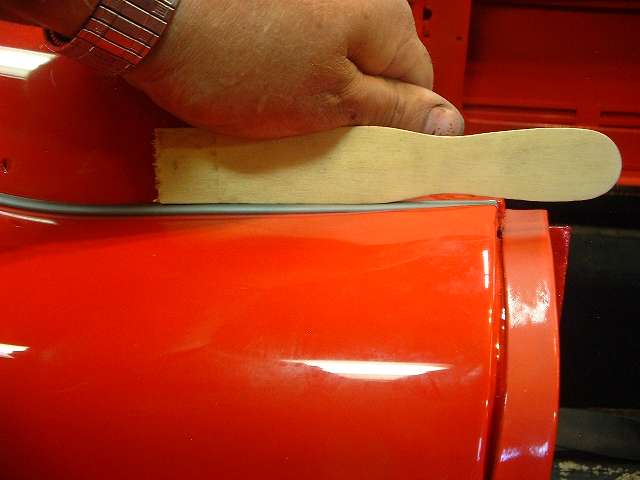
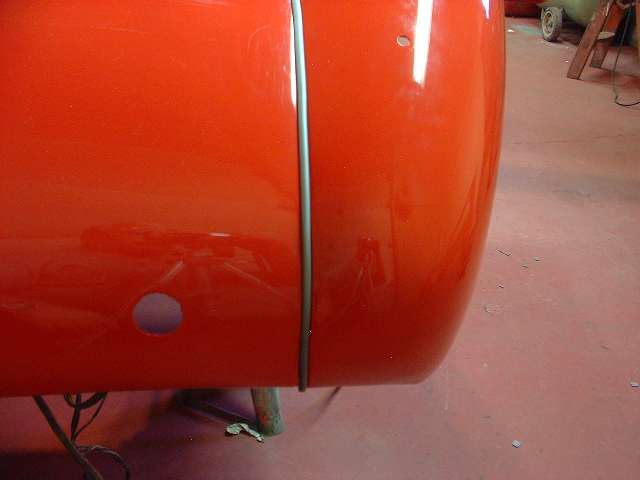
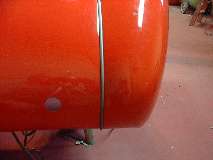
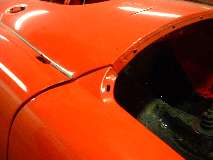
When the gap is right, and the top of the fender is near flush with top of door, tighten the first bolt while pressing the piping down tightly on paint work. Then go on with each bolt in sequence working with one or two bolts at a time while you keep an eye on the piping a couple of bolts farther on. It may help sometimes to slip a couple of wood shims (paint mixing sticks) in the gap ahead to keep the parts from pinching the piping web before you want it to. If you tighten a bolt without pressing the piping down you may find a camel hump in the piping above the bolt (first photo above). Not to worry, just loosen the bolt, press the piping down, and tighten again. If the hump is stubborn you may be making the bolt too tight. You have about a dozen large bolts holding a 10 to 20 pound fender, so the greatest load for the bolts is to hold the piping in place. Each bolt should have the large flat washer and a lock washer, and be tight enough not to rattle loose when driving.
This piping (from Moss Motors) is a little different from the stuff I bought 10 and 20 years ago. The top bead is about the same shape and thickness, but the web running between the panels is noticeably thinner and softer. The thicker material used to develop kinks in shipping and was tricky to straighten before installation. The thinner material is easy to work with but is more susceptible to developing those camel humps over the bolts. Neither one is impossible, they just have their own character to deal with.
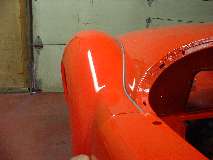
Once the rear fender is secure you can install the shut face plate, rubber buffers and striker plate. I find two things here that haven't changed in more than 20 years. First is the rubber buffers (from Moss Motors) are still to thick so the door won't close flush with the rear fender. I'm not quite sure if this is a curse or a blessing. The fix is easy. I use the 2 inch air sander to buff off the outboard edge of the rubber buffer until the door does close flush. This makes the rubber piece look funny (bad for show), but it can be cut down to whatever size makes the door fit best.
The second thing is the replacement tapping plates inside the buffers are still made of aluminum. The primary problem here is that galvanic corrosion will guarantee that you cannot remove the steel screw more than a few years later, even if you use anti-seize on the threads. I've been here a few times already at about 10 year intervals. The only way to get it apart is to rip the rubber buffer out, cut the screw, and throw the alloy tapping plate in the trash. I have been so disgusted with these things that I now set the alloy bits aside and make my own tapping plates from 5/32 inch thick steel stock.

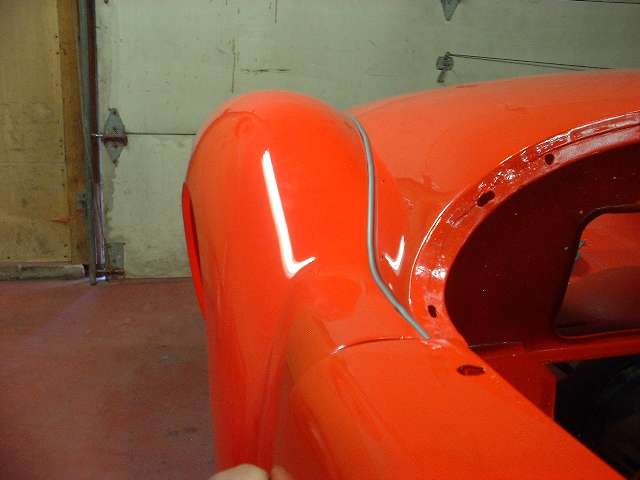
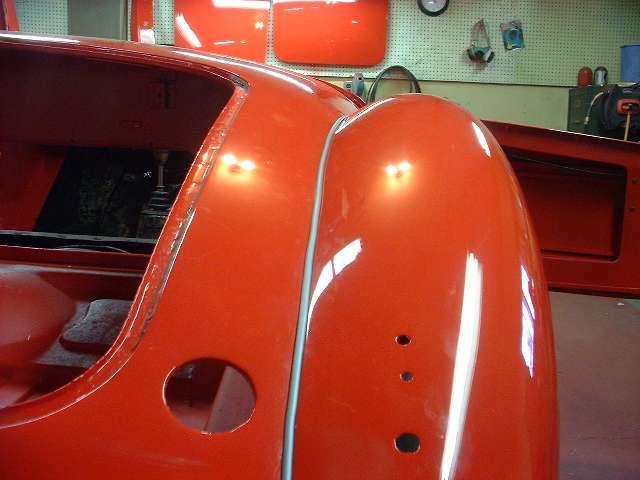
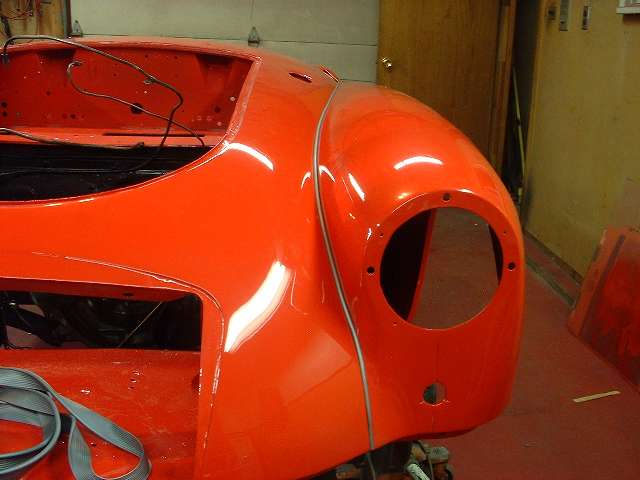
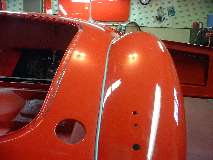
Front fenders are a little more challenging, perhaps depending on how unmolested and original they may be, or in my case, how many times they have been molested and reworked. I install a couple of the upper bolts to hang it loosely, then install the three 1/4 inch bolts fixing the lower edge to the body sill. In my case this requires a bit of a boost to align the lower edge, but once attached there it helps lift the mass of the fender which is nice when installing the rest of the upper bolts. The upper bolts and piping go along much the same as for the rear fender, starting near the door to get the top edge flush and the door gap looking nice. Then work forward one or two bolts at a time pressing the piping into place as the bolts are tightened. You may want to snug up the front bolt temporarily early on to assure that the bottom front edge will be flush with the body at the bumper line.
My next move is a little harder to explain, but it requires a bit of creativity for best results. There are four 1/4 inch bolts in a vertical row inside the cockpit ahead of the hinge post. Before these are tightened the fender has a pronounced gap at the bottom rear where it meets the rocker panel. Also the top rear of the fender aligns well at the inner edge but is a little low on the outside shoulder, so not quite up to being flush with the door top. My intent here is to raise the whole outside surface of the fender after it is already bolted on at top and bottom. I wrap a length of 2x4 board in a few turns of soft bath towel, position that under the fender just outboard of the sill flange, and bring a floor jack up to support it. I use a couple of light bar clamps to hold the padded board secure against the sill flange, then lift with the jack, almost lifting body and frame off of the jack stands. This pushes the fender upward to close the gap at the rocker panel at the same time as raising the top outer shoulder to be near flush with the door top. Then I tighten the four small bolts inside to hold it in place. This also pulls the fender panel inward as much as a quarter inch as the inside bolts are secured, and it all stays there when the jack is removed.
After all fenders are aligned and secured, it is time to realign the doors for the final time for best flush fit with the fenders. Think of the door being a diamond shape rather than square. When you adjust the top hinge in or out the lower rear corner moves in the opposite direction -- top front out = bottom rear in. When you adjust the bottom hinge the bottom rear moves in the same direction -- bottom front in = bottom rear in. When you adjust the striker plate the bottom also moves in the same direction -- top rear in = bottom rear in. In many cases the challenge is getting the door bottom rear corner inward far enough to be near flush while keeping flush alignment of the door front to the front fender.

This was a fun day in the shop. It is sort of nice cleaning my hands every hour or so and wiping the paint clean rather than living under a blanket of dust like the past six months. I just remembered I need to clean and paint the lower body side trim moldings, and I might install the cowl vents before anything else gets in the way. The valance panel will wait until after engine, radiator, oil cooler, fresh air ducts, and grille (and the new air horns, chuckle). .... (20 June 08)
|