The MGA With An Attitude
INPUT PINION SEALS for the Steering Rack, felt -- SR-201A
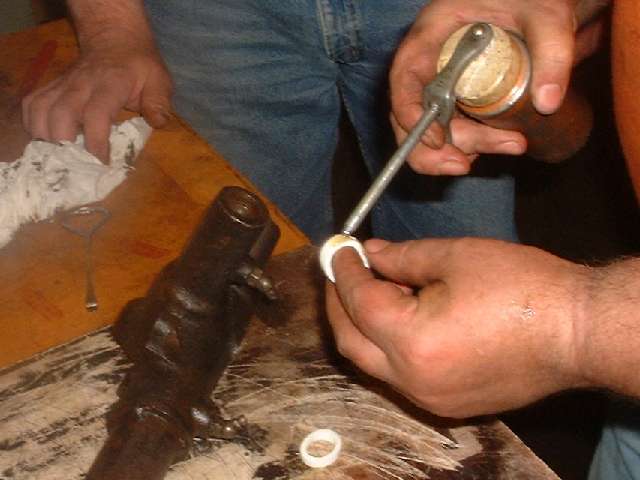
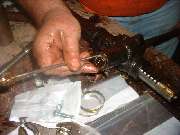
The first few pictures here are copied from the previous page, relating to installation of the steering rack input pinion shaft seal. It may not be necessary to install two felt seals, but I still think it is a good idea.
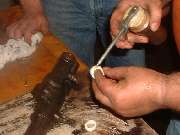
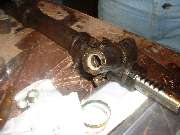
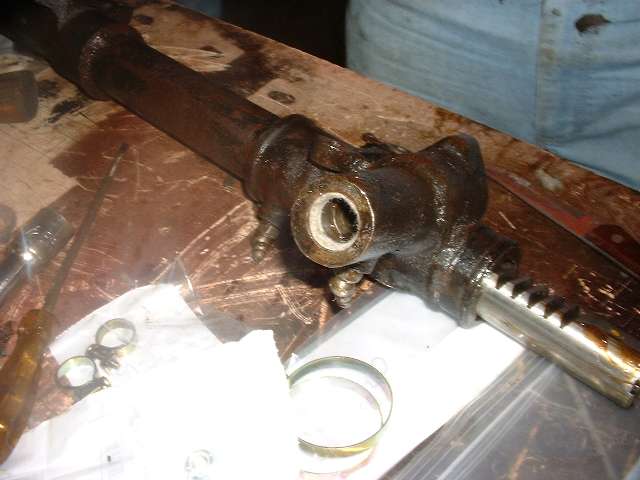
Pictures below show a close-up view of the bore in the input pinion bearing journal. This shows a felt seal installed in the first groove, the second groove empty, then an axial slot between the second groove and the top port for the Zerk fitting. There is also a tiny piece of paper inserted to be easier to see the location of the Zerk fitting port.
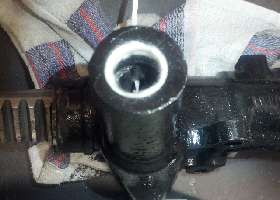
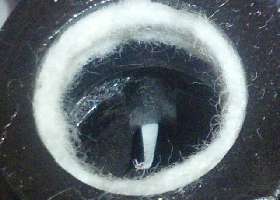
Original design intention is for the incoming grease to move along the axial slot to the inboard groove, then move around the annular groove to surround the shaft. From there it would want to move equally in both directions, inboard and outboard. The inboard journal length is much longer than the journal length between the annular groove and the outer felt seal. This would seem to make the grease want to push past the felt seal.
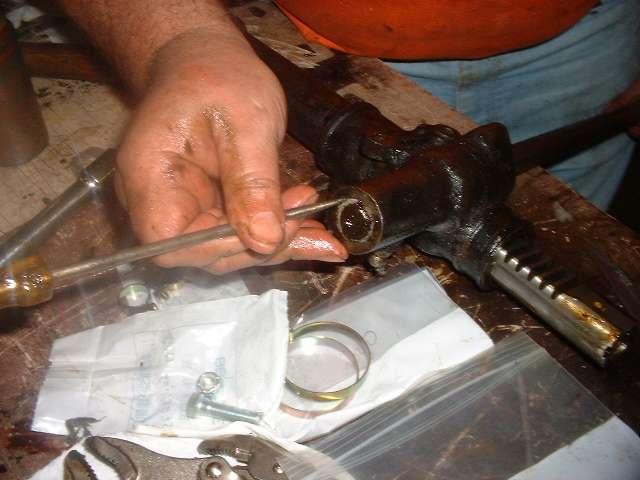
On a few occasions when I have rebuilt the steering rack I have installed a felt seal in the second groove as well. For ease of assembly I install the felt seal dry, then add a touch of oil to the seal to make it slip easier past the pinion shaft as it is pushed together. The double felt seals appear to work quite well as a seal, not allowing grease to escape the open end of the journal. I suspect that grease will pile up against the inboard side of the inner seal ring and compress the felt a bit laterally, forcing it to constrict onto the shaft for a better seal. At the same time the lateral compression of the seal would leave a narrower annular groove space so the grease can still move all around the shaft. This is all kind of speculation, but it does work.
Addendum August 2013:
Here's an interesting touch of creativity from Ron Bissland in Kenosha, Wisconsin, USA:
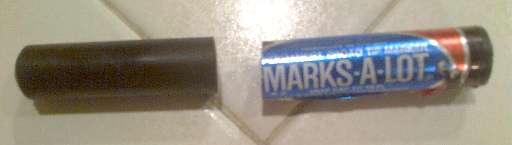
 "I just got done rebuilding mine and knew this was going to be an issue to get the shaft in without messing up the felt seal. When I removed mine there was only one felt seal and I wanted to put two back in. So here is what I did. "I just got done rebuilding mine and knew this was going to be an issue to get the shaft in without messing up the felt seal. When I removed mine there was only one felt seal and I wanted to put two back in. So here is what I did.
Need to find something that I could put in front of the shaft that would allow the shaft to pass through the felt without tearing it. What I found was an old magic marker. It was tapered on one end and a bit wider on the other. I removed the marker felt and then measured the steering shaft to find where to cut the marker housing. I cut the marker housing a bit smaller than the shaft size. I then smoothed out all the plastic burrs and removed the sticker on the marker housing.
I then inserted the plastic shaft into the opening until it was just at the first seal. I applied some oil on the seal and positioned it into the opening and pushed it into the groove. Then I pushed the plastic marker slowly up and as I did since it was tapered it forced the seal further into the groove. I then pushed it further until it passed the first groove and was positioned at the bottom of the top groove. Repeated the same step as before and pushed the marker so it was now coming out of the Steering rack. Since it was tapered it forced the felt into the groove. I then put some light oil on the steering shaft and inserted it until it came up against the marker. Then pushed it until the marker popped out and the shaft was in and past the TWO felt seals. Then keep pushing the shaft until it was all the way in. Worked perfect.
I just looked at some Dry Erase markers at work at also are tapered. I think the trick that makes this work so good is the tapper is really gradual, so as you push the marker in further if the felt gets out of line you can push it back into the grove. Also oil makes plastic really slick. If wood was used then the oil would soak into the wood and it would not be so slick".
"I had the marker measured.
Small end is 0.69 -- Large end is 0.72 -- Length is 2.5"
Ron
|