The MGA With An Attitude
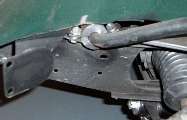
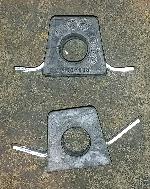
MGB 3/4 INCH SWAY BAR In Original Top Position -- FS-103B
This article submitted by Brian McCullough
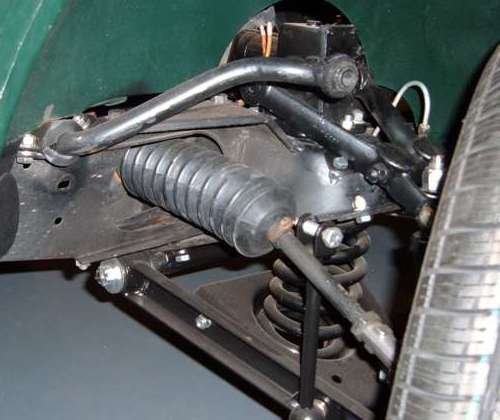
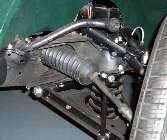
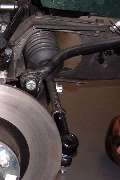 The bad part about using a sway bar in the proper location is that it is difficult to do without removal of the front frame horns or removal of the body. The nice thing is that everything looks correct, or at least to the MGB owners of this world!
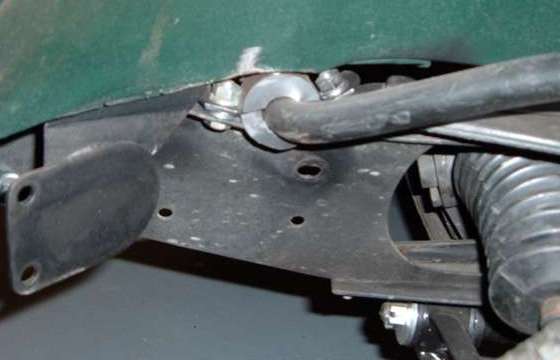
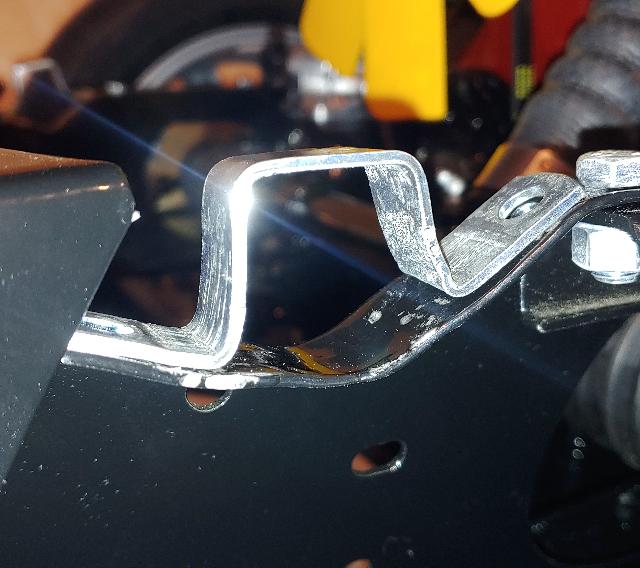
This sway bar assembly is as follows:
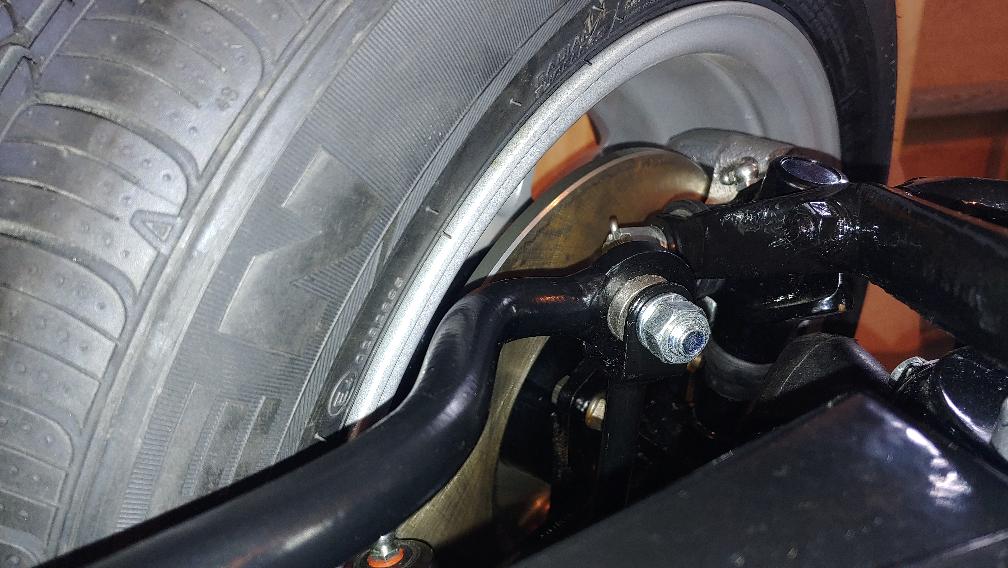
MGB 3/4 anti-sway bar (some people say its a bit large for an A)
MGB links (attached to the MGB A-frame as long as we rebuilt the front suspension)
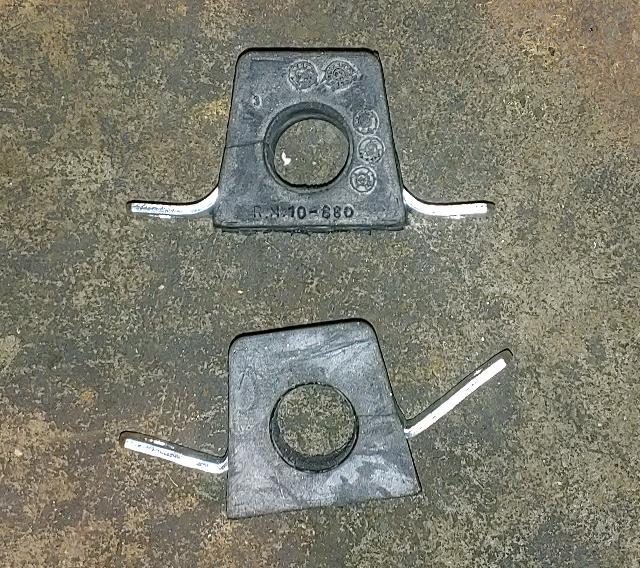
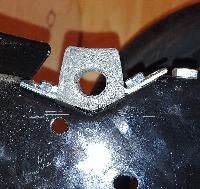
MGA sway bar to frame hold-down brackets (Carl Hiedeman or Clarke Spares)
MGA standard rubber bushings (Scarborough Faire)
The rubber bushings were cut into two pieces. My preference would be a 60/40 split for upper and lower halves for fitment around the oversize bar. You will need to add washers to tighten the hardware without squishing the bar or bushings. A standard bar would not have as much of an issue.
 Also, please note that the hardware should be installed in a way that it can be removed (even though the bar cannot be) without removal of additional pieces. For this, you will need to get bolts that are to the quarter of an inch measurement (5/16 UNF x 3/4 is probably close).
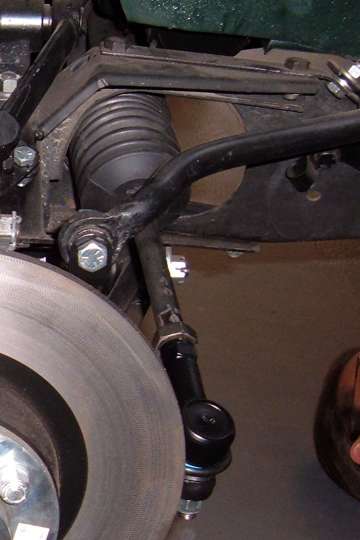
Finally, a note for those who have installed the sway bar without the motor and ALL the proper weight in the car- I recommend that you hold off on installing the anti-sway bar links until everything else is connected and the car has proper weight on the frame. Without this weight, the car will pull the links against the inner tie rods amongst other things and make moving the car difficult, not to mention scratch paint.
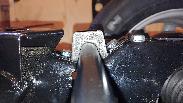
Addendum March 20, 2022:
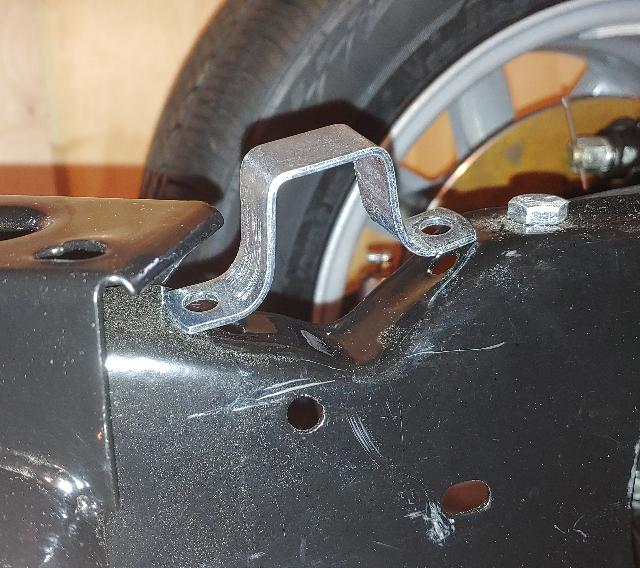
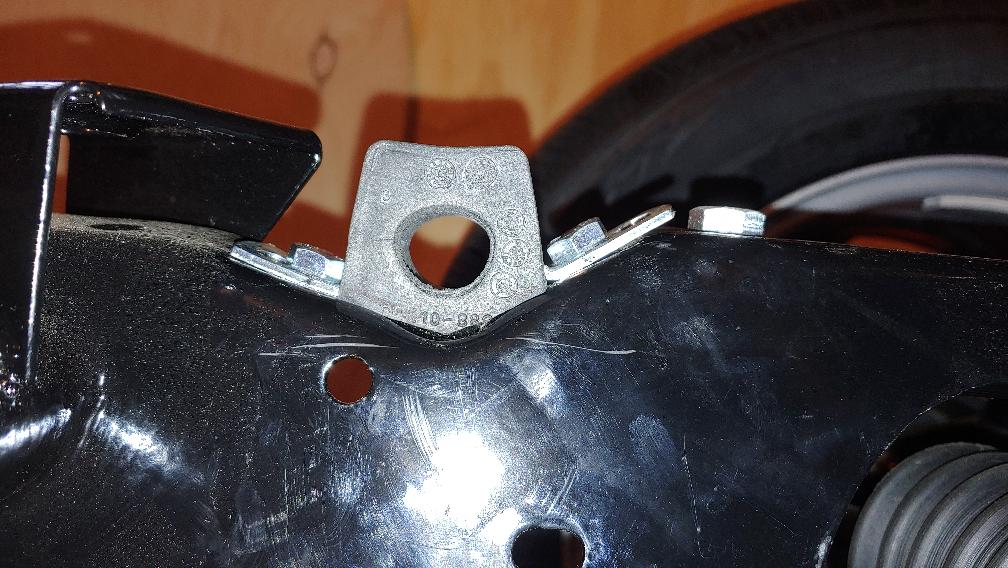
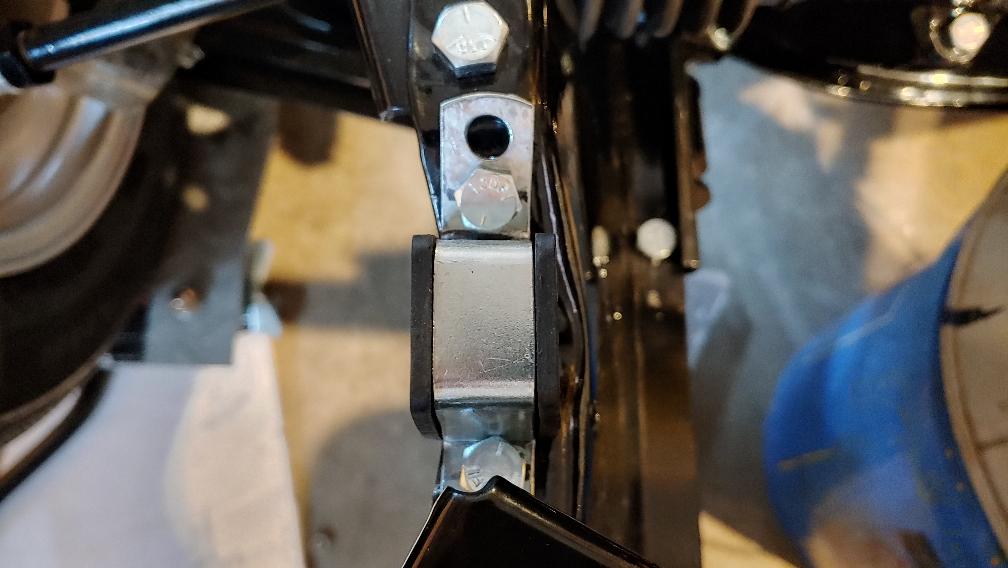
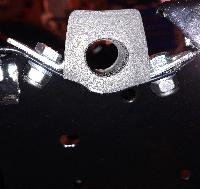
Here is another version of frame bushings contributed by Paul Millar , using parts that came with a Moss Motors 3/4 inch MGB sway bar installation kit. Reform the legs of the brackets with bends a little higher up to match contour of the top nest of the MGA frame. Drill two new holes in each bracket to match location of the existing holes in the front frame extention.
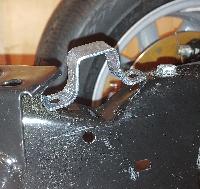
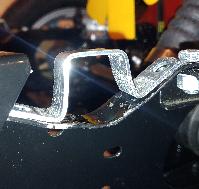
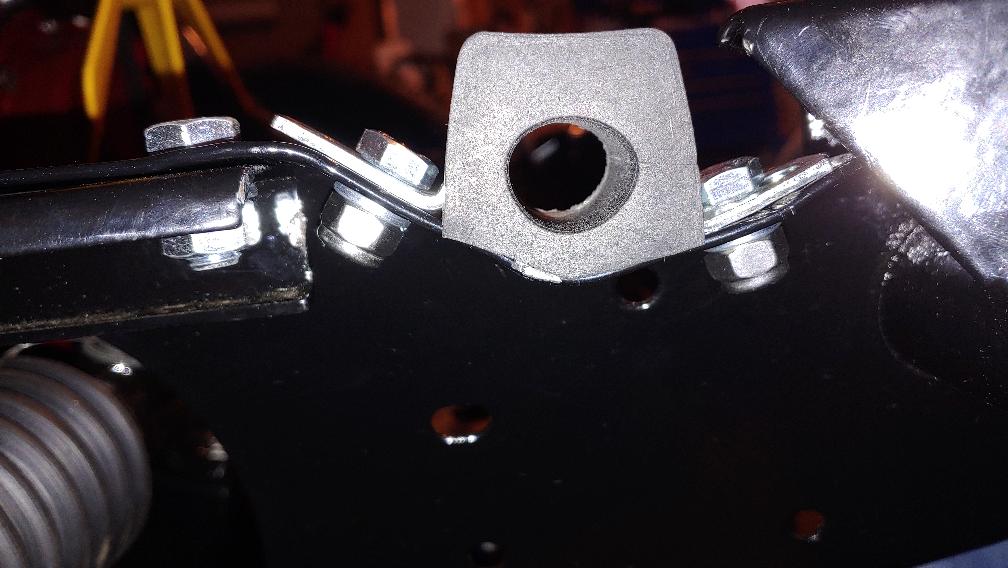
Then you will need to grind the bottom of the bushing about 1/8 inch, just enough to match the frame contour. And (maybe) grind down the top of the bushing (or maybe not) to match height of the re-formed bracket. Here we see the part installed with just a little vertical squish of the rubber grommet, which will make it tight on the round bar when bolted in place.
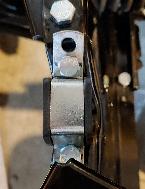
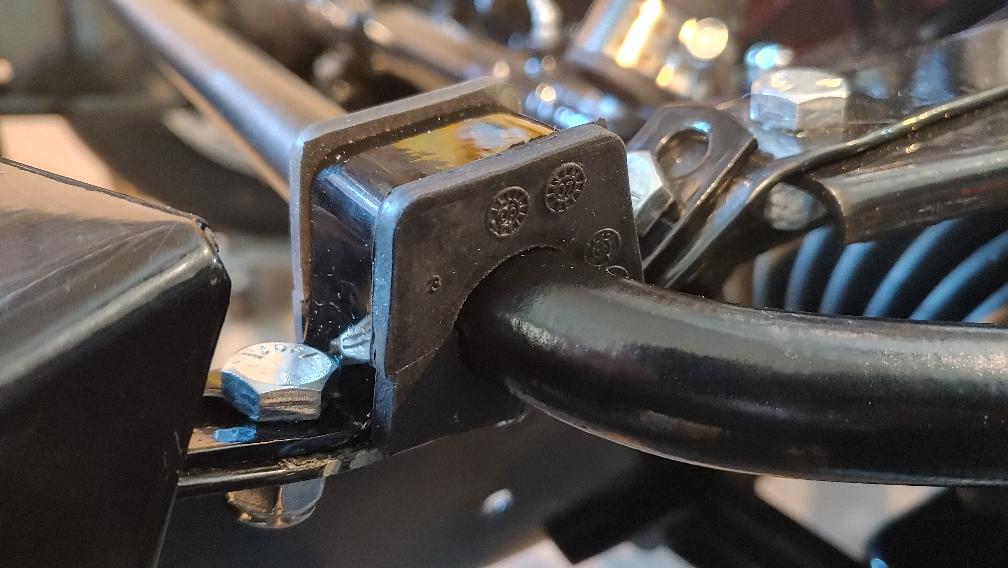
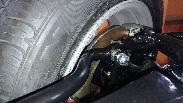
Now we wait to see if it fits under the sheet metal of the inner fender.
And there it is installed in the bare chassis. Looks very nice, except now the wheel rim will just touch the sway bar on full lock. These are Minilite reproduction wheels, 5-1/2x15.with apparently a bit too much offset (and 195-60-15 tires). Paul was contemplating shortening the end links slightly, but an easier fix might be wheel spacers (which might require longer wheel studs). Sigh. It's always something.

|