The MGA With An Attitude
Pictured below you see the makings of the new top installation. The long black steel bar on the left goes into the rear edge of the fabric and holds the rear of the top in place on the chrome body hooks just in front of the boot lid. This bar is not included in the new top kit. You will be using the bar from your old top, or you must procure the bar separately. The large fabric part on the right with the windows included is pretty obvious. The long strip of fabric on the left is used to wrap/cover the front rail and wooden bow in the top frame. It also incorporates a small drop flap that covers the joint at the top of the windscreen to keep wind and/or rain from blowing through. Sitting on the back end of the wrap strip is the hardware set provided in the kit, and in between the two larger pieces of fabric is a long narrow finishing strip. These parts will be shown in close up on the next page. |
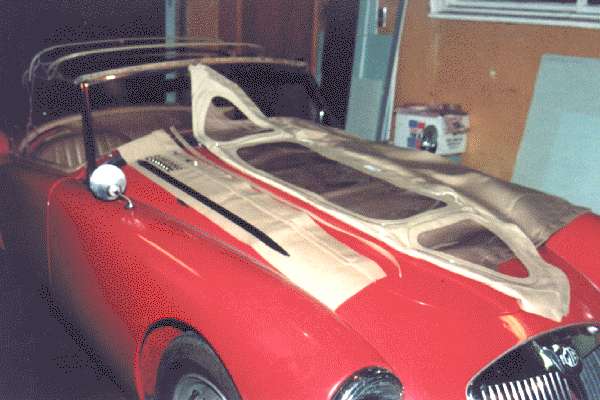
Materials in hand, ready to install the new top
The top frame must of course be in good condition and mounted on the car prior to starting this installation. The wooden header rail attached to the front bow of the top frame must be complete and in good enough condition to hold staples or tacks. If your car has been kept out doors for some years, chances are that the header rail may be badly deteriorated and need replacing. I had replaced mine some years earlier, and the car has been garaged most of the time when not in use, so my header rail was still in good condition and would be reused. When I did replace that header rail, as I recall there was some minor wood work required to fit it to the top frame. I'm sure it depends on the source of the rail, but the fitting was fairly straight forward at the time. |