The MGA With An Attitude
RESTORING WEATHERSHIELD SIDE CURTAINS - TT-211B
Aluminum Frame Type
These notes and photos are courtesy of Jim Paul in California, USA.

Identifying "Correct" Weathershield side curtains for the Factory Aluminum Hardtop:
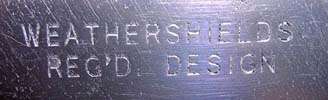
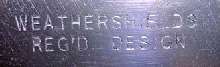
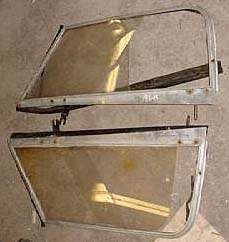
It should be noted there are at least FIVE different variations of "factory" MGA side curtains (not counting the aftermarket variations made by Amco, MG Mitten or others). Only the "early" plain aluminum frames (marked with the "Weathershields Reg'd. Design" stamp on the inner top of the frame) will fit the factory aluminum hardtop correctly. You can find a rundown of the different varieties of MGA side curtains in article TT-110.
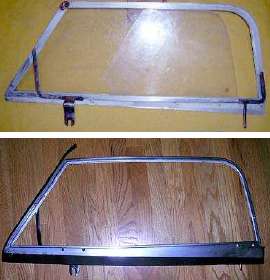
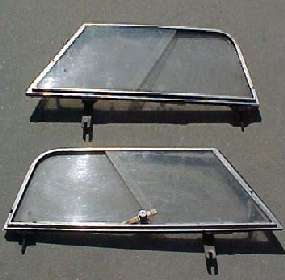
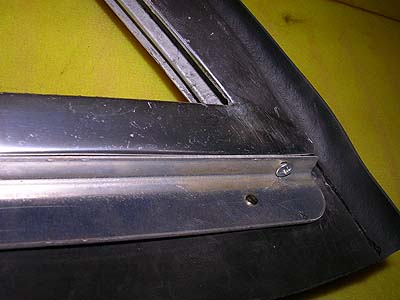
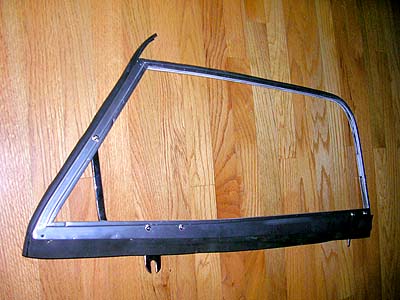
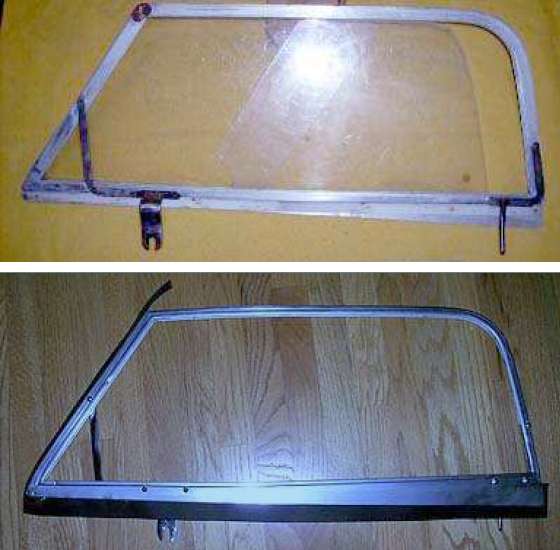
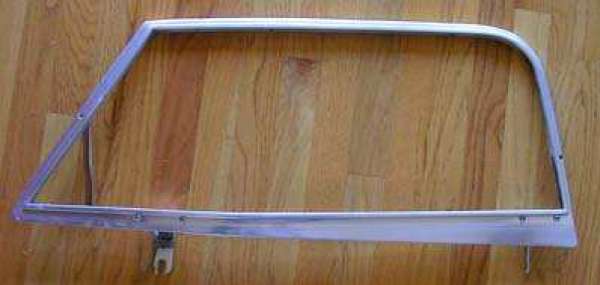
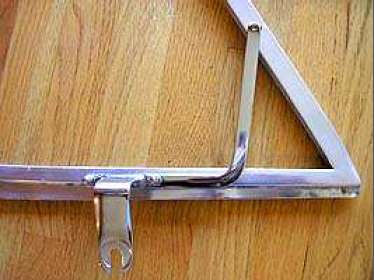
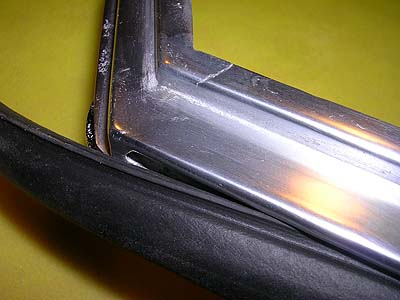
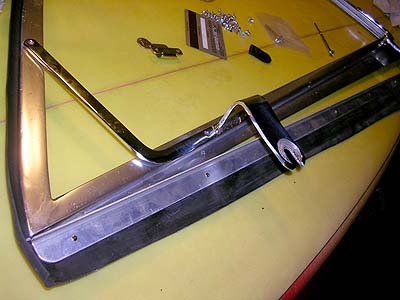
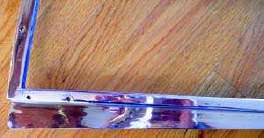
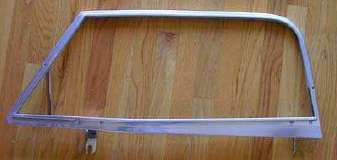
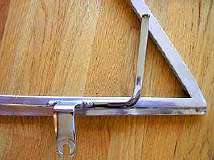
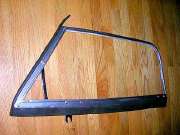
OK these are the real deal, above left, early "Weathershield" aluminum side curtains for the factory aluminum hardtop. Note the brackets in the front and rear attach with chrome screws (the bracket holes are threaded so no nut required). Front plastic piece is fixed, rear piece slides. --- Above right is a set of "late" Weathershield side curtains for the factory Fiberglass hardtop. Note the bottom of the frame is flat, not triangular like the earlier frames. Otherwise they are very similar.
Well actually the ones for the alloy top are also flat along the bottom, but they have a triangular metal finishing strip attached to cover part of the rubber strip, leaving an even width rubber strip exposed to outside view.
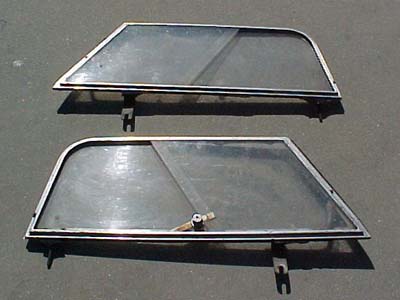
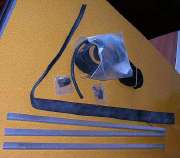
Although its not hard to find used unrestored MGA side curtains on eBay I was planning on just buying a set of Moss reproductions (259-648) for around $400, figuring they would look and function similar to the Weathershield originals. But Cecilia at Scarborough Faire advised against it, saying "you won't be happy with the new ones, they don't fit right." Todd Clarke at Clarke Spares confirmed this, saying they needed bending and twisting to fit, adding the rubber was not good quality. They may be right about the fit but you will NOT save any money buying old side curtains and restoring them! OK we start with a battered 45-year -old set of frames...
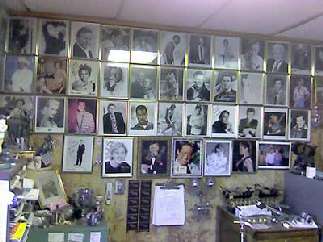
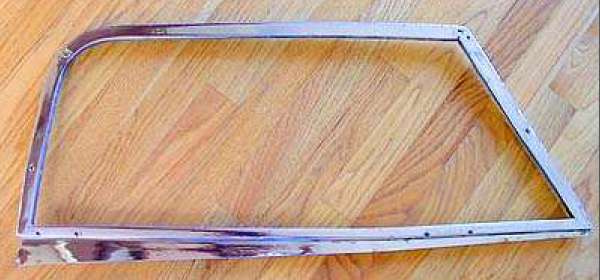
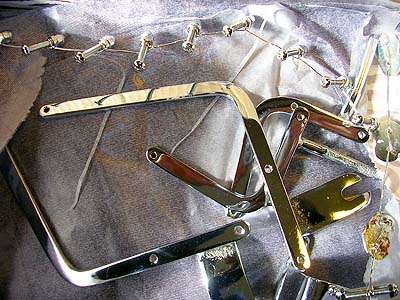
I picked these original side curtains up at an eBay auction for $100 with shipping (a decent price, I've seen them go for as high as $280). They are intact but need polishing, new plexiglass and new rubber seals. The first thing I did was take them to AstroChrome in Van Nuys, CA. Truly, they are "platers to the stars". Celebrity photos adorn the walls, signed by Frank Sinatra, Marlon Brando, Clint Eastwood, Angelina Jolie, etc, thanking "Jesse" for his amazing plating. They took my side curtains and removed all the frozen bolts, screws and brackets, and also removed the old decrepit rubber seals and plexiglass sliders. A few weeks later I returned to find my bare side curtain frames polished to a mirror finish:
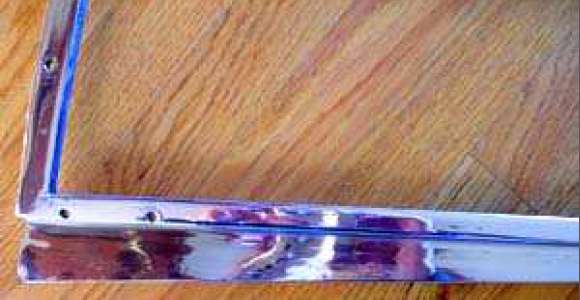
Be careful to remind your refinisher not to buff out the "Weathershields Reg'd Design" lettering stamped into the top of the frame;this is what designates it as "original" and not a modern reproduction.
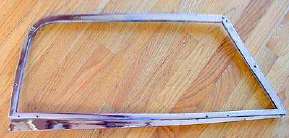
Pretty nice huh? Unfortunately they will not stay this shiny. Aluminum starts oxidizing immediately so within weeks these frames will start to get dull. The only protection is anodization, which itself dulls the finish to more of a matte luster. Although at this point you can choose any color to anodize in, I stuck with "clear" although the idea of black or red frames was kind of interesting. Price for disassembly, polishing/buffing and plating the brackets and bits: $90 per frame.
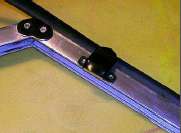
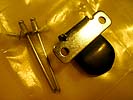
Here are the brackets, kidney-shaped fasteners, original bolts and acorn nuts after chrome plating. Yow! those brackets look good, way better than original (they were painted black before).
Price for anodizing the bare, newly polished frames: $20 per frame. Yes they look quite a bit duller now but more like "original." The chrome brackets compliment the aluminum frame nicely.
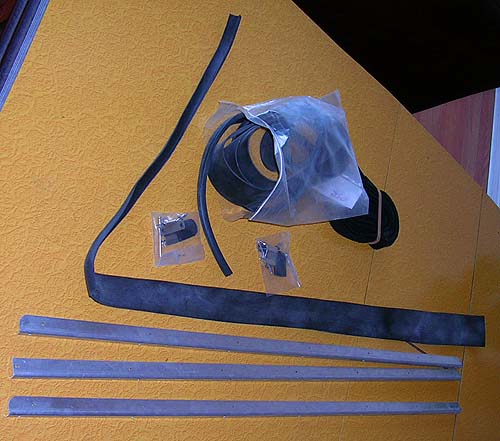
Next stop was Clarke Spares, where Todd Clarke has all the rubber seals and screws. He also sells replacement plastic sliding windows in the CORRECT configuration: Front window is fixed with NO knobs; rear window is sliding with two knobs. Moss Motors side curtains and other reproductions get this wrong by making both windows moveable. That is not really an improvement...only the rear window needs to be opened, either for ventilation or to open the car door from outside. Clarke also offers the sliders in polycarbonate "shatter-resistant" plastic, which is much more desirable than the standard plastic. He imprints the original "Perspex" lettering as well.

Rubber seal for the passenger window frame $25/pair. Aluminum finishing strips, $21/pair. The correct chrome screws and finishing fasteners were another $12. Felt channel for window, $5. Plexiglass replacements $69/set.
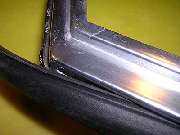
STEP ONE: Soap the rubber strip and the inside channel of the aluminum frame. Slowly work rubber flange-edge into the channel and up the length of the frame. Once you've done this, lay the frame and rubber out and put the aluminum finishing strip on top of it.
STEP TWO: The rubber is attached to the strip with little rivets, insert them through the rubber and flatten with pliers. I see no need for glue using this method.
|
|
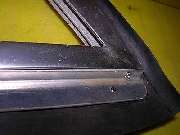
 STEP THREE: Now simply screw the strip onto the aluminum frame. Fits pretty nice!
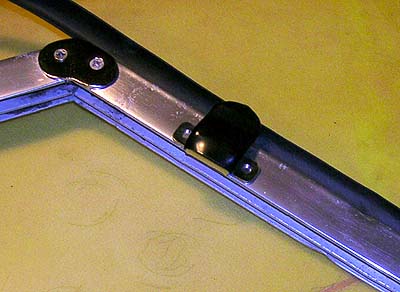
Clarke Spares also has those little clip-thingies that prevent the side curtain from buffeting when driving at highway speed. $5 each.
|