The MGA With An Attitude
MGAguru.com MGAguru.com

The last step to finish the installation of the new top is to fasten the fabric to the rear steel bow of the top frame. Early production MGA 1500s did not have these screws installed, and the rear bow was left loose and had to be positioned by hand each time the top was erected, and the fabric was completely separate from the frame except where it was attached to the front header rail. With those cars, when you lowered the top you could lift the fabric from the frame, fold the back end once forward, then fold the sides in, then fold the thing forward again to completely cover the plastic window (only a single window in those days). But it was a bit of a pain to erect, so somewhere in the 1500 production run these two top screws were added.

Now, about those two mystery screws (snaps) included in the kit? I suspect that they may have been intended to be used here, because of the large washer head style that would resist tear through of the fabric. I figured they were too big and ugly for this application, so I used grommet head sheet metal screws and finishing washers similar to the interior panel mounting screws.

The best location of the these screws would be right through the junction of all those fabric seams where there is a multitude of layers of material to provide strength to prevent the fabric from tearing. Each time you install a new top these screws will likely end up in a slightly different location, so plan on drilling two small holes into the steel tube to accept the screws. Be sure the bow is positioned directly under the screw location when drilling the holes.

Screw securing fabric to rear bow
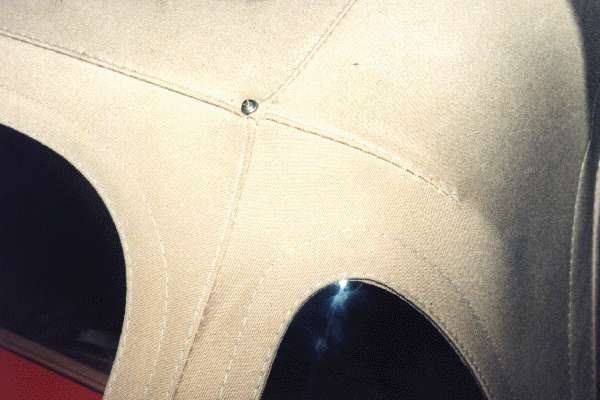
Screw to secure the fabric to the rear steel bow of the top framed
HomeBackNext
Thank you for your comments -- Send e-mail to <Barney Gaylord>
© 1998 Barney Gaylord -- Copyright and reprint information