The MGA With An Attitude
MGA Guru Is GOING MOBILE - (December 1 - December 15, 2014)
Monday, December 1, 2014:
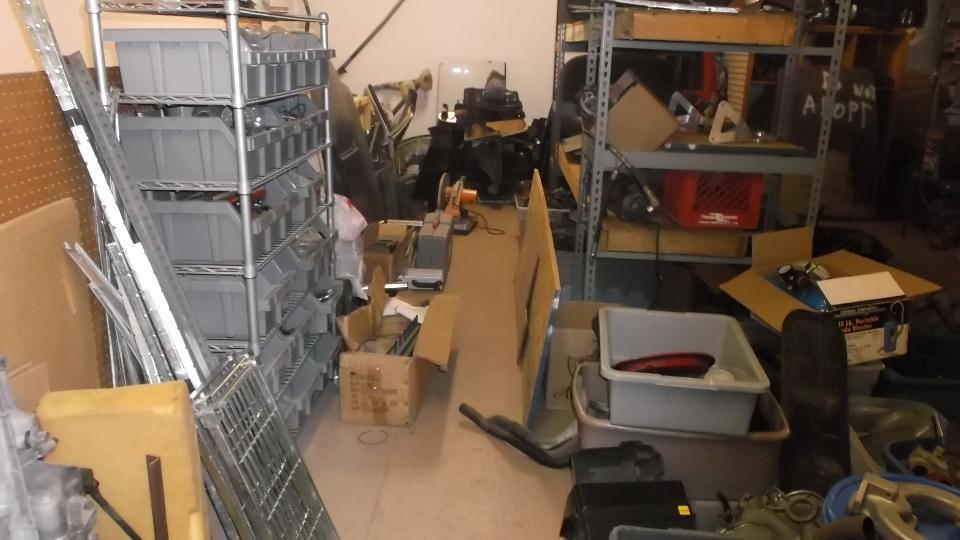
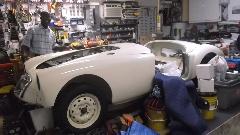
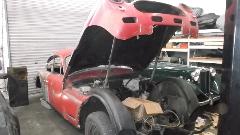
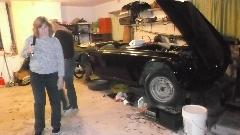
After a long night doing mostly WiFi, we get to sleep in 'til nearly noon. After brunch we drop over to Phillip's garage to assist Jim a bit with the carburetor installation on his MGB (the one with new con-rod bearings). At 2:30p we toddle over to Keith's place to help and advise on his new MGB. We spend several hours finishing inventory listing of several boxes of parts that came with the MGB, including installing a couple of new parts on the car. Rather late night we finally fire it up and do some carburetor adjustments. This one was running very lean, like it has a significant air leak somewhere in the the intake tract. I wound the mixture adjusting nuts down several turns, until the anti-vibration springs were loose and the nuts nearly falling of, in a position similar to half choke to make it run smooth. The vapor recovery pipes are disconnected from the carbs, making for a small air leak, but not enough to account for this much excess air. This will have to wait for another day for resolution.
Tuesday, December 2, 2014:
The new electronic copy of CMGC newsletter has arrived. Got it downloaded and parked on my hard drive, but the conversion to web site format will have to wait for more available time.
Early afternoon back to Phillips garage for final tune-up on Jim's MGB. Good news here, as it is running well and he drove it home. While there I spent considerable time removing the analog oil pressure gauge (and associated parts) from Phillips MGB parts car, these parts to be used to replace the electric oil pressure gauge on Keith's MGB. Also snatched the engine ground cable.
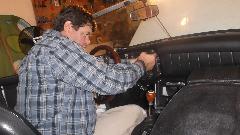
Early evening back to Keith's place. Install engine ground cable on Keith's MGB. Also plug the carburetor venturi ports (not currently used), fire it up and adjust the fuel mixture and throttle and choke linkage. Remove speedometer, tachometer and electric oil pressure gauge. Install analog oil pressure gauge. All this because the car was missing the oil pressure transducer (very expensive) and the transducer bracket (unavailable part). I must have knocked an extra wire loose around the ignition switch (or maybe the tachometer), because there is now no power to the ignition coil (although there is power to to white wire on the fuse block). Install temporary jumper wire from fuse block to ignition coil, and it runs. And the analog oil pressure gauge works like a charm.
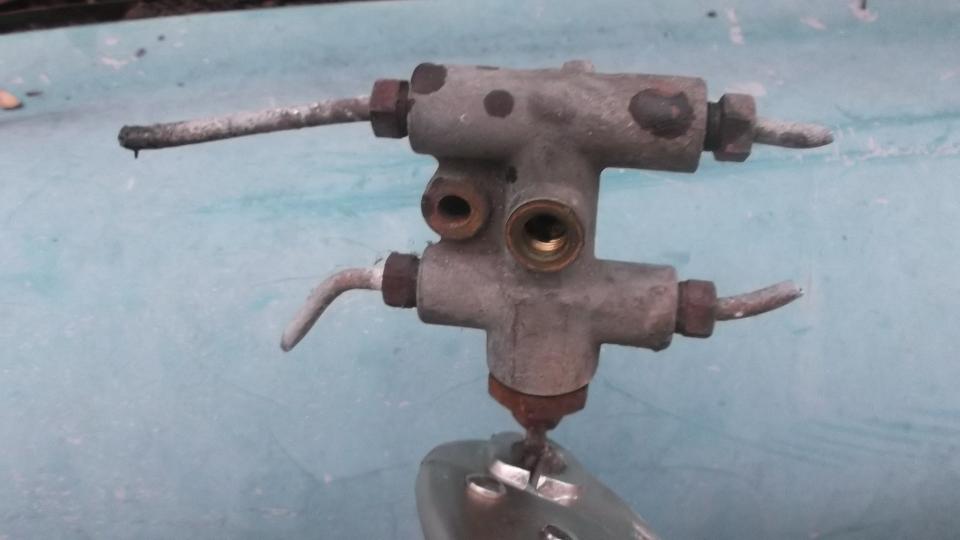
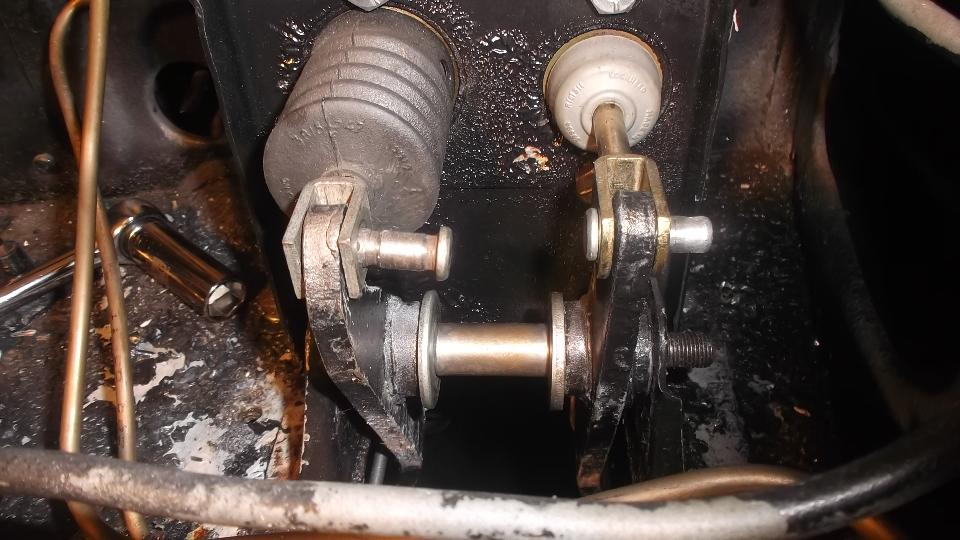
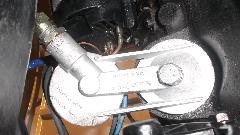
Next we attacked the malfunctioning brake balance switch, which was stuck in the actuated position. Bit of a messy job, disconnect five brake pipes, remove one mounting bolt, take the part to the work bench to open it up and extract the shuttle spool and clean it up. With the shuttle spool free to move, reassemble it all to the car, install brake fluid, bleed the balance switch assembly, and the brakes work. Unfortunately we now have a gross fluid leak from the copper washer for end cap on the balance valve. Bummer. Will have to wait for another day, as it was approaching midnight and time for a snooze.
Wednesday, December 3, 2014:
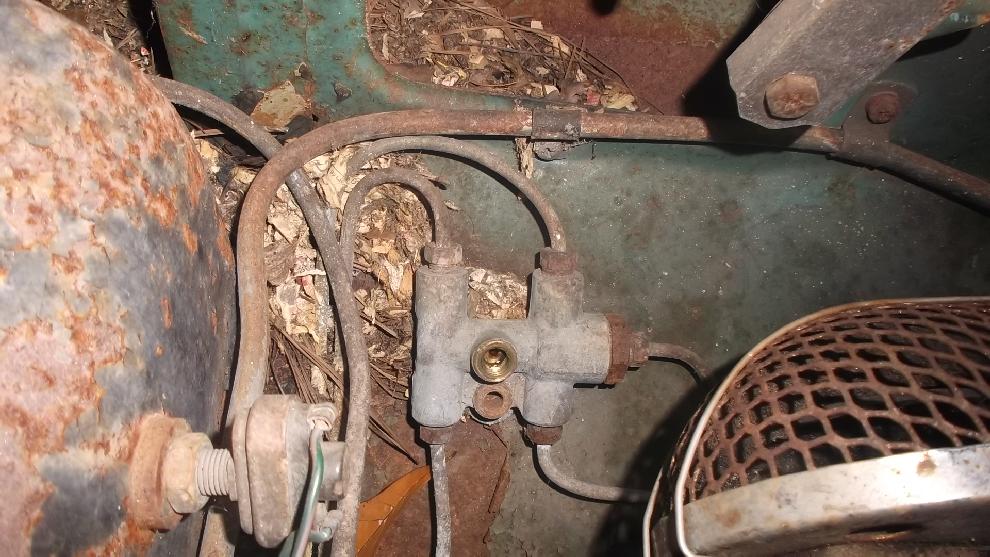
 Got some of the CMGC newsletter converted to web pages. Then another quick shot at Phillip's MGB parts car to retrieve the brake pressure differential switch. That's what I'm after. Five minutes work with Vice-Grip, and I get the trophy.
Then back to Keith's place with the goal of drive around the block tonight. Disassemble and clean the replacement brake differential pressure switch, reassemble and install it on the car.
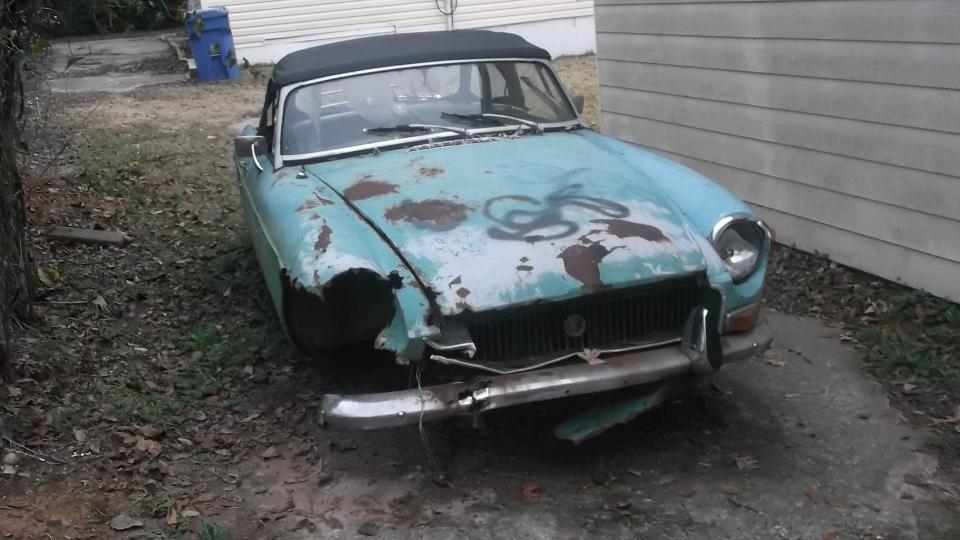
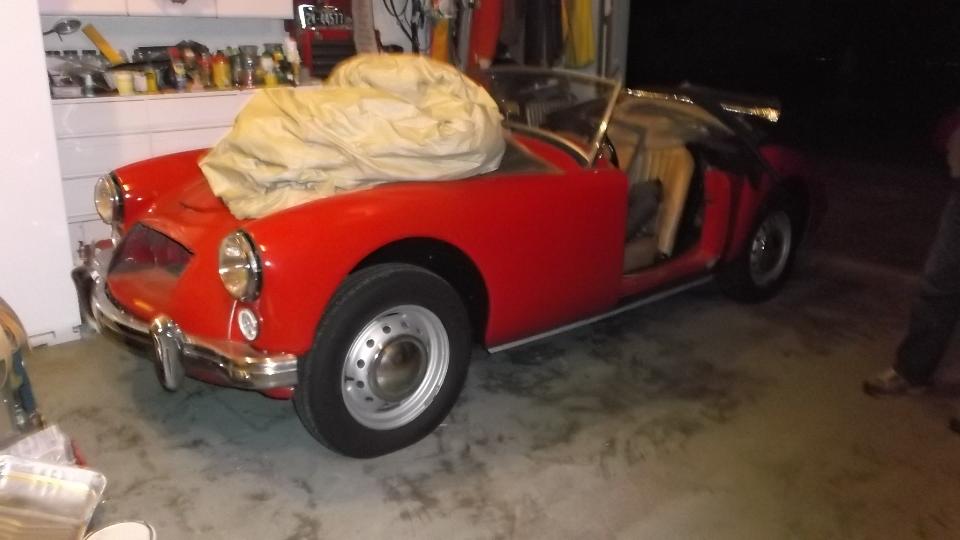
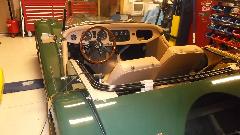
 Bleeding brakes is easy. Bleeding clutch is a problem. Soon find brake fluid dripping into the driver side foot well. Time required to remove the master cylinder cover, then find a loose banjo bolt on rear end of the clutch master cylinder. Tighten banjo bolt, refill reservoir, bleed clutch, and it works. Woohoo! Time for the test drive. First time this car has moved under its own power since Keith's grandfather bought it and began the restoration. I think it was eight years, but have to ask again.
Good news is, it did make it around the block under its own power, and the engine and clutch and brakes work well. Bad new is, 1st and 2nd gears are hit or miss (mostly miss) and it may occasionally get caught in two gears at once and not move. My best guess here is that the 1-2 shift fork is loose on the shift rod. Bummer. Another totally unexpected problem. It would appear the engine and gearbox may have to come out to fix it. But I have an ace up my sleeve. Will see if we can take a short cut tomorrow.
Thursday, December 4, 2014:
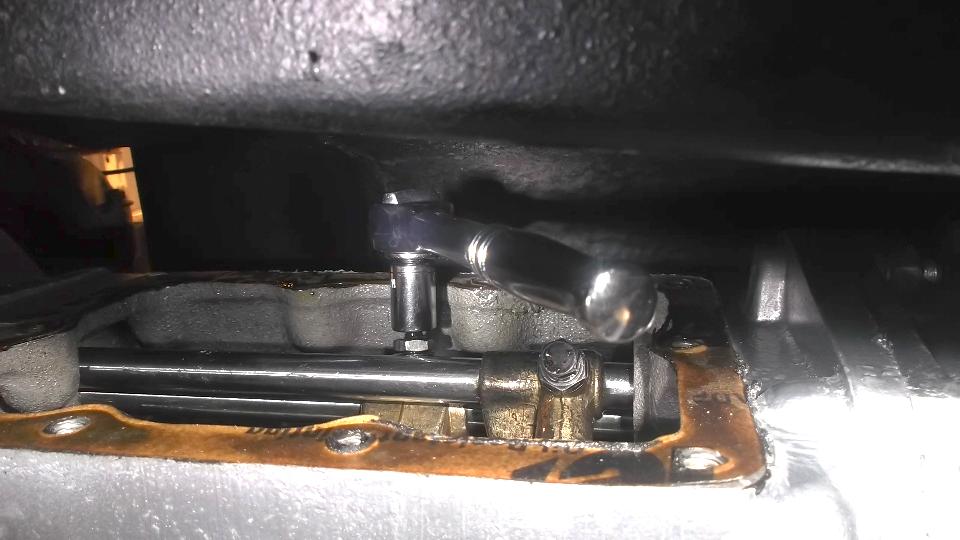
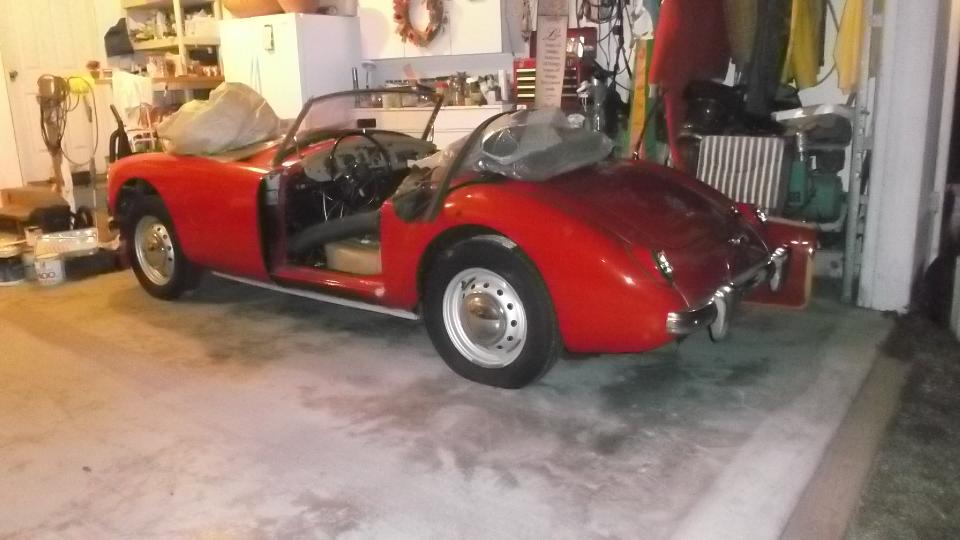
First order of the day is to restore function of 1st and 2nd gear shifting in the gearbox. The shortcut is, with the late model MGB having larger tunnel, we can remove the side cover from underneath without having to remove the gearbox from the car. I was 90% certain I knew what was wrong with the gearbox, and 70% certain that it could be fixed from underneath. And so we did.
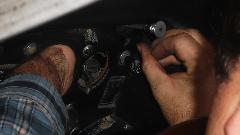
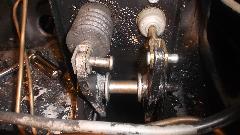
 With car on jack stands and oil drained from the gearbox, the side cover was removed. The jam nut was tight, but the locking screw for the 1-2 shift fork was positioned on top of the shift rod rather than in the proper set screw detent hole in the rod. There is just enough space to get a hand and a couple of wrenches past the exhaust pipe. I was able to reset the set screw that secures the 1-2 shift fork to the shifting rod, and voila, we have 1-2 shifting again. Replace and secure the side cover. In the process we loosen three screws on the retaining ring for the hand shift lever, which relieves a very stiff feeling in the hand lever making it now much easier to select gears. But we also notice there are no harness wires anywhere near the reverse light switch on top of the gearbox (another issue for a different time).
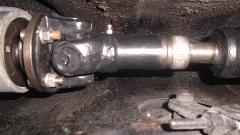
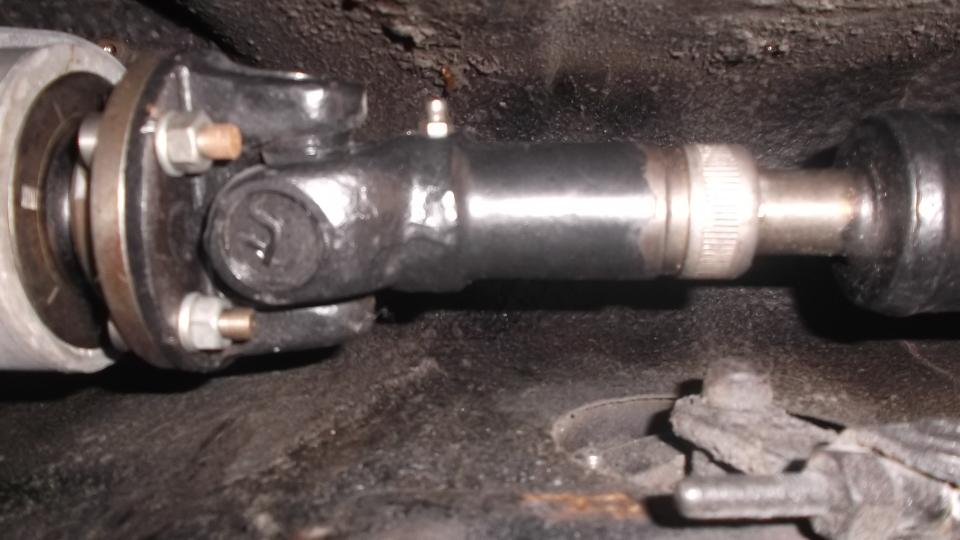
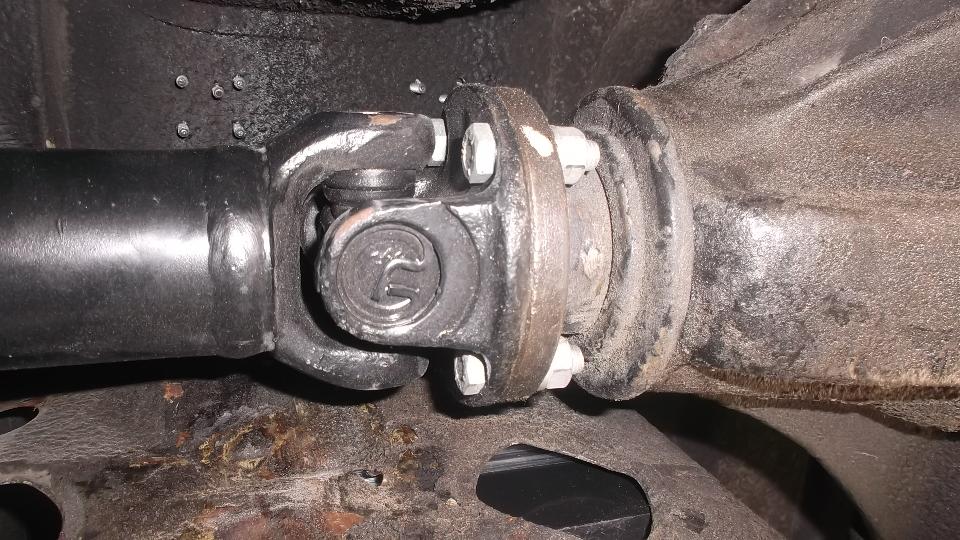
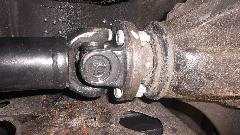 While under the car, check and fix a few more things. In the brief test drive the day before there was a light squeaking noise coming from the rear axle area. This turned out to be the differential input shaft dust cover rubbing on the nose of the differential housing at one short bit of the rotation. That was a quick fix by bending the edge of the dust cover forward slightly. In the process I notice the rear U-joint has a touch of slack on one bearing cup and should be replaced (sometime before making a long road trip). The U-joint spider was installed in wrong orientation so a grease fitting cannot be installed. While checking the front U-joint (which has no provision for a grease fitting but seems to be okay), we found the propshaft front securing bolts to be only finger tight, so fixed that as well. We are coming to suspect that nothing on this car is tight so make a point to check every fastener on the car systematically.
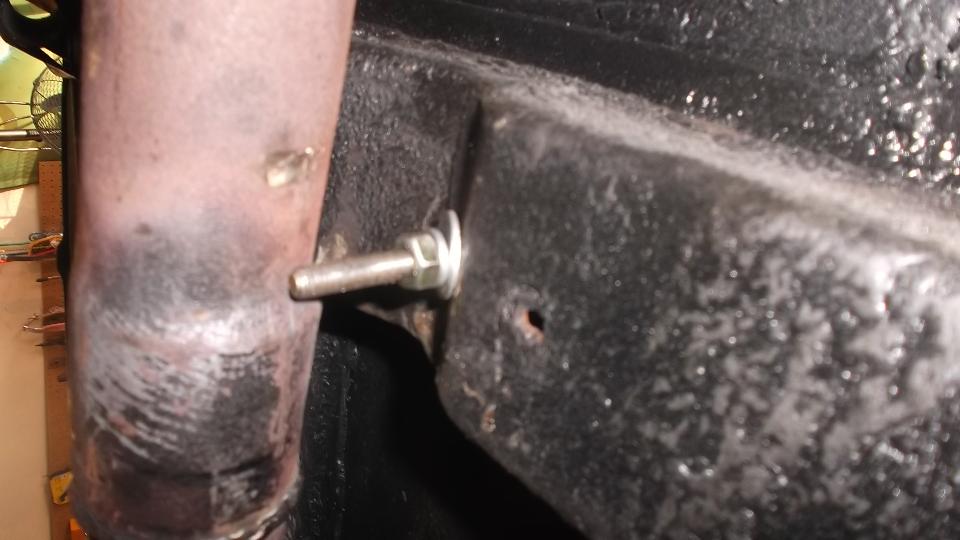
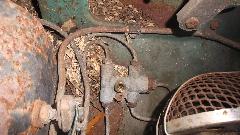
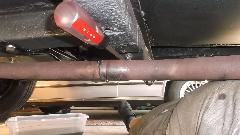
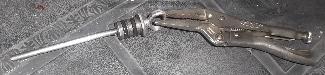
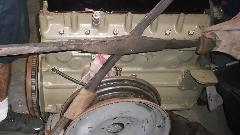
The exhaust pipe was hanging too low in the middle, as it was missing the center hanger. A new hanger was found in the parts boxes and is being installed. To get the pipe to hang level we insert a 2x4 board between the pipe and floor frame (where you see the screwdriver in the picture), then put a floor jack under the pipe near the center hanger and jack it up until it nearly lifts the car off the jack stands (moving the center hanger out of the way in the process). When released (after a couple of tries) the pipe is in proper attitude and the center hanger clamp is secured.
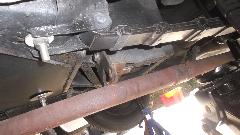
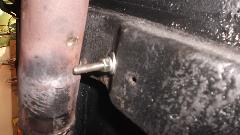
That brought us to the extra length bolt through the floor frame and touching the exhaust pipe. This turned out to be a securing bolt for the seat slide rail, because the captive nut inside the box channel had not been replaced during restoration work (a common failing of modern replacement parts). Solution there was to cut the bolt shorter (twice) in the process of installing the driver side seat, which was previously sitting there loose (beginning to sound familiar?).
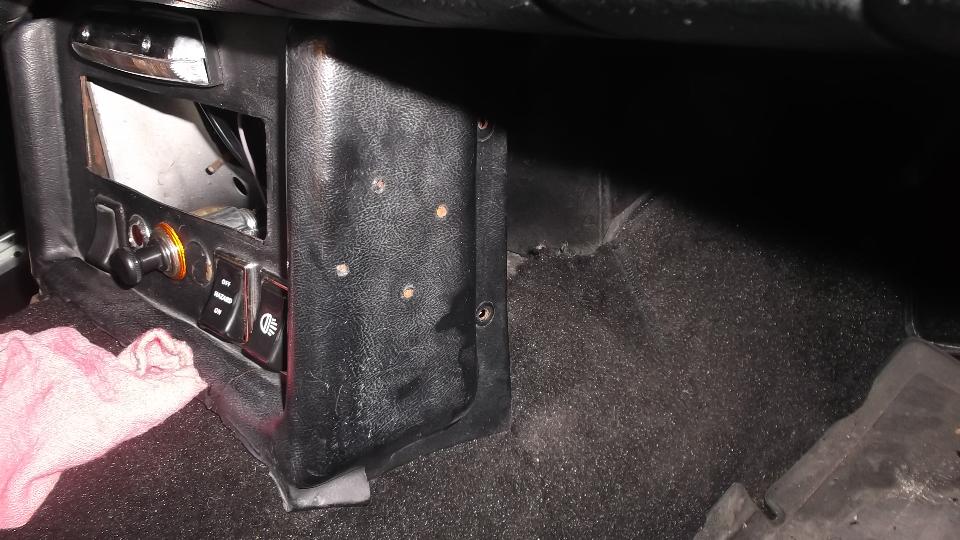
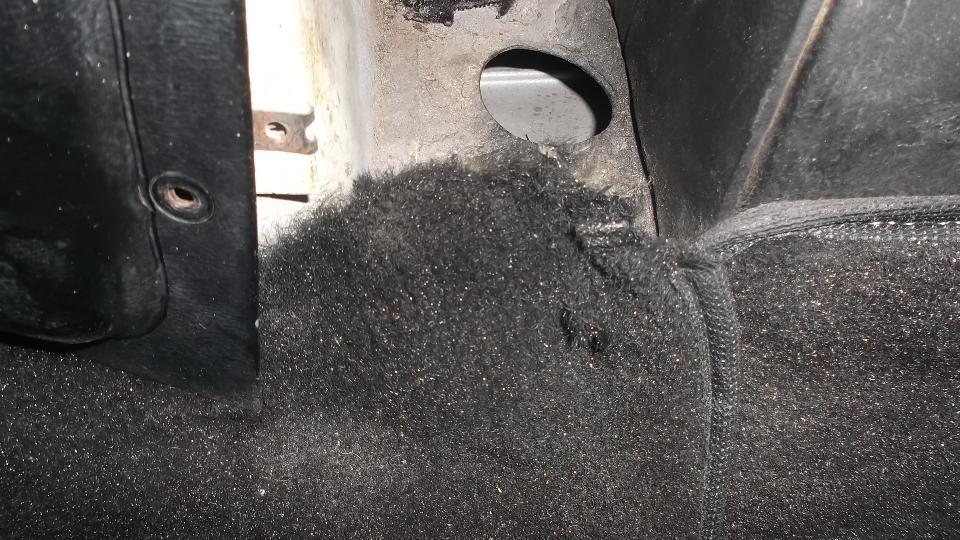
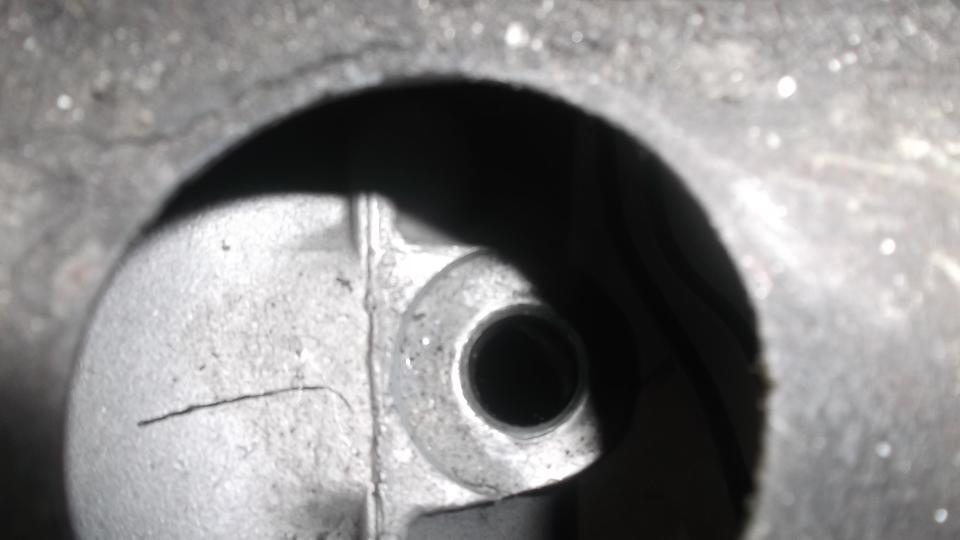
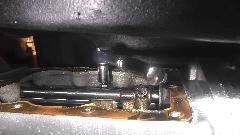
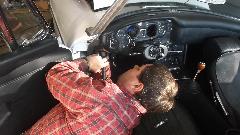
 Then we need to put three quarts of oil in the gearbox before running the engine. Does this look familiar? The dipstick from the top fill gearbox. It resides deep within the access hole in top of tunnel, which is hiding behind the radio console. The camera makes this look so easy, but it can be a knuckle buster when the o-rings are stuck in the gearbox housing. We don't have a goose neck funnel handy, so this will wait for another day.


Then we went after the hand brake that didn't work. First adjust the rear brake shoes close to the drums. Then applying the hand brake works, but rather high on the hand lever. The cable is at end of adjustment (likely stretched some), but otherwise in reasonable condition. So consider using a cable shortening clamp rather than replacing the cable. Now there are still no hydraulic brakes at the rear, which is solved by bleeding the brakes. A LOT of air came out in the process, so it seems this was never done since the car was reassembled after restoration work.
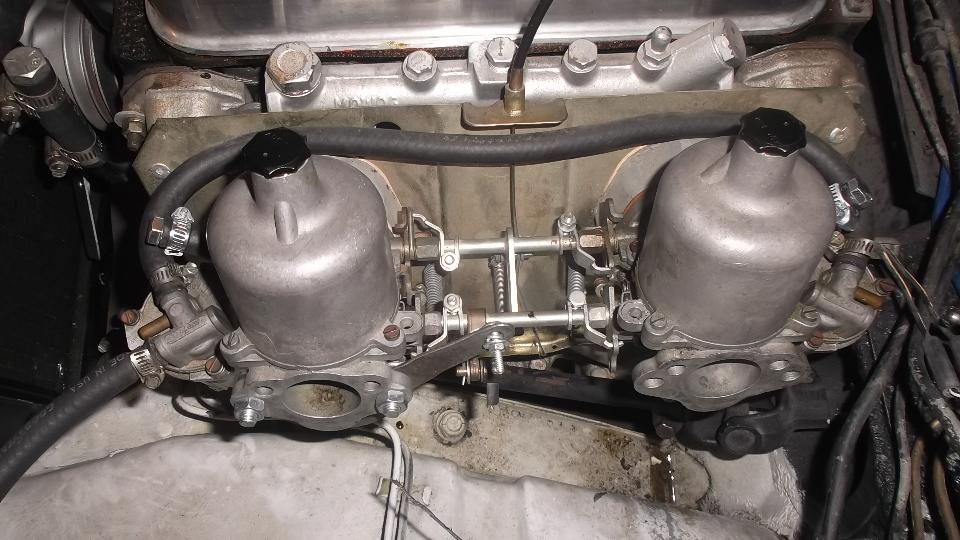
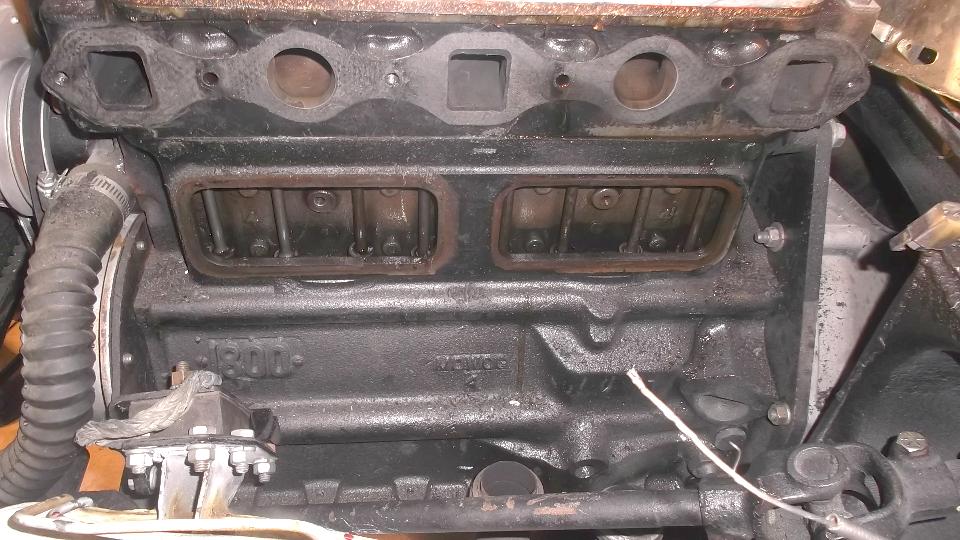
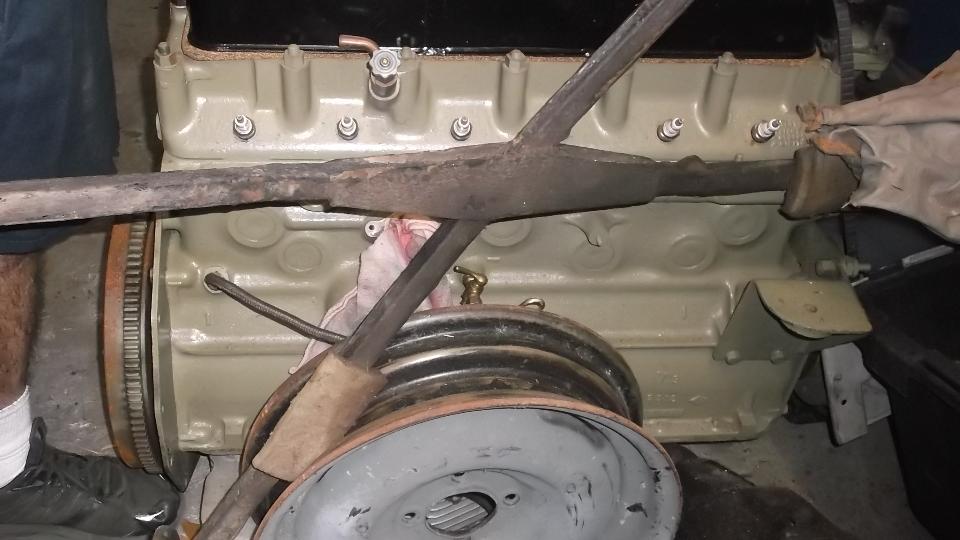
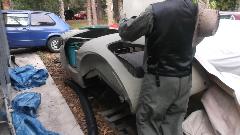
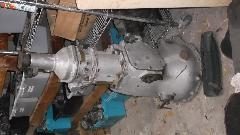
Next up is a search for an oil leak near left rear corner of the engine, and we would like to know why the carburetors have to be adjusted very rich (mechanically) to have a smooth idle. For this we remove the carburetors and manifolds. You know those manifold studs that are supposed to be finger tight in the cylinder head? Well, one came out with the nut, while the other five had to be forcibly removed. Three of those succumbed to double nutting and wrenching while the remaining two required monster Vice-Grips (because we didn't have a stud socket handy). All of these holes have one thread raised above the flat side surface of the head due to over tightening. Notice oil running from the threaded holes for manifold studs. Remember to use thread sealant on those four studs for reassembly.
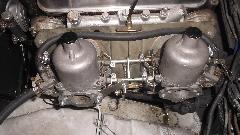

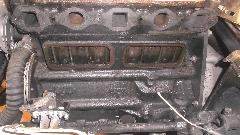
We found double gaskets at the manifold joint, which were fiber type gaskets the stuck to everything, resisted separation, and tore into pieces when finally pried apart. This then requires removal of the exhaust manifold for cleaning of the gasket surface. While disconnecting the down pipes from bottom of the manifold, we find all six positions for original studs have been drilled out. Five of them contain 3/8-inch through bolts with nuts, while the other one contains a 5/16" through bolt with a nut, and one of the top ears was broken out as a slot in the side. And they were all (guess what), barely finger tight.
We also go to work replacing the tappet cover gaskets. Here we find rubber gaskets front and rear. The front cover has a flat flange which accepts the rubber gasket well and did not appear to be leaking. The rear cover has deep narrow grooves for a gasket, but the rubber gasket was wide and thin therefore sitting on the edge of the cover, and it did appear to be leaking. In a short time I find tappet cover gaskets and a manifold gasket in the parts box in my trailer. The rear cover gets two cork gaskets stacked to make suitable thickness for the deep groove, while the front cover gets a single cork gasket. The tappet covers are cleaned while loose and painted in situ. This work session has run nine hours non stop from 2:30pm to 11:30pm, but we did get a lot done. Now time for shower and snooze (and the CMGC newsletter conversion remains on hold).
Friday, December 5, 2014:
Another long day in Keith's garage, and it's tough to remember everything we did. For sure we got the exhaust and intake manifolds re-installed and exhaust pipe reconnected, thread sealant on the manifold stud threads, all the proper fasteners, and this time tight bolts for the down pipe connection. We have the carburetors re-installed and oil in the gearbox in preparation for restarting the engine. While it's up we go after parking brake cable function where the cable adjuster nut is at end of travel. Solution there is to slacken off the cable adjustment and install a cable shortening clamp on the bare cable at rear of vehicle to restore the cable adjustment range.
Then investigating soft brake pedal we bleed the front brakes, making not much improvement. Then clamping off the rear brake hose makes for firm pedal, so we bleed the rear brakes again which does result in firm pedal.
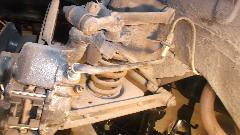
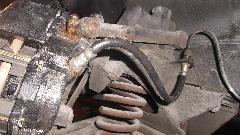
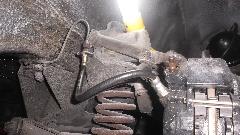
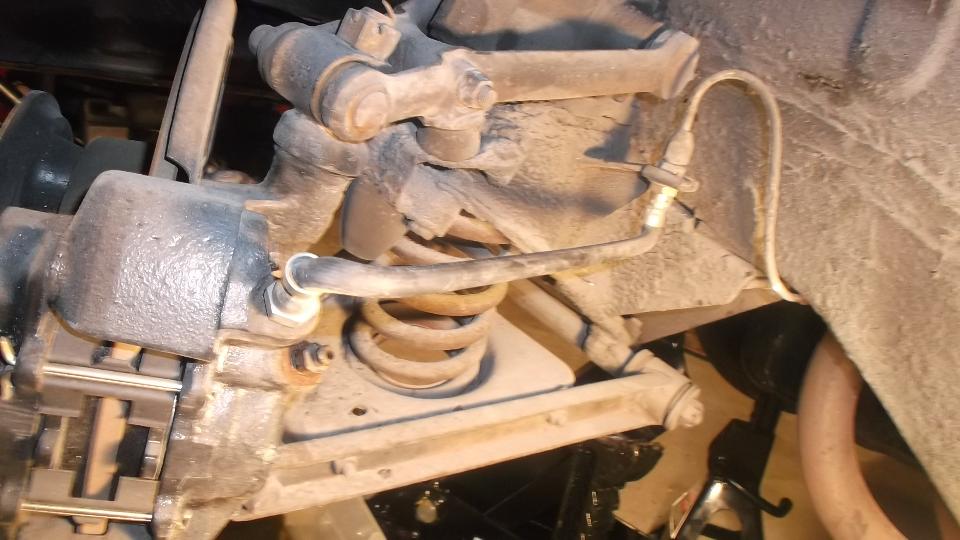
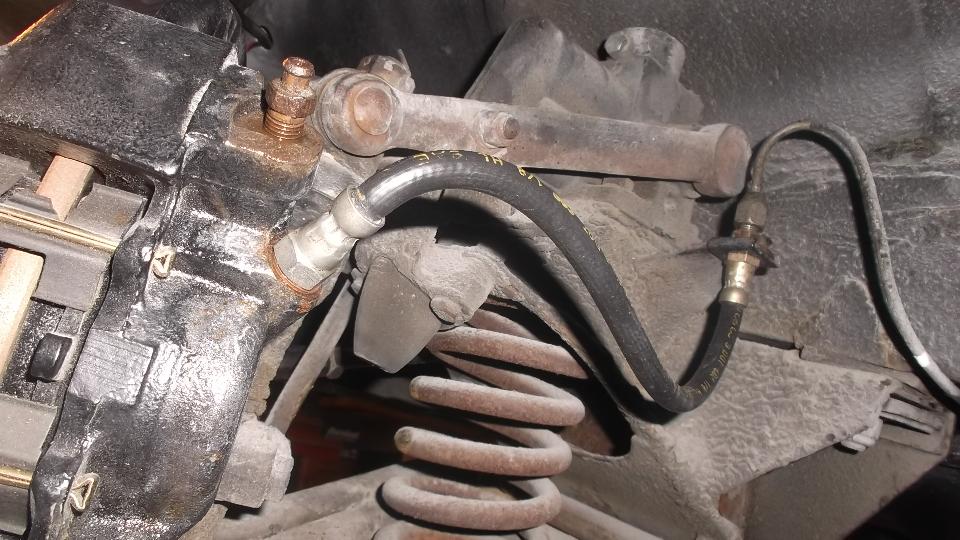
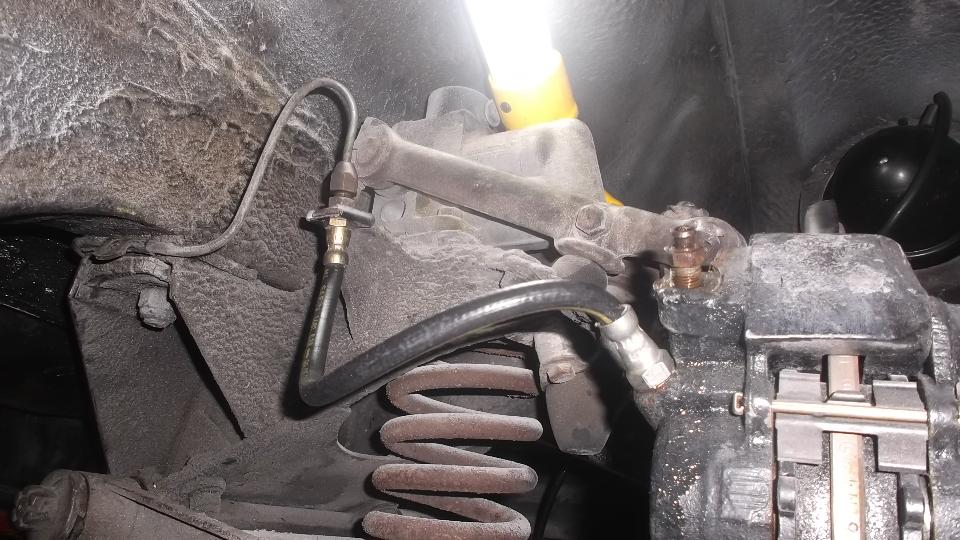
While fiddling with the front brakes we discovered the LF hose was installed in the wrong port on the caliper, making for a severely stretched hose on full steering lock. While fixing that we found no copper washer under the caliper end of the hose (possible leak point), a metal washer under other end of the hose (which defeats the hose locking clip), and a copper washer under the hose hex nut in place of a missing lock washer. Having fixed all that, we discovered similar follies on the RH caliper, taking more time to set those right as well. All the while we are cursing the Chinese hoses with metric wrench sizes, and a large number of hex nuts (apparently Chinese also) having correct UNF threads but metric hex sizes (which we are systematically replacing with correct nuts).
 While we had the engine running the day before, it was running rather poorly, So we drained the foul smelling stale fuel (which we transferred to the daily driver sport-ute), and put a few gallons of fresh petrol in the tank. On next test drive it was still running badly, so we investigate the ignition side of the engine. With missing vacuum advance unit the advance plate is free to rotate to some obscene timing positions, so I turn it full left (natural direction of free motion) and then reset timing by ear while running. That results in much better performance, so the next test run results in a big grin on the driver/owner's face and a comment something like, "I like this much better than the BMW 2002".
 The re-sealed tappet covers seem to have stopped a serious oil leak on left side of the engine. Now while investigating a significant oil drip on right side of engine we find the inverted spin-on oil filter adapter is leaking. Fortunately tightening the center mounting bolt stops that leak, after which I spend some time wiping and drying everything I can reach under the engine. Lo and behold it now appears to be dry all over with engine running. TA-DA!!!
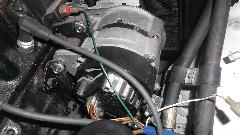
 Then we need to re-attach the alternator adjusting bracket which is hanging loose underneath. This reveals a stripped thread in the alternator front plate, which will need a Heli-Coil, which we do not have in hand, so that will have to wait for tomorrow.

As a final act of the night Keith has procured some LED light bulbs with screw base for the instrument lights in my MGA. We have been suffering with one or the other large instruments being dark for some time so this is a welcome fix. I rather like the soft blue hue of the LEDs compared to the harsh white light of the 10-watt halogen bulbs.
Saturday, December 6, 2014:
Keith picked up a Heli-Coil kit and a nice assortment of fasteners. So an early job for the day is to Heli-Coil the stripped thread in the alternator adjuster screw hole, and get the alternator installed with proper belt tension to see if it will charge properly.
 Red light stays on until it is revved up some, after which it only makes about 13.5 volts at the battery posts. Thinking this my be a bit weak in the knees, we try Autozone for electrical test. They can't test it on the bench because apparently their records don't go back before 1980 model cars, so they don't have the test setup information. They can test it on the car when running (so say), so that may wait for another day. We consider NAPA as a possible better source for alternator testing, but for now it's back in the car so we can get on with other electrical stuff. Incidentally, the 5/16" unified thread bolts from the "Harbor Freight" fastener kit have 12-mm hex heads (more Chinese junk), so consider tossing the whole set in the dust bin. But we did procure nearly every small light bulb for the entire car while at Autozone.
 Another noble effort involved changing the choke cable, which involved removal of the temperature gauge from the dash for access (the dash getting pretty bare by now). After scraping knuckles for about an hour we collectively manage to get the new choke cable installed, only to find that it pulls harder than the old one we just removed. Doh! Note to self: Next time look for a Teflon lined choke cable.
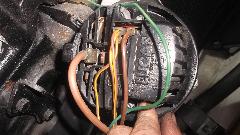
We begin chasing electrical gremlins, as there are very few working lights on the car. In fact there were no light bulbs at all in the entire dash board. Having brake lights wired and lit, we wish to test the switch to pedal interaction,
 only to find the clutch and brake pedals are hanging up and reluctant to return. So remove the master cylinder cover (again) to remove the pivot bolt to extract the clutch and brake pedals. As expected the steel sleeves are very tight in the bronze bushings so punch those out for cleaning and oiling, and reassemble the works. After which the brake lights work well. Ta-Da! Thank goodness for one small victory on rare occasion. We also get to replace one badly worn clevis pin in the brake master cylinder pushrod.
After that we continued to chase cut wires and missing connectors. I manage to find some 4-way snap connectors and bullet ends in my traveling tool kit (wonders never cease). We finally got working all parking lights, tail lights, brake lights, rear side marker lights, back up lamps (but no switch connection yet), and no front side markers yet (because the wires were cut right at the back of the lamps). Ignition lamp and high beam indicator lamps work, although the "aftermarket type" replacement indicator lamps require cutting the harness to install Lucar connectors (boo, hiss). Turn signal dash lamps and all instrument illumination lamps require bayonet base bulbs (which we do not have in hand), implying this is a non-standard replacement wiring harness. Front and rear turn signal lamps will light up if hot wired, but so far not from the turn signal switch.
Late in the evening we got side tracked or attracted to getting the horns working. After cleaning one dirty fuse, the circuit works up to as far as the steering wheel hub, after which we spent some time figuring out how to marry an aftermarket steering wheel and hub button to the stock steering column rotating contact mechanism (getting very close). By now we are realizing this job is more than just fixing a few bugs to get the car back on the road, but more like finishing the car restoration that was started by Keith's grandfather. Seems like I will be going back tomorrow for more electrical punishment. But it's just a few wires, right?
Sunday, December 7, 2014:
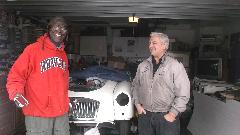
One more day on this car, I promise, just one more day chasing electrical gremlins. About half the day was spent sorting out brake lights, front parking lights, and turn signals. It didn't help that the fuel sender signal wire was joined to the brake light wire, the TS flasher unit power wire was connected to the cigar lighter (which was otherwise not connected), and one headlamp had dirty connectors. In the end we have all lighting working except front marker lamps (cut wires) and 4-way flashers (broken switch). Jim Walton and Phillip Clark dropped in for a while. Phillip had not seen this car before, even though he was donating some parts for it. He had missed a lot of the "fun", as we had been hot-rodding it around already two days earlier.
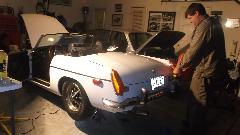
 Then we tackled reassembly of the dash, scraping a few knuckles in the process. Even the tachometer works but we came up short one speedometer cable. By late night we finally solved all the puzzles installing the aftermarket steering wheel and horn button. When I turned in Keith was working on the battery box, putting the bottom back together, determined to drive the car to work next morning. The tally on this one is a day and a half doing inventory of spare parts, three days mechanical work, and two days electrical work to get it drivable and street legal. Grandpa would have been proud.
Monday, December 8, 2014:
 Keith Farley wrote: "I took it out on some real roads today, and this thing is awesome. Who knew driving could be so much fun"? Keith Farley wrote: "I took it out on some real roads today, and this thing is awesome. Who knew driving could be so much fun"?
I suppose that means the BMW 2002 is boring?
Slept in 'til noon, then spent most of the afternoon finishing posting the CMGC newsletter on line (nearly a week late). Two tentative appointments to the north fell through, and it's getting colder again, so we headed south to Thomasville, Georgia tonight (late).

Tuesday, December 9, 2014:
A tentative appointment near Thomasville GA fell through, so I spent the day catching up on email and bbs. There was also a little job updating the CMGC web site for something special.
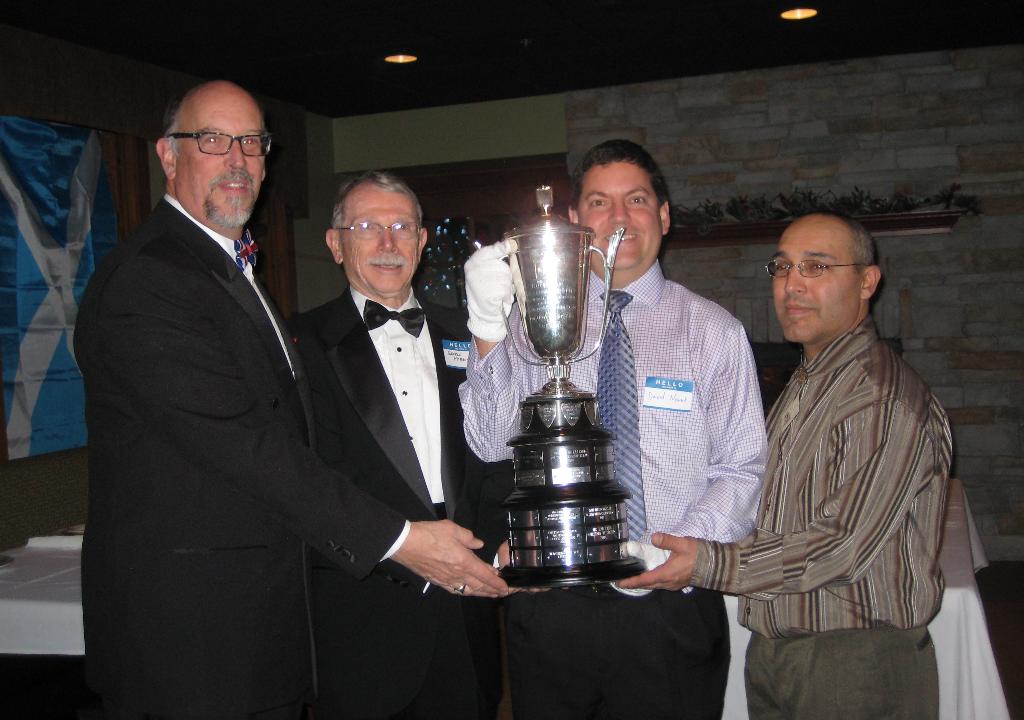
Chicagoland MG Club is the new recipient of the Nuffield Cup of the Americas, awarded by the MG Car Club UK, recognizing our many activities that promote the joy of having and driving MG cars. I like to think I may have had something to do with this over the past 22 years or so of my membership there, including several years as Editor, fifteen years as Webmaster, hosting a few road rallies and many tech sessions (and being active enough to bag quite a number of trophies). See photos and details of the club award here: www.chicagolandmgclub.com/whatsnew/2014.html
Wednesday, December 10, 2014:
Spent some time contacting several of the many car clubs in Florida. Made a few appointments, but many more clubs still to contact. Seems like many of the clubs have something going on in the mid weekend of December. We can't be everywhere at once (but maybe we can have some fun trying). Bailed out of Georgia late night, landing in Crystal River, Florida, for the night.
Thursday, December 11, 2014:
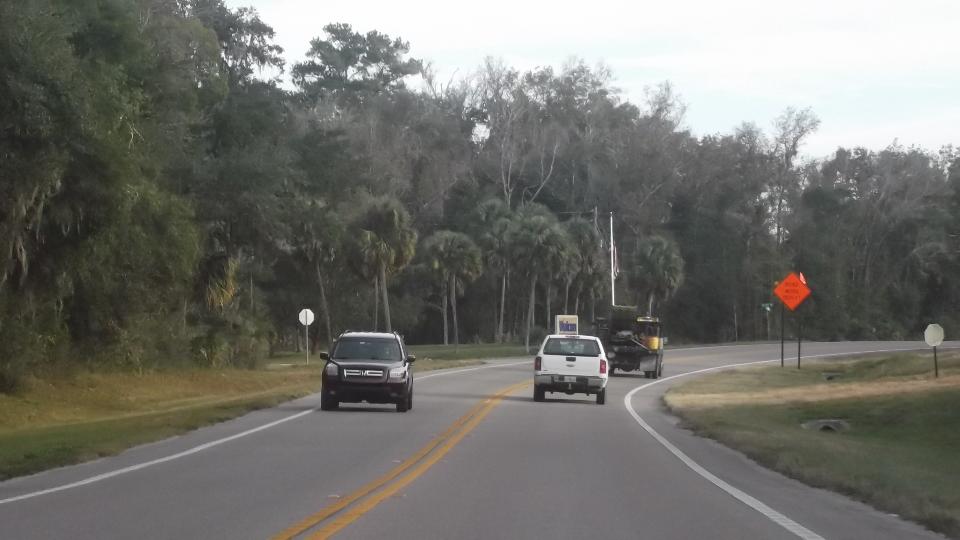
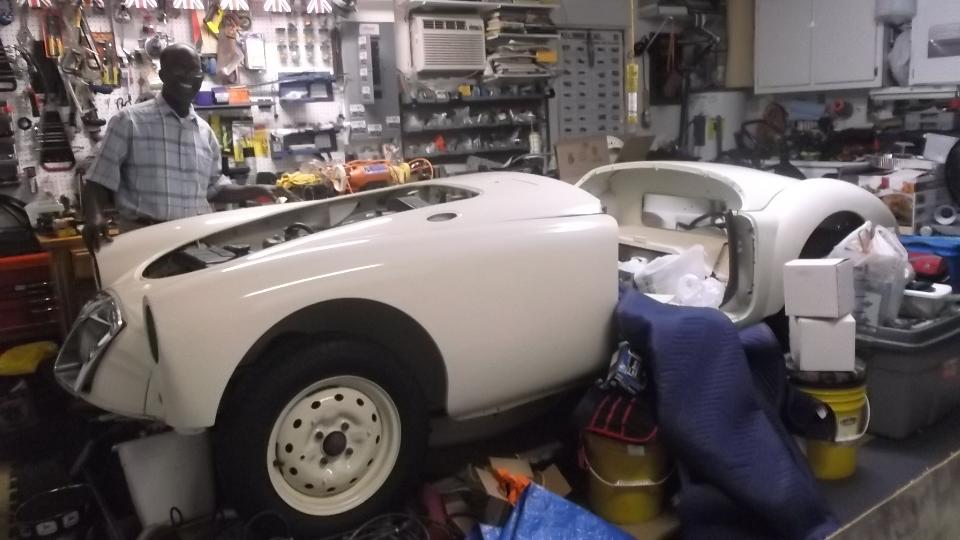
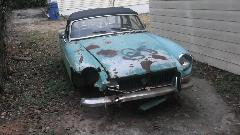
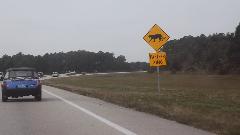
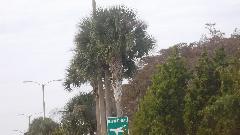
 More time on WiFi, lost a large part of the day. Cruising casually down US-19 (avoiding the toll road). You know you're in Florida when the roads are flat as a pancake and you start seeing Palms and fronds and weeping moss trees. A little farther on, doing the late afternoon hustle down I-75 at 75-80 mph in brisk trafic. Arrive 7-pm on the eastside of Fort Myers, Florida, for appointment with Headley Wilson, who has this early 1959 MGA 1500. This turned into a late night discussion on how to hand make expensive parts for very little cost (when you have lots of time of course).
Friday, December 12, 2014:
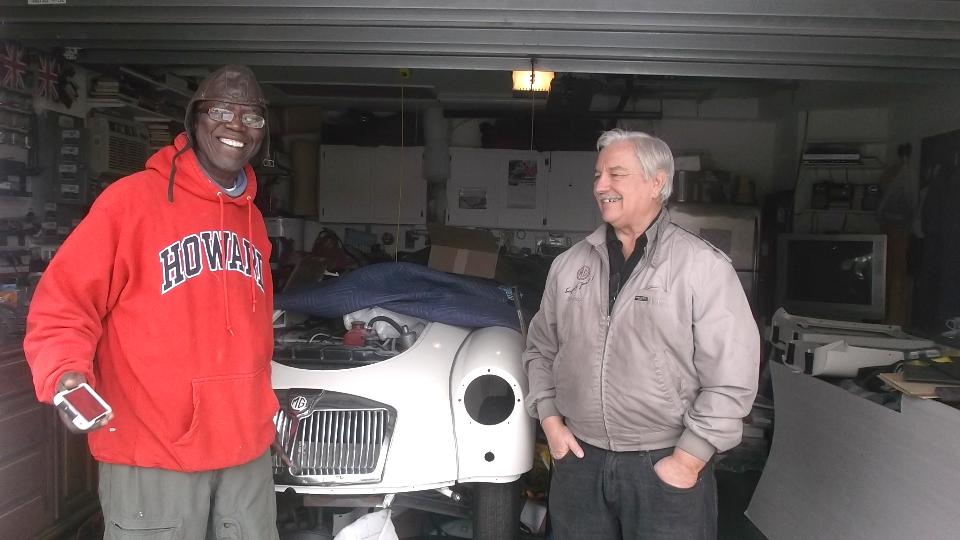
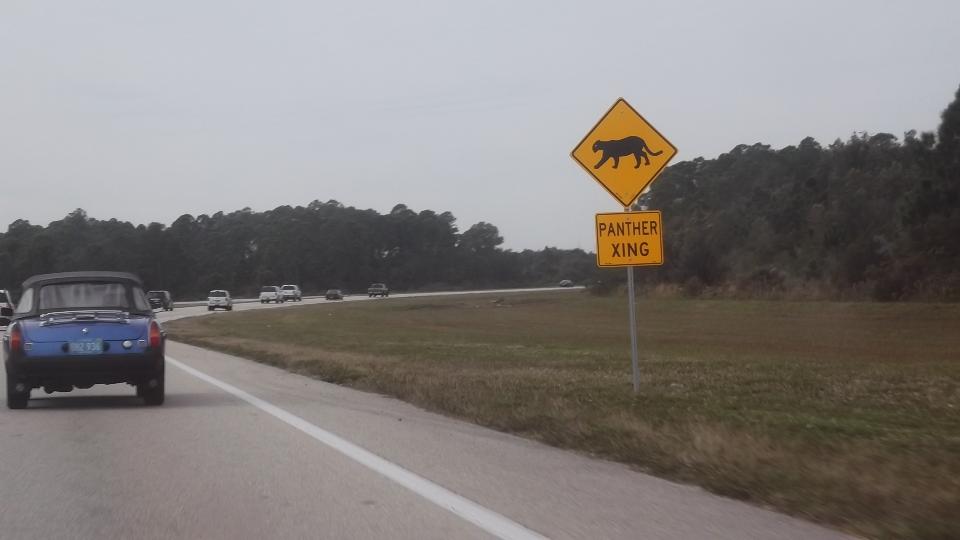
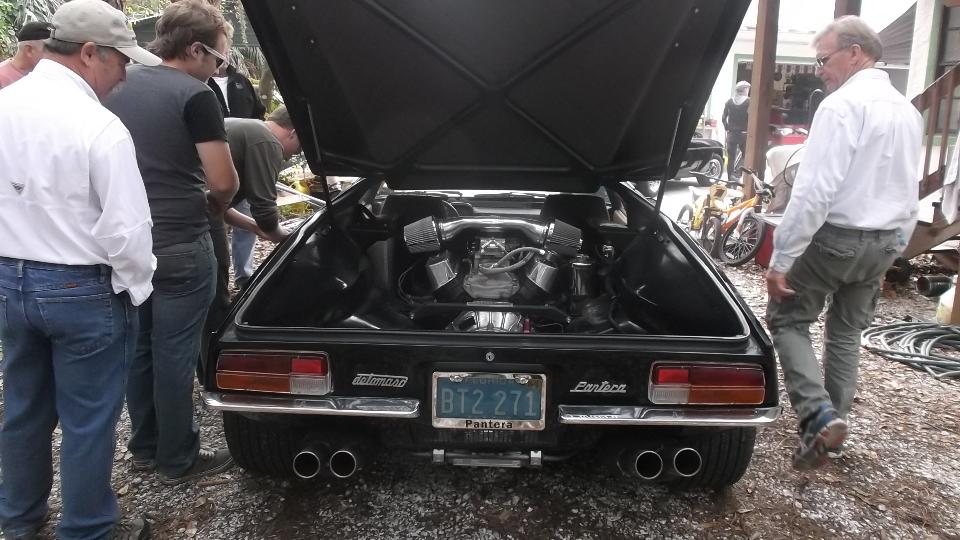
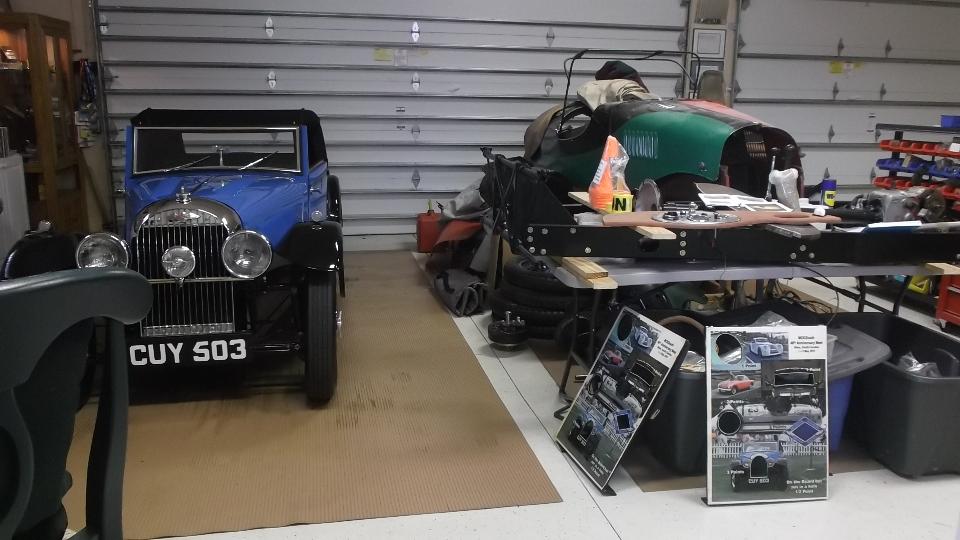
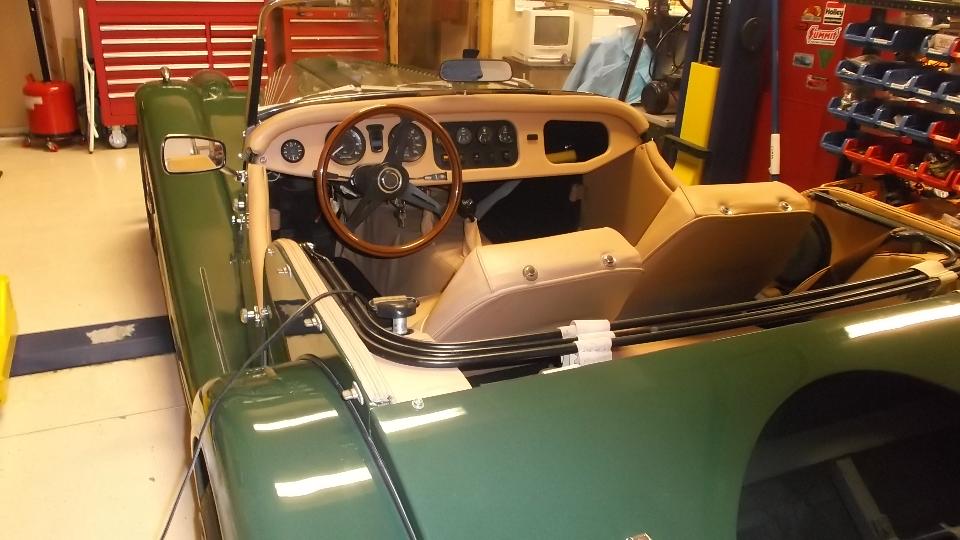
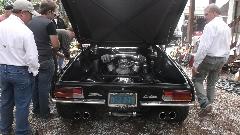
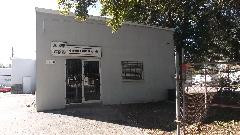
Headley also has this nice MGB as a daily driver. Please spare the panthers, as I believe they are an endangered species. Today we are heading several miles west to the heart of Ft Myers to visit Joe Ciavarella. This large shop building attempts to confine a common fetish for British cars (and a few other interesting things).


Among the "other things" is another of Headley's toys, a 1967 Jaguar 420G or Mark X (limousine). Generous rust is making this one a challenge to restore, but determination is supposed to win out (isn't it?).

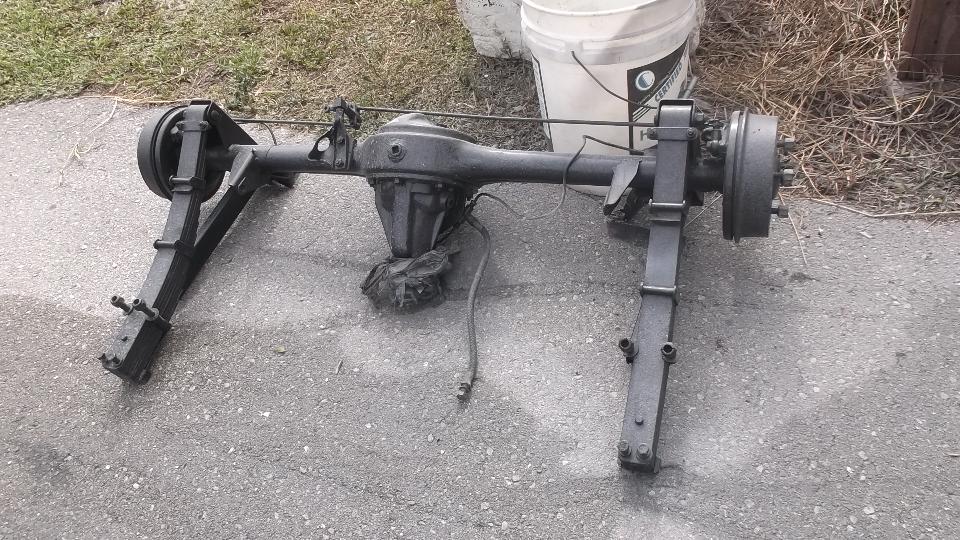
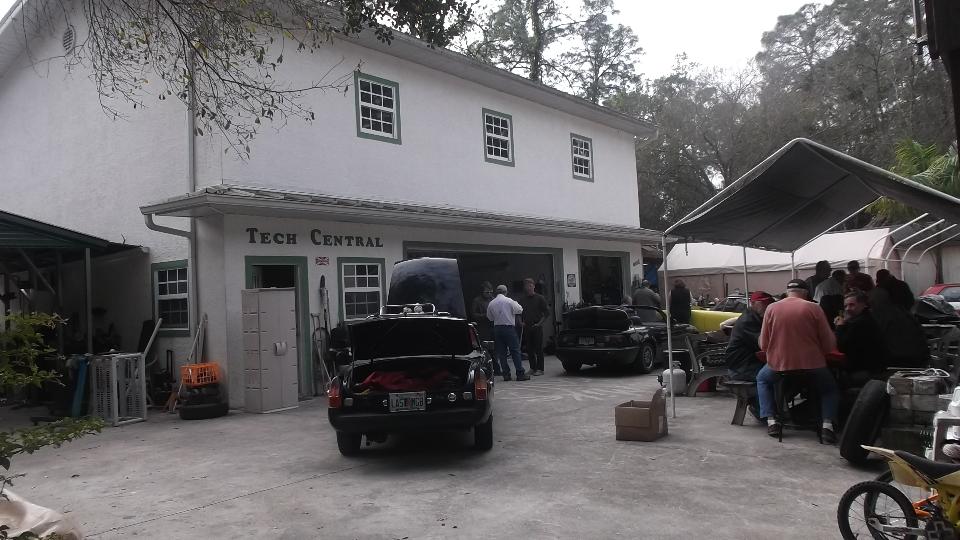
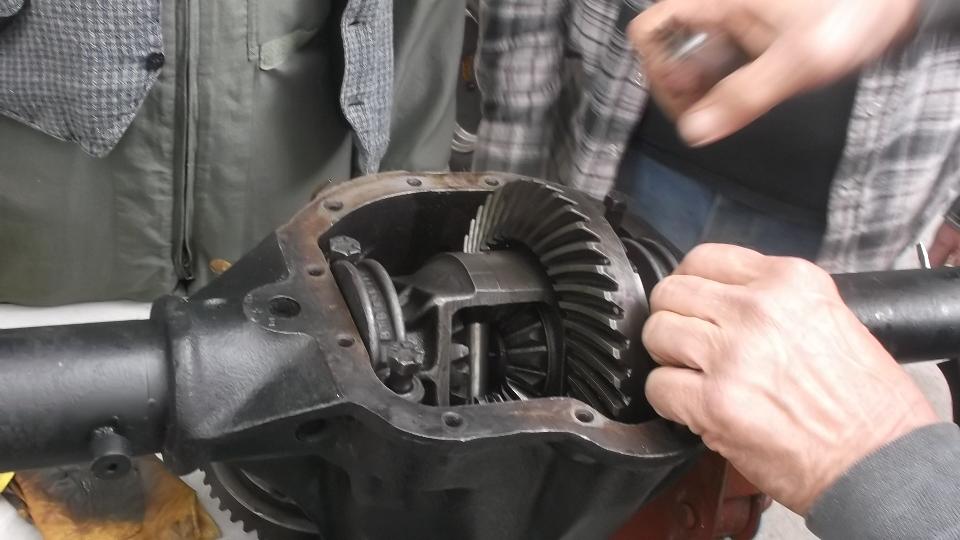
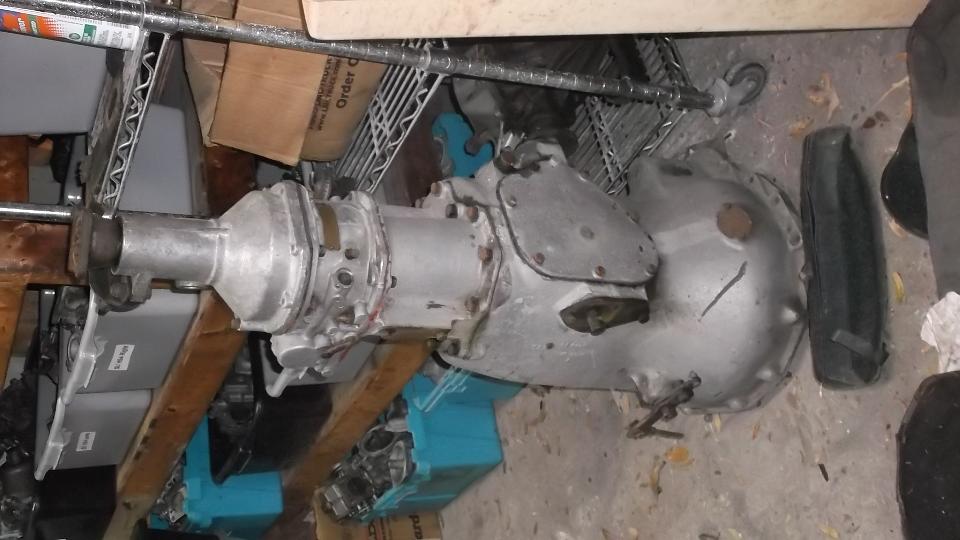
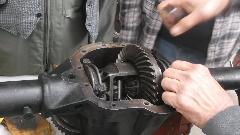
Then we head 25 miles farther South to Bonita Springs, FL, to visit Jerry Wilcox, owner of Tech Central Racing. Some "club members" get together regularly here to work on the race cars and sometimes working on their own projects. Today we are here mostly for turkey dinner and social, but I do get to diagnose why they can't get the rear cover back on a late model MGB differential (got the main bearing caps on backward in the picture).
By sheer coincidence, we bump into a prior member of Chicagoland MG Club, Ken Oehler. He was instrumental in attempting to fire up Natter "n" Noggin North some years ago. In the end it didn't fly, but it was a noble try.
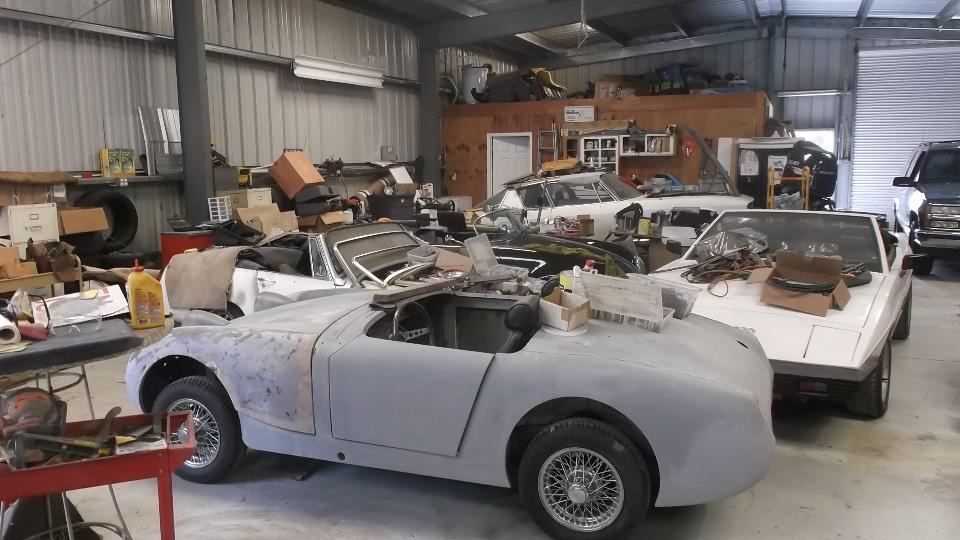
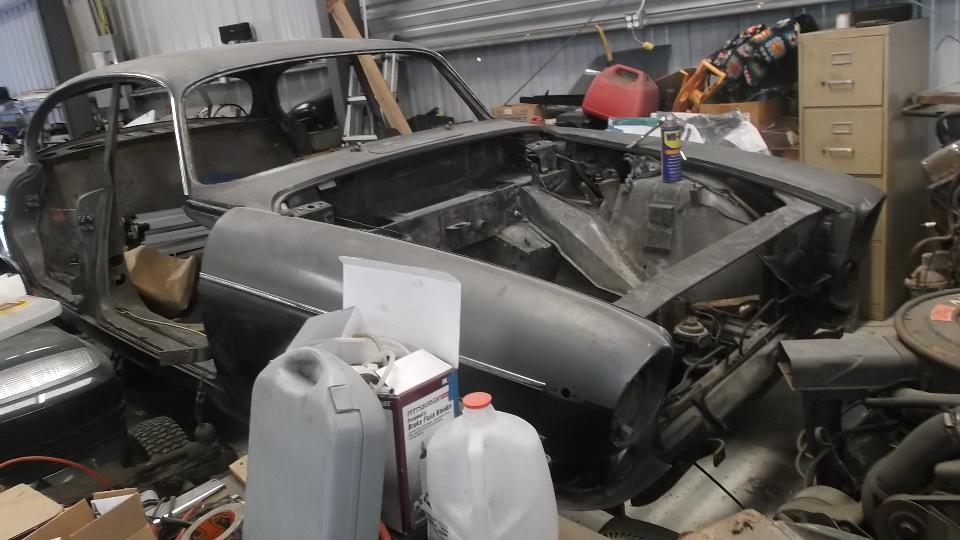
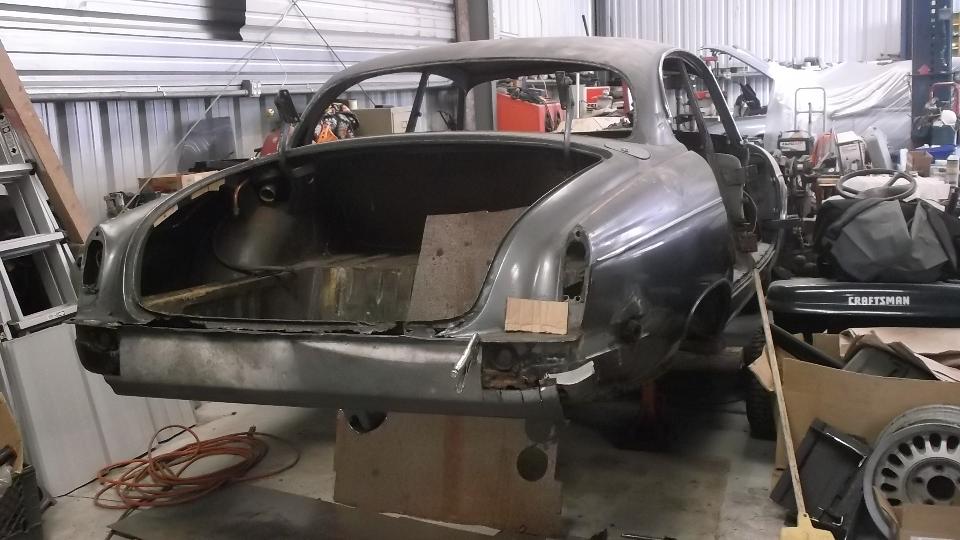
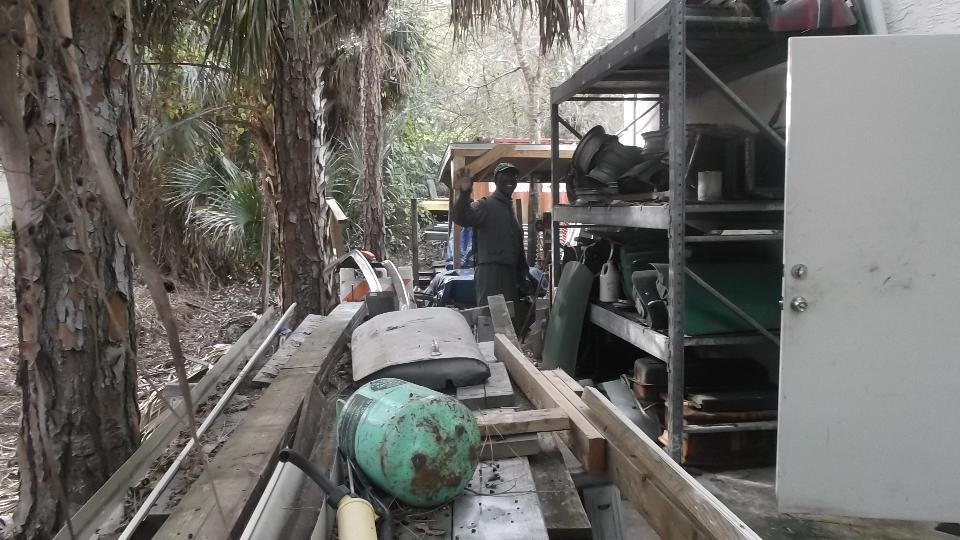
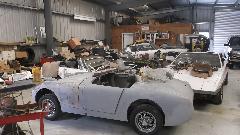
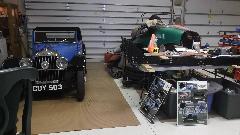
Not by coincidence, Headley also has two more MGA project cars tucked away here. Is the picture on the left continuing a theme here?
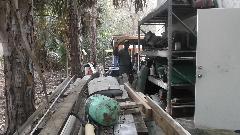
A stash of parts in the attic (mostly MGB I think). More parts out back a large compressor, a tire changer and a paint booth. The MG Magnette is about to get new color. And it's time to call it a day and start heading back north in the direction of tomorrow's appointment(s).
Saturday, December 13, 2014:
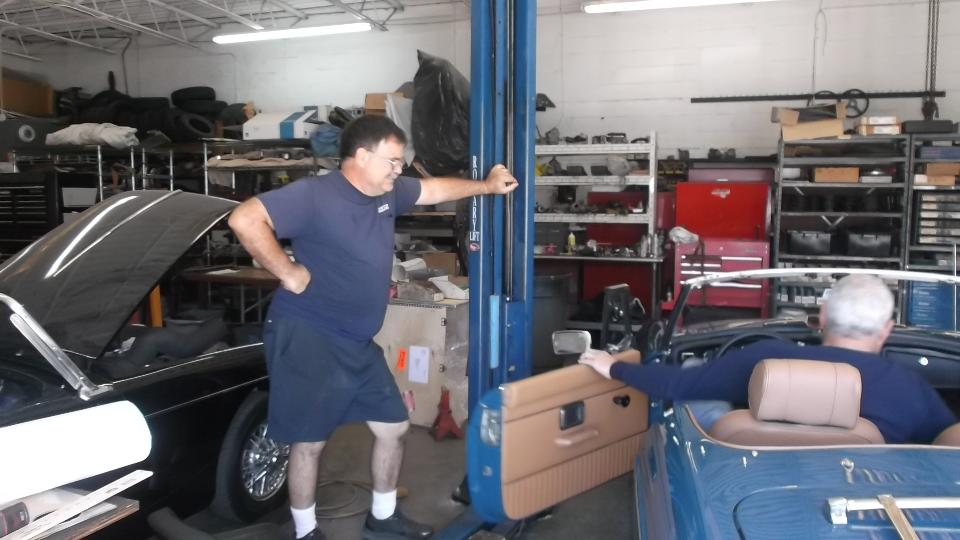
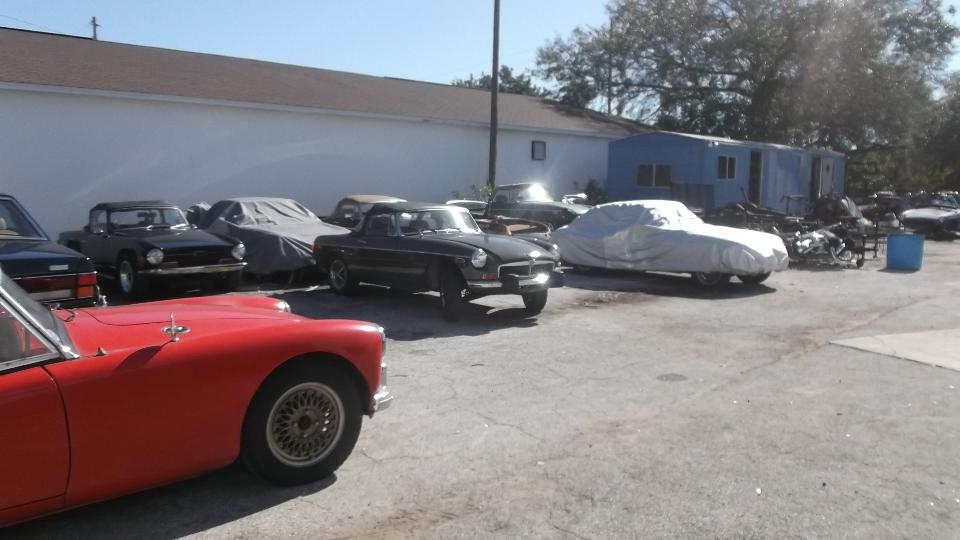
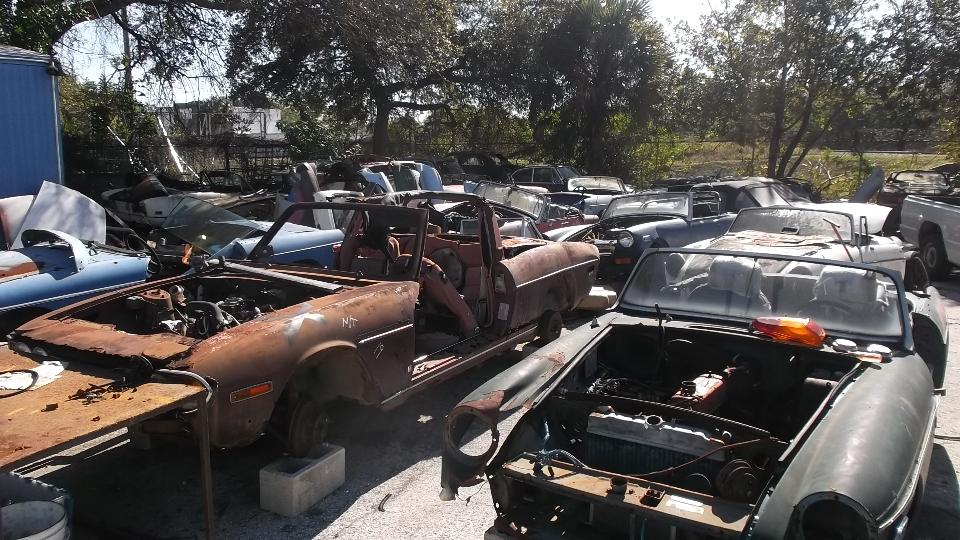
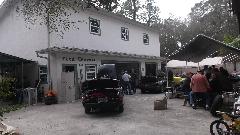
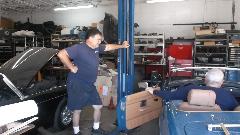
The first appointment today is Glenn's MG (and British Car) Repair in St Petersburg Florida. Aside from saying "Wow", I can say this place is much larger than the shop I visited 25 years ago in 1989. The idea here is that everything is done in house, from carburetor rebuilds to complete restorations and painting.

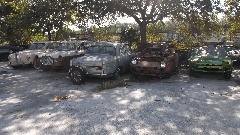
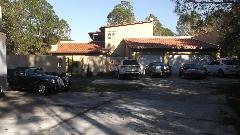
Some of the stuff parked outside. You will lose track if you try to count the cars.


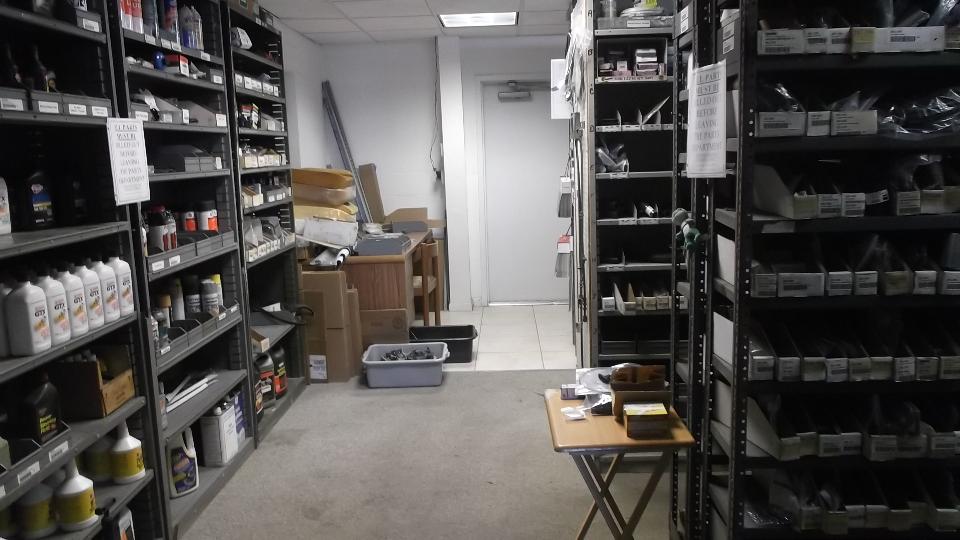
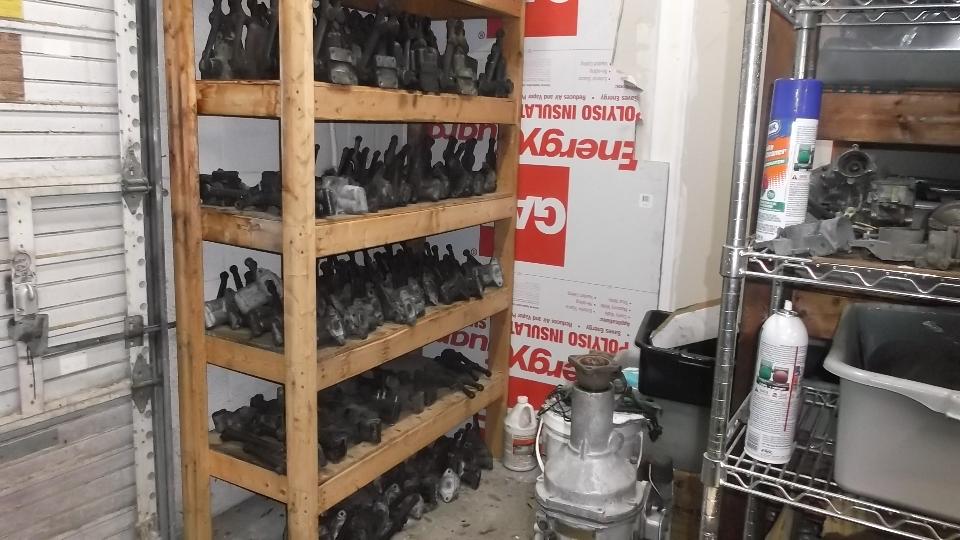
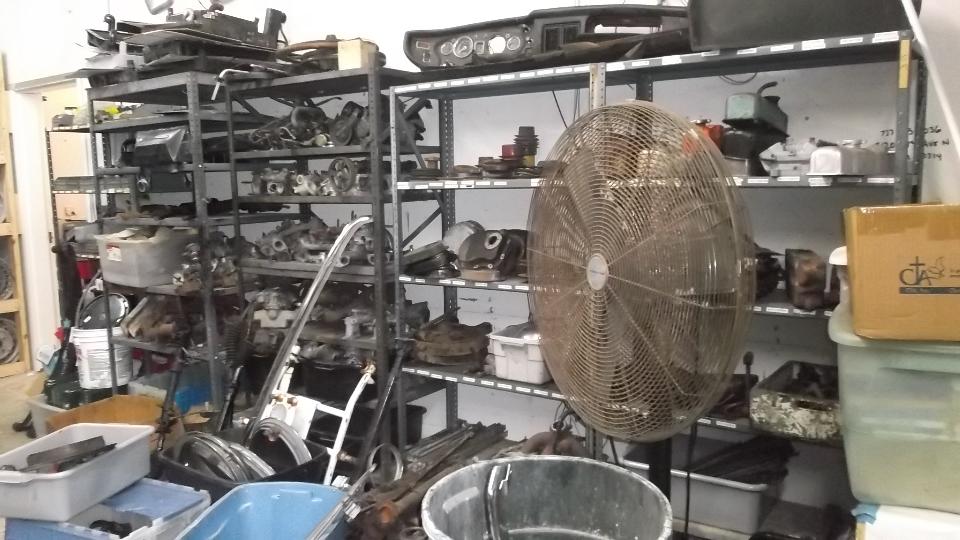
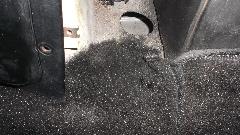
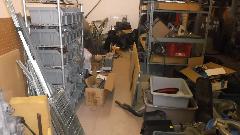
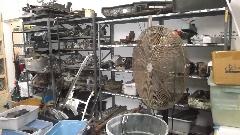
Parts storage and inventory control in another building, more organized than it may appear.


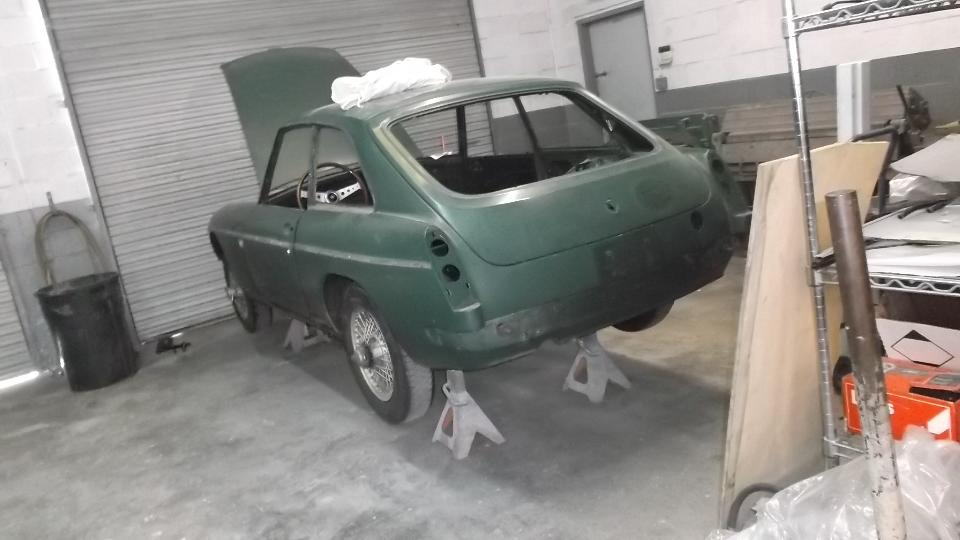
A pet project, a rare Austin 541, apparent granddaddy of the Jensen Interceptor. Think 4-liter 6-cylinder 3-carburetor Austin 6-cylinder engine and a monster top loading 4-speed gearbox (as used in larger Austin saloons of the day) with Laycock de Normanville overdrive.
See more Glenn's MG photos and notes on a following page.
After the shop tour we cruise over to Glen's home for the Florida Suncoast MG Car Club holiday party. We found about 25 more MG enthusiasts here, and a grand time was had by all.


Sunday, December 14, 2014:
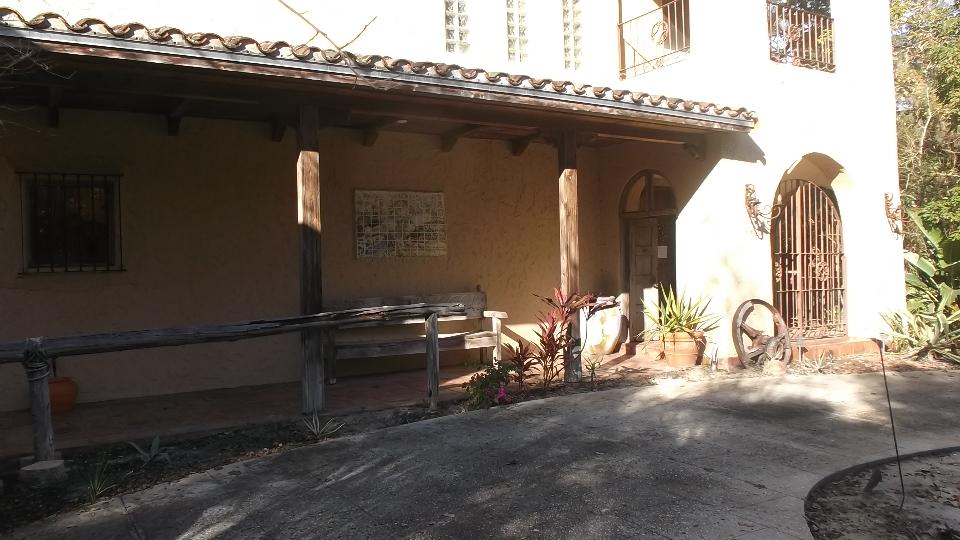
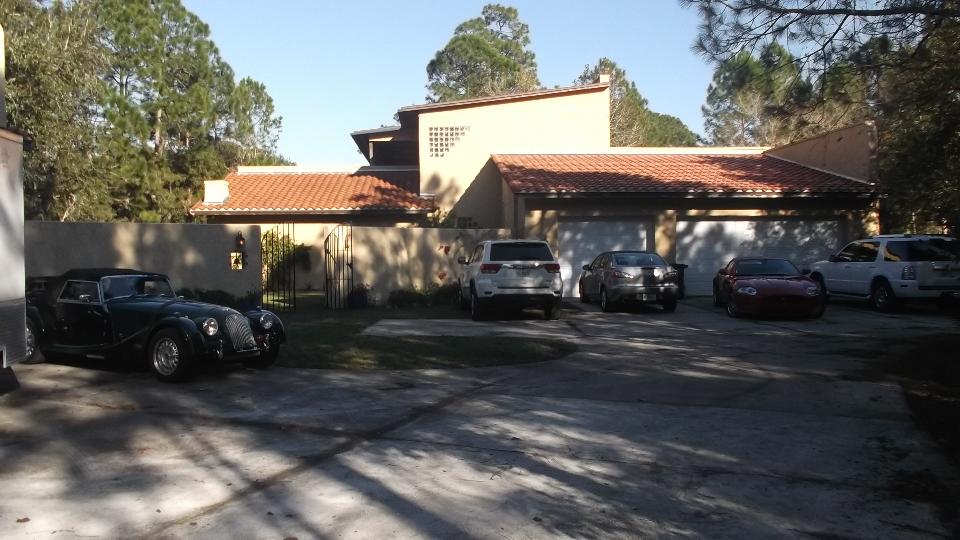
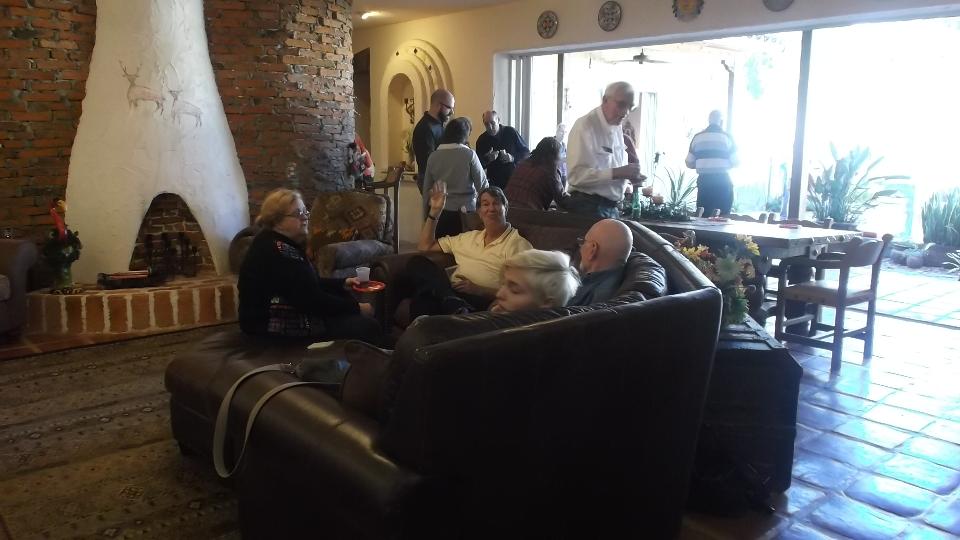
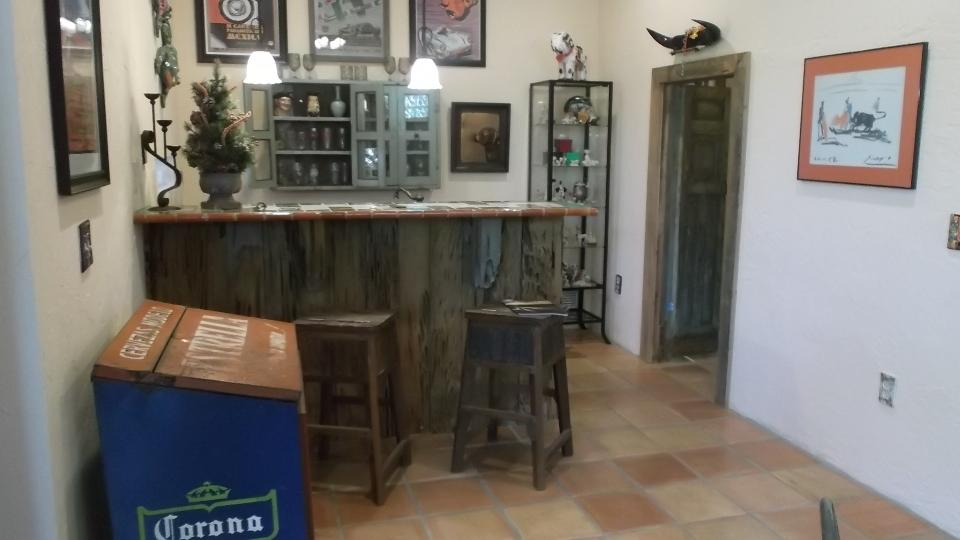
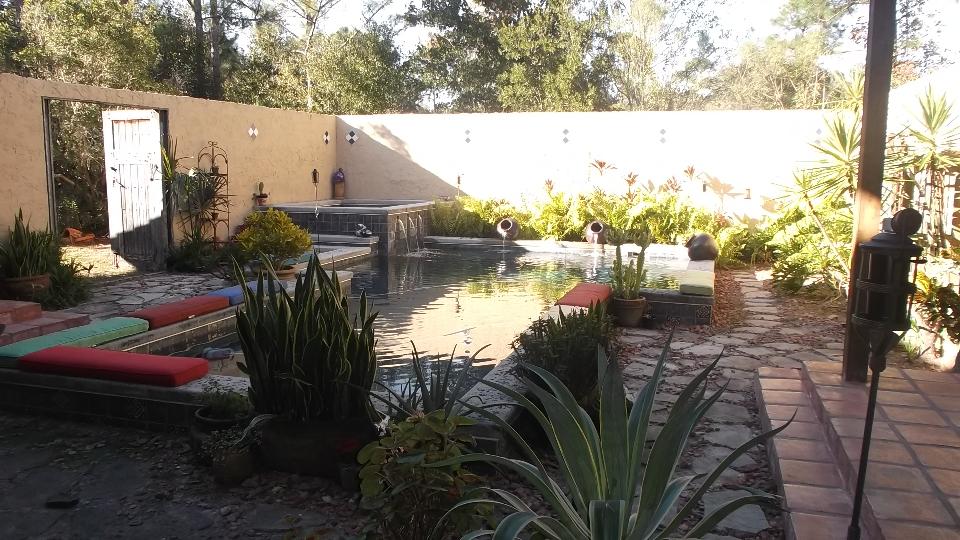
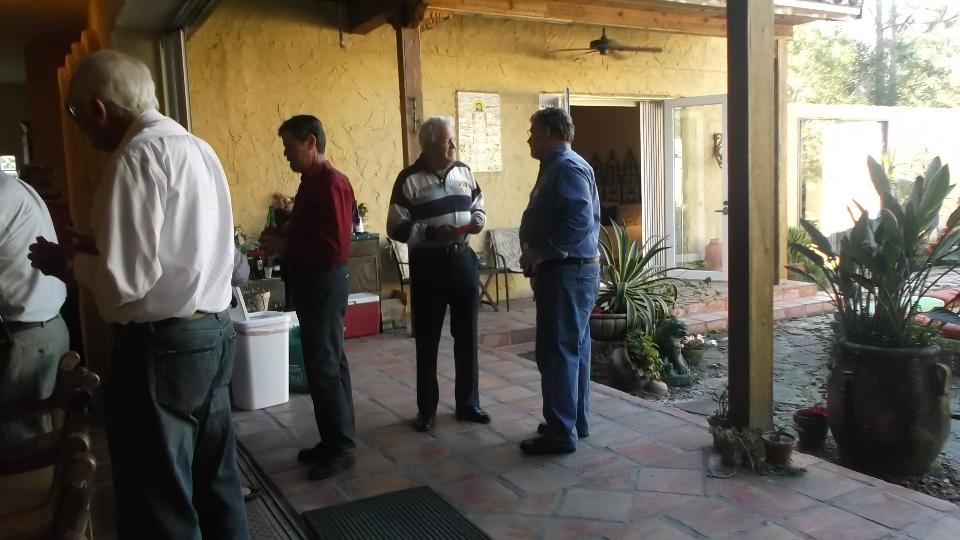
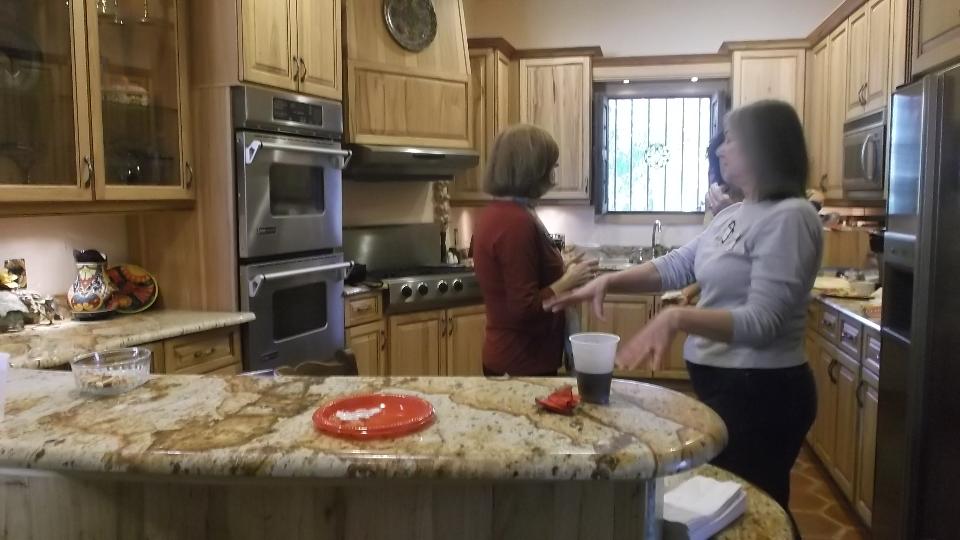
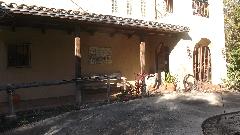
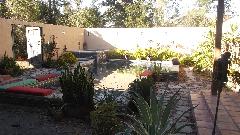
Time for the Central Florida British Car Breakfast Club holiday Party. We met at a private home of Rick Frazee in Sanford, FL. This place struck my fancy, so I took lots of pictures. Apparently it is a relatively new home that was built to look old with Spanish style all through.
The living room, office and one bedroom have patio doors facing onto the central courtyard with swimming pool. To the left of the courtyard a "small" side yard leading to the "toy shop".

Some of the toys. If you search all of the pictures there are at least six Morgans resident here, three in the shop, one on the back drive, two in the garage.
And a bit later, there's the party going on. We stayed late with lots to talk about after the party mostly retired.


See more Rick Fraze and CFBCBC photos and notes on a following page.
Monday, December 15, 2014:

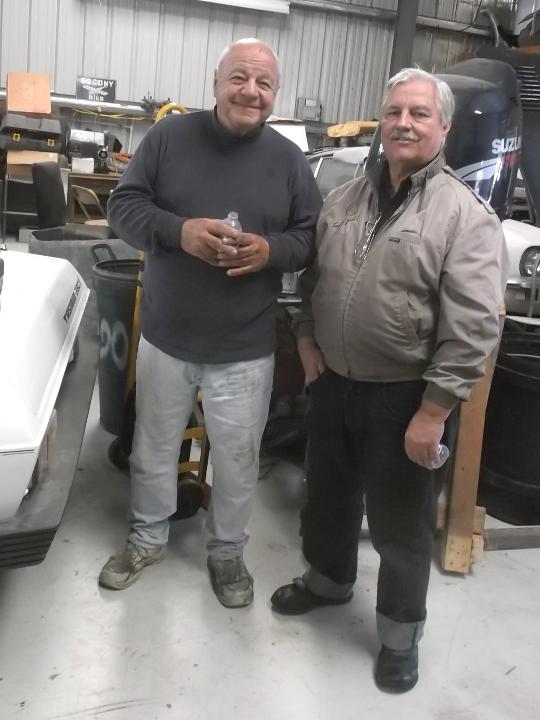
 This afternoon we wander an hour east to Mims, Florida, on the east coast to visit Roger & Sandi Hobart. Roger has a nice TR4A (I think) undergoing restoration. He is also mechanic for Don Loftis (down the road a bit) who has a number of racing MGs. After a very short visit we roam down the street to pick up Don, then head out for dinner (Elliot, Roger and Dan in the photo).
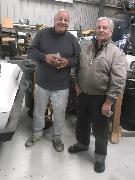
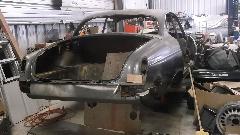
 After dinner we were back at Don 's place briefly checking out his MGA under restoration. He just acquired this one recently, and we spent some time trying to figure out if it was really a 1500 or 1600 car. It has 1600 front wings and lamps, 1500 rear wings and lamps, no turn signal relay, 1600 emblems on the cowling and boot lid, drum brakes all around, and a welded up bulkhead panel with half the holes missing. I finally find the body number which is 1500 format, so figure it must have began life as a 1500 now being converted (partly) to 1600 style. More on these folks (and lots more cars) tomorrow.
Then I spent late night hours posting 18 new web pages on Tuning Information Memoranda for MGA (much of it for Twin Cam), which is a set of new information pages which no one heretofore knew existed.
|