The MGA With An Attitude
Tuesday March 1, 2016
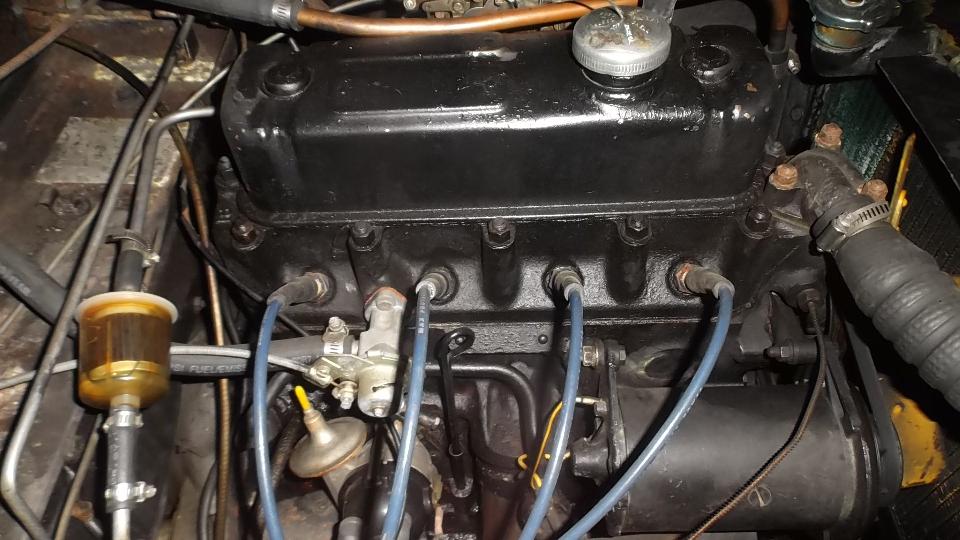
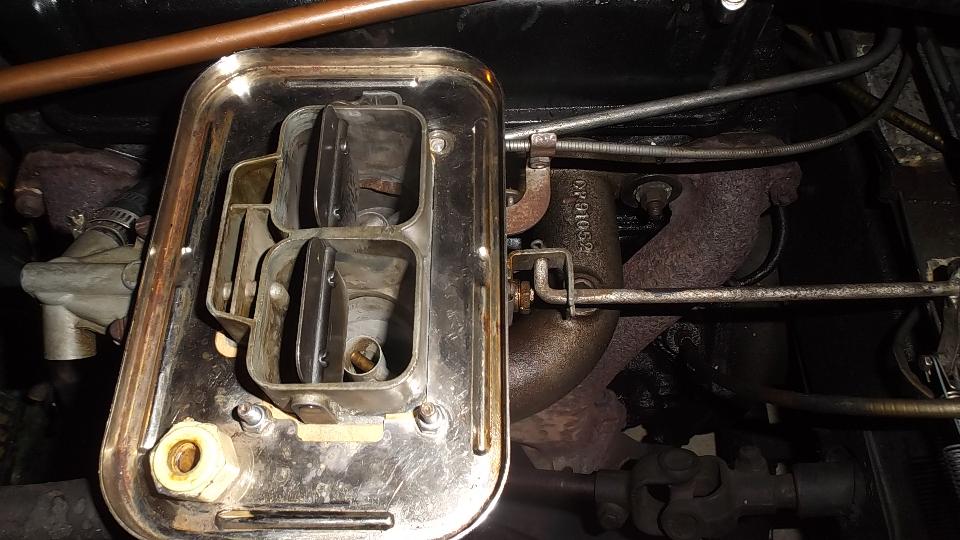
Fourth stop for the day (as if we hadn't done enough yet) was Jack Weiss in Birmingham, Alabama. He has an MGA 1600 with Weber carburetor conversion. It runs well but has a disturbing noise that sounds like a connecting rod bearing knock. But it has 40-psi oil pressure at idle, so this is not a foregone conclusion, still needing further investigation. The car had some body damage once which was not well repaired, and paint over piping that is looking tatty an begging for a repaint. This may seem a little disheartening, but at least the car is in the hands of a caring owner who likes to drive it and will likely fix it. 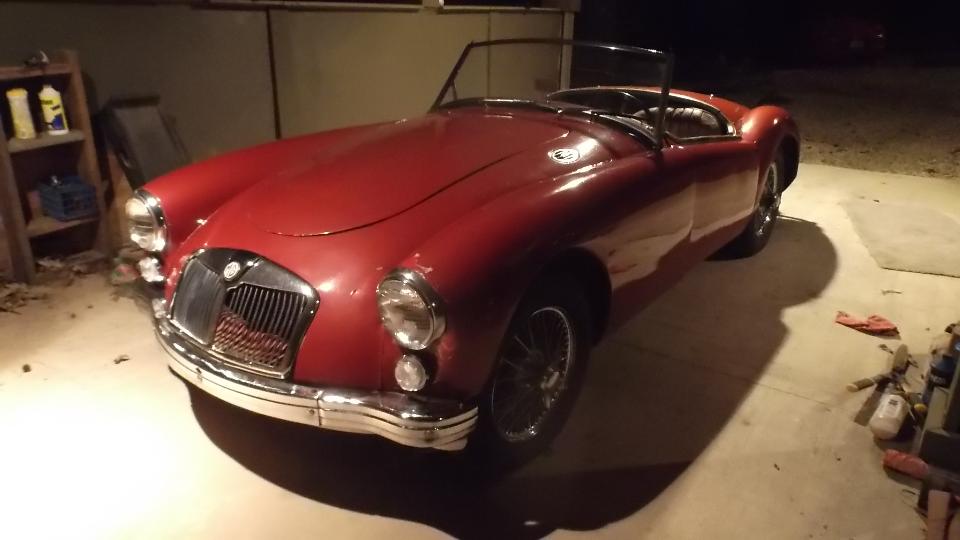
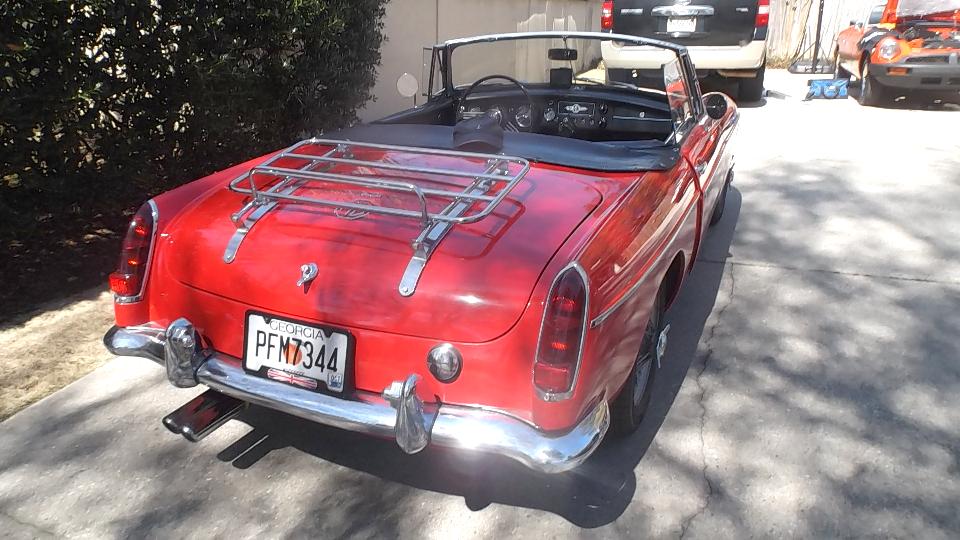
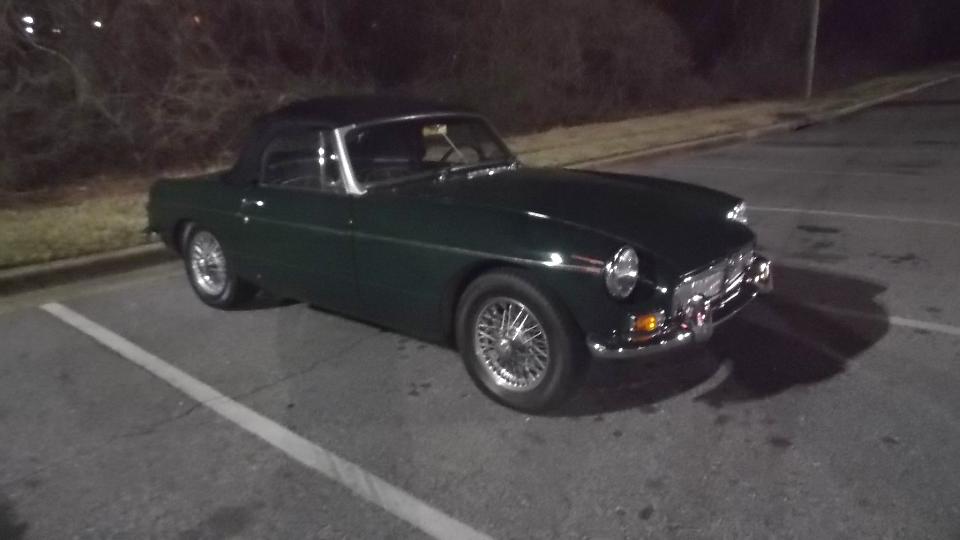
 Thursday March 3, 2016 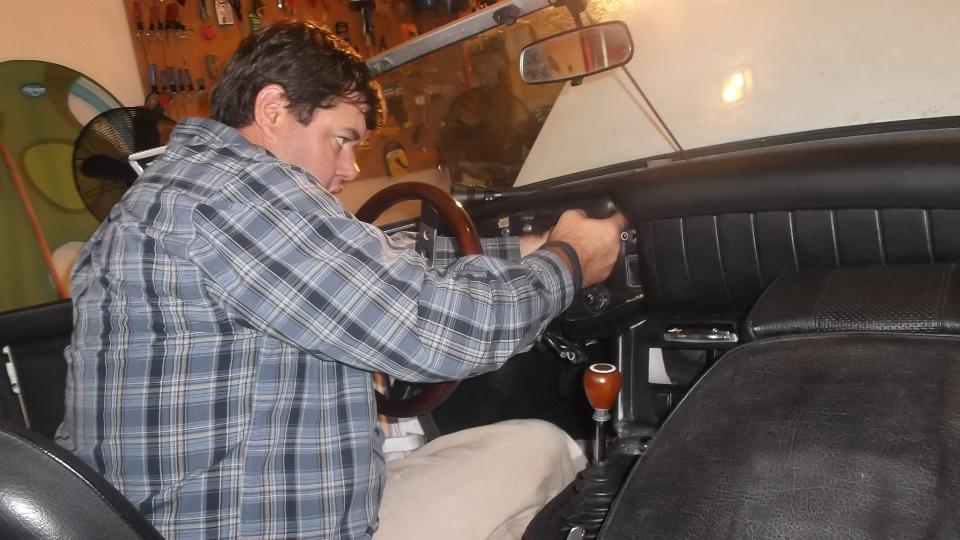 Moved on from Birmingham, Alabama to Columbus Georgia today. Dropped in on Keith Farley in the evening, you may recall the tales about "Grandpa's MGB" from December 2014 and February 2015. It is still a regular driver car, still with a few bugs to be worked out. Keith's most recent venture is a come-and-go speedometer with questionable cable drive. There are some irritating "clunks" in the suspension, so he has procured a lot of suspension parts which we expect to install this weekend.
 Friday March 4, 2016 We needed a 3/4-inch chucking reamer to "size" the lower trunnion bushings after installation. Not having one in my travel kit, I spent half the day searching the internet to see if I could find one locally in Columbus. No luck there, so we finally ordered one from McMaster-Carr in Atlanta for next day delivery (on Saturday). 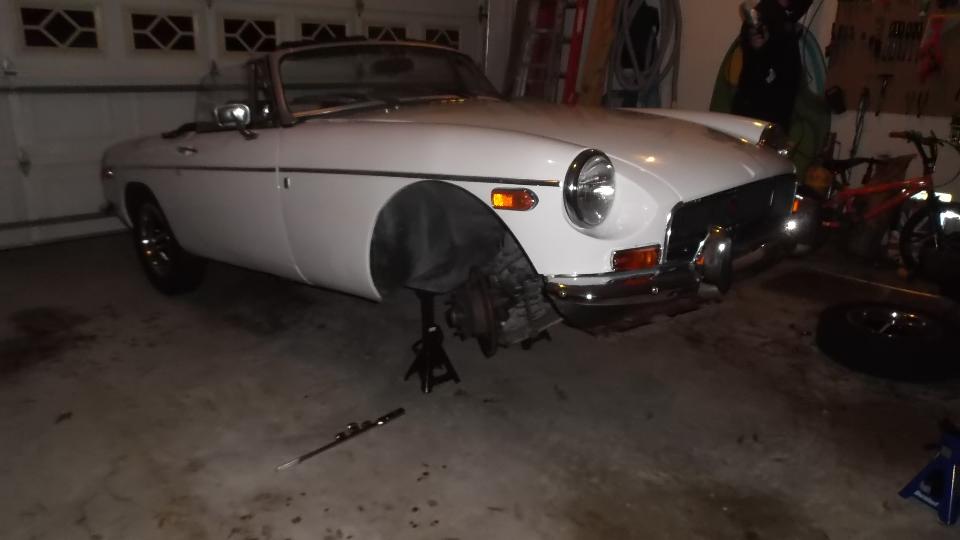
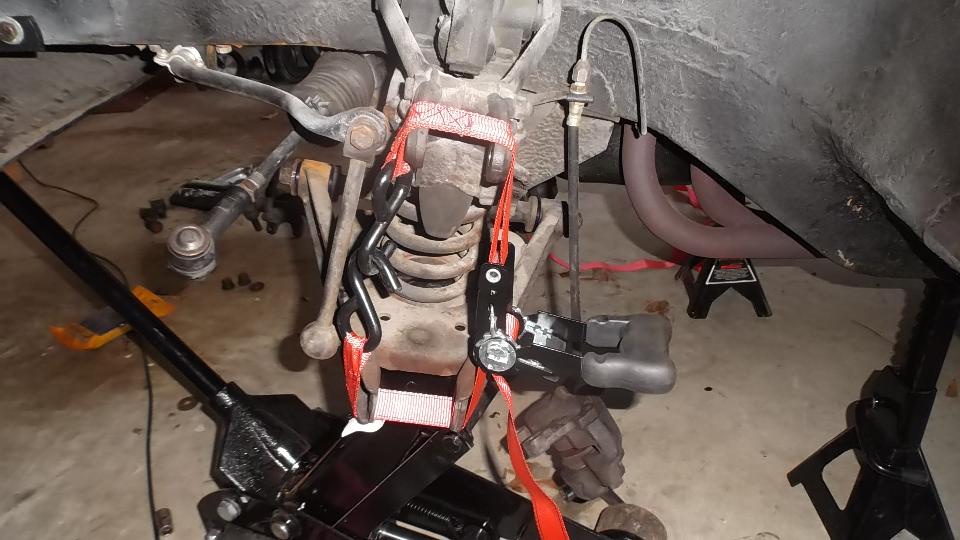
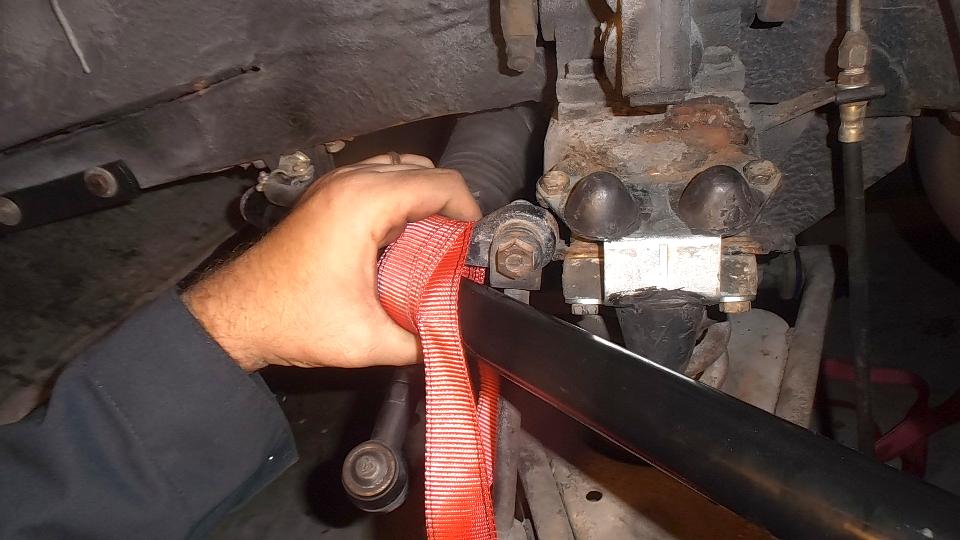
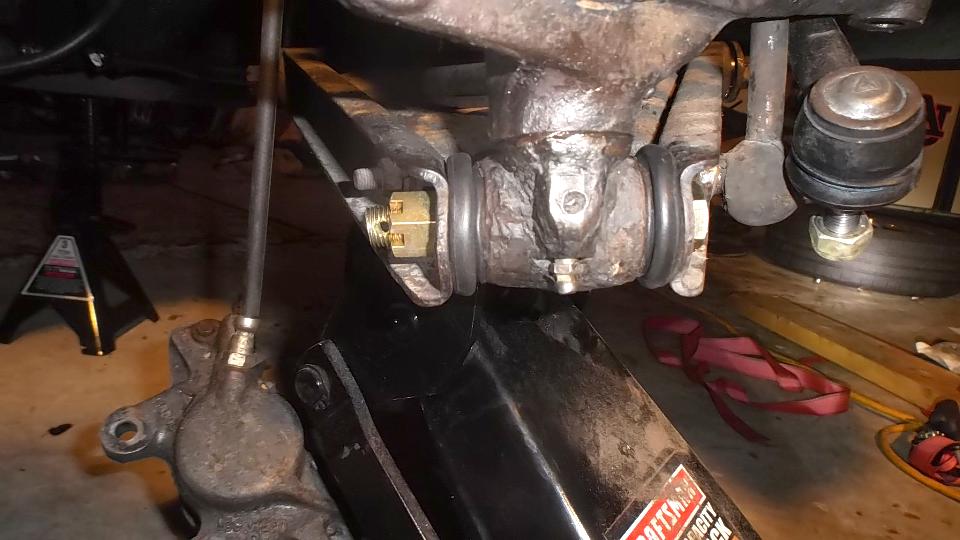
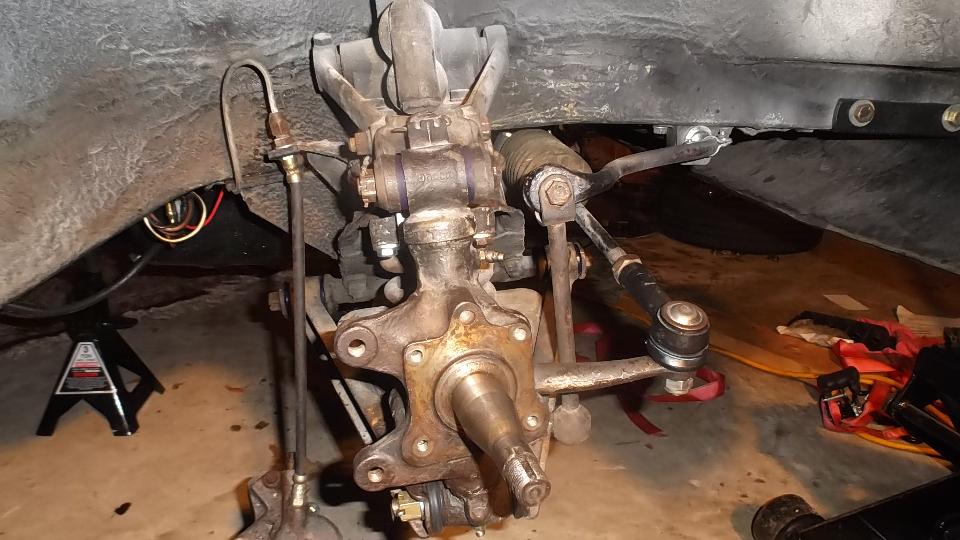
 All was going well until we found the lower trunnion bronze bushing was badly worn (fairly common), and there were no parts for this in the "complete bushing kit". Bummer. Place an order with Moss Motors for two lower trunnion repair kits (will ship Monday, may not arrive until Wednesday). Meanwhile, we reassembled everything we could, and installed a cargo strap to hold the arms in place until we could get back to the lower trunnion later. (Yes I cheated and mirrored a picture from the other side). 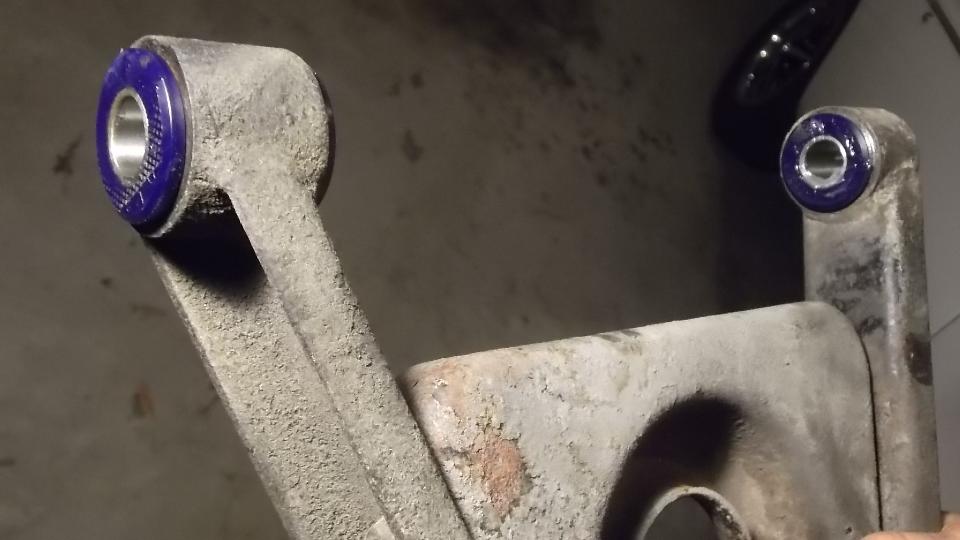
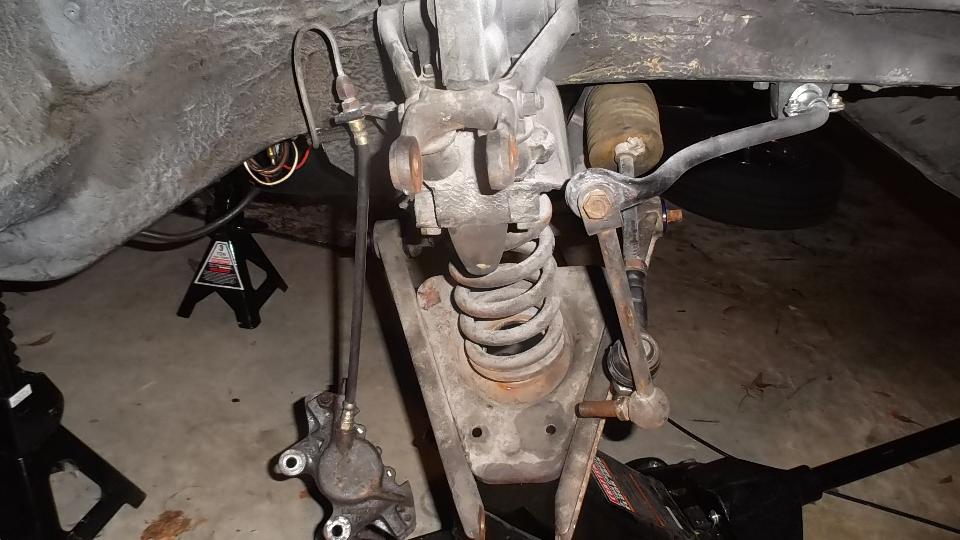
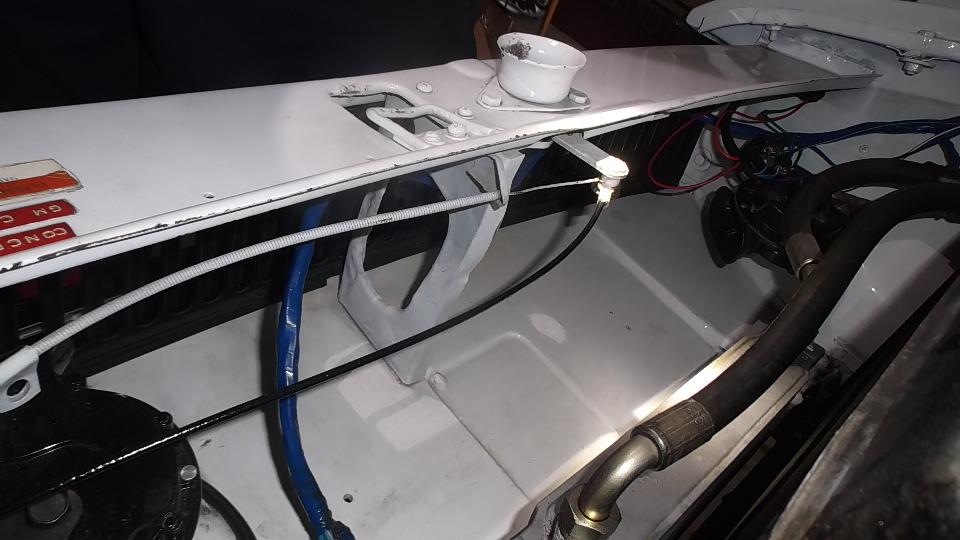
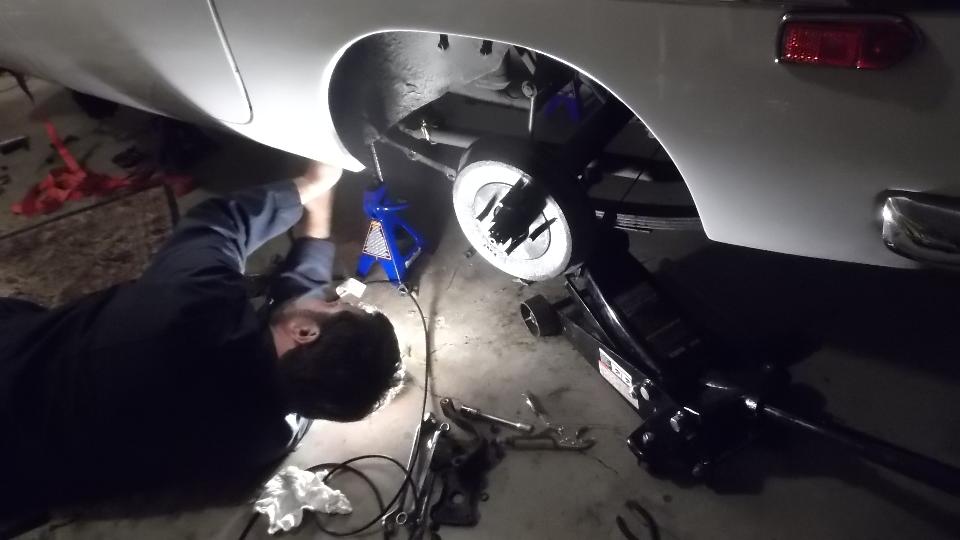
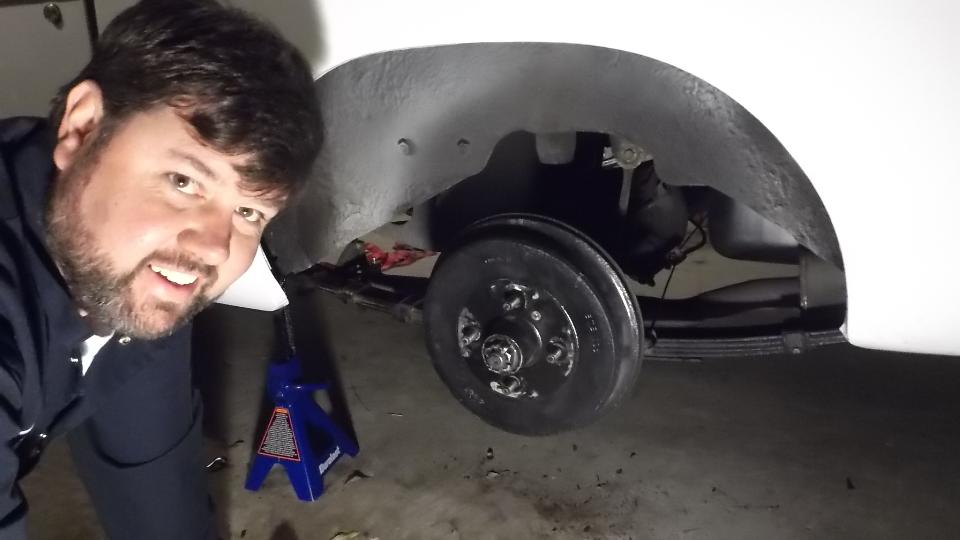
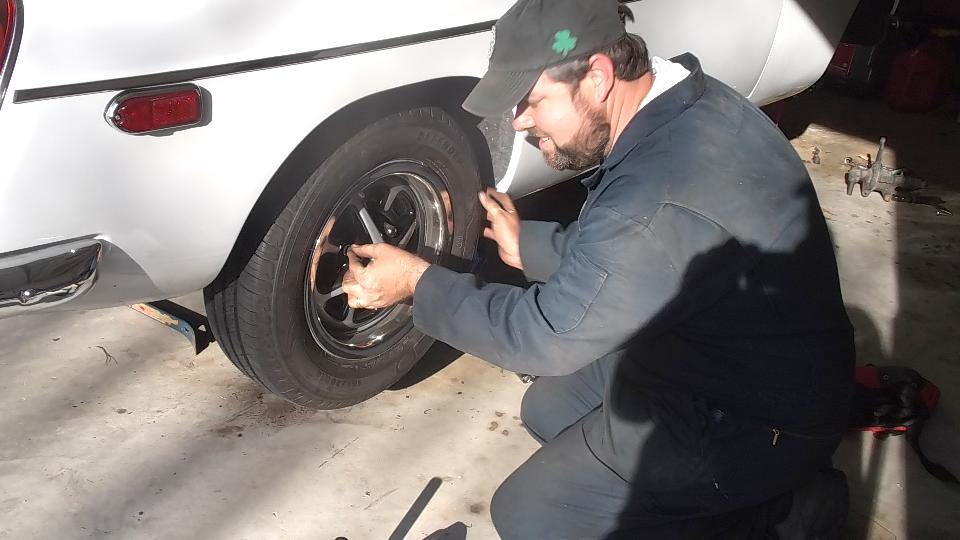
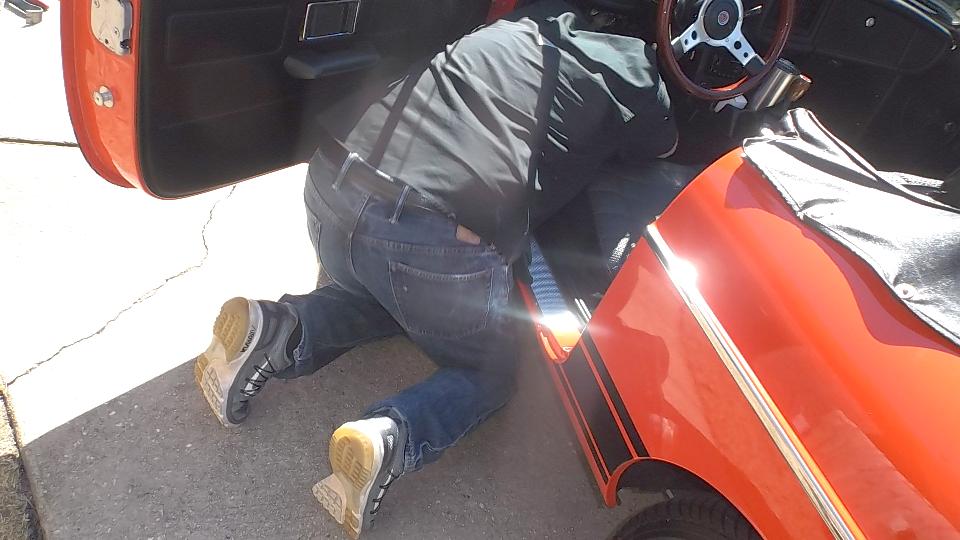
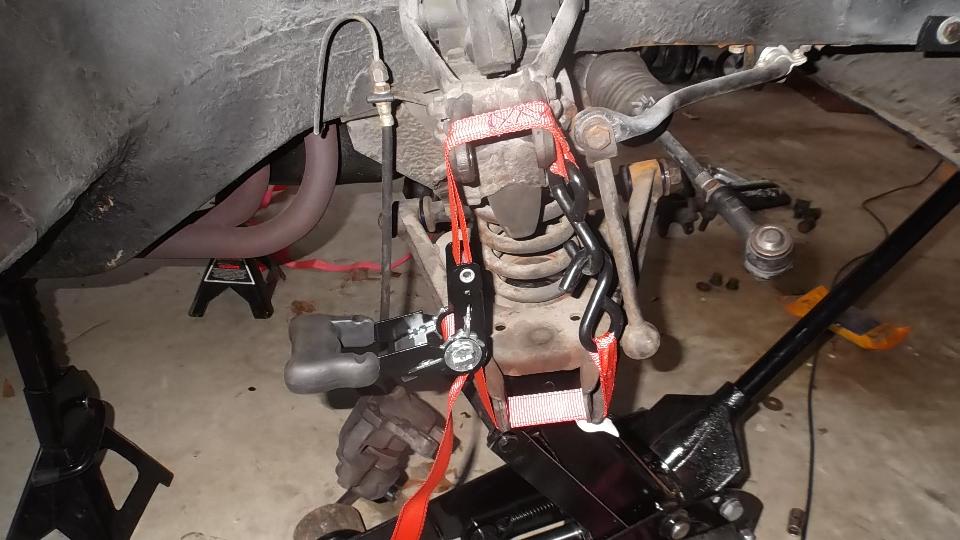 Saturday March 5, 2016 Off to an earlier start today (relatively speaking). By 1-pm we had the LF suspension disassembled, re-bushed, and reassembled to the same point as the RF. Then we jacked the rear and removed the wheels to get a start on rebushing the leaf springs. Keith wanted to notice the emergency bonnet release cable running from the bonnet latch to inside the LF wheel arch. But Keith had a couple more afternoon appointments, so that's about where we were temporarily stalled. 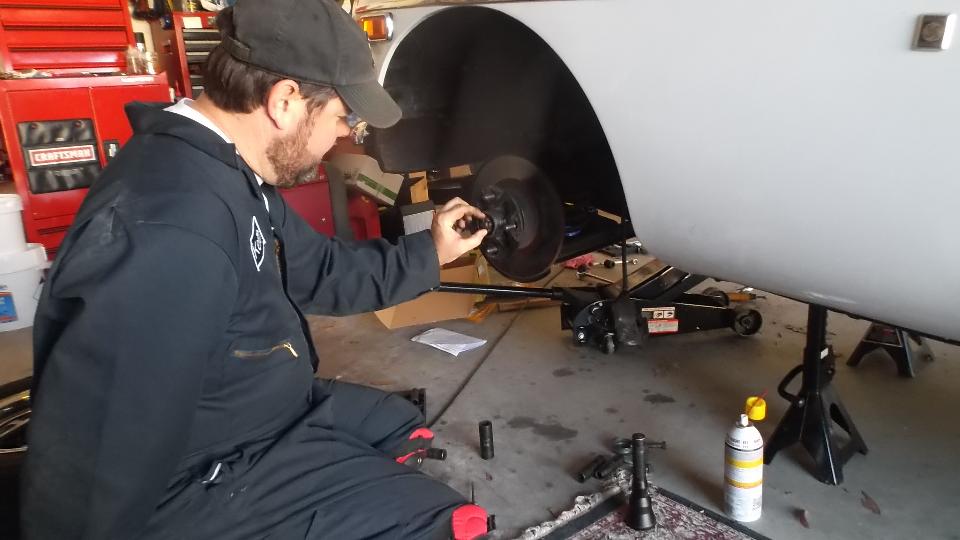
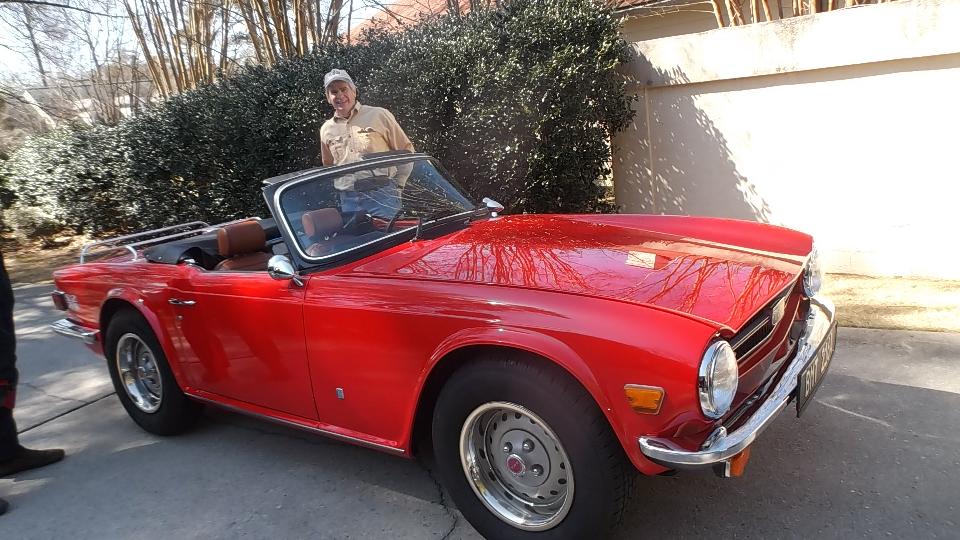
 About that time Cham Watkins showed up with his TR6. He was at the club tech session two weeks earlier, but I didn't have time to get to his car then. He wanted me to take it for a drive for a once-over to see if it needed anything. In particular, it had a "clunk" in the drivetrain on and off throttle (propshaft or differential), and he thought the tail end had some funny sway about when cornering in 2nd gear. So I took it out for a decent thrashing with Cham along, came back with a new crease in the passenger seat cushion and some nail marks in the dash. Apparently Cham never knew how little British cars are supposed to go and handle. This didn't turn up anything terrible about the handling, other than soft suspension with copious body roll and slow steering response (which could benefit greatly by adding or enlarging sway bars). But there is definitely a "clunk" in the drivetrain that we may look into later. 
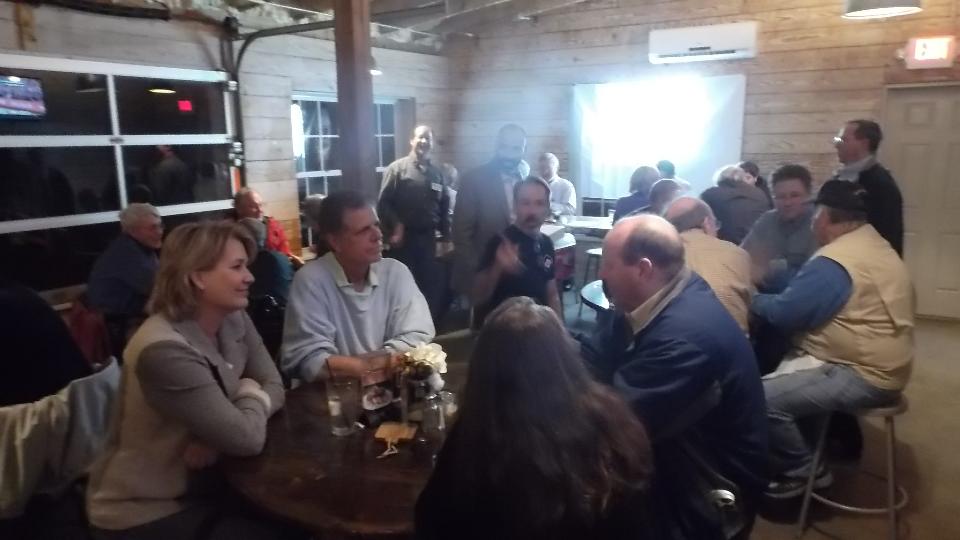
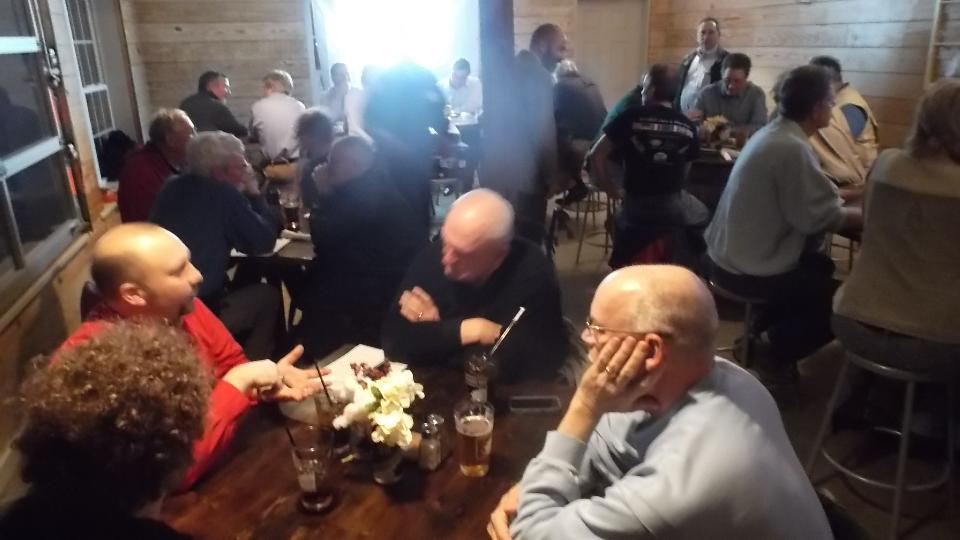
 In the evening we were off to a club meeting with Brits In The Valley (Facebook) members, about fifteen people, at Wild Wings Cafe. This was jolly good fun, rather noisy didn't last long enough. Sorry, but I didn't get on the trigger soon enough to catch the picture. 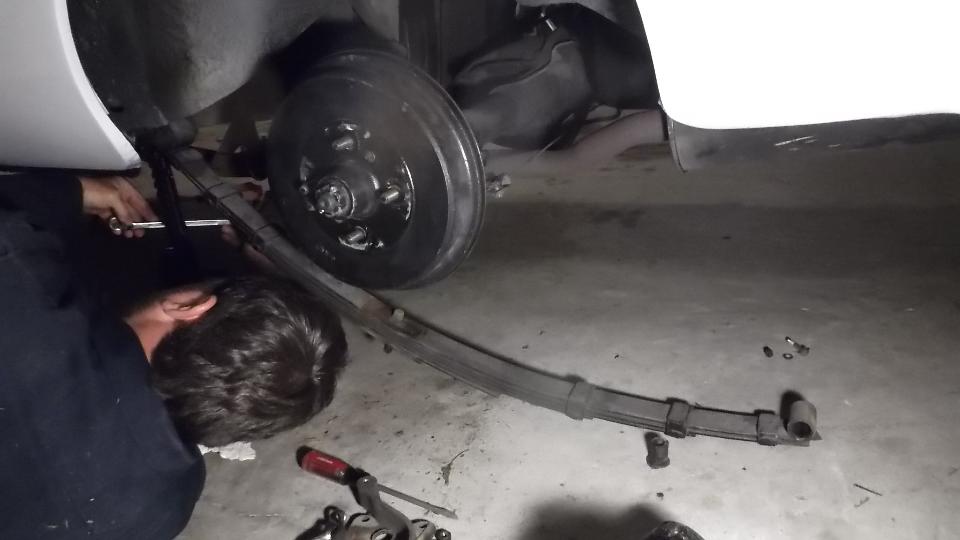
 We tried silicone grease with steel tube inside to keep it straight and big squeeze with the vice, but still no go. Solution was easy enough, just split it in the center with a coping saw, and insert half from each side. 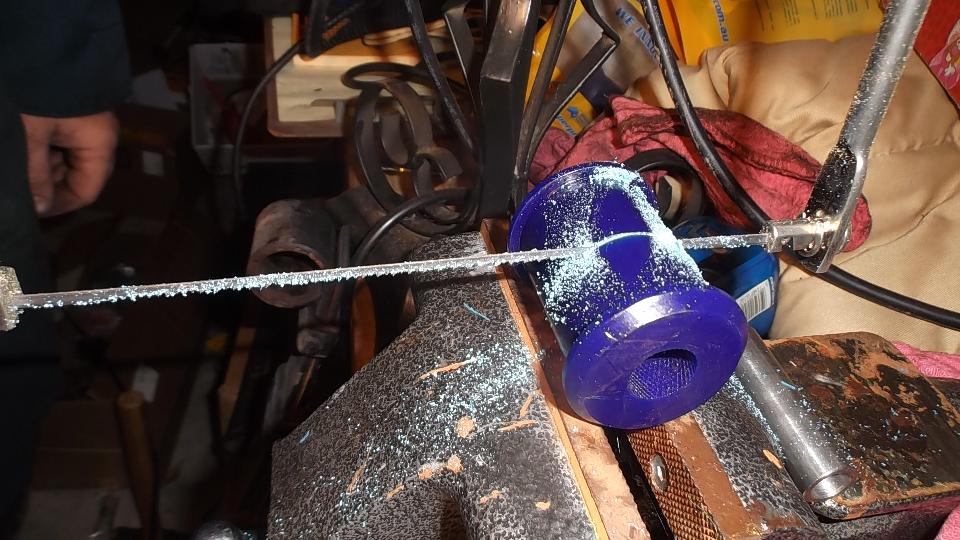

 Then it went back together without too much hassle, finishing the left side at 11-pm, except leaving bolts loose until loading suspension later. Notice big grin. Good time to knock off, as there was to be a club tech session next day, here at Keith's place, so we could do the other side then. 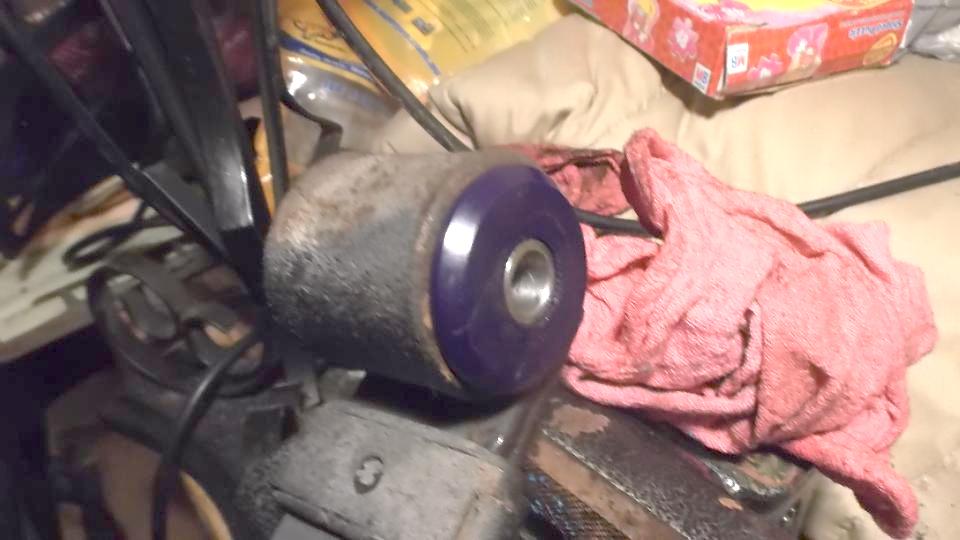
 Sunday March 6, 2016 With a little supervision, and occasional extra hand on a wrench, Keith spent a good part of the day repacking the right side leaf spring with new poly bushings. This time the front bolt did not come out of the Silentbloc bushing so we had to resort to pry bar and Sawzall to cut the bolt both sides of the spring. Otherwise, done one the day before, so this one is easy peasy. 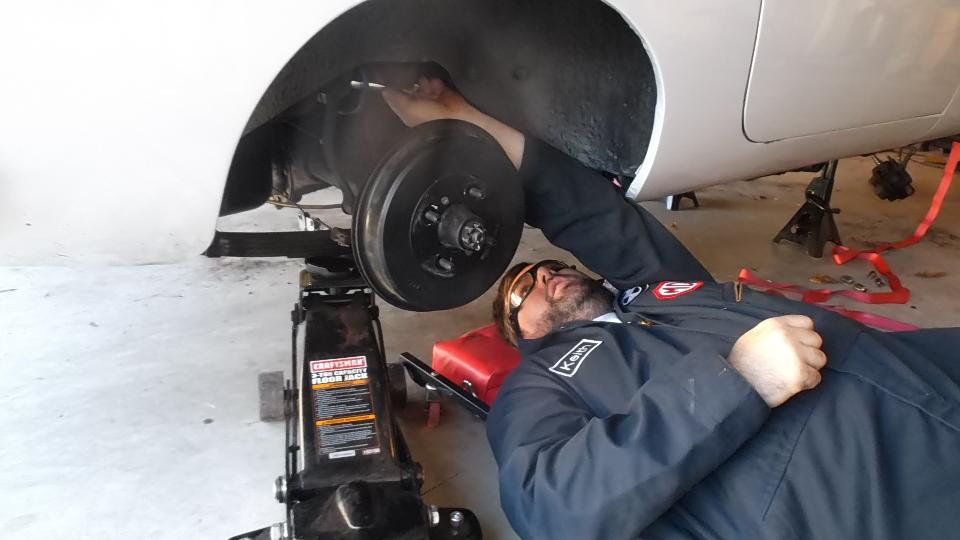
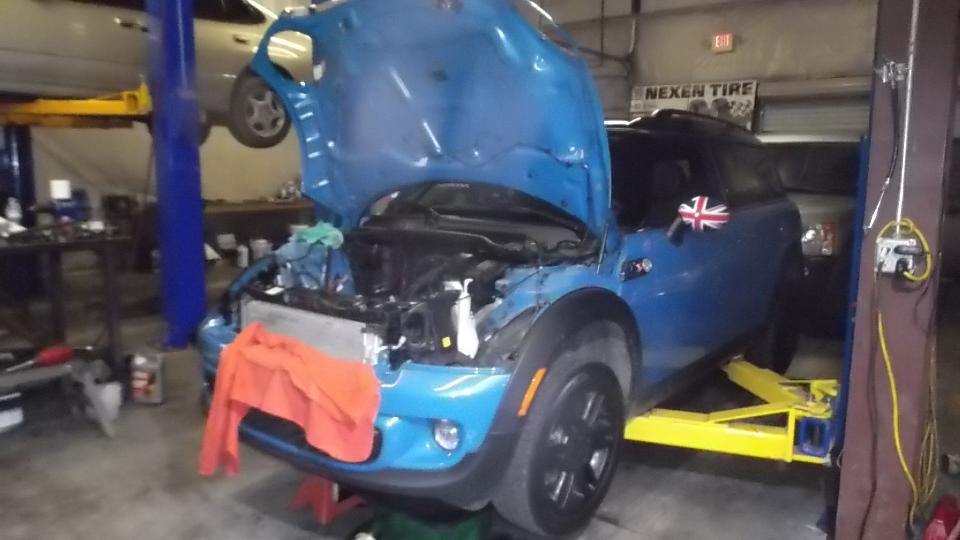
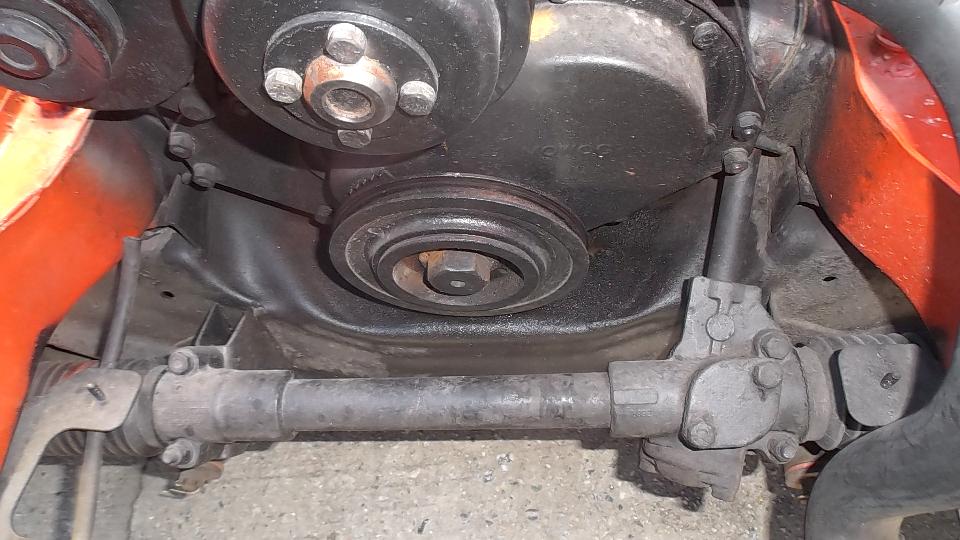
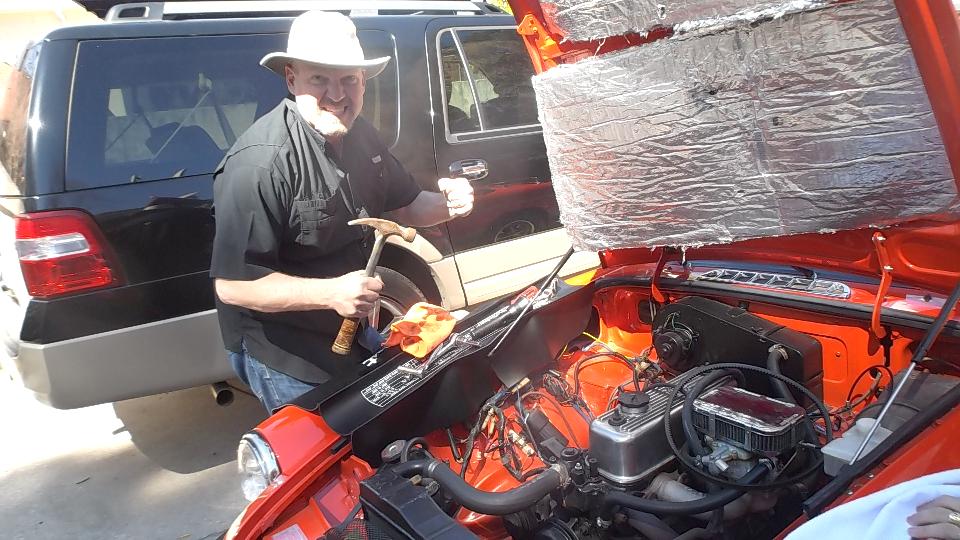
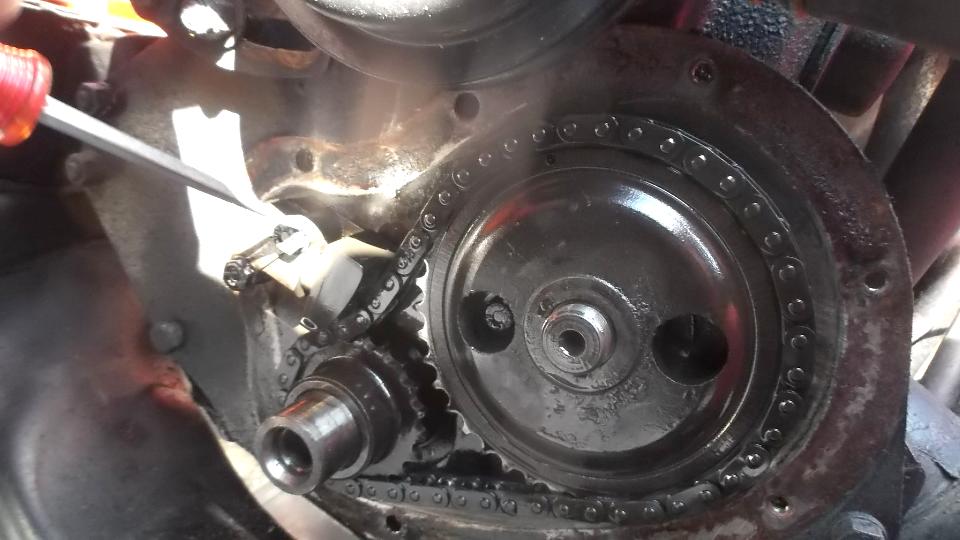
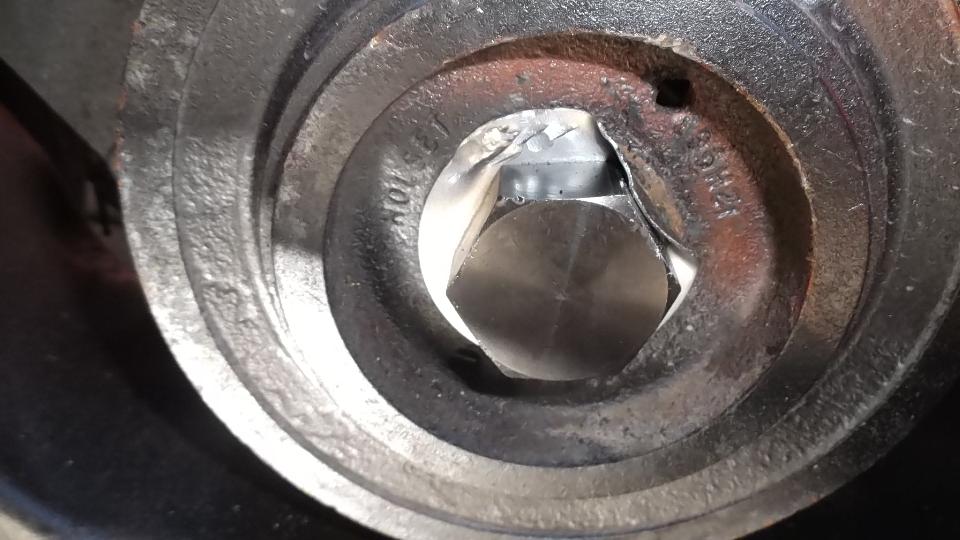
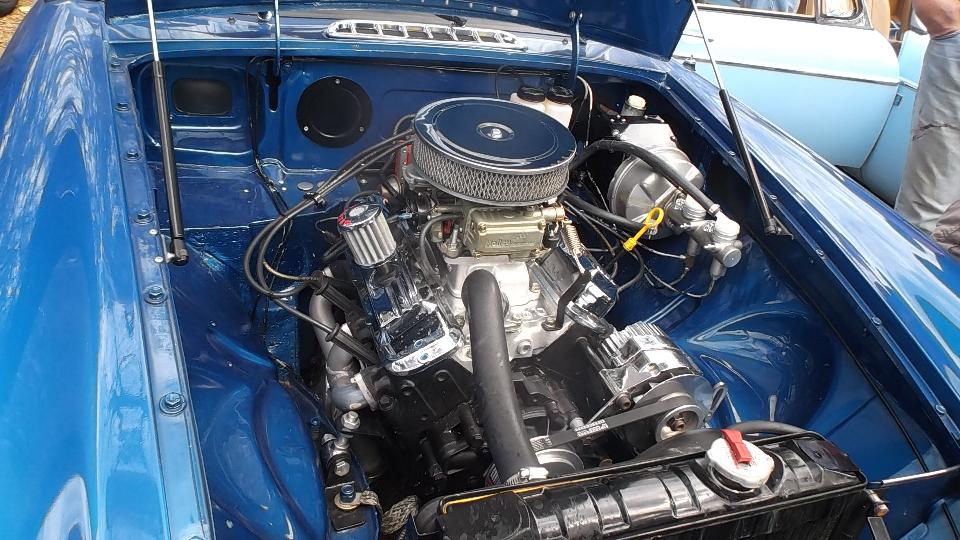
 Then Dave and Tonya Arwood from Smith's Station, Alabama came along with their orange 1979 MGB. You may recall this one from the tech session two weeks earlier when we determined that the cam timing was off by one tooth on the timing chain. Today we would set this right. The late model MGB has good space between the radiator and engine, so the radiator does not have to be removed for access to the crank pulley and timing cover. Un-bend the locktab washer, grab a 1-5/16-inch socket (in this case 34-mm socket) and a breaker bar. Prop the breaker bar against the inner fender and hit the starter momentarily to loosen the crank nut (nice trick). 
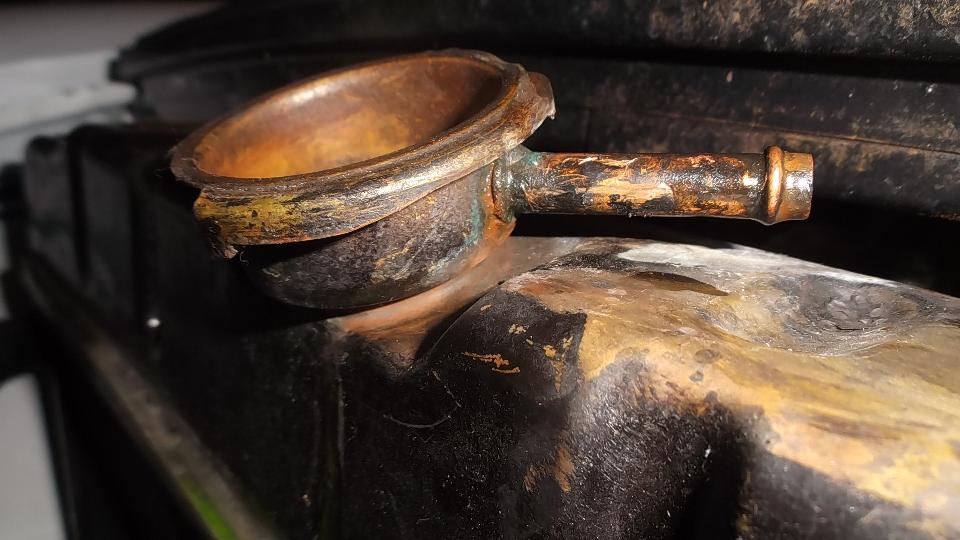
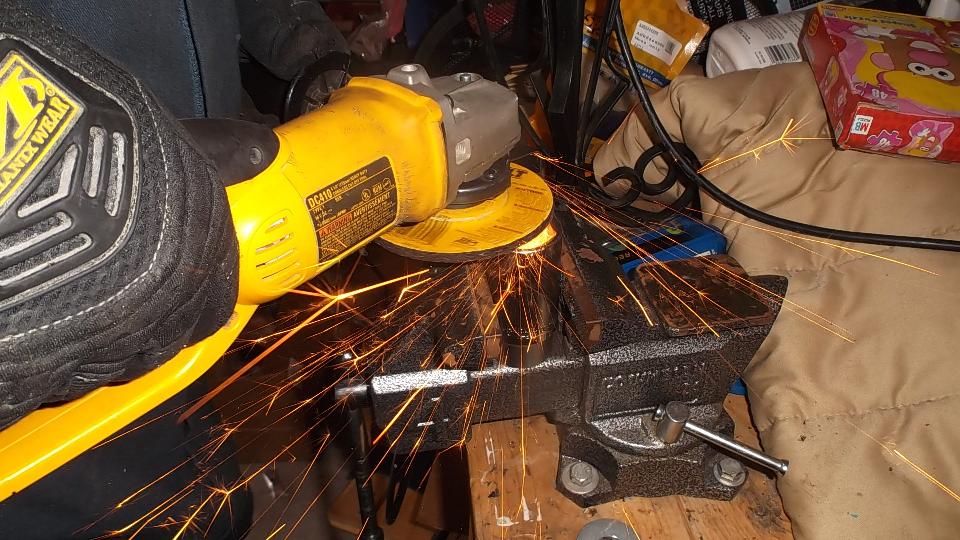
 Upon removing the timing cover we discovered the oil thrower ring had been installed backward and was rubbing on the shell of the oil seal. No harm done, except we also found the oil seal sitting on the crankshaft after the timing cover was removed. Speculation thinks this may have been a result of the oil thrower ring rubbing on the seal, heating the seal, and possibly making the seal rotate in the cover. Of course the timing chain had been installed one tooth off, which is why we were here today. Right away Dave gets to use the hammer a couple of times, unbending lock tabs. When the new wrench socket slipped off of the cam sprocket nut, we were grinding the end of the socket down to remove the internal lead-in and get a square edge for better grip on the thin nut. 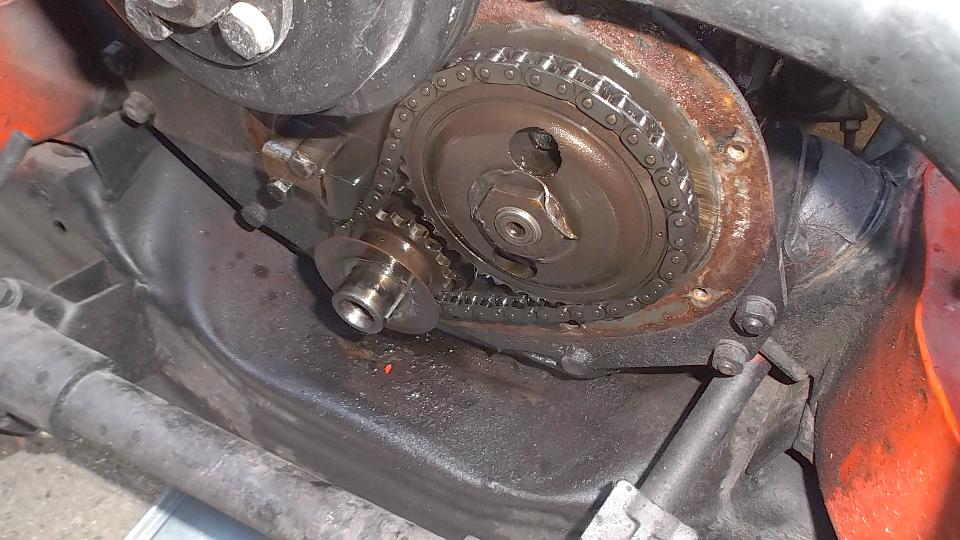
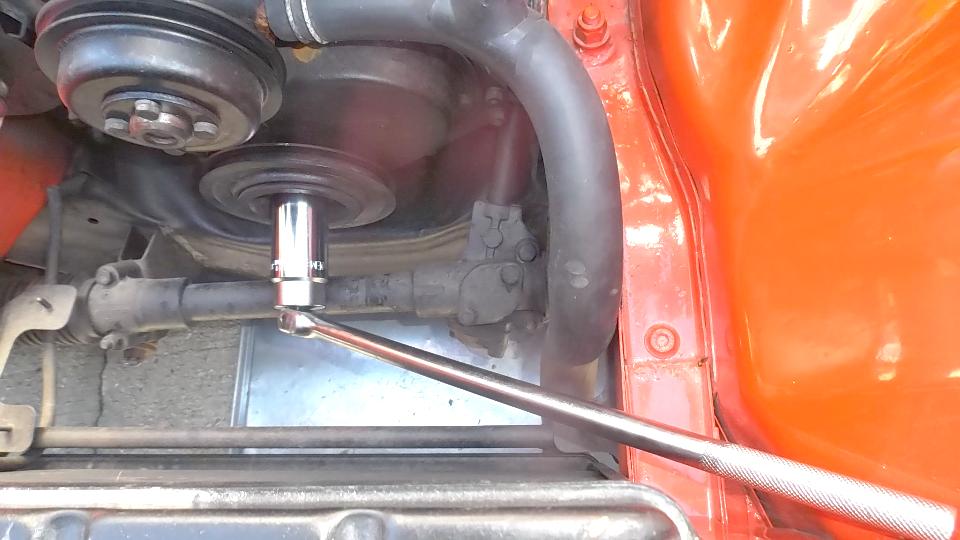
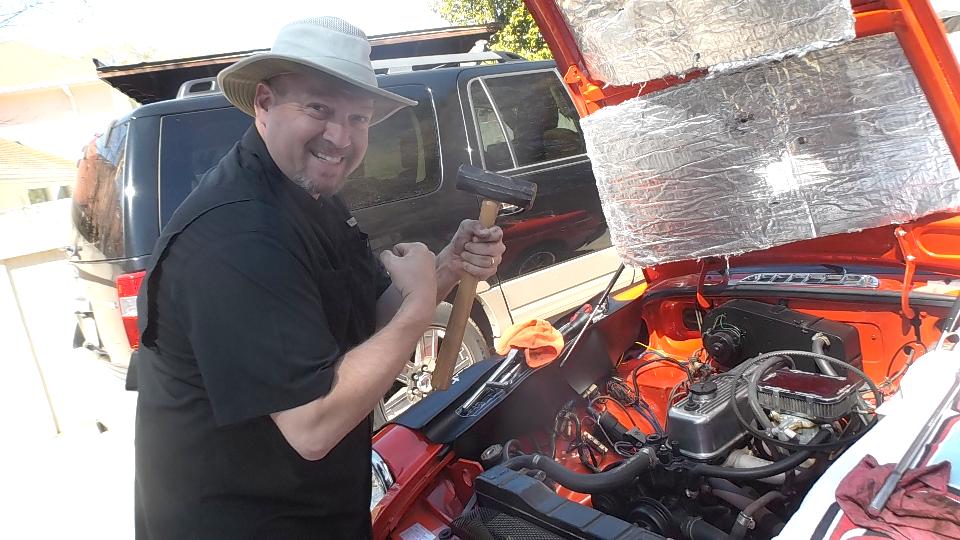
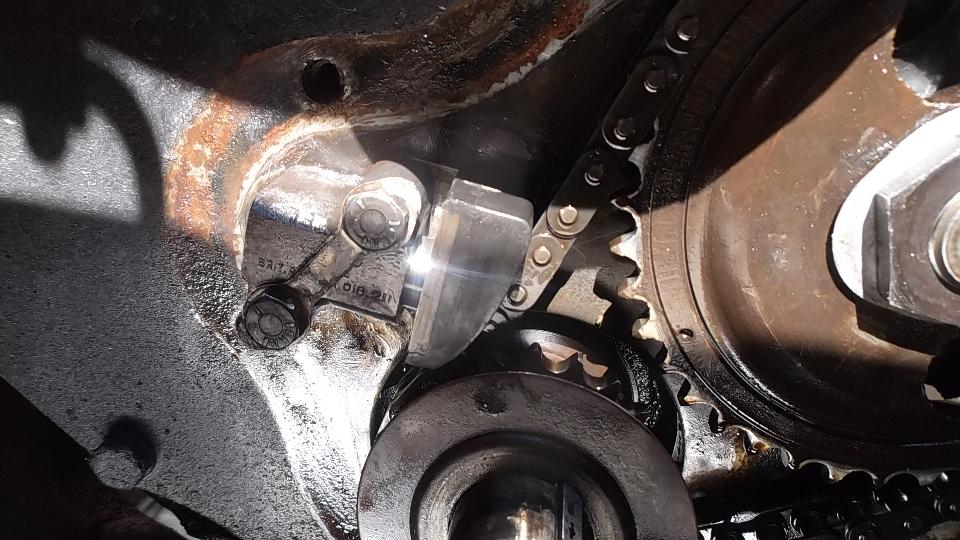
 Dave gets to use an even bigger hammer to smack the socket to knock the lock tab washer totally flat. Then we use the same wrench trick on the cam sprocket nut, block the wrench handle against the inner fender and hit the starter to loosen the cam nut. Then unlock the lock tabs to remove two bolts to remove the timing chain tensioner (and do not lose the parts that shoot across the driveway when the spring is released). 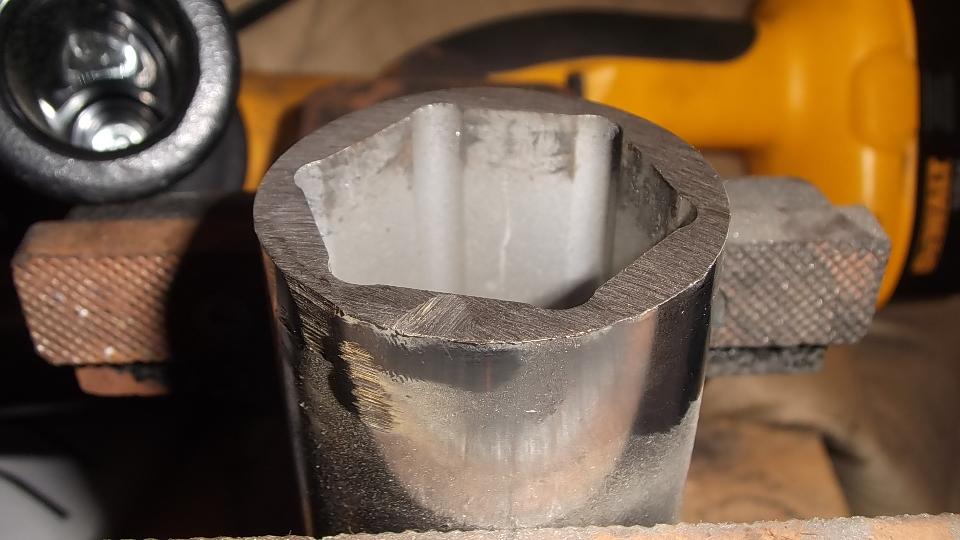
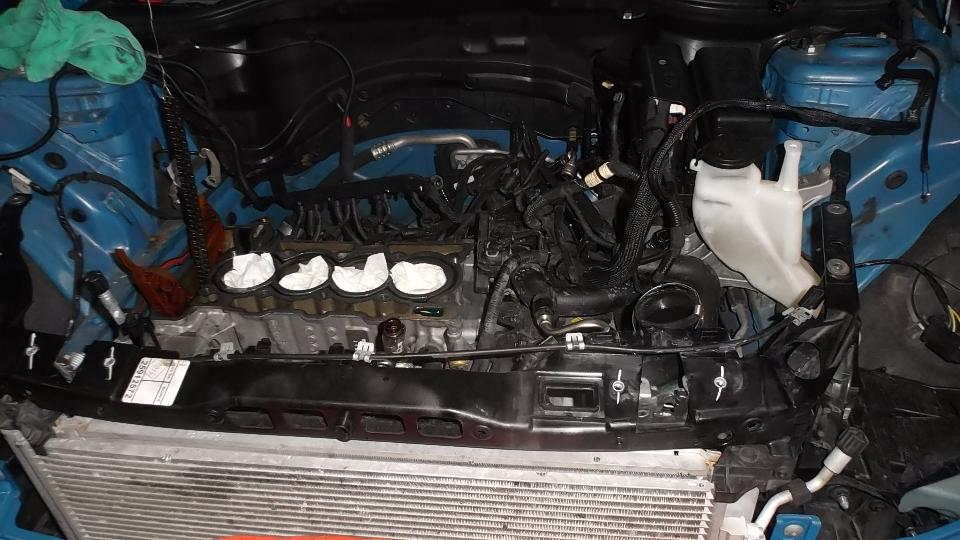
 Remove valve cover to observe rocker arms. Put car in 4th gear, release hand brake, and push car to turn the engine. Rotate until the first two rocker arms are same height. This is when #1 exhaust valve is closing and #1 intake valve is opening at top of stroke after exhaust and before intake. When both valves are at same height the cam is positioned for Top Dead Center of the crankshaft. Then pull the sprockets forward until the big one comes off of the cam. Rotate engine again until the crankshaft key is at top (TDC). Skip the chain over one tooth to be in correct position, and put the sprockets back in place engaged with the shaft keys. When done, witness marks on both sprockets are aligned with the shaft centers. Then reinstall the timing chain tensioner. This is a bit of a Chinese puzzle, figuring out how to wind up the pusher, put it in assembly, then release the pusher without releasing the plunger, followed by holding it all together long enough to get it installed on the engine with the bolts started. Where there's a will there's a way. Tighten the bolts and bend up the locktabs. 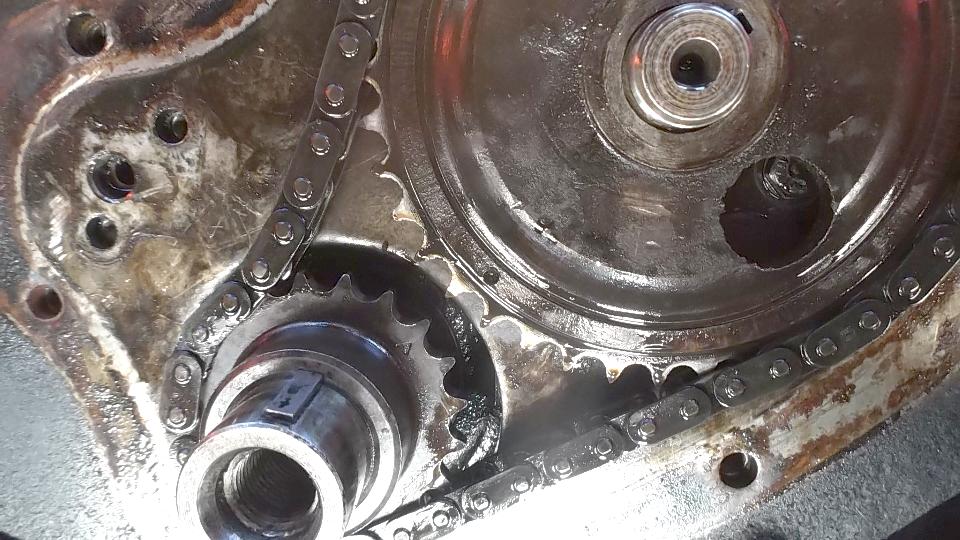

 Appropriate size (large) wrench socket makes a good seal driver to install a new seal in the timing cover. Lay the flange on the edge of the bench and tap on the holes to push the protruded metal flat around the bolt holes (before gluing the thick paper gasket to the cover). 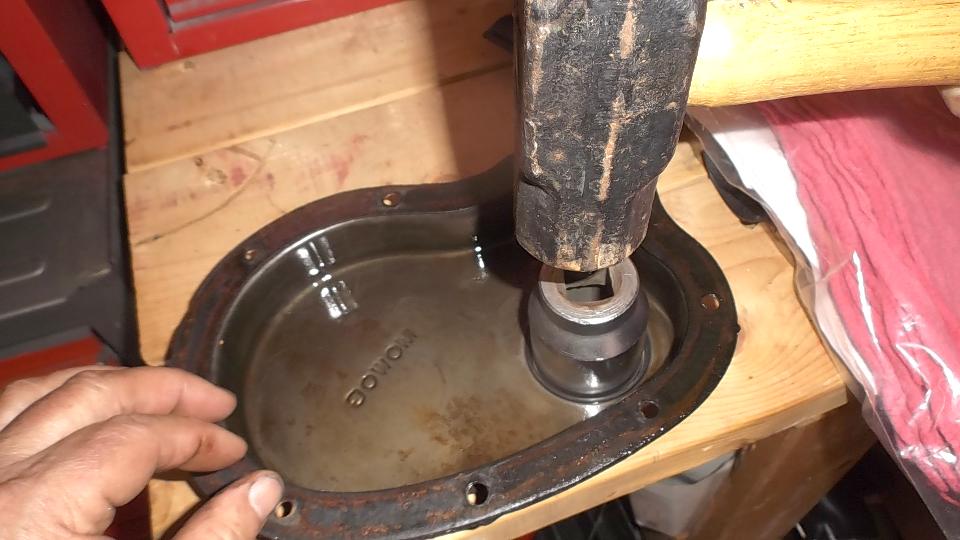
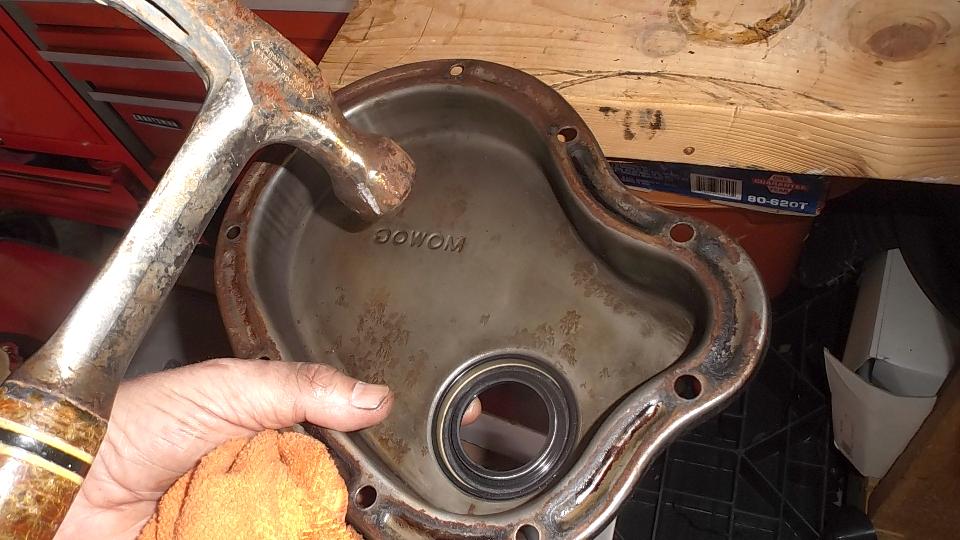 Oil the working edge of the seal. Place timing cover in position and install all bolts finger loose. Install crank pulley temporarily to center the seal while tightening the bolts you can reach. Then remove the pulley for access to tighten the rest of the bolts. When cover bolts are all tight, reinstall the crank pulley with locktab and the crank nut. Tighten the crank nut (very tight), set the locktab into a divot on face of the crank pulley to prevent tab rotation, and bend the tab up tight against one flat of the nut. Reinstall valve cover and fan belt. Then we could fire it up and reset ignition timing, and it was done. 
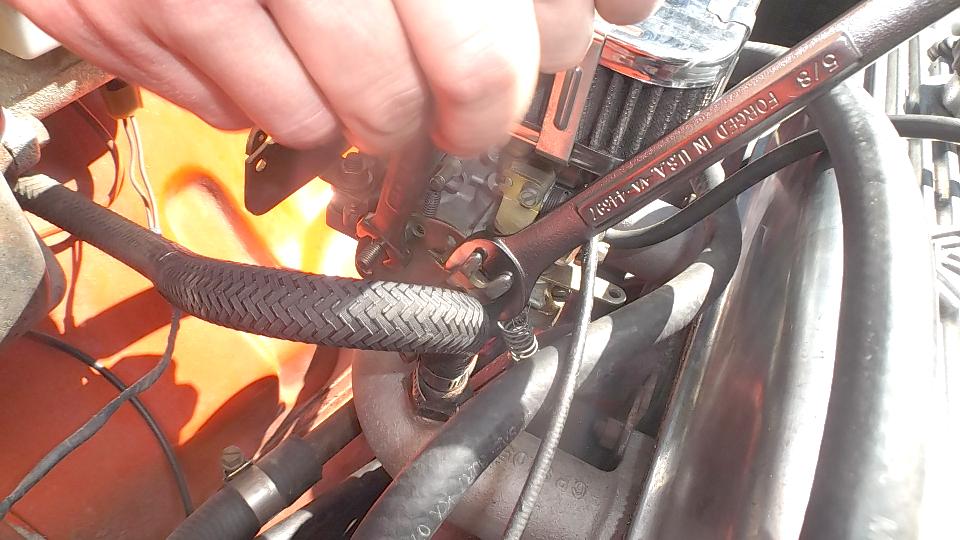
 Well almost done. Dave figured this was a good time to install a new throttle cable, since the old one was binding intolerably. That's Brian Winter (left) giving him a hand. I think they got a few skinned knuckles in the process, but all is well that ends well. 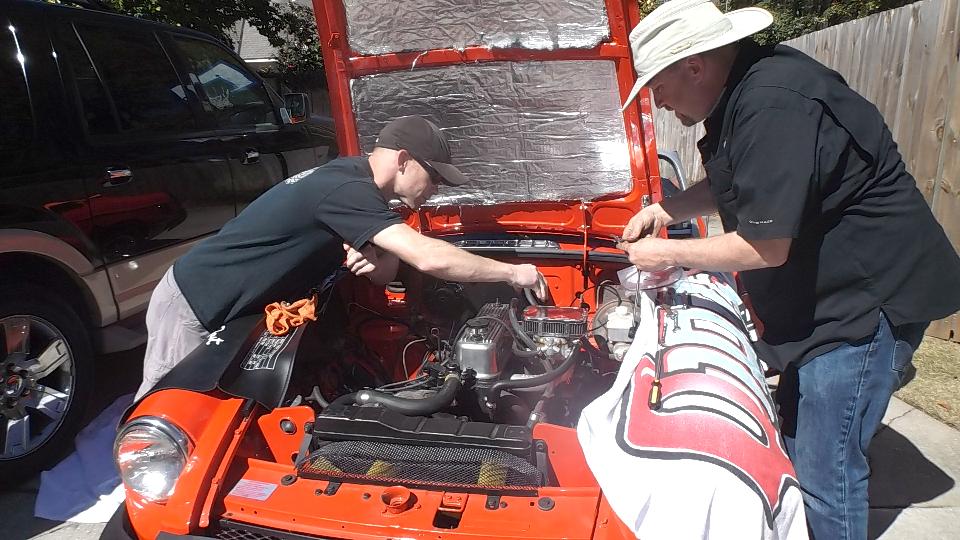
 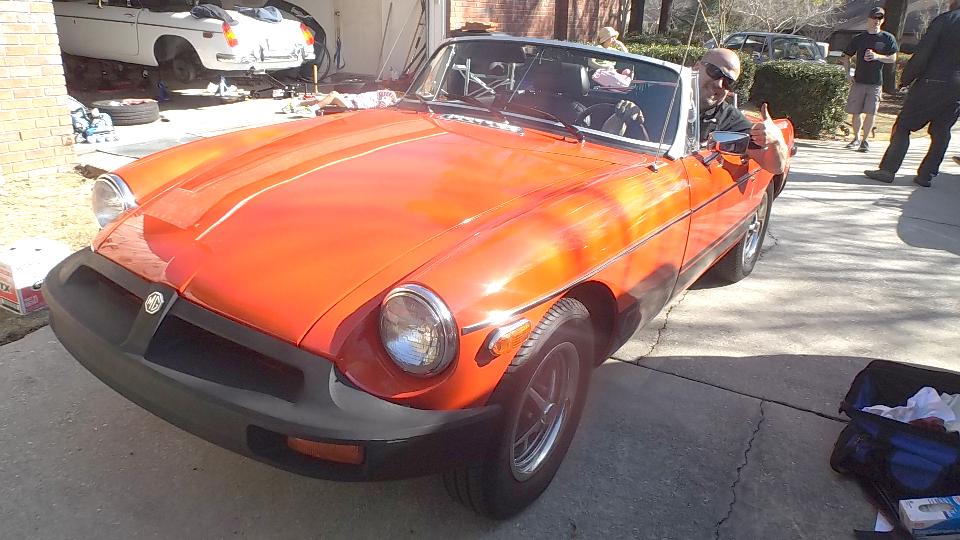 Then it was time for a test drive. I got Dave to run a few steep hills, then get it on the expressway for a bit. It required some encouragement to get him to keep his foot in it to red line in 2nd and 3rd gears. Then the grin was growing from ear to ear as he was finally discovering what an MG really is. He had been driving it for a year and a half with incorrect cam timing, so never had a clue how it should run when properly tuned. I hope he didn't scare his wife too much on the way home.
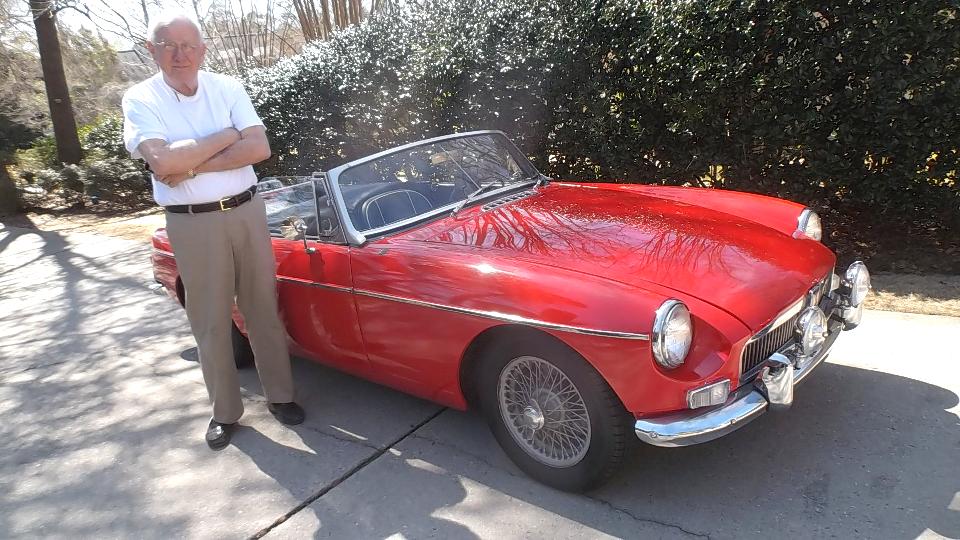
 Late in the day Phillip Clark dropped in with his blue MGB. It hadn't been running for a little while, but he took this incentive to install a new fuel pump so he could drive it over to see me (and I'm honored, for sure). For a little while there were four MGB in the drive, plus my MGA and Brian Winter's green MGB in the street (too busy to get that picture). 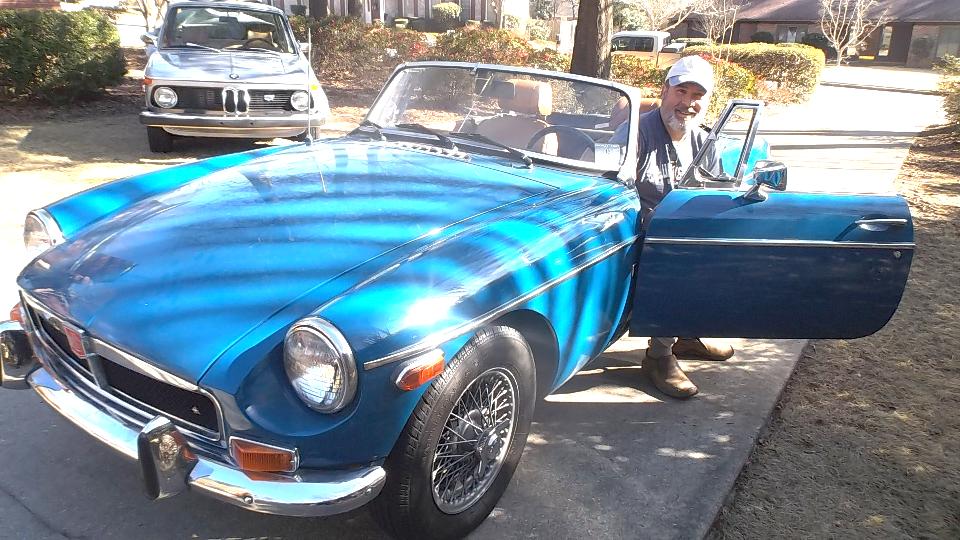
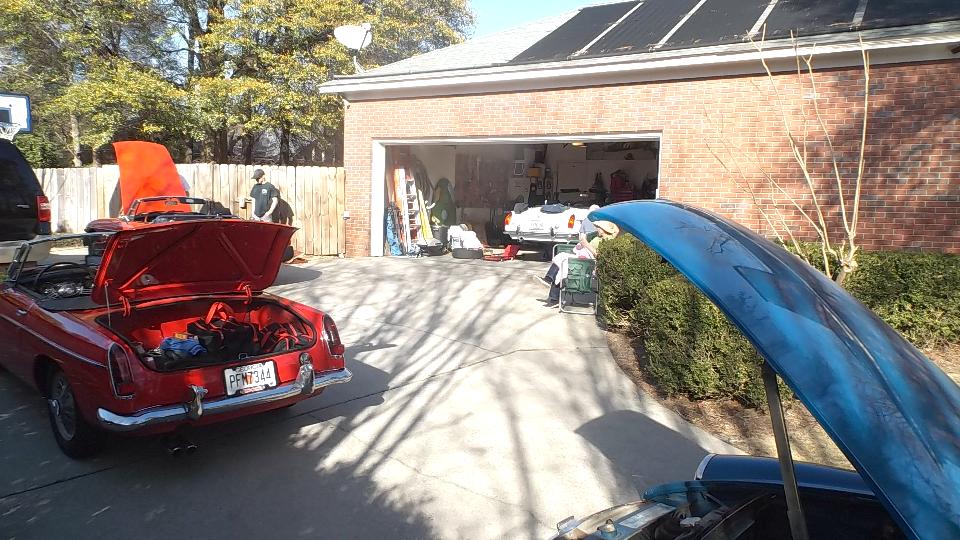
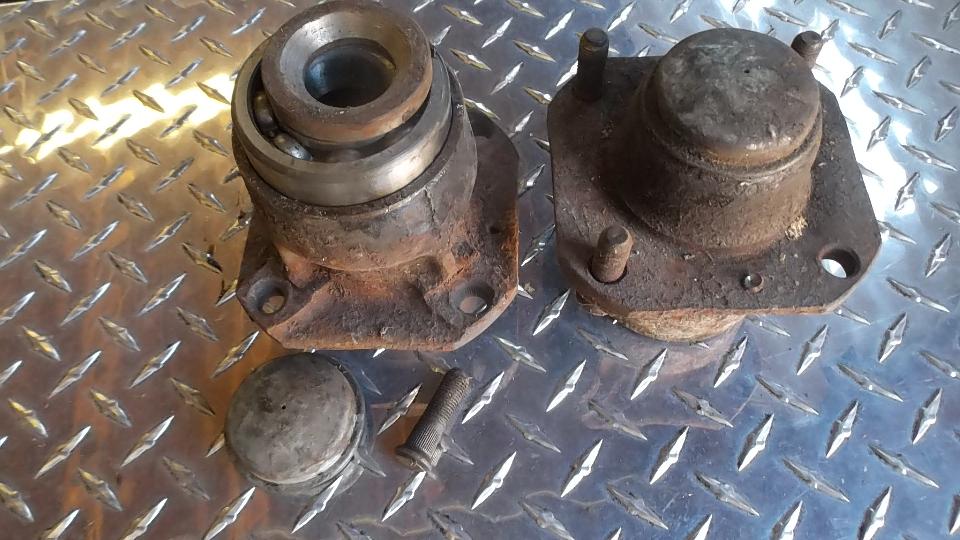
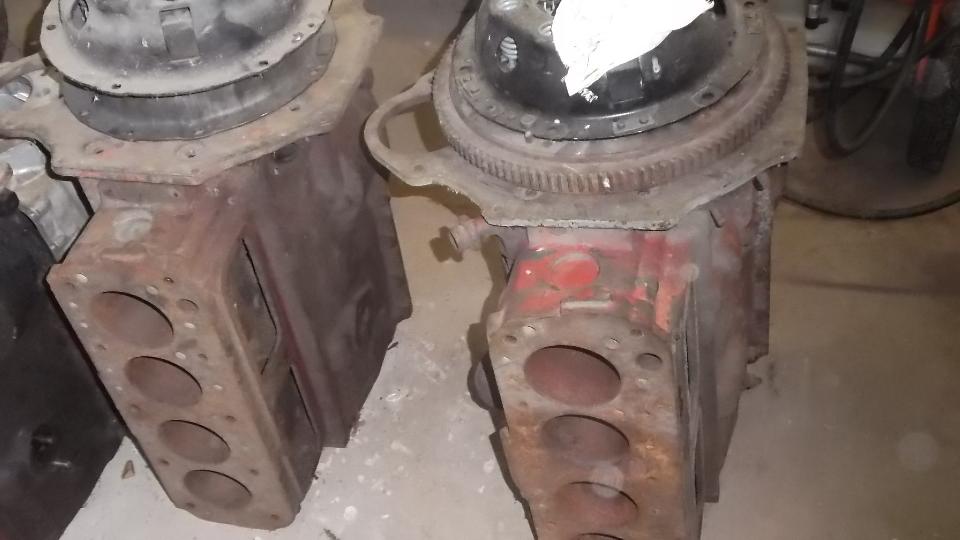
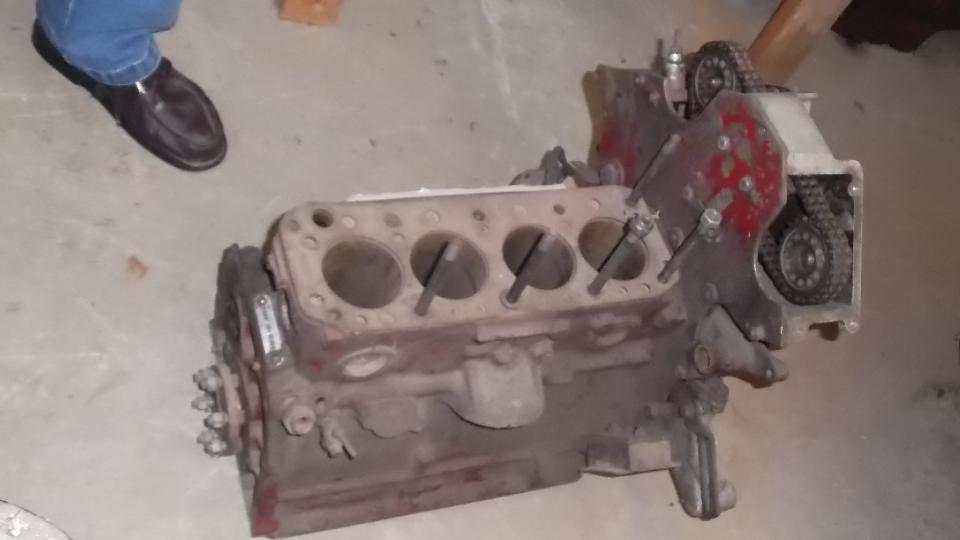
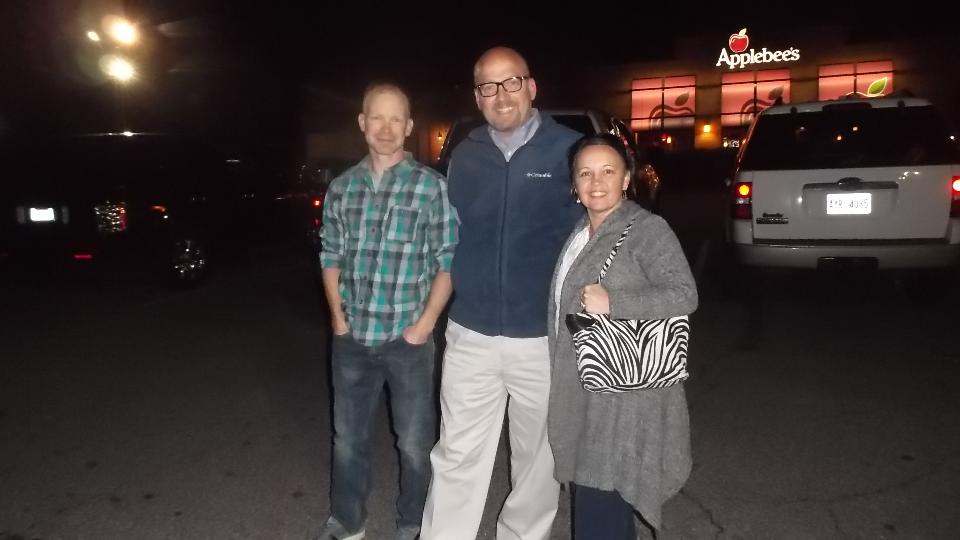
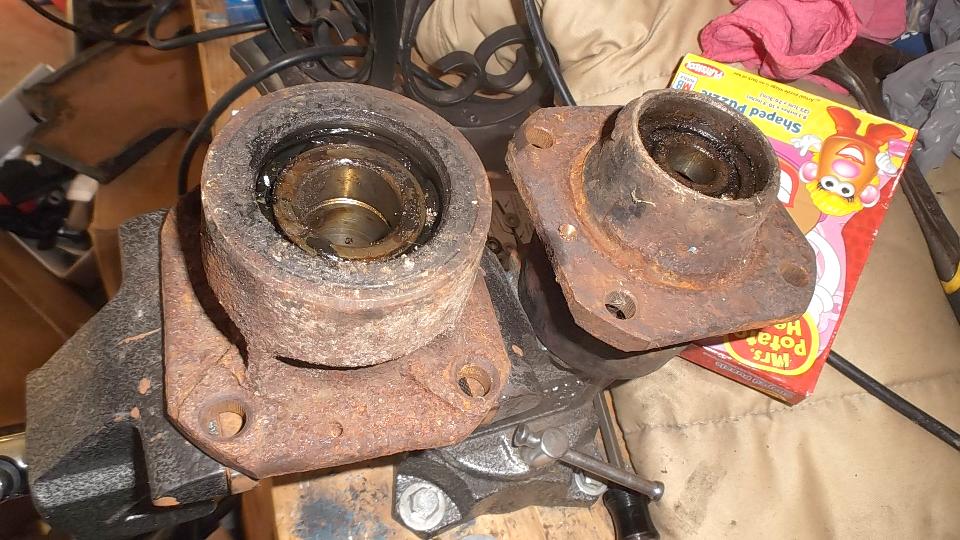 As the party was thinning out I took the opportunity to drag out the crusty front bearing hubs I had picked up a week earlier. Pull out the seals, knock out the bearings, scrape out the dried grease, drill out the broken 1/4-inch screws, brush off most of the rust, and give them a generous coat of black paint. I will take this up again after the paint dries. Back to WiFi for the evening. Monday March 7, 2016 This was a catch-up day, reviewing email and BBS, posting photos and notes, and a start on posting the Chicagoland MG Club newsletter on their web site. One appointment for dinner in the evening. The green MGB belongs to Brian Winter (Columbus, GA), who has been the stand-in-the-front student at the BITV tech sessions. We were holding a space for another MGB, but were surprised by a no-show (sort of). The missing car was the orange 1979 MGB with the adjusted timing chain from the day before belonging to Dave and Tonya Arwood (Smith's Station, AL). Dave and Tonya drove a sport-ute tonight, not sure why, something about no top on the MGB I think. That's Dave in the middle, Tonya right, Brian left. 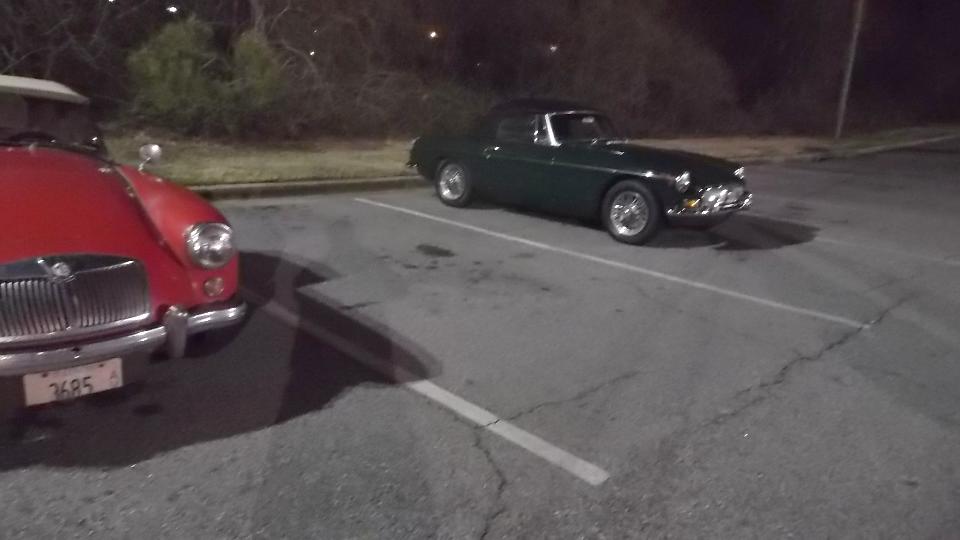
 Story on the orange MGB was going home yesterday, Dave driving the MGB with Tonya following in the p/u truck. She said, "The MG just ran away from me, and that's never happened before". Dave was just enjoying the free running engine, revving it up to speed, down shifting, hustling a few corners. Likely he will never stop talking about the joys of driving the "new" MGB. After dinner I was working into the small hours of the morning finishing composition and upload of the CMGC newsletter. Tuesday March 8, 2016 One of those busy "day off" things. After the normal chores (email, bbs, tech questions) I spent half the day working on the new Shops list. Reviewing club web sites (with states in alphabetical order) for vendor contacts, got through "Delaware", still a long way to go. Wednesday March 9, 2016 A lot like working second shift these days. Sleep late, catch the news, go to work in the evening. The chucking reamer had arrived, so we were back to work on Keith's MGB to finish the front end rebuild. He has been driving it for a year, but didn't try greasing it I guess. The lower trunnion bushings were dead dry, hadn't had grease for years. Kind of lucky we managed to knock the bolts out for disassembly. Left side distance tube came out with mild persuasion, but once the dirt was cleaned out it was loose as a goose. Right side distance tube required vigorous use of a two pound hammer for removal. That bushing was only a little loose but was badly scored. Zip a hack saw blade through one side of the ID to split the bushing and it comes right out. Driving the new bushings in is a bit tricky without a press (and an undersized bench vise), but we finally got them in (yes properly oriented to accept grease). 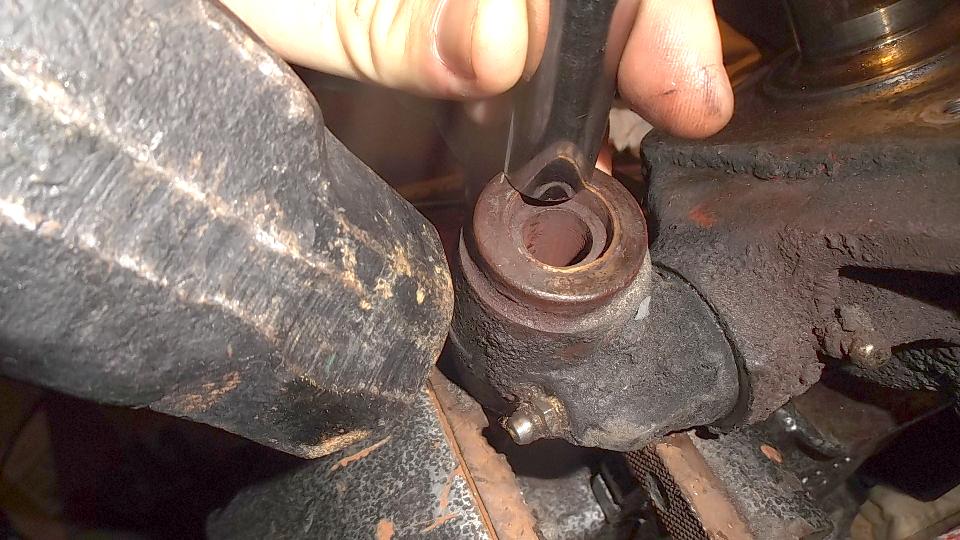
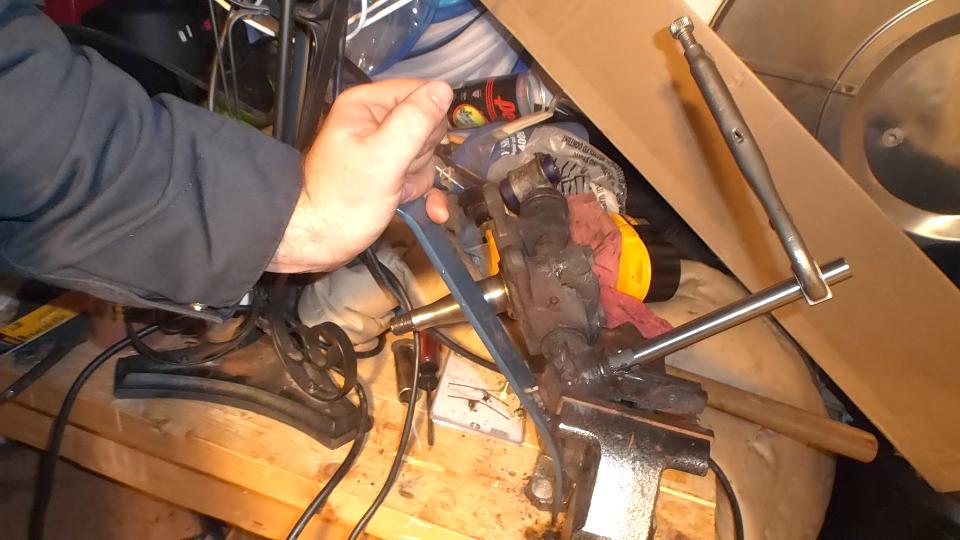
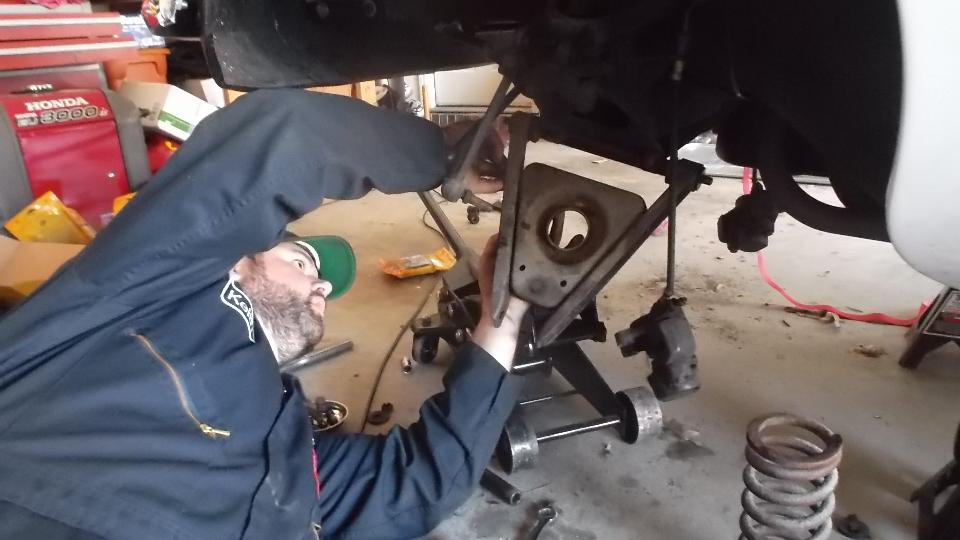
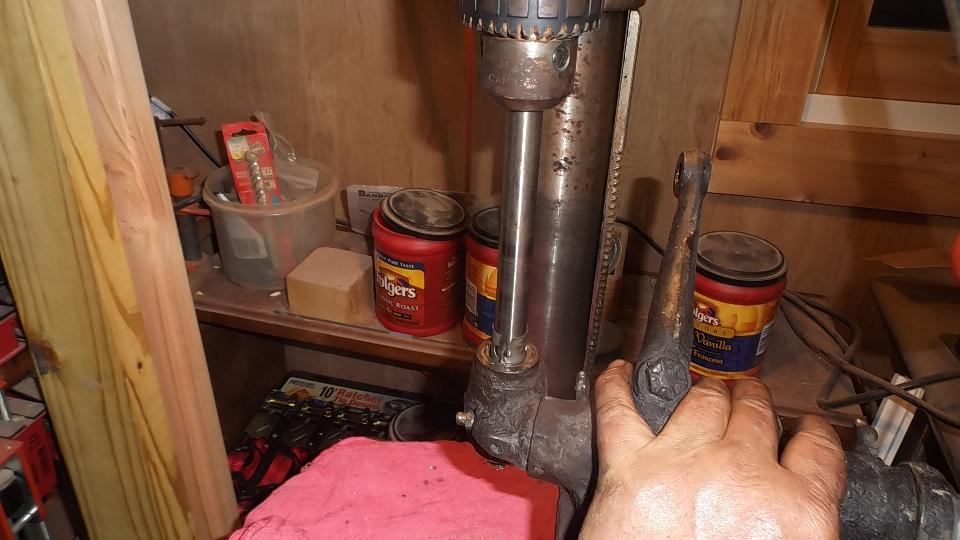
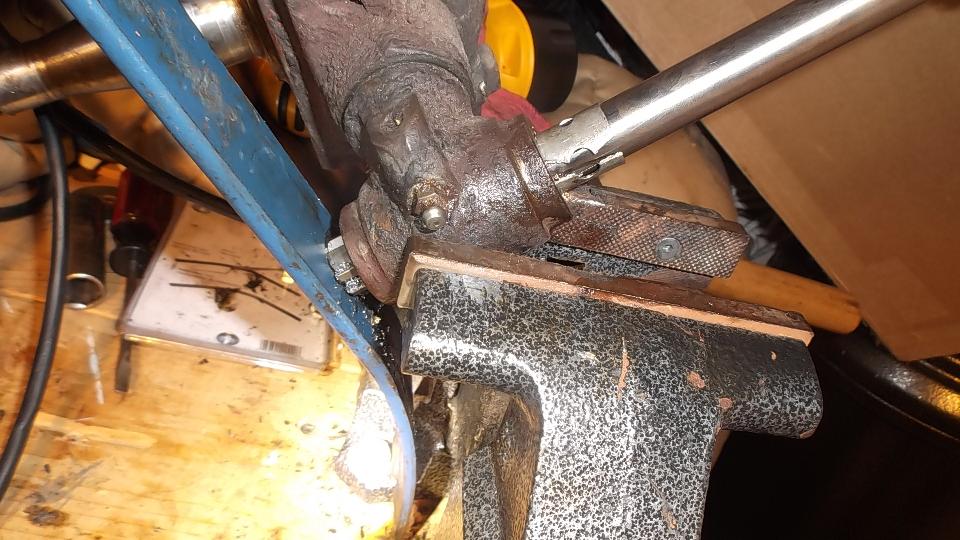 Reaming the bushings in the home garage is always fun (if you're a bit of a masochist). Wrap a bit of pipe strap around the shank of the reamer as a centralizing guide, and put the shank of the reamer through the bushing. Clamp the trunnion in the vise at appropriate angle, apply crowbar to the nose and to push backward (with vigor), and turn the shank with a Vice-Grip attached. The pushing thing can go easier if you place a bearing ball in the center of the reamer nose. Apply lots of oil, and turn clockwise only (never turn a reamer backward unless you like instant dull). When the little pipe strap is pushed out of the bushing you're done. Keep turning same direction as you pull the reamer through the bushing for extraction. This is not really the preferred method of using a reamer, but it works. For the second bushing we "cheated" and used the neighbor's drill press to turn the reamer while pushing the trunnion down. No crow bar involved, and only one guy sweating for half the time, and it was done, a couple of perfect 3/4-inch finished bushings. 
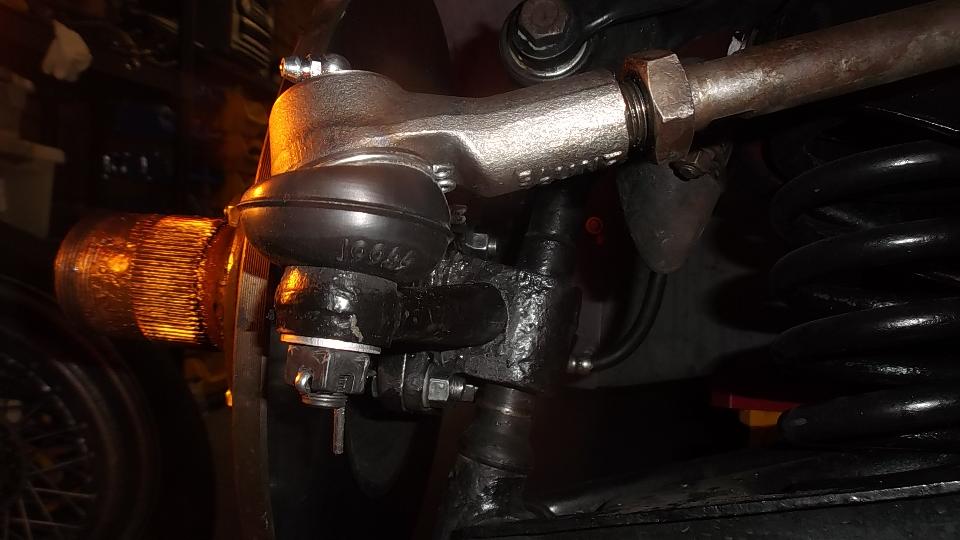
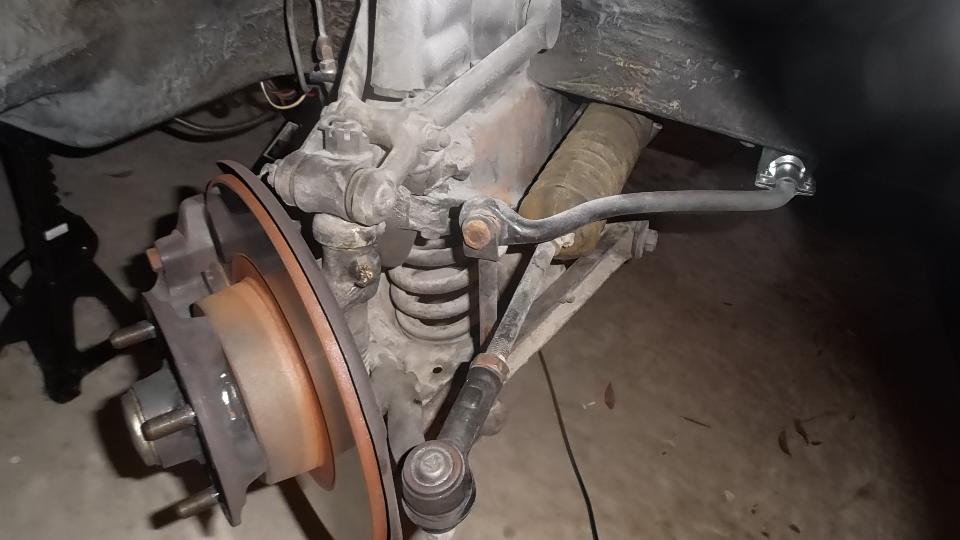
 During assembly we found another interesting problem. It looked like the sway bar was bent inward on the left end with the bar end hitting the suspension cross member at the coil spring tower. This sway bar is only 5/8-inch diameter so five minutes with a long jack handle pipe pulled it out enough for proper alignment. We then installed a new bump stop and a new sway bar link. 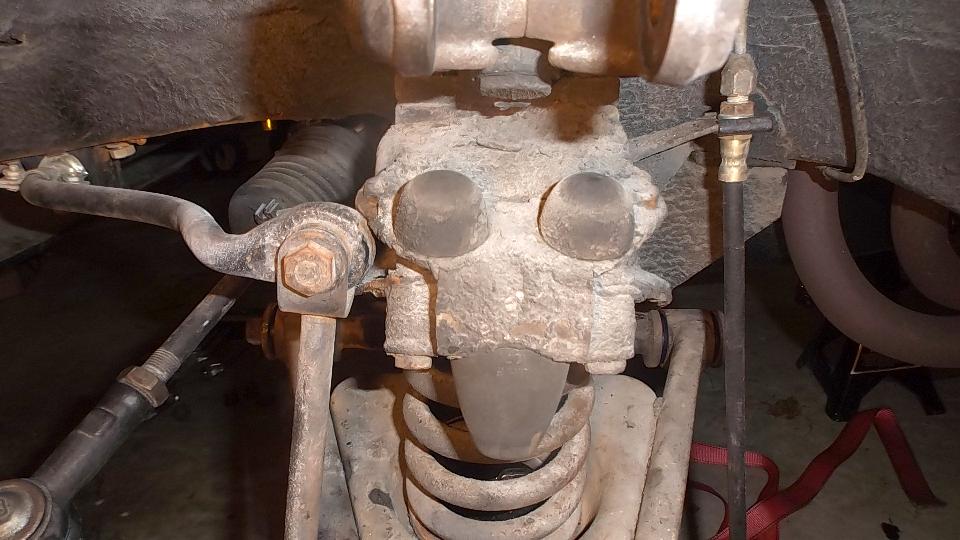
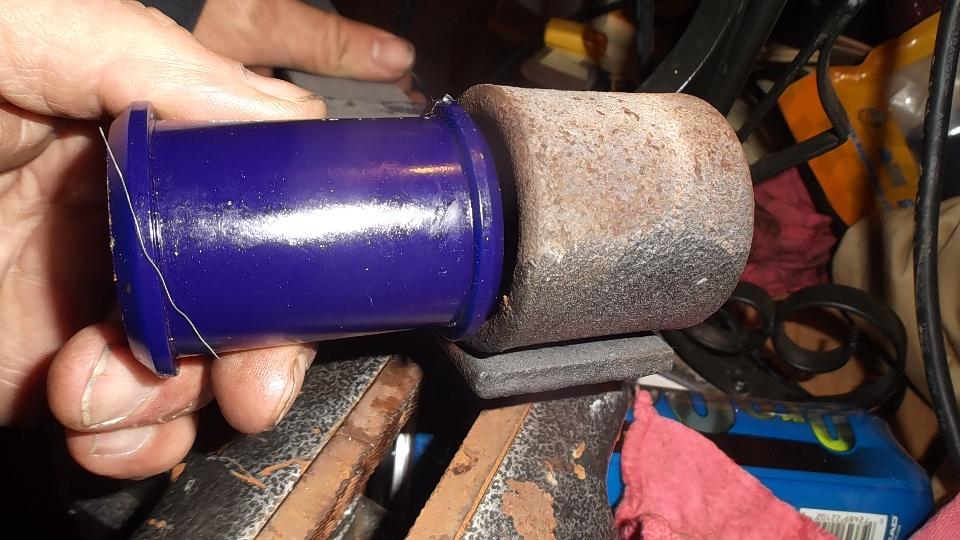
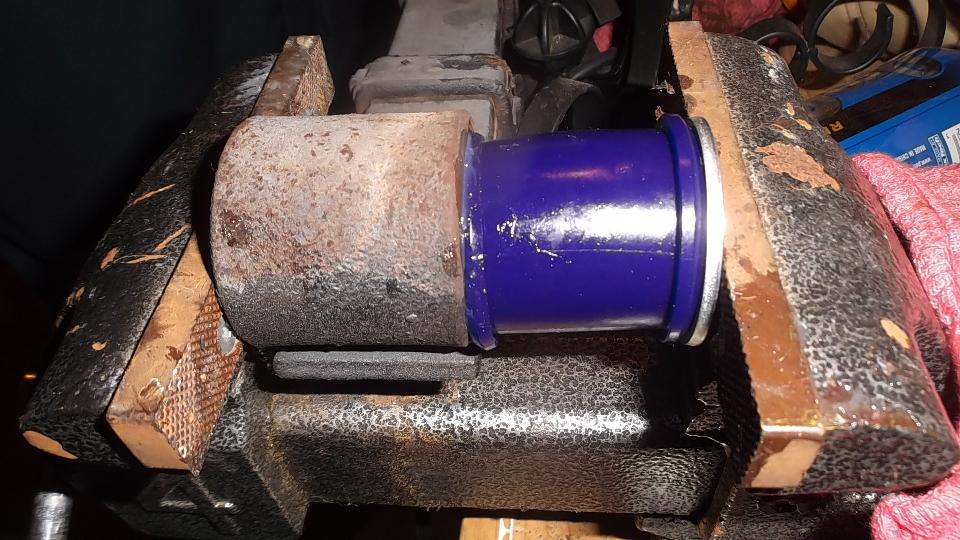
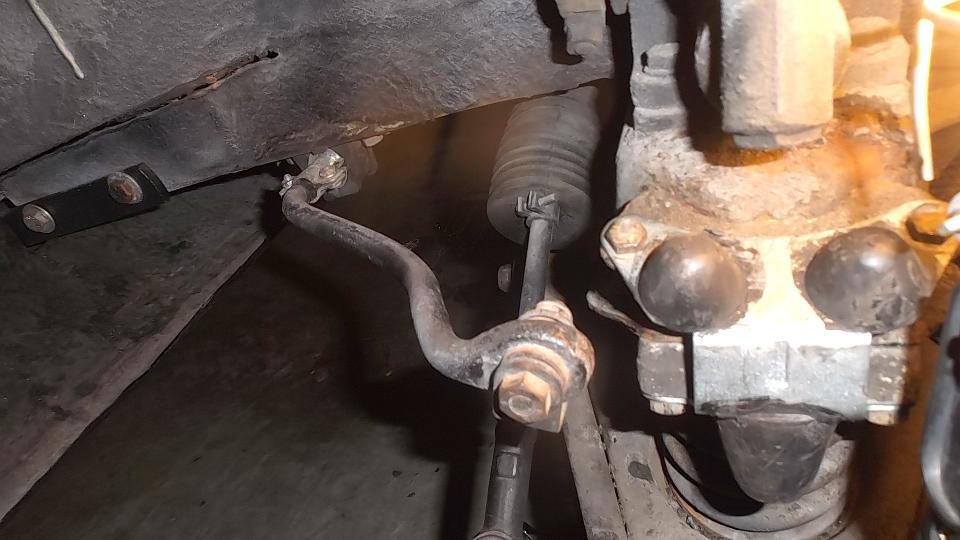 We were greasing the lower trunnion and kingpin bushings on the bench before going back in the car. Kingpin bushings were okay, so we left those alone. Lower bush on right side would not take grease. That turned out to be a clogged grease nipple I managed to "drill" the dirt out of the bottom end of the nipple, and dig dirt out of the port down to the kingpin, so it finally succumbed and took the grease. The new polyurethane upper trunnion bushings (the purple bits) just squeeze into place with a thin steel tube inside, but do grease the bushings and bolt during installation. Needing to spread the shock arms a bit to allow the new poly bushings to enter. Also spread the lower A-arms a bit to get the new trunnion seals in place. Did I mention everything on this car came apart with 5-lb-ft torque and a light tap with a mallet? We put it all back together with the proper specified torque. 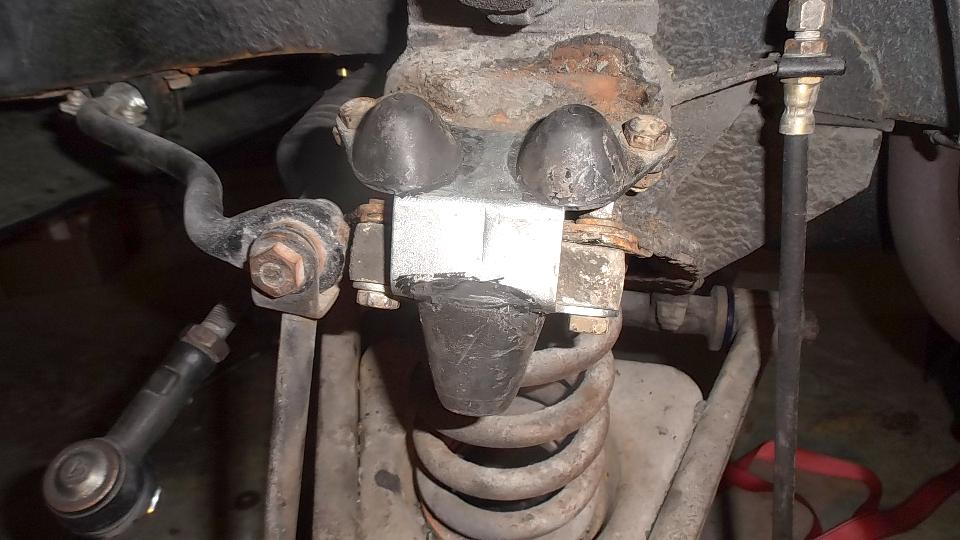

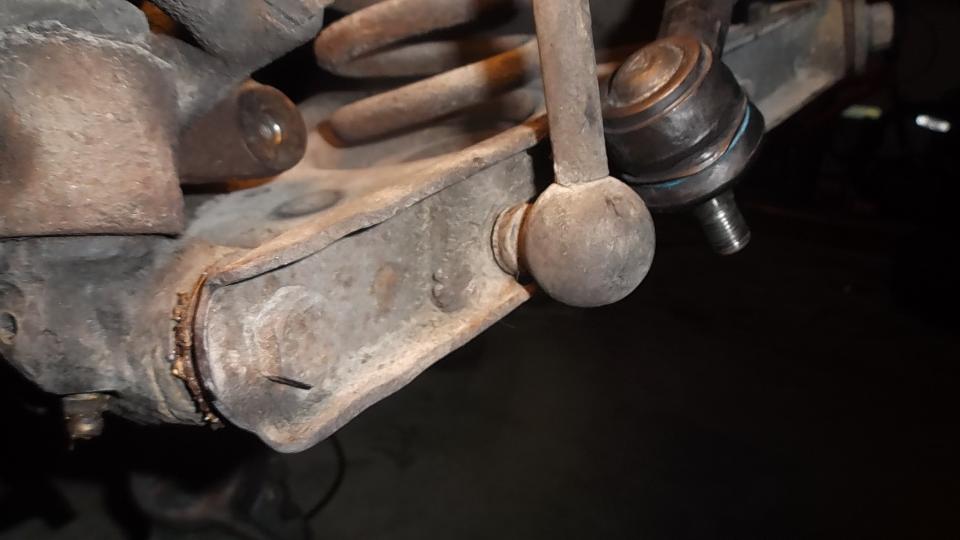
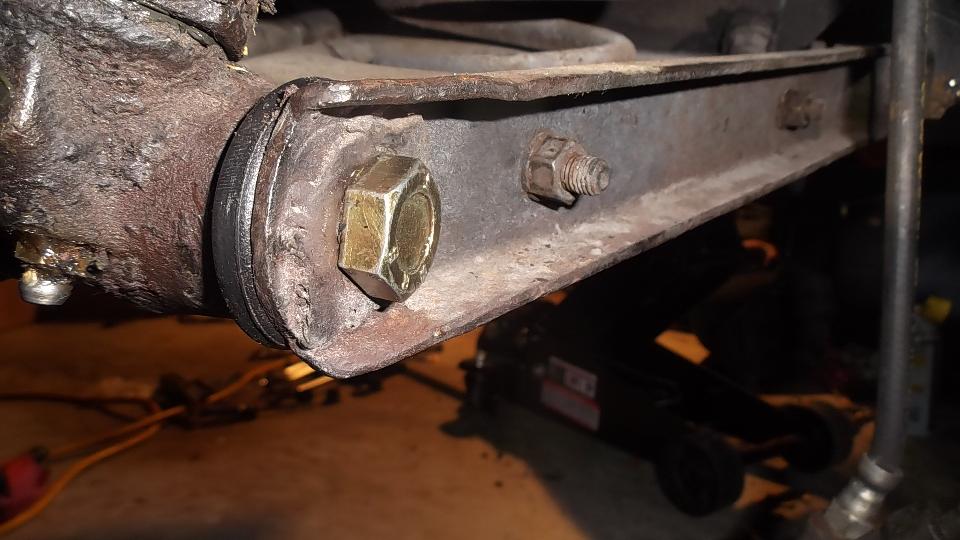
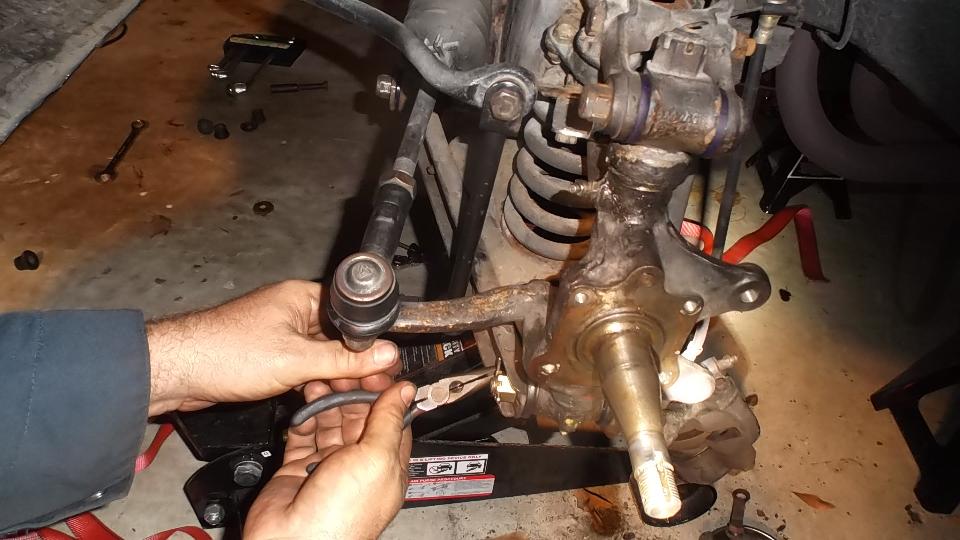 The new lower trunnion bolts and castellated nuts were a treat. On the left side the nut pulled up to the cross hole with no washer. Inspection reveals both A-arm brackets were previously repaired with a welded washer which adds thickness to the arms. On the right side no weld repairs, standard single thickness A-arms, so the castellated nut screwed on way past the cross drilled hole. Solution here was to place a lockwasher under the nut as a spacer, after which the split pin was properly located. 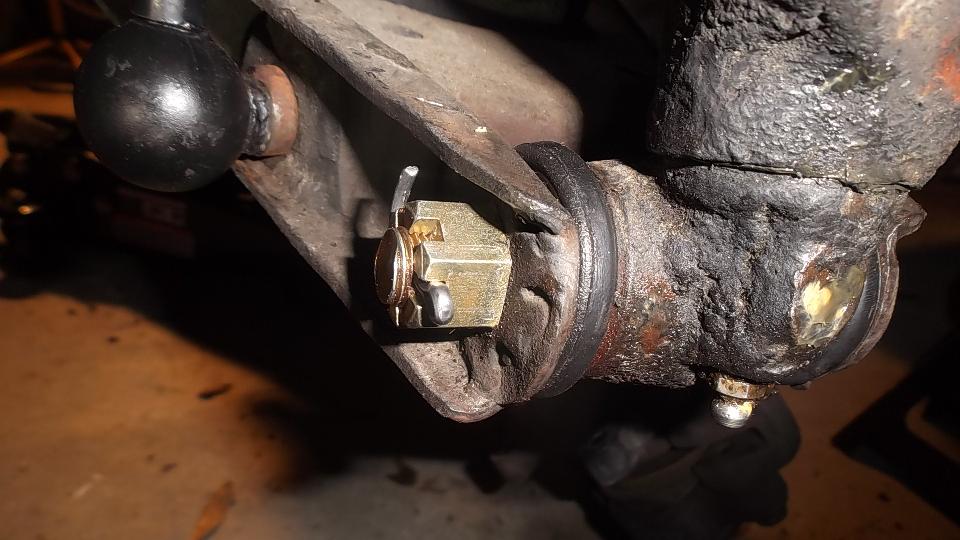
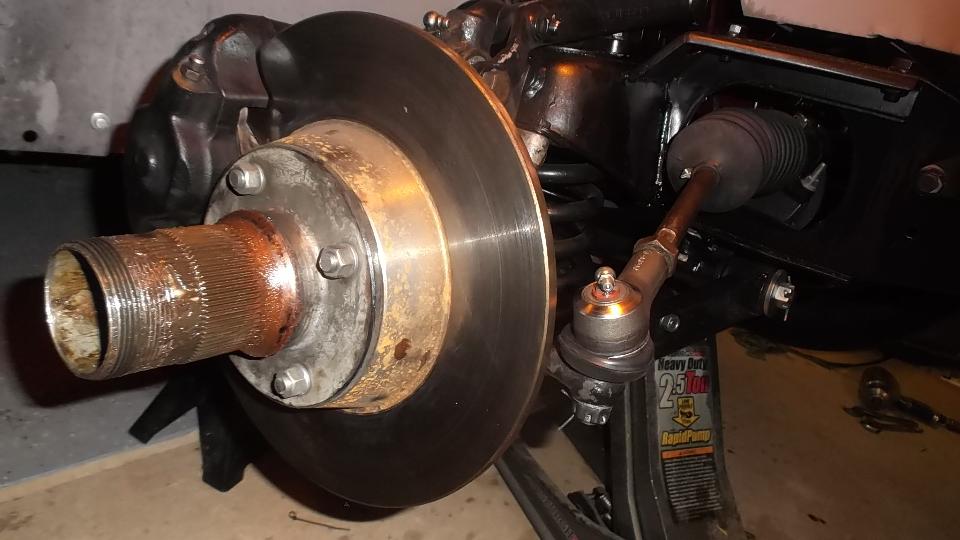
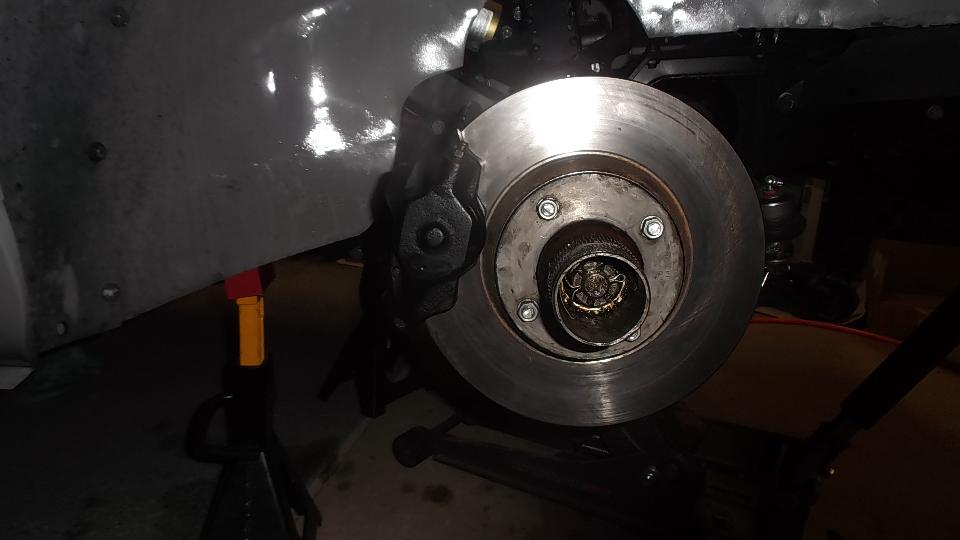
 Installing brake dust shields we found two different length bolts. The lower bolts had to be shorter, as the longer ones would bottom out against the tip end of the steering arm bolts (on the same axis). On prior disassembly we had found no shims in the wheel bearing assemblies, and the bearing retaining nuts were loose. But the inner race spacers were present so it was a simple matter to install correct shims to have tight nut and proper bearing running clearance. Brake rotors and pads in good condition, back together no drag, so it was out for a test dive a bit after 2-am. Good time to knock off for the night so Keith can get some sleep (and I can post the pictures). 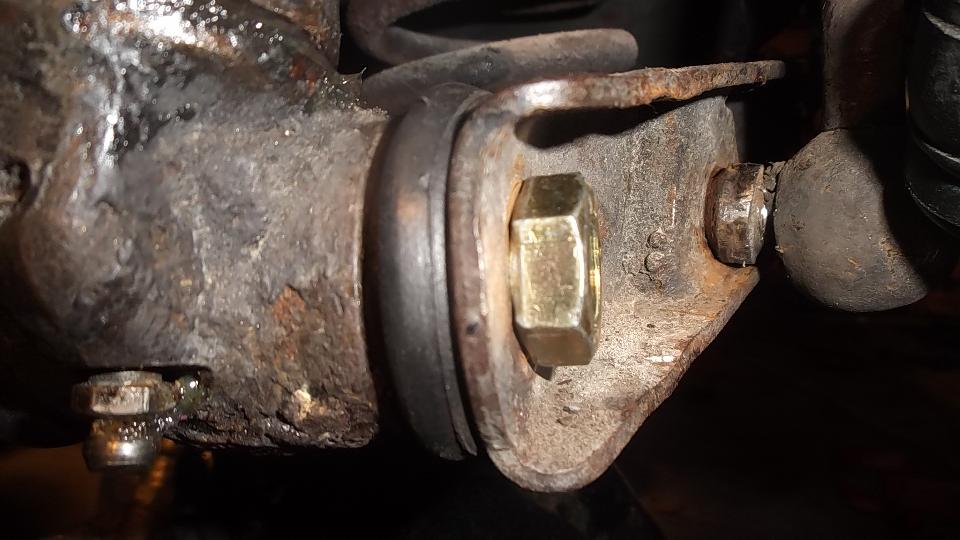
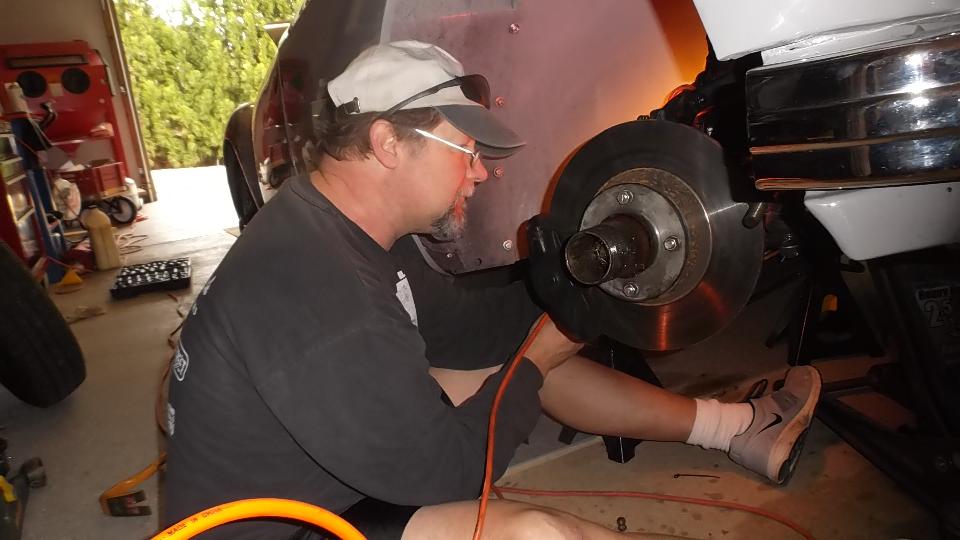
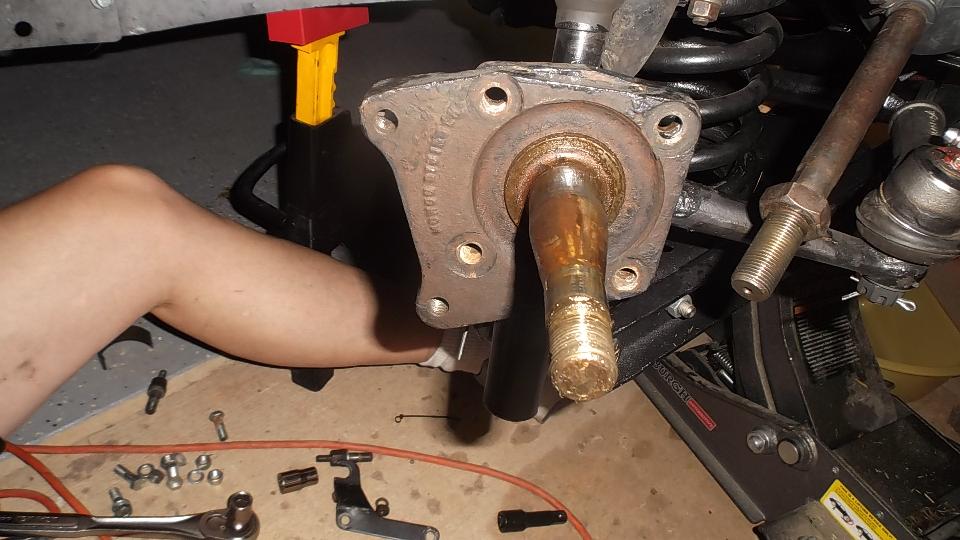
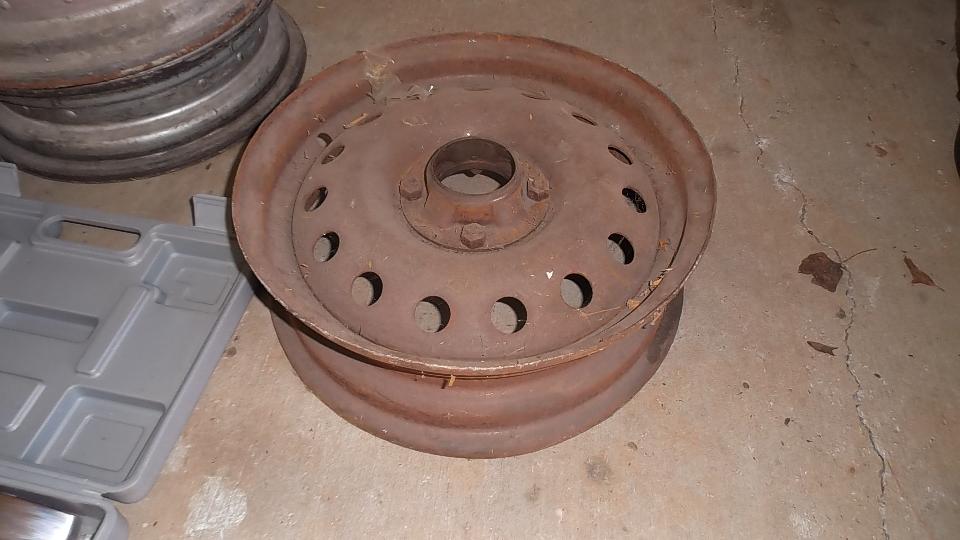
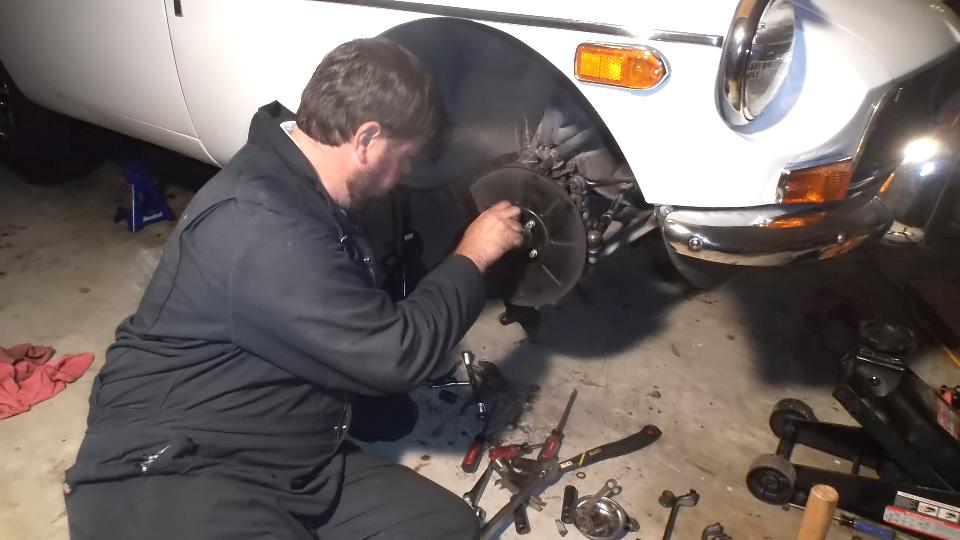 Thursday March 10, 2016 Going to be a second shift operation again today, but I got a little head start in late afternoon. This was the opportunity to change the LF wheel bearing hub on my MGA (not the first time for this operation). 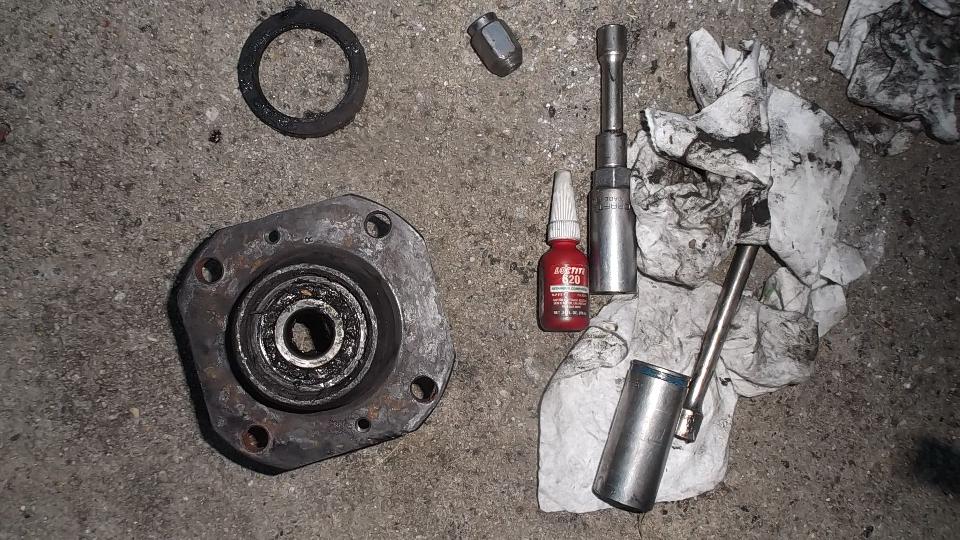
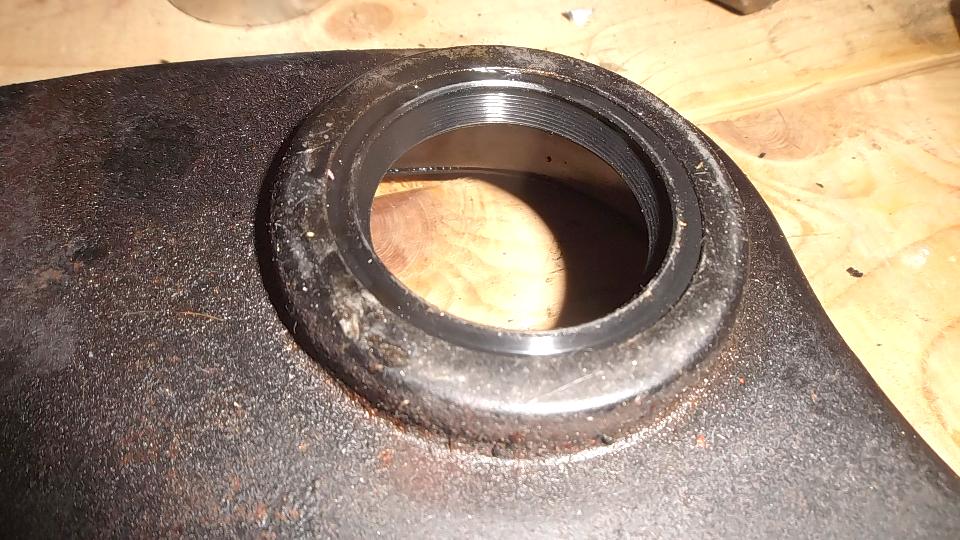
 This time the hub around the outer wheel bearing was so badly worn that I couldn't get the bearing out of the hub. End result one smashed finger before I gave up, but the gods of MOWOG should be satisfied with the proper blood sacrifice. After a couple of prior front bearing problems I tend to keep a few spares handy, so the replacement hub was back together in short order, and the nearly new bearing went to the retired iron stash along with the junk hub. Wheel lug studs were transferred from the old hub to the new one to accommodate my thick aluminum wheels. And this time I glued the outer bearing in place with Loctite 620 bearing set adhesive (hoping it won't work loose again). The RF bearing hub seems to be okay so leave that one alone for now and keep the second spare hub for possible future use.
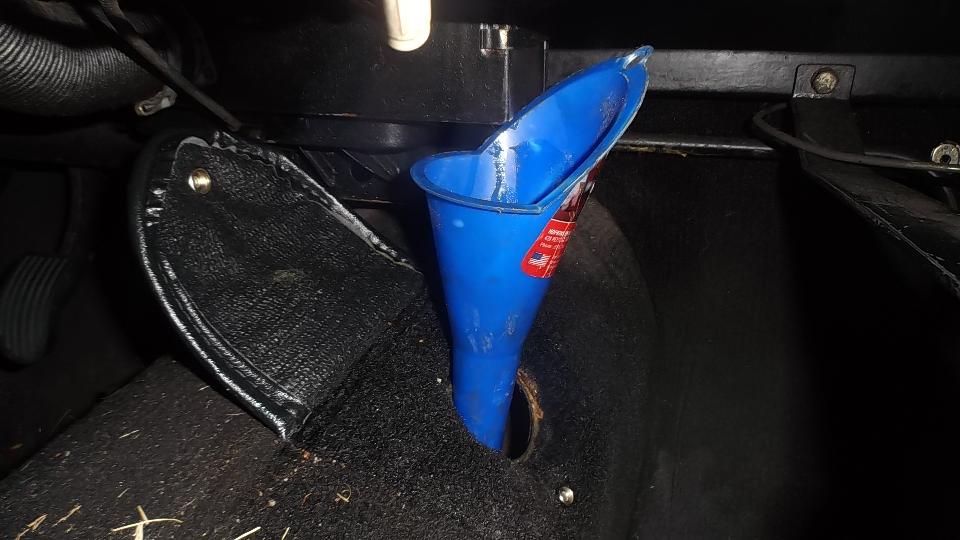
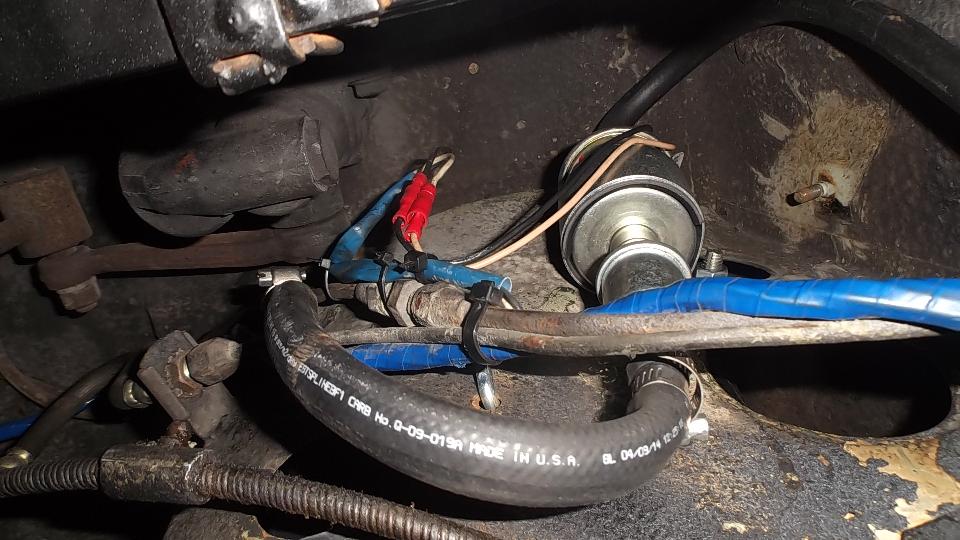
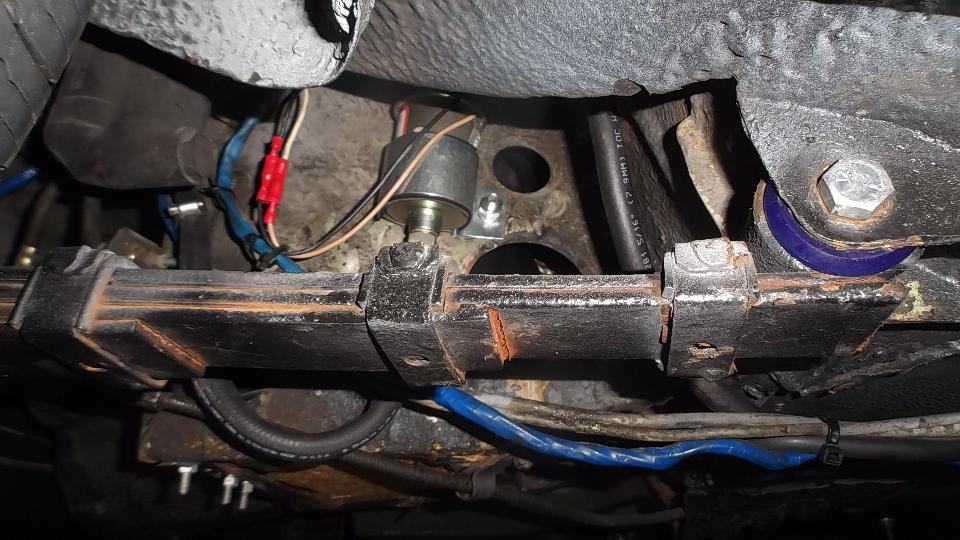
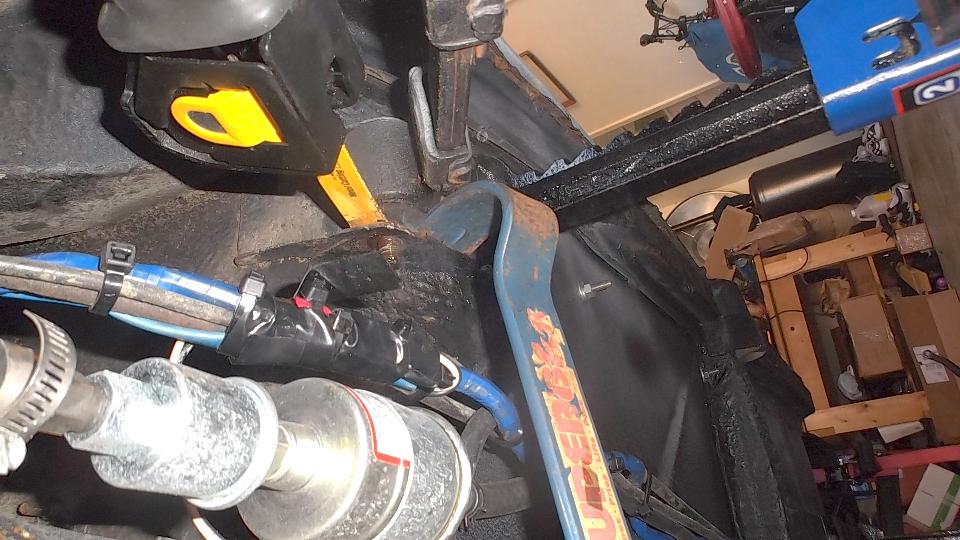
 Then Keith was home so we could take another swipe at his MGB. He had recently done an emergency fuel pump replacement, like a parking lot swap with one wheel on a curb to crawl under the car. It was pretty good work under the circumstances, cutting tubing, connecting with hoses, and rather nice single contact connectors. But the new pump ended up below floor level where it may be susceptible to road hazard, so we were relocating it higher along side the battery box, with output end up as intended. I dearly wanted to install "L" fittings on both ends to have horizontal hose connections, but had no such parts in hand (late night).
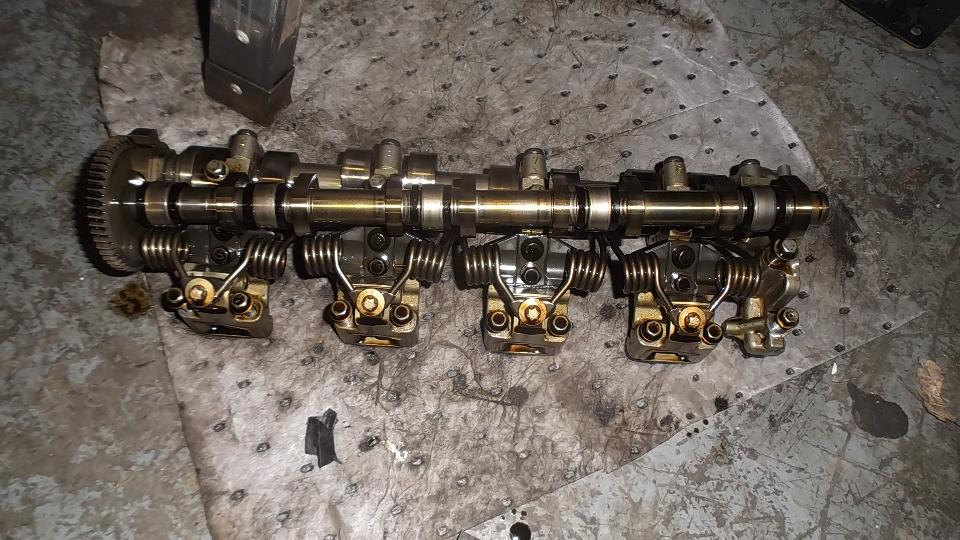
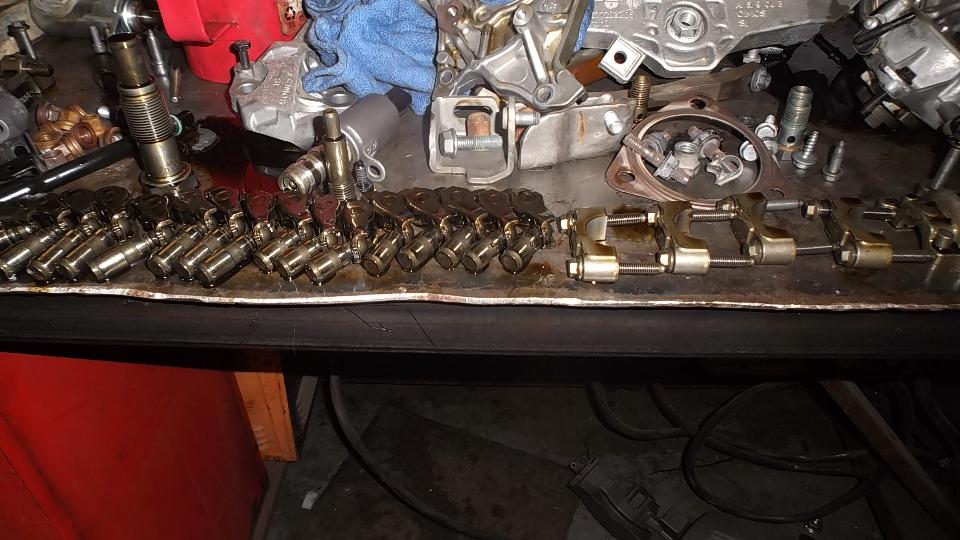
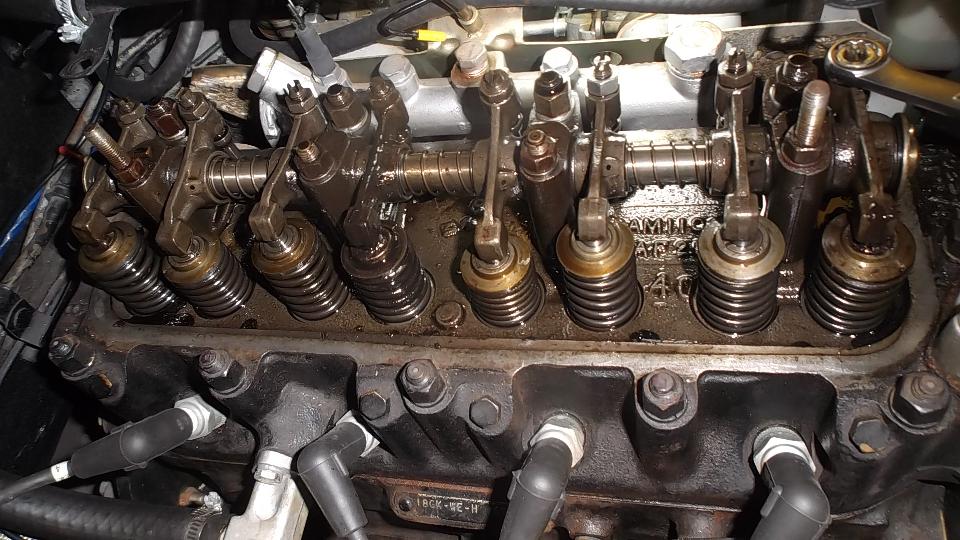 While that was curing we pulled the valve cover for a valve adjustment, as there was no record of it having been done, and the tappets seemed a bit noisy. We did find a few valves with excess clearance. Back together at 1-am, but no test run, as we opt to allow overnight for gasket sealer on the valve cover to set up. With all this fiddling around we didn't get to the original intended task of replacing the softened rubber pads on the front suspension cross member. Oh well, a job for another time perhaps.
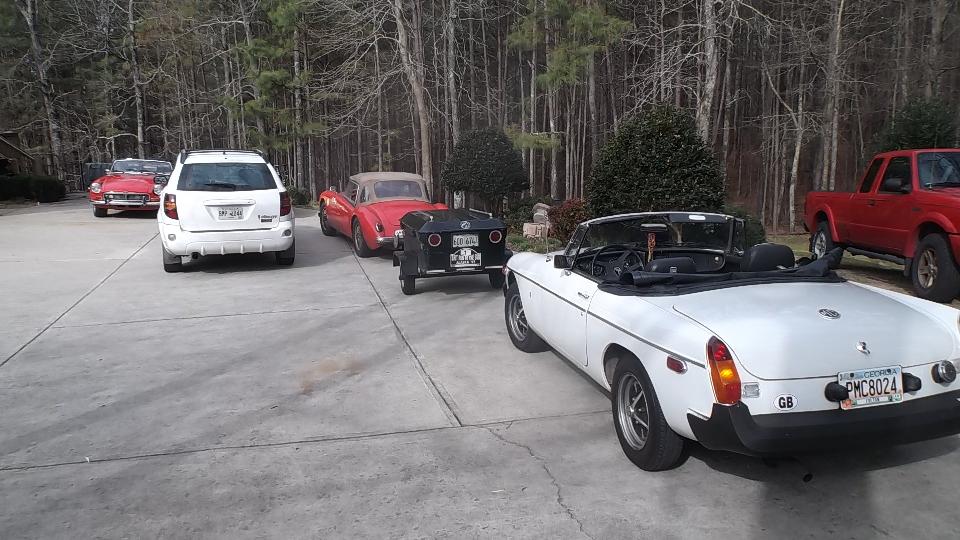
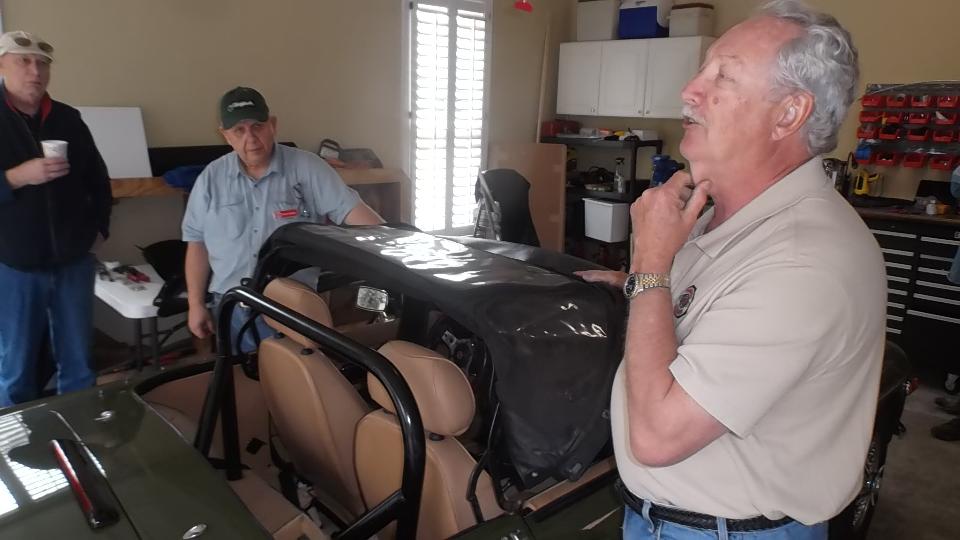
 Friday March 11, 2016 Seems like we sat around the north side of Columbus for most of the day catching up with WiFi work and checking contacts. In the evening we pointed it north, and a couple hours later we landed in Cumming, GA, a bit north of Atlanta. Then there was a 24-hour hot spot that kept us busy into the small hours of the morning. Saturday March 12, 2016 Up early today, about 25 minutes north of Cumming (but still with a Cumming address), we drop in on a tech session with the Peachtree MG Registry. There were about 15 club members present, and a bunch of MGB parked in front, as today they were going to install a new convertible top on an MGB. 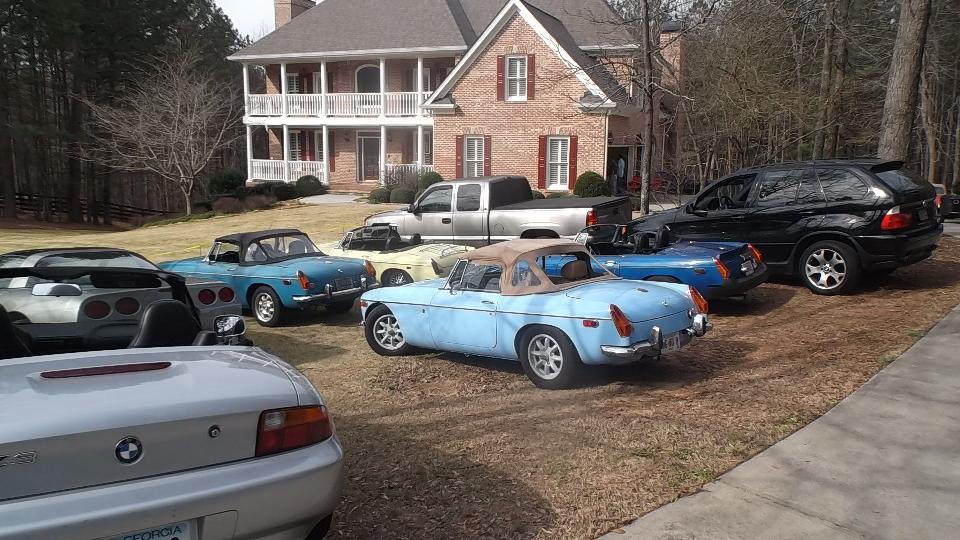
 It began with introduction to the new top from E-Z ON Auto Tops, LLC, which has all of the rear and side fasteners installed as received. This sounds good. 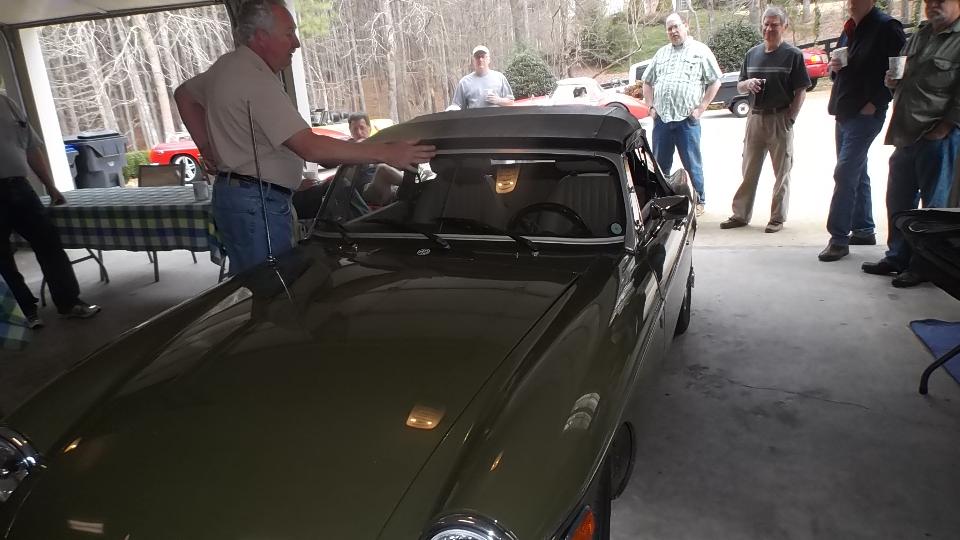
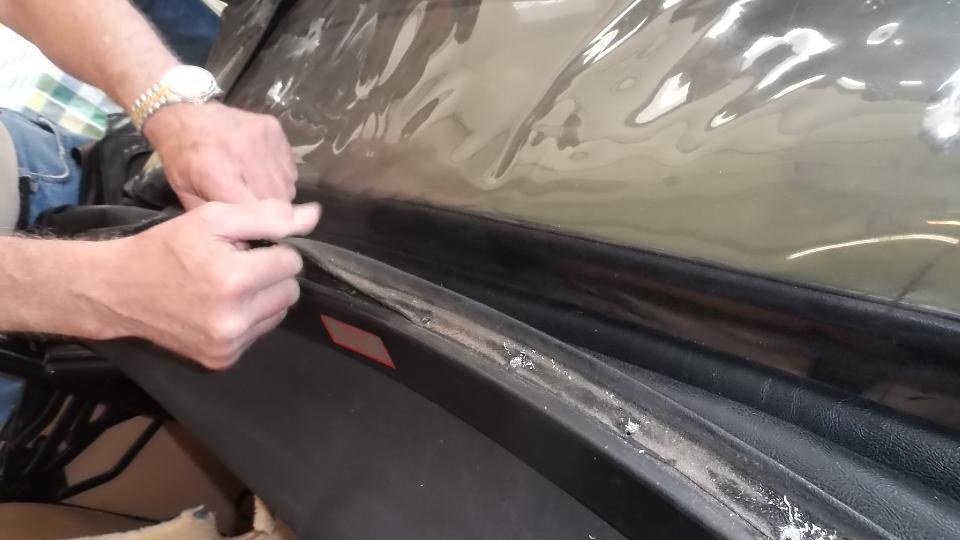
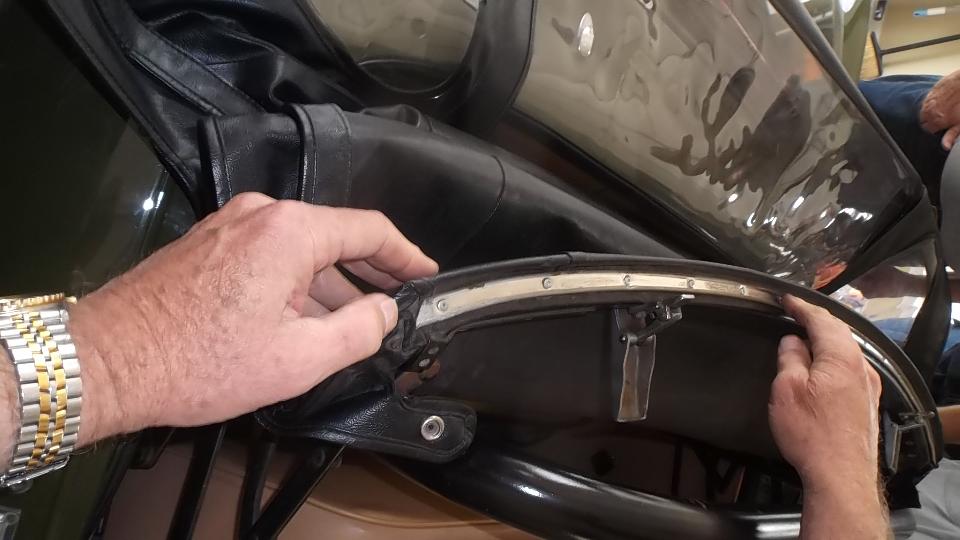 Start by pulling out the rubber front seal, then drilling out 15 pop rivets securing the seal retainer rail, then peel off the fabric from the header rail. 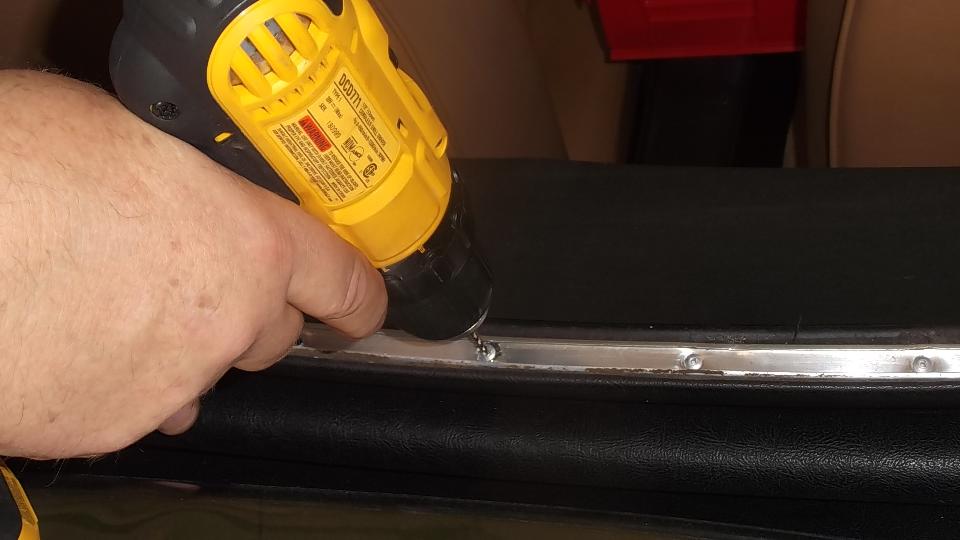
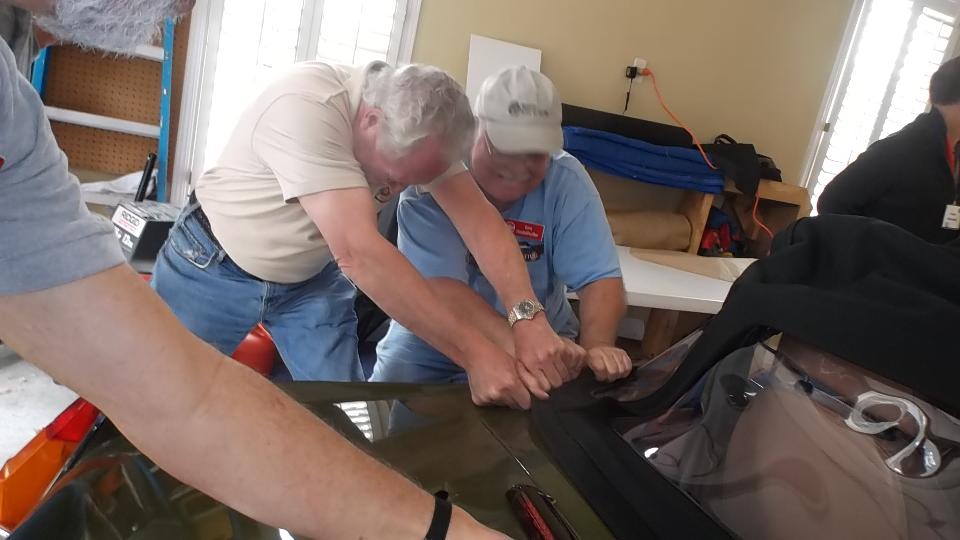
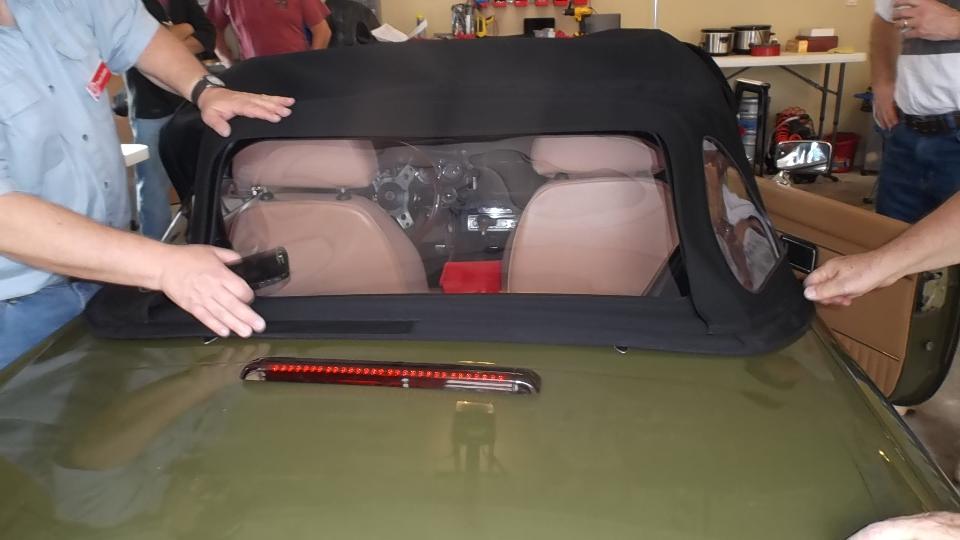
 Pull the steel retaining bar from the back edge of the old top and insert it into the new top. Hook the bar into the teardrop hooks on the body, and connect the LTD fasteners and end hooks. Just a little problem here, as the fasteners on the new top do not line up with the mating fasteners on the car body. Not even close. 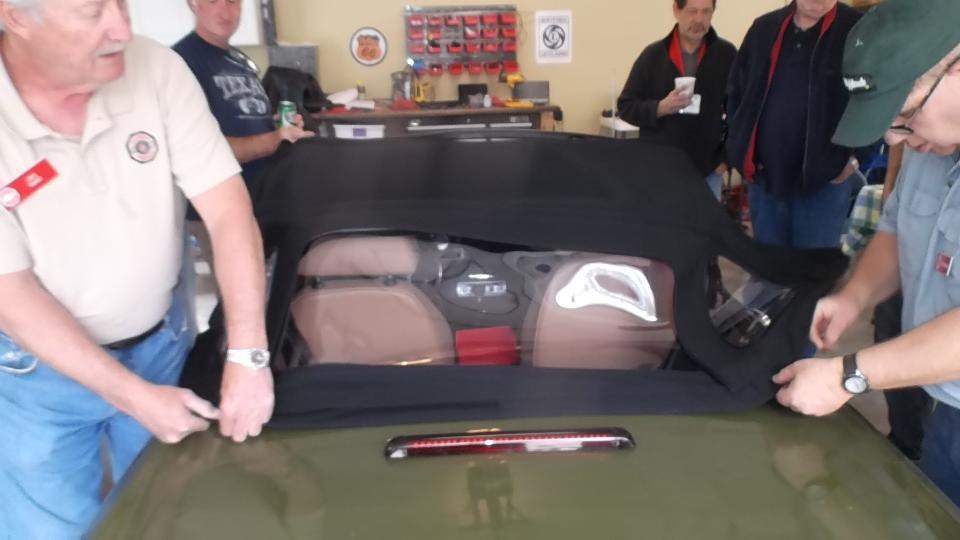
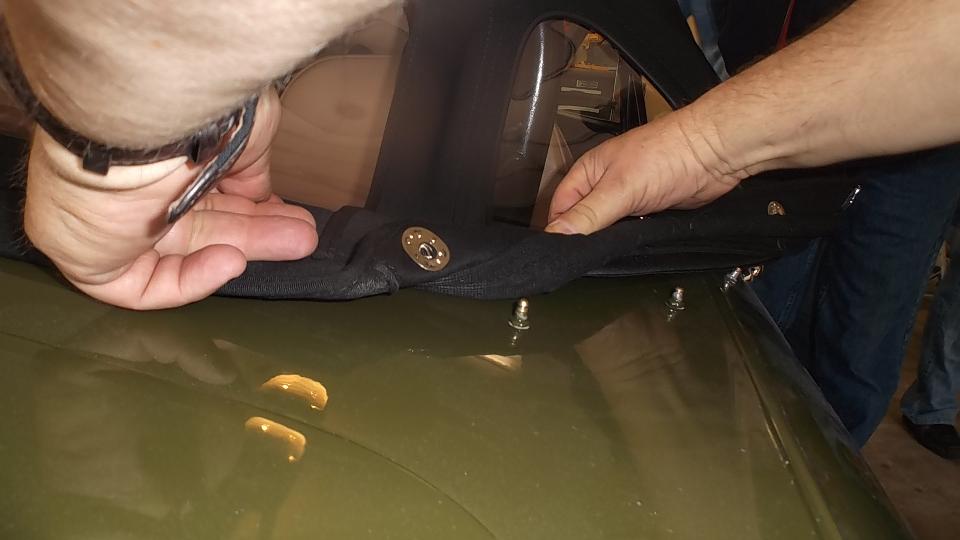
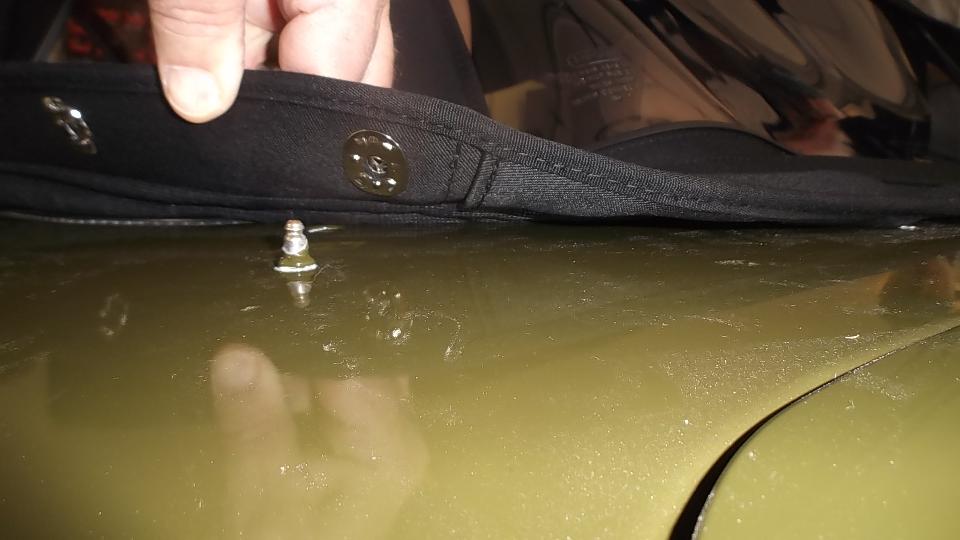 Two men and a mule cannot pull the fabric far enough to attach the fasteners. Unhook the steel bar, and maybe the side fasteners could connect, but not with the bar in place. Try the top on another car with same results, and a few minutes later the tech session is over, as the new top has to be returned. 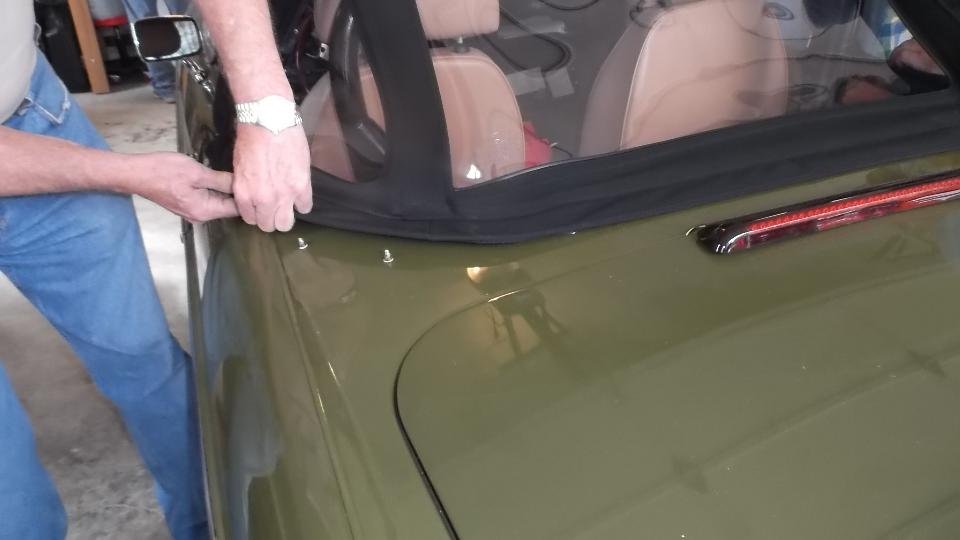
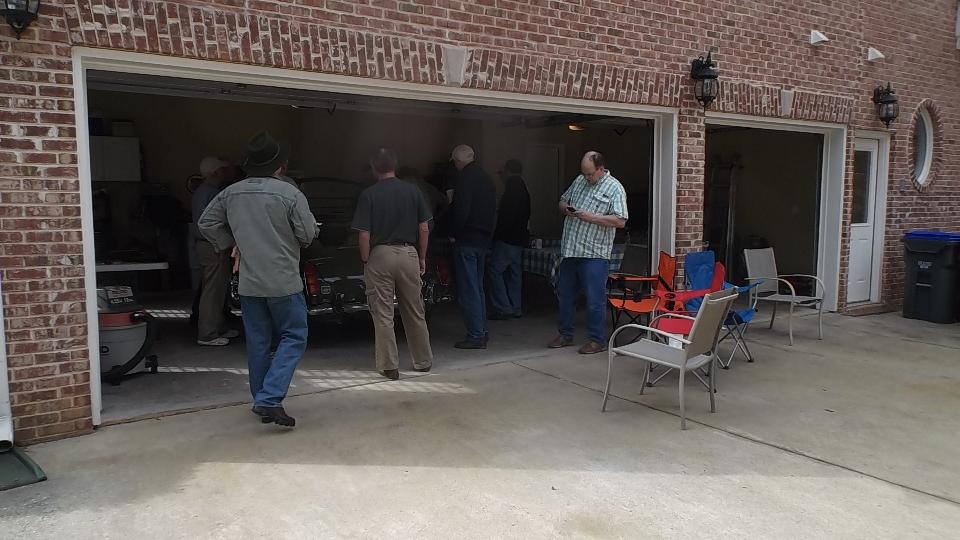
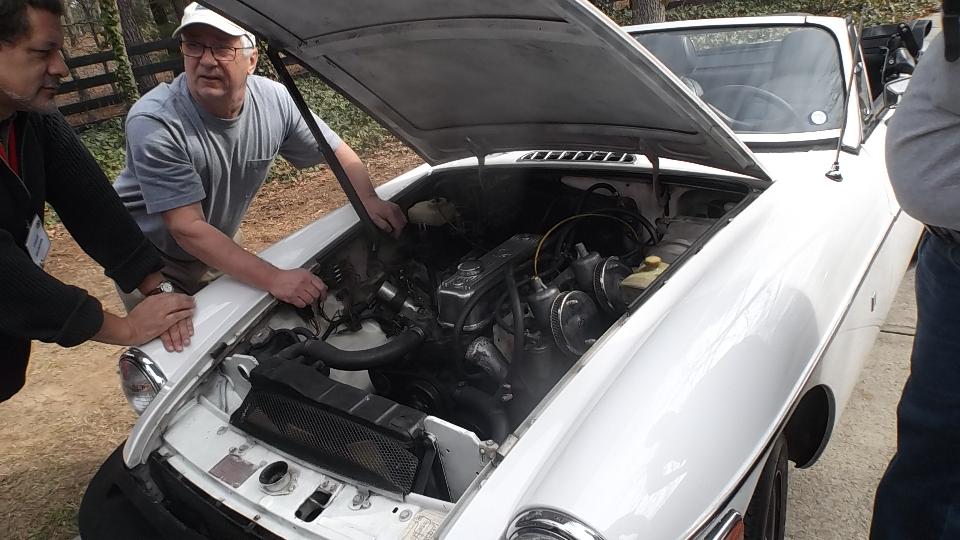
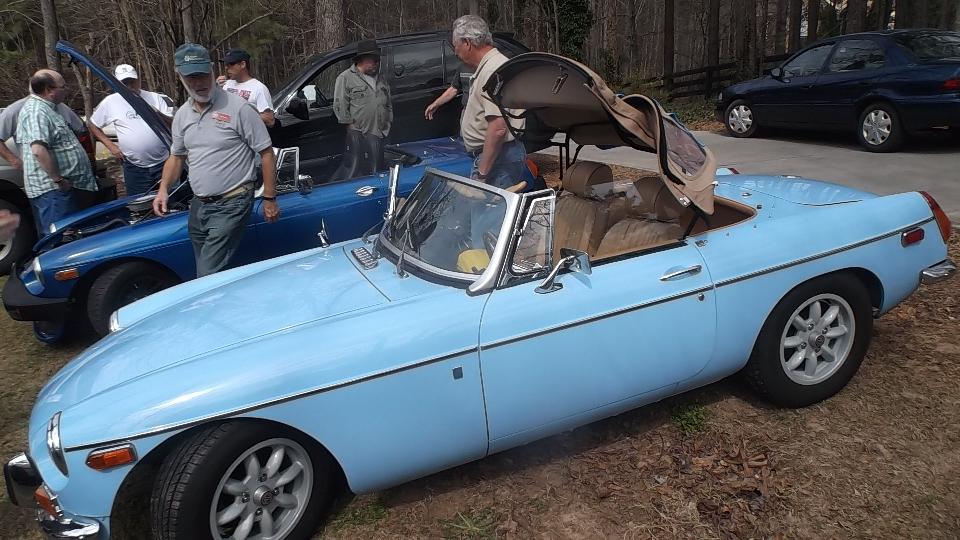
 So the tech session moves outside where we can compare engines and rag tops. 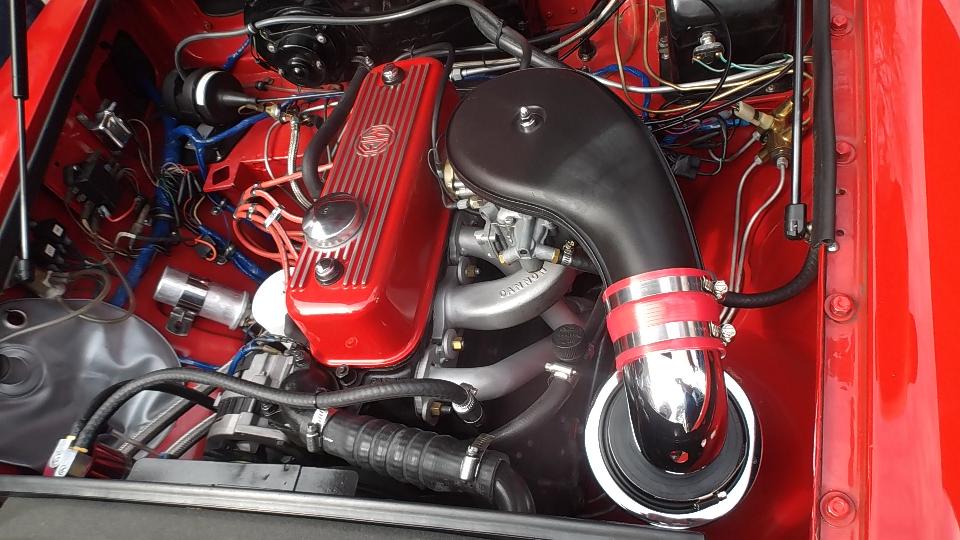
 Followed by back inside for lunch and lies, and thoughts on when there might be another new rag top so they can reschedule the top installation tech session. 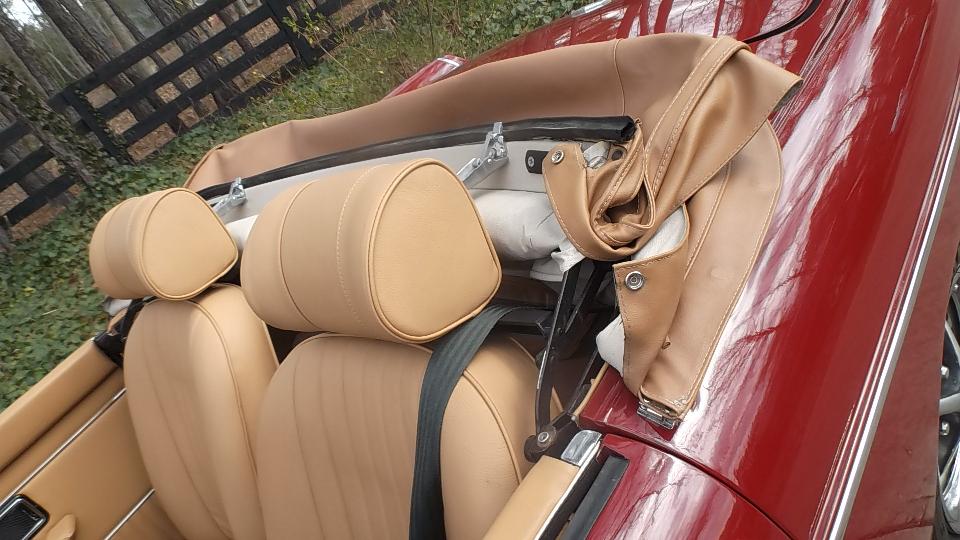
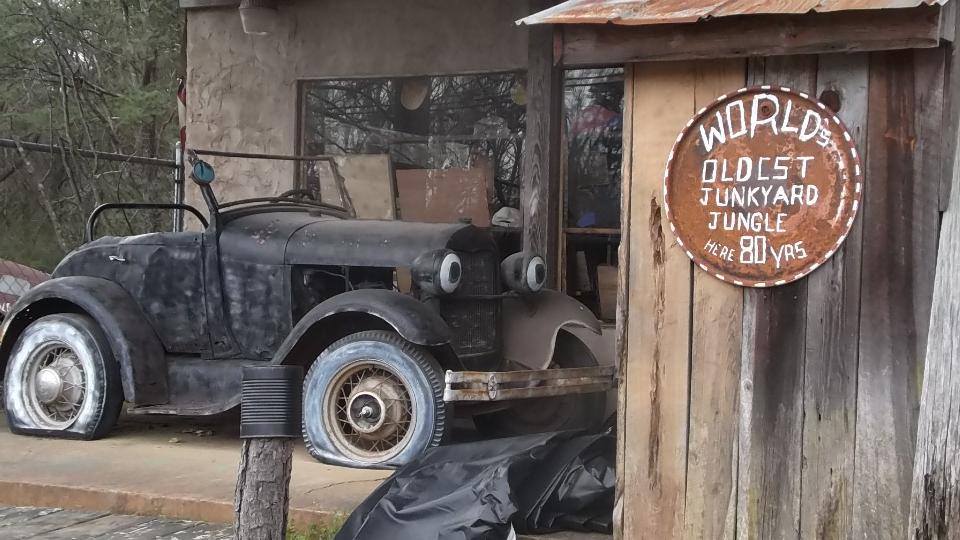
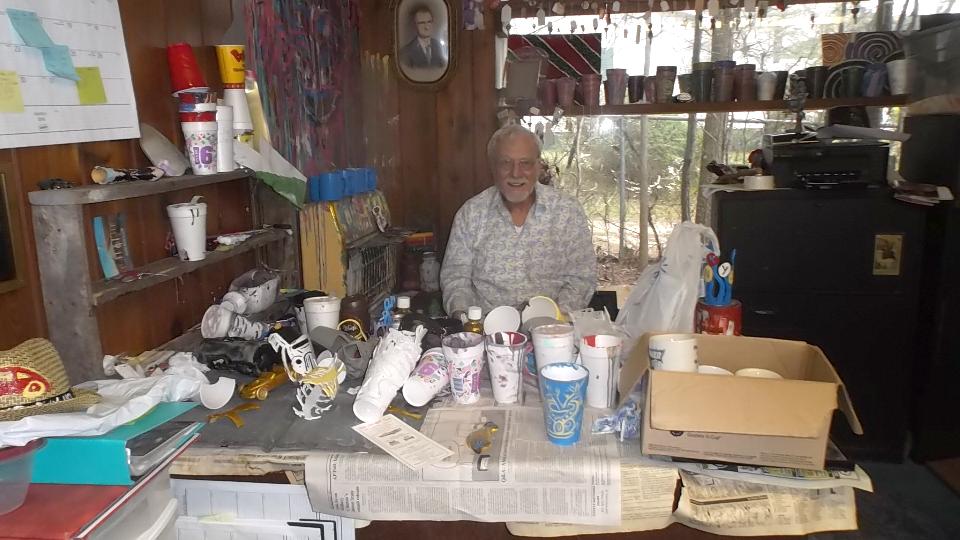
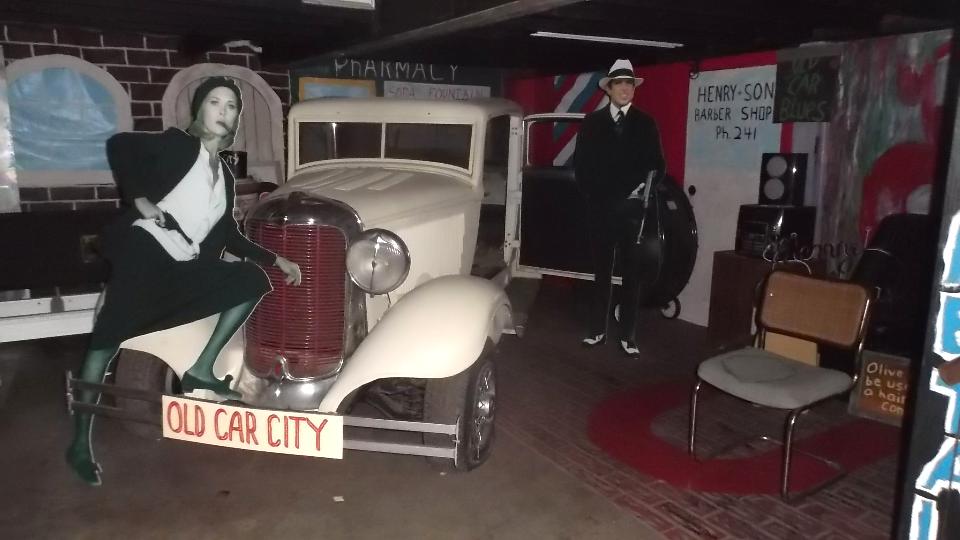
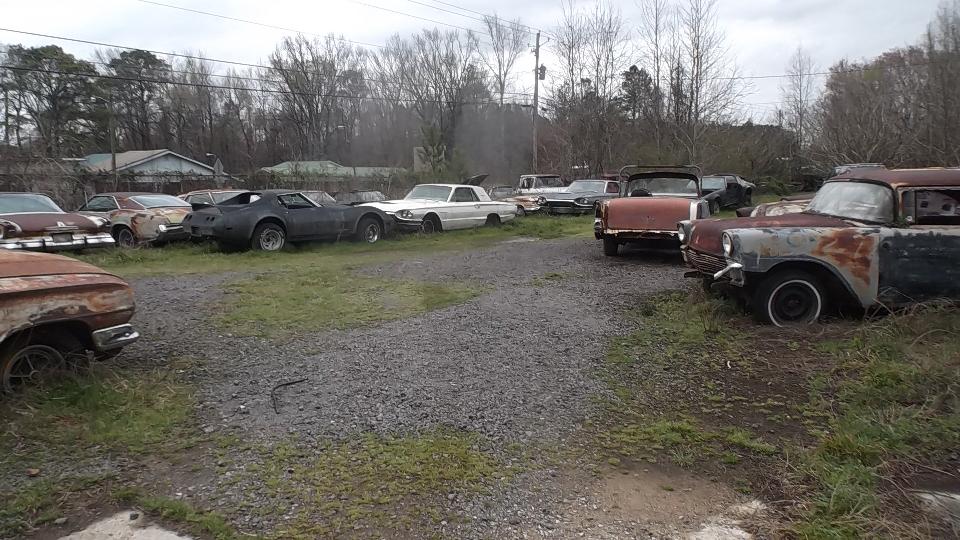
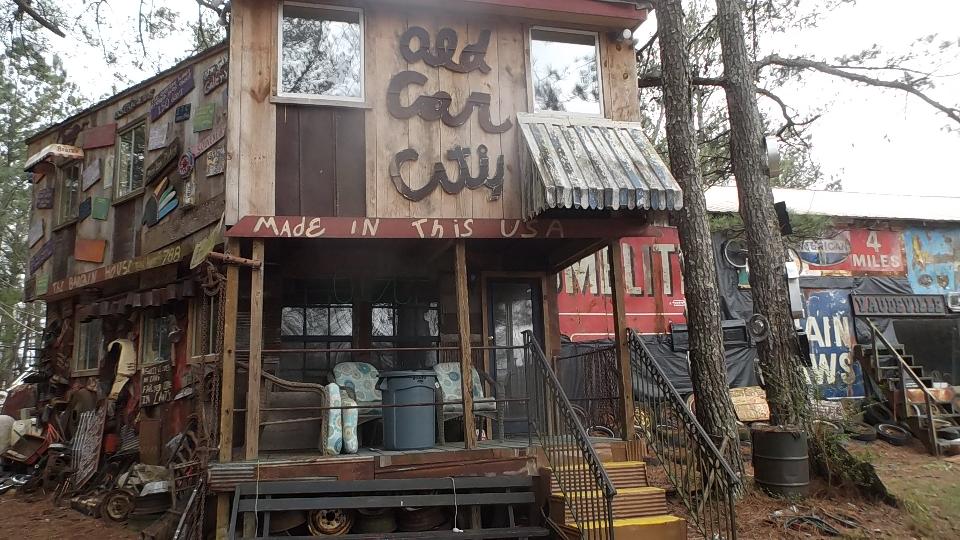
 Afternoon, back on WiFi, posting a few new tech pages on MGA Coupe door glass and latch assembly. Late night posting some of these photos and notes, but the rest will resume tomorrow. Sunday March 13, 2016 Caught up with the photos and notes okay. Then spent the rest of the day poking around club web sites and our Friends list to see who we can visit in the next week or so. Lots of email and a few phone calls. Also (time allowing) a bit more work on the Shops list. From having no schedule this morning, it now looks to be very busy for the rest of the week, and we will need to make some phone calls in the morning to sort out scheduling the next couple of days. Late night travel an hour west via state highways through the mild mountains to Cartersville, GA for overnight. Monday March 14, 2016 This was a cute way to kill a day. Morning visit to "Old Car City USA" in White, GA. I hope you like hiking, as there are six miles of trails on 35 acres containing over 4000 cars, all are American production, and I believe they are all 1972 or earlier. It used to be a "junk yard" where they sold parts from the cars. Around turn of the century it evolved more into a tourist attraction, a kind of museum where the owner may charge a fee for people who come to take pictures. 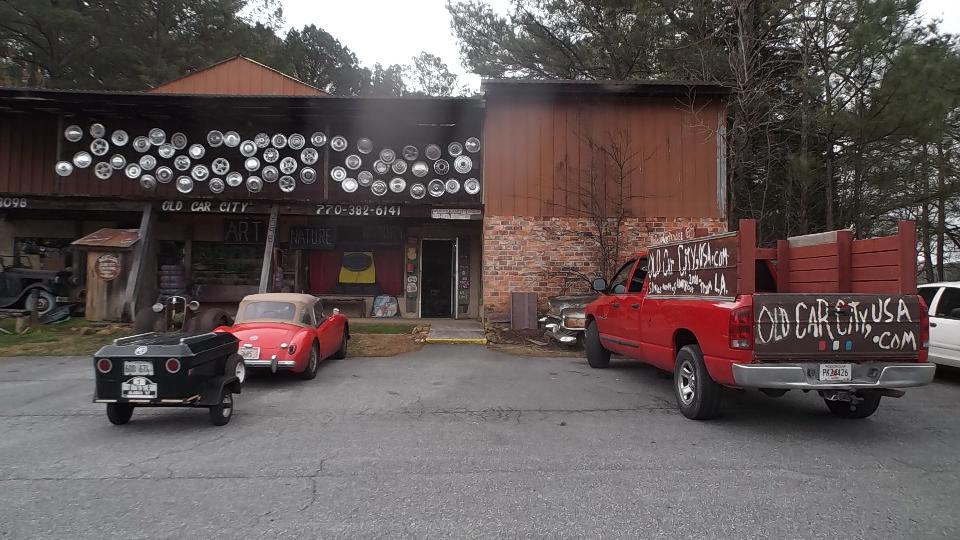
 1947 or 1948 Lincoln Continental with 350 Chevy engine and transmission, on a 1953 Chrysler New Yorker frame with a Ford 150 differential (for sale, maybe). Want a photo with Bonnie and Clyde? 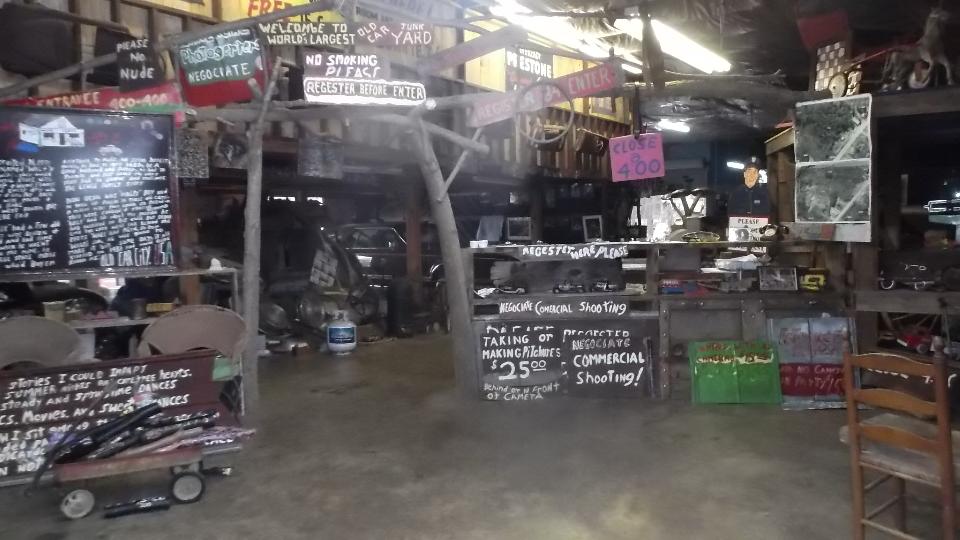
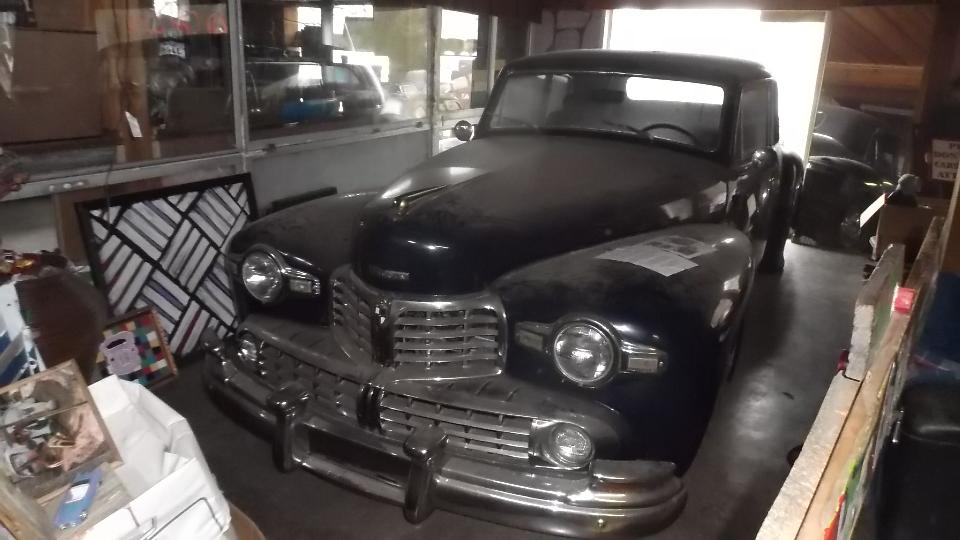
 Want to restore one? Make an offer. More than 4000 cars to choose from. 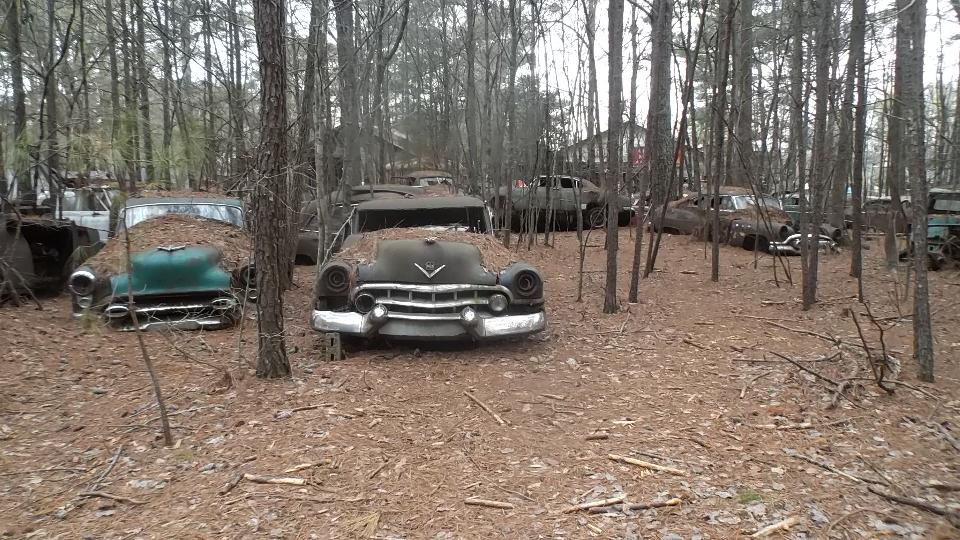
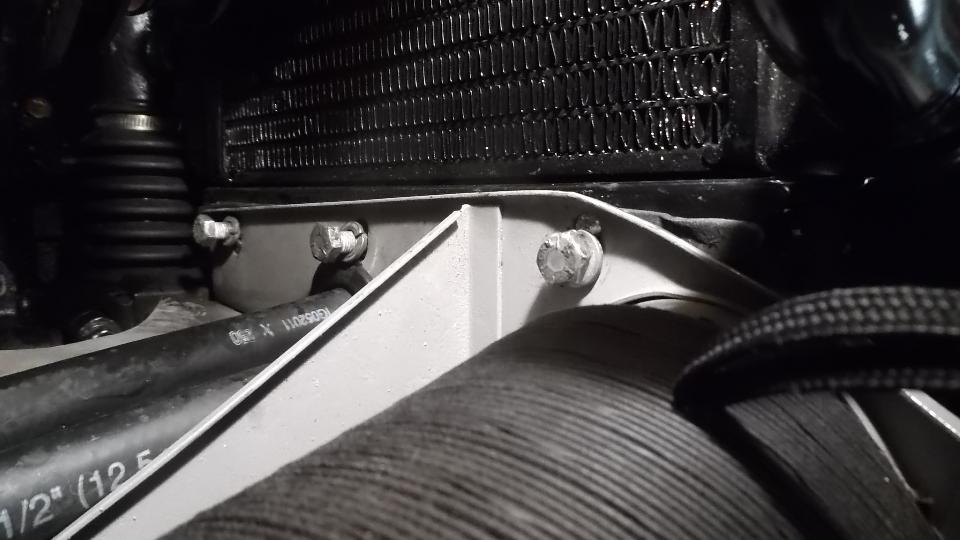
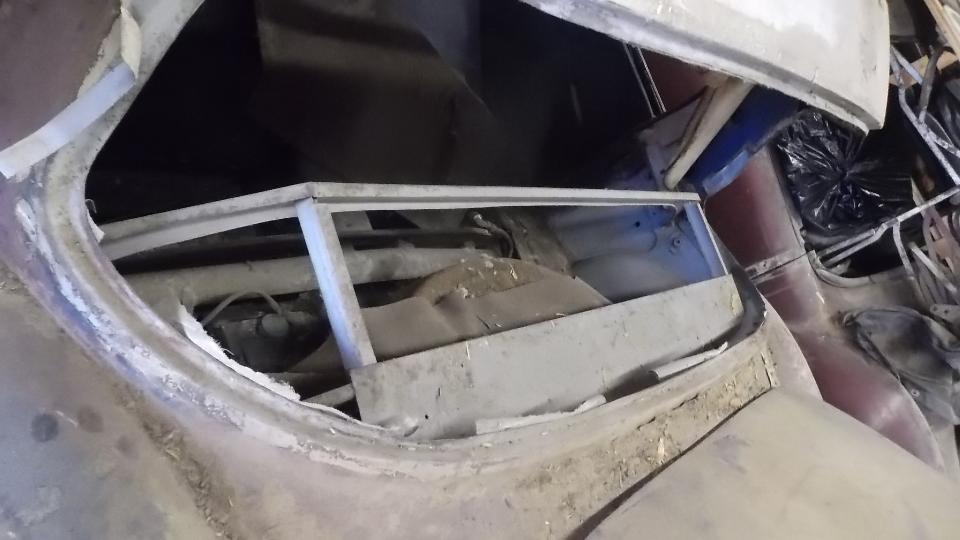
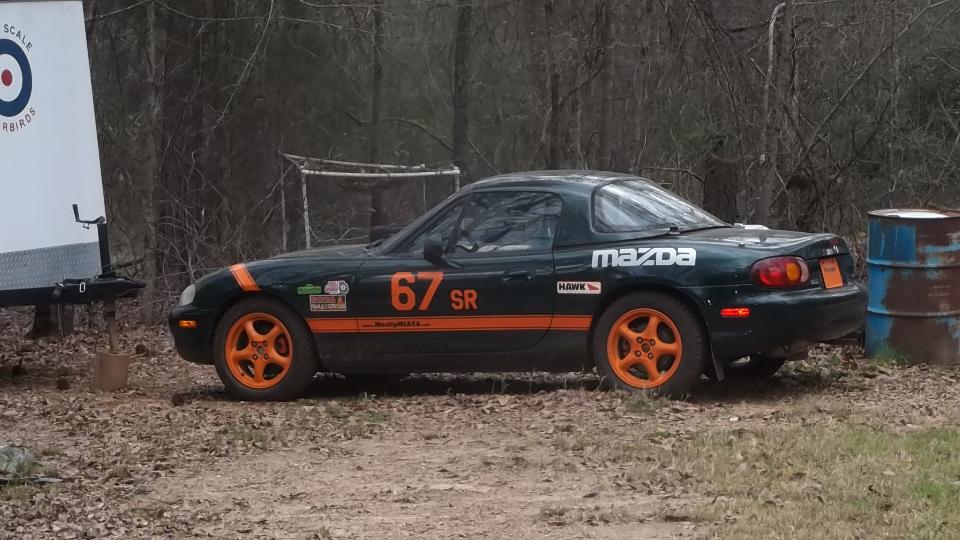
 Next stop was an hour south to visit with Charlie Davis in Jackson, GA, who is restoring an MGA. The bolt-on channel is not a stiffener bar, but is a space reference for leveling the body sills. He is finding that the commercial "F" section sheet metal panels are thinner metal than original and do not fit well. 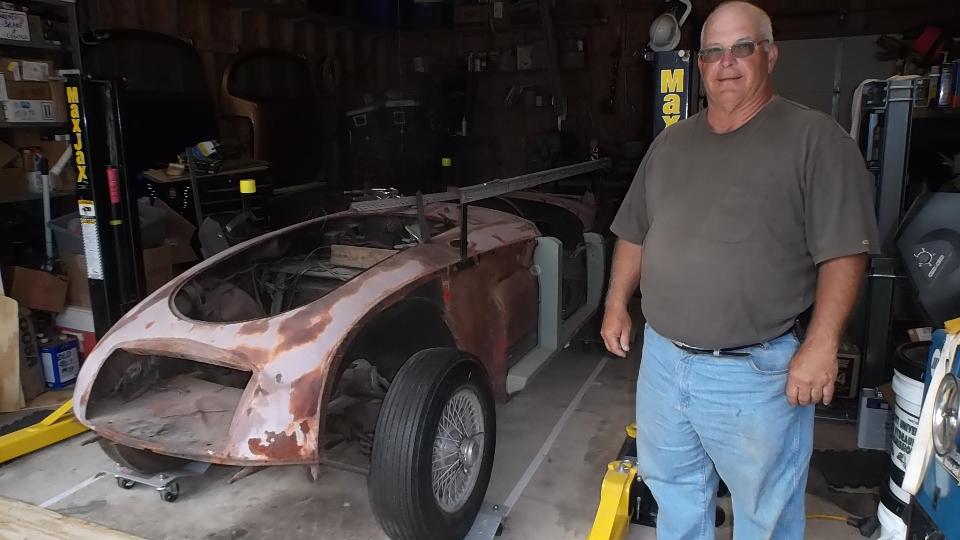

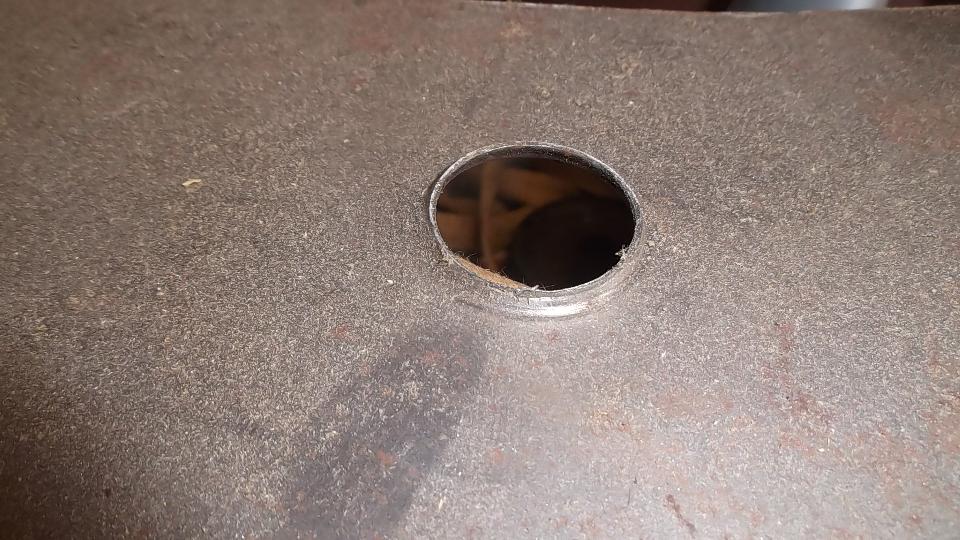 While making his own inner sill panel he fashioned a hole flanging punch and die from handy materials. The #67 Miata is a special built rally cross car, something his son got him hooked on. And by the way, Charlie will be sticking a Miata engine into this MGA. 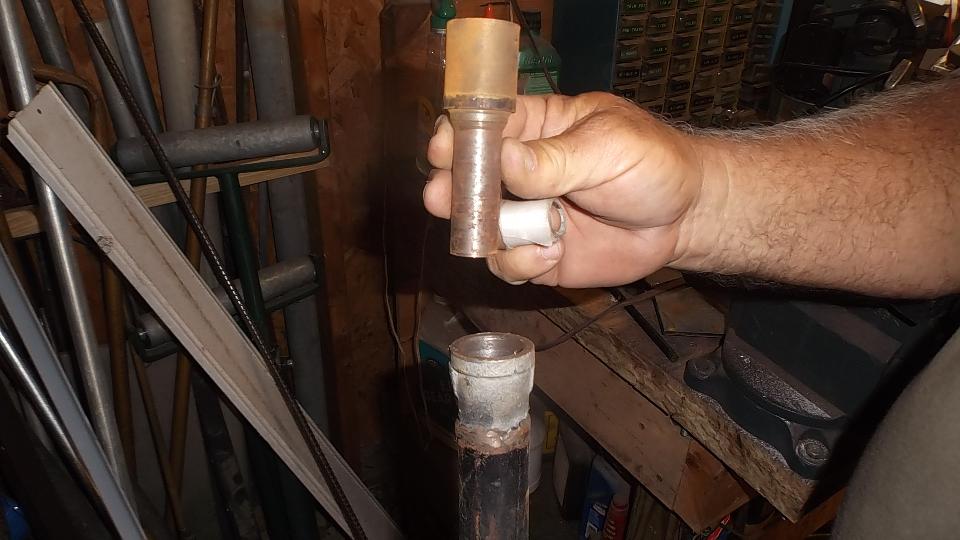
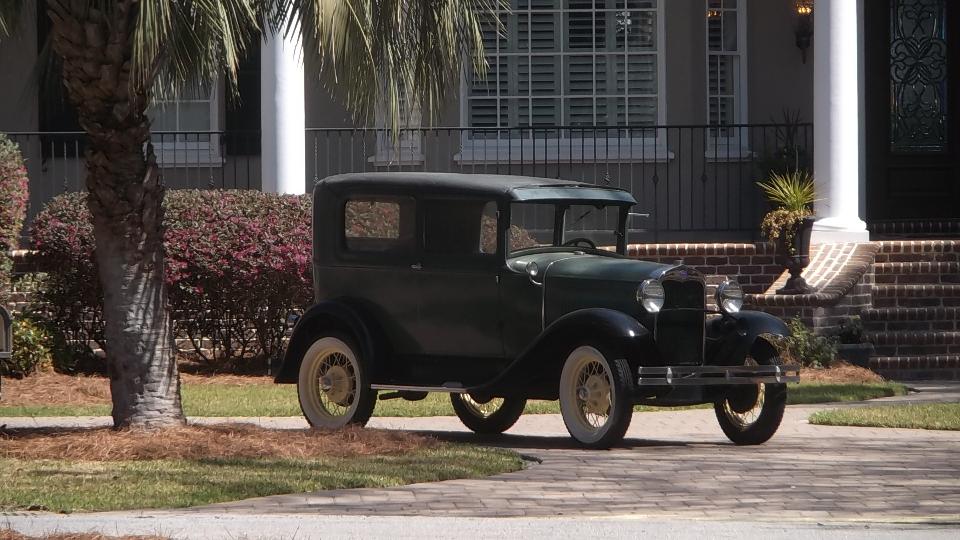
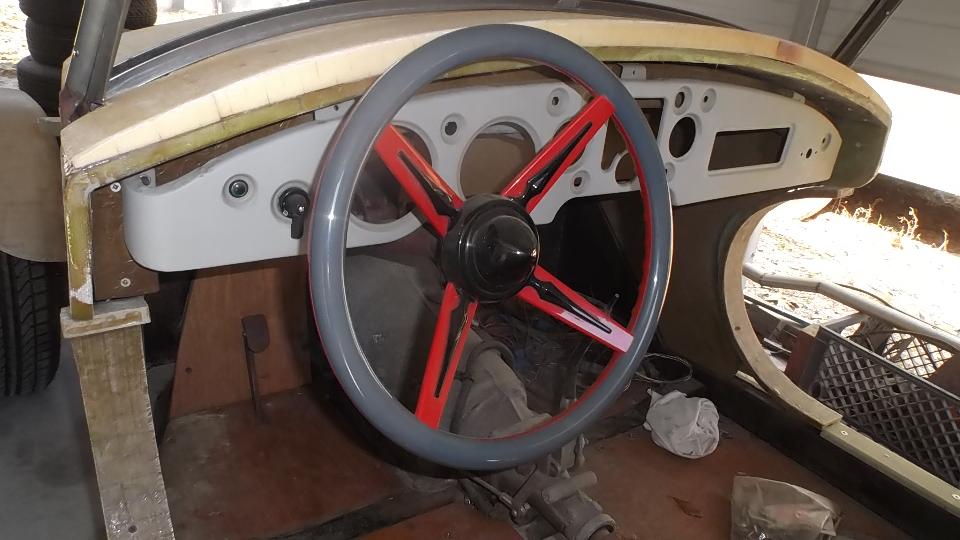
 After lots of WiFi work we shuffled south a few hours to Dublin, GA, to be closer to next appointment. Tuesday March 15, 2016  A couple hours more travel this morning, heading to Richmond Hill, GA (near Savannah on the Pacific coast). We were here to visit Frank Chance who is building a "Fun Buggy". This will be a "slightly improved" copy of a vehicle that appear in Mechanix Illustrated magazine in June 1968. The original Fun Buggy was built mostly with plywood on an MGA chassis with very few chassis mods (other than the wheels). Frank is doing some "upgrades" with more modern technology and materials. (The Ford belongs to his neighbor, I just couldn't resist the picture).
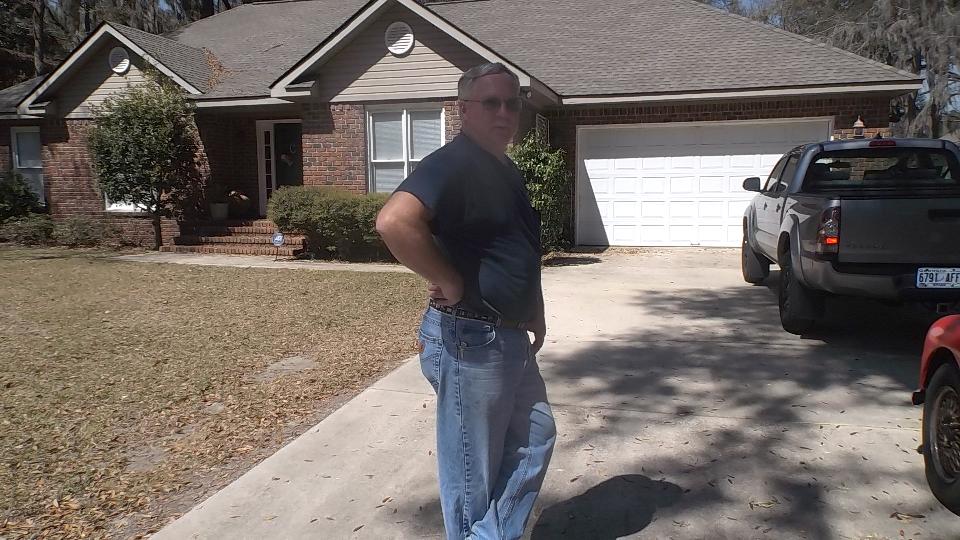
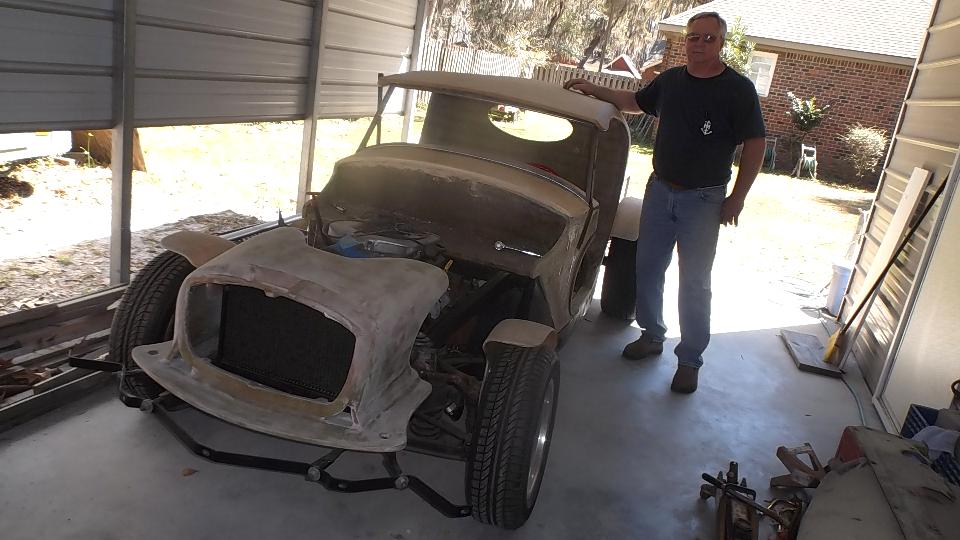
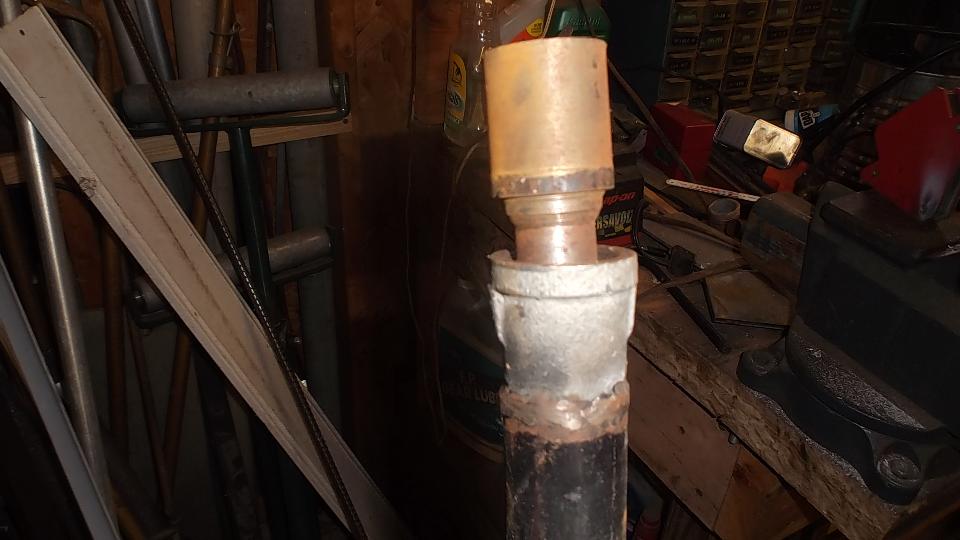
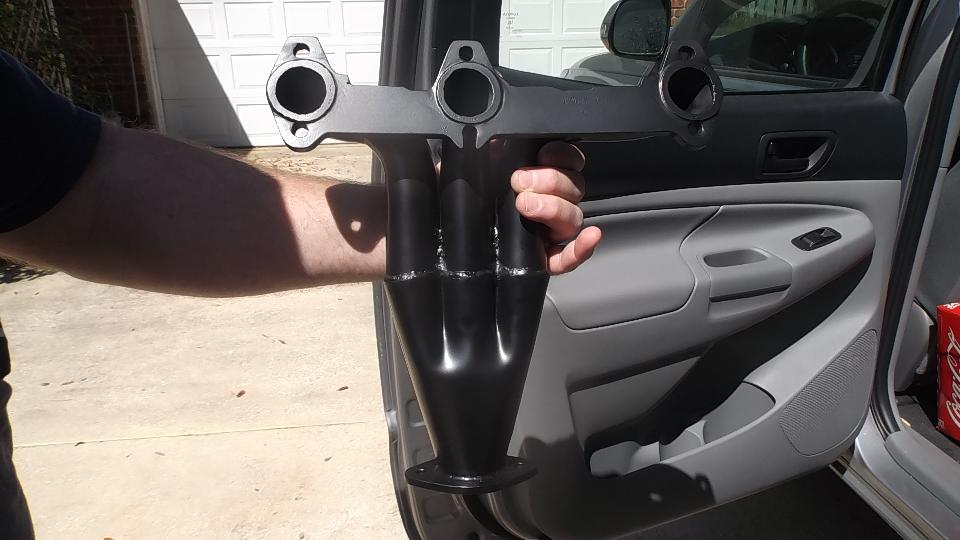
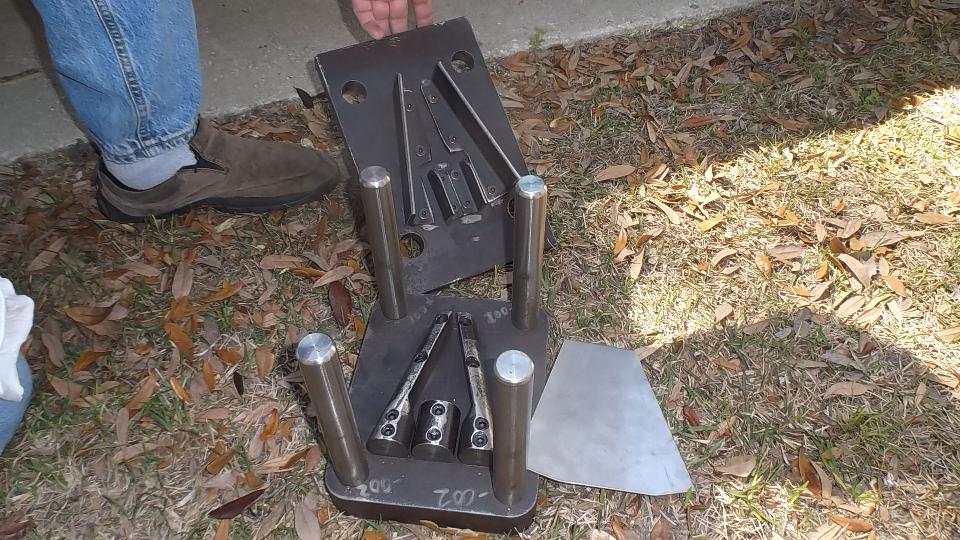
 The first upgrade is a small V6 engine from a Chevy Camaero. While making exhaust headers Frank made a metal forming punch and die set to form the 3-into-1 collector shell. This is the indoctrination to know that the new Fun Buggy will more expensive and more time consuming than the original one. 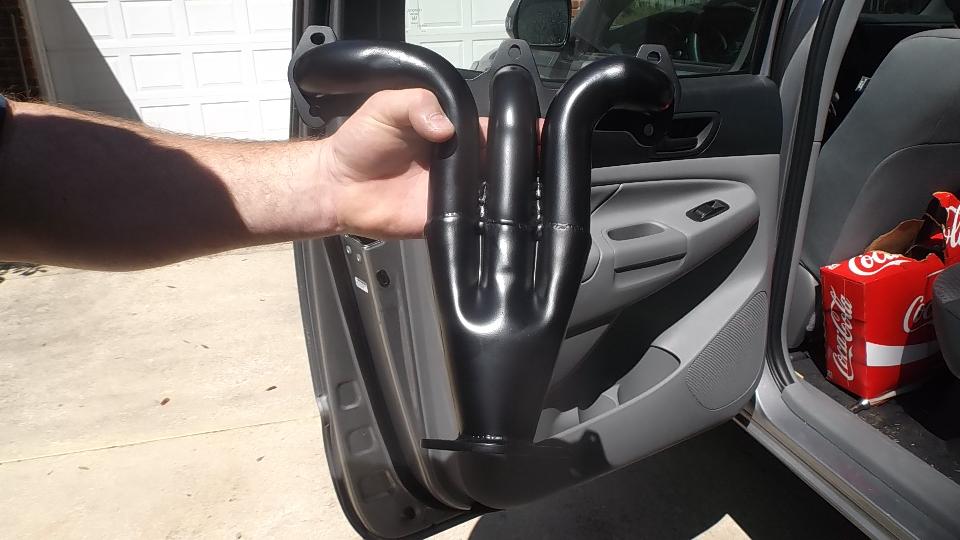
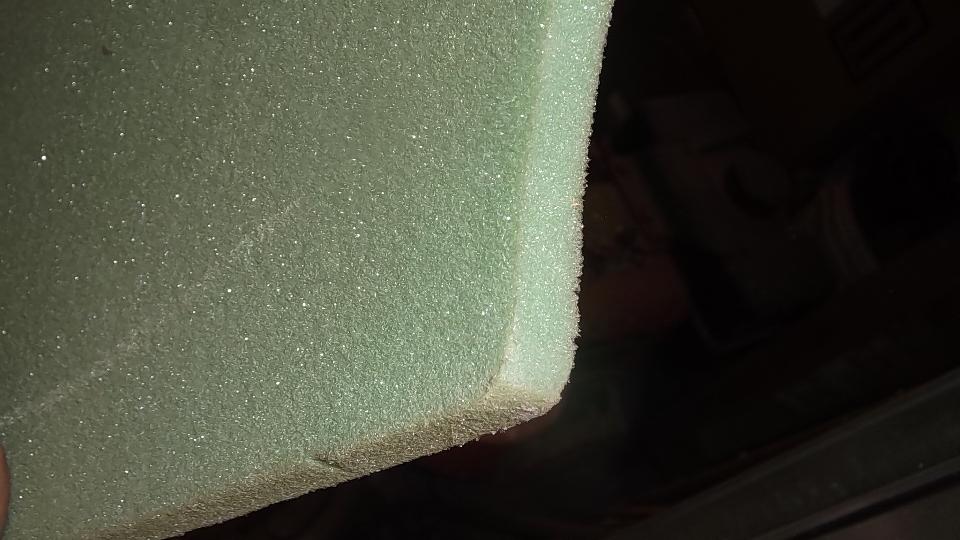
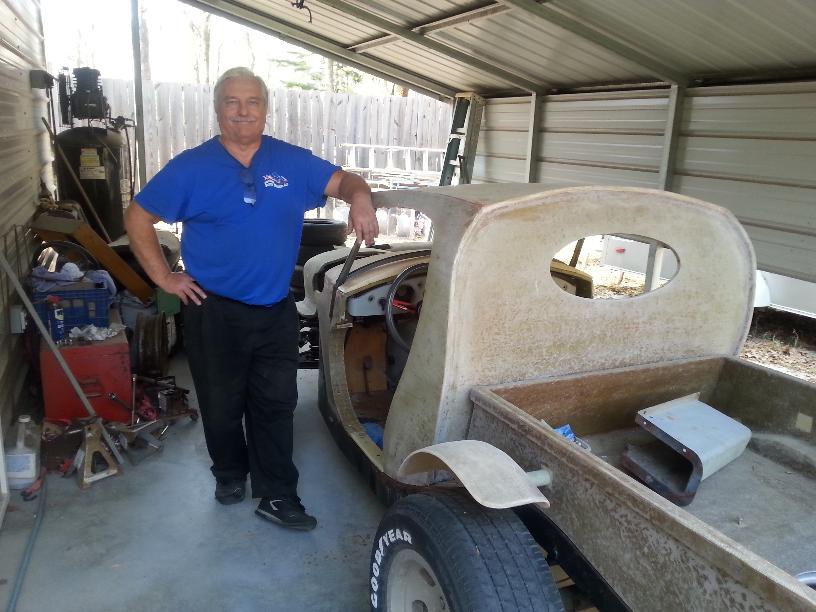
 Most of the body is being fabricated from thermoplastic foam board, to be covered later with a fiberglass skin. The board only bends a little bit. For greater forming it can be scored part way through from both sides, and after forming to be filled with epoxy resin to hold the shape. 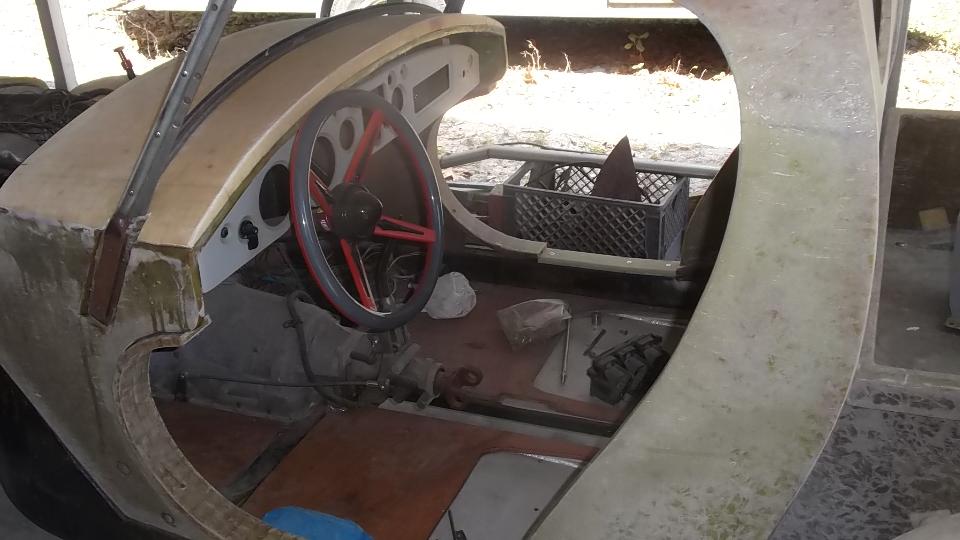
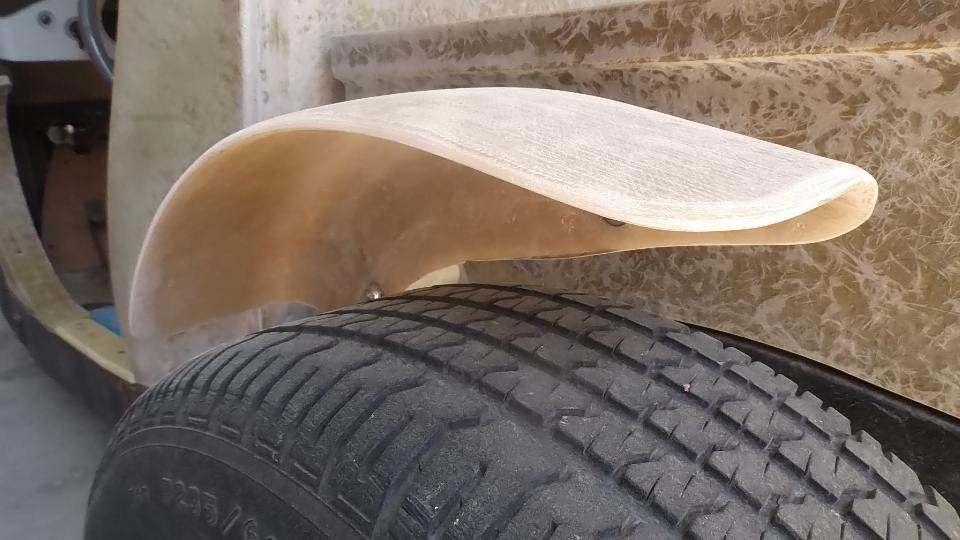
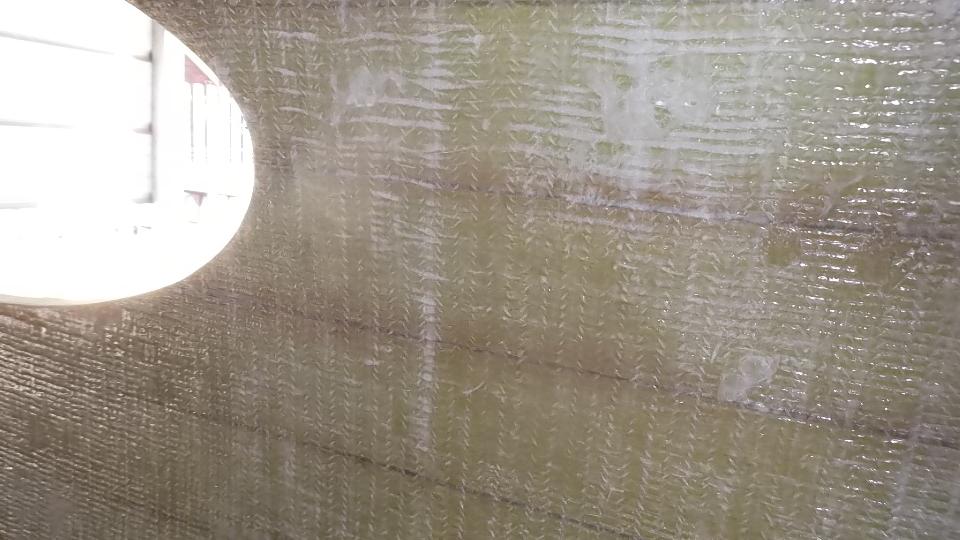 Where mechanical fasteners are required, the foam board is reinforced with hard polyethylene blocks. Thinner parts (like fenders) are built up with multiple layers of fiberglass cloth and resin. The dash panel is an original MGA Coupe part. 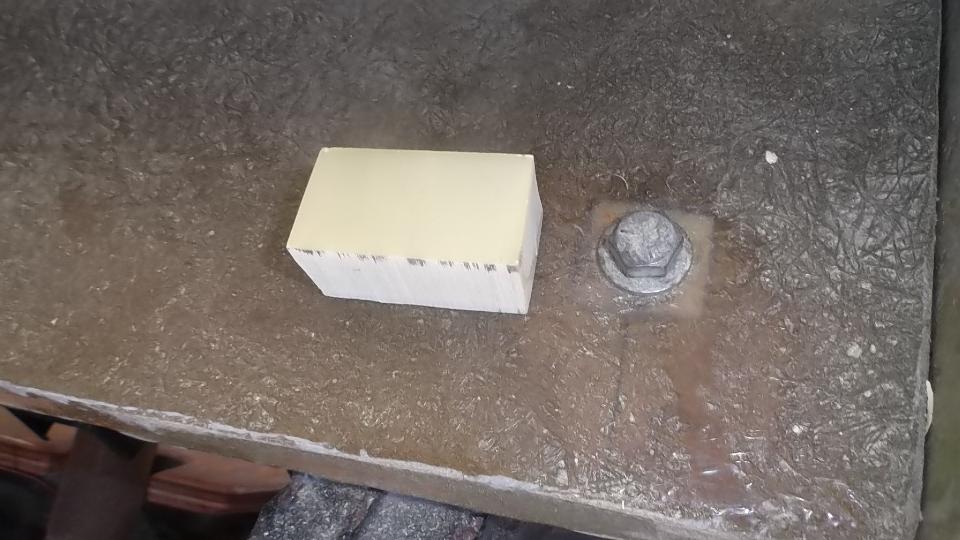
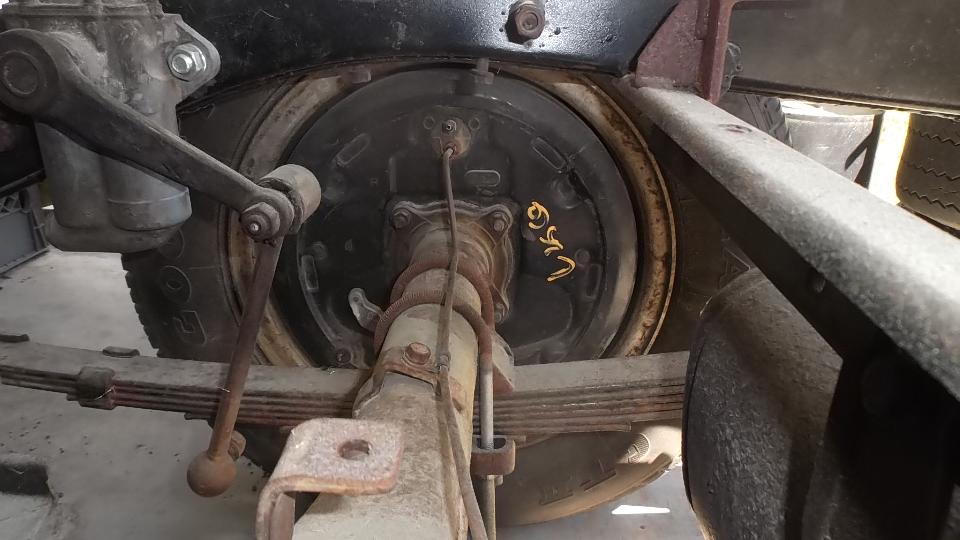
 The rear axle is a Toyota truck part, shortened slightly on left side only (to place the propshaft on centerline). Those are monster 12-inch brake drums inside of 14-inch wheels. The original MGA fuel tank has been moved to center of chassis to allow for dual exhaust. 
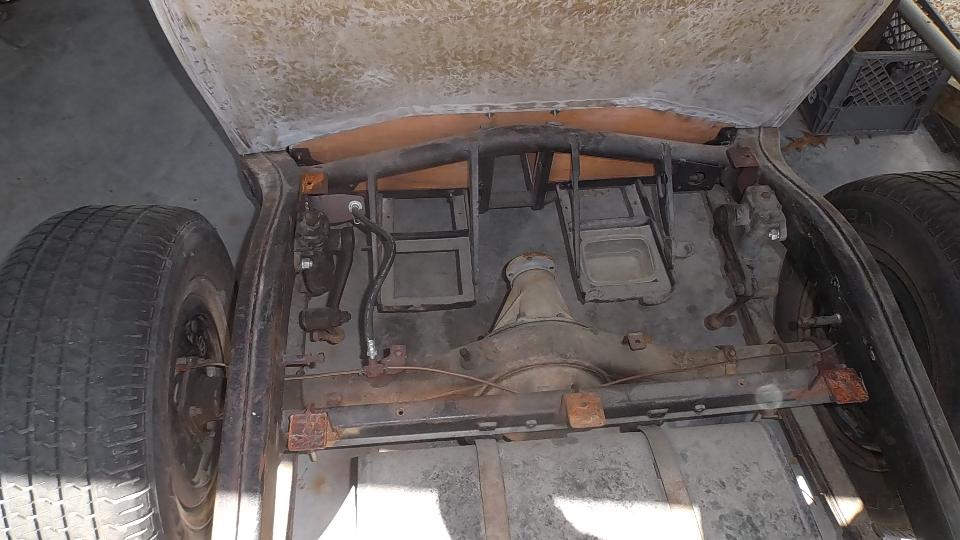
 To clean up the engine bay, the master cylinder is relocated below the floor. The seat base is recessed into the floor to be flush with bottom of the frame. The alloy valve covers are just a nice touch of accessories. 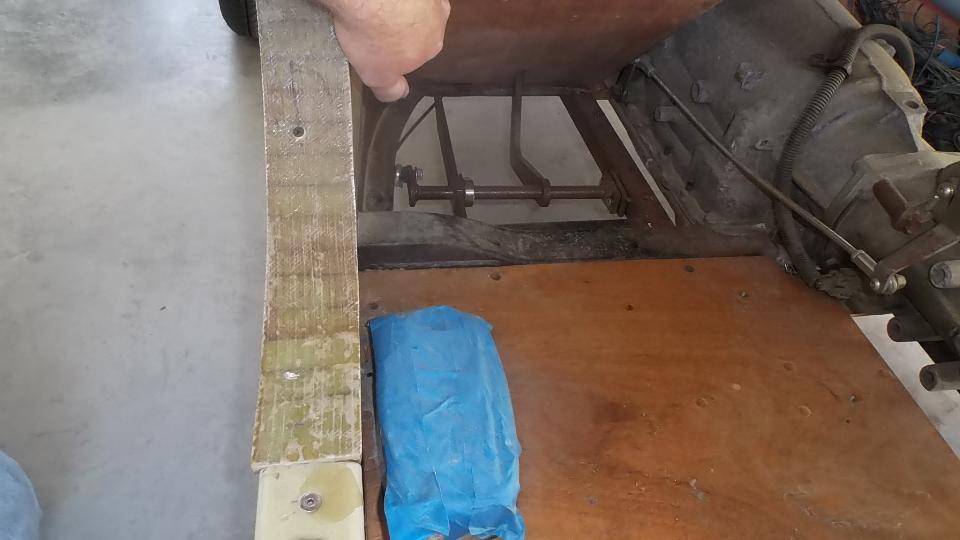

 Construction is getting to the point where it is looking like a real vehicle, so more encouraging to keep up the progress. I can't wait to see this one finished. I may need a later return visit for a ride in it. 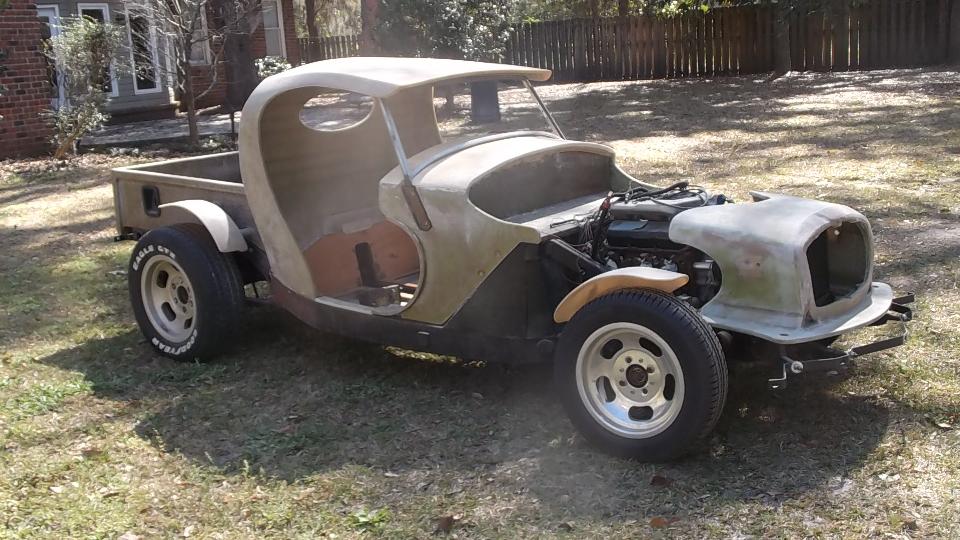
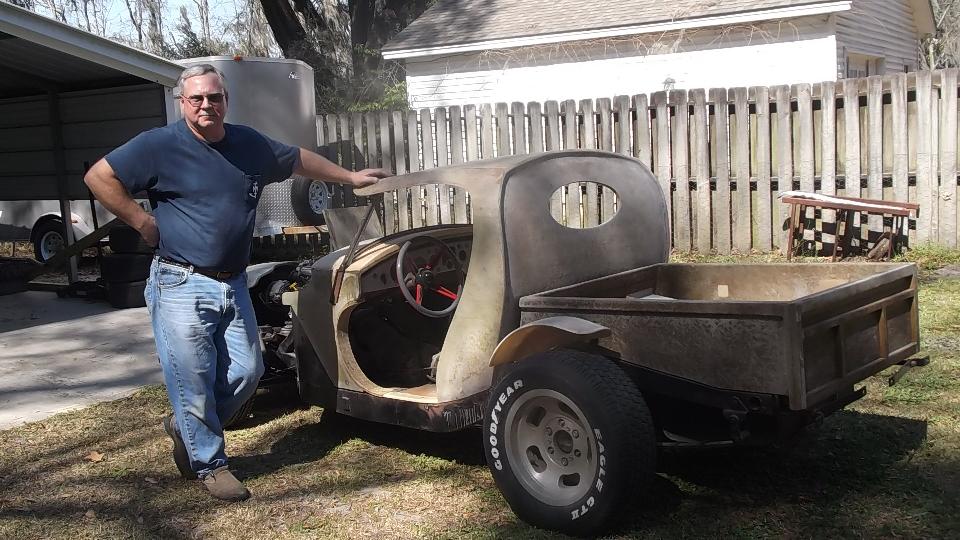
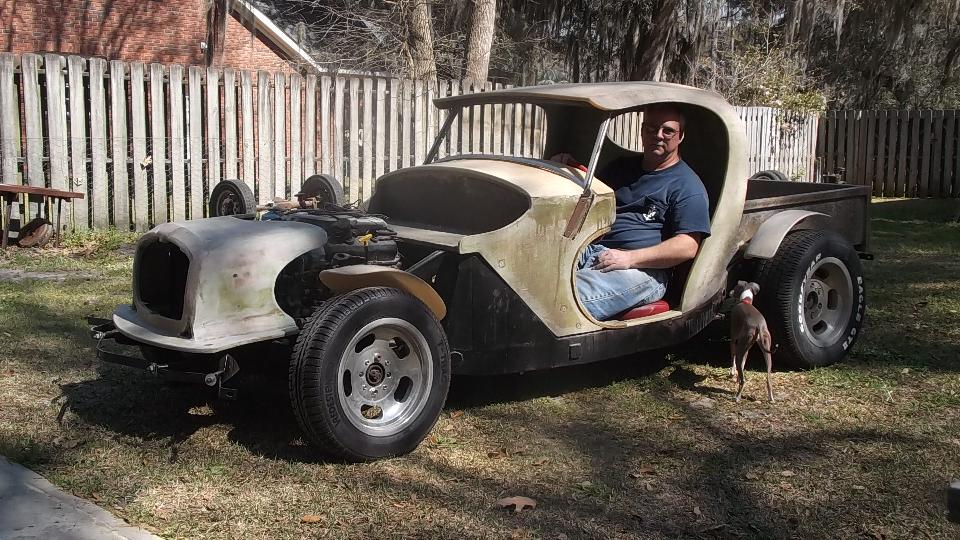  It's amazing (today) how these open top and open door vehicles pre-date the use of seat belts.
 Enough time here. After some WiFi work, we lit out of Richmond Hill at 9:30-pm for nearly five hours drive back north to be near Gainsville, GA for our next morning appointment. |