The MGA With An Attitude
MGA Guru Is GOING MOBILE - (February 16 - February 29, 2016)
Tuesday February 16, 2016
Not particularly tired, so we kept driving last night, ended up back in Tuscaloosa by 3-am. Think 450 mile round trip for the club meeting in Pensacola. Catching up email and BBS and a couple of tech pages today.

 In the evening we had a dinner meeting with West Alabama British Car Club. This meeting was a long time in the making, having bad timing last year when we were in the area, but worth the effort. We had about 20 people present once all collected, nice dinner, nice business meeting (in spite of noise problems). I had a few minutes to explain what we were doing with our road trip (although several people knew about us in advance). By end of evening we had a couple more appointments. In the evening we had a dinner meeting with West Alabama British Car Club. This meeting was a long time in the making, having bad timing last year when we were in the area, but worth the effort. We had about 20 people present once all collected, nice dinner, nice business meeting (in spite of noise problems). I had a few minutes to explain what we were doing with our road trip (although several people knew about us in advance). By end of evening we had a couple more appointments.


Wednesday February 17, 2016
Got a message from Glenn's MG Repair in St Petersburg, FL. My new cylinder head is finished, just awaiting paint. I will soon need to figure out where to have it shipped (unless I may happen to be back in Florida soon).
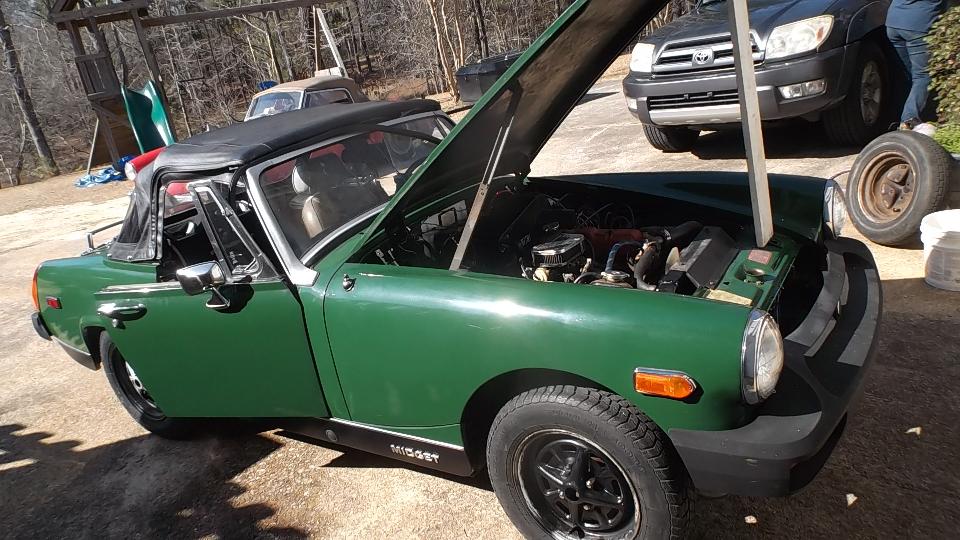
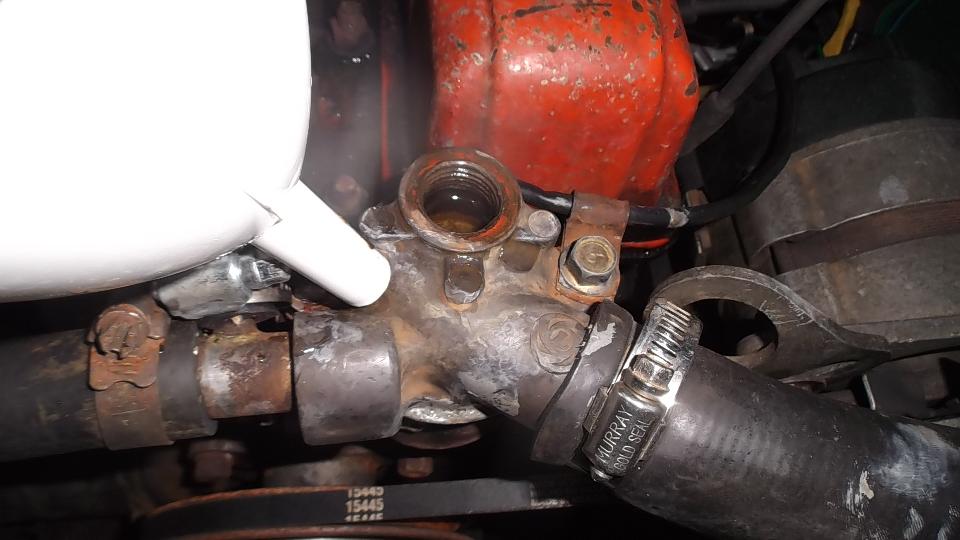
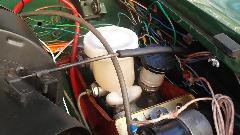
Early today take the opportunity for the MGA oil change, filter, lube job and valve adjustment, then back to work on Elizabeth Bearden's Midget. We intended to get the clutch working, but some other things jumped up to demand attention. First was to get the new radiator installed and top it up with coolant.
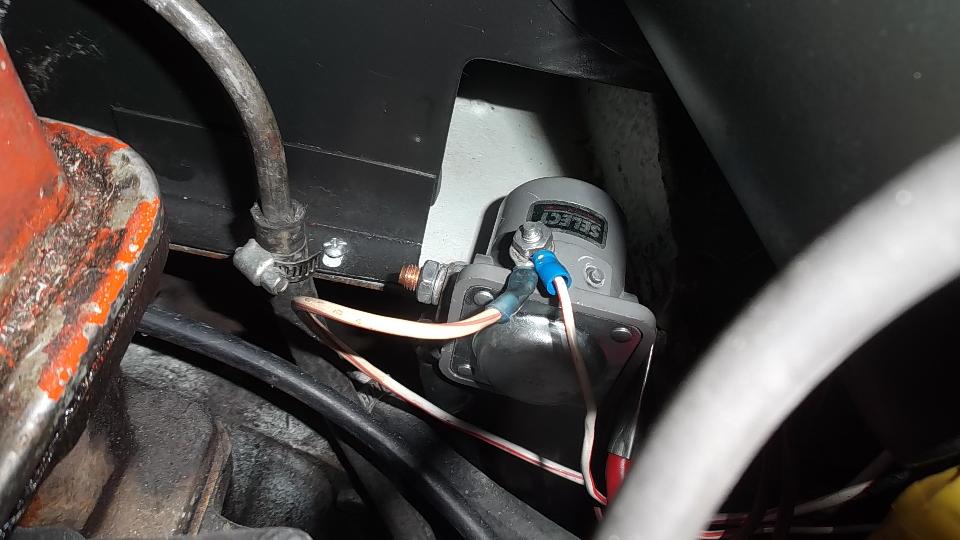
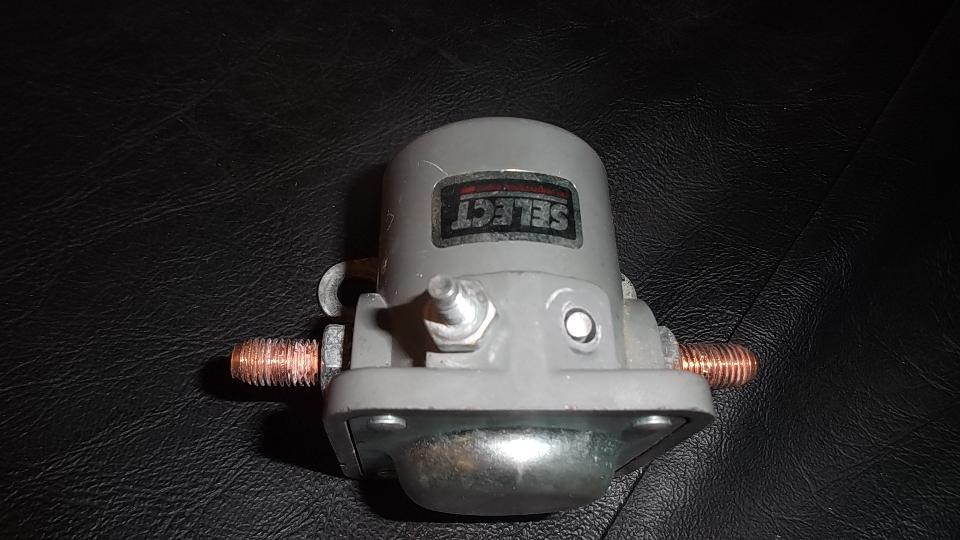
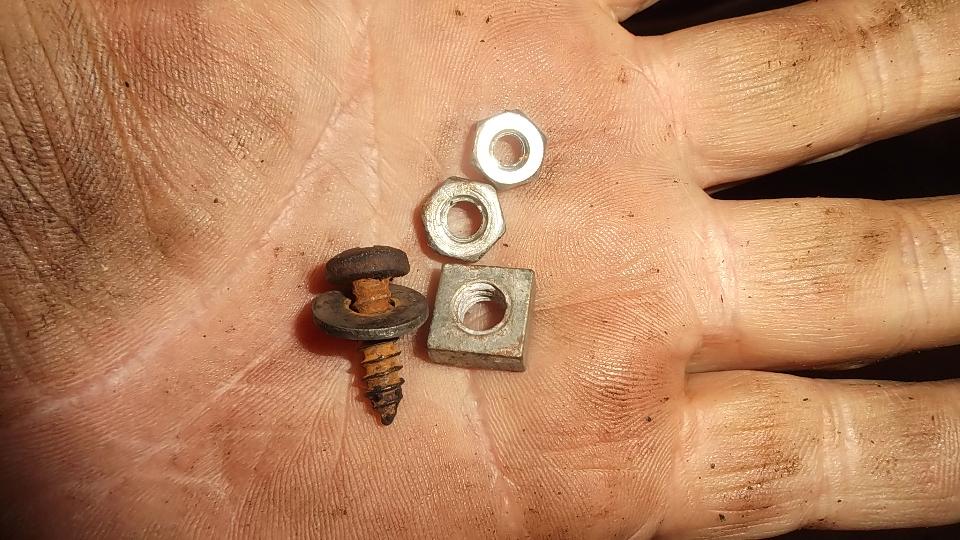
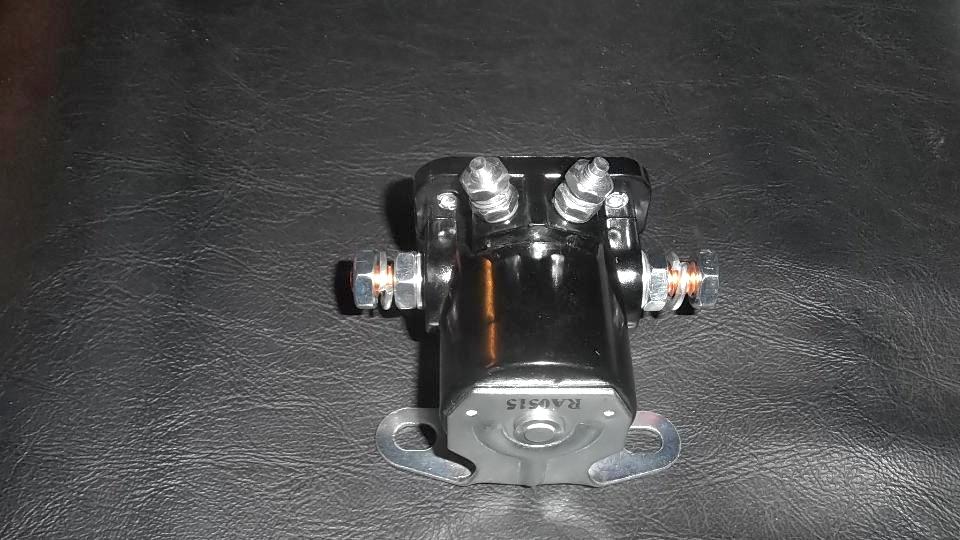
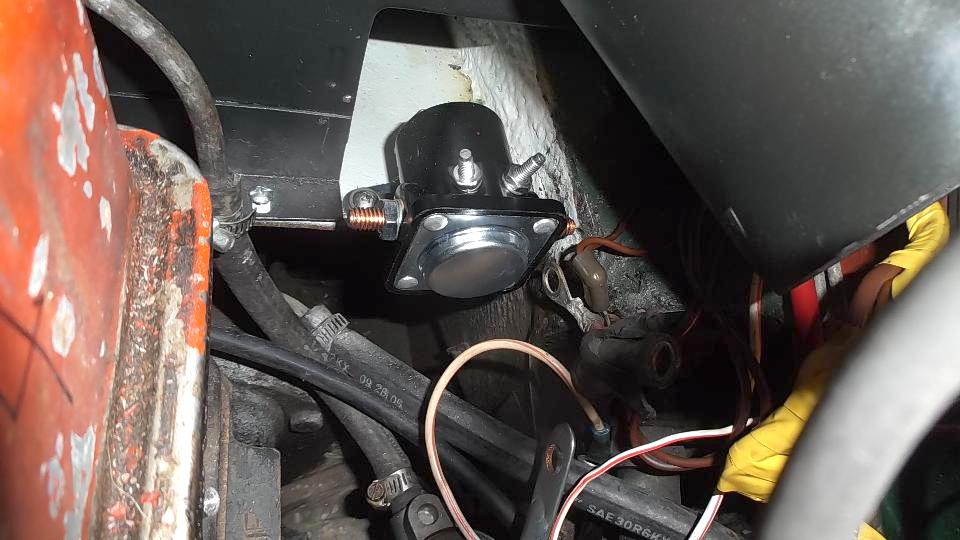
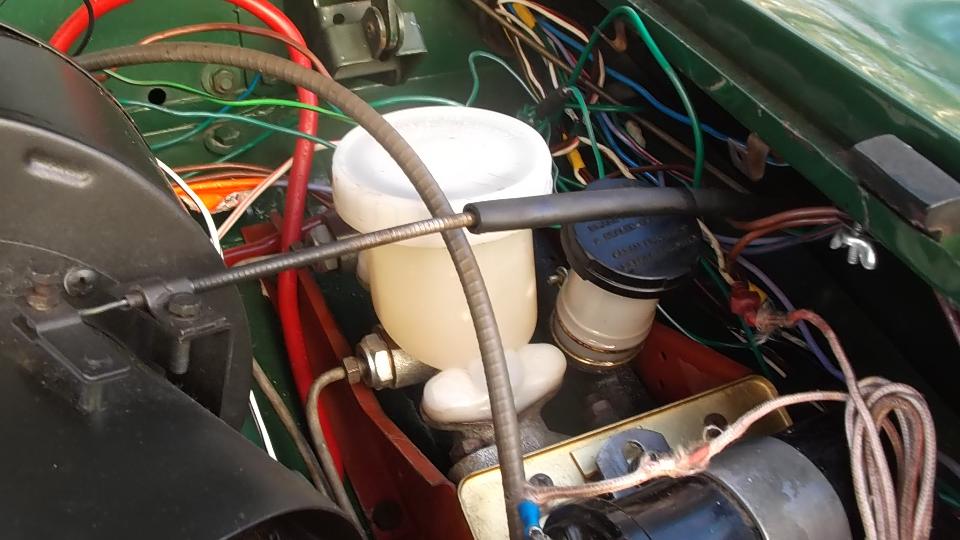
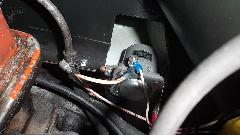
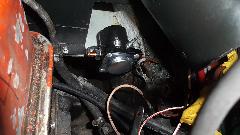
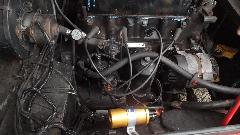
Then tend to an intermittent starter problem, which turned out to be an intermittent contact in the remote solenoid. While removing the old one and installing the replacement, I dropped a mounting screw which got trapped between the starter motor and inner frame rail. During a contorted process of retrieval with a coat hanger I found a few more fasteners that had found a home in an obscure area of the chassis.
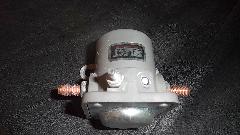

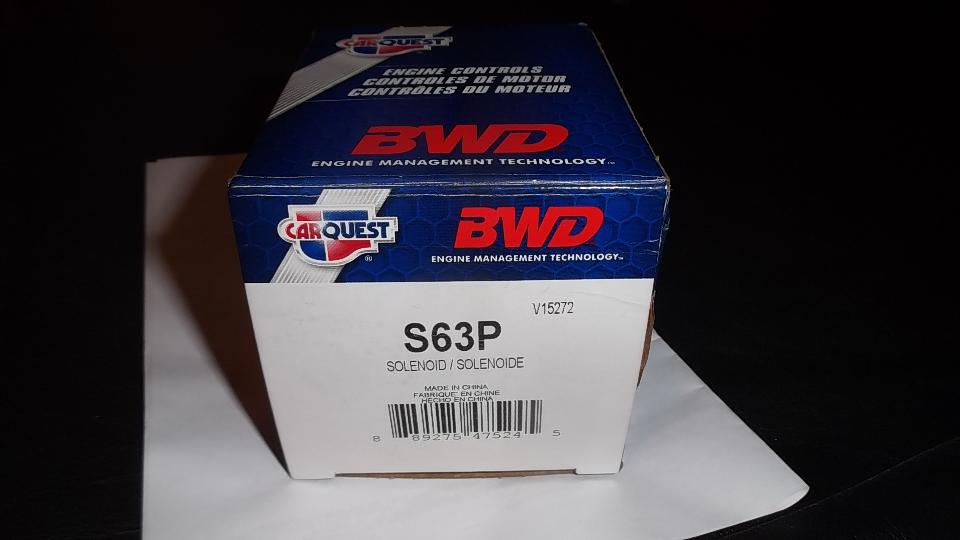
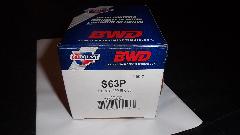
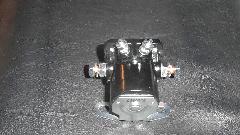
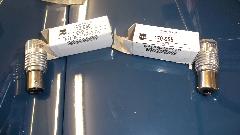
The parts store didn't have a listing for the part for the Midget. They did have a listing for a solenoid for an early MGB, but that part was $72 and not in stock. So I rolled off a few suggestions for alternate "generic" parts, turning up a solenoid listed for a late 1960's Chevy. It was an Advance Auto Parts store, a Car Quest branded package for a Borg Warner Division part number S63P, in stock for under $20. Once installed, perfect function, including the bypass wire for the ballast resistor. Note to self: Go back and buy another one for a traveling spare.
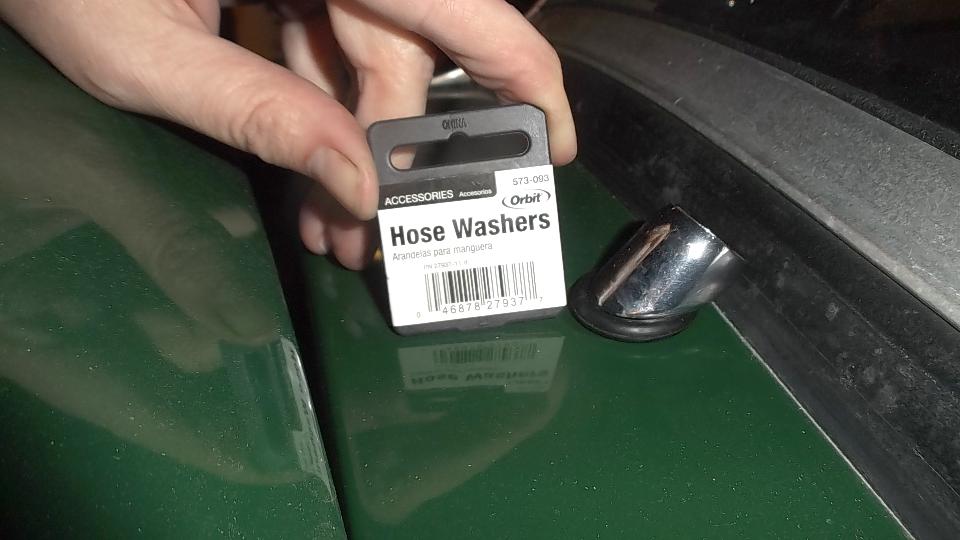
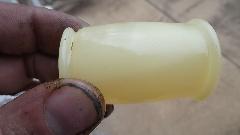
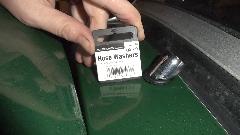 Here's a quick tech tip from Elizabeth. When you can't buy the proper replacement gasket for the windscreen wiper spindle plinth, pick up some generic black garden hose washers from the local hardware store. They easily deform from round to oval shape and do a good job of sealing.
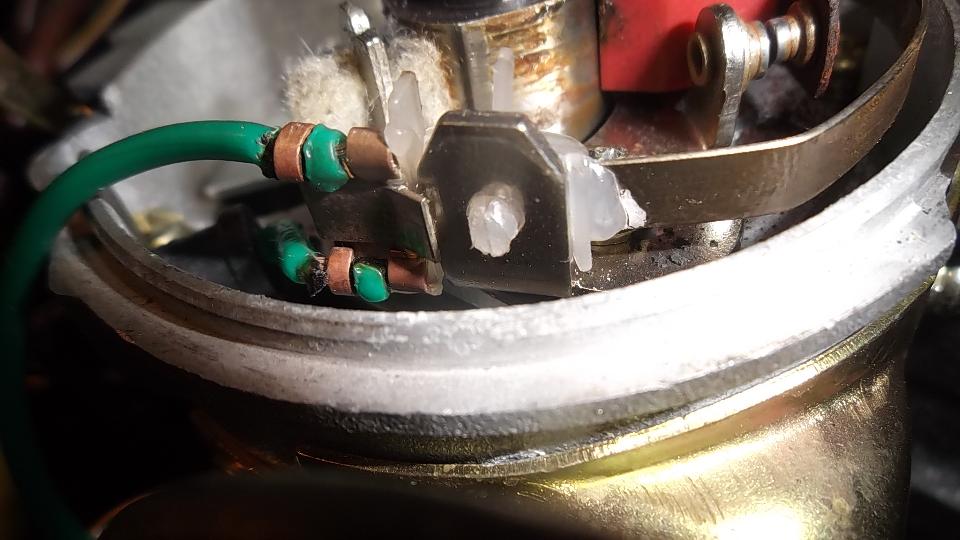
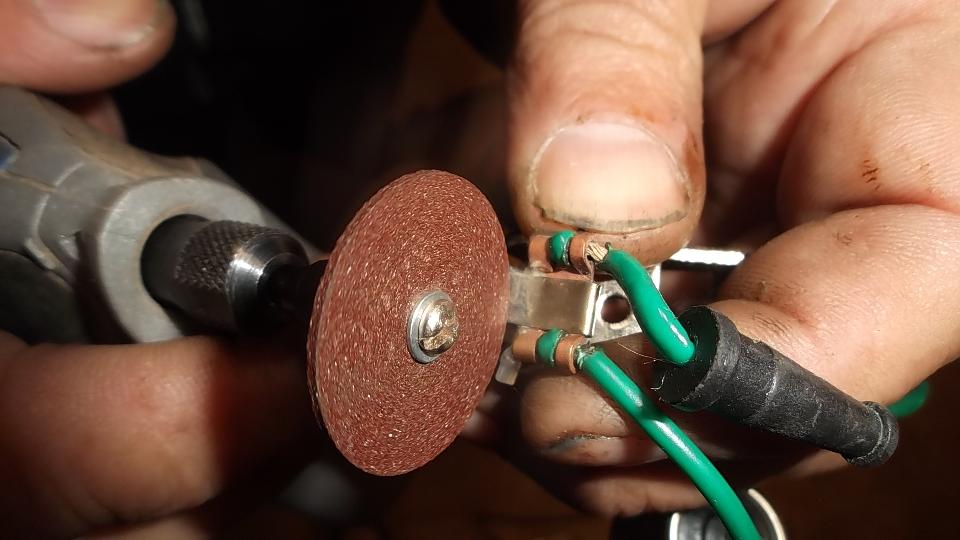
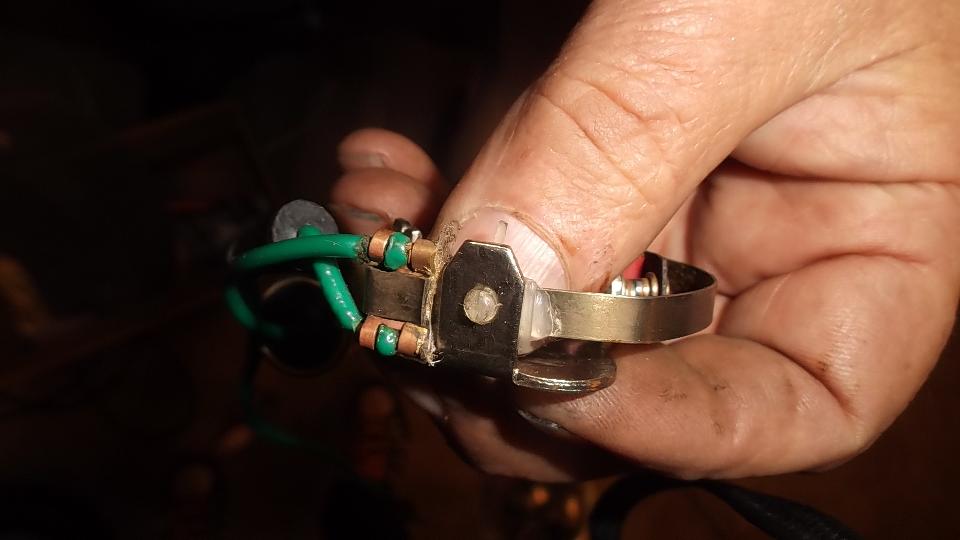
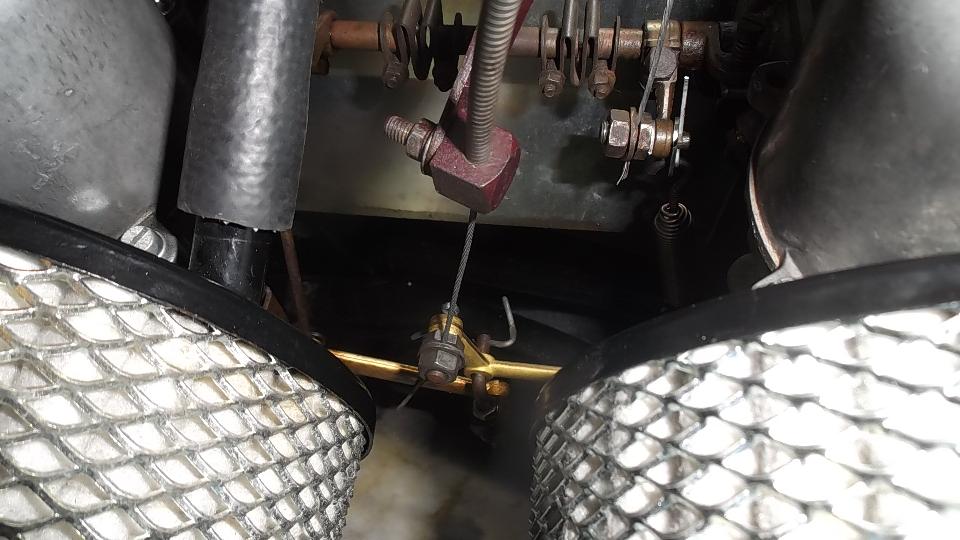
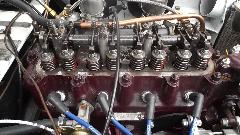
Then we hit another snag with intermittent spark. Occasionally the engine would start and die. Most of the time no spark at all. This turned out to be a design or manufacturing fault with the contact points set in the all new distributor. The tail of the points leaf spring was shorting to ground on the mounting bracket Solution was to use a Dremel grinding disc to cut the spring tail a bit shorter to avoid the physical contact to ground. When reinstalled, the engine fired right up.


Time for a late dinner, so we didn't get to the clutch control issue yet, maybe tomorrow.
Thursday February 18, 2016
Late start today, mid afternoon, bound and determined to get the Midget clutch hydraulics working, last thing standing in the way of a test drive. Jack it up, put a small hose on the bleed nipple, use thumb as a check valve, pump repeatedly, stop to fill the reservoir a couple of times, and it's done. Fire it up! YEE-HAA.
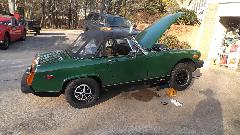

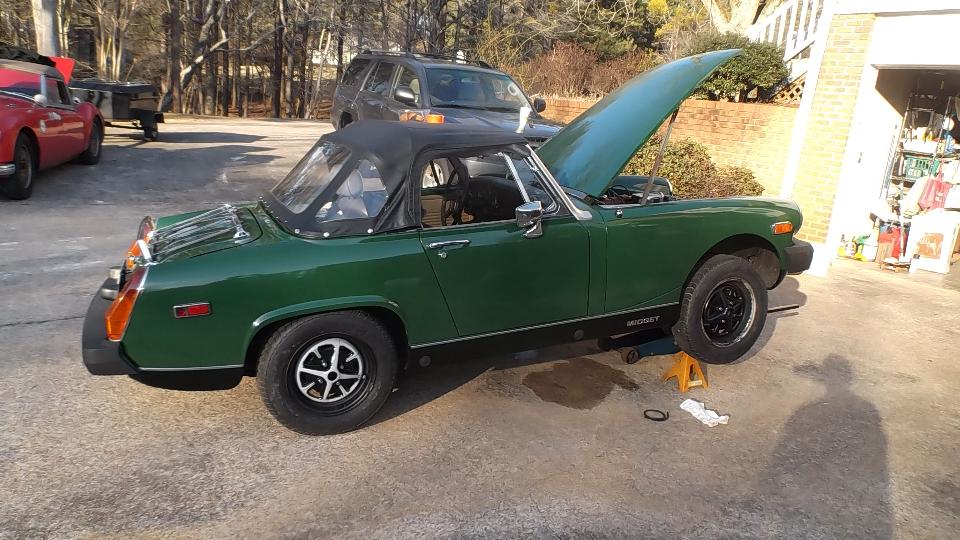
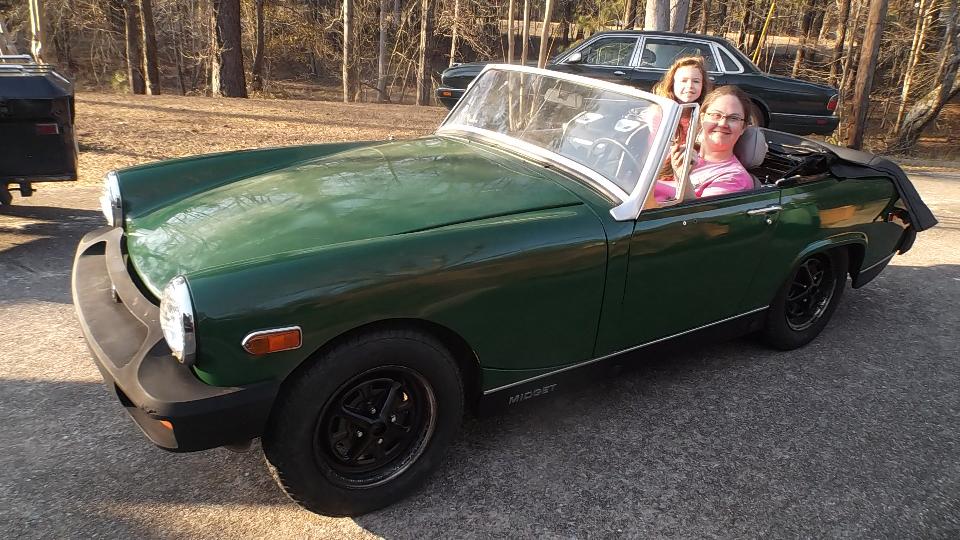
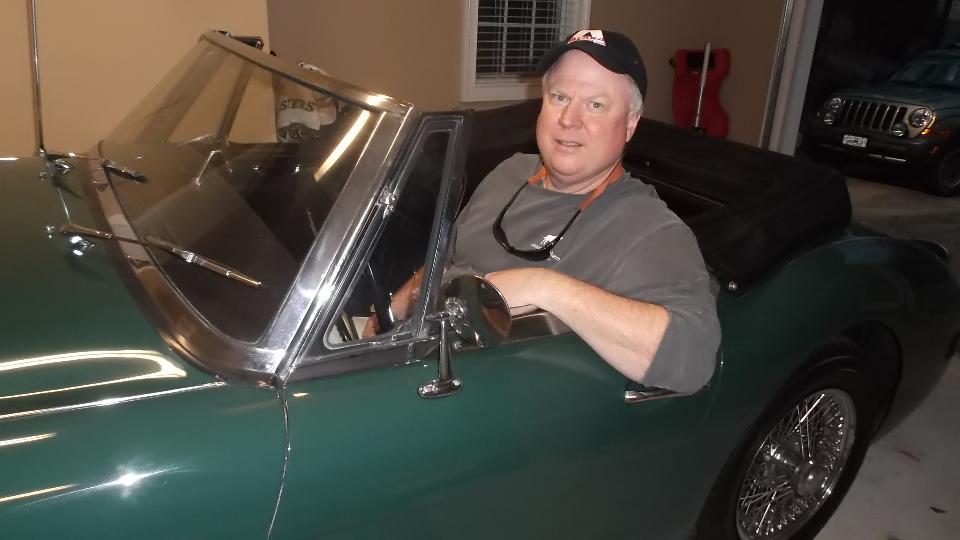
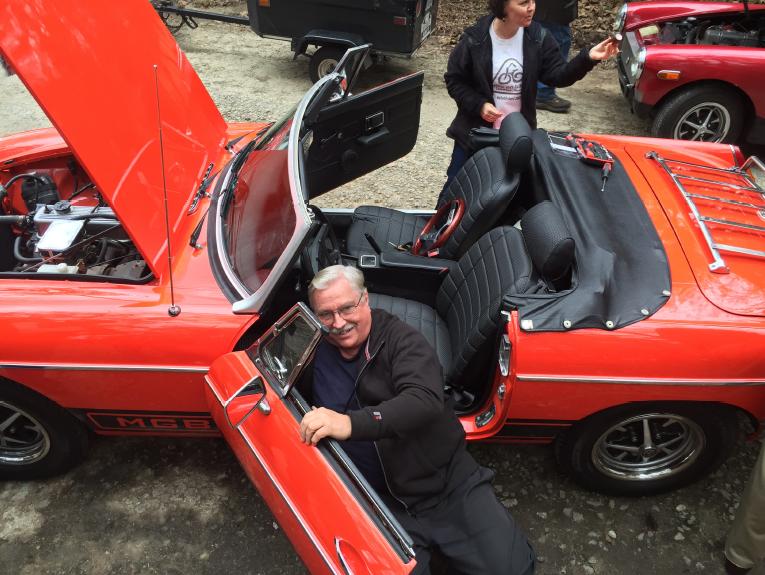
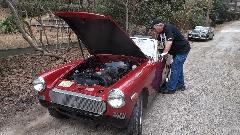
Engine runs, clutch works, synchros work as it runs through all the gears, and reverse works (once you figure out where it is). I recon the big grin tells the story best. I don't know how many years this car had been off the road, but it has been several months since Elizabeth drug it home.

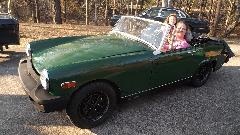

Family dinner at a restaurant tonight, time to celebrate, and Elizabeth was bound and determined to drive the Midget. Jolly good fun, table for 11 I believe, and the family was kicking tires in the car park after dinner.


Friday February 19, 2016
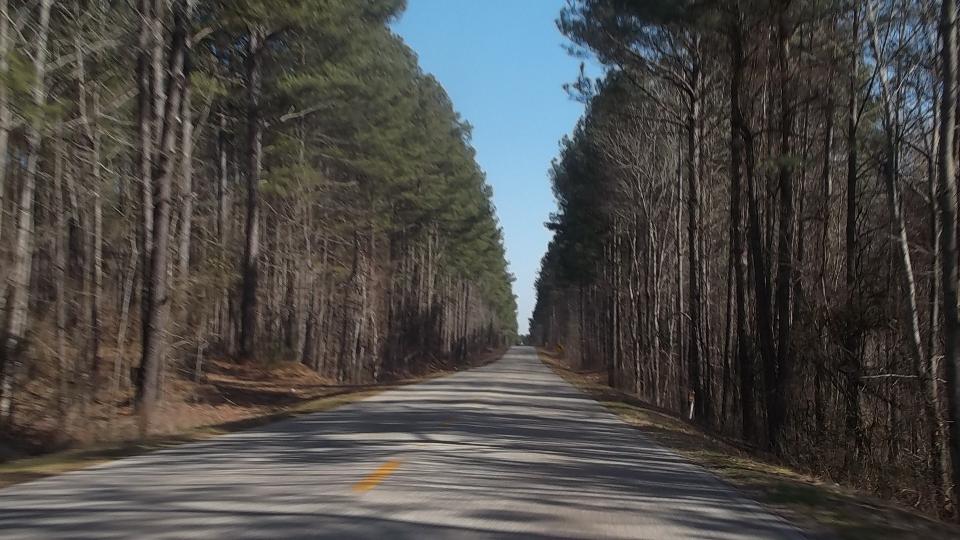
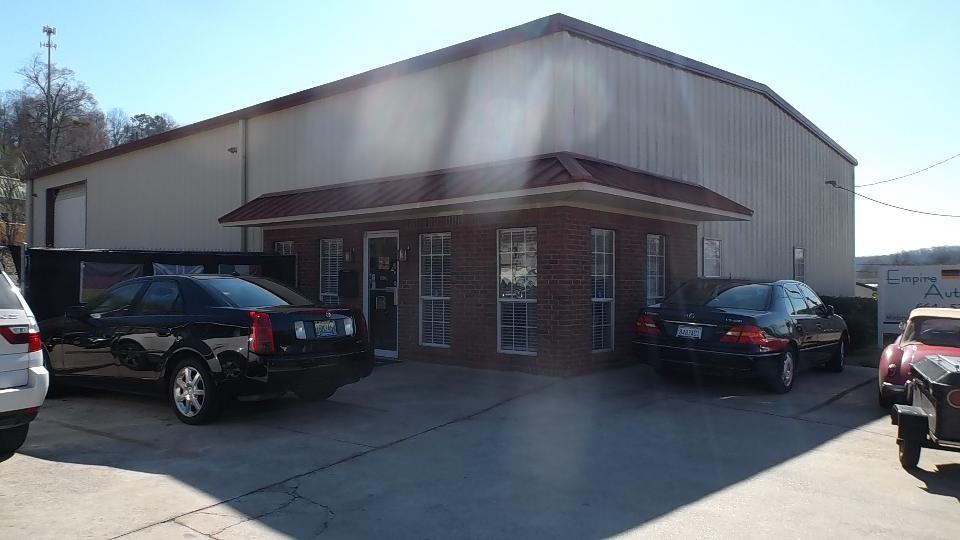
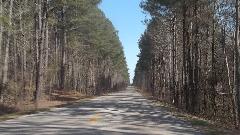
Morning WiFi, and a postponed appointment due to inconvenient timing. We will have to return to Tuscaloosa later. With a week day free we were heading east, avoiding the expressway, taking US-11 through the woods, very pleasant drive. Say hello to Empire Autohaus in Pelham, AL (near Birmingham). These guys are big on modern European cars, Porsche, Audi, Mercedes, but also strong into vintage sports cars.


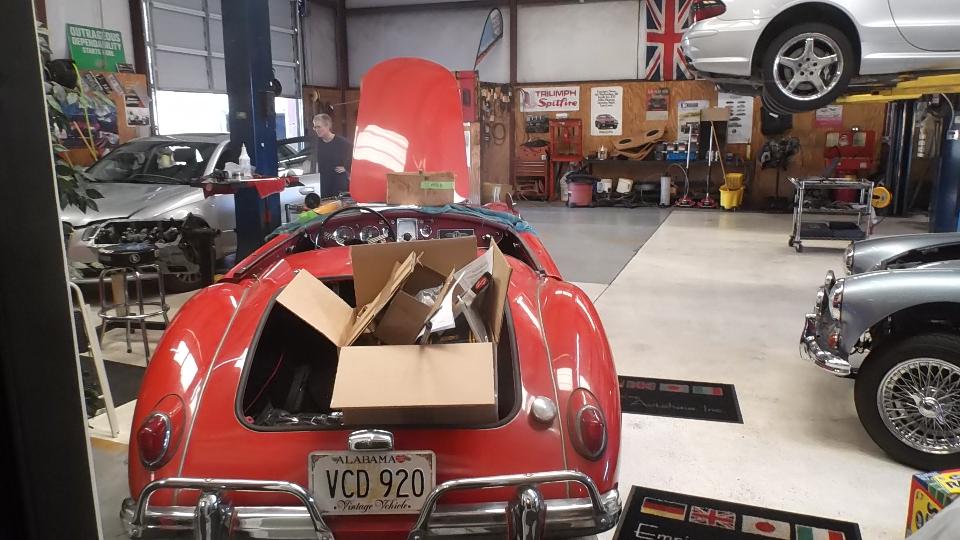
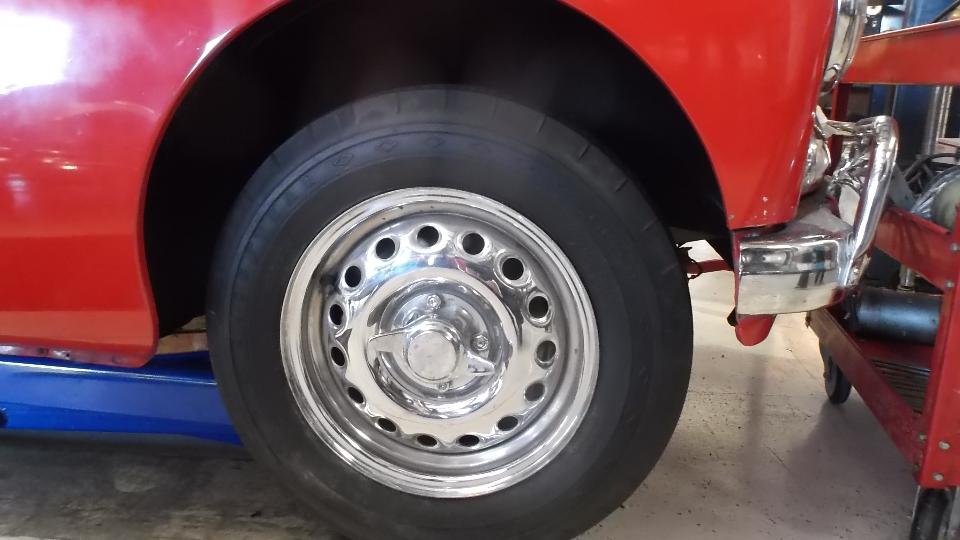
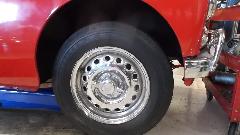
Oh my gosh, there's an MGA Twin Cam with chromed Dunlop pin drive wheels and period correct Arnolt front and rear Auto-Guards. It is here for a new wiring harness (among other things).
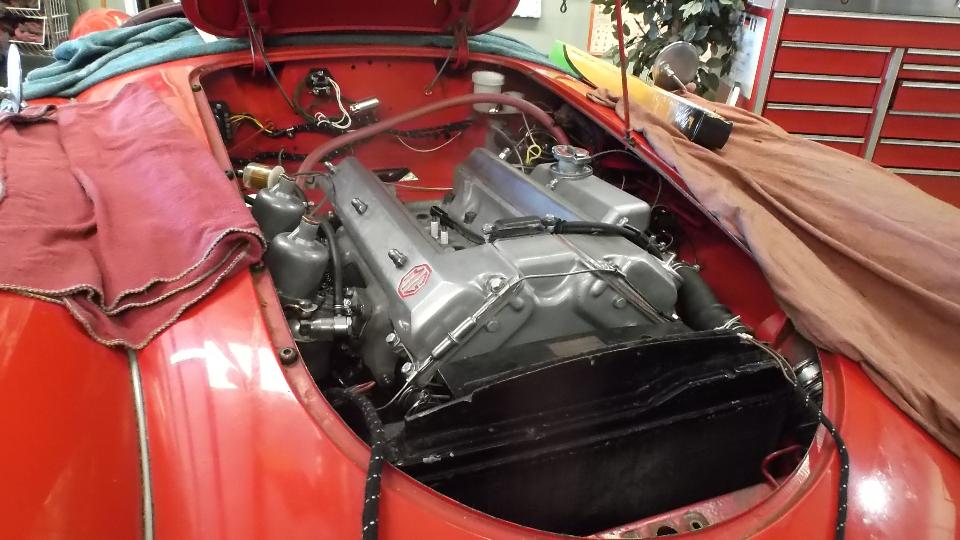
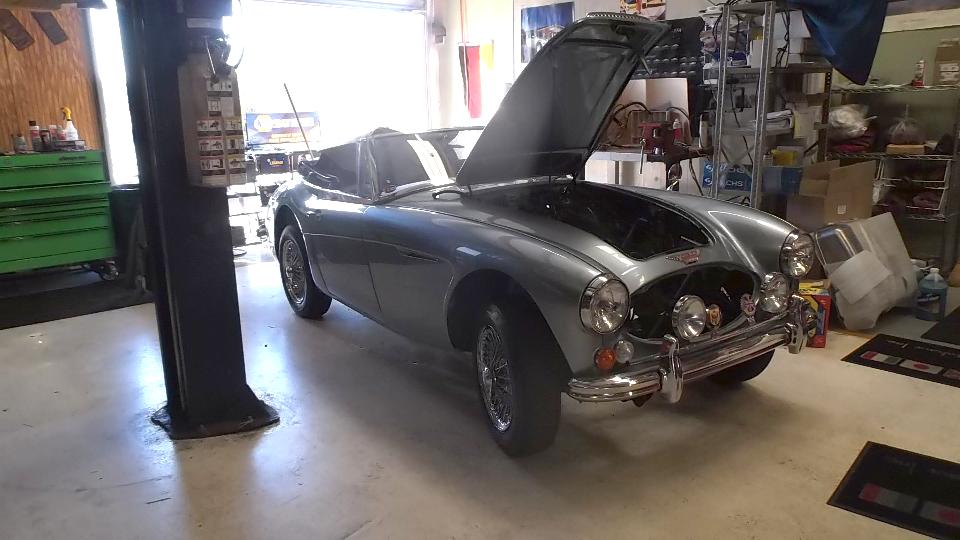
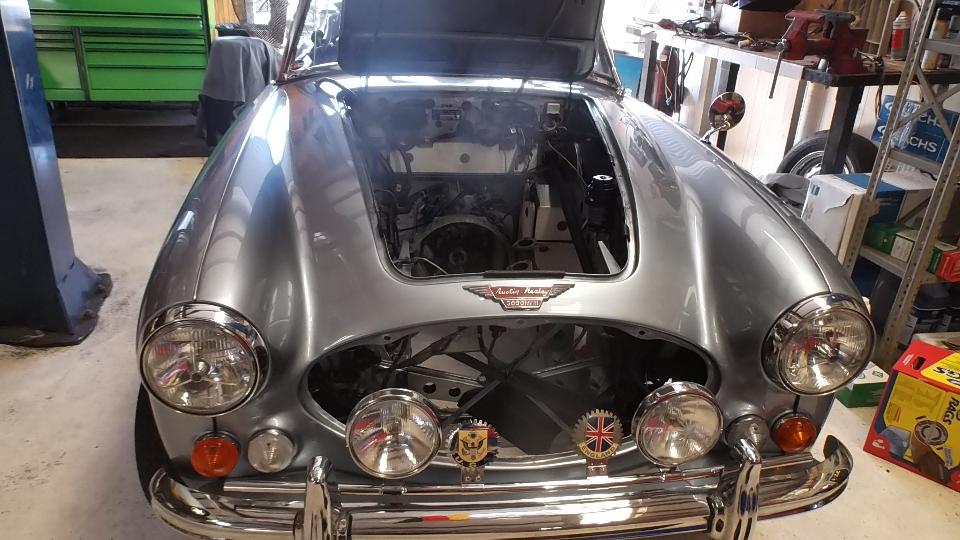
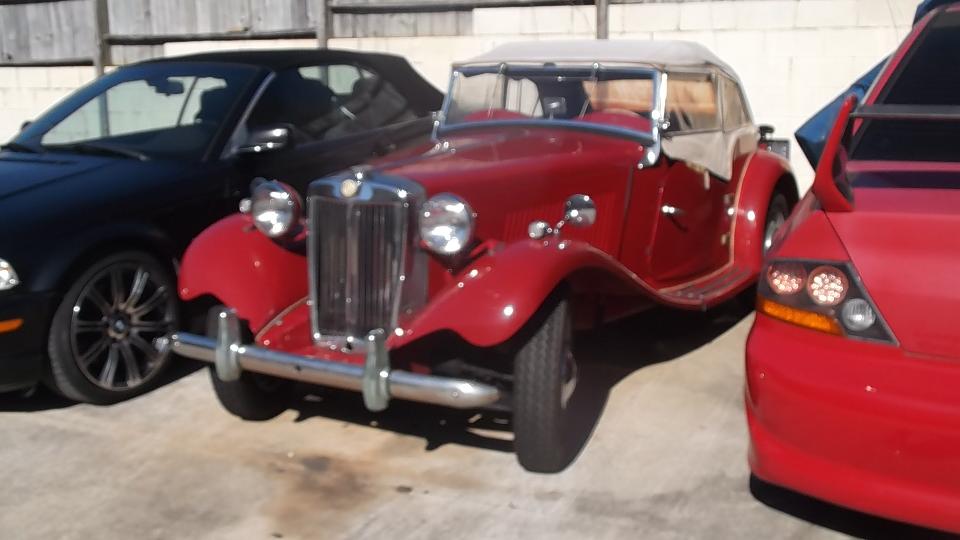
Also an Austin Healey 3000waiting for a new engine (full restoration I think), and an MG TD in the side lot.


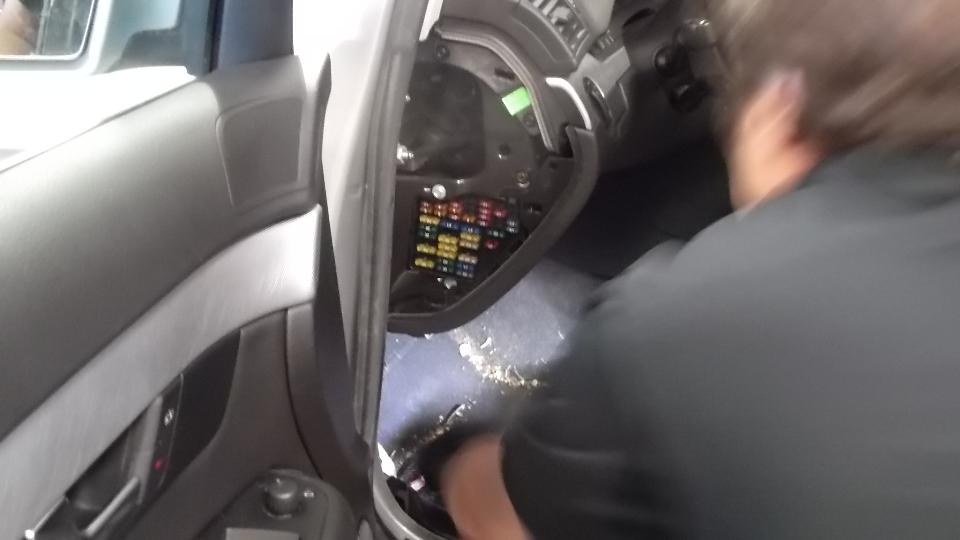
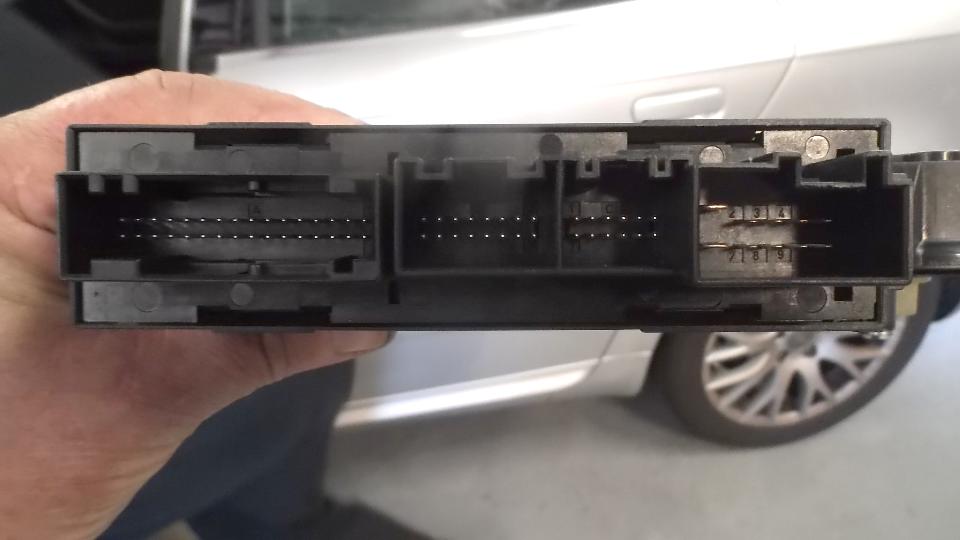
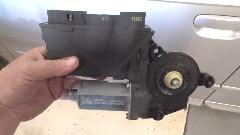
 Say hello to Alan Apel who owns and runs the place, hands on. Today he was "fussing" with a computer problem in an Audi A4. The "body control computer" is under the driver side floor while a "comfort control computer" is inside the door attached to the window winder motor. Replacing either or both did not solve the problem, until he found a pinched cable passing between door and body. That was a very expensive repair. I mention it here as a reminder why I really like my vintage MG.
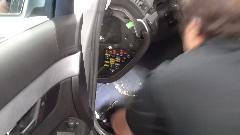

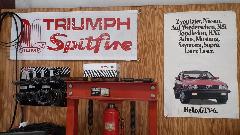
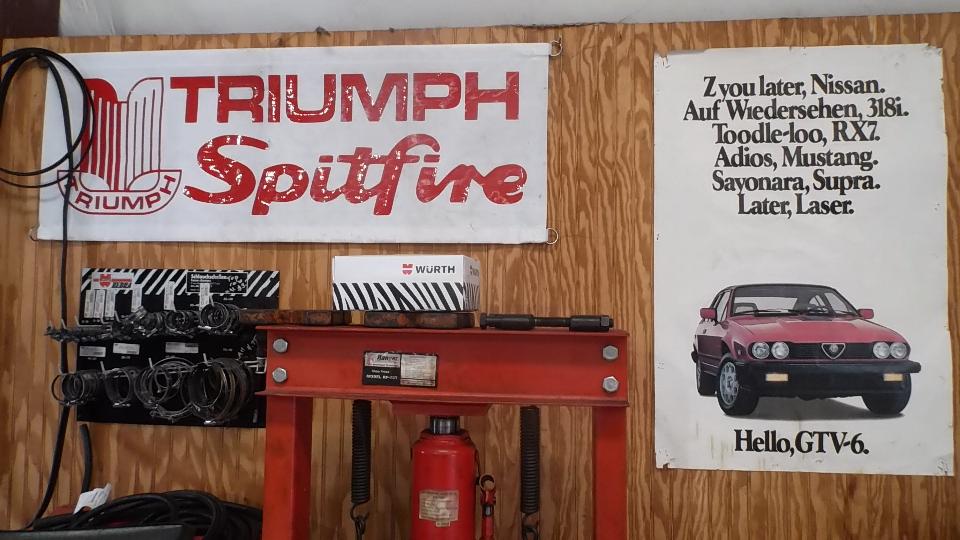
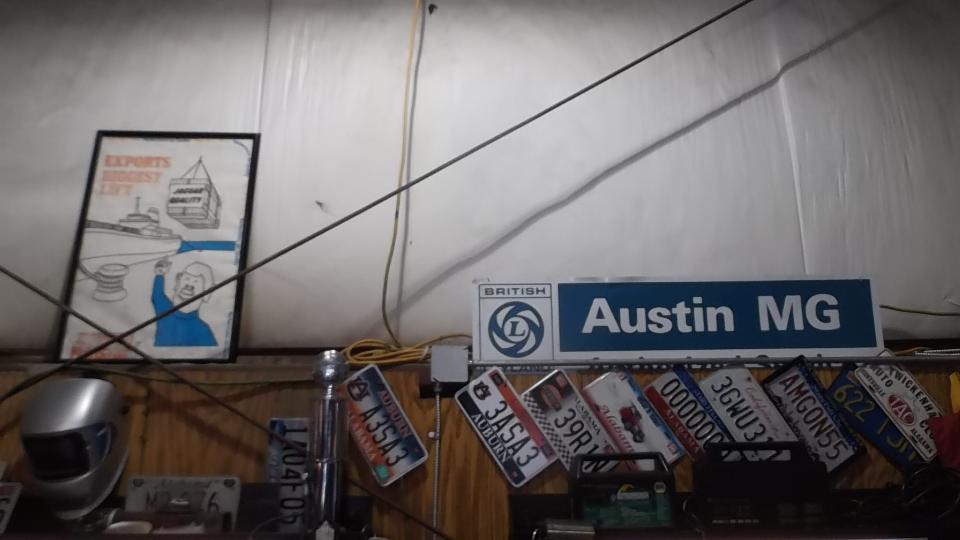
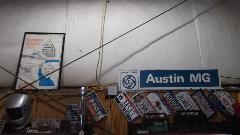 Go head and count the fuses, and they are not all in one place. --- Some of the memorabilia hanging around the walls. A hallway is lined with racing posters. It is a good place to have your vintage British car serviced (yes, Alfas too).


Saturday February 20, 2016
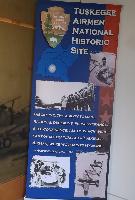
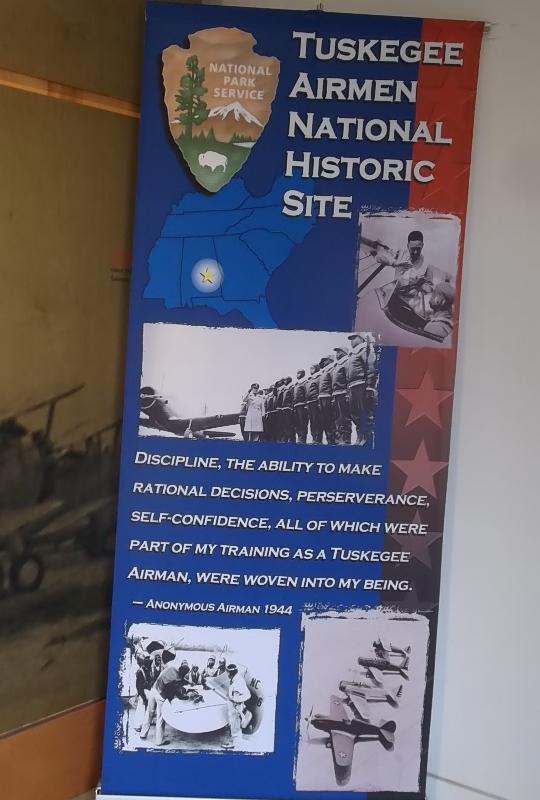
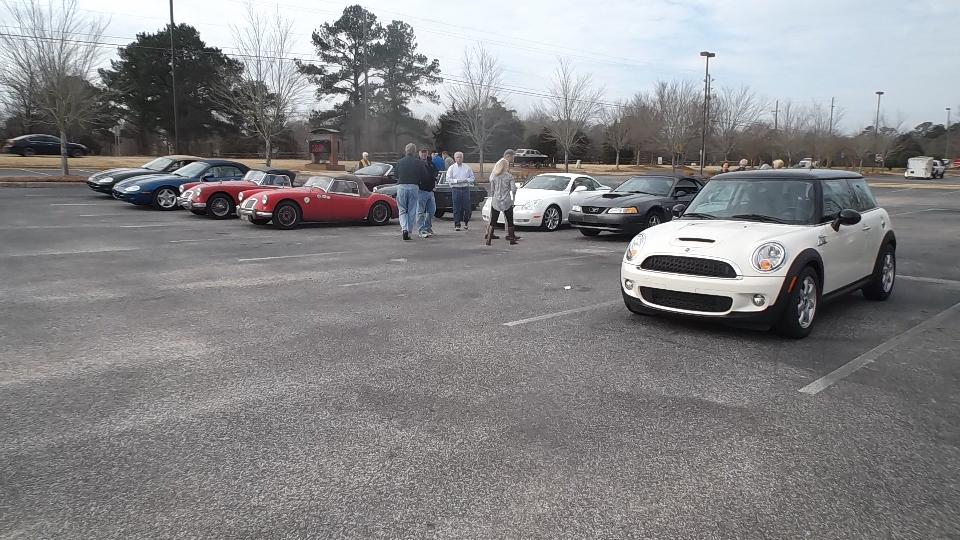
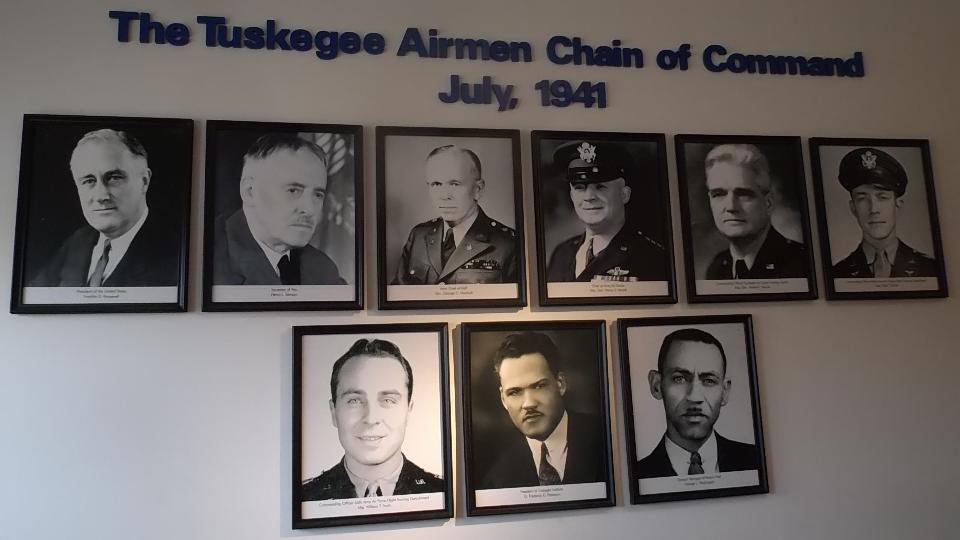
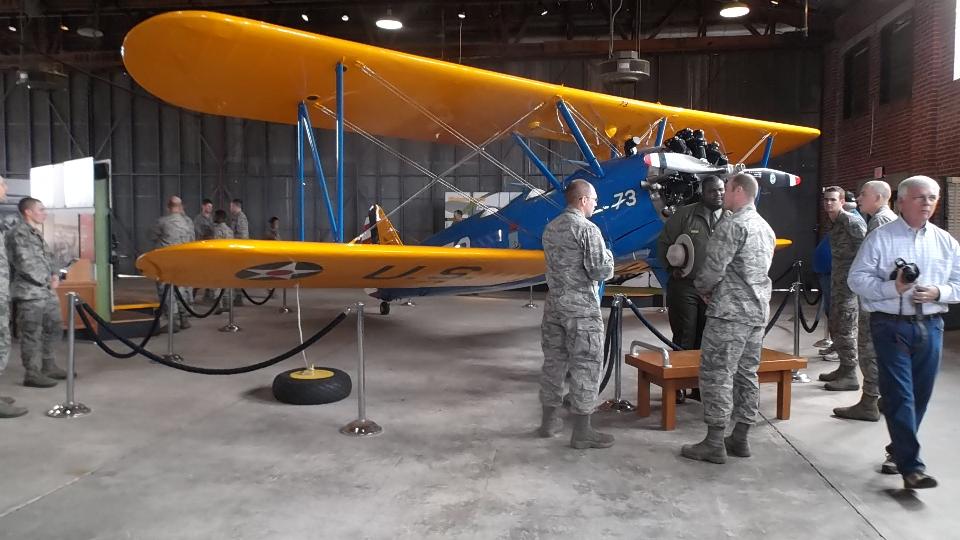
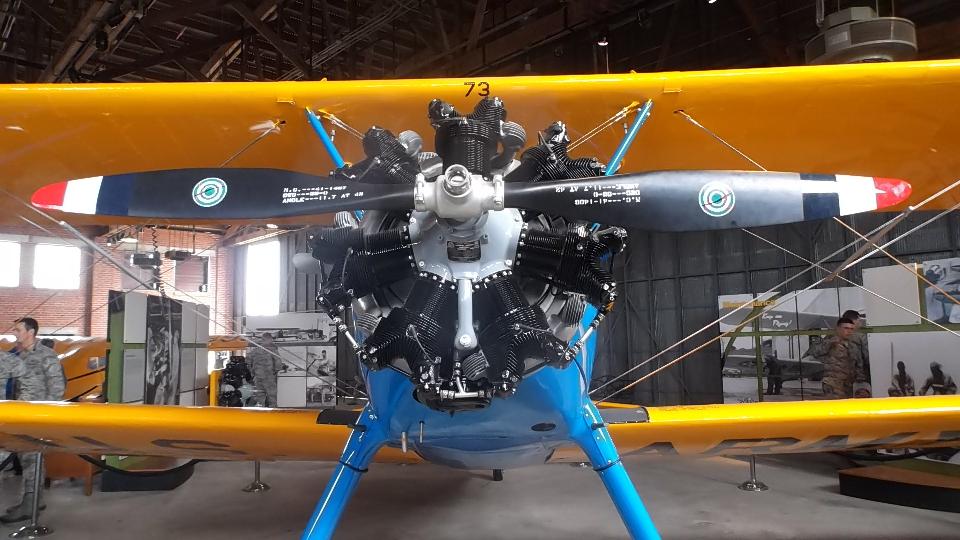
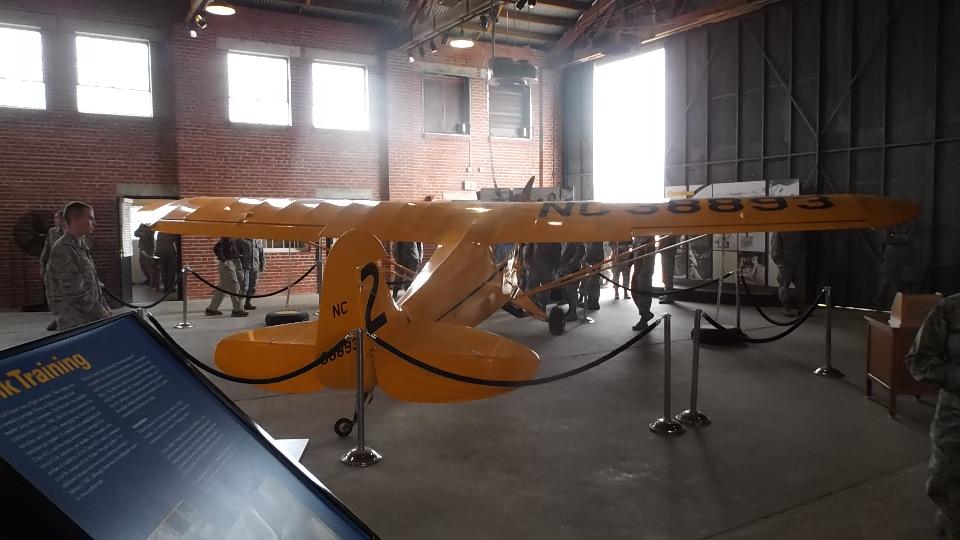
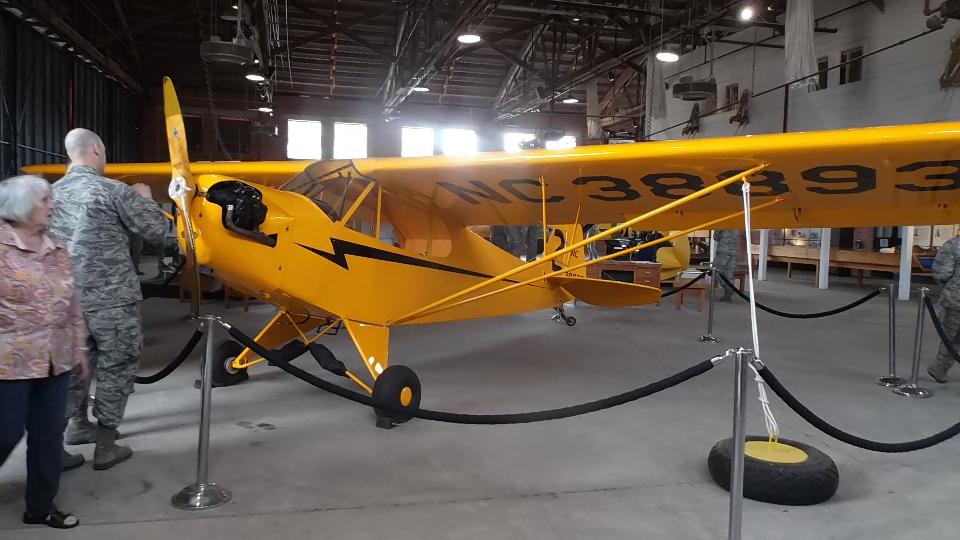
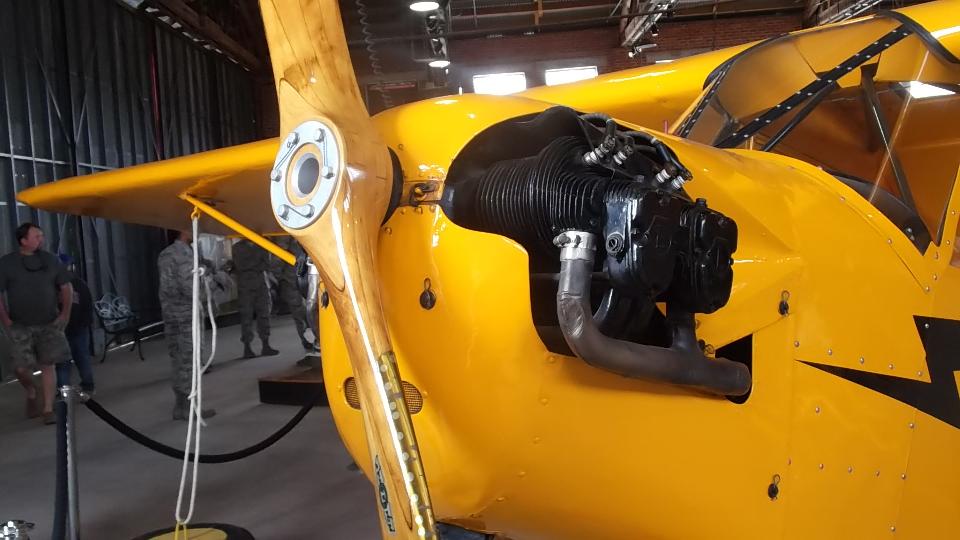
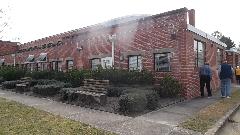
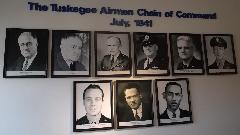
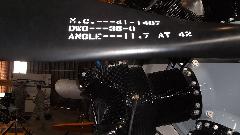
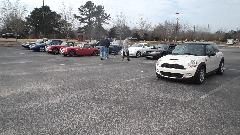 Today we collected a dozen cars from British Motoring Club of Montgomery Alabama. We met at Pikes Road (a town SE of Montgomery) and caravanned to Tuskegee to visit the Tuskegee Airmen Museum. This is a commemoration of the first squadron of black airmen who flew fighter planes during World War II, primarily as protective escort for bomber planes. It is an interesting place with two hangers containing half a dozen period fighter planes and lots of memorabilia of the era. There was a 30-minute video about the Tuskegee Airmen and their contribution to the war effort.


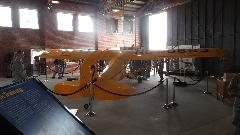

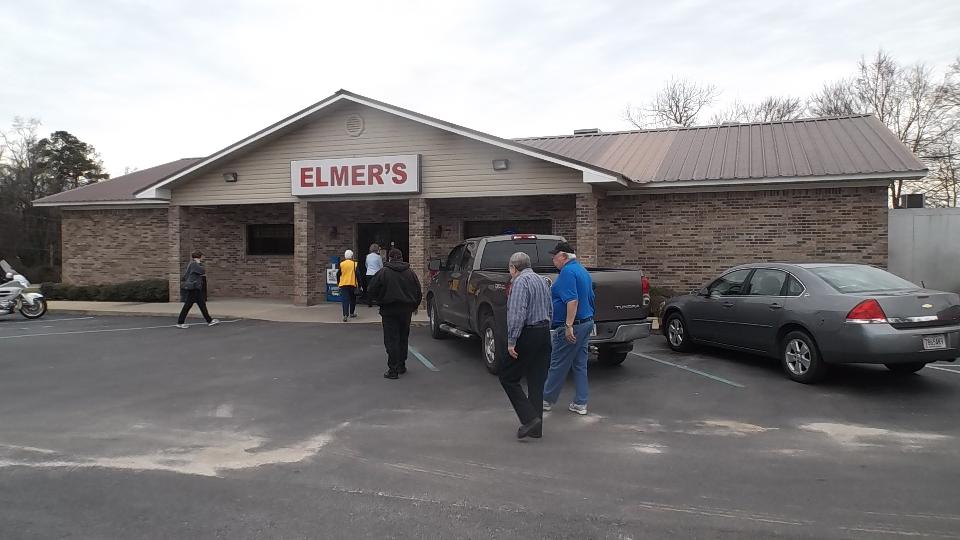
Following the museum tour we drove north to Notasugla for lunch at Elmers. Fair food at a fair price, nothing to write home about, but the comraderie was well placed.


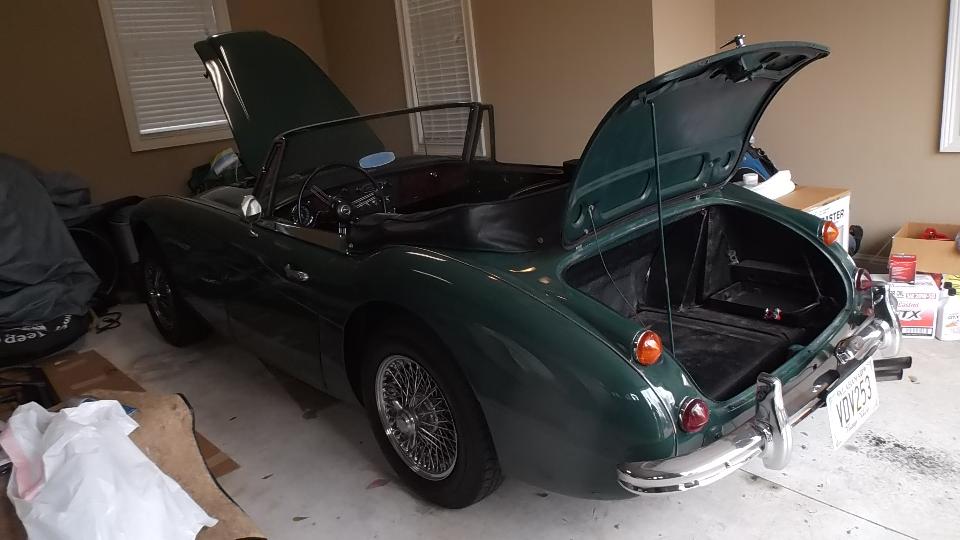
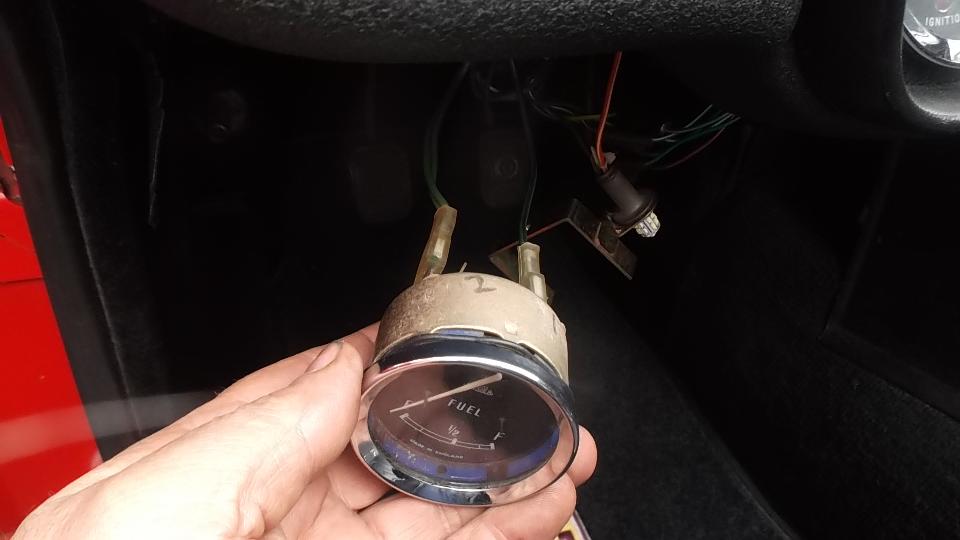
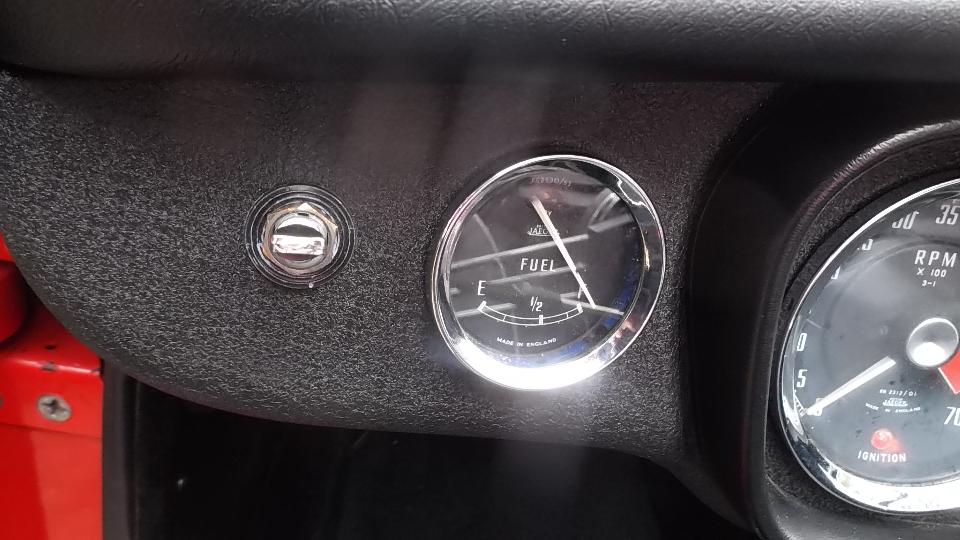
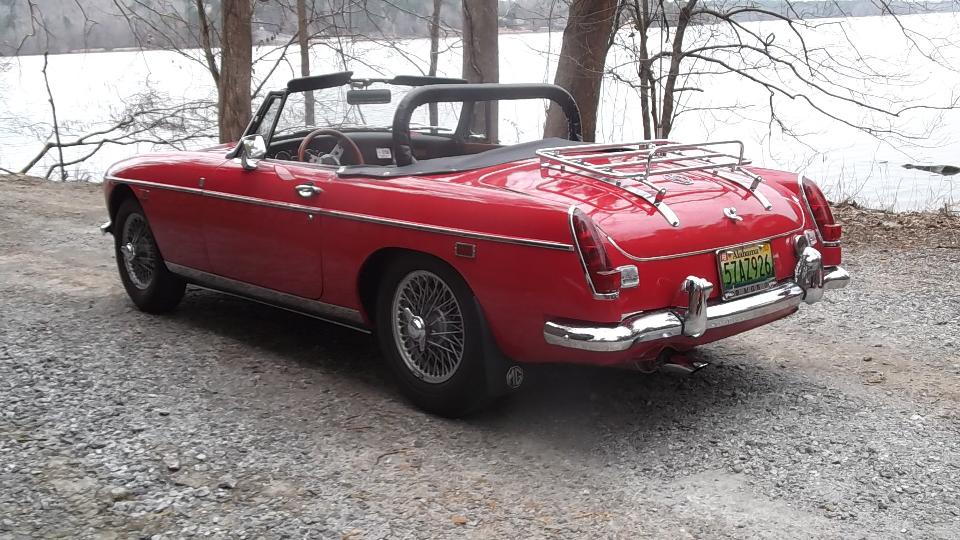
Then we left the club behind and continued east to visit Dave Ketchen in Opelika, AL. He has a nice Austin Healey 3000 MK-III. When the fuel gauge didn't work he bought a new fuel level sender unit for the tank, but then the fuel gauge was stuck forever on 1/4 full.
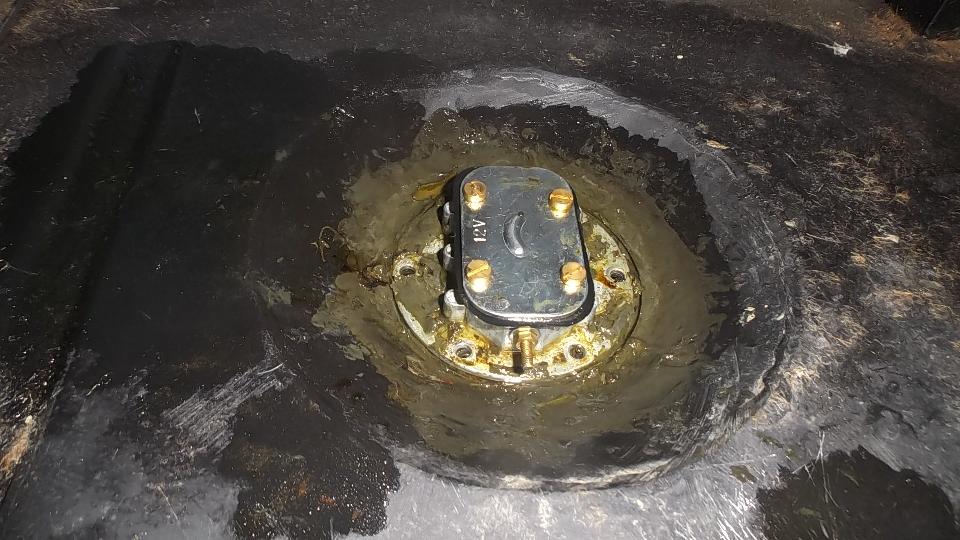
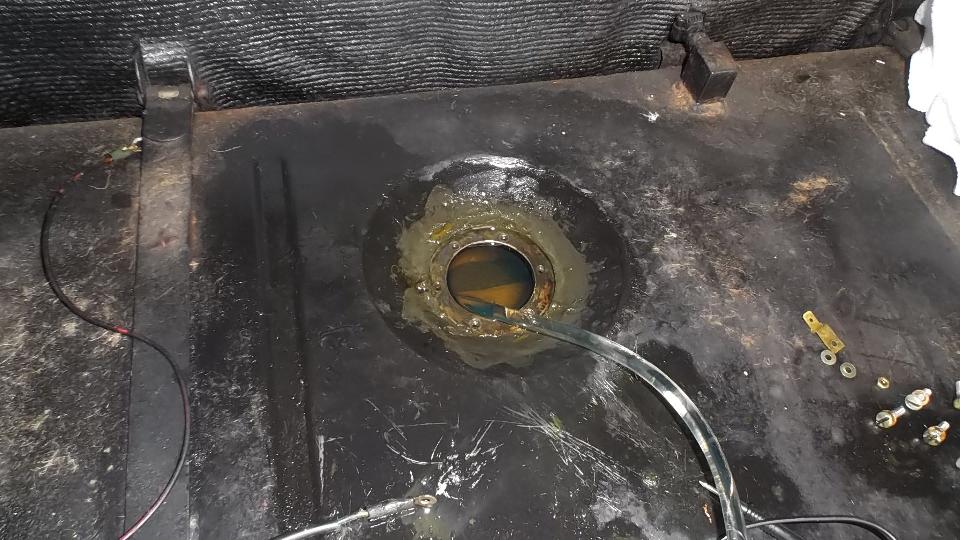
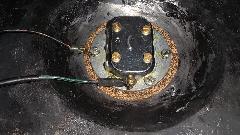
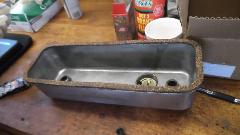
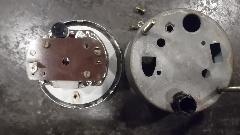
 Shorting the gauge "T" terminal to ground drove the gauge to "E". Disconnecting the "T" wire drove the gauge hard against the "F" peg. So apparently the gauge was working. Reconnect the gauge wire, go to the boot, disconnect the signal wire from the sender unit, and the gauge goes hard to a"F". Ground the signal wire, and the gauge goes to "E". So far so good. Resistance in the sender unit should go from 0-ohms empty to something like 70 ohms full. This tank was full (fuel leaking out around the sender gasket on top), but sender resistance was about 1-ohm. Time to remove the faulty sender unit for inspection.
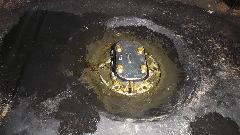
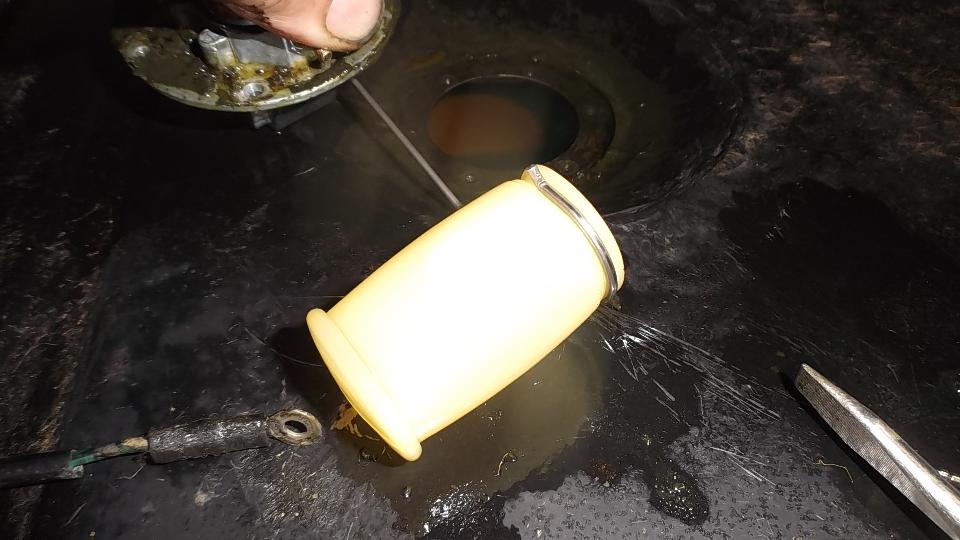
Six screws later, that was an easy diagnosis. The new sender unit had a new plastic float full of fuel (not floating). We found where the attachment wire arm had poked a hole in the thin plastic float. Bummer, and a common problem.
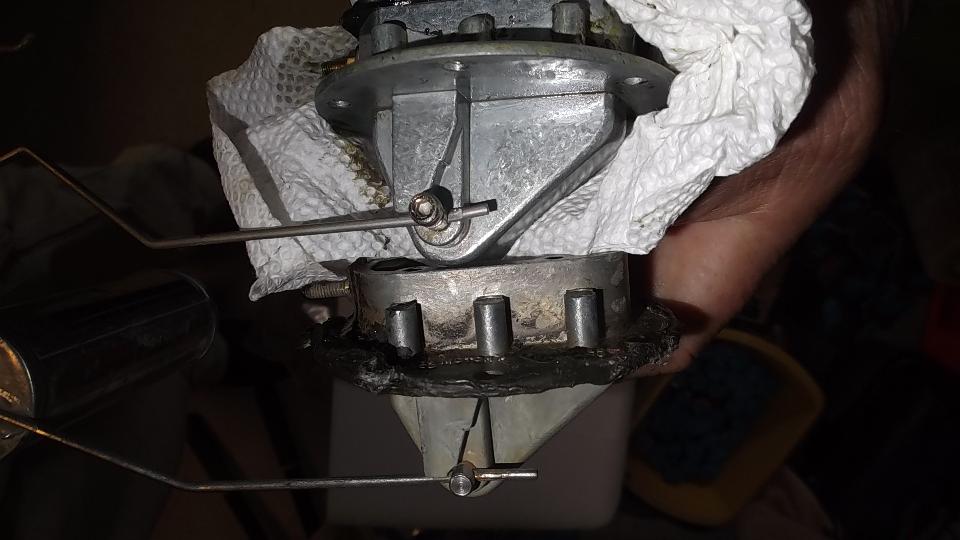
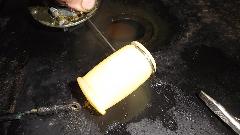
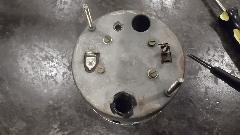
 Did I ever tell you I hate plastic floats? We conjured up the idea of transferring the nice metal float from the old sender to the new sender. The old arm was staked in place, while the new arm was secured with a screw. A bit of tapping removed the pressed wire from the old unit. Trying to attach the old arm to the new sender, the screw thread stripped. Another bummer. JB Weld came to the rescue (don't leave home without it).
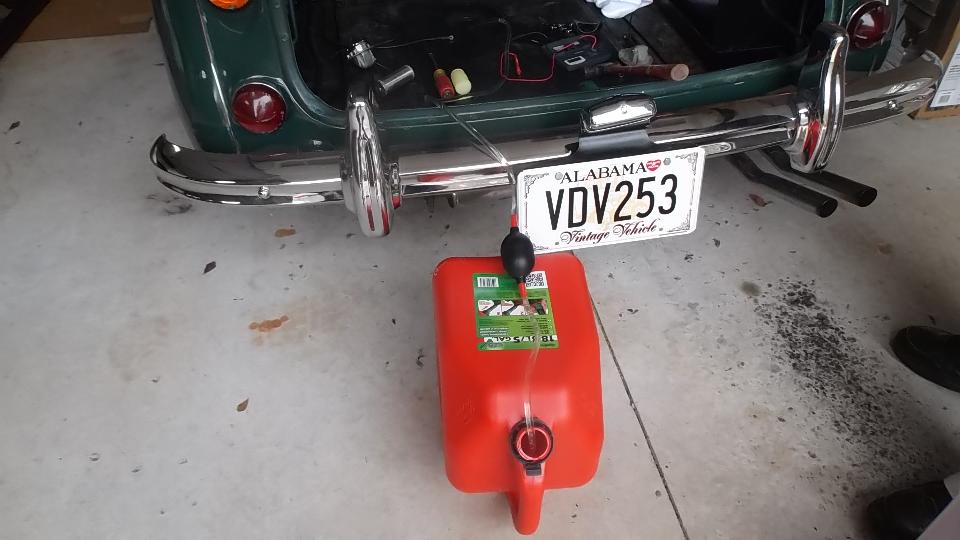
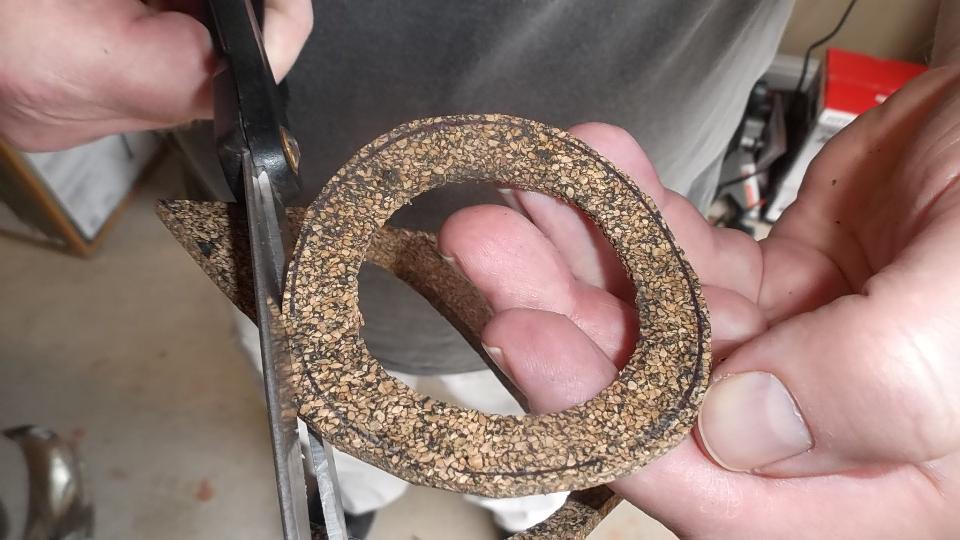
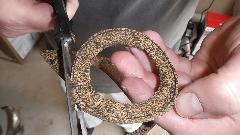
Siphon some fuel out of the tank to lower the level, not to wet the newly "glued" sender arm joint, and to allow cleaning and drying of the sealing surface. Trip to the parts store to buy some 1/8-inch cork gasket material, cut an oversize square, hold it over the opening in the tank, and use a pocket knife to carve the matching hole in the gasket. Mate cork to sender unit, and drill holes in the cork with 1/8-inch drill (nicely undersize to seal against the 3/16 diameter screws). Hold cork to sender again to trace a circle around it, and cut it out with scissors.

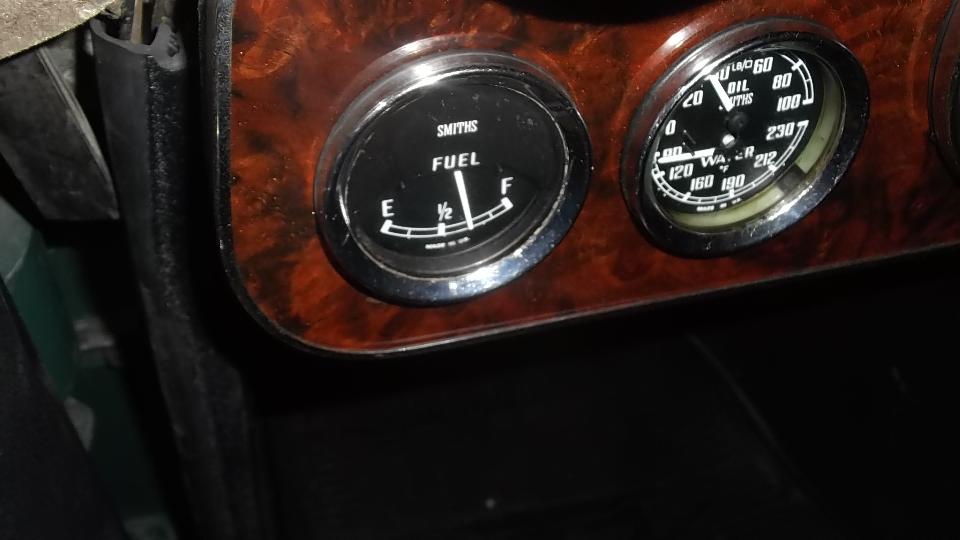
Cork to sender, poke screws through sender and cork, reassemble sender unit into tank with ground wire, tighten screws connect signal wire. Consider fuel level in tank. When you switch on ignition the gauge should go to about 3/4 full. TA-DA! We win. Witness big grin. Next time you fill it up, check to be sure the sender unit screws do not leak. Undersize holes in the gasket is the secret to leak free screws, and the cork does not need any sealant. Goodbye Dave, we need some WiFi time and will travel a bit more east tonight.

Sunday February 21, 2016
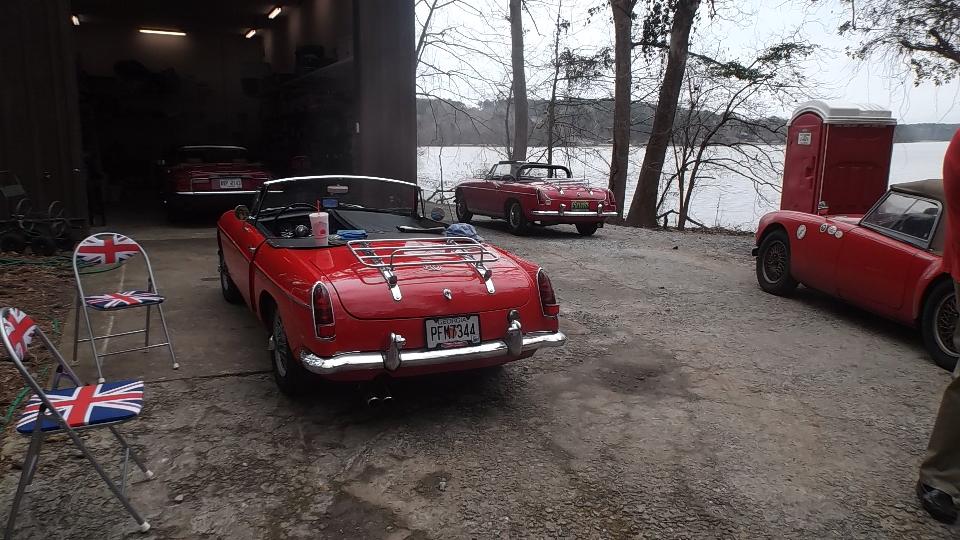
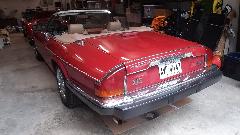
Today we crossed the Chatahoochie River and staged a tech session with Brits In The Valley club in Columbus, Georgia. This is the club we accidentally created out of the mist a year earlier (and therefore one of my favorite places). It was a noon to six gig (back in the Eastern time zone), and we got a lot done Lets see if I can remember what and who. Our host today was Larry Stephens with a huge driveway and home right on the east bank of the Chatahoochie River, He has a Jaguar XJS V-12 and an MGA 1600-MK-II. We will get to the MGA later.


This nice 1964 MGB (early pull-handle car) belongs to Jim Walton. He recently R&R'd the dash panel to have it repainted in original wrinkle black. Very nice but then the fuel gauge didn't work. Easy fix as it turned out two wires for Battery and Tank were switched. put them back the right way, and it works.

This 1969 MGB belongs to Chuck Black (from Phenix City, AL across the river). Distributor rotor is 180 degrees off, so the HT wires are out of place to run. Radiator fan is backward as well. Fairly recent acquisition so who knows what else may be wrong but at least it runs. I think all it needed was a bit of carburetor tuning.

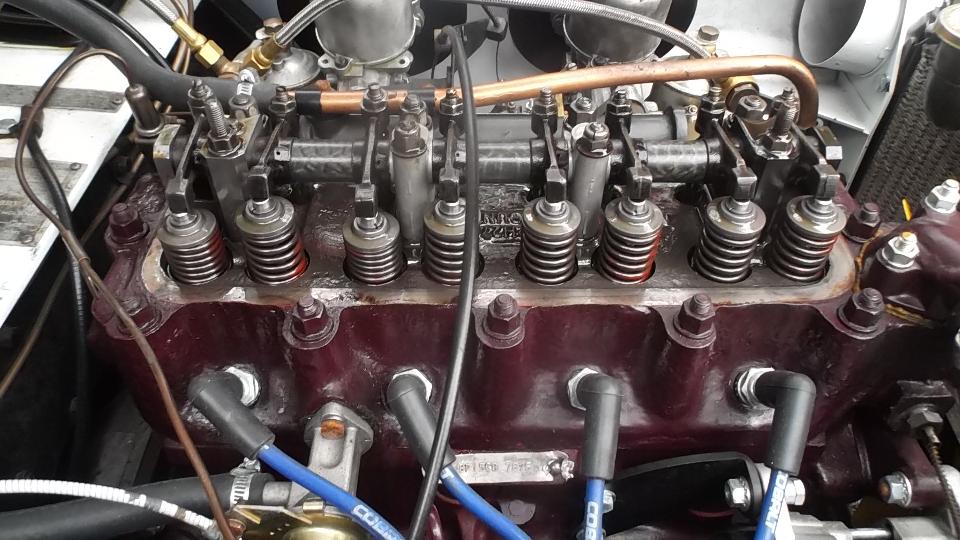
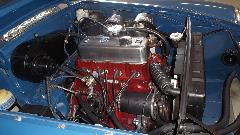
The 1960 MGA belongs to Keith Treadwell. This is the car that was painted in a car port (with amazingly good results), just finishing restoration when we were last hear a year ago. Today it was chattering a bit too much, easily cured with a valve adjustment (good topic for a quick tech session).


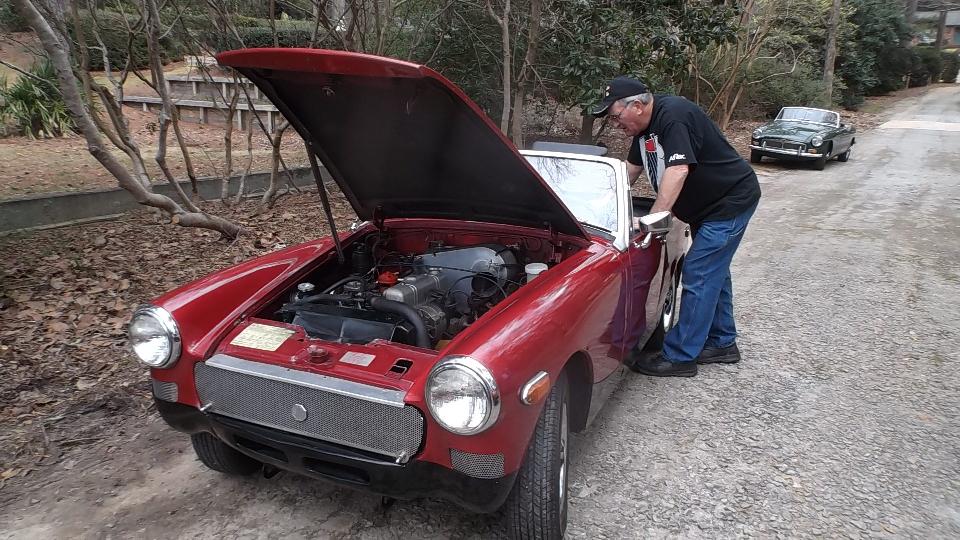
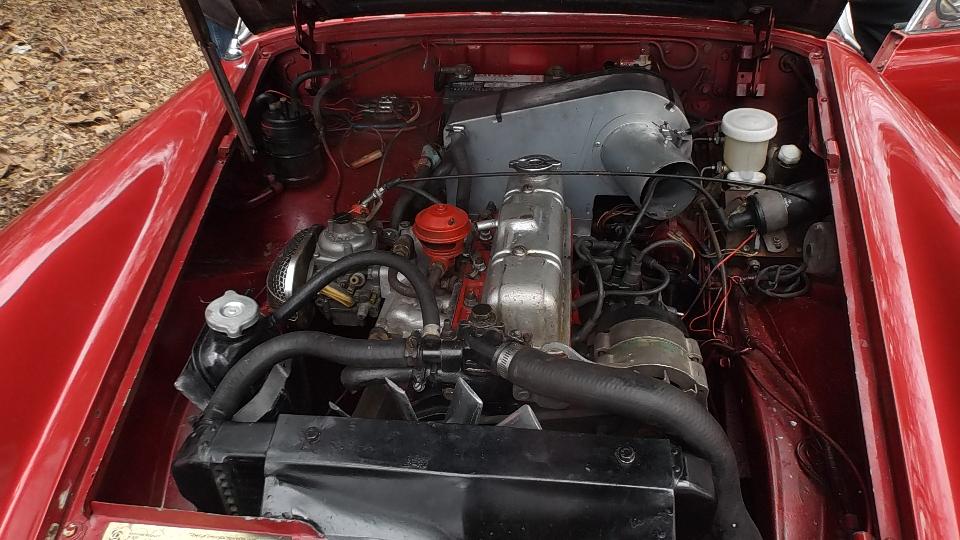
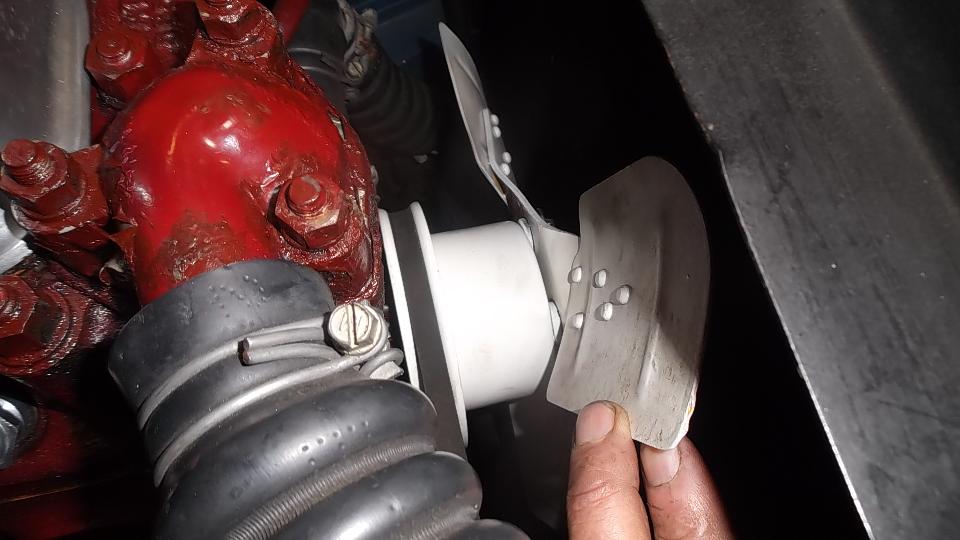
The MG Midget (1978 I believe) belongs to Beau Perry (wrong guy in the picture). It has a rather loud intermittent knocking or chattering noise. First thought was a bad alternator, but I think it has a bad fan clutch with badly worn bearing (wobbly fan blade), so it chatters occasionally. Easy enough part to replace, but not immediately in hand so put it on the next parts order.
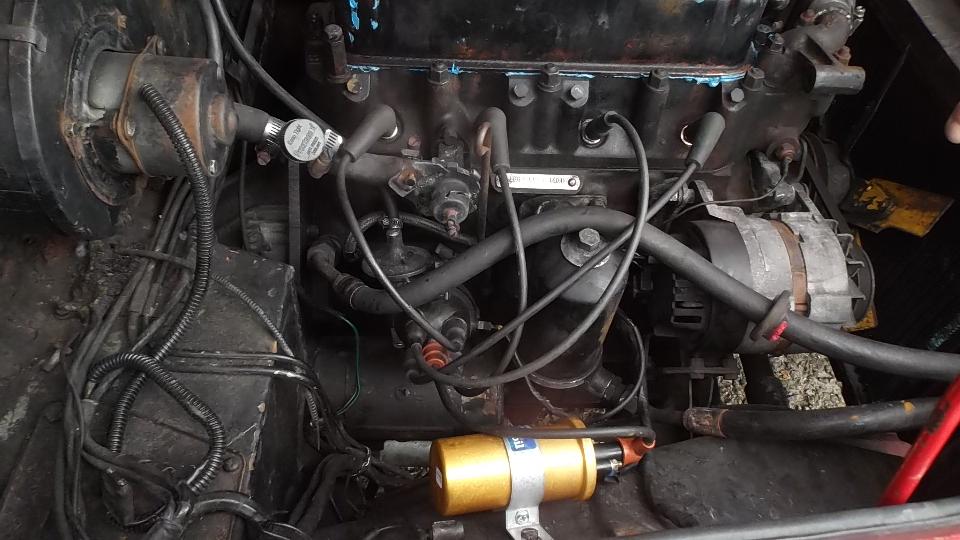
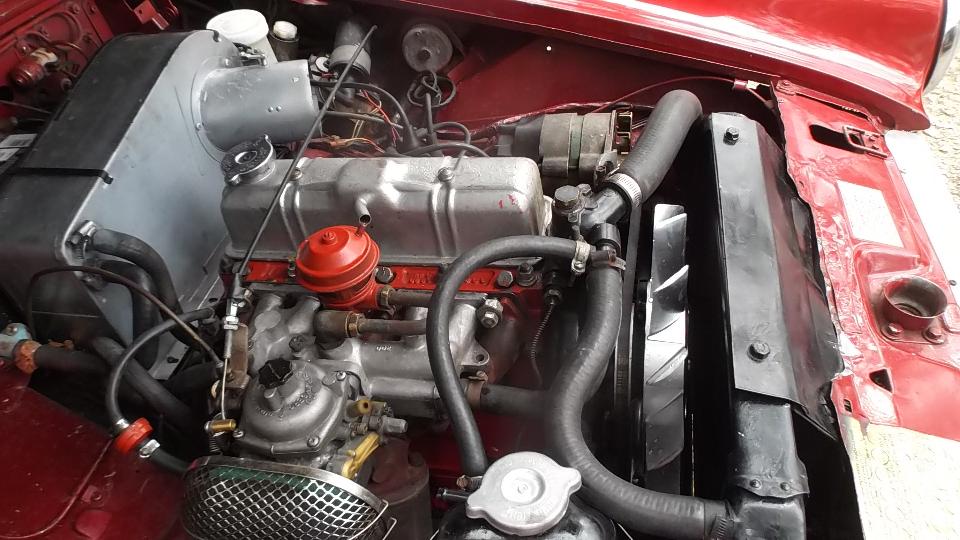
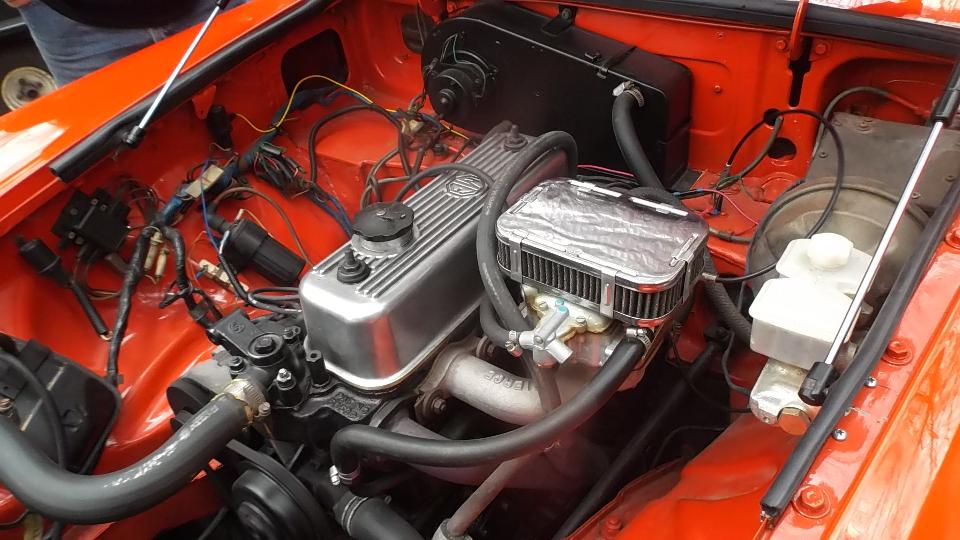
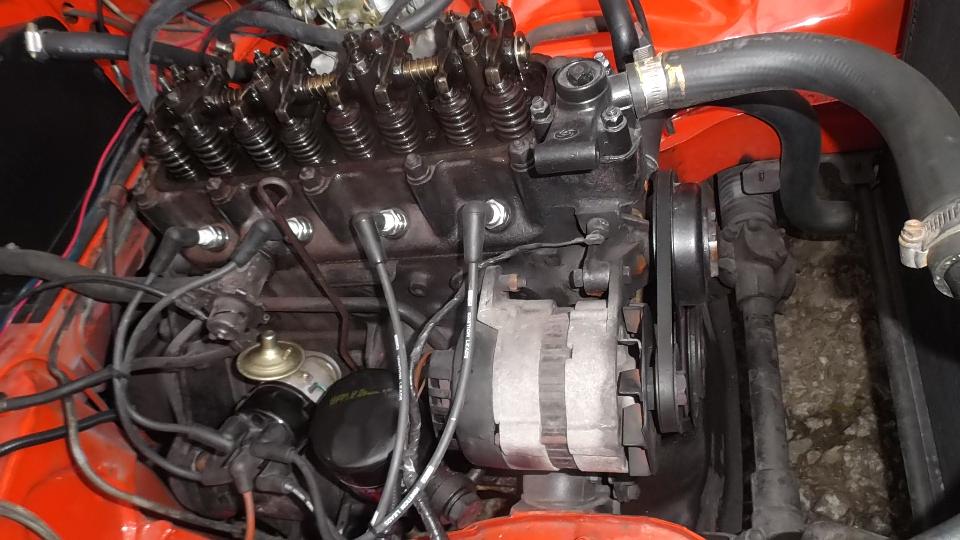
 This 1979 MGB belongs to Dave and Tonya Arwood from Smith's Station, Alabama. A very nice car with a Weber carburetor conversion, having a problem with rough idle. Carburetor mixture adjustment did not help. Timing adjustment by ear did not help. Seems to be misfiring on #2 and #3 plugs, HT wires test okay and new spark plugs did not help. Valve lash checks out okay, but it still runs bad, maybe a blown head gasket. Someone ran off to get a compression tester, and compression checks out okay. Connect a timing light, and the results don't make sense. Timed where it runs fairly well, the timing mark is more than 40 degrees BTDC. Reset timing to 20d BTDC and it runs like crap. Huh? Maybe the outer ring of the harmonic balancer has slipped. Remove spark plug and feel piston top with a screw driver, rotate engine a bit to set piston at TDC and the timing mark is exactly at TDC. No problem with the harmonic balancer. Now what? Check cam timing. Remove valve cover, rotate engine until the first two valves are rocking and at same height. Then take another look at the timing mark, which is now about 20 degrees After TDC. Bingo! Cam timing is wrong with the timing chain one tooth off on the sprockets. That expains why it wants to idle with spark timing at 40d BTDC. Not an expensive fix, except for some grunt labor time. Set a date for another tech session to R&R the timing chain and sprockets to correct the cam timing.
This 1962 MGA belongs to our host, Larry Stephens. Last time we were here it had leaky hoses for the oil cooler, which has since been fixed. Today it was idling too fast and a bit rough. Easily fixed with fuel mixture and idle speed adjustment.


 This green MGB belonging to Brian Winter was the exception for the day, running well and needing nothing, but Brian was here to learn more about MGs. There was also a Triumph TR6 belonging to Cham Watkins (missed a picture here). Not sure if it needed anything. The owner wanted me to take it for a drive to see what I thought, but he left before we got that far, so maybe check back for that one later. Having satisfied several cars today, Dave and Tonya Arwood and Brian Winter and the two of us rolled out to a local eatery for dinner after dusk. All in all, it was a very good tech day.
Monday February 22, 2016
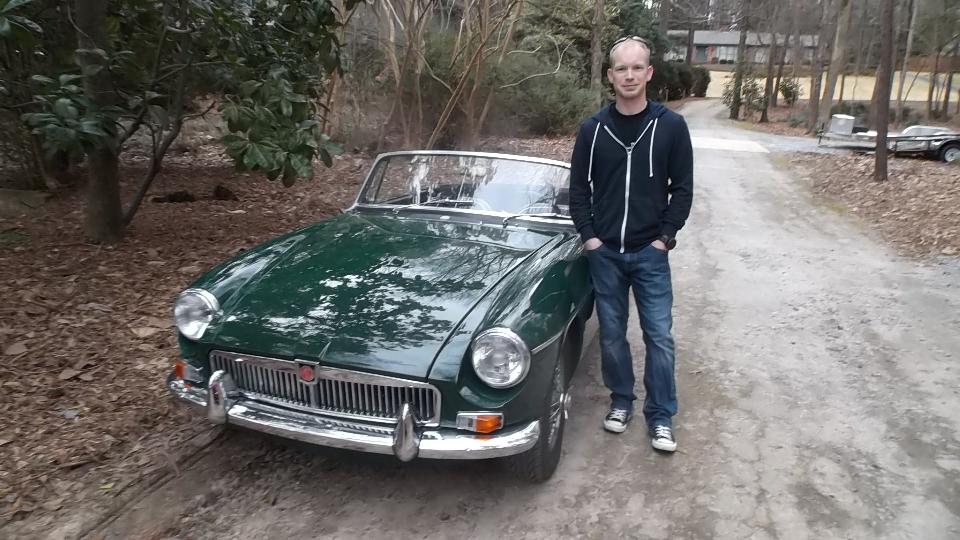
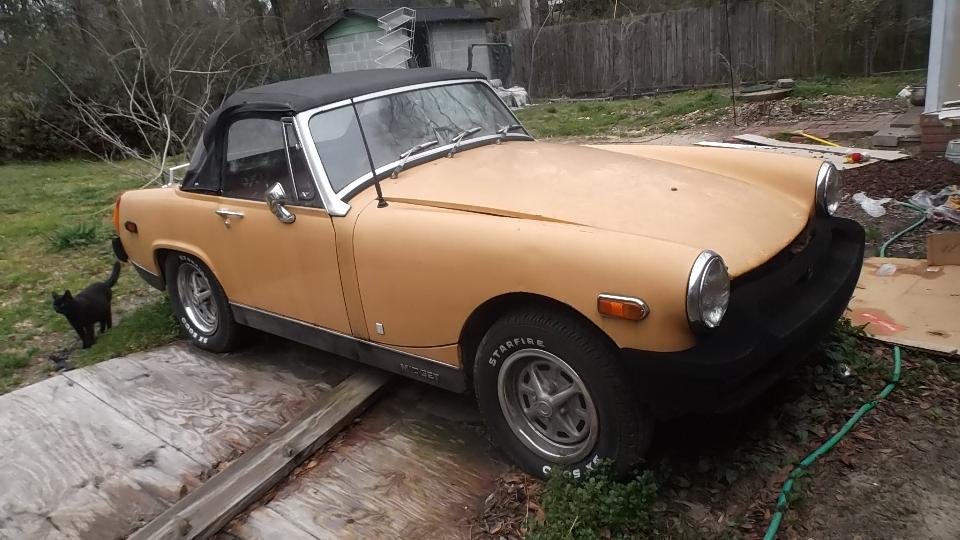
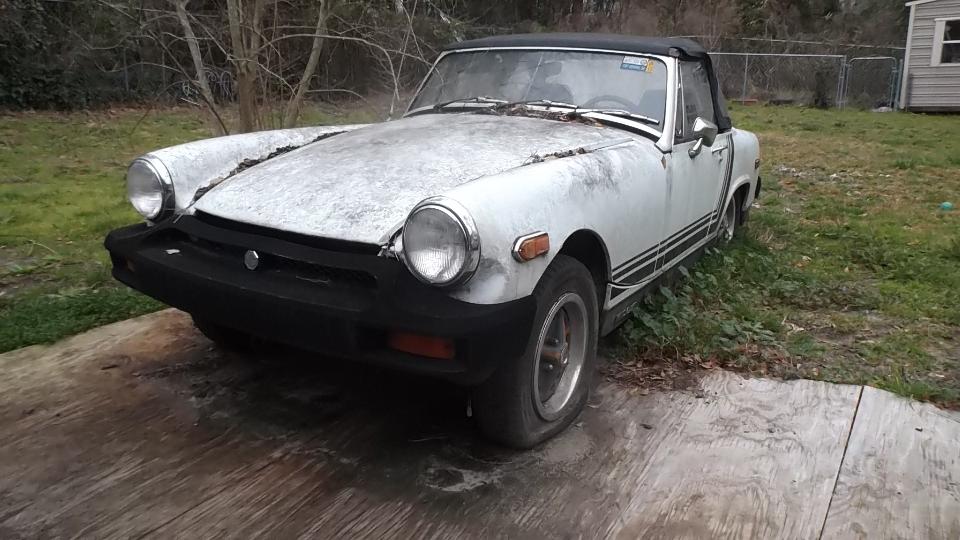
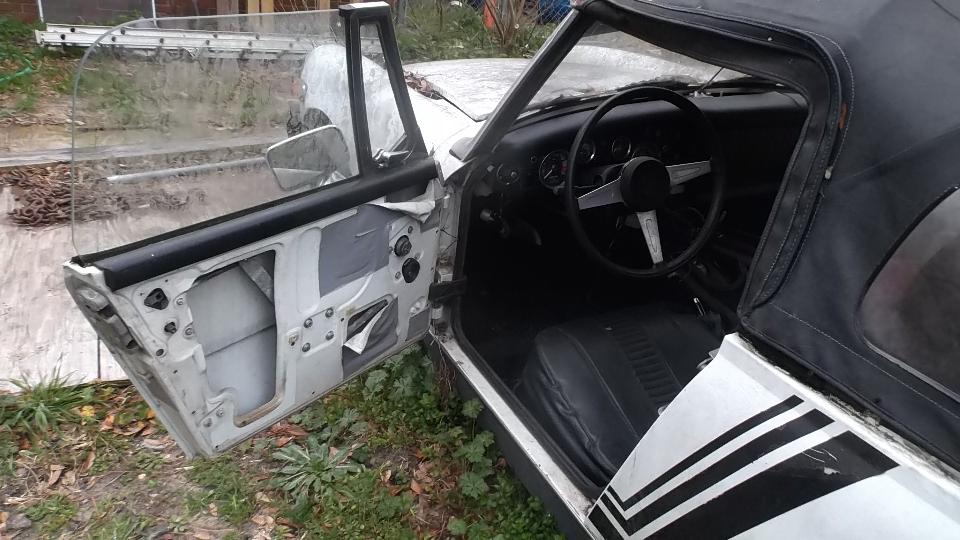
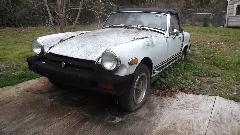
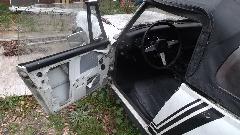
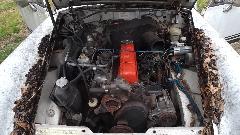
Today we were sitting in Phenix City, Alabama (just across the river from Columbus, Georgia) when I received a phone call with a special request. Someone noticed from my trip log that I was in the Columbus, GA area. They also saw on Craig's List a sale ad for a pair of MG Midgets, and wanted to know if I could take a look at them. By coincidence we were sitting eight miles away from the cars for sale, so after a phone call and a little wait, we rolled on over to check them out.
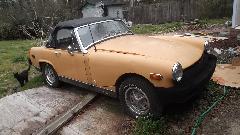
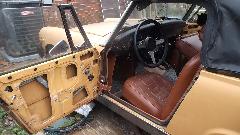
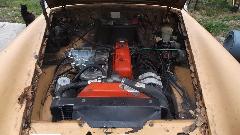
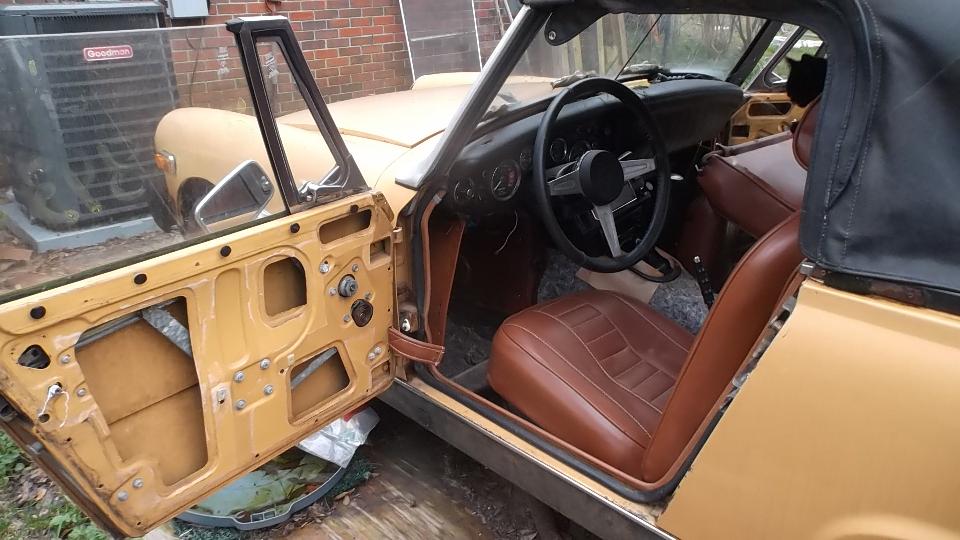
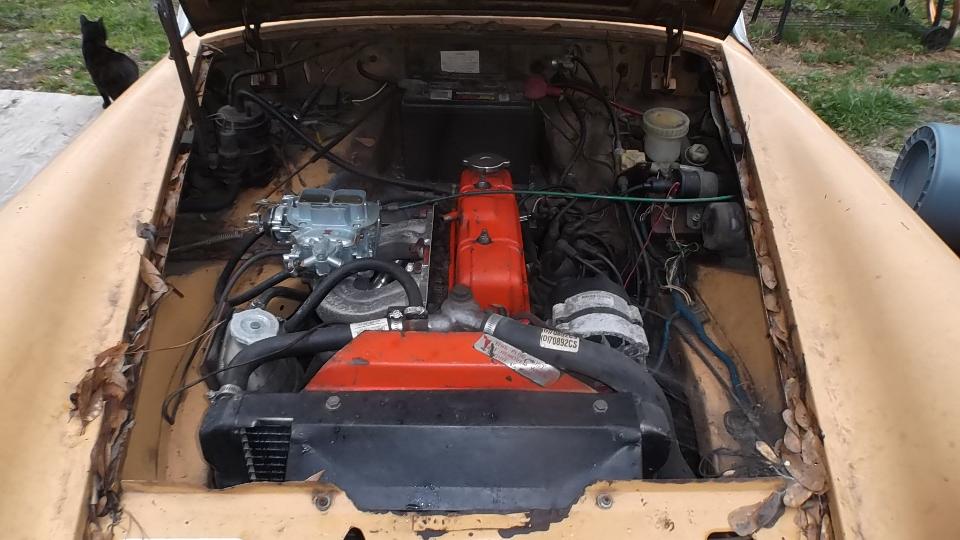
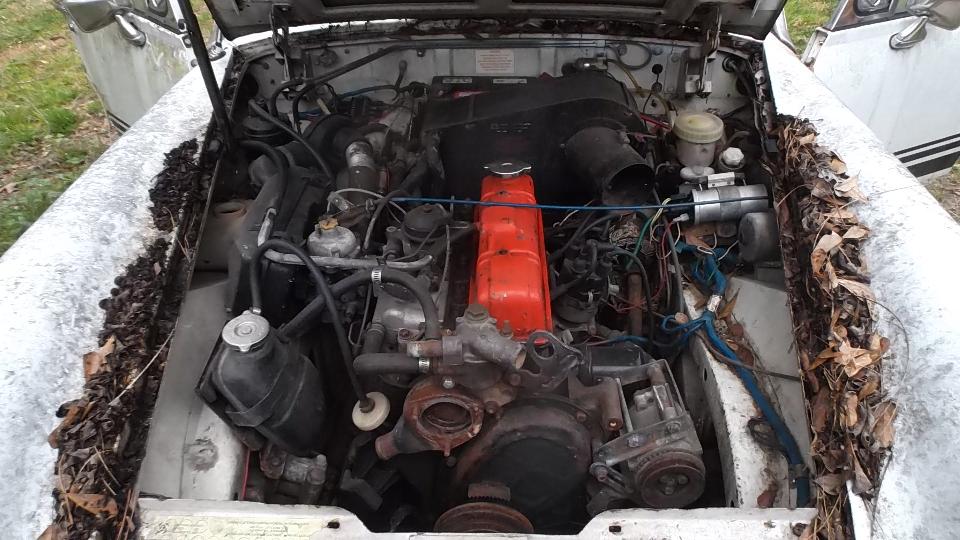
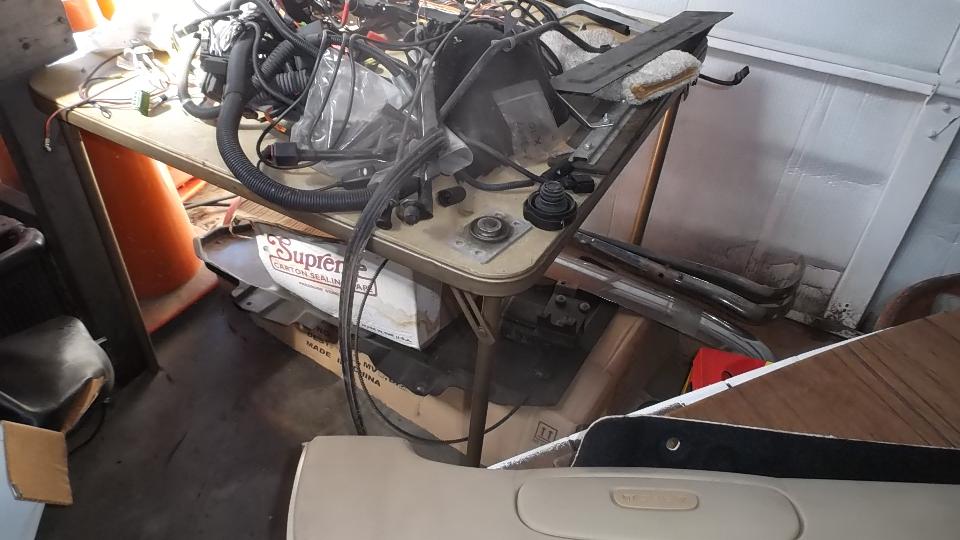
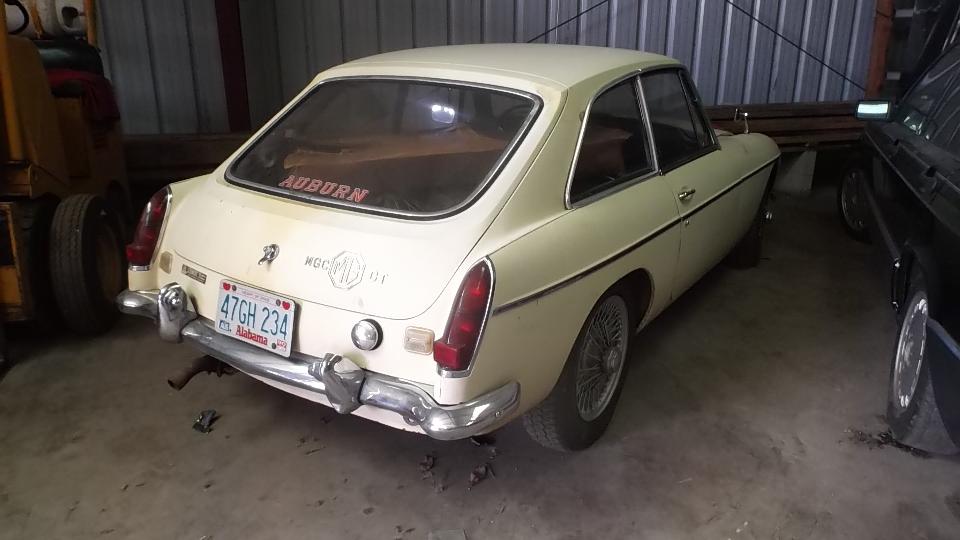
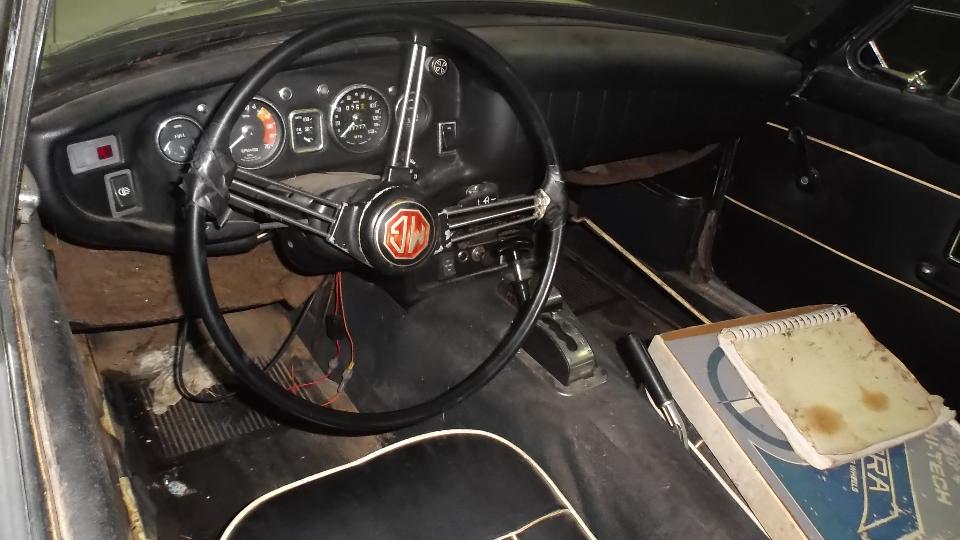
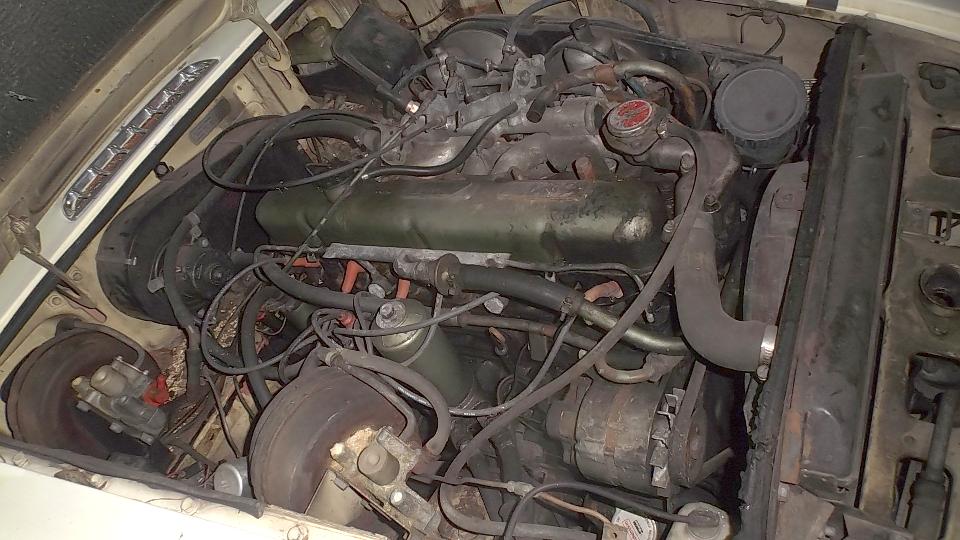
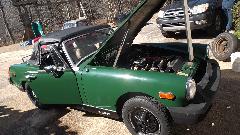
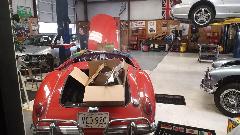
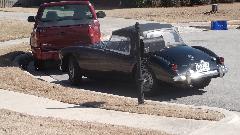
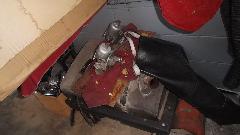
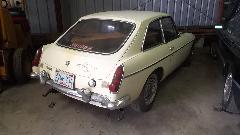
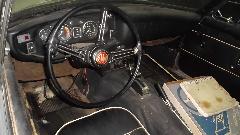
The brown one had a new Weber carburetor, supposedly ran but quit running and was parked, and carpet was out. The white one had a slightly bent LF fender and a bad engine with oil pan off (for a few years I suppose). The junk on top is mostly leaves,not rust. Aside from being dirty, the bodies are solid, not rusted, and paint may be serviceable when cleaned up. Looks like a lot of work there, and rubber bumper Midgets are not worth much (especially non-running ones). I took a bunch of pictures and fired off a report.
When the WiFi spot closed for the night at 11-pm, we decided to get out of the Eastern Time Zone and get our lost hour back. Hour and a half later, just before midnight CST, we landed in Prattville for the night (just west of Montgomery).
Tuesday February 23, 2016
Day off (so to speak), lots of WiFi work(as usual). Late night move from Prattville to Tuscaloosa, AL. Rain and colder here, thinking we should have stayed in Columbus where it was 72dF Sunday evening.
Wednesday February 24, 2016
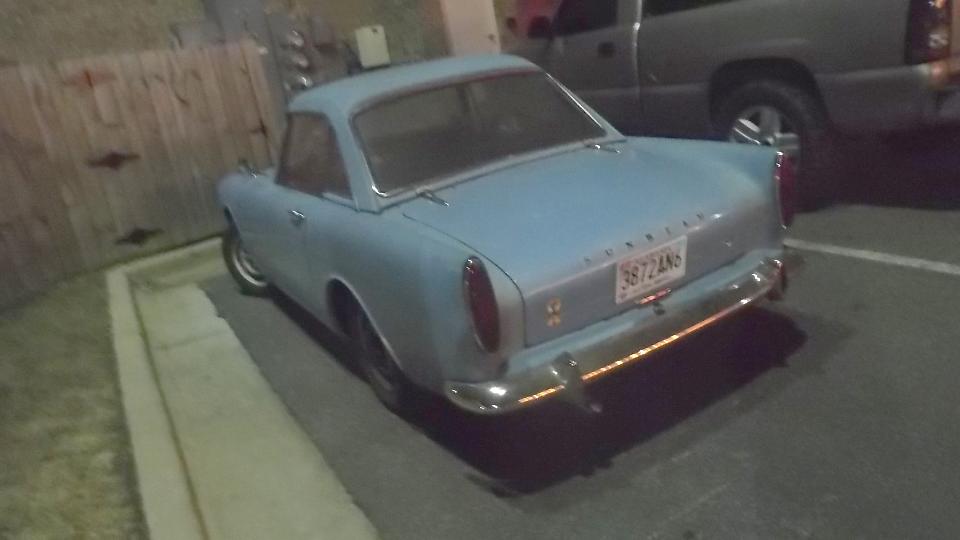
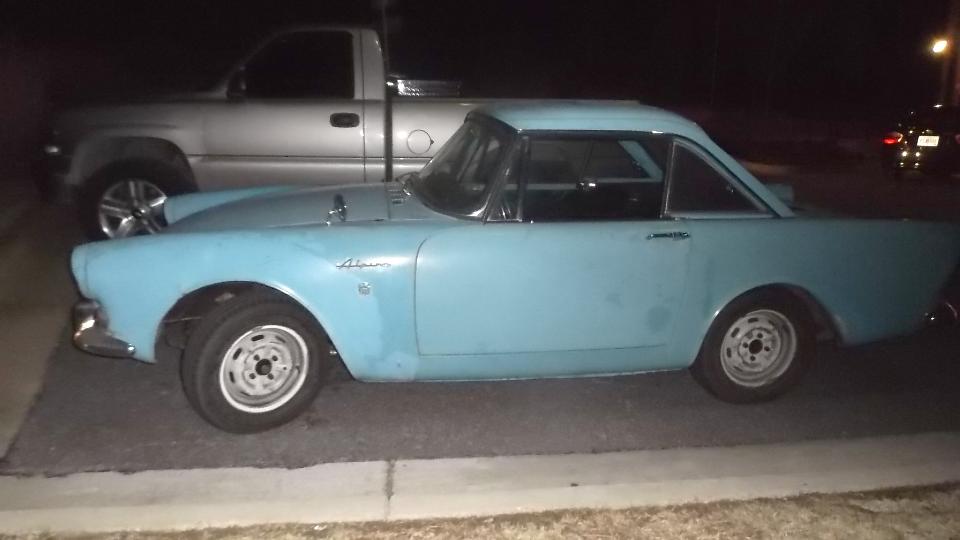
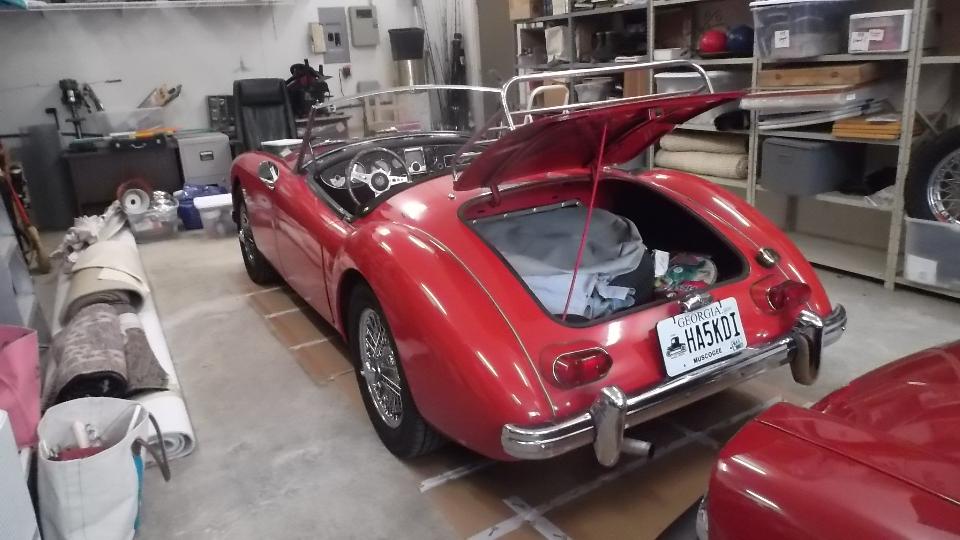
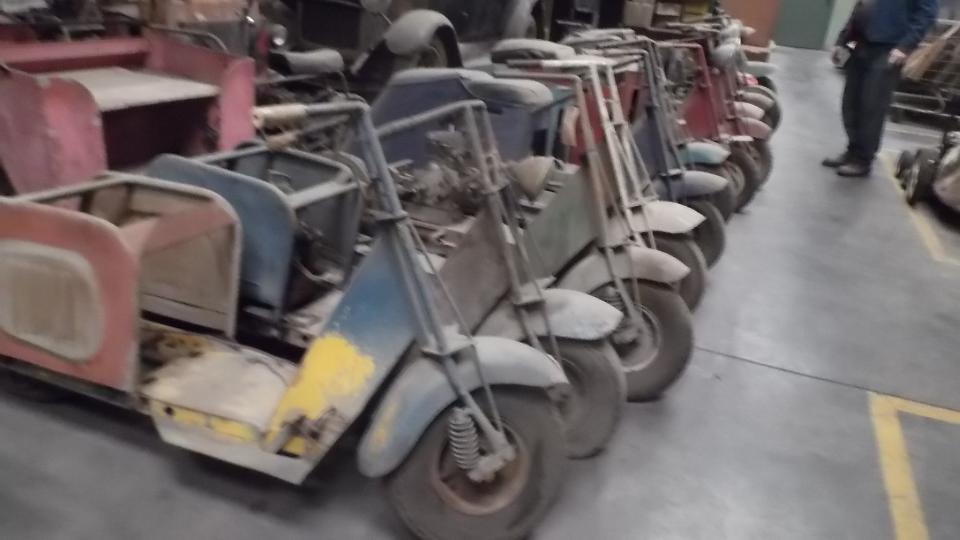
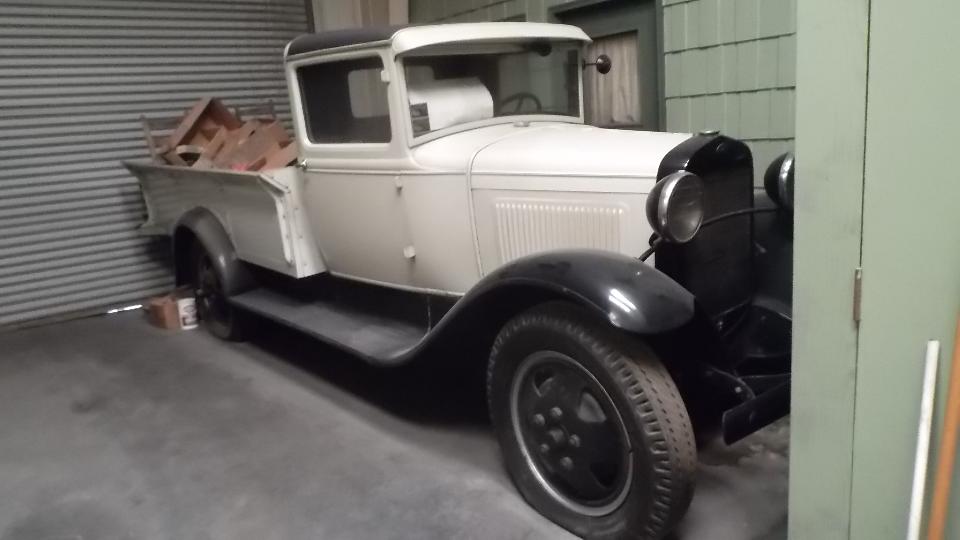
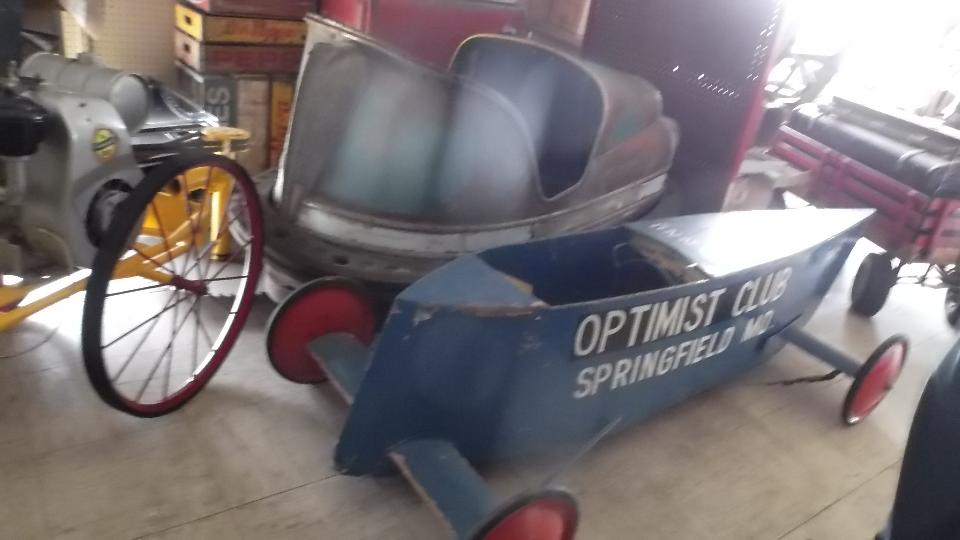
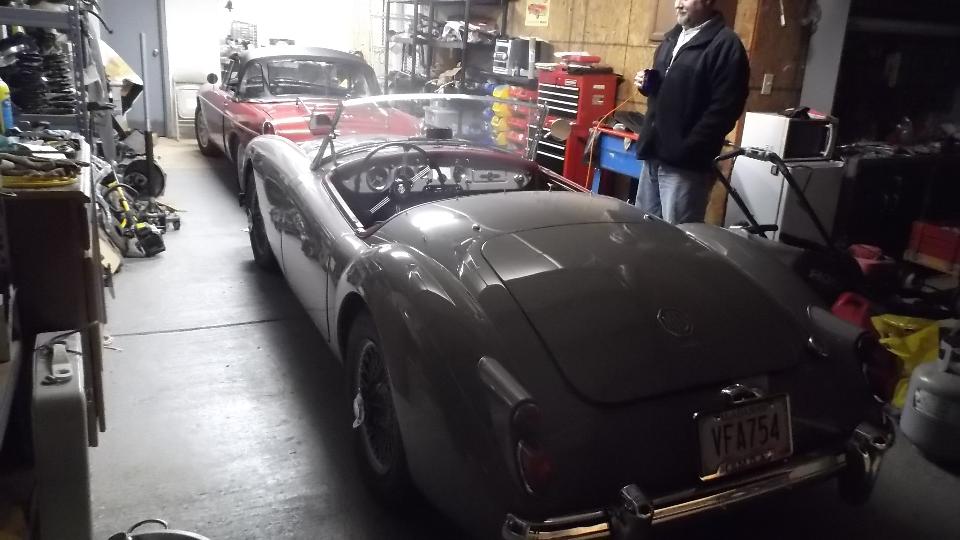
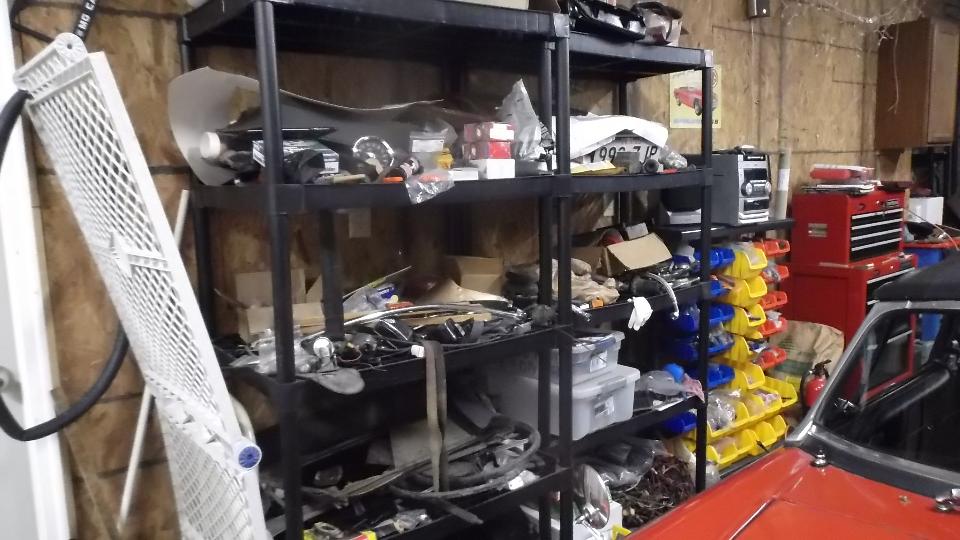
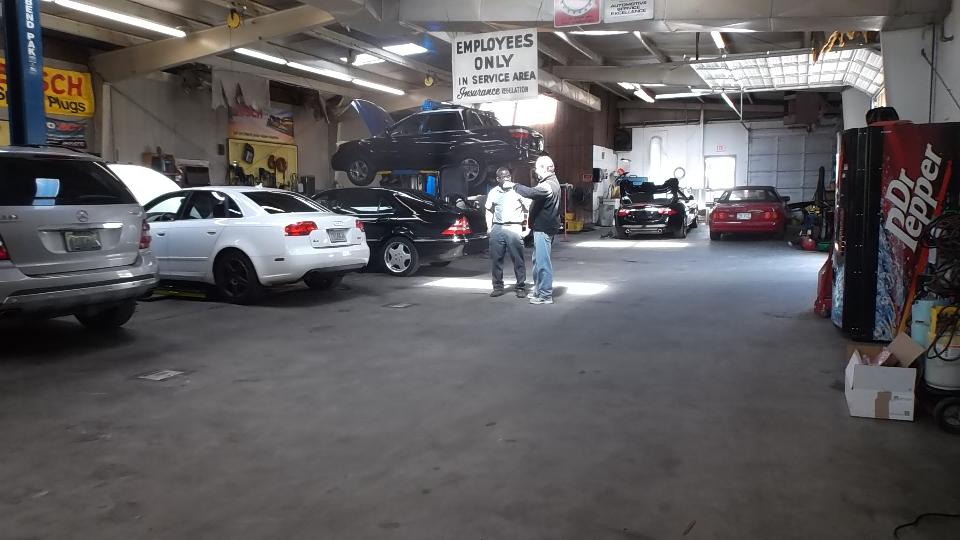
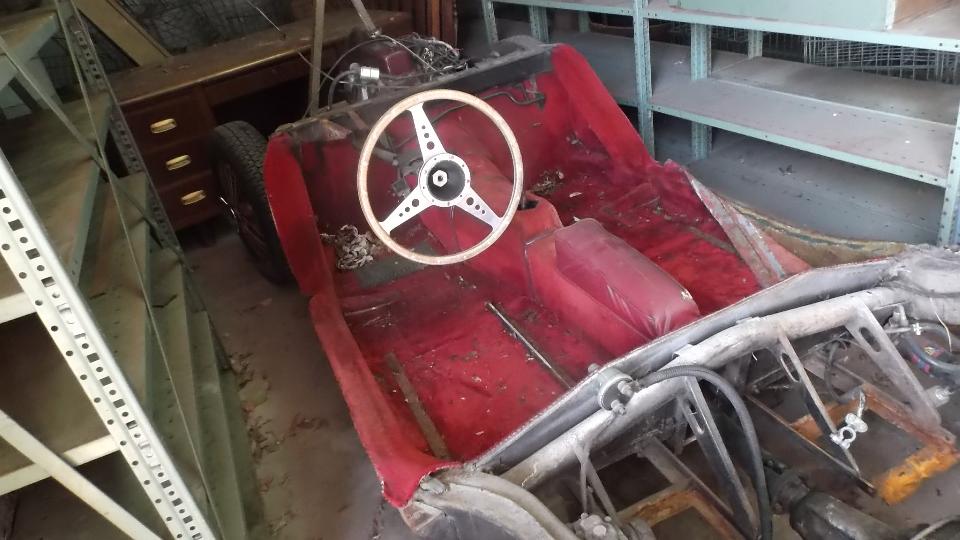
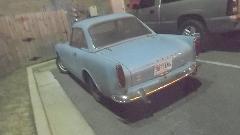
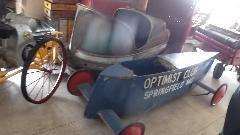
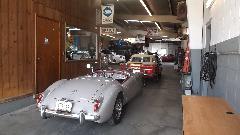
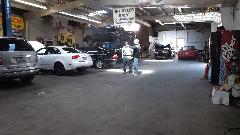
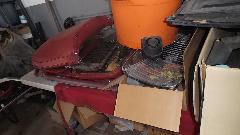
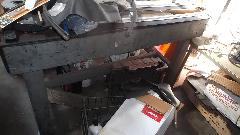
 Today we had a visit with Phil Campbell in Tuscaloosa. I got a quick tour of his warehouse with a few cars (a few more that are not shown) and a very large collection of Cushman motor scooters (many more that are not shown). But the real reason for the visit is to check out his Sunbeam Alpine with an eye toward possibly getting it back on the road. Phil has owned this car for decades, and he used to be very fond of driving it.


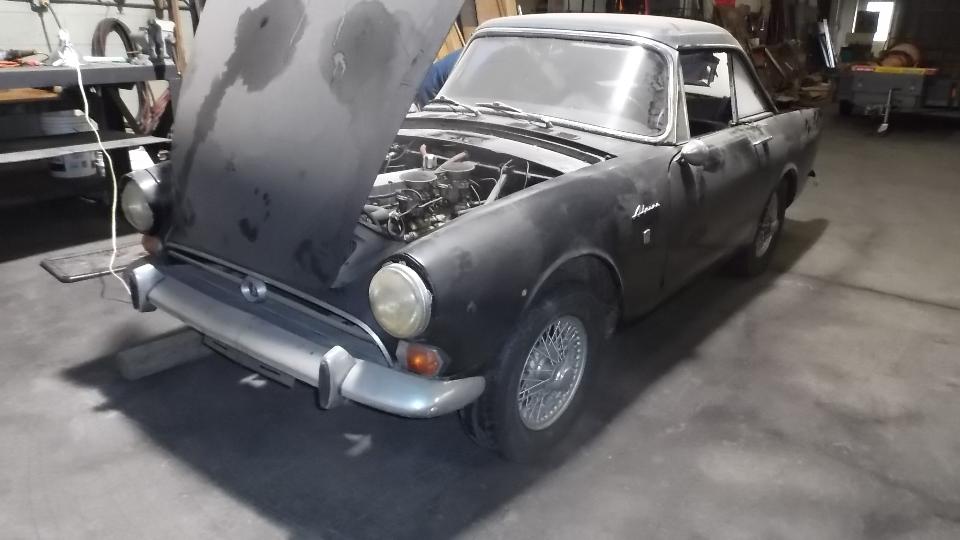
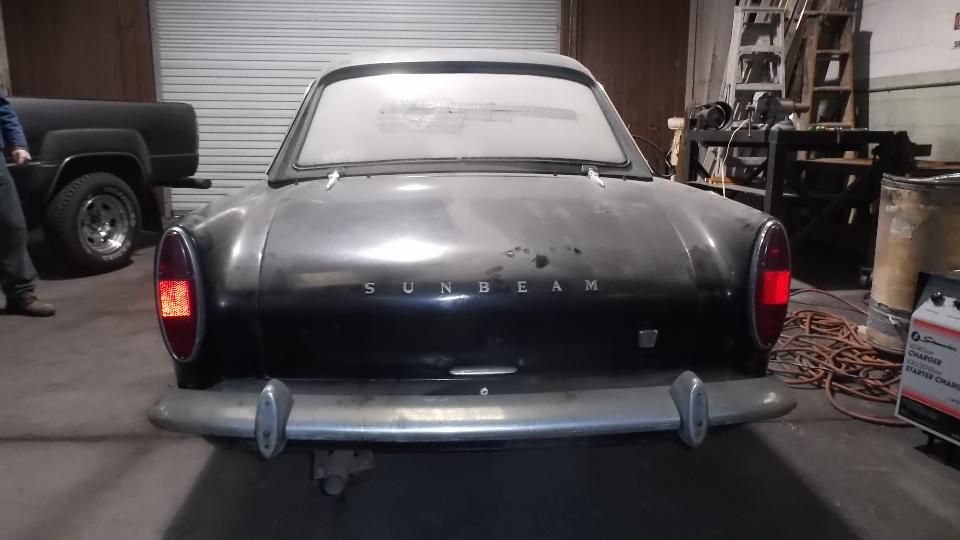
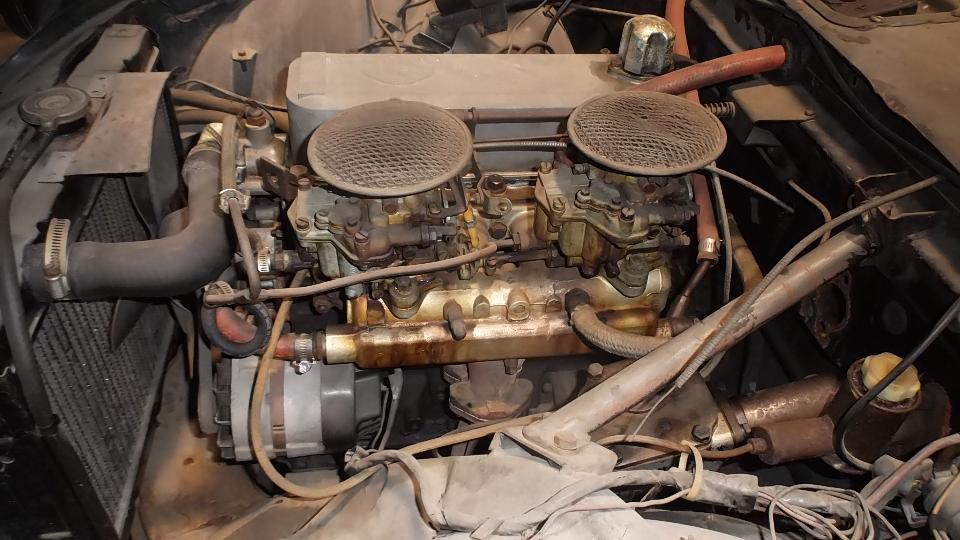
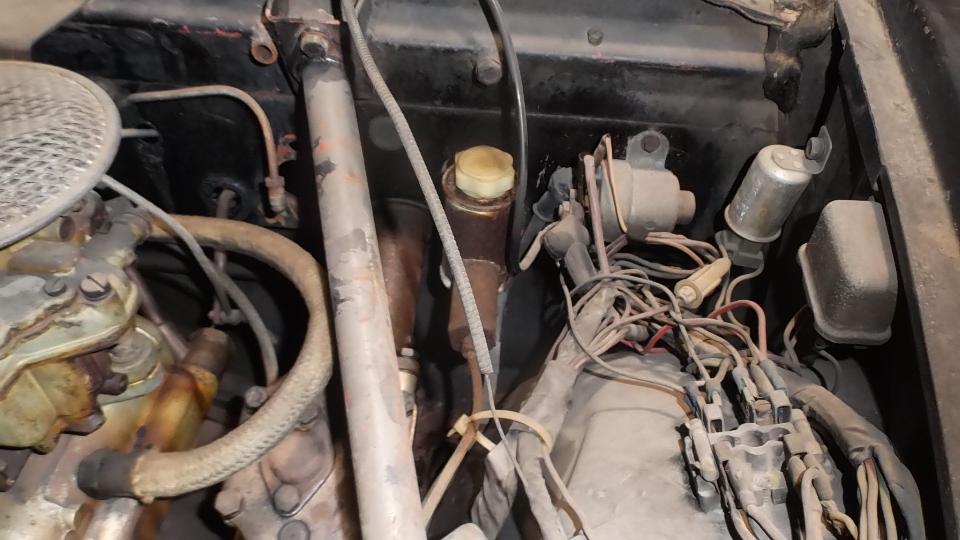
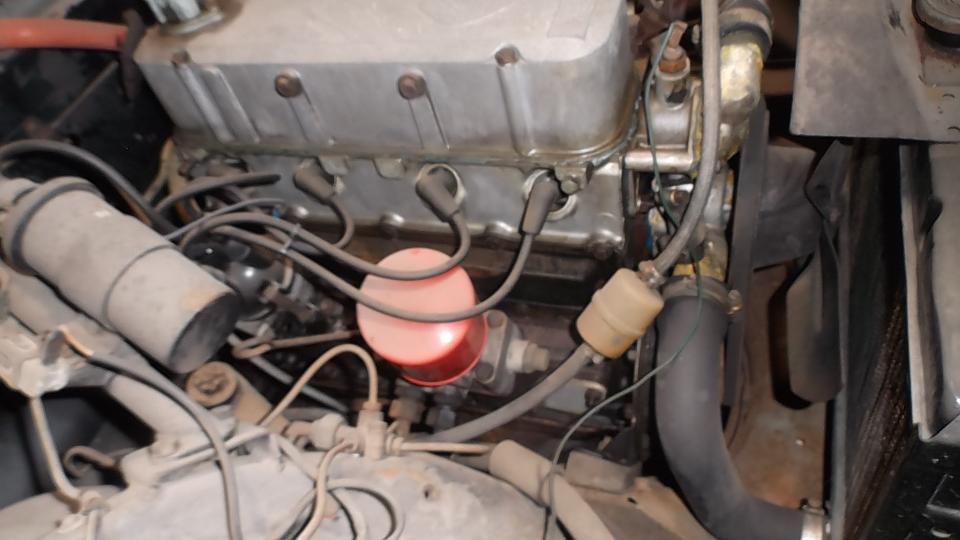
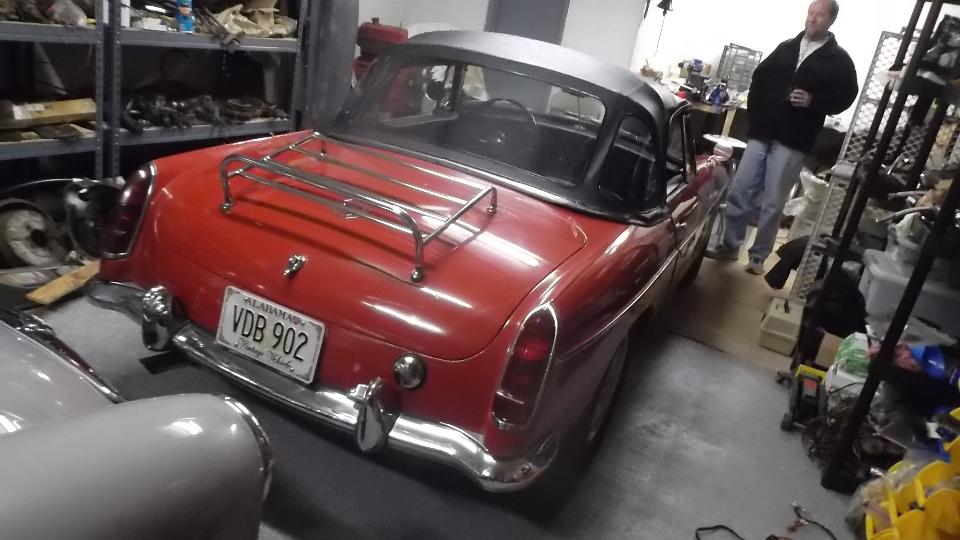
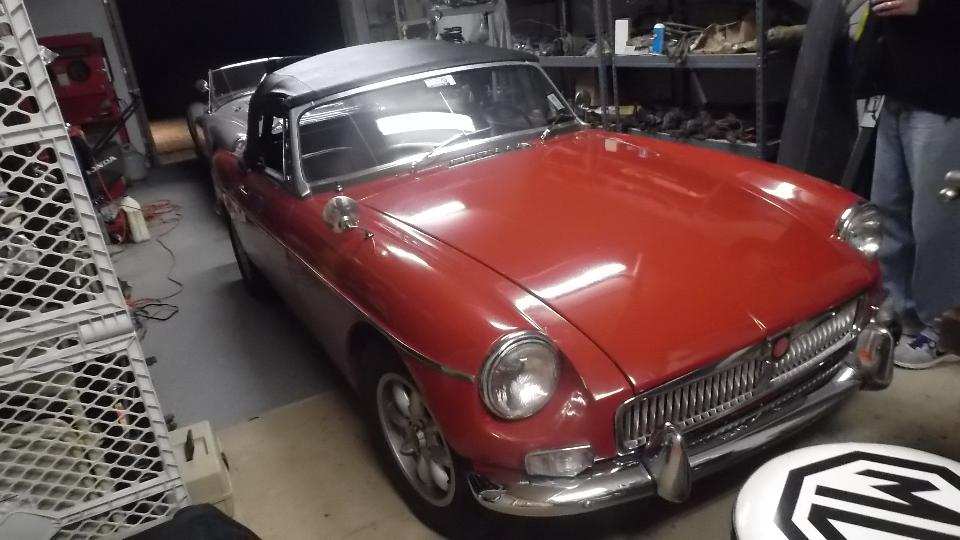
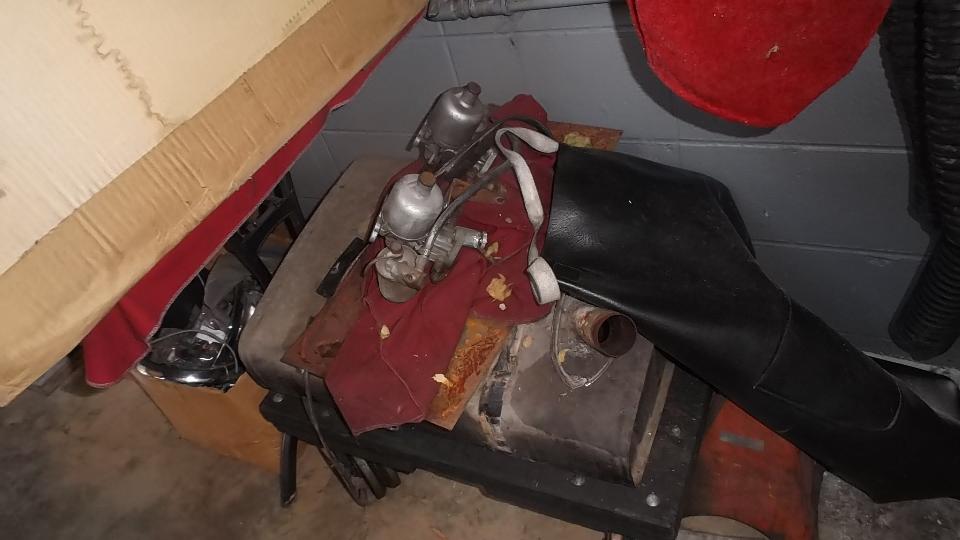
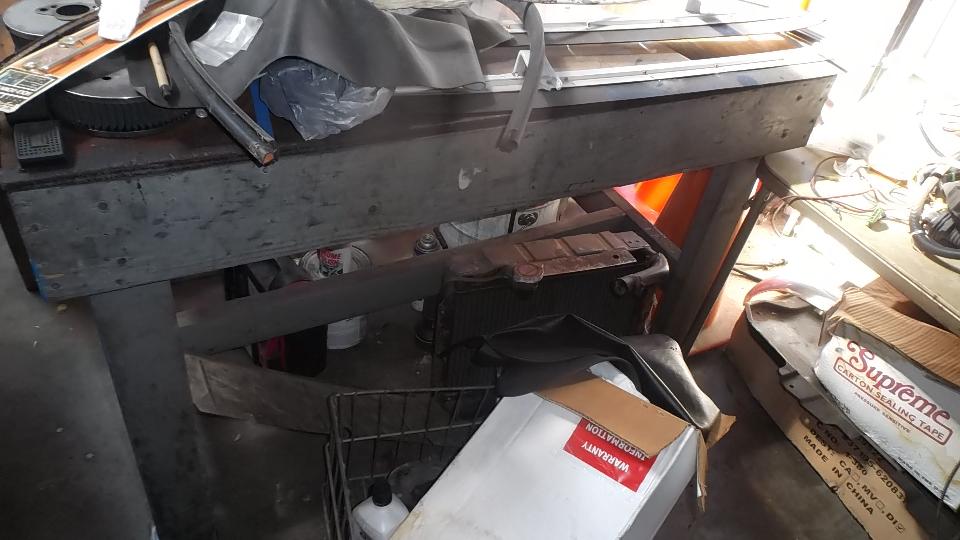
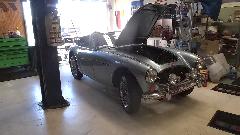
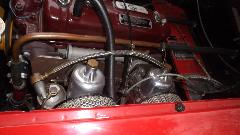
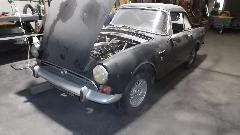
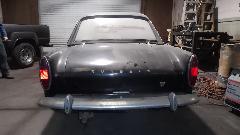
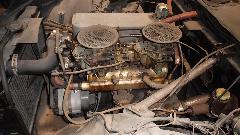
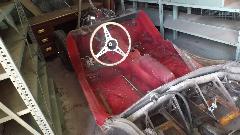
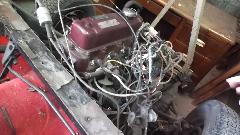
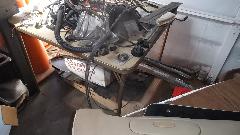
On first look it appears to be a solid car, not much rust, not much body damage, and generally complete. Unfortunately it has also been sitting for decades, so it needs a lot of everything. The engine turns over, but the carburetors are well seized up. He has carburetor rebuild kits and lot of new hydraulic parts. I have an urge to spend a couple of days rebuilding carbs, flushing the fuel system, and getting it running, but then it still looks like this, and has no brakes. So I could spend a couple more days rebuilding the hydraulic systems to make it drivable, but then it still looks like this, and needs lots of seals, glass, paint, interior work. I'm sure this car would be a good candidate for restoration, if someone was inclined to do it. But of course full restoration will always cost more than the car is worth when done.

So we had a long philosophical discussion about how attached he is to this car, and whether he would be willing to spend a lot of time and money to restore it. He has a lot of other projects going on, and I don't know where his priorities lie. Otherwise it pains me some that I feel responsible enough to try to talk him out of doing it (which is not my normal approach to an orphan). Another owner may be better suited to the adoption. Doing a full restoration is rather beyond the scope of my mission statement, so I recon I pass on this one, at least for now, and check back later to see if he might get motivated enough to do it. I'm feeling a little depressed.
Back to WiFi for these photos and notes, and to post a new web page for the club in Chicago,and some more email tech questions.
Thursday February 25, 2016
Spent the whole day catching up with web work, and chasing contacts for future appointments. Contemplating staying in Tuscaloosa another day, but then we had an unexpected incident that caused us to blow out of town early. Trailer tail lights were not working (although trailer brake lights and turn signals did work). Around noon I traced the problem to a connector contact and fixed it. Unfortunately we then left the parking lights on for 11 hours, so the battery was dead flat by 11-pm. The jumper box got the engine started (barely), but the battery was dead and the jumper box was significantly discharged as well (not having been recharged for three months). Needing to run the car for an hour to recharge the car battery and the jumper box, we just headed out of town. About 1:00-am we tucked into a rest stop on I-65 north of Birmingham.
Friday February 26, 2016
Slept in until 10:30, plenty of sleep, then ambled up the road a short bit to a WiFi spot in Cullman, AL. More email and phone calls for appointments, posted up a couple new tech pages and a couple service shop links, catching up BBS messages. Late night we will be moving along another hour to someplace just south of Huntsville to be close to tomorrow's morning appointment.
Saturday February 27, 2016
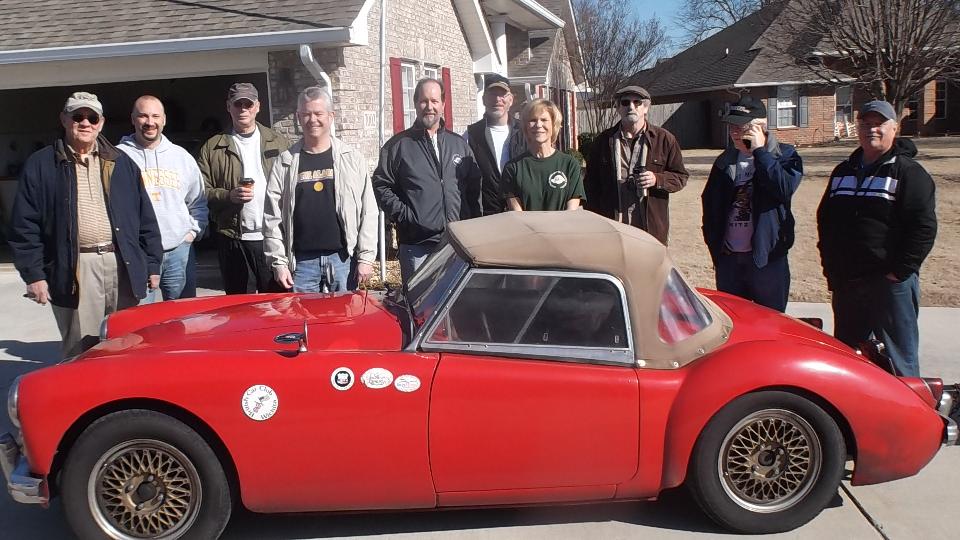
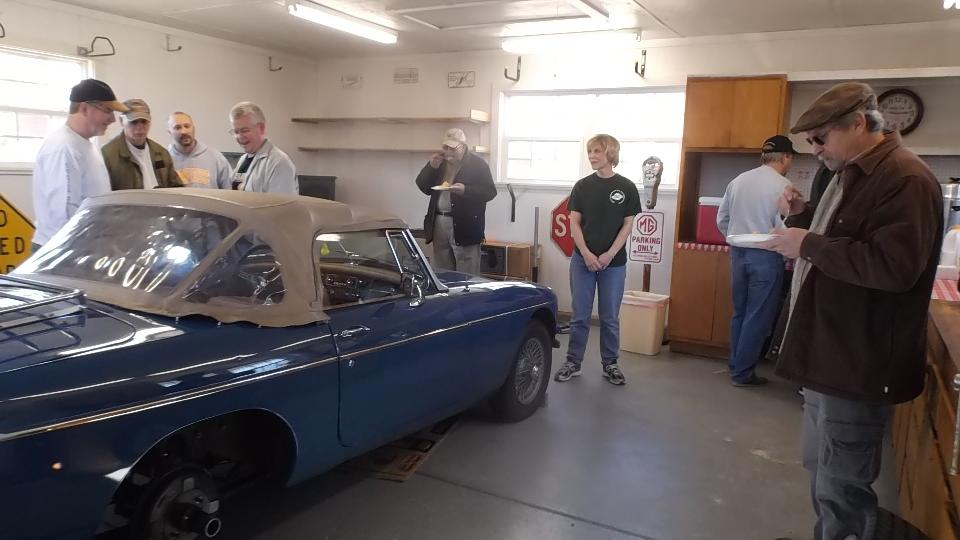
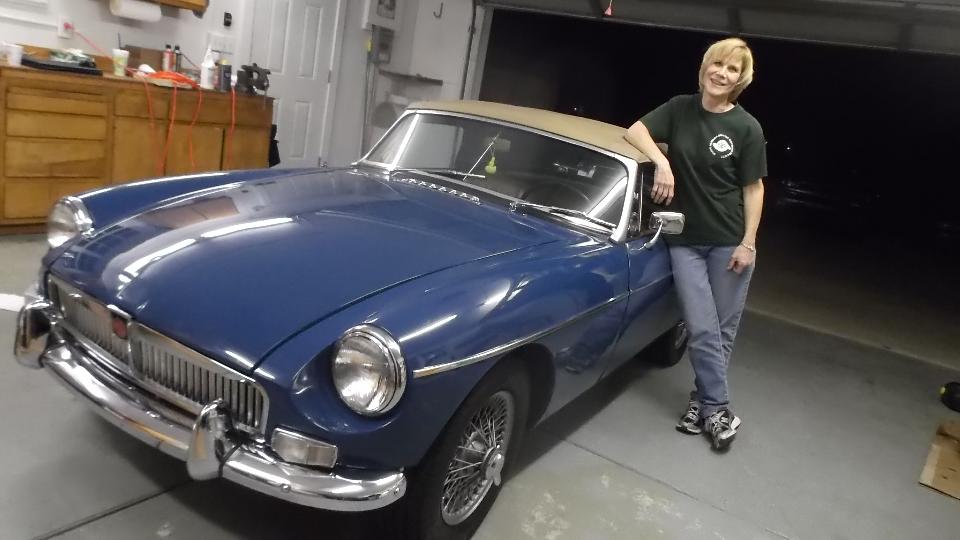
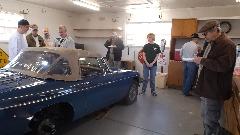
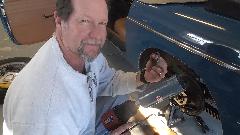
Tech day at 9:00-am today with North Alabama British Motoring Society in Owens Cross Roads, Alabama (northern Alabama near Huntsville). The lady in center of first photo is Susie Farmer. She owns the house and the MGB we would be working on today. A few more people would arrive later.


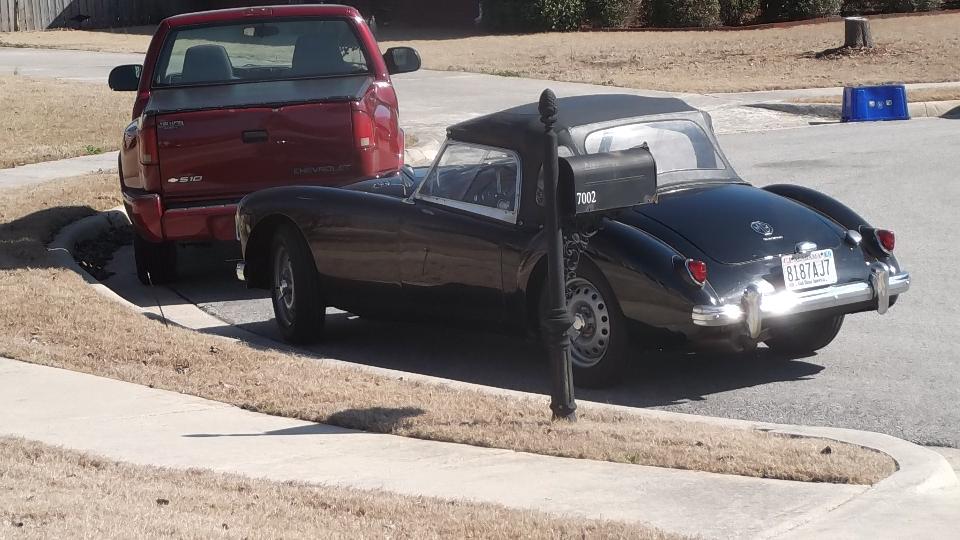
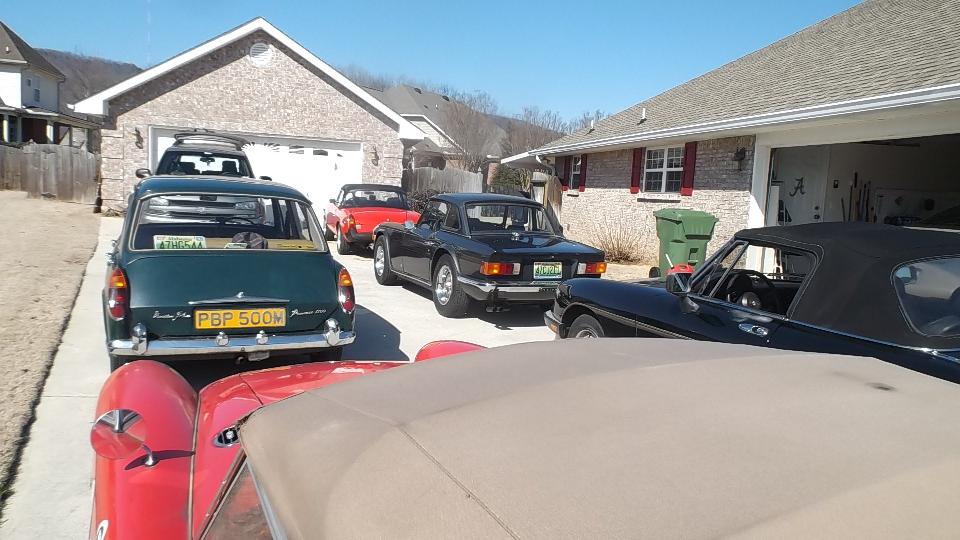
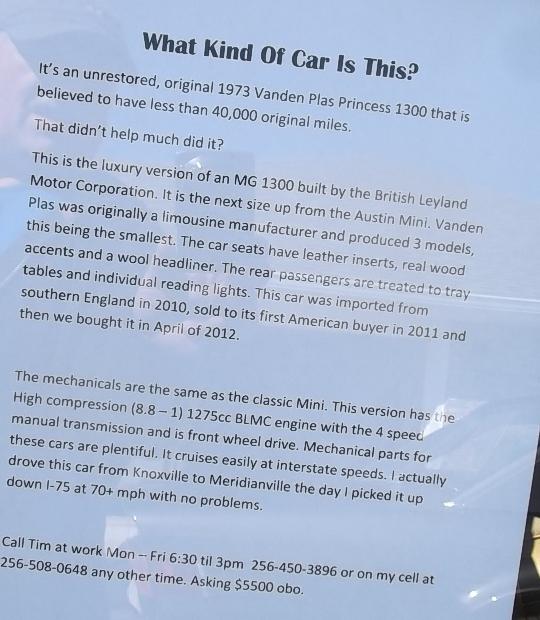
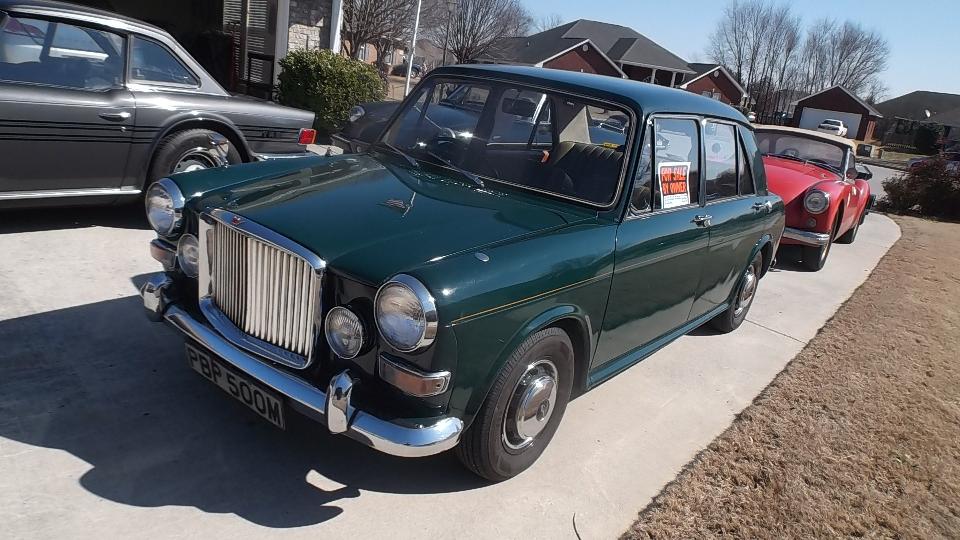
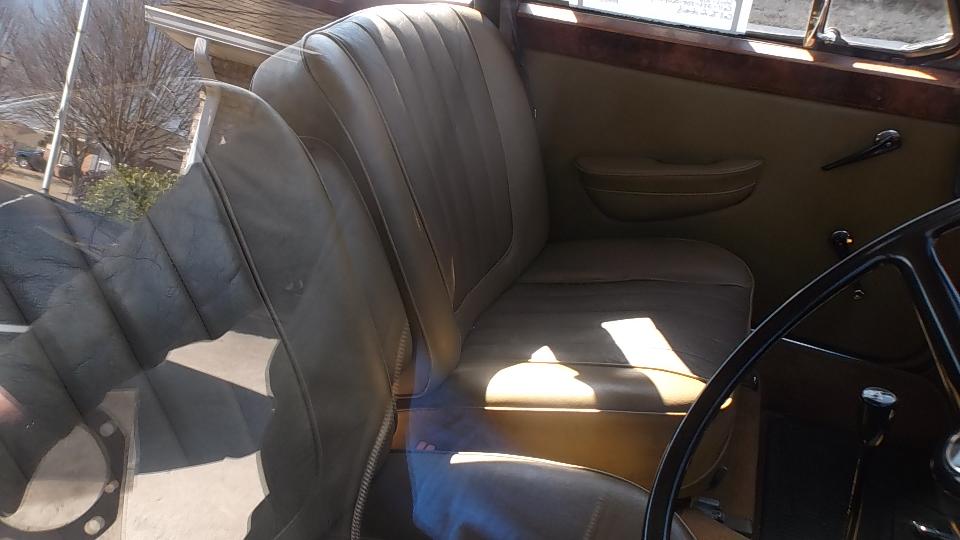
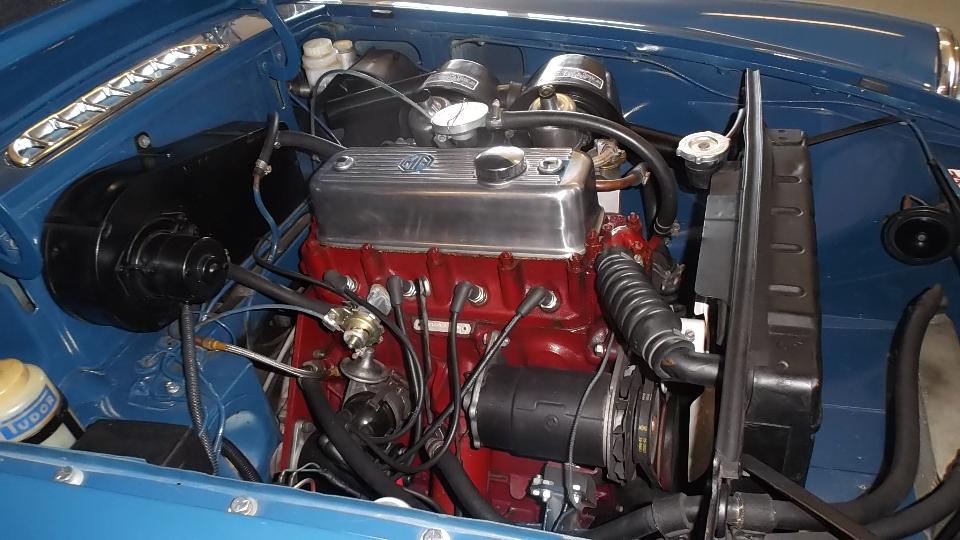
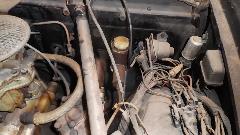
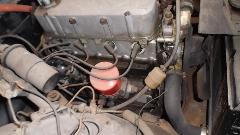
 There was a nice (black) MGA Twin Cam here, as well as a seldom seen 1973 Vanden Plas Princess 1300. This strikes me as a luxury version of the Austin America I used to drive in the early 70's.

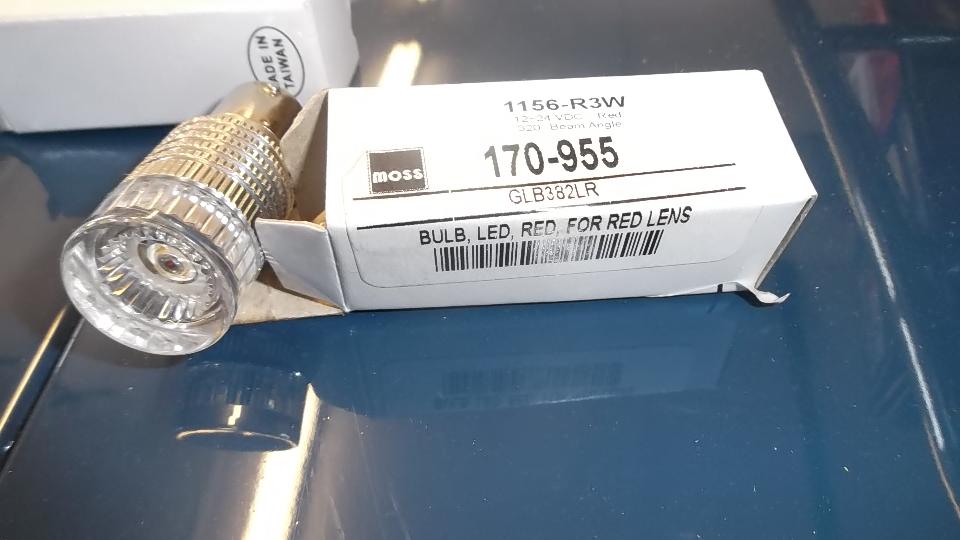
Susie's blue MGB is named "Ralph". An early endeavor was to install LED "bulbs" in Ralph's the tail lamps. These bulbs were new to me, having only a single LED in the center of the front end. But they are a rousing success for bright light. There has obviously been a quantum leap of improvement in light output of LEDs in the past couple of years. These are red output LEDs for use behind a red lens.


The next effort was to span a few hours in mid day. We were adjusting valve lash in the engine, which did not take too long. Then we got the valve cover very clean and dry before gluing a new cork gasket in place, and let it sit under load for a couple hours before installation. Smear a touch of oil on the bottom side so it will release from the cylinder head next time, and it can be re-used many times for a number of years.

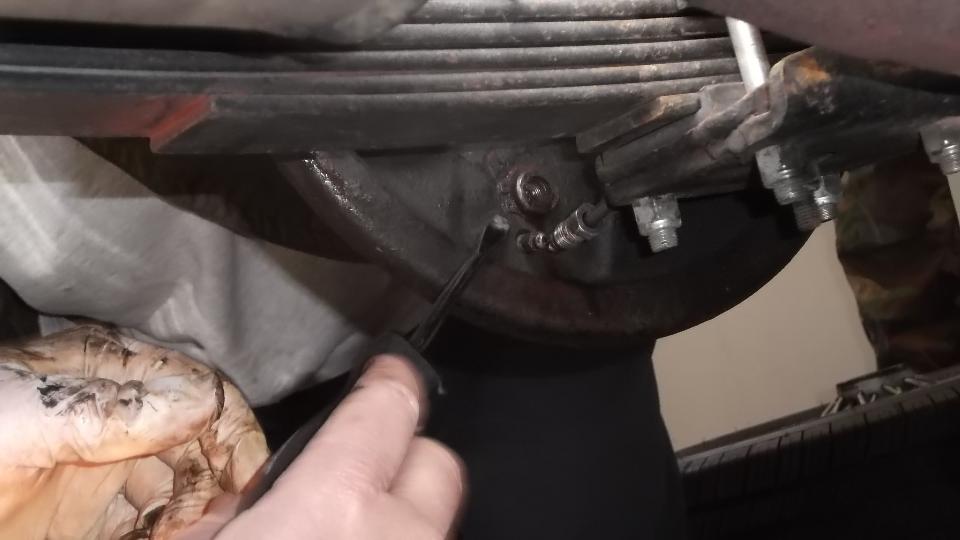
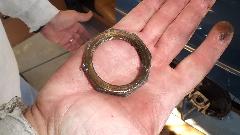
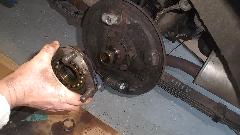
 There was a bit of time for hot breakfast early in the day as we were contemplating replacement of the LR brake slave cylinder (leaking) and inspection on the RR (not leaking). After disconnecting the brake pipe, it was not difficult to remove a standard external snap ring from the LR slave cylinder (wrong retainer for this application). Likewise disassembling the brakes was only a matter of minutes. But then we had to start bringing out the big boys tools.
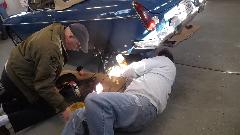

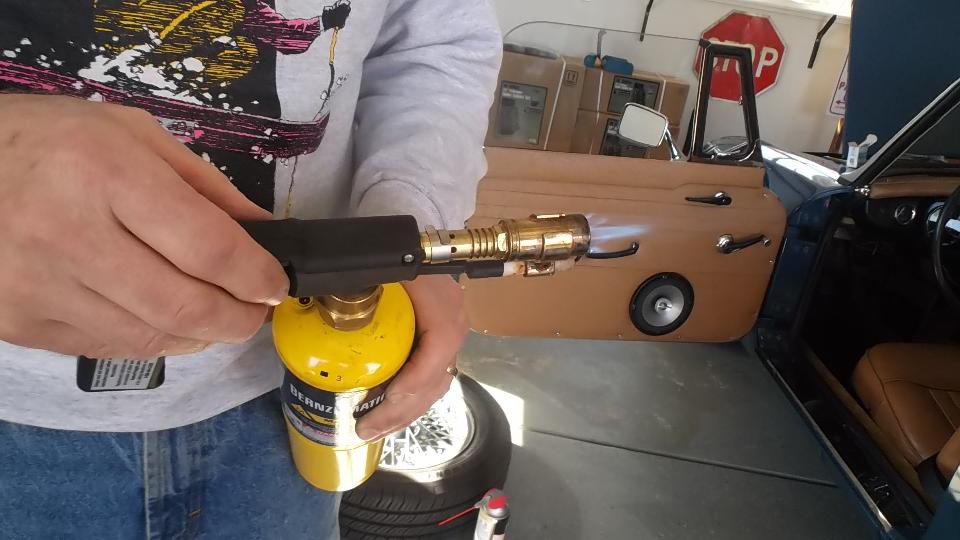
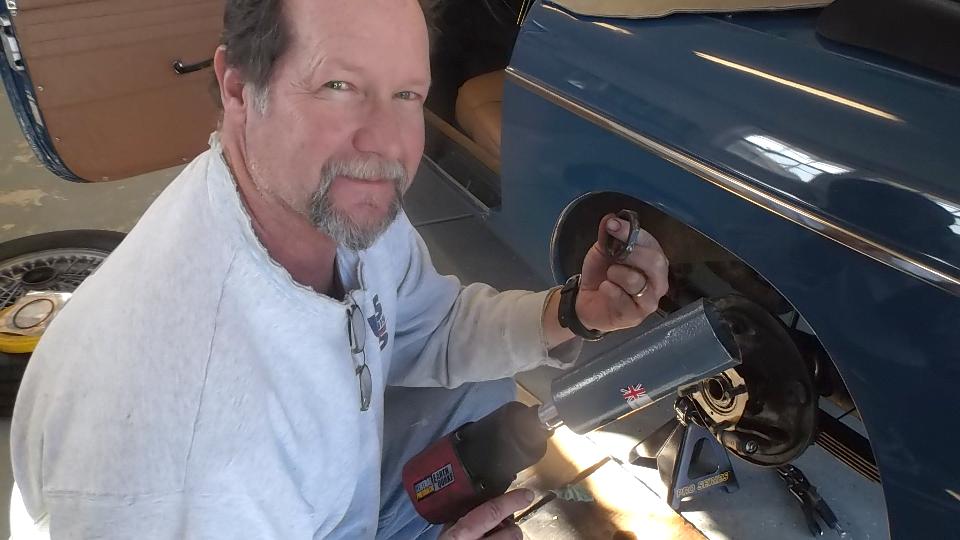
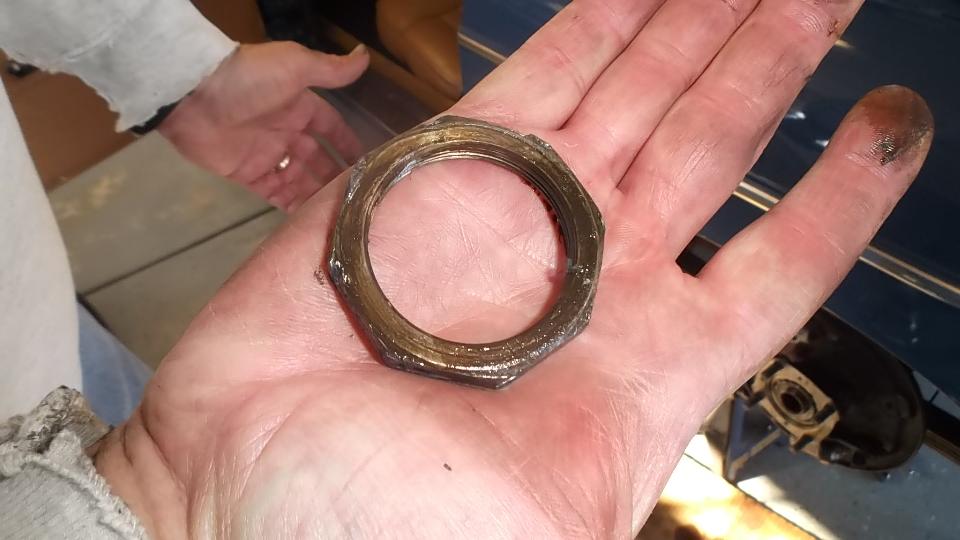
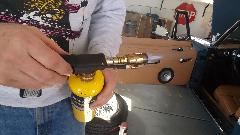
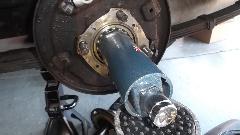
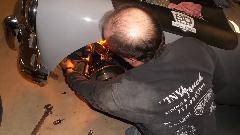
Trying to remove the (very tight) octagonal nut turned into a Hurclean task. First attempt with a breaker bar on the big blue tube socket resulted in the socket slipping off the nut. So out came the Mapp Gas torch to heat the nut, which was not enough, resulting in chewing up the inside surfaces of the tube socket as it slipped off the nut again. So Susie was off to the parts store to fetch another tool.

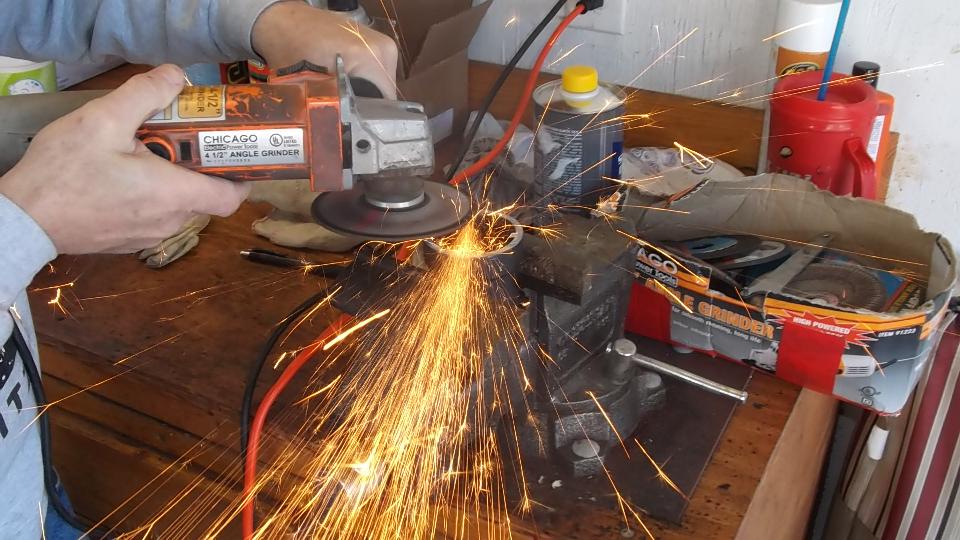
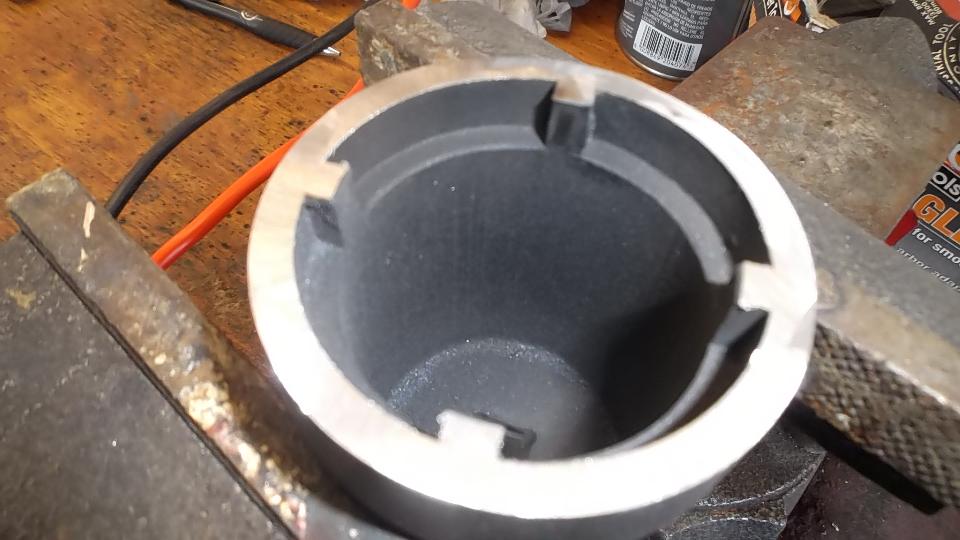
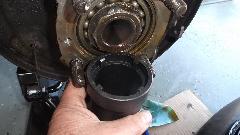
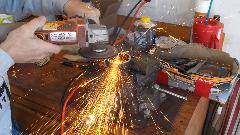
This was a special 4-keyed socket originally for use with front axle on 4-wheel drive Ford P/U trucks, 1995 or newer. This socket was previously reported to work for this job, but it too slipped off and chewed up four sides of the nut. Problem appeared to be a small bevel on the leading edge of the four keys. So more big boy tools, an angle grinder do grind away the end of the socket to banish the chamfer, and a Dremel tool to grind a bit from the inside diameter of the keys to better fit on the nut. But still this tool slipped off the nut again. Bummer.
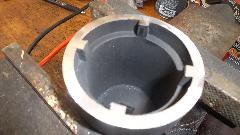
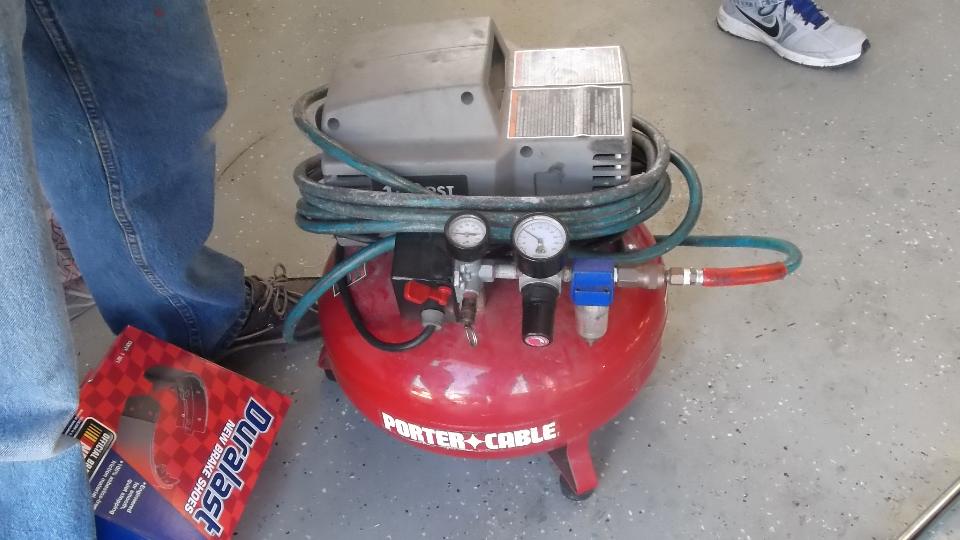
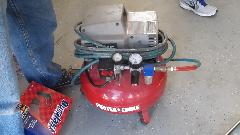
For the next effort, we ground the end off of the blue tube socket to renew the crisp edges on the working surfaces. Then more big boy tools, an air compressor and an impact wrench turned up to 175-psi pressure. After 10 to 15 seconds of continuous hammering, the nut finally gave up and came loose. Remember, just keep repeating to yourself, "Failure is not an option".
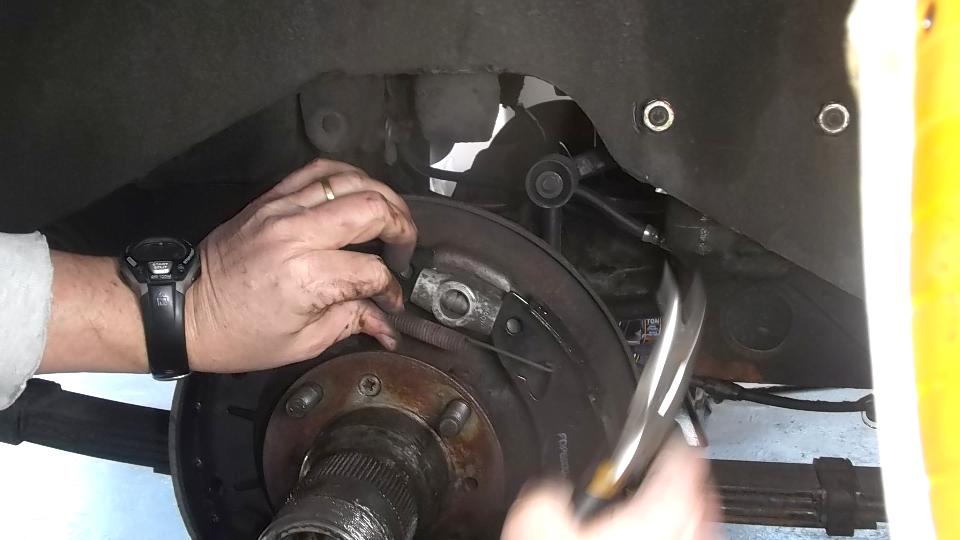
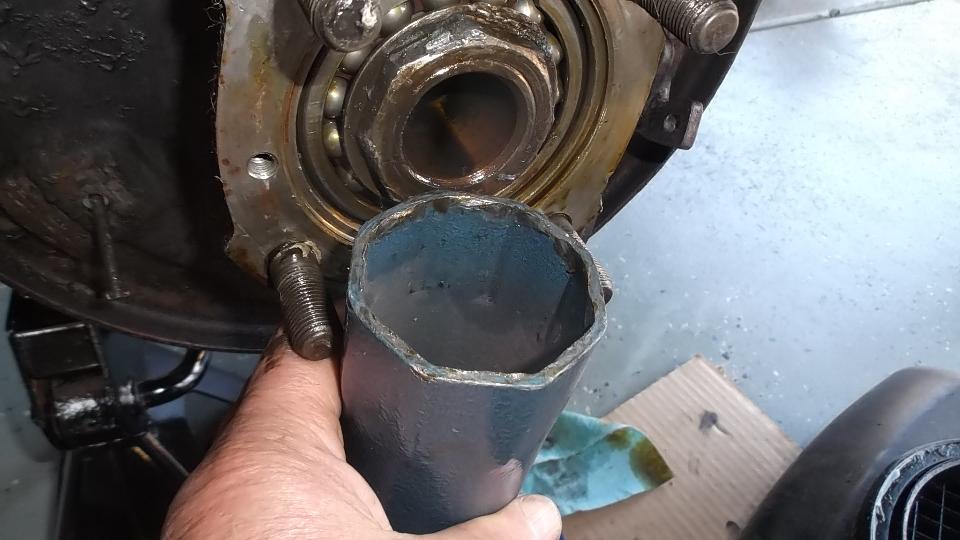
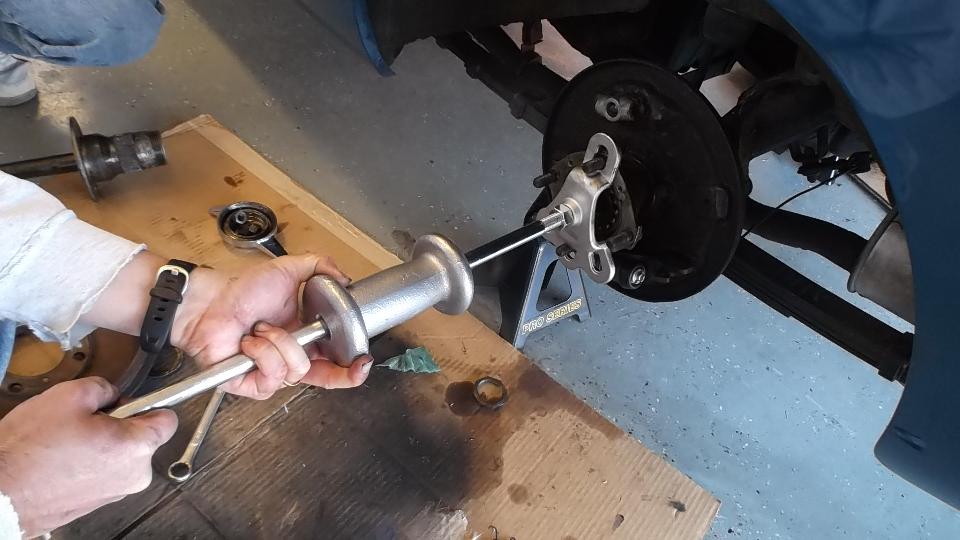
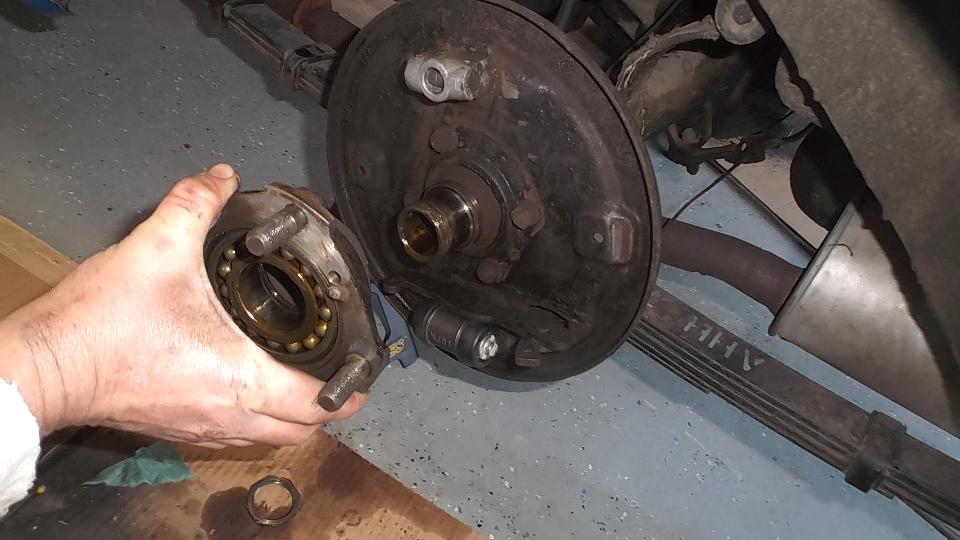
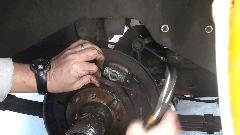
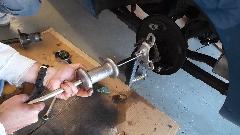
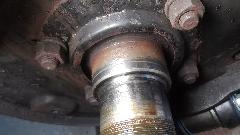
Then the rotating hub bearing was stuck on the axle housing (we come to expect this by now, right?). So off to the parts store for more big boy tools. This time it was a 5-pound slide hammer with the axle puller attachment. That did the job in short order, and the tool was returned for credit (the standard tool lending arrangement). Then we thought there was a wear groove in the axle housing that might shortly chew up a new hub seal. We were contemplating putting the job on hold pending procurement of a Speedi-Sleeve as the prescribed repair part. But on closer inspection, the mark on the housing appeared to be only discoloration from the old seal, as we could not feel any scratch here with finger tip of finger nail. So we decided to put it back together with a new seal. If it might leak later, then we get to do part of this over to install a Speedi-Sleeve later.
I missed a bunch of pictures while removing the big ball bearing from the hub to change the hub seal, but this procedure is well documented in the tech section of this web site. After reassembly we spent some time bleeding the brakes to get air out, and bleeding the clutch to get fresh fluid in (needs to be done every couple of years). We also drained the differential and installed new EP80W90 gear lube. Susie is now very happy (and Ralph as well) with what we hope will be brighter tail lights, quieter tappets, leak free valve cover, leak free rear hub, new rear brake shoes, and long life differential. Test drive disclosed a rattling sound which was determined to come from worn rubber grommets on the radiator fan attachment. Out those bits on the next parts order. Finish time was 7-pm, and ten hours is not bad for everything we did today (but it was a lot more work that expected).


Then we had another appointment, and were off to follow a sport-ute to the home of David Shelly in Madison, AL. After pigging out on Pizza and some extended chat about enjoying cars and competition and clubs and web sites, we did a short tour of the garage to check out David's MGA 1600 and his 1964 pull handle MGB, each having its own rack of left over and spare parts. These are very nice restored cars, so I could only nit-pick a few details on originality, but I may get to tune up the MGA and adjust the choke later. Then while everyone else is turning in about midnight, I get to go to work to bring you these photos and notes.


Sunday February 28, 2016
Did a bit for David's MGA today. Free up one stuck main jet, shorten choke cable connection, adjust choke linkage, set fuel mixture, idle speed and fast idle, converting it from sputter to purr. Adjust valves, straighten flange on valve cover install new valve cover gasket. We also gave David's MGB a quick adjustment of choke cable so it would start easily, and fuel mixture adjustment to run well.
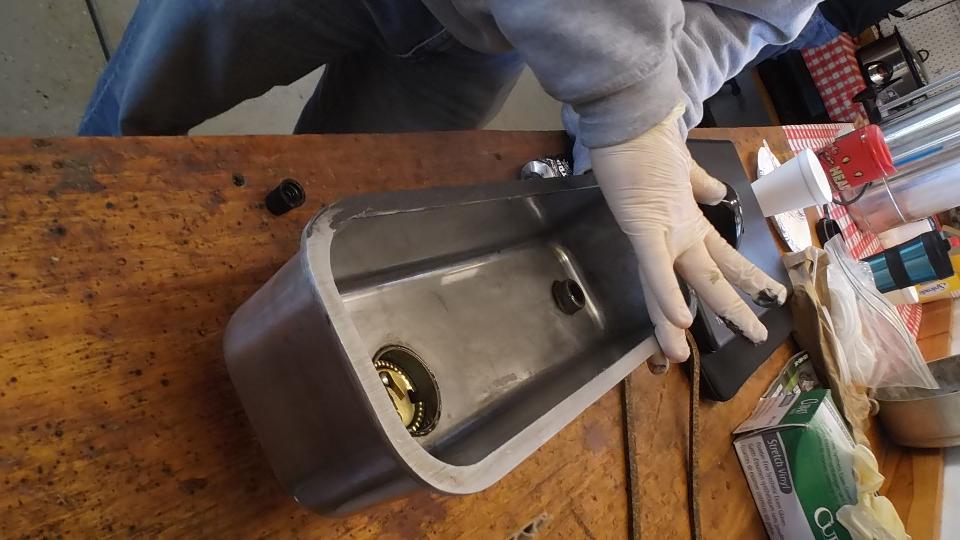
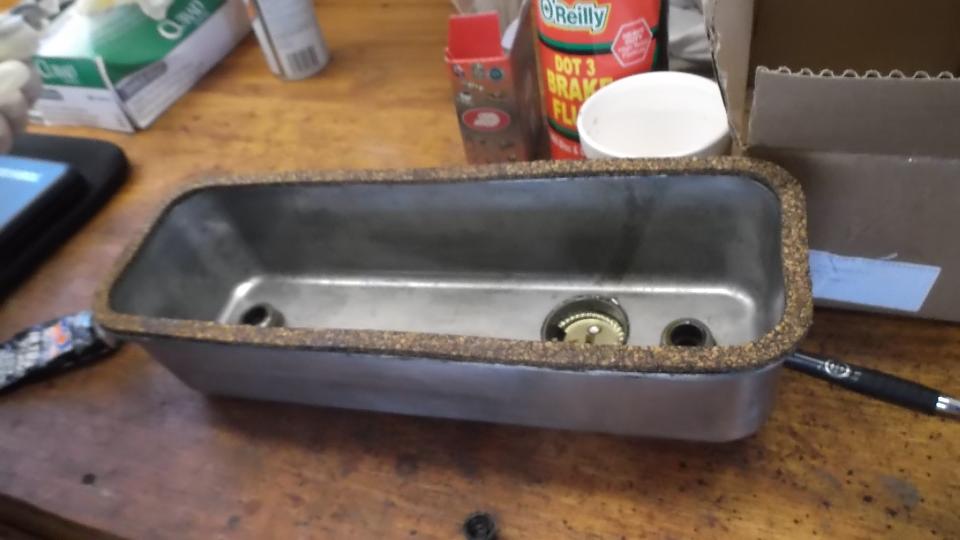
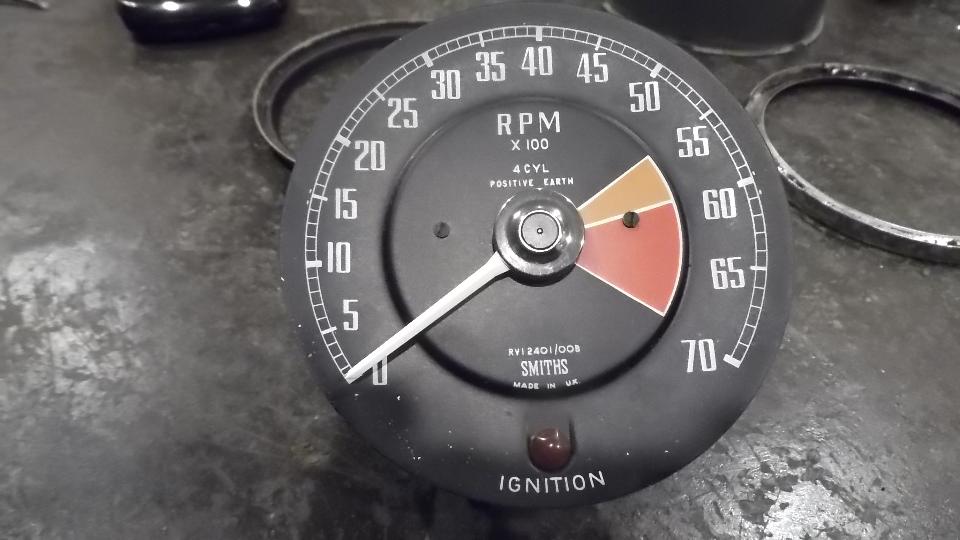
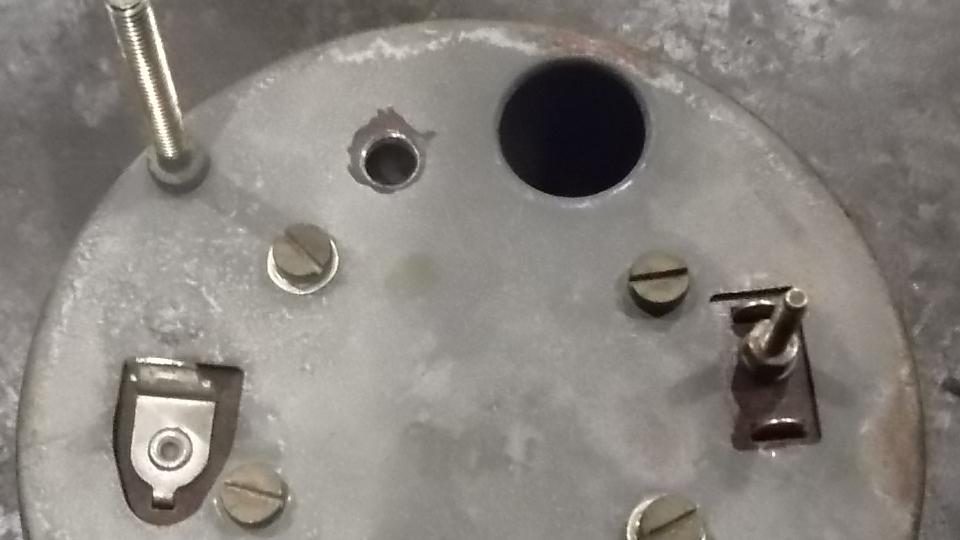
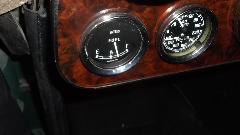
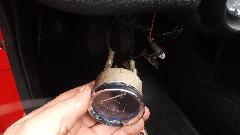
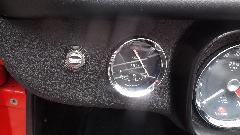
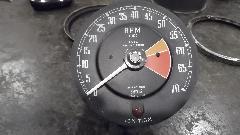
By evening we were calibrating the electric tachometer for David's MGB. Problem here is that the calibration potentiometer is inside, so the instrument has to be removed from the case for access. Twist and pull trim ring
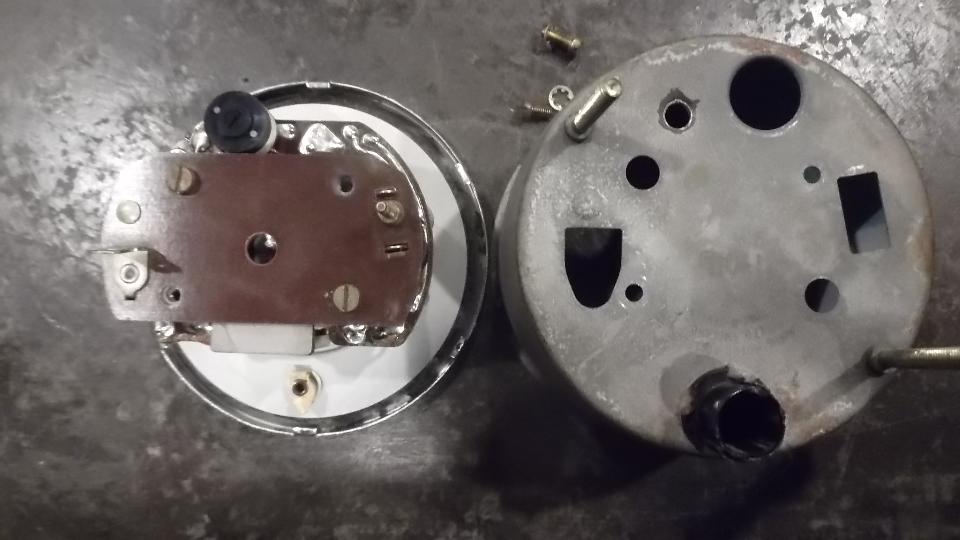
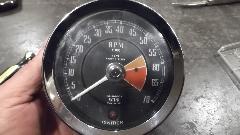 to remove (find decomposed rubber ring), then remove glass (find another rubber ring, almost serviceable), and remove light shield ring. In rear, remove screws securing instrument in the case, and lift off the shell. Determine location of the potentiometer, mark matching location on back of case, then mark and drill a new hole in the case that will be in line with the potentiometer. When the instrument is reassembled it now has access to the calibration potentiometer from the back without removing the case.
Monday February 29, 2016

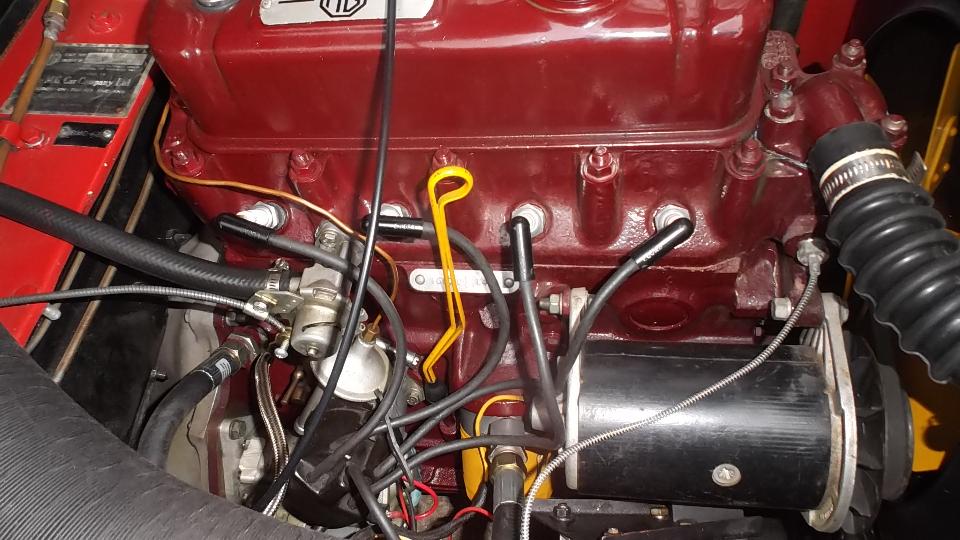
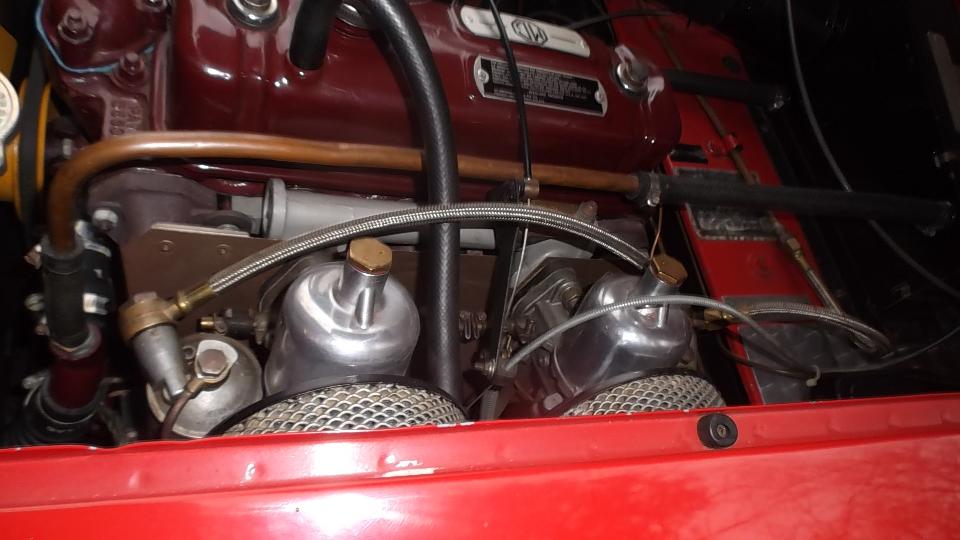
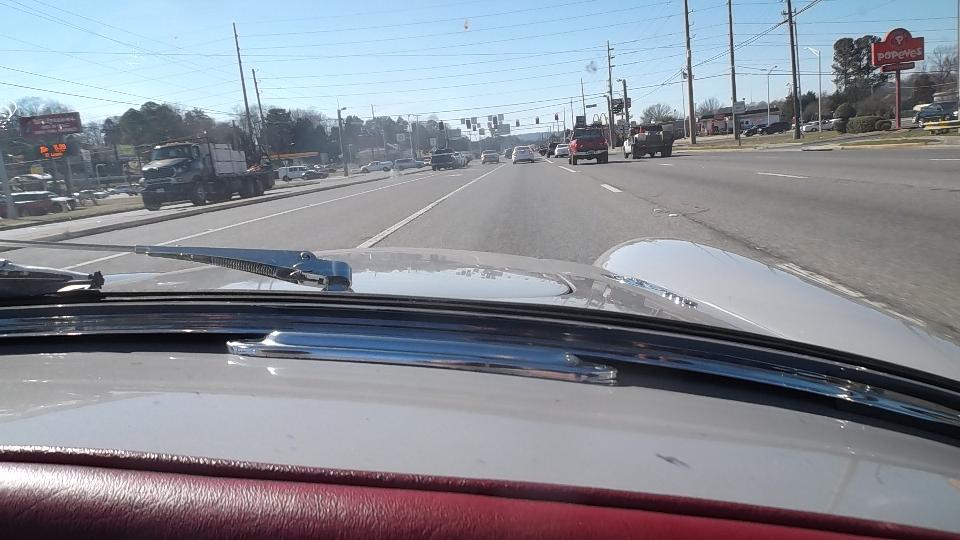
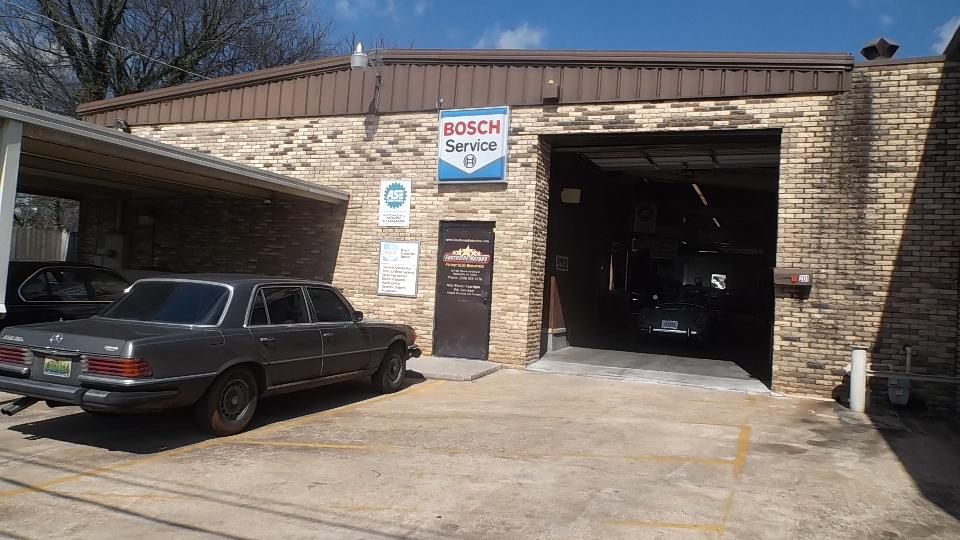
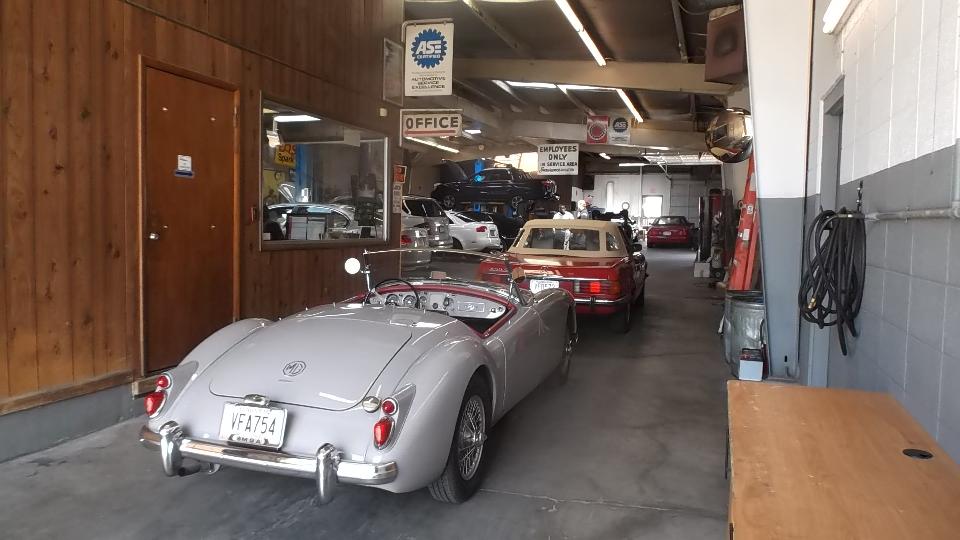
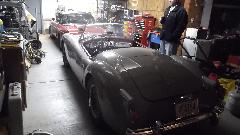
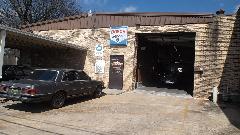
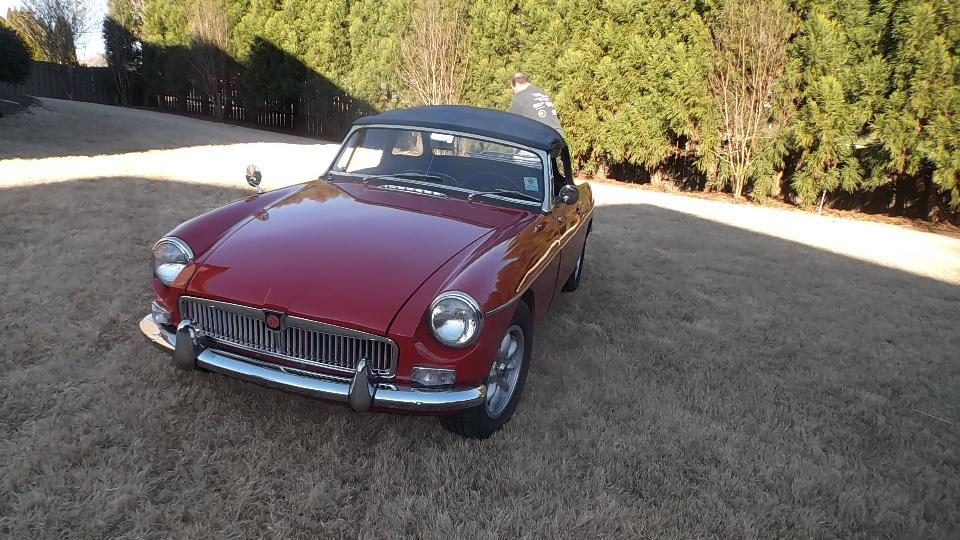
Interesting day, very busy, starting with a short trip to visit Southside Motors, Inc in Huntsville, Alabama. They are foreign auto specialist for more than 50 years, doing Audi, BMW, Jaguar, Land Rover, Porsche, Saab, and at present, refurbishing an MGA. Nice day for top down cruising so we took David's MGA, running very nicely with the fresh tune-up. We found a couple of Jaguars in for service.
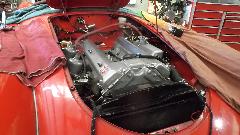
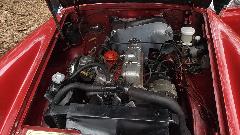
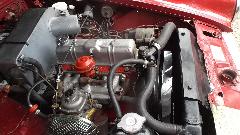
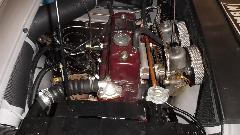
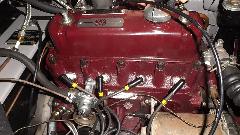
 The MGA in process (which ran before disassembly) is trying for a body repaint, fresh interior and trimming without full chassis restoration. The body was at a paint shop just beginning painting of loose parts. The chassis doesn't look like much, but it is solid, has had a bit of work, and pretty much all of the original parts are present.
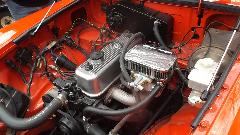
There was also an MGC GT (customer's car) with auto-trans and AC.

Addendum:
On June 13, 2018, Wood, Brett wrote:
"Not anymore -- Must have sold ownership. Only one Mercedes mechanic. I showed them that they were on the list. Sad......" -- Brett
I called to inquire, and sure enough they say that they no longer work on the vintage cars. -- BG
|

Stopping for lunch on the return trip, we had noticed the MGA leaking too much oil, not the new valve cover gasket but primarily the (felt) timing cover seal. So we decided to pinch a spare timing cover with rubber seal from a spare MGB engine in David's garage. We also had a pointed demonstration that the MGA would not turn sharp enough, not capable of making a proper U-turn. On return parked the MGB outside to free up shop space for the MGA.
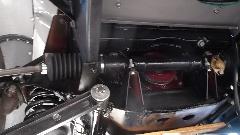
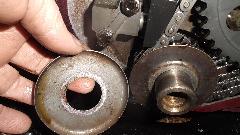
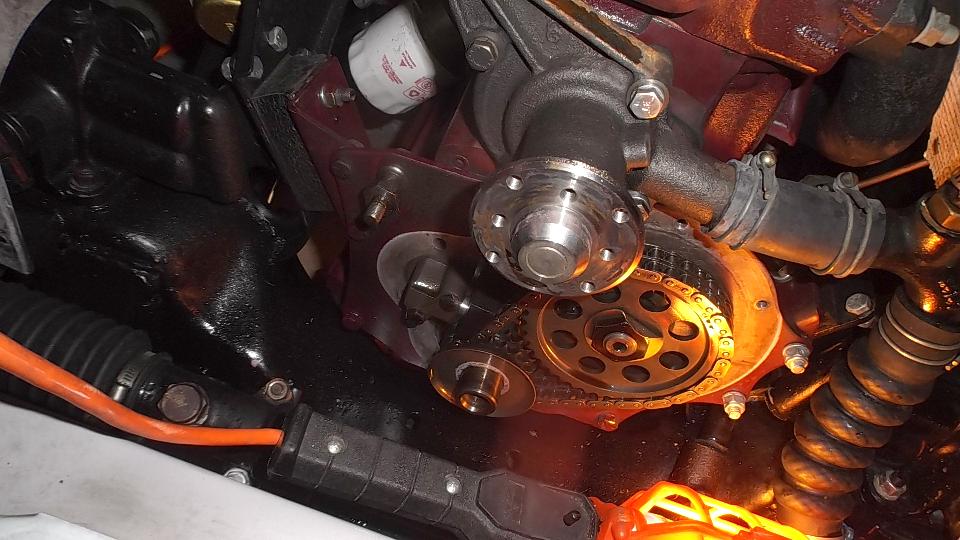
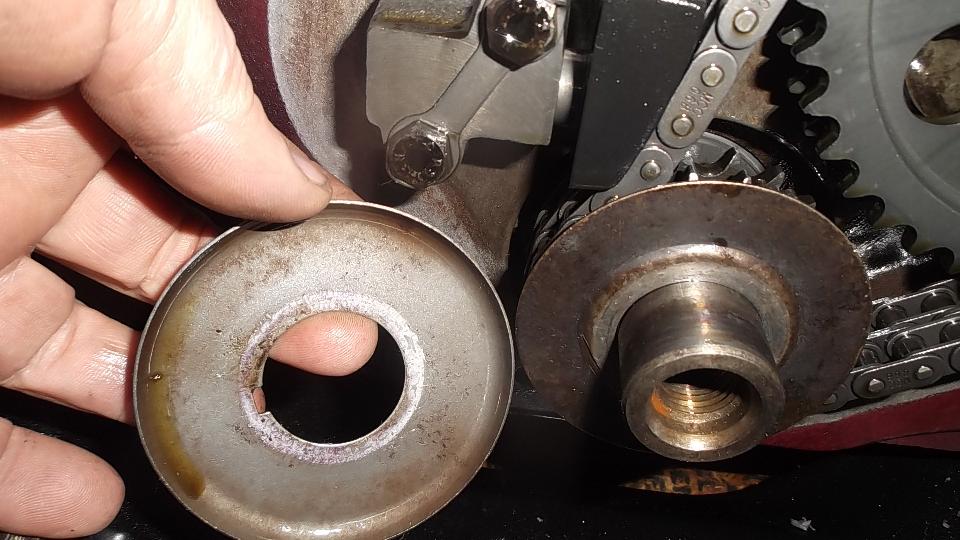
We jacked the front of the MGA to investigate the cause of short steering motion. Didn't see anything obvious at first, except that the rack moved only 1-3/4 inches off center (should have been 3-1/2). So it was a good opportunity to fix two problems at the same time. The radiator was soon drained and removed, fan blade and water pump pulley and fan belt removed. Very soon the crankshaft pulley and timing cover were also removed. The type-A oil slinger would have to change to type-B to suite the change of timing cover.
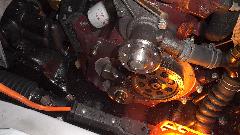
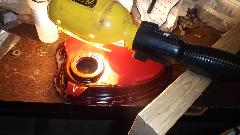
An MGB timing cover was soon cleaned and painted and had a new oil seal installed.
 This was also a good opportunity to change a broken plastic (phenolic) generator fan/pulley, and clean and paint the (recent replacement used) generator. While paint was drying it was good timing for dinner break.
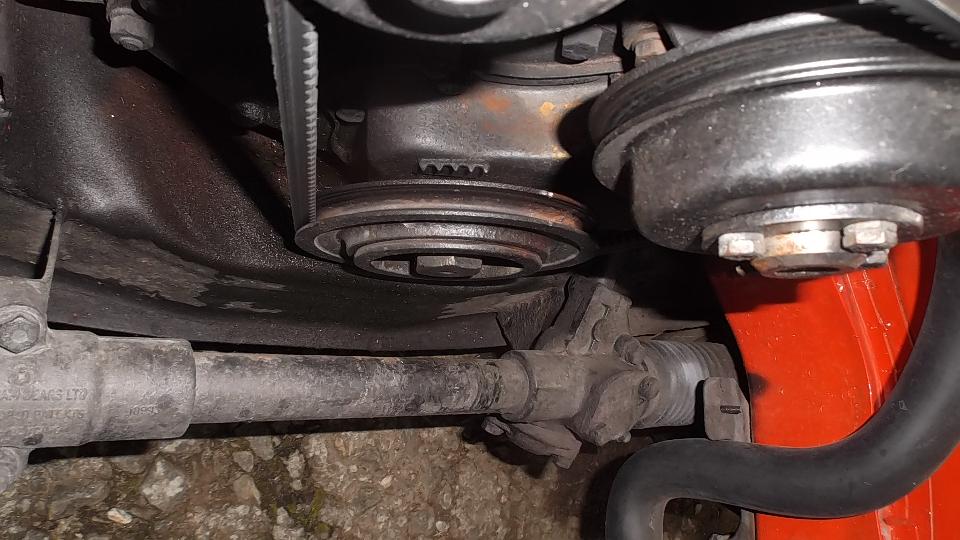
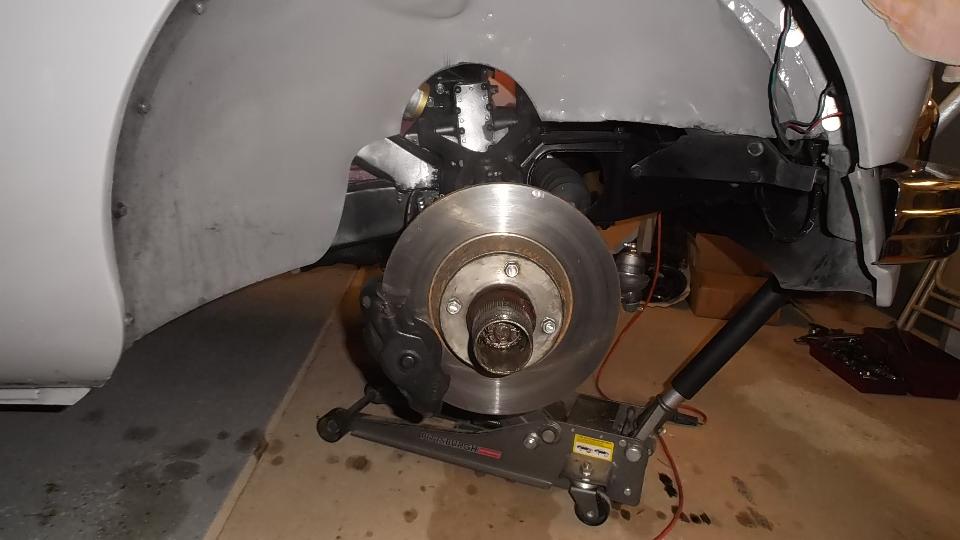
 After dinner we installed the timing cover and crankshaft pulley. Then were investigating the steering problem with short travel and too much drag. We removed the rack dampers from top side of the rack assembly, but not much change. We opened one of the rubber gators to inspect the inner ball joint, but nothing amiss there. Then we disconnected one of the tie rods, at which time the steering was free to move all the way to one side as it should. This was a big "TA-DA" moment when it was known the obstruction was in the suspension and not the steering rack.
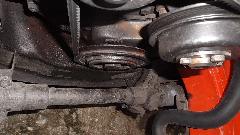
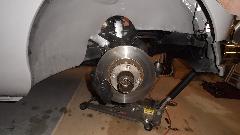 On closer inspection it was noticed that the brake caliper was hitting the lower suspension arm. Huh? Okay, the (asymmetrical) caliper mounting plates were on wrong side of the car, positioning the calipers too low. Once you figure out what's wrong, it's always something simple. Now we have tomorrow's job lined up to swap the caliper mounting plates and get it all reassembled.
|


 This was also a good opportunity to change a broken plastic (phenolic) generator fan/pulley, and clean and paint the (recent replacement used) generator. While paint was drying it was good timing for dinner break.
 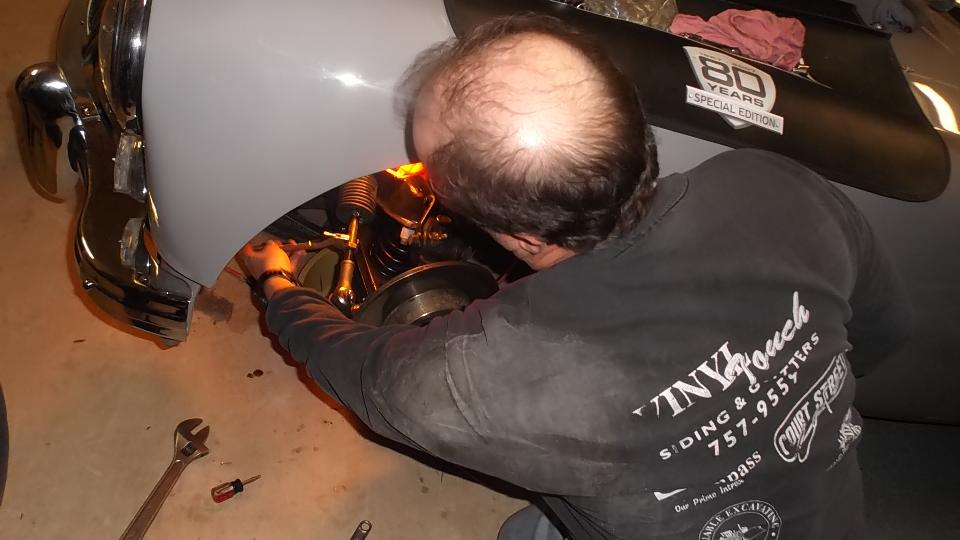 After dinner we installed the timing cover and crankshaft pulley. Then were investigating the steering problem with short travel and too much drag. We removed the rack dampers from top side of the rack assembly, but not much change. We opened one of the rubber gators to inspect the inner ball joint, but nothing amiss there. Then we disconnected one of the tie rods, at which time the steering was free to move all the way to one side as it should. This was a big "TA-DA" moment when it was known the obstruction was in the suspension and not the steering rack.
 On closer inspection it was noticed that the brake caliper was hitting the lower suspension arm. Huh? Okay, the (asymmetrical) caliper mounting plates were on wrong side of the car, positioning the calipers too low. Once you figure out what's wrong, it's always something simple. Now we have tomorrow's job lined up to swap the caliper mounting plates and get it all reassembled.