The MGA With An Attitude
MGA Guru Is GOING MOBILE - (May 16 - May 31, 2016)
Monday, May 16, 2016
Where has the day gone? After several hectic busy days, a lot of time here catching up with photos and notes and other "guru work". In the early evening a get together with Dave Daniel to nail down a parts order list (which didn't make it out today). Catching up email and BBS until late night.
Tuesday, May 17, 2016
At least the large parts order went out today, most of the stuff coming from Virginia, likely two days. Air cleaners for the TF coming from west coast, more likely four days, so maybe not to arrive before Monday. Some parts for my MGA on the same order. A pair of leaf springs on back order for a couple weeks (wishful thinking), so those may end up being re-routed elsewhere before delivery.

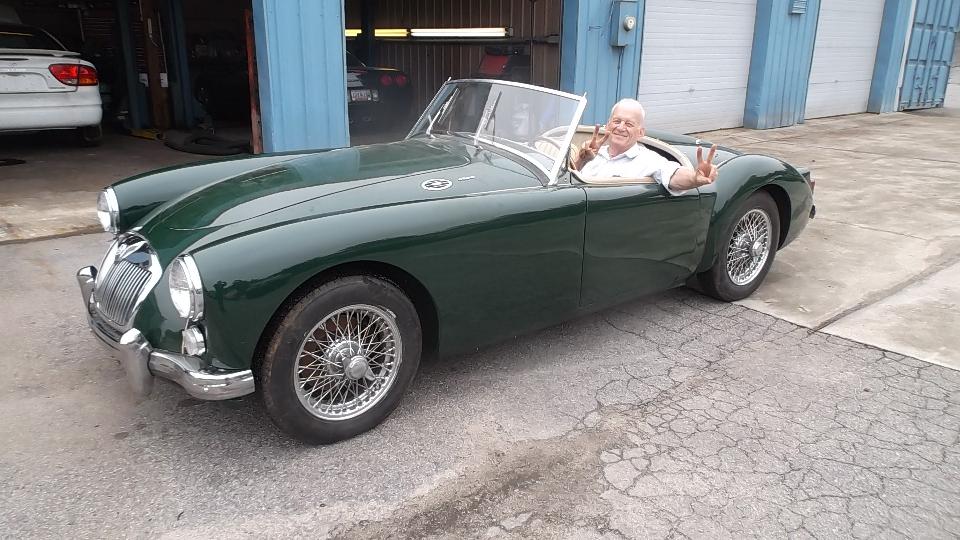
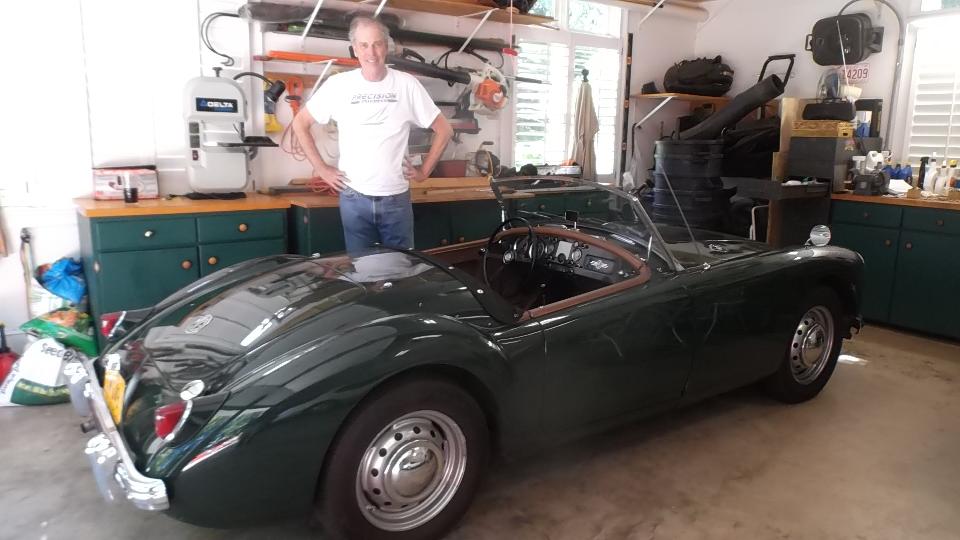
 Early evening I had another mission. Off to Columbia SC to see Amsel Gantt who has a 1972 MGB with some problem stalling when hot. Back it outside. Running rich, some minor adjustment of the HIF carburetors. Ignition coil hot enough to burn a hand, likely the source of the hot stalling issue. In light of a little rain we put the car inside, then off to a local parts store to buy a 3-ohm ignition coil. Early evening I had another mission. Off to Columbia SC to see Amsel Gantt who has a 1972 MGB with some problem stalling when hot. Back it outside. Running rich, some minor adjustment of the HIF carburetors. Ignition coil hot enough to burn a hand, likely the source of the hot stalling issue. In light of a little rain we put the car inside, then off to a local parts store to buy a 3-ohm ignition coil.
Back the car out to install the new coil, then drive it back inside and shut it off. Wait, I want to see if it will run when hot, but then it would not restart. It had spark from the new coil

 but no spark at the plugs, having just failed the ignition rotor. It was one of the rotors with the metal rivet close to the internal metal spring tag, notorious for internal leak and shorting to ground on the shaft. Bummer, but at least I had a new one in my magic trailer, so in short order that was fixed and the car was running again.
Off for dinner, then back to the cave to catch up photos and notes. Then, "Hey", by midnight I seemed to be caught up with the photos and notes from the past six days, so maybe I could catch up on sleep as well.
Wednesday, May 18, 2016
Spent much of the day rearranging tech info web pages for MGA windscreen glass sources, a separate page for each brand name (about 11 of them so far).
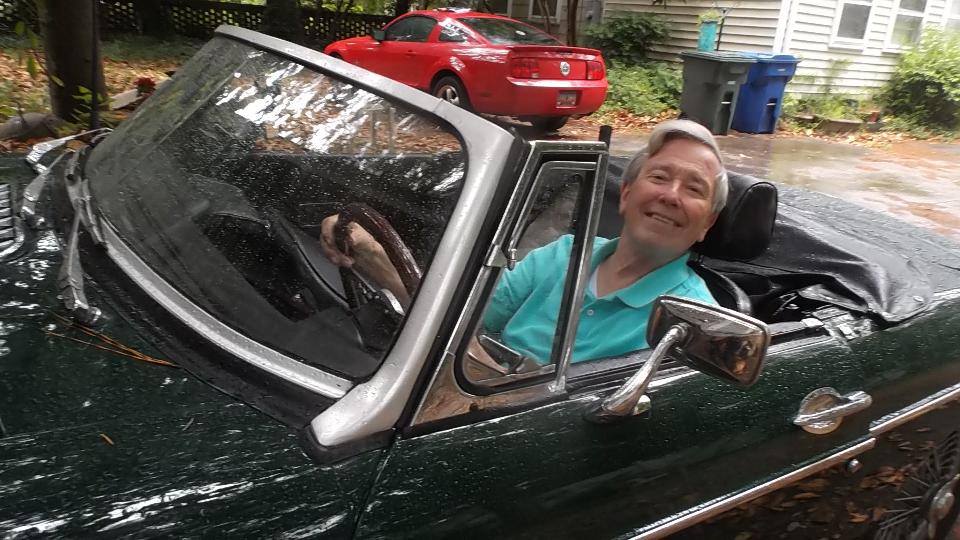
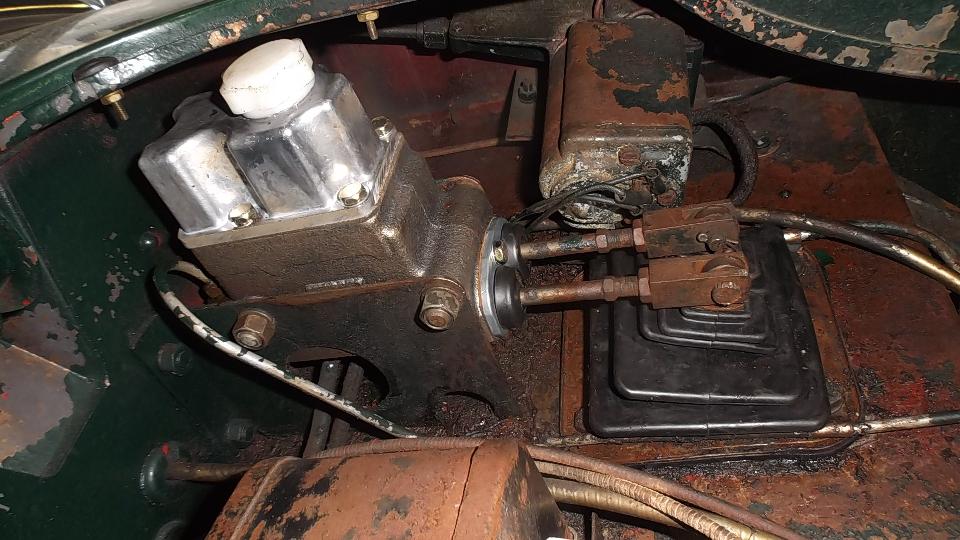
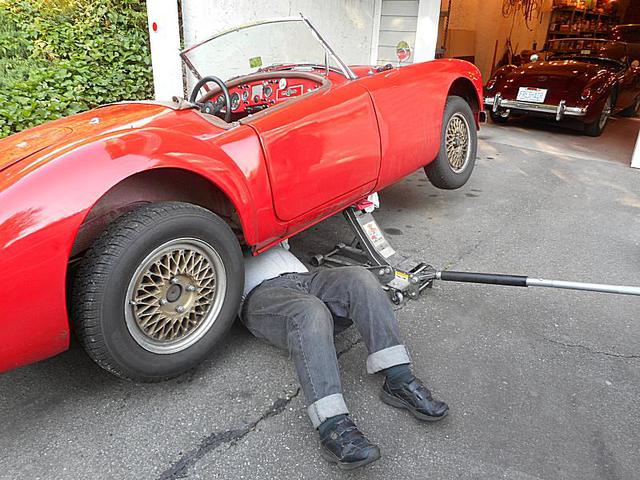
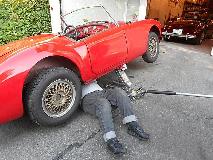
Then back to Abbott's Service Center in Columbia, SC. Remember the MGA from May 11? Wanting to get the brakes working today but got a late start in mid afternoon. Got the car on a hoist, and did a noble job of bleeding the brake lines all around, but still no pressure on the pedal. Pulled the front wheels to bleed the outboard fittings on the calipers. Also removed rear wheels to check/adjust rear brakes, and all was well there, but still no pressure on the pedal. We pumped and pumped and pumped at RF corner, but it was still spitting air along with a small amount of fluid. Apparently the master cylinder was sucking air past the secondary seal on the return stroke. So it was time to install the new master cylinder (already in hand).
Using every minute available before closing time, we got the old MC out, the new one bench primed and in the car with pipes connected and two bolts loosely in place. Will return in the morning to finish the job.
Thursday, May 19, 2016
This was destined to be a long day. Back to the shop at 9-am for some more work on the MGA. First finish installation of the new master cylinder, pushrods, bolt, and tighten the tube fittings.
 Front wheels were dragging a bit so this was a good time to replace three brake hoses (which happened to be already in hand). When finished bleeding we had very good pedal action, and brakes worked on three wheels, but no hydraulic brake on the LR wheel. Parking brake works and releases for both rear wheels, and fluid flows through the circuit and out the bleed nipple. This means the LR slave cylinder hydraulic piston is stuck tight. Bummer. Add two rear wheel cylinders to the order list.
Master cylinder works well, but the clutch slave continued to burp air with every stroke when bleeding, meaning it was sucking air in past the slave seal cup on the return stroke. So we repacked the slave cylinder with new seal cup and dust boot and replaced the gaiter on the release arm while it was open.

The badly worn slave push rod and clevis pin definitely had to be changed. All fairly easy (except for a few bruised knuckles), and when finished it had plenty of travel for the pushrod and release arm.
Then we had an appointment for a 6-pm dinner meeting, 225 miles away. So we headed out of Columbia SC a
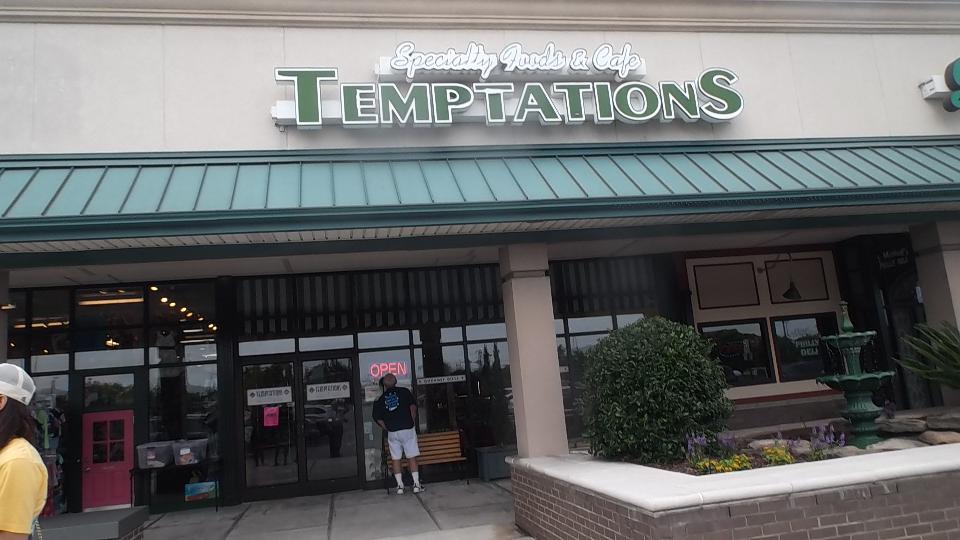
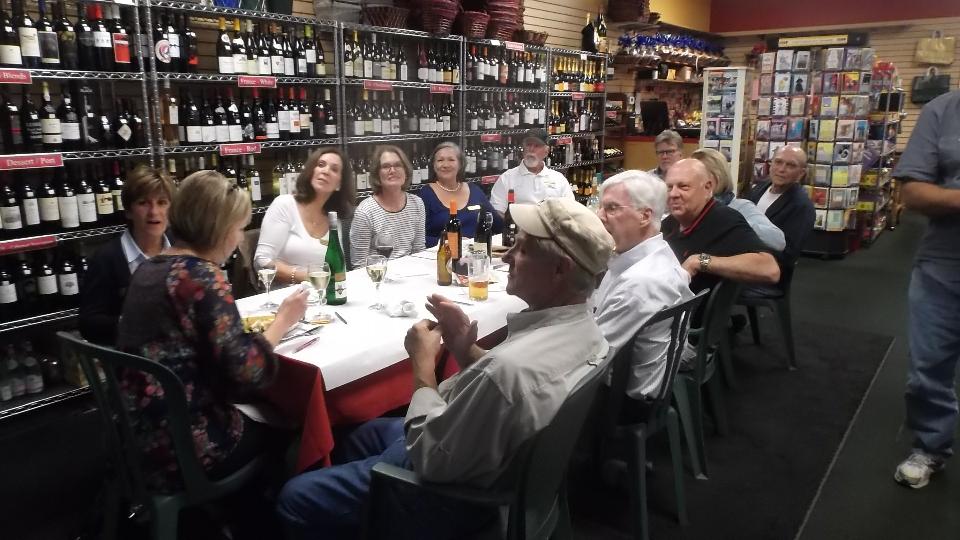
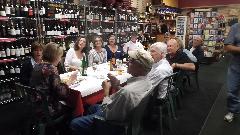
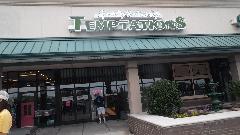 little after 2-pm. took to expressways, fighting rain most of the way, one fuel stop, and arrived in time (for a change) at Temptation's Every Day Gourmet
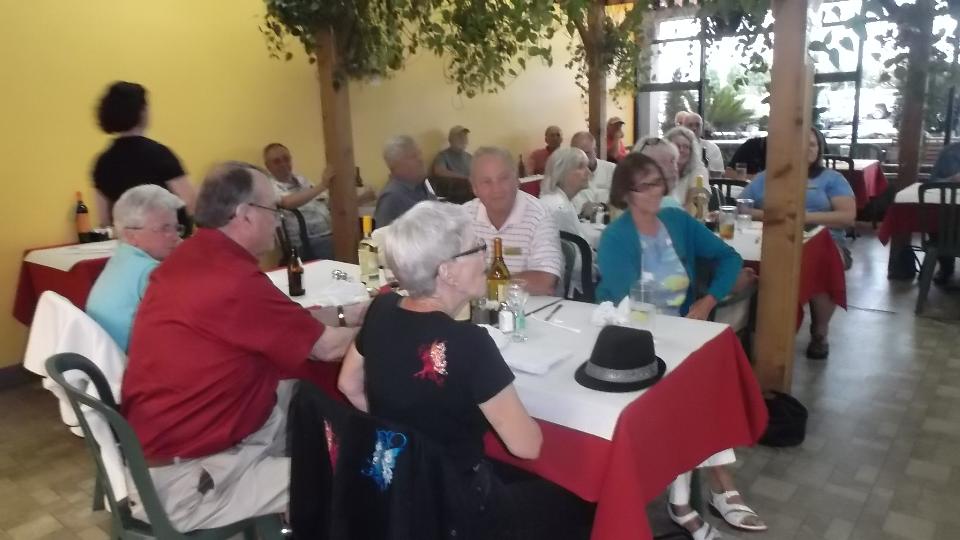
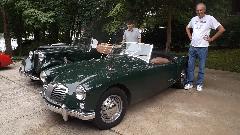
in Wilmington, North Carolina. We were here to visit British Motor Club of the Cape Fear. There was a nice dinner, and a comprehensive club meeting with about 40 people. MGA Guru did five minutes to let everyone know what we were up to. I think we arrived a smidge early and were about last to leave. I may have missed some of the cars, but there was at least one British car there other than mine.
little after 2-pm. took to expressways, fighting rain most of the way, one fuel stop, and arrived in time (for a change) at Temptation's Every Day Gourmet
in Wilmington, North Carolina. We were here to visit British Motor Club of the Cape Fear. There was a nice dinner, and a comprehensive club meeting with about 40 people. MGA Guru did five minutes to let everyone know what we were up to. I think we arrived a smidge early and were about last to leave. I may have missed some of the cars, but there was at least one British car there other than mine.

Nice weather in Wilmington, but we were heading back west and ran into the rain again in short order. Not so much a problem, another fuel stop, and we landed back in Columbia about midnight. Well, it was only seven hours travel time and 450 miles for that club meeting (nothing unusual).
Friday, May 20, 2016
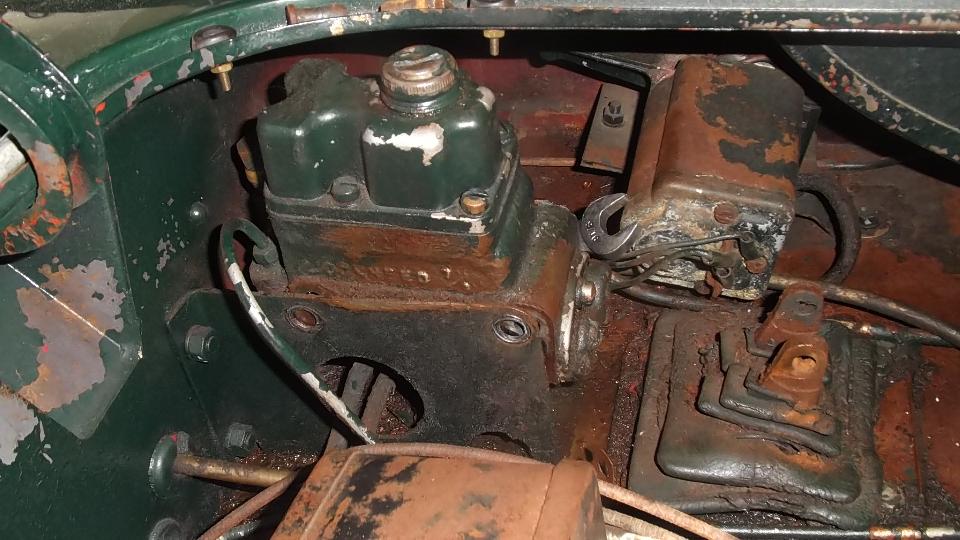
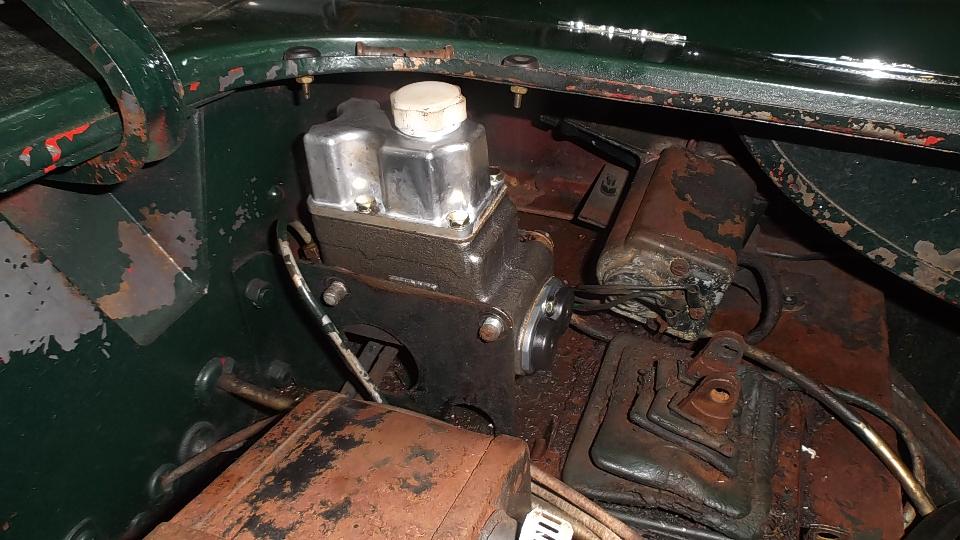
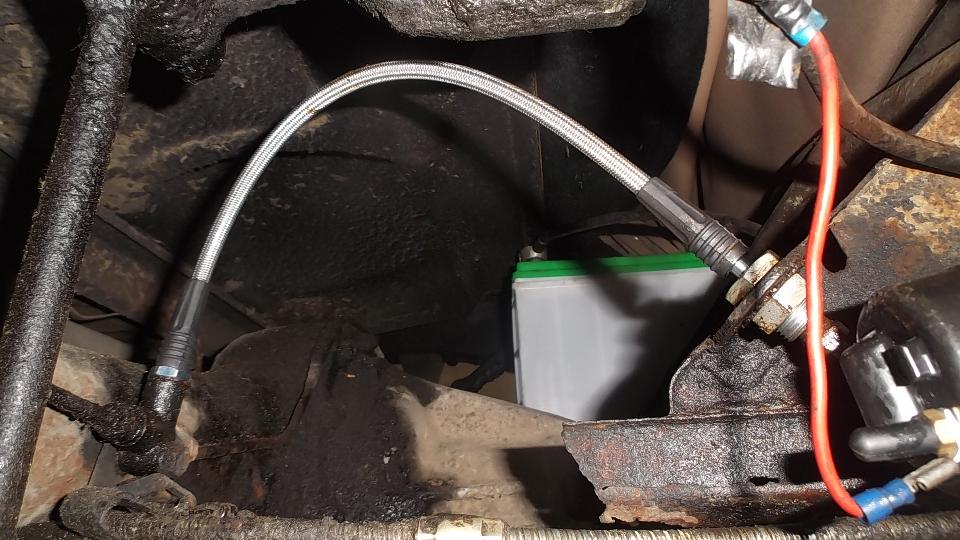
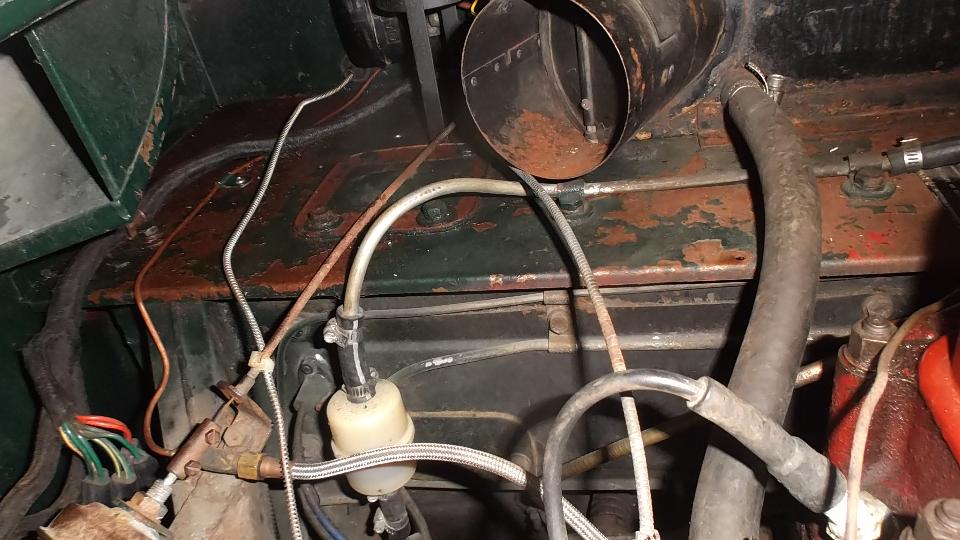
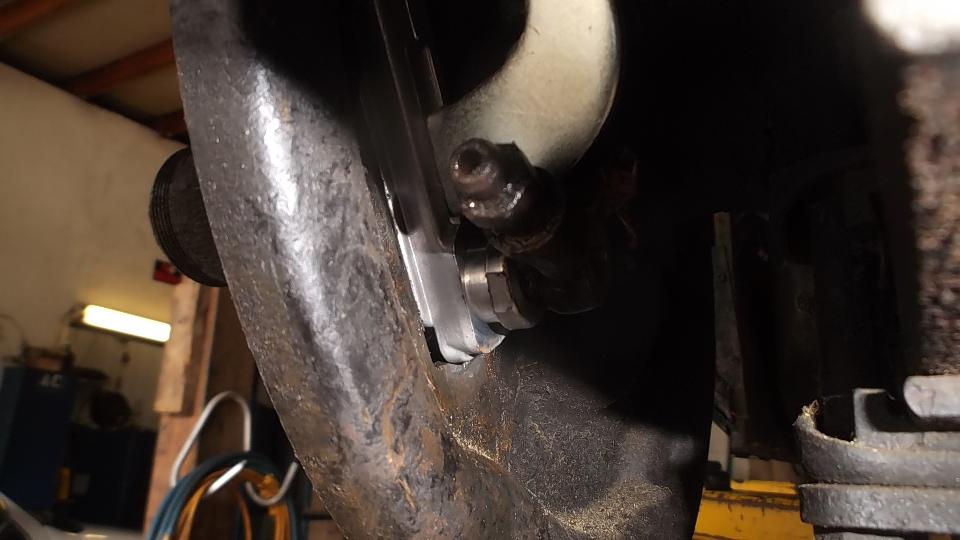
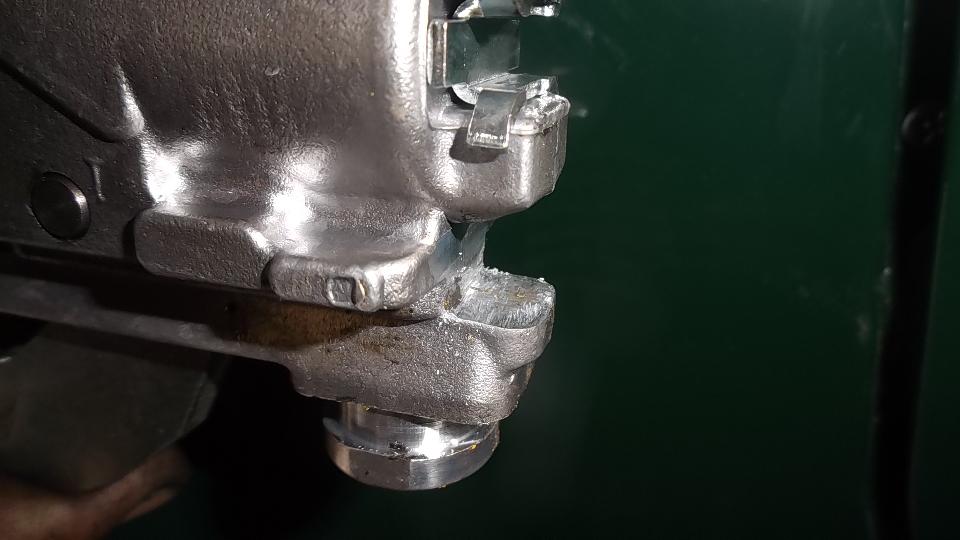
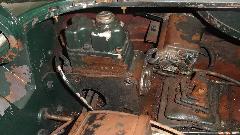
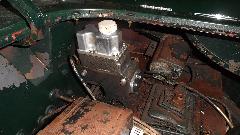
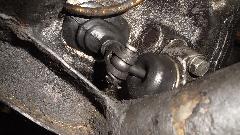
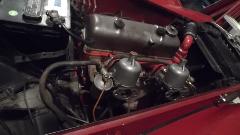
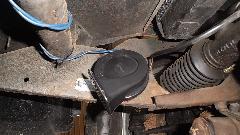
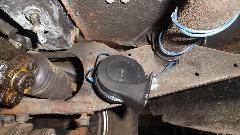
Back to work on the MGA once more today, since more parts had arrived last evening. First business was to install a new metal oil pressure signal pipe from the engine bay to the gauge in the dash panel so we could run the engine again. This pipe runs from the flex line connector on the frame over the heater shelf and through the bulkhead to terminate at the oil pressure gauge. Notice the P-clips both sides of the panel for strain relief of the small pipe, as well as the rubber grommet in the firewall. Once connected and engine run to verify the gauge works, it was shut down to let the gauge go to rest at zero. Then restarted to time how long it took for the gauge to come up to full pressure (50 psi at idle). That was about 7 seconds, and the test was repeatable. Then shut down, disconnect the pipe from back of gauge, hold the end in a small pot, start and run engine until oil came out with no air, shut down and reconnect pipe to the gauge. Then restart to time how long it took for the gauge to come up to full pressure (50 psi at idle). That was about 3 seconds, and the test was repeatable. This was to demonstrate that bleeding air out of the signal pipe can improve response time of the gauge.

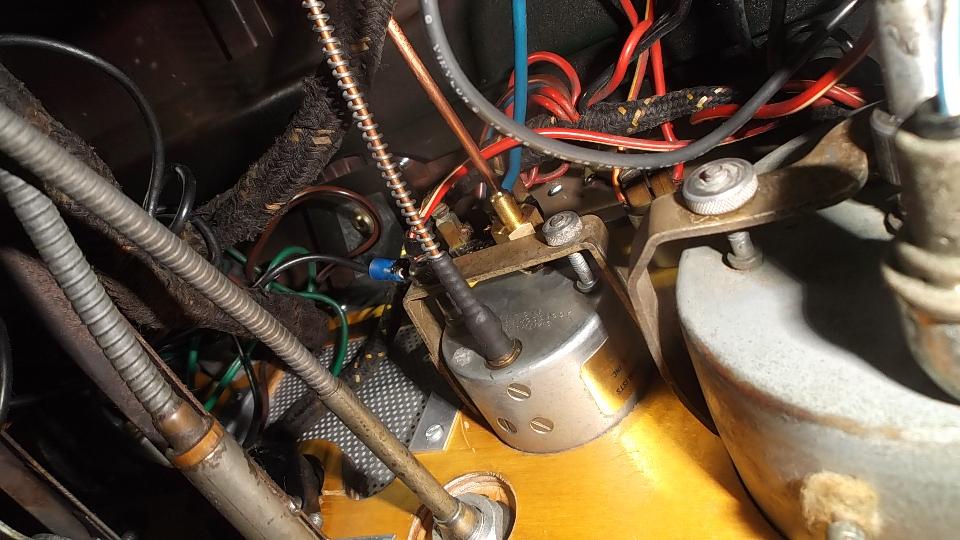
 Now running, the ignition light on the dash was on. Bummer. The generator tested okay but the control box was not sending voltage to the field of the generator (zilch, zero, nada). We were due for lunch anyway, so we took a side trip to a parts store and picked up emery paper (among other things). Cleaning points on the regulator relay restored its operation, and a little adjustment of the relay brought charging voltage up from 13.5 to 15.0 (at the dynamo output terminal), so that was good to go.
Time for a test drive, except the clutch wouldn't release. Sheesh! Never a break, clutch friction disc was stick to the flywheel (or pressure plate). Select 4th gear, hold down brake and clutch pedals, and pull starter. This produced a small lurch, but stalled the starter motor, no go. Tried in 2nd and reverse gears, same results. Let me in there, and clear the door.
Select reverse gear, pull starter, jerk backward a few times before starting, and back it out of the shop space. Continue backing to end of the parking lot, and kill the engine. Select 1st gear, hold down clutch pedal,
 and pull the starter switch. Jerk forward a few times before starting, then roll on in 1st gear. At about 2000 rpm, still holding the clutch pedal down, get on and off the throttle suddenly a few times, and that did it, broke the friction disc loose. Yee-haa! The clutch was working. Turn it over to the owner for a short test drive and all is well with the world, grins all around. Time to call it a day so to speak). Then I got to go to work on "guru stuff" (so you can enjoy these photos and notes). and pull the starter switch. Jerk forward a few times before starting, then roll on in 1st gear. At about 2000 rpm, still holding the clutch pedal down, get on and off the throttle suddenly a few times, and that did it, broke the friction disc loose. Yee-haa! The clutch was working. Turn it over to the owner for a short test drive and all is well with the world, grins all around. Time to call it a day so to speak). Then I got to go to work on "guru stuff" (so you can enjoy these photos and notes).
Saturday, May 21, 2016
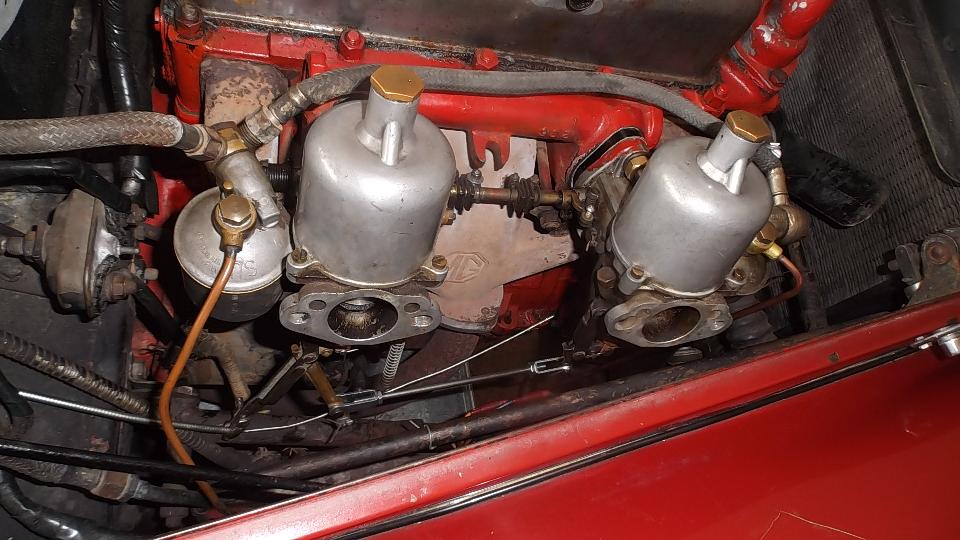
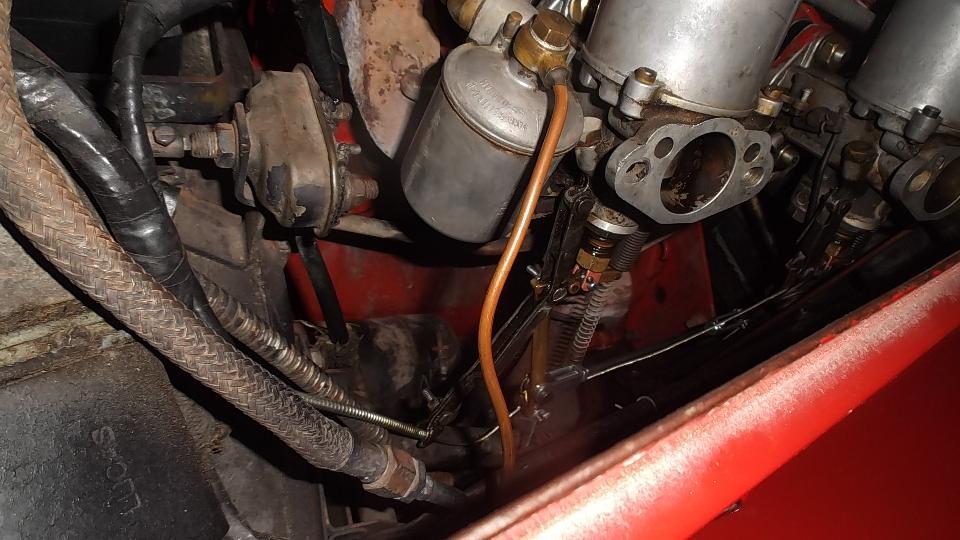
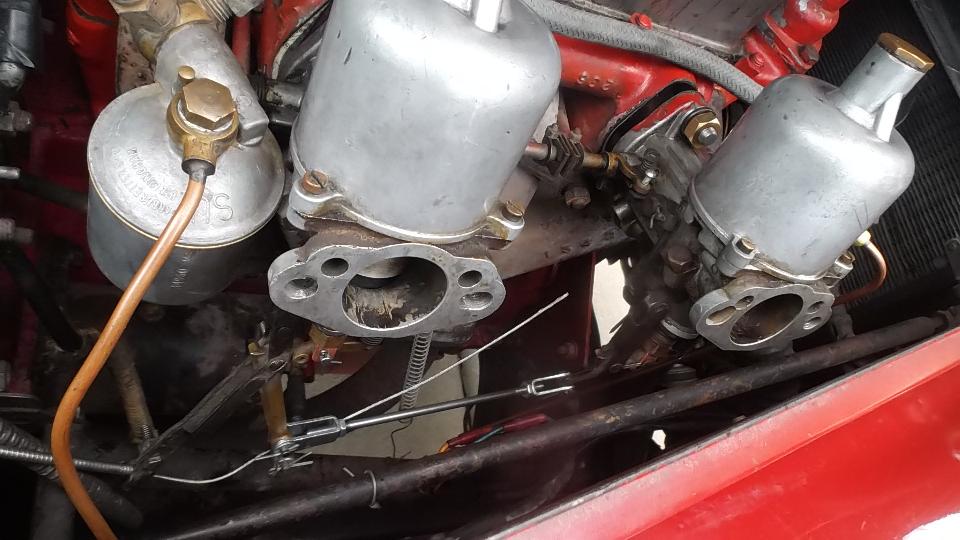
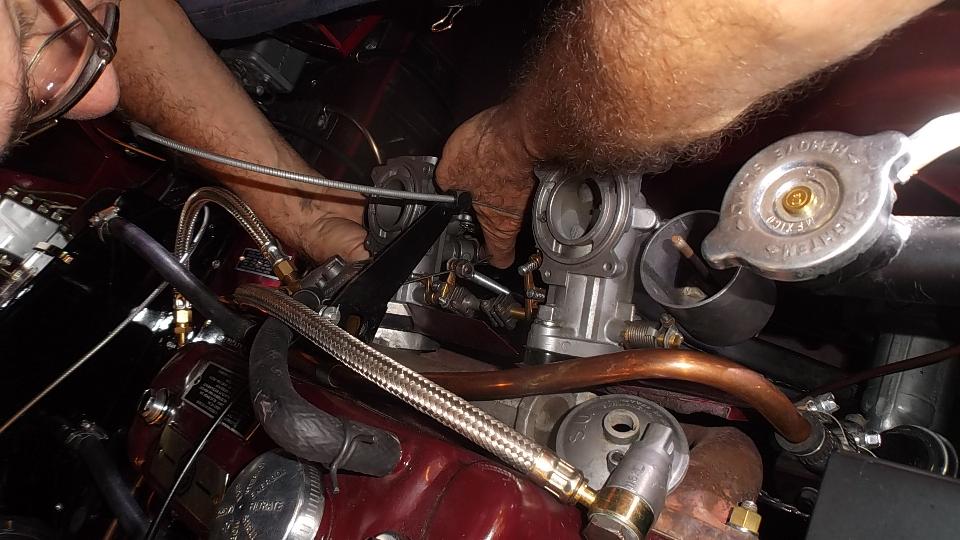
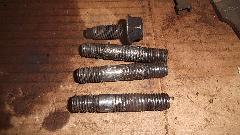
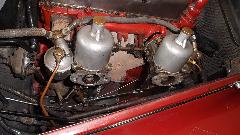
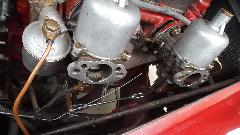
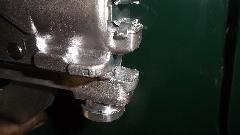
Back to work on the MG TF today. Primary objectives were to replace fuel jets and needles and get the tail lights working. While the carbs were off agian we would replace the severely abused studs for the carb mounts. I was surprised how easily the old ones cam out. Some advantage to having an iron intake manifold rather than aluminum (like my MGA). And yes that bolt was used in place of one of the old studs.
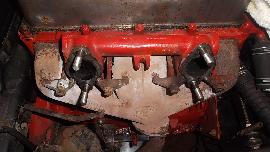
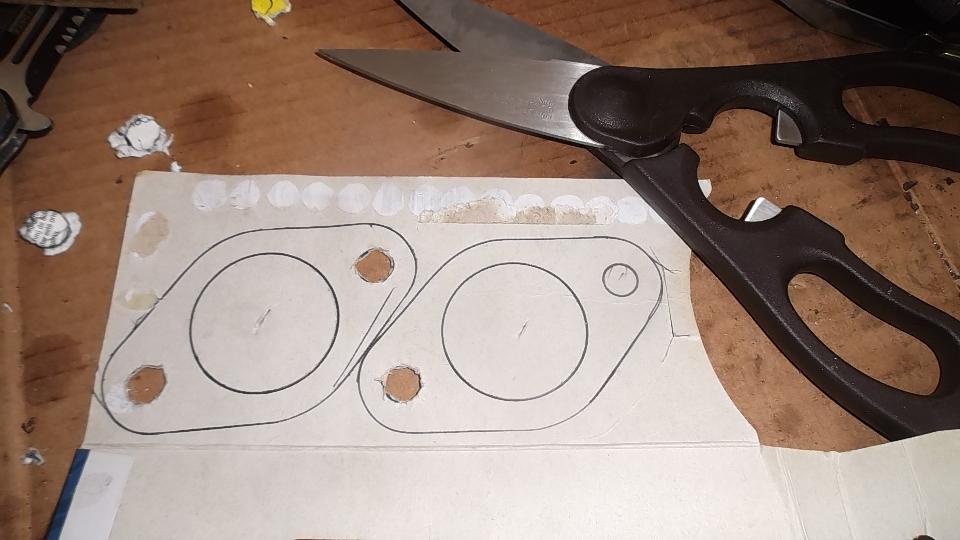
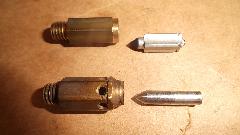
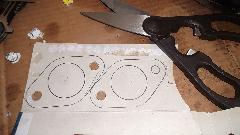 Not sure how we managed to order new studs and thermal spacer blocks but forgot the gaskets. Oh, well, the gaskets were shipped from the Moss California warehouse while other parts came from the Virginia warehouse, so the gaskets wouldn't arrive until Monday. So we made our own gaskets (4 of them). No need to disturb the jet bearings or the new Teflon jet seals, just pull the old jets out the bottom, push the new ones in, and reinstall the clevis pins. Dashpots were off momentarily to install the new needles, and soon it was back together (with a new vent/overflow pipe for the front carb).
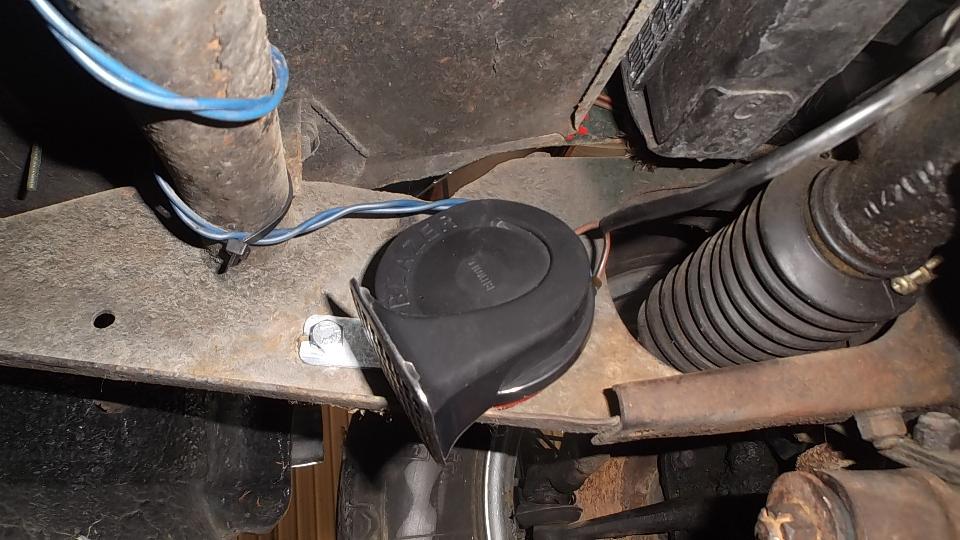
 Then we had a momentary diversion to R&R the horn to open it up while checking the power and ground wires. It had power and worked when grounded, so the fault had to be in the return wire to the horn button. You know the horn has a dedicated fuse in the original vehicle set up. Well this one has (had) an additional fuse in the return wire on the way to the grounding button, and that fuse was burned out. That fuse is now bypassed, gone, and will never be a problem again.
Then we replaced the failed lighting switch, followed by a wild goose chase trying find where the tail light wire (which didn't work) might connect to the circuit for front parking lamps (which did work). During the search we found a block of four added fuses for headlight high beams, headlight low beams, front parking lamps, and tail lamps (with another burned out fuse). There were also two wires for separate feeds from the lighting switch to the two corner lamp fuses (somewhat odd). By day's end we had figured out the two original fuses and six of the eight added fuses (one of which was deleted). That still leaves on added fuse with an output short to ground, and one more with yet to be determined use. This is all royal pain when most of the wires in the engine bay had been painted black, and most of the added patch wires were green regardless of use. We also got the ignition light high beam lamp, and turn signal pilot lamp working.

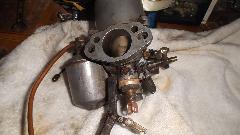
Sometime after dark Dave noticed the rear carburetor leaking from somewhere around the fuel jet. So R&R the rear carb again to find and fix a leaky cork packing for the jet bearing retaining nut. Now that one was dry, but the front one "damp". Uh, job for tomorrow, done enough today closing on 10:30 PM.
Sunday, May 22, 2016
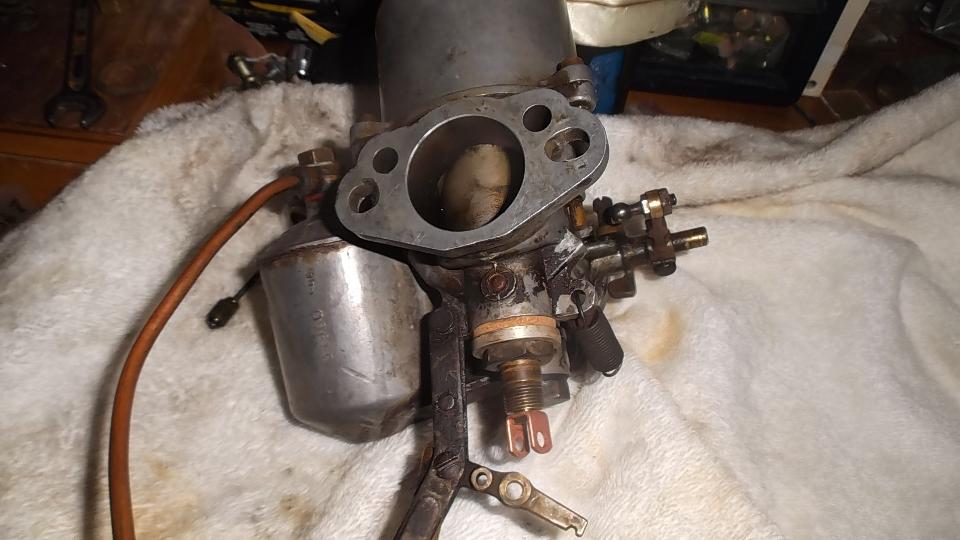
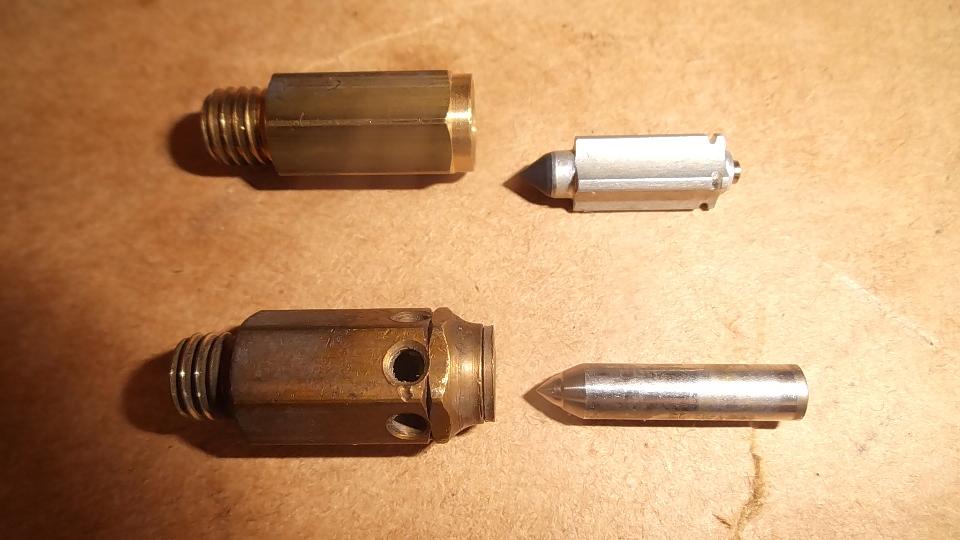
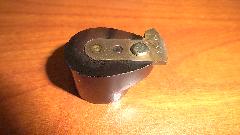
 A left over photo and note from the day before. Ignition was left on for a long time (coil disconnected) while we were debugging electrical problems. Then while R&R the rear carburetor we noticed fuel puddling in the rear intake port. Grrrr. This turned out to be a float valve leaking when closed causing high fuel level in the float chamber, in turn causing fuel to overflow top of the jet and carburetor bridge into the intake manifold. We subsequently found a deep wear mark in the nose of the steel pin in the float valve (which may have been original factory issue from the early 50's). A replacement float valve with Viton rubber tip and spring loaded tail fixed that issue.
 We opted not to try to fix a very slow drip under the front carburetor, because we didn't have any more spare cork seals for the jet bearing retainer nut. After chasing some more wiring faults we finally took the TF for a test run, and all was well with the world. On return from the run the front carburetor was dry on the bottom, no drip, no weep, nada, so for now forget about fixing last nights leak. Note to owner, change the front float valve as preventative maintenance.
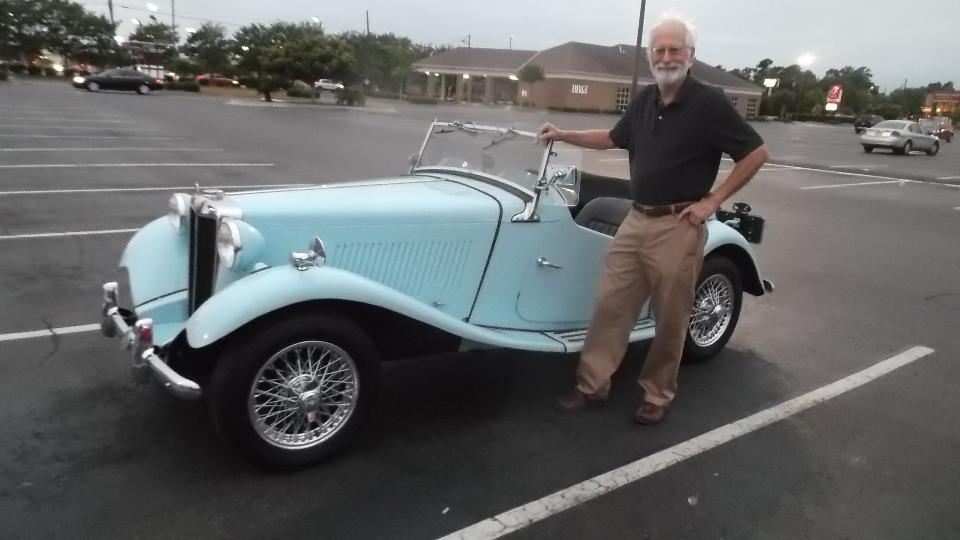
Then we had just enough time available to install a new master cylinder on my MGA. I finally got tired of changing primary seal cups every six months or so, and opted to replace the 30 year old Lockheed master cylinder. The new one is a TRW brand (the less expensive option in the Moss catalog). There have been prior reports of this one having too much residual pressure in the brake side causing front disc brakes to drag. I am happy to report that it seems to work well with front drum brakes. Now I don't know that the prior problem has been fixed, more likely the residual pressure affects disc brakes but is not enough to bother drum brakes.
Monday, May 23, 2016
 Late start today, waiting for the new parts to arrive. Only a couple hours to work before Abbott's shop closes, so lets get going. Last Friday the MGA had no hydraulic brakes on the left rear. Today (after Friday's vigorous use of brakes to free the clutch disc), the LR brake was solid on and would not release, so could not remove the brake drum. Wheels back on, car down, drove it fore and aft a few times, then back on the hoist. Two of us managed to man-handle the wheel to align the adjuster hole. Then turning down the adjuster freed up the brake drum for removal.
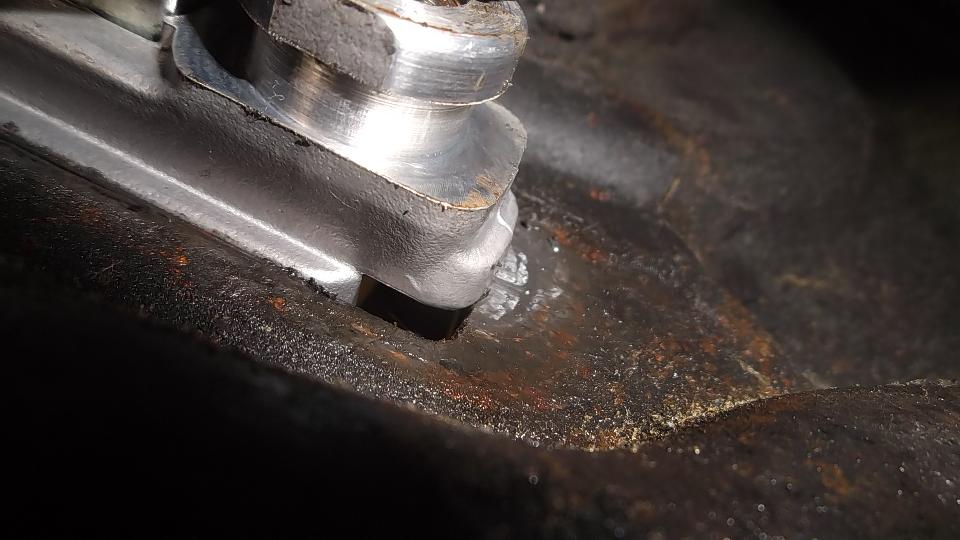
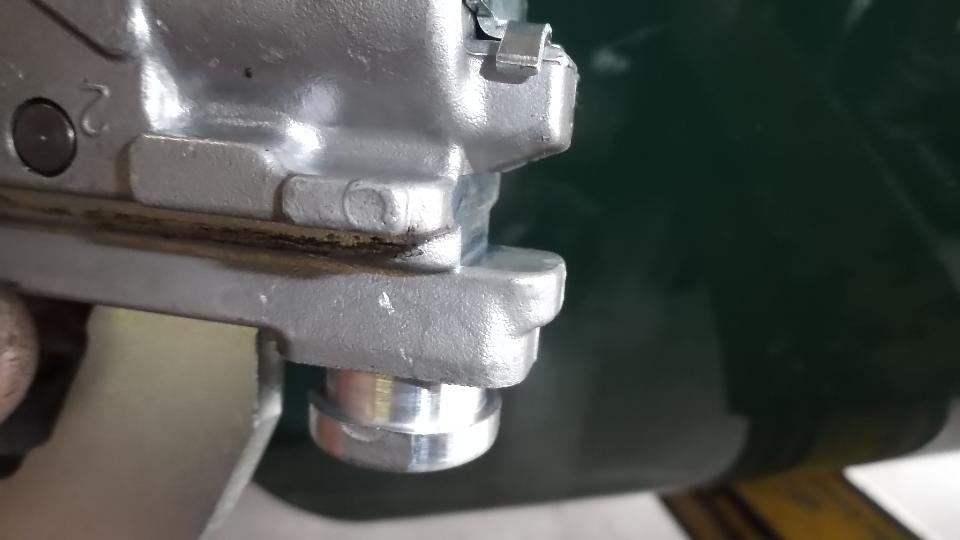
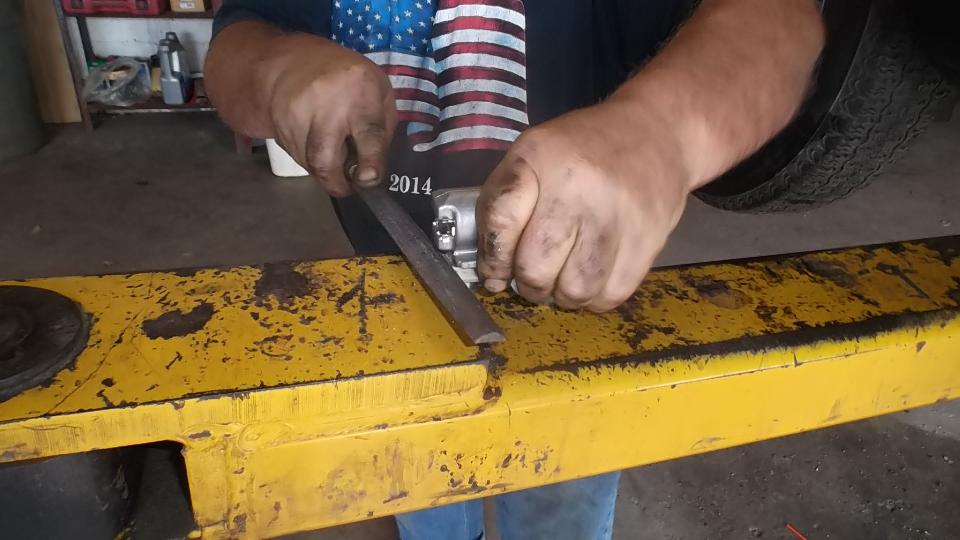
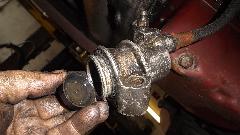
Wheel and brake drum off, remove brake shoes. Disconnect parking brake cable, remove banjo bolt to disconnect brake pipe (do not lose copper seal washers), remove old rubber boot, lift off outer piston, and lift old slave cylinder out of slot in backing plate. Upon inserting the new slave cylinder, it would not slide fully into the backing plate. Thickness of space at the bottom end of the new part was too small. Tapping with hammer could get it into place and back, but this joint has to slide freely with finger force only. This should be an easy job, but there's always a hitch, isn't there?
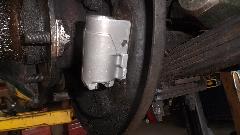


The offending end of the new slave cylinder needed to be filed a bit on one surface to provide the needed working clearance. Exactly the same was required for both new slave cylinders. This is not a new problem, but as I recall it is not as bad as it used to be a few years earlier. Note to self, make some adjustments on the Faulty Replacement Parts web page, and notify the supplier again. In the time allowed we got the slave cylinders installed, pipes and cables reconnected, and brakes back together on one side. Will take this up again in the morning.


Tuesday, May 24, 2016

 Today we had parts and time, so we got serious at 10-am. Finished reassembly of the RR brakes. Had a bit of problem here when the drum would not go on, until I figured out the parking brake cable was adjusted too short. That fixed, all was well, but we opted not to spend time bleeding the rear brakes yet to keep the time for something else (and good we did).
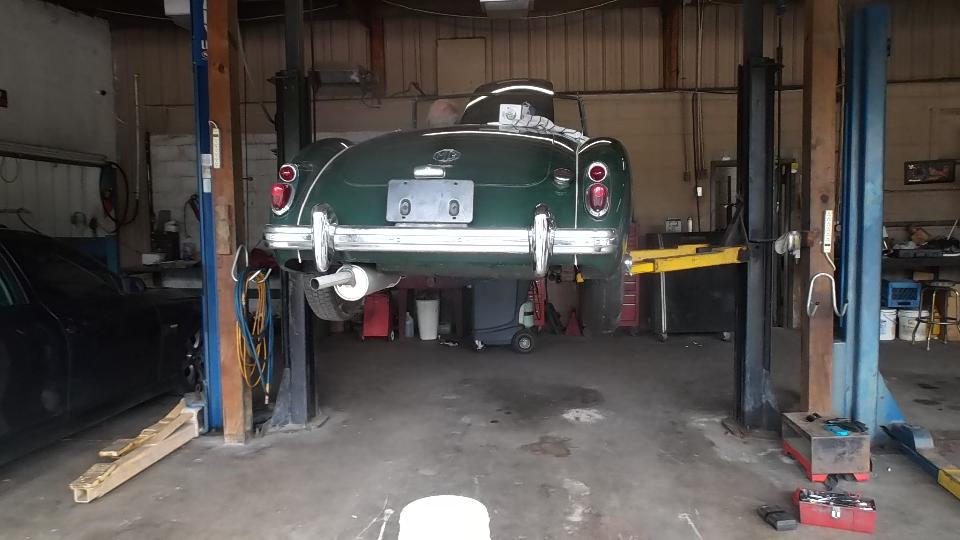
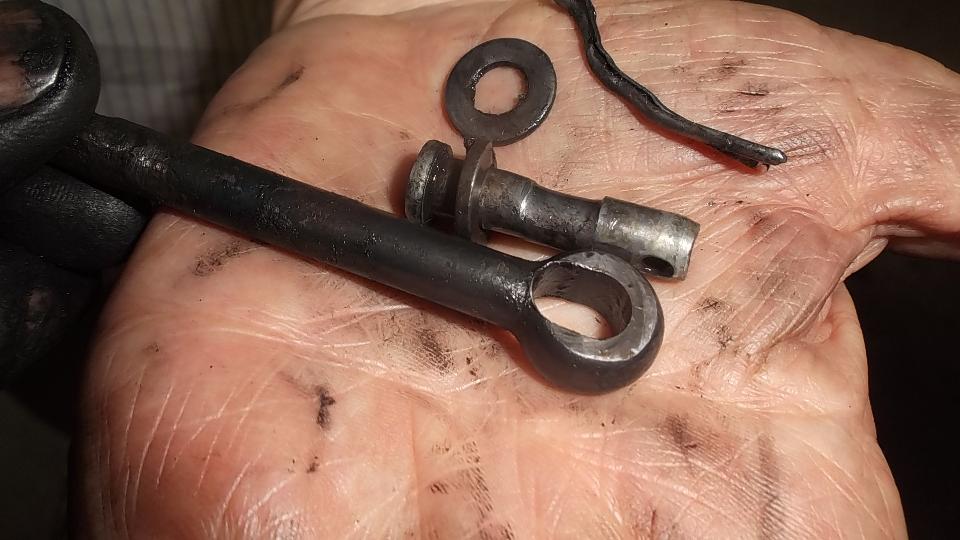
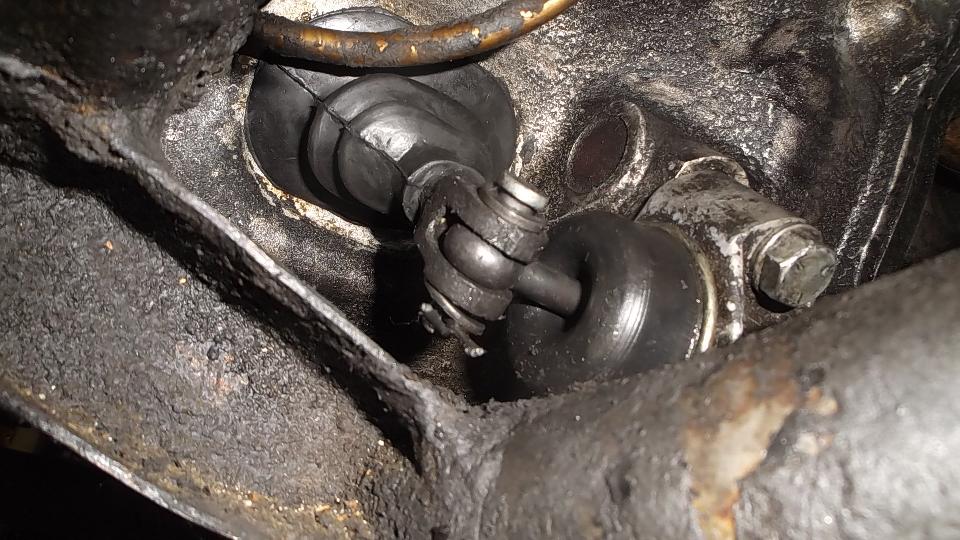
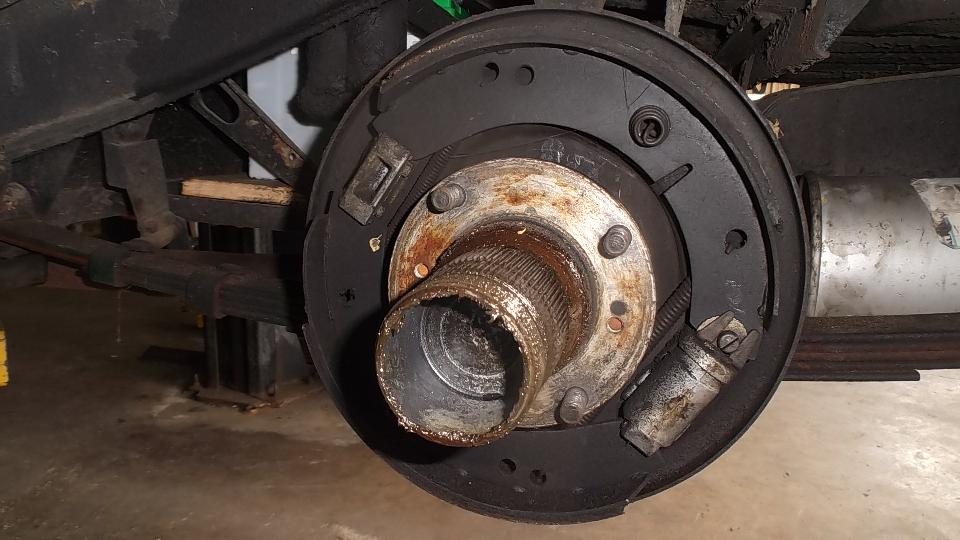
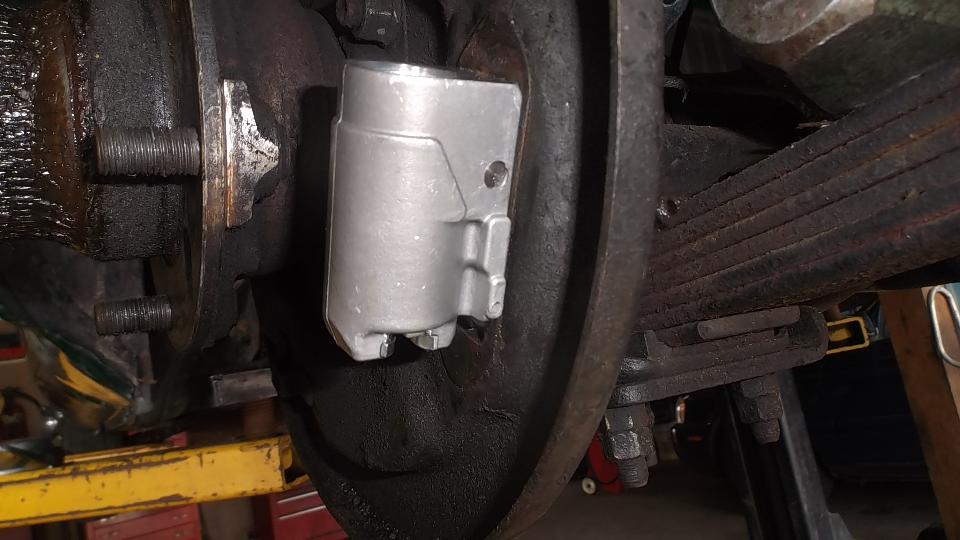
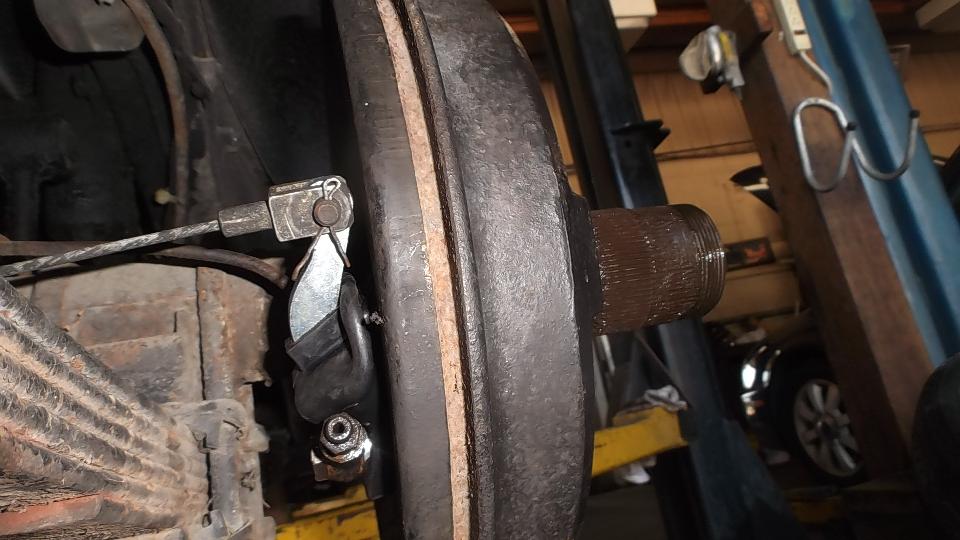
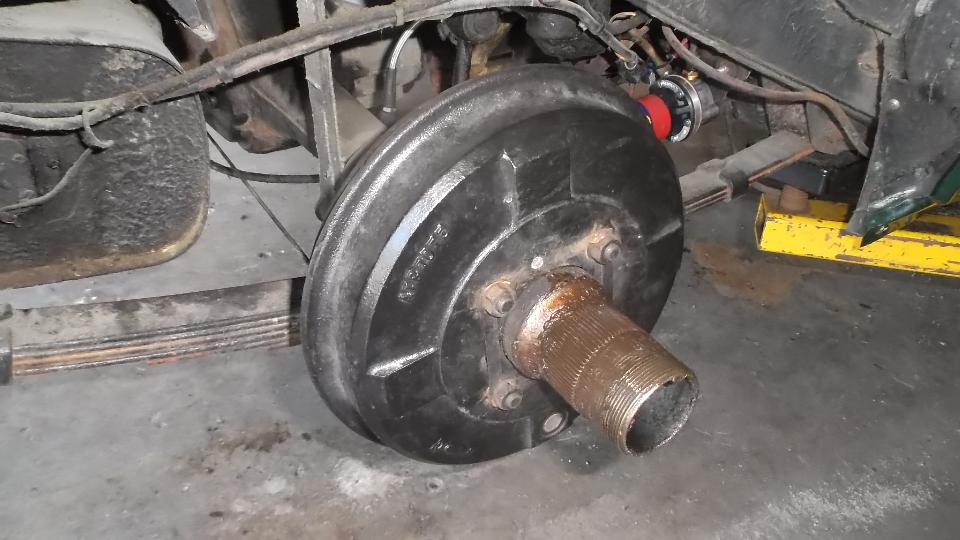
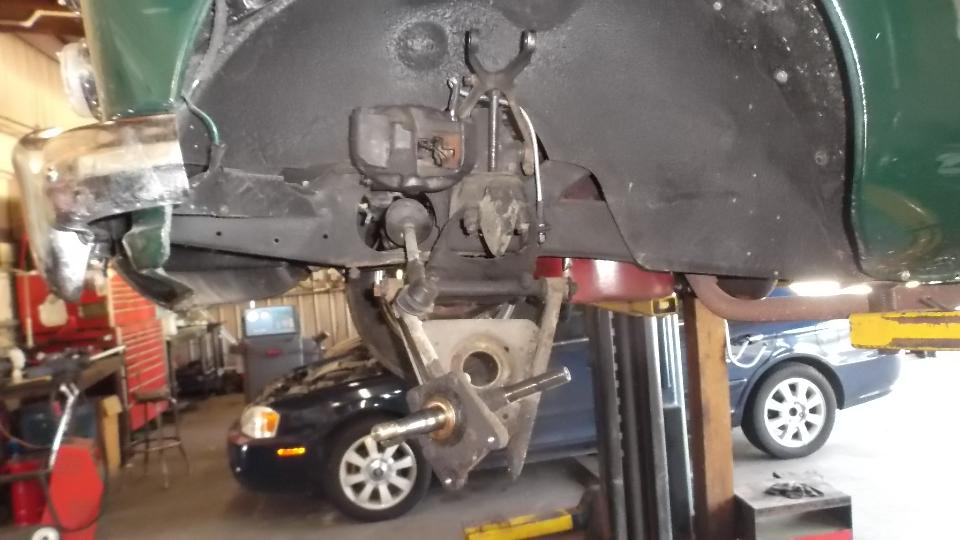
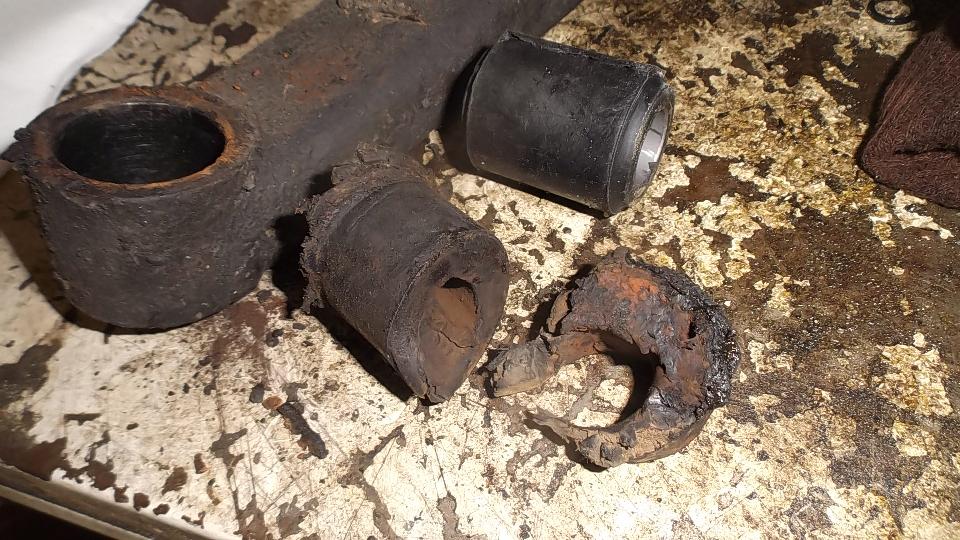
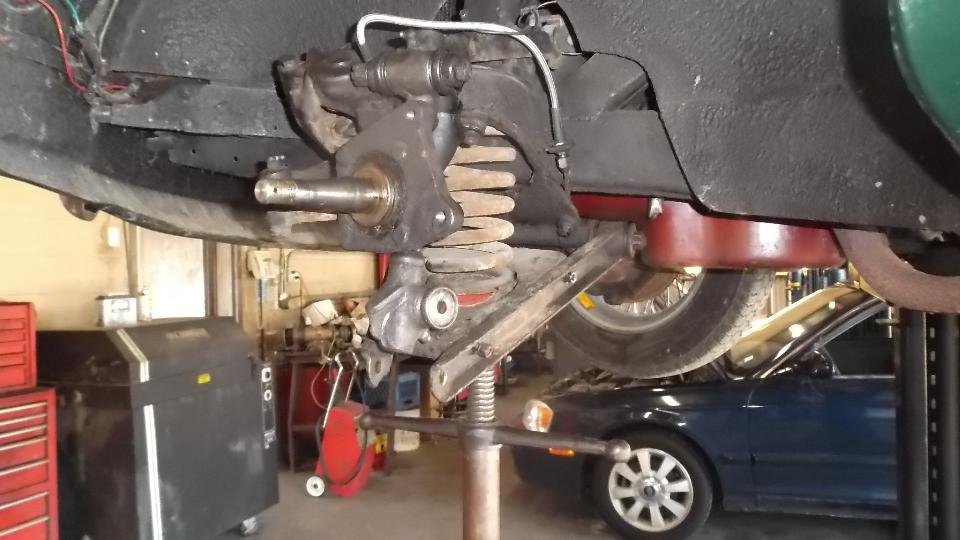
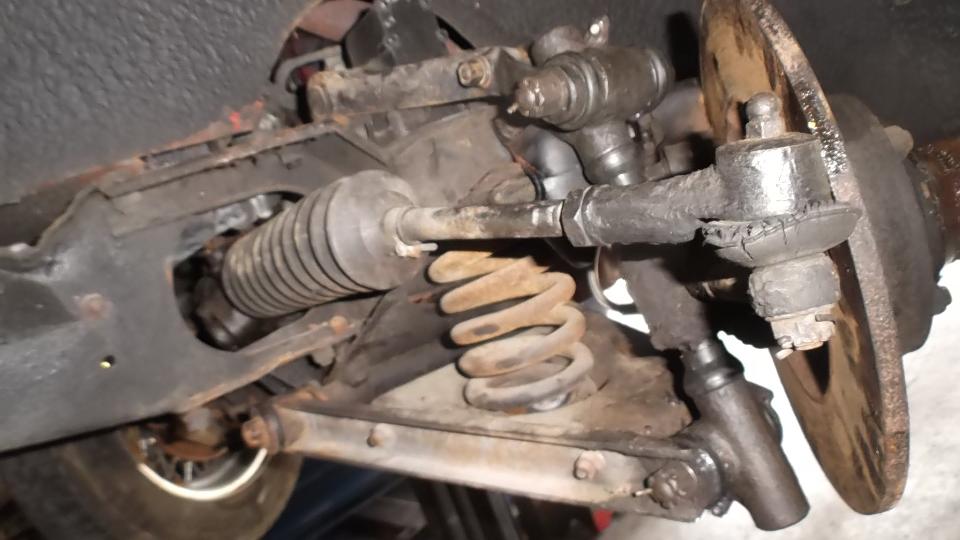
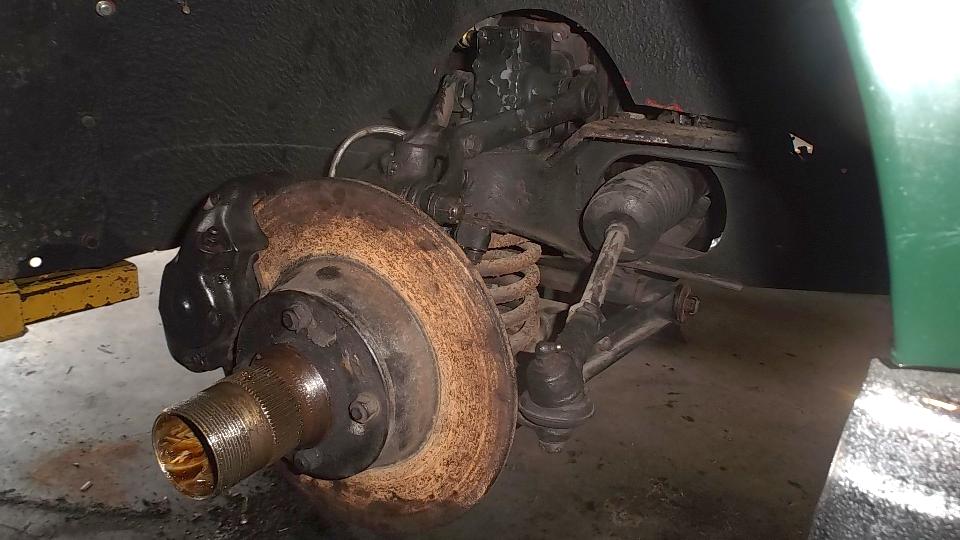
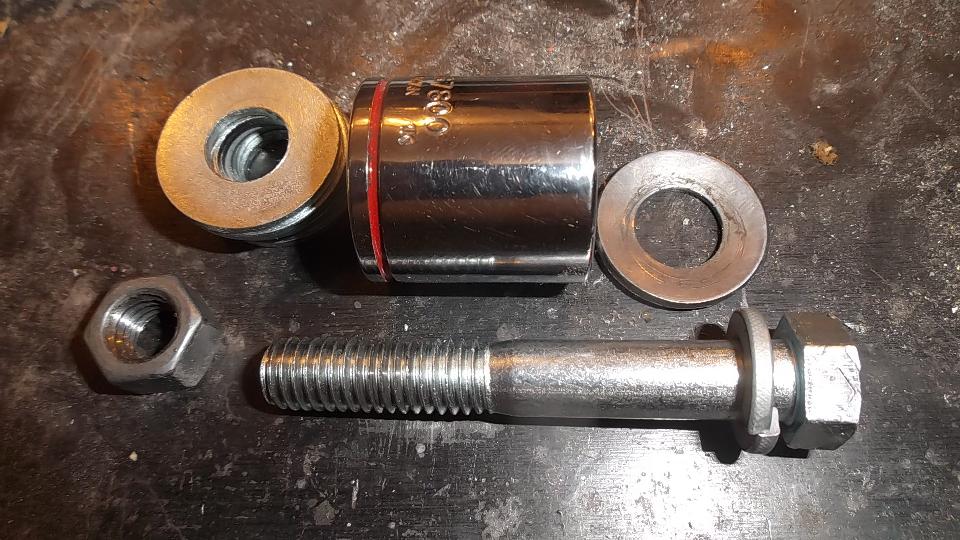
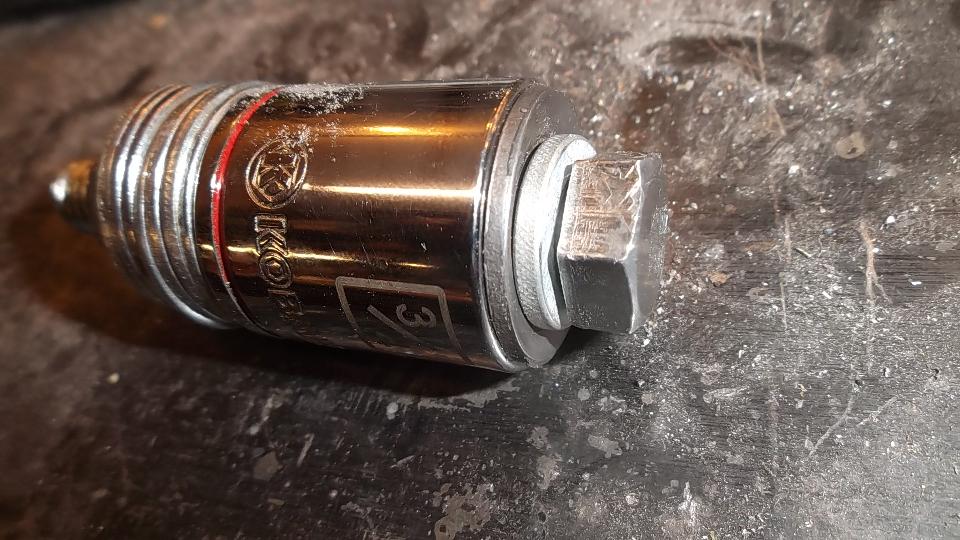
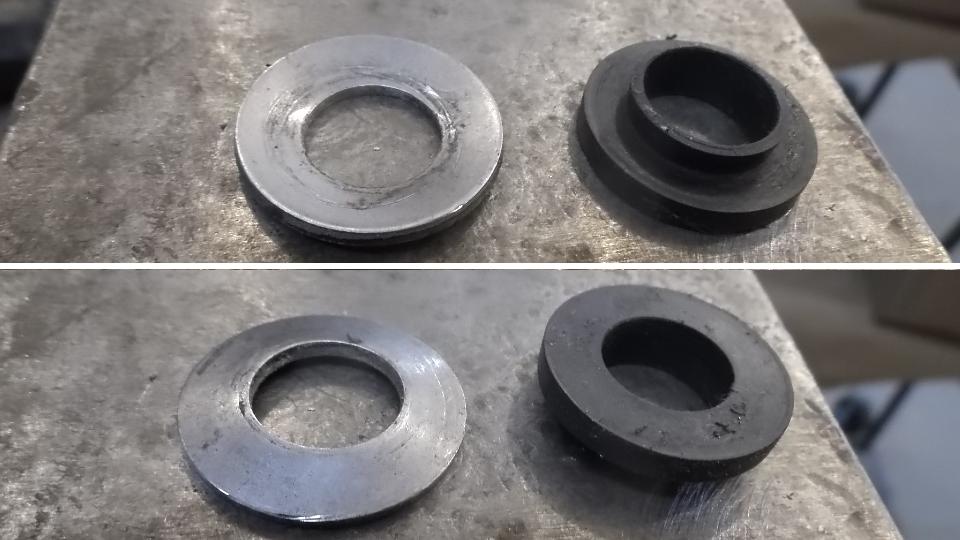
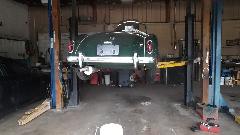
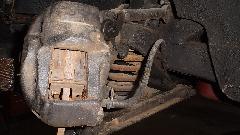
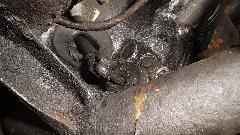
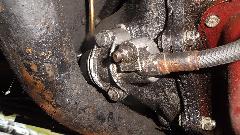
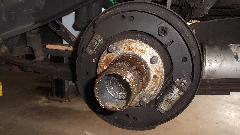
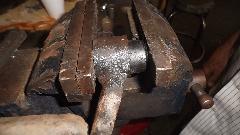
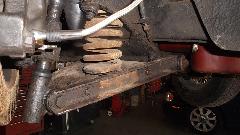
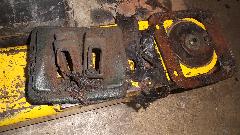
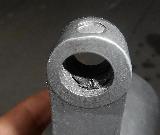
Car on the hoist, knock off the wire wheels, remove LF brake caliper and bearing hub (including brake rotor). Removing the split pin from bearing nut inside the splined hub was a hassle (as usual) because the DPM used a too-long split pin and bent it multiple times for assembly. But persistence pays, and soon it was all apart. One very nice tool not shown in this picture is a pedestal screw jack that allowed us to raise the spring pan to remove trunnion bolts, then drop the spring pan to remove the coil spring. This is otherwise done with car on jack stands and a trolley jack under the spring pan. While the car owner was cleaning the trunnions I was replacing the bump stop. and removing the A-arms. Then it was time to replace the perished inner A-arm pivot bushings.
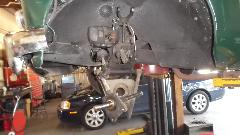
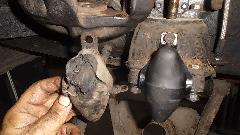
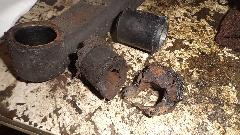
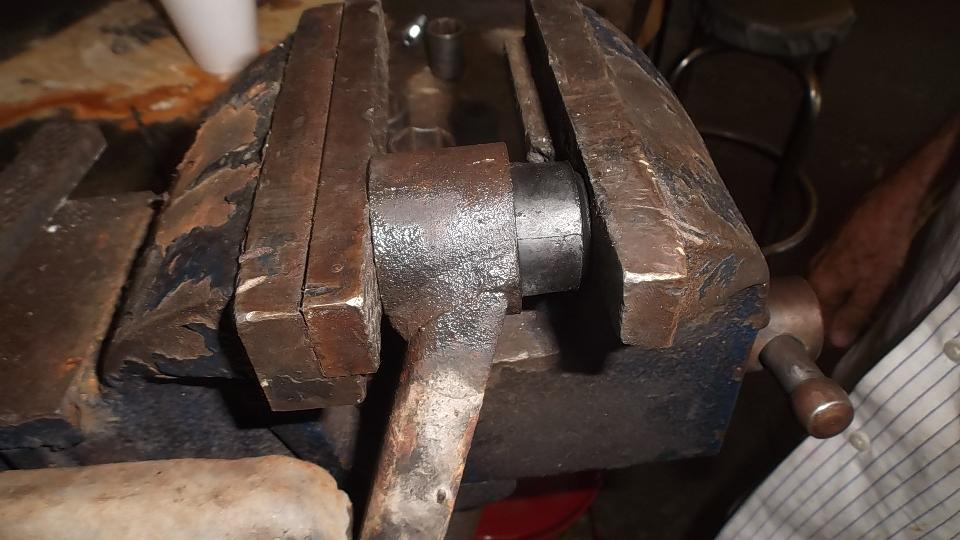
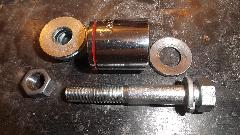
The preferred replacement parts here are the MGB GT V8 type bushings. These are one piece solid rubber bushings with a steel tube vulcanized inside (similar to Silentblok bushings in a leaf spring). A touch of slippery soapy water and a large vice make short work of this job (along with a large wrench socket to allow the final 1/4-inch of pressing past the tube end). Here is a picture of the pedestal screw jack being used to lift the spring pan, compressing the coil spring during assembly. Oops, we got the top trunnion on the bottom. Remove bolt unscrew swivel links, do over.

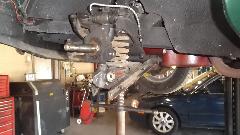
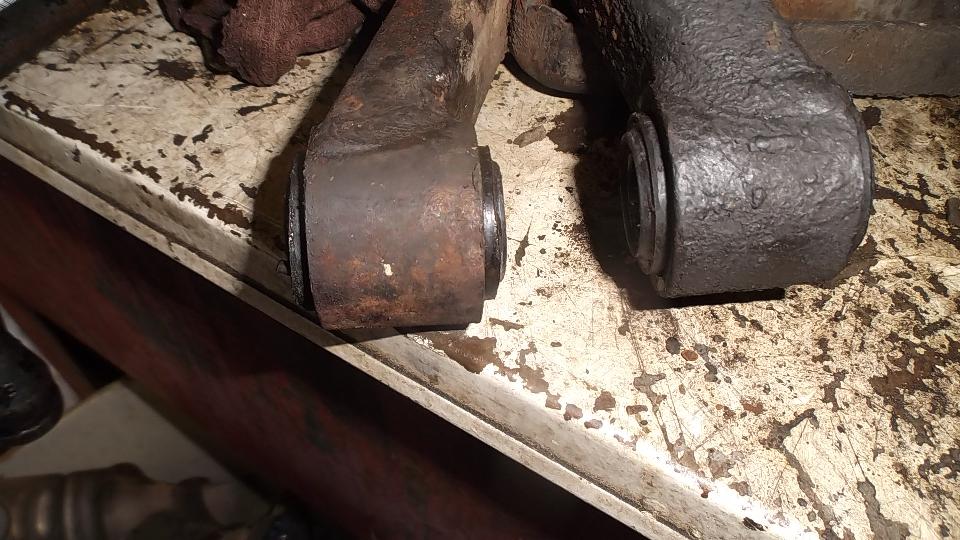
All together, snug as a bug, new A-arm inner pivot bushings, bump stops, swivel pin and trunnion seals, greased up and ready to go. Note to owner, put tie rod end seals on the To-Buy list. Time to do the left side was three hours (including a very brief lunch break), and it was 3-pm with closing time of 5-pm, so lets put on the hustle. One trick for a shortcut was instead of running the screw jack up/down by hand, we put the screw jack under the A-arm and let the hoist down to use weight of the car to compress the coil spring. Then raise hoist to allow spring pan to drop to release the spring. Reassembly is the reverse of disassembly. Another use of the screw jack was to support the A-arm outer end while resting weight of the car on the spring at normal load height (A-arm level) so the A-arm inner pivot nuts could have final tightening without setting the car on the ground. Sure enough, by 5-pm sharp we had the right side finished, all tightened up and lubed with the wheels on. Didn't have time to bleed the rear brakes yet, but that will be a good starting place tomorrow.

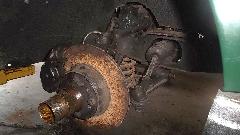
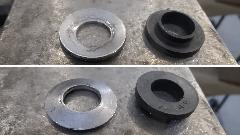
As a few side notes, the trunnion pivot bushings and steel bearing tubes were in excellent condition like new, so I suspect this suspension may have been rebuilt once before. Also the swivel links unscrewed with or without removing the steel bearing tubes, implying that the swivel pins might be slightly smaller diameter than original. And the threads on the swivel pins looked suspiciously like SAE or Unified National Fine threads, leading me to believe that the swivel pins and links had been replaced with aftermarket parts some years earlier.
Aside from posting these photos and notes, it will be late tonight when I post off my monthly trip report for the Chicago club newsletter.
Wednesday, May 25, 2016
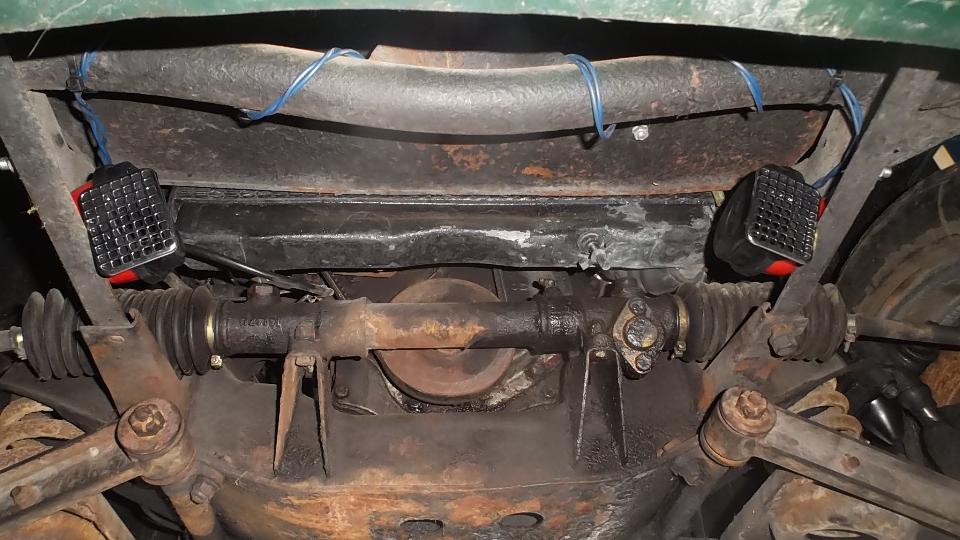
The cure for constantly running out of time is, come back again another day. So I came back to Abbott's to bleed the rear brakes, which didn't take long at all (with a bit of help from a local foot). And since the part was lying around, I installed the new pedal excluder (not as easy as it looks when two bolts have nuts in the foot well).


And to make the car fully street legal, also installed new hooters (dual horns for us yanks). Under $30/pair at your local cheap parts store. I have these on my car for nearly two years, 70,000 miles. Not as original, but they work well and sound decent (making your small car sound a bit larger).

Thursday, May 26, 2016
Day off. You know what that means, I get to work instead of play. After catching up email and BBS, answering some tech questions, updating a couple of web pages, I got after the club web sites for planning future activities. This is when I discovered we just missed a club tour, today (I think, but now I can't prove it). Pity, as we had the time to be there, if I had only been checking the club events a day earlier. We have been in the Carolinas since May 4th, but been so busy that I still haven't had enough time to finish checking out all of the web sites for club activities. Not that we haven't been doing productive things, just seem to have the priorities mixed up a bit. Some things are just more urgent than others. Well, more research time tomorrow.
Friday, May 27, 2016
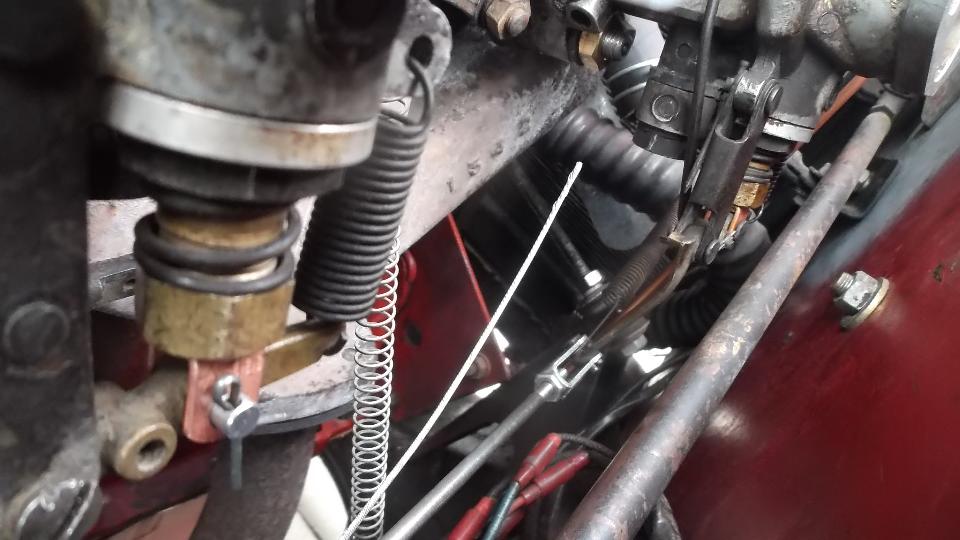
Sitting on WiFi, began noticing a BBS thread about a carburetor problem not too far away from our location. The guy is having problems with his SU carbs and is threatening to put a Weber on his MGA. That can get my attention pretty quick. A couple of notes and
 one phone call later we headed north out of Columbia, SC, and shortly after 3-pm we arrive in rural Mills River, NC (2-1/2 hours) to visit Mitchell Andrus with his ailing MGA. He had called just as we were leaving Columbia, and I gave him a bit of diagnostic advice. Shortly later he called back to say it was spot on, and he was well on the way to fixing the carbs. It turned out to be a clog in the banjo bolt securing the float chamber to the rear carb, something about too much gasket sealer on the rubber grommets (oops). I think he called me a bloody genius (or maybe words not so nice), but all is well that ends well.
By the time we arrived he already had the float chambers on the bench, and he was fiddling with the rubber grommets and a washer that was supposed to be spherical but seemed to be too flat. We can fix that. Grab a 3/8-inch bolt, nut, lockwasher, some flat washers for spacers, and one wrench socket of appropriate size. Stack this all together with the carburetor washer under the bolt head and tighten with a wrench to compress the carb washer to be more dished. Pretty easy, and it works a treat.
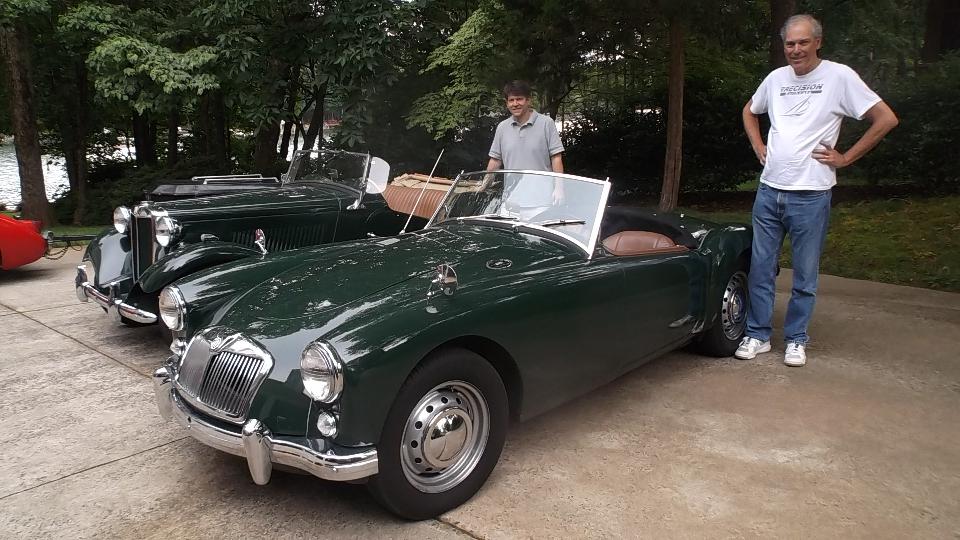
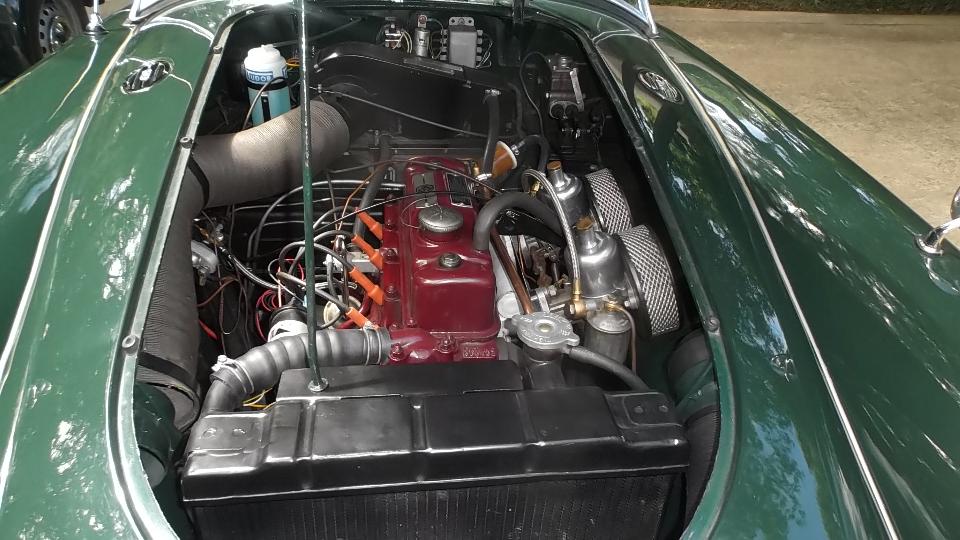
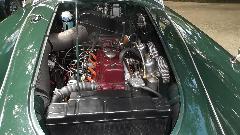
 It was shortly back together, tuned up and purring like a kitten. We took a short test drive, and all was well with the world, all set to head for a car show in the morning. In fact that went so well that we had time for a cylinder head re-torque on my MGA (not done since the new head was installed in mid April), and valve adjustment, and oil change and lube job (1000 miles past the programmed 4000 mile change interval).

 Then we were off for dinner in the evening, and another WiFi session running well past midnight (but at least I got the photos posted).
Saturday, May 28, 2016
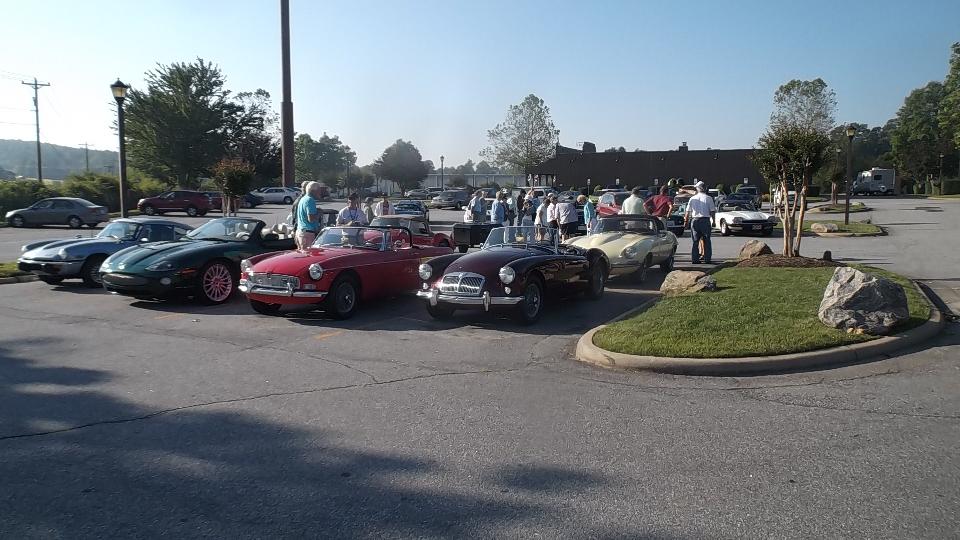
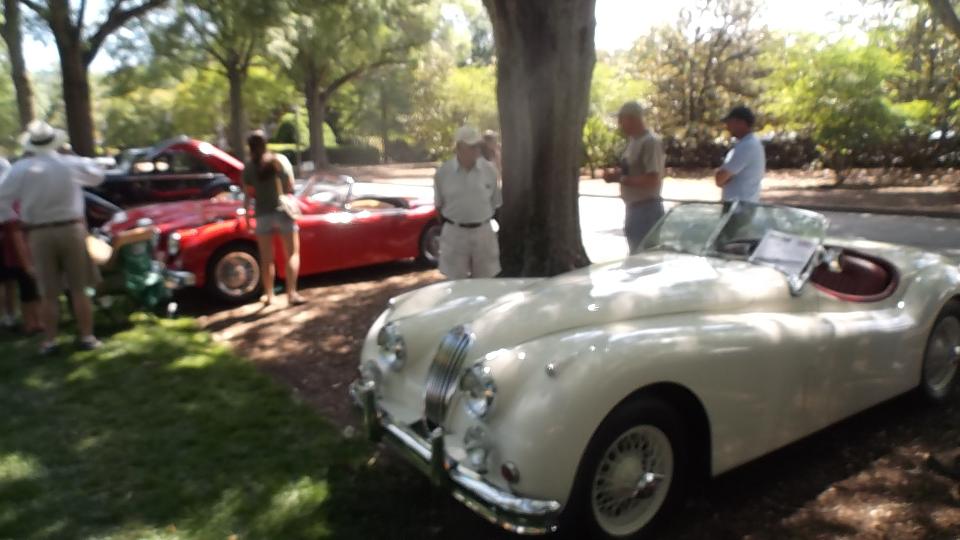
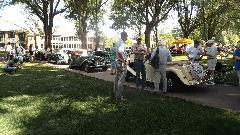
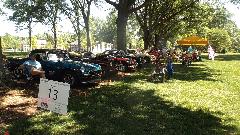
 We got to the car show today, beginning with the British Car Club of Western North Carolina in Flat Rock, NC. About 14 cars caravanned 30 miles south to Furman University in Greenville, SC.
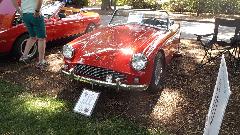
The occasion was the "8th Annual Great Scot! British Car Show", presented by Southeastern British Motorcar Owners Club, in conjunction with the Greenville Scottish Games. I think I spotted in advance at least four British car clubs bringing members and cars to this event. Official count was 91 cars announced at awards time. There were at least 6 MGA, 2 TC, 3 TD, 17 MGB, 3 MGC, 2 MG Midget, 2 AH Sprite bugeye,
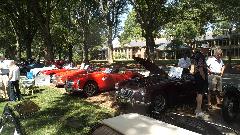

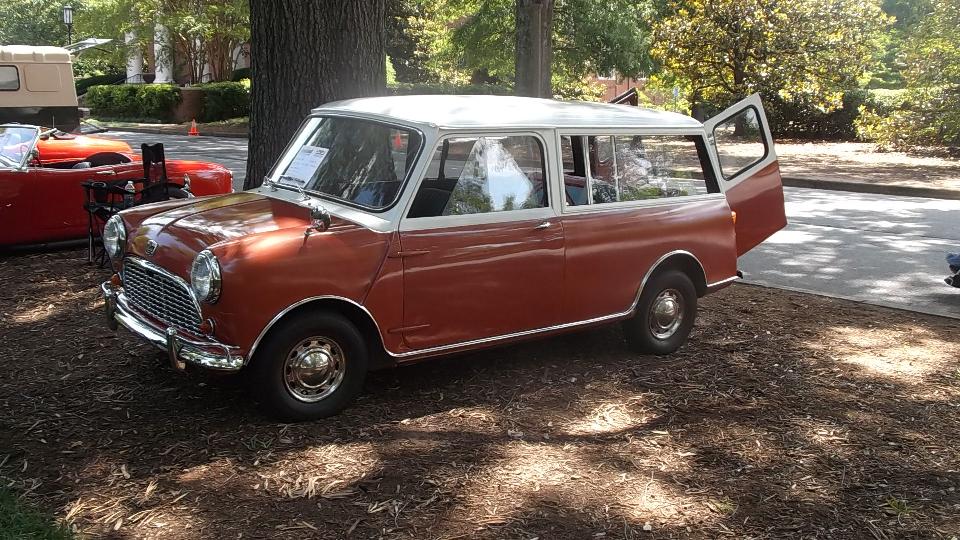
 2 AH 3000, 3 Morgan Plus 4, maybe 5 Sunbeam Alpine and 3 Sunbeam Tiger, a least 5 modern Mini, 1 Mini Moke hiding back in the corner, and 1 1963 Austin Mini Clubman.
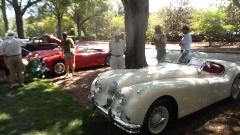
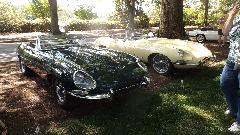 I totally lost count of the Jaguars (maybe 26), lots of them since they are still in production. Starting with the newer ones, here we are getting down to the ones that are old enough that I understand them, 2 E-types, one XK-140 and 1 XK-150.
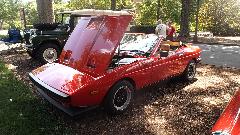
Triumphs were filling the field, at least 6 TR4/4A/250, 7 TR6, 4 TR3/3A, 1 TR7, 1 TR8, 1 Spitfire, 2 GT6+. Throw in 1 Range Rover for good measure.
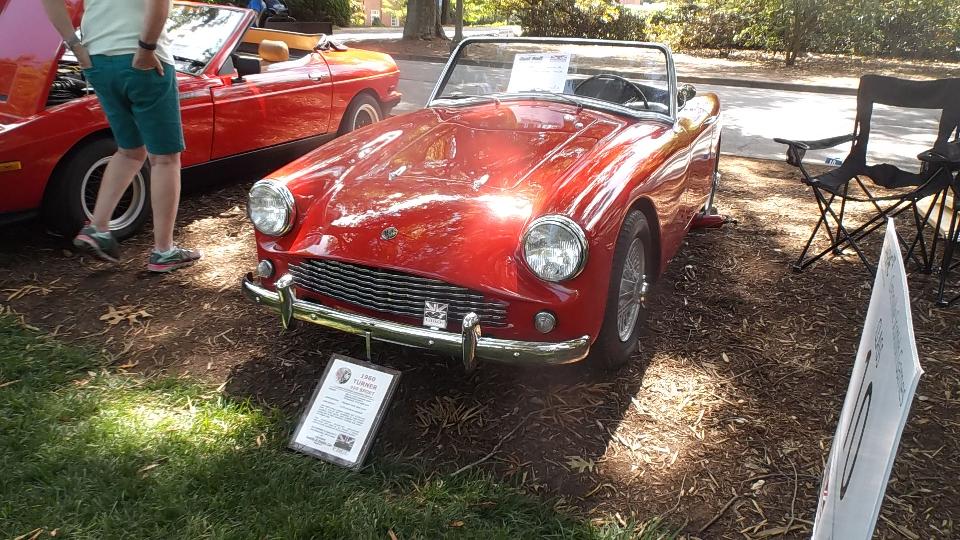
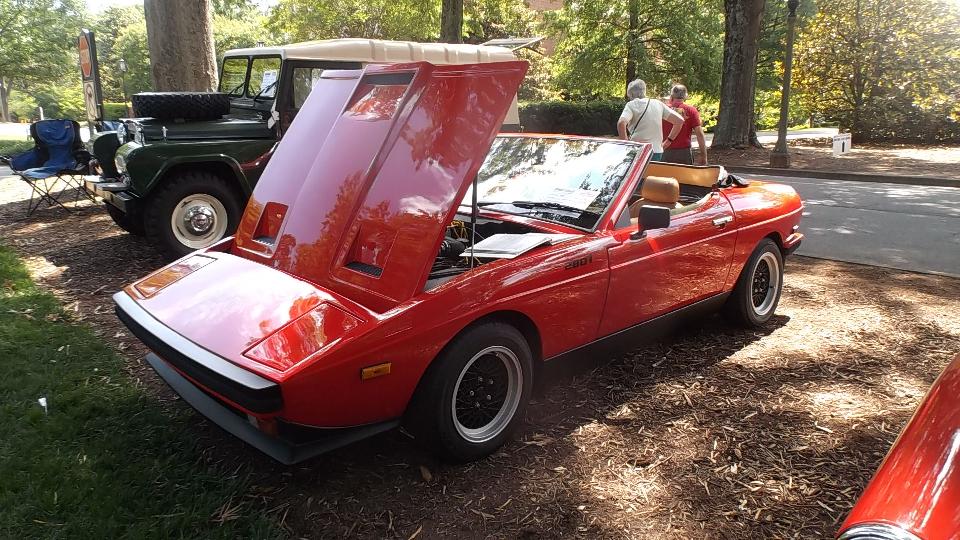
In the less common category one vintage Bentley, a 1960 Turner 950 Sport (streetable even), and a TVR 280I.

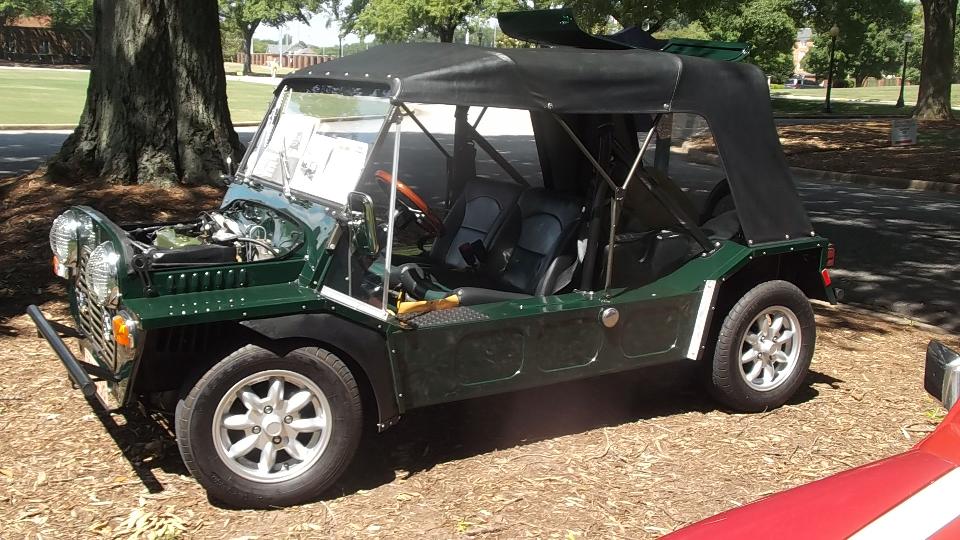
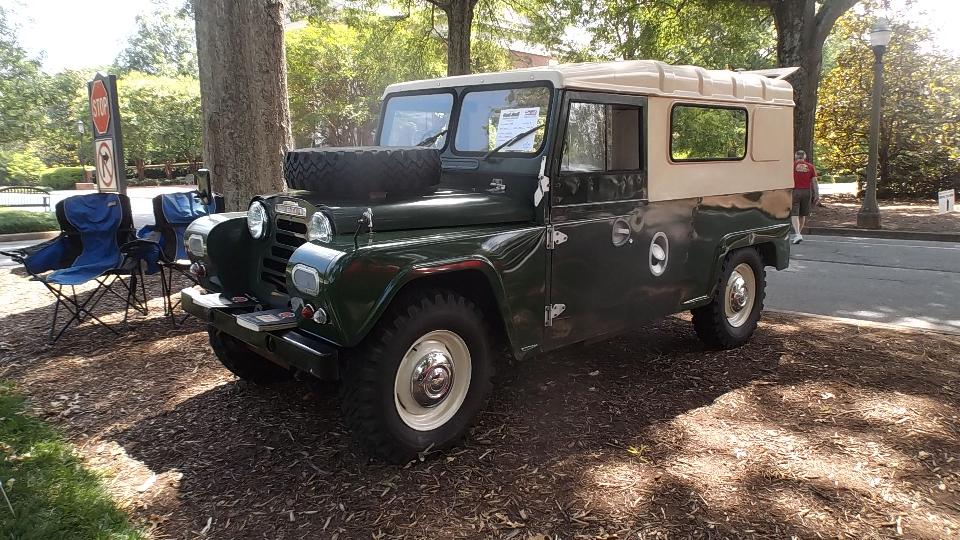
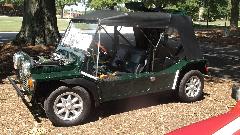
 This one is probably not what you thought (not a Land Rover); it is a 1963 Austin Gipsy.
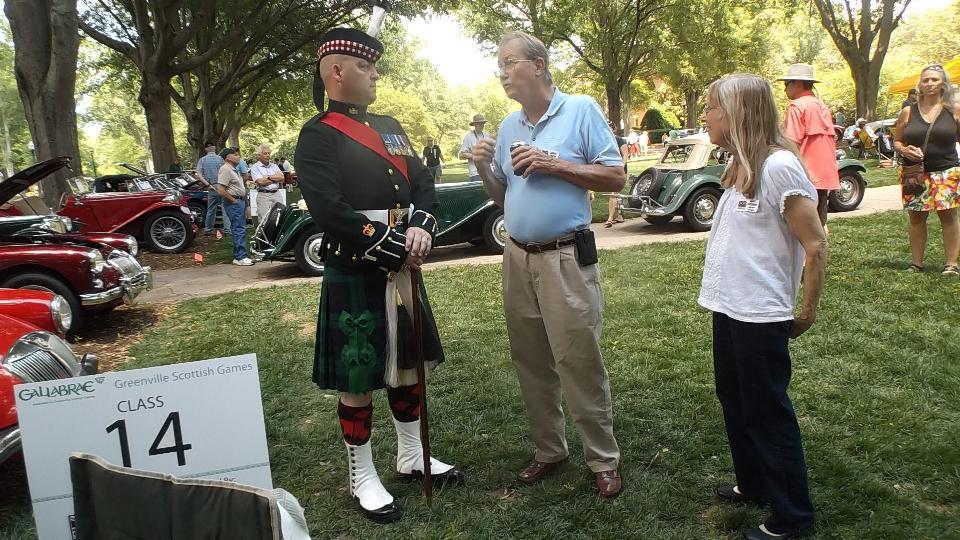
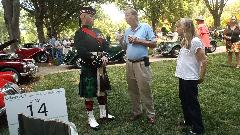
And one member of the Scottish Guard was on hand for publicity and photos.
Find more car show photos in a following web page.
After the car show we retired for WiFi work, then spent the night in Piedmont, SC.
Sunday, May 29, 2016
Finished up posting photos and notes from the car show, BBS, email, etc. Then we had the first spare time in weeks to finish researching the car club contacts in the Carolinas, sending a bunch of email inquires, and receiving a couple of responses. Just enough information to plan the next few days endeavours. Late evening we headed northeast 120 miles up I-85 to land in Corneilius, NC for the night.
Monday, May 30, 2016
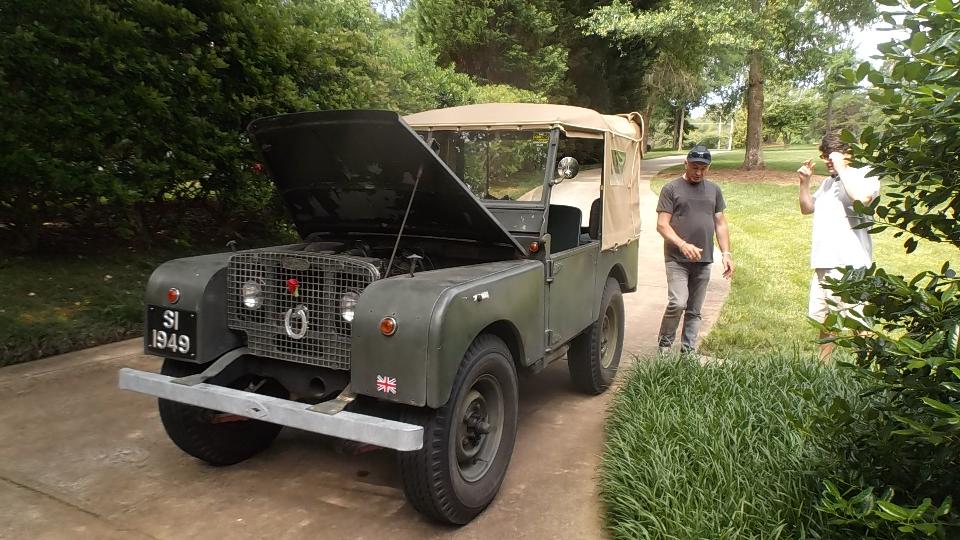
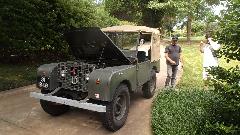
Mid morning appointment with Mark Ahlstrom in Cornelius, NC. He has a nice MGA 1500 with just bit of a tune-up problem. His neighbor, Trent, was also there with his very nice MG TD. Mostly time for socializing (at first). Then something about a minor shifting problem with the MGA, so we took that for a test drive. It seemed to shift okay, but was running rich with not much low end torque, so maybe time for a bit of tune-up. About then another neighbor drove in with a late 40's Land Rover, apparently in quite good condition, just for show and tell.
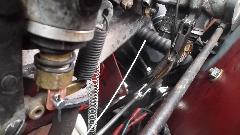
Easy enough to tweak the carburetors, but still not right for torque, so over to the ignition side of the engine. Distributor misaligned due to misaligned drive gear. Also inverted base clamp (badly bent from over tightening), and some missing bits for valve cover fasteners. Out with the distributor, straighten the base clamp as well as possible,
 Ramp;R the drive gear to correct orientation, reinstall the dizzy and set ignition timing (close enough by ear). Pull a few valve cover fastener bits out of the magic trailer, and give the car a test drive. Vroom, vroom, and smiles all around. Then out of time due to a prior commitment for the host. When the TD was on its way out there was a quick diagnosis of a nasty rattle, which turned out to be a noisy generator, likely a failed rear bearing (but it will get home okay). Then we were on our way again.
Tuesday, May 31, 2016

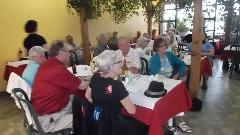
 Most of the day spent on WiFi work. Then an evening meeting with Piedmont British Motor Club in Statesville, NC with 15 people present. Been here once before, in October 2014. Nice bunch of folks with a common interest. Now I see several familiar faces, some folks we have met multiple times by now.
|