The MGA With An Attitude
REBUILDING MGA Disc Brake Caliper - BT-104D
This article was submitted by David Adams near Gatwick, England, UK
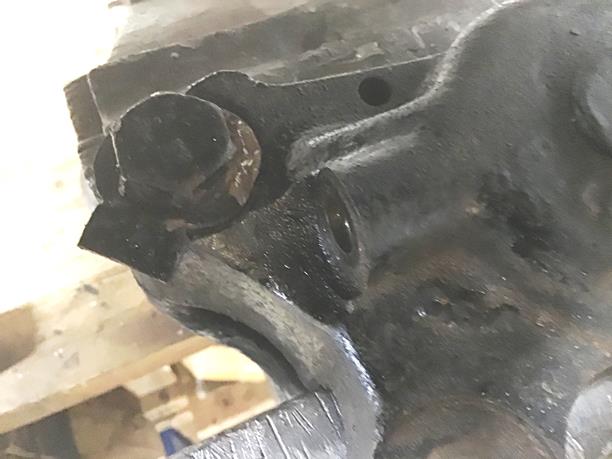
This is a rework of a pair of calipers that were rebuilt in 2014 with modifications to use new pistons from the MGB along with MGB seals. This requires the removal of the centre pin which can easily be done by slipping a piece of tube over the pin and working the pin from side to side until the pin breaks off nearly flush with the bottom of the cylinder, and the residue can be ground off flush with the surrounding metal. The hydraulics were refilled with DOT 5 fluid. The calipers have started to deposit a rime of fluid on the front wheel rims and are being reworked to change the seals.
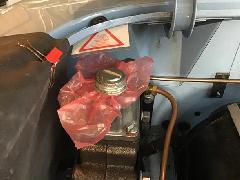
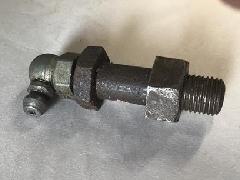
To minimize fluid loss and subsequent bleeding the master cylinder cap was sealed with a piece of polyethylene film to prevent the ingress of air. The banjo bolt was removed and the brake pipe was sealed with a dummy connector, an old banjo bolt, copper washers, a brake pipe coupler and a bleed nipple.
Remove the brake pads, the 2# 5/16" nuts holding the hydraulic pipe bracket and the 2# special bolts, you may need a longer 5/8 socket for this to clear the 5/16" threads. The caliper is now in your hands.
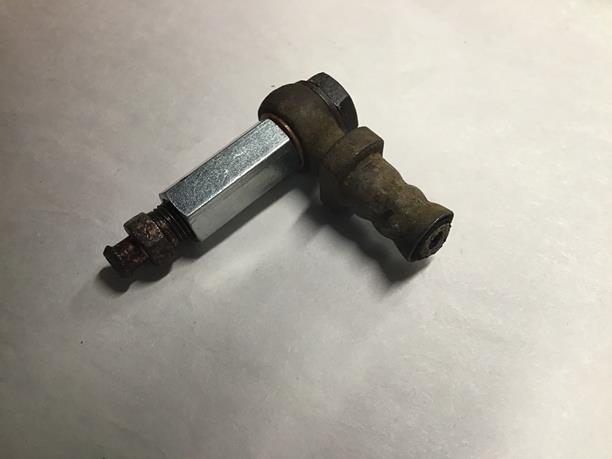
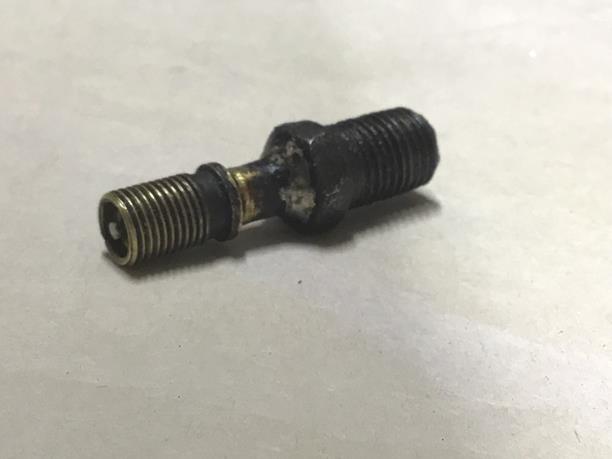
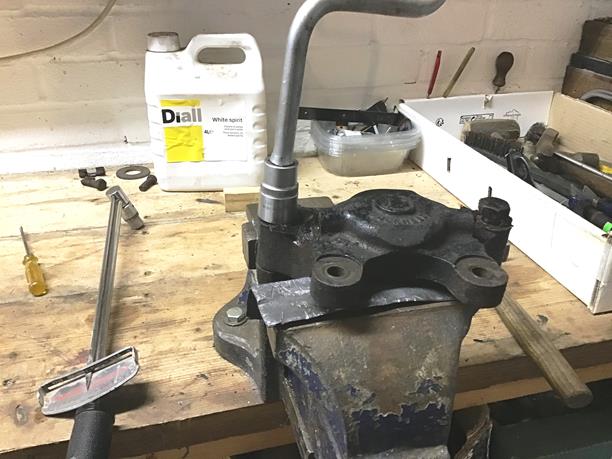
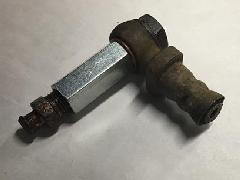
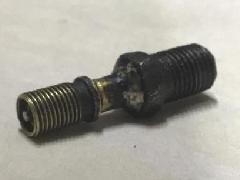
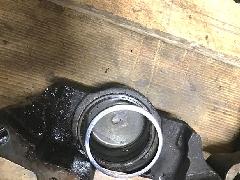
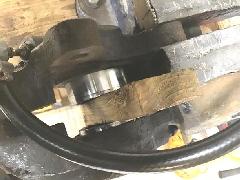
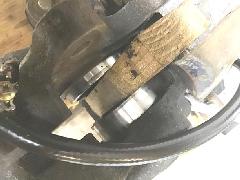
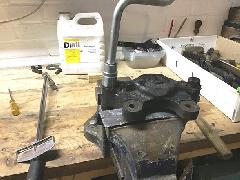
Do not split the caliper yet, you will need the fluid drillings to eject the pistons. These pistons are in good working condition and it was possible to eject them using compressed air applied via an adapter comprising a Schrader valve soldered into a 3/8" UNF bolt drilled to suit, or an old brake pipe backnut, as in the first picture. 40psi was adequate to pop the pistons. When I did the earlier R&R of these calipers the pistons were seized in the caliper body and could not be moved with compressed air so grease under high pressure from a grease gun was used via a similar adapter but with a grease nipple rather than a Schrader valve, second picture. A messy clean-up. Try air first up to the limit of your compressor. Make sure its wood between the pistons and not your fingers! The wood is 3/4" batten.
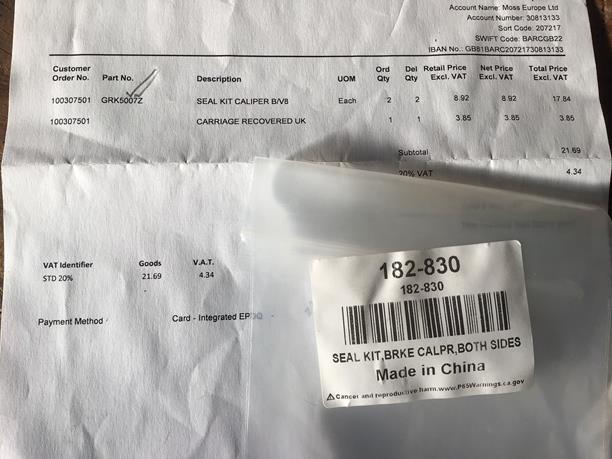
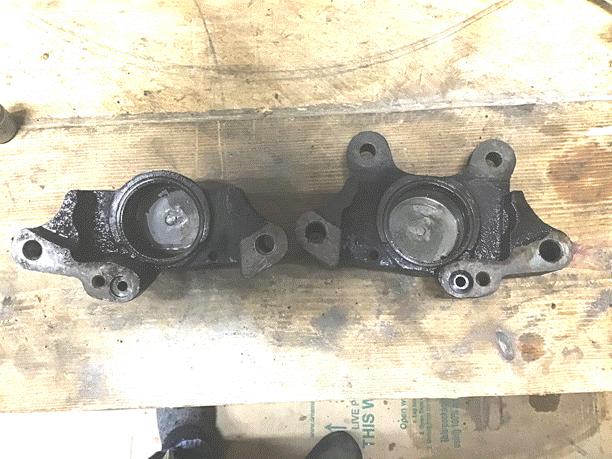
With the exception of the centre picture below, all pictures are for the left hand caliper, the second one refurbished. Ensure that you have soft jaws on your vice. The seal kit is from Moss Europe and is labelled for the MGB with the same part number as for the MGA. Incredibly, the seal kit does not contain the square section O ring that seals between the two caliper halves. Dont forget to order those too, as well as new copper seal washers for the banjos.
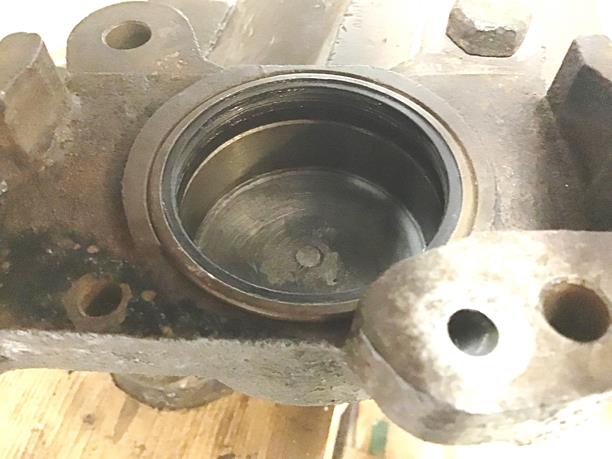
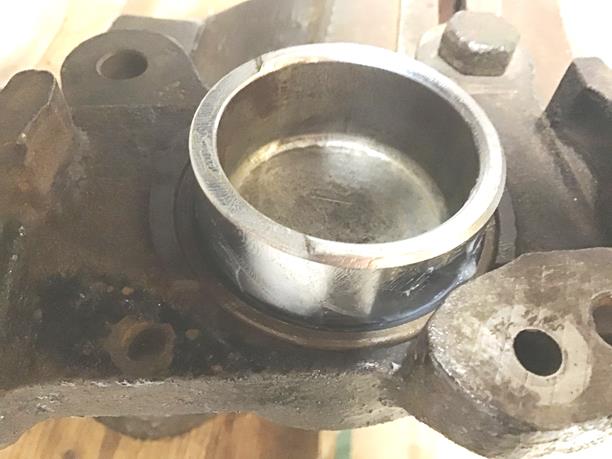
The dust seal retaining rings in the present Moss kit are of different dimensions from the Moss kit fitted in 2014. The radial flange of the new seal rings has a width of 0.150" whereas this dimension is 0.100" on the 2014 rings. The new rings are much stiffer than the old and I was unable to get them to enter their recess without buckling. Fortunately, I had carefully removed the old rings and was able to reuse them. For this second caliper I did not remove the old seal rings, the subsequent pictures show the old seal rings in situ with the new dust seals inserted.
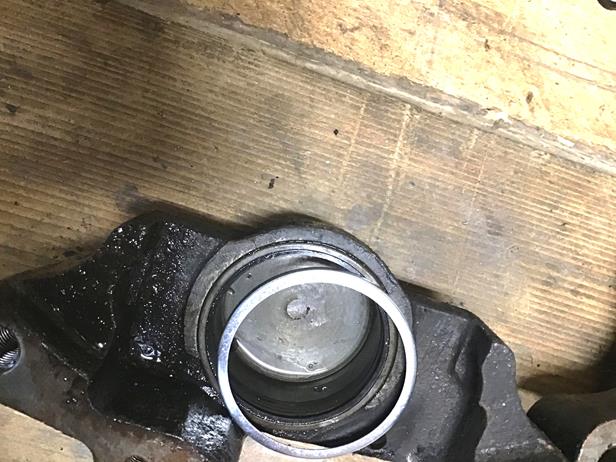
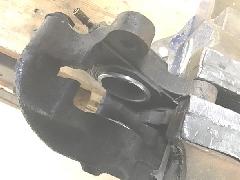
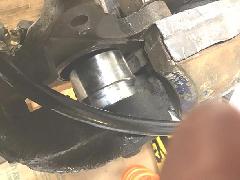
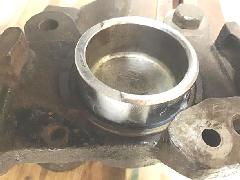
The first picture shows the seal kit packaging, the second a right hand caliper half with an old dust seal ring in situ and with a new dust seal ring sitting on top of it. The third picture shows the caliper in the vice with the air connection fitted in the hydraulic inlet.
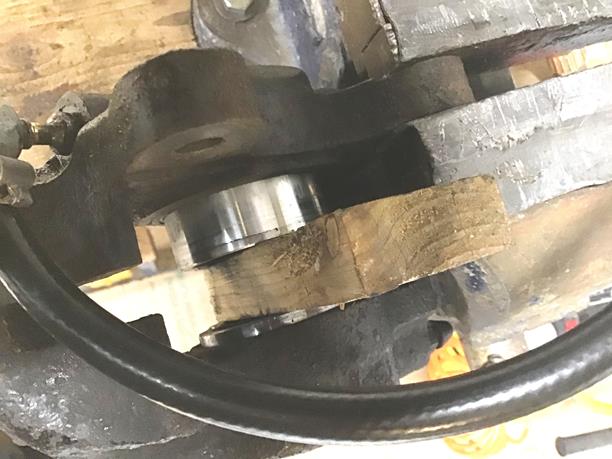
The first picture shows 3/4wood batten inserted. In the second, air has been activated, one piston has popped and in the third, the piston has been levered back in and the other piston popped.
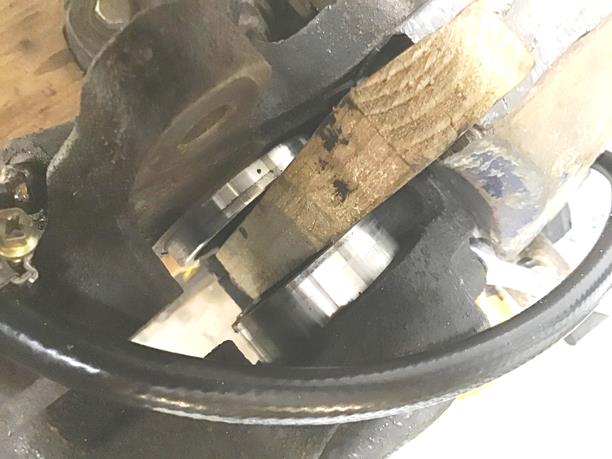
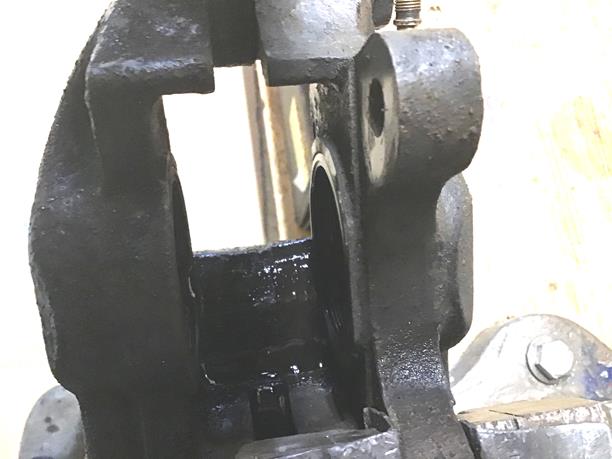
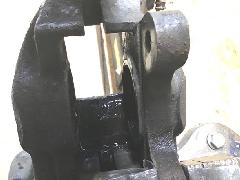
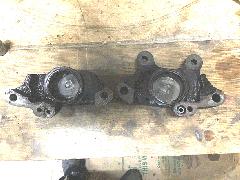
In the first picture the wood has been removed and air applied to eject the piston which was lifted out and marked I for inner. The second piston was jiggled out and marked O for outer. The second picture shows the empty caliper and the third the tab washers tab flattened to allow removal of the bolt. Ditto for the other bolt.

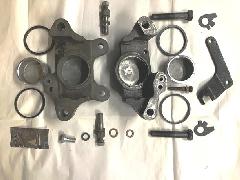
Its probably good practice to loosen the 5/16" bolt first to avoid any overstress, then the two large through bolts, a little on each one to release the tension. Then the caliper is split with all seals in situ ready for removal of the bleed nipples, cleaning and blowing through of all fluid ways. Particular care was taken to remove all old seal debris from the seal housings. All the parts for reassembly are shown laid out. As mentioned previously, the earlier dust seal retaining rings were retained for re-use.
The seal kit contains two sachets of lubricant, one of which is sufficient for one caliper. Lubricant was applied to the pistons, cylinders, seal housings and the seals, which were carefully worked in to their housings, not forgetting the square section seal between the two caliper halves. A smear of lubricant was also applied to the mating faces of the caliper halves.
 Ensure that the cut away part of the piston skirt is aligned properly. A line across the cut away shoulders should be at a right angle to the line joining the centers of the two large bolts.
The Workshop Manual states that new bolts must be used but OEM Lockheed bolts are no longer available. I would rather reuse the original bolts than trust any aftermarket options. The manual states that the bolt threads must be perfectly dry on assembly and they must be tightened to the correct torque.
Large bolts: 65 lb.ft. (8.99 kg.m.) Small bolt 10 lb.ft. (1.38 kg.m.).
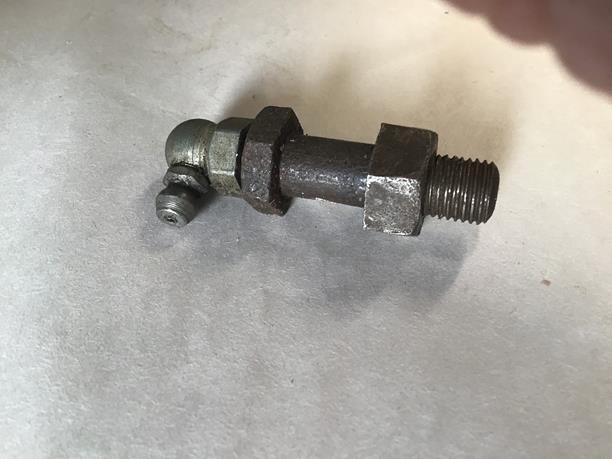
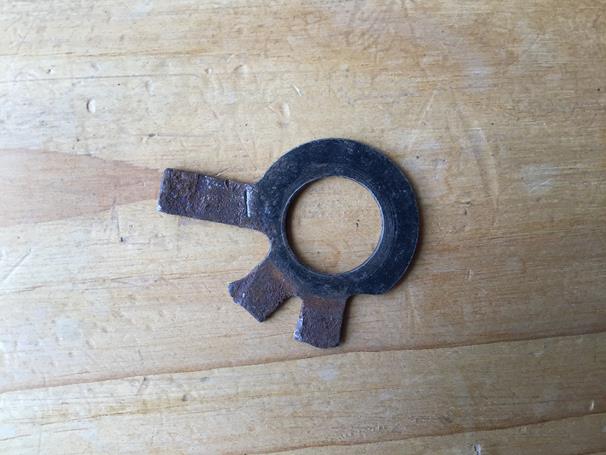
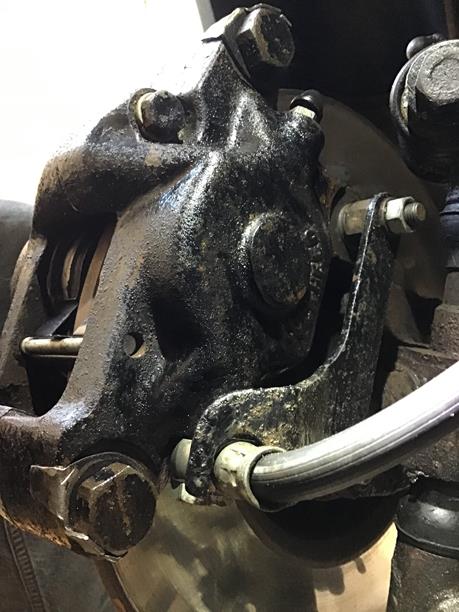
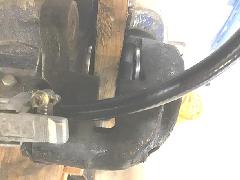
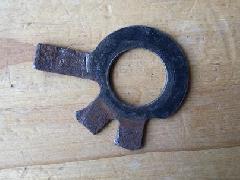
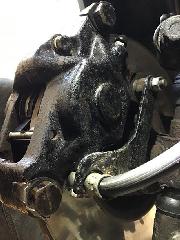
Originally, the large bolts were secured by lock washers. An original as removed in 2014 is shown below. The material is 0.050" thick and the hole is 9/16" diameter. I made and fitted new lock washers as shown in the picture above of all the components ready for assembly. The second picture shows the caliper fitted to the car using new spring washers on the special bolts.
|